Final set of patterned paper cards

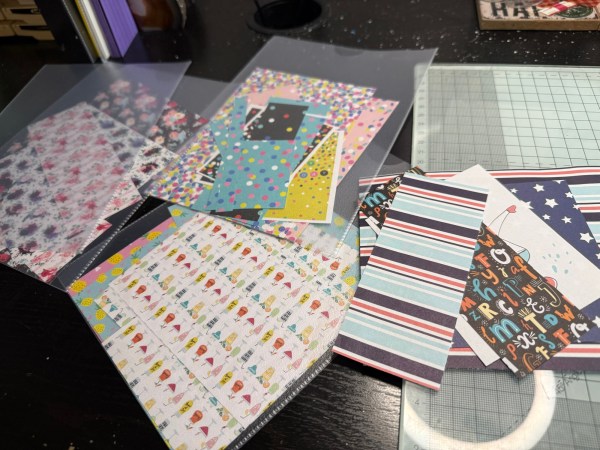
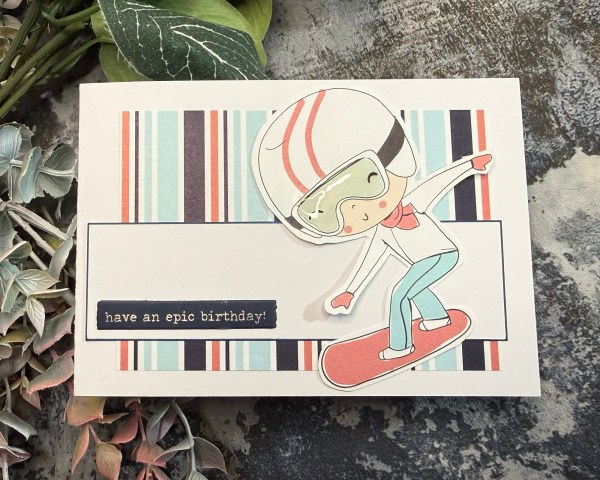
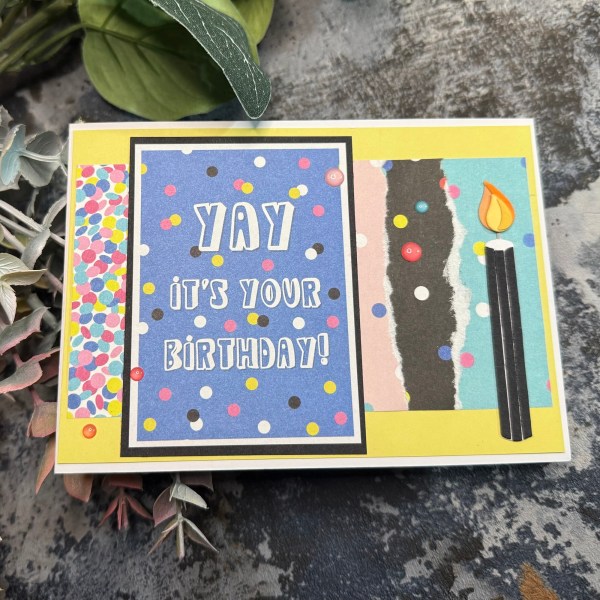
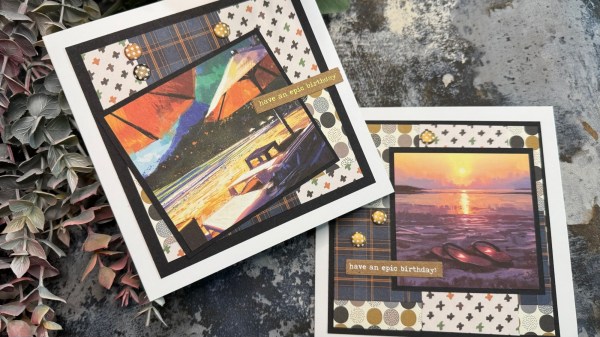
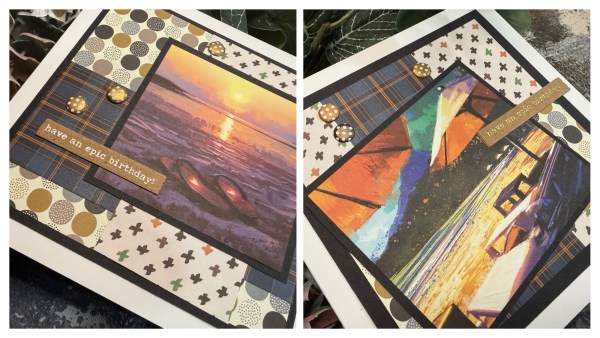
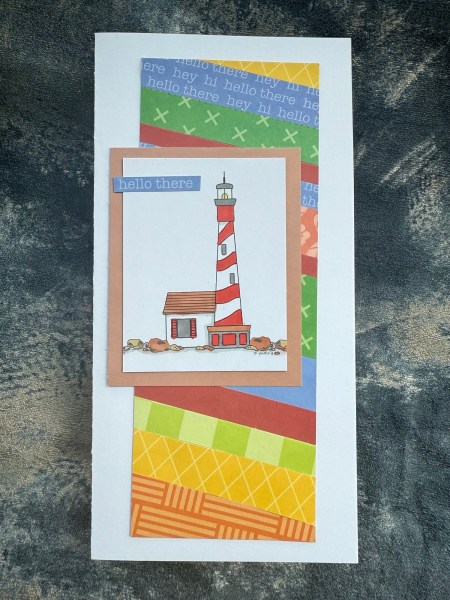
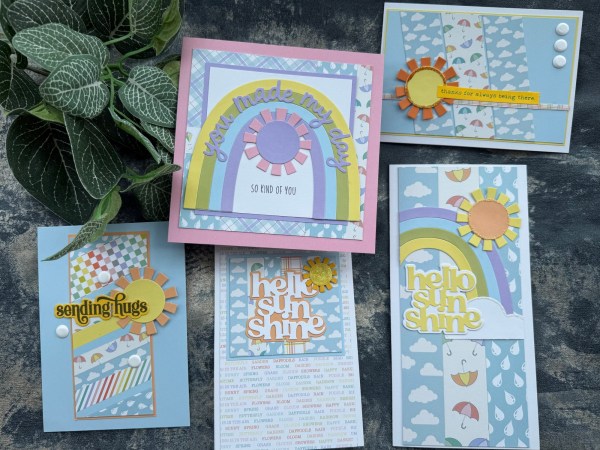
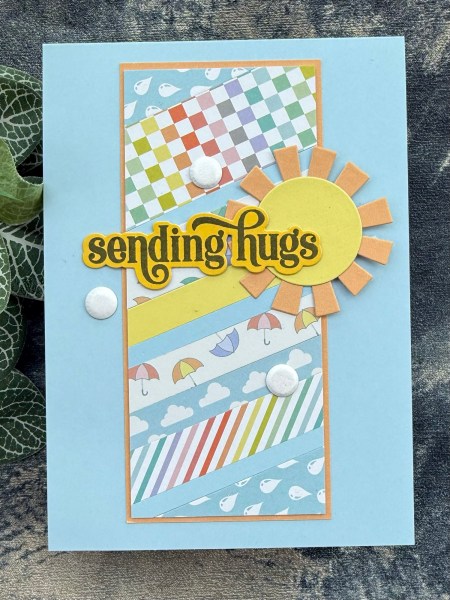
Earlier this month I shared a whole batch of cards I had made from the leftovers from the Making Cards magazine papers I had put into pouches for the patterned paper projects this past year. Well I have two cards left that I thought deserved their own post!

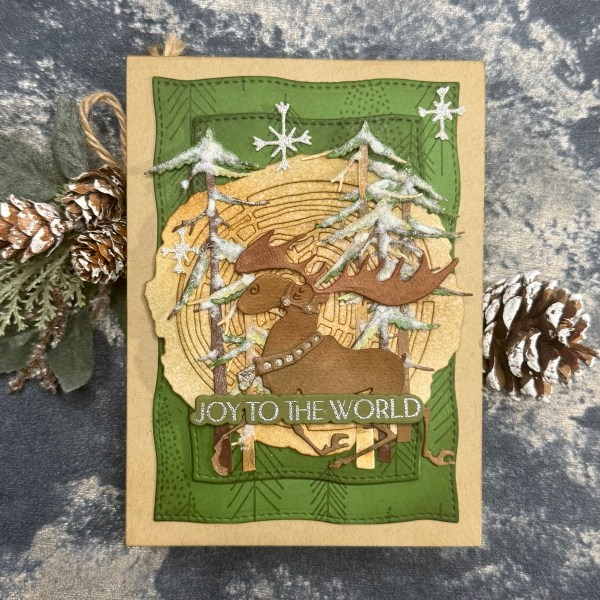
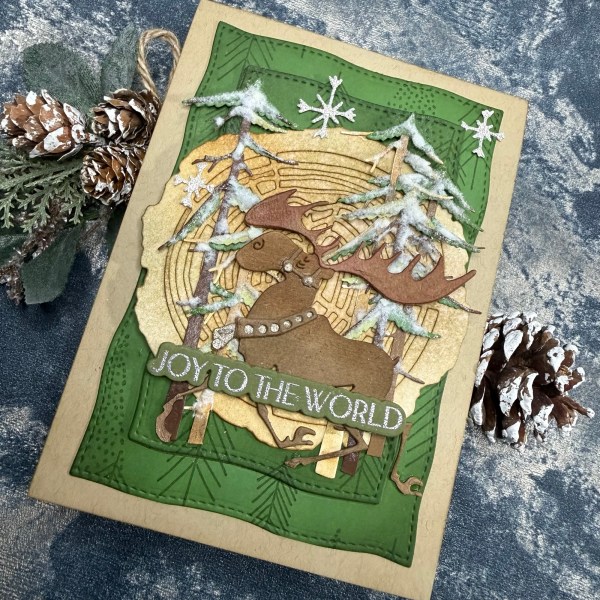
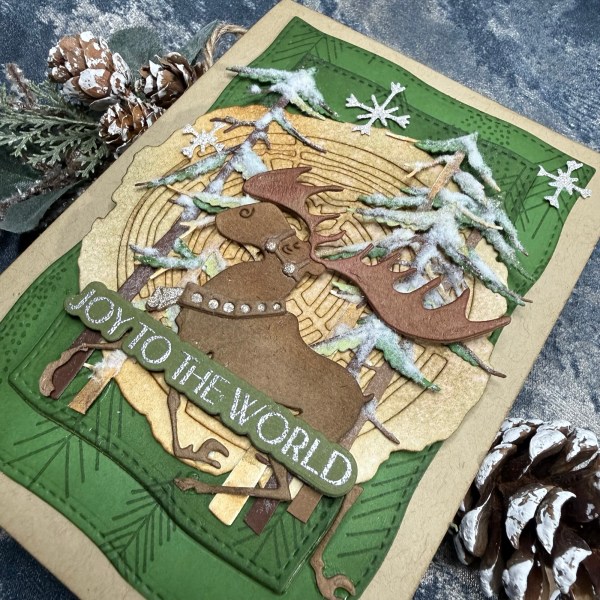
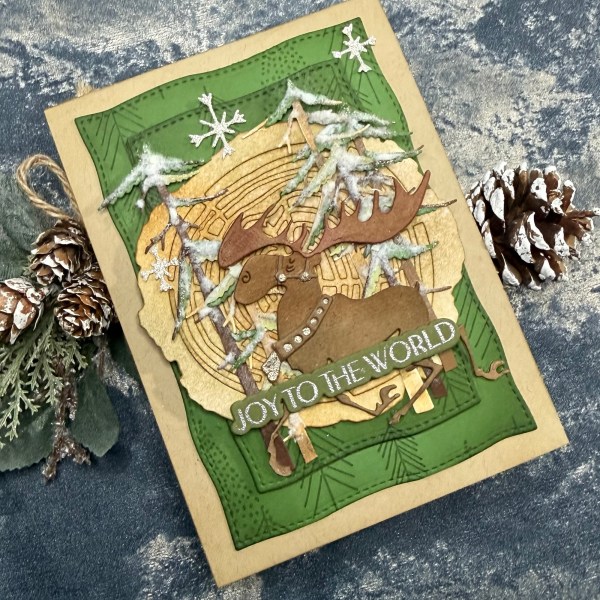
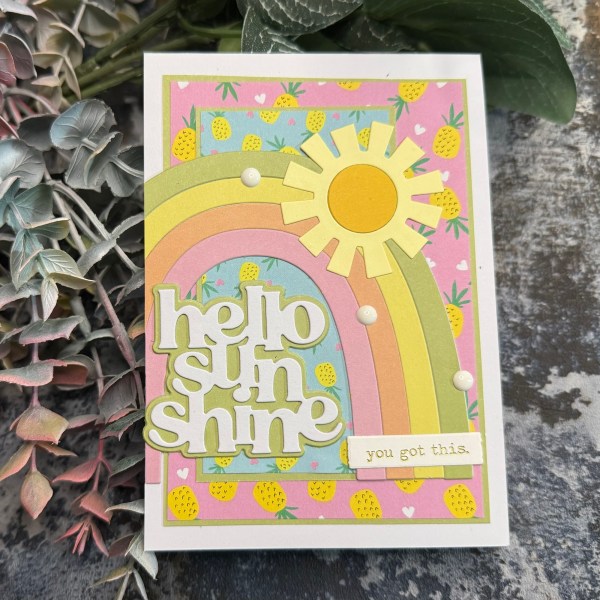
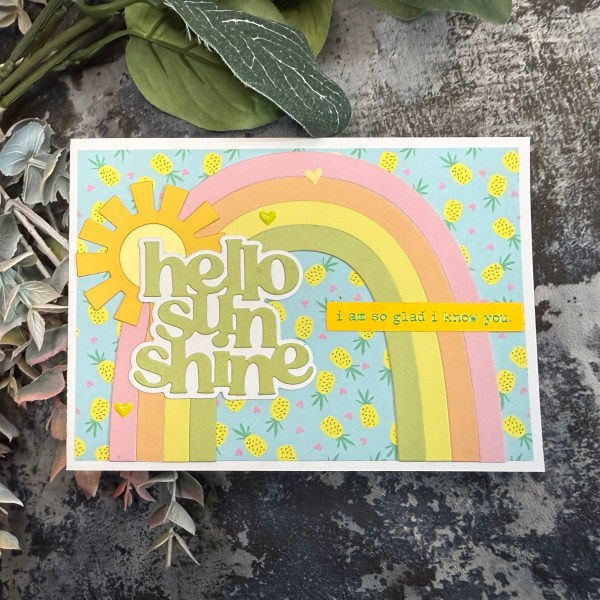
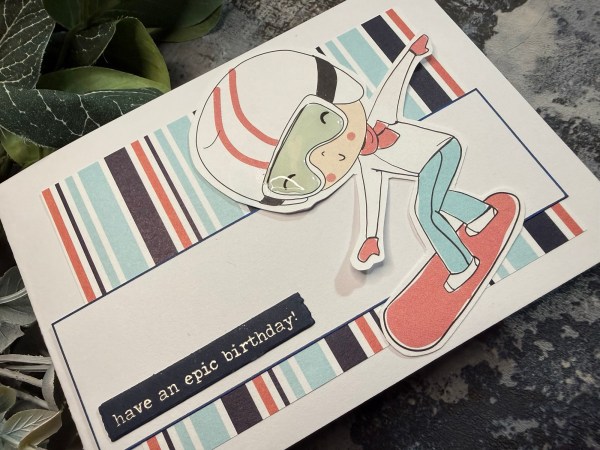
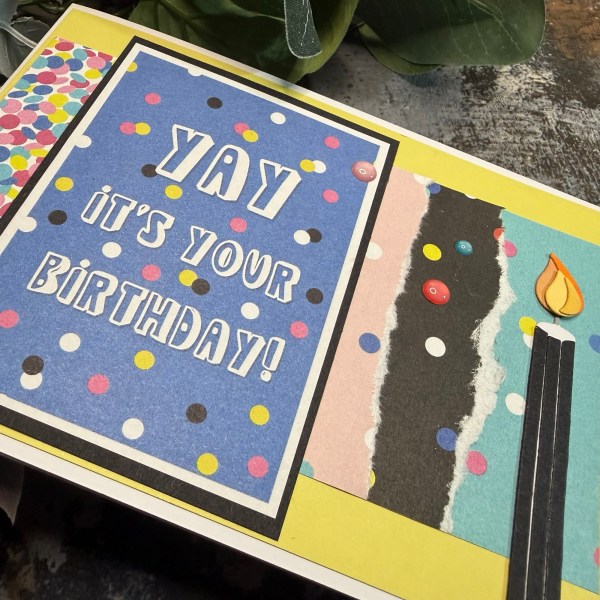
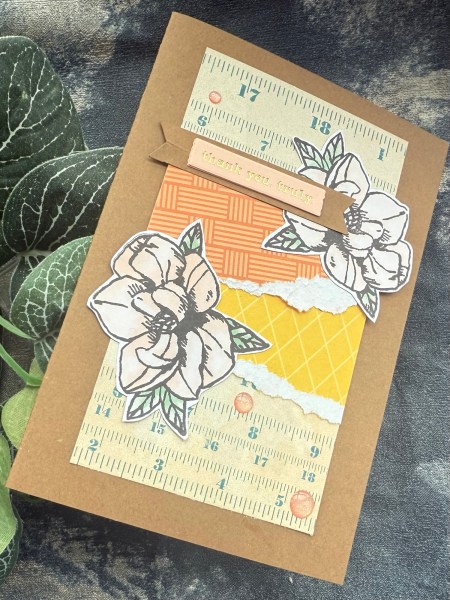
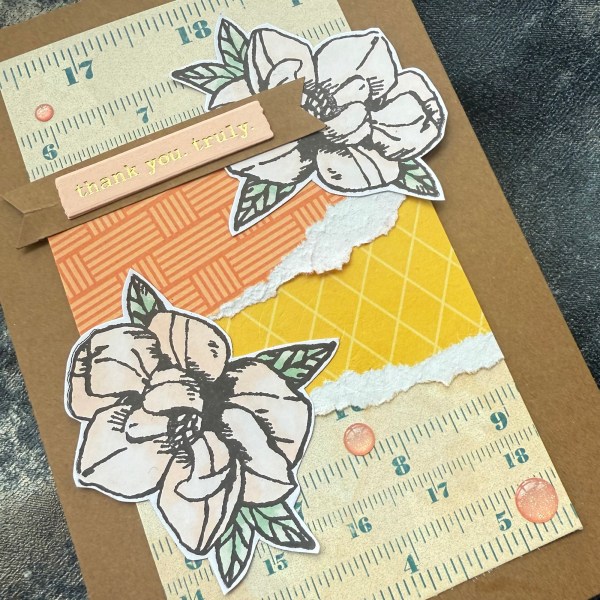
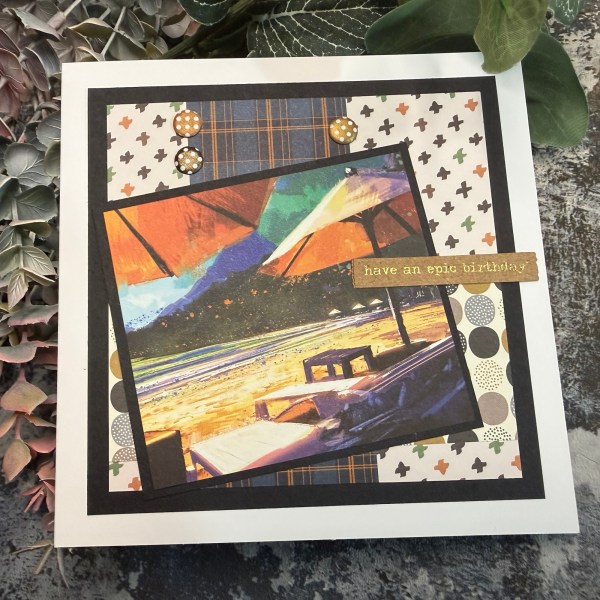
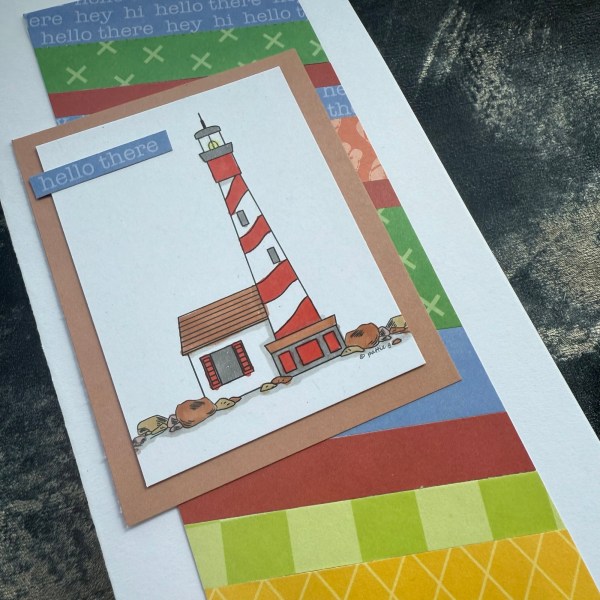
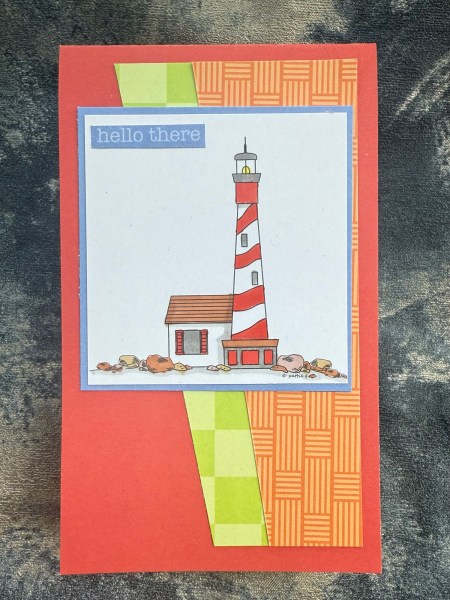
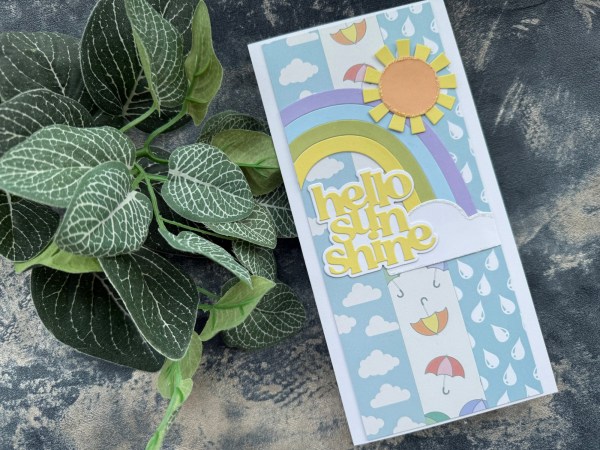
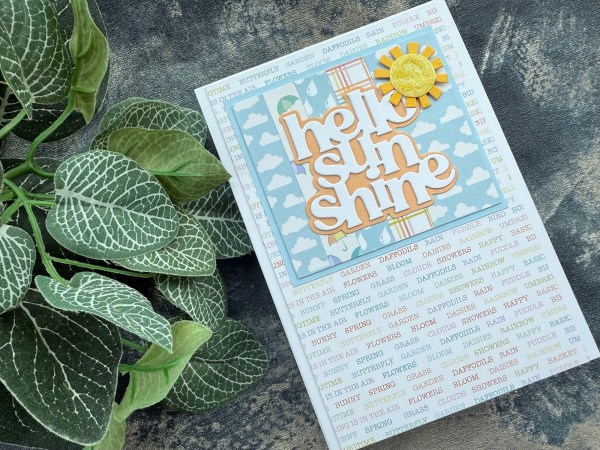
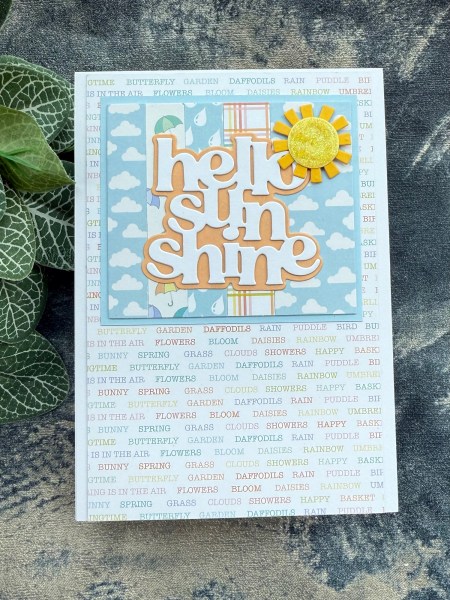
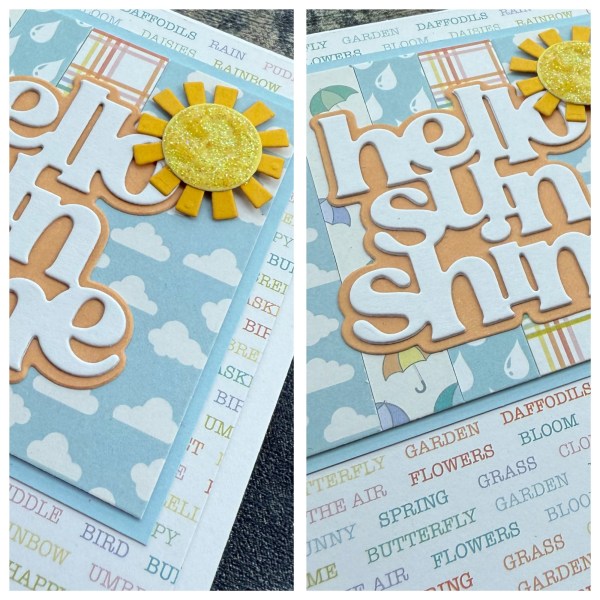
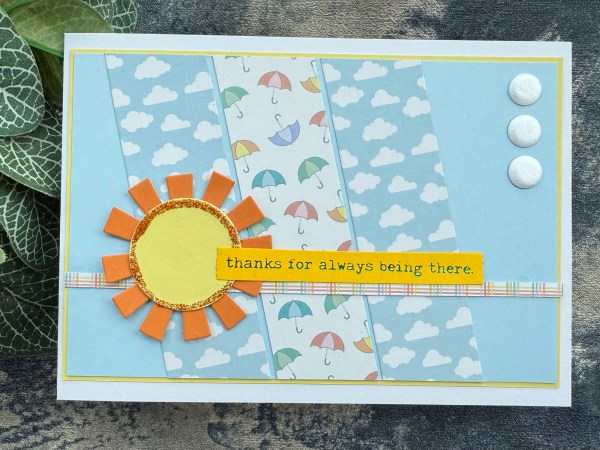
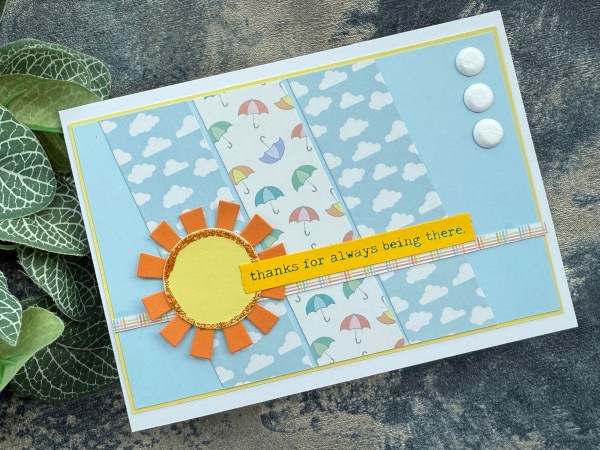
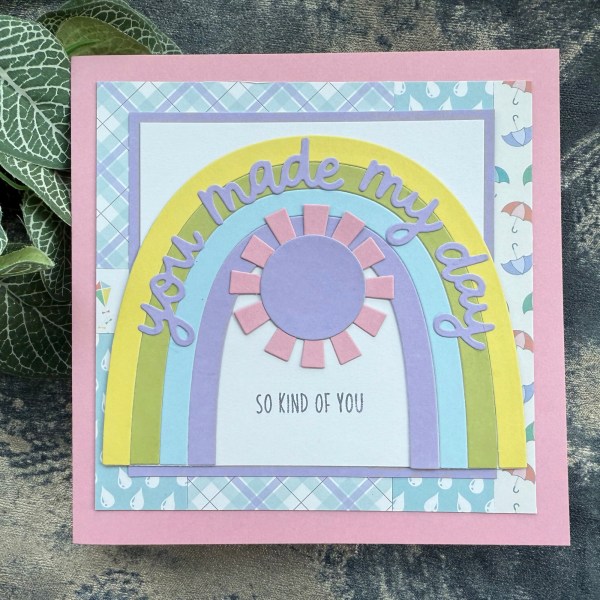
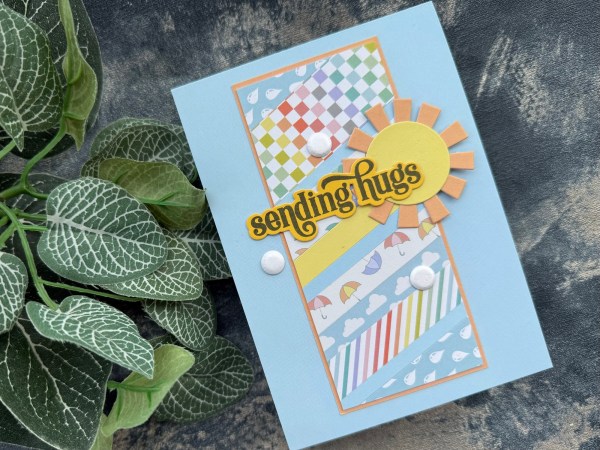
The paper is just the background in a square for these cards – and then I went to town with die cuts! Firstly the large sentiment die cut is a magazine one – for one I used the whole die cut – for the other I snipped off the sending as it hadn’t cut quite right!

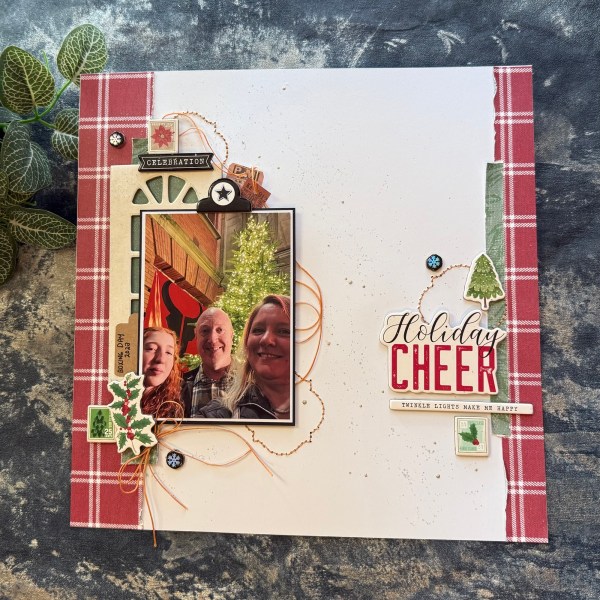
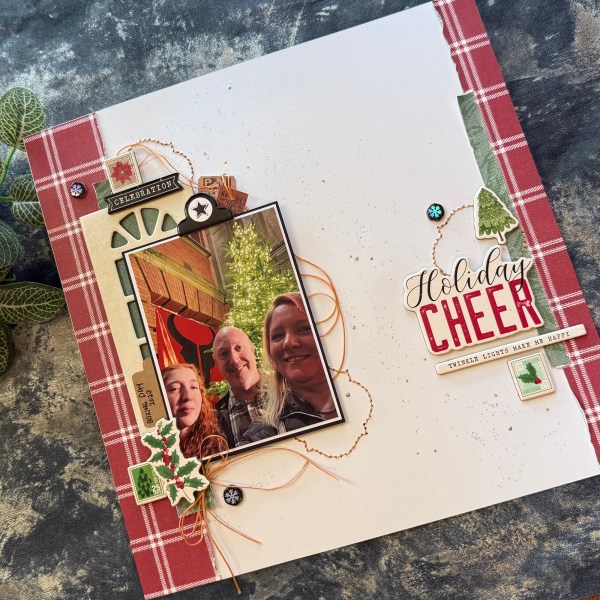
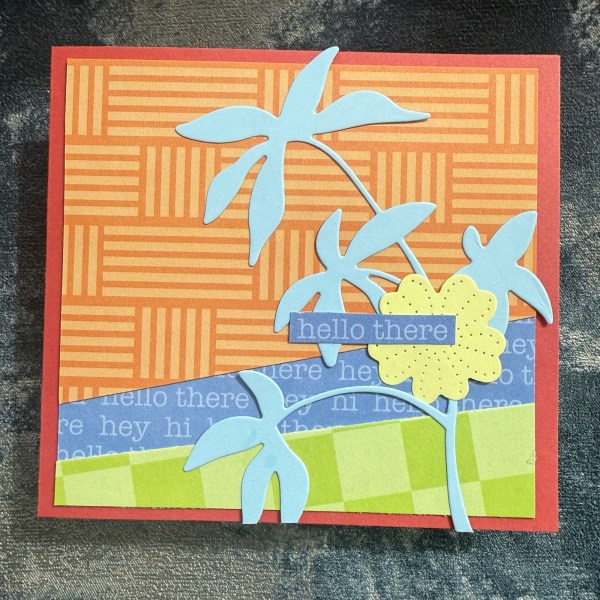
I used green card stock and a spellbinders die for the wreath and then the fabulous Alex Syberia dies for the floral and foliage elements – so so pretty!

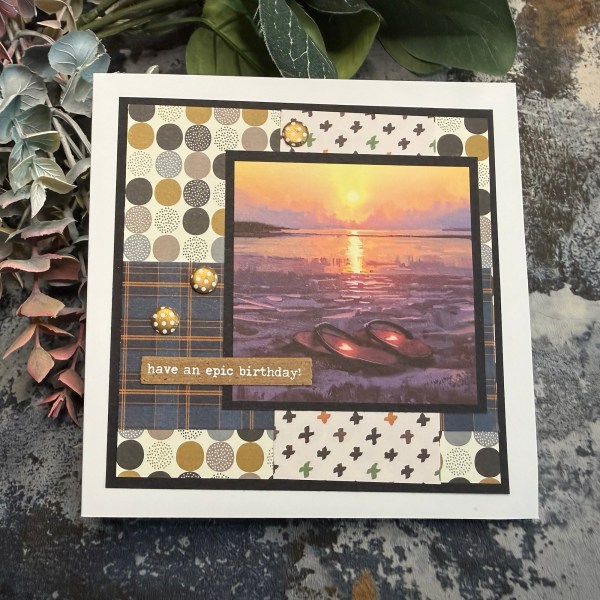
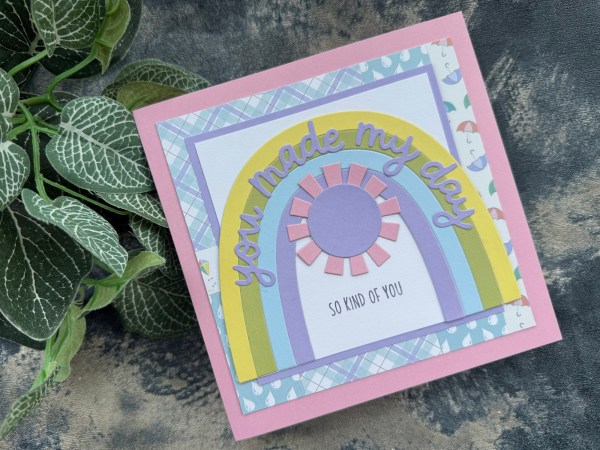
I changed the colours a little on the second one to add in the lilac.

I also teamed this with the darker blackberry bliss I had cut the main sentiment out of.

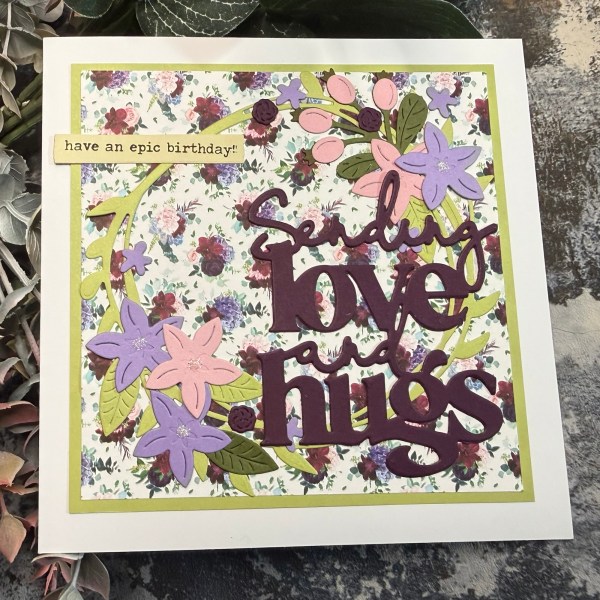
This time I also added in some smaller lilac flowers using the same spellbinders die set the wreath was in.

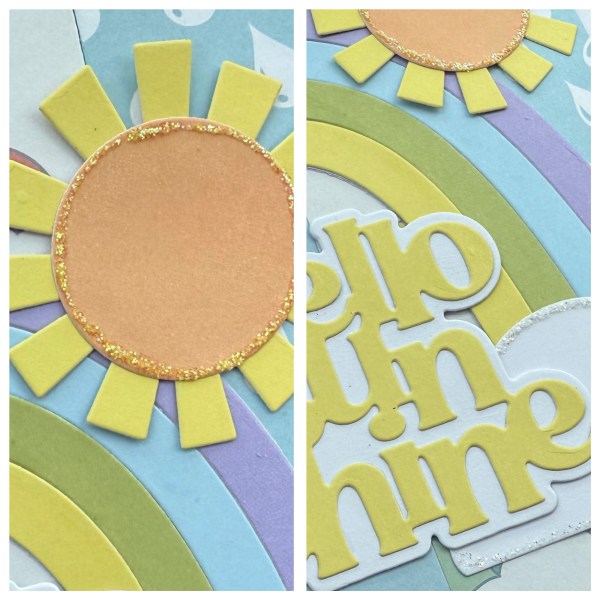
I finished off both cards with the foiled sentiment and glitter glue for the centre of the flowers.

Both panels I mounted onto green and then onto the 6×6 card blank.

Inside each card I just added one of the flowers! A cute addition to the inside.

I loved making these cards – those dies are just so adaptable to different themes of cards and I love mixing companies together to make unique cards.

And so that’s the end of the Making Cards magazine paper projects for this year! Such a lot of fun and some very different projects and styles!

Of course I still have so much patterned paper in the stash I suspect that the challenge will continue to use them up at least once a month … but you will have to wait till the 1st of the month to see what my plans for 2026 will be!

Thanks for joining me on my creative journey this past year!

Happy crafting!

Catherine

Christmas in December

For this months prompt over at the Facebook Group I went with Winter Wonderland but when I came to make my card I got very involved with fiddly die cuts and made this lovely textured card.

Really so happy with this!

I used the Merry Moose for the main focal point and all the fun snowy trees for my winter wonderland.

Glittery and flocked boughs on the trees really are so lovely and I love that moose so much!

I went for a stamped and inked and die cut background using Kingston Crafts background stamps that I know are now available on Hobbymaker even though they haven’t actually been properly launched on the shows yet.

I loved using those new to me wobbly rectangle dies too!

The sparkly and funky snowflakes from a different Tim Holtz die set work well with the main images too.

And that Altenew wood slice die cut is the perfect base for the scene.

Really love this card and how it came together. Video up on YouTube which is highly edited so you don’t have to watch me faffing around making it for the hour it took.

Have enjoyed doing these bonus little challenges for Christmas in July throughout the last few months so going to keep them going in the new year!

Happy crafting!

Catherine

Make it Masculine – music

Finishing off the 2025 Make it Masculine projects with this simple one – some scraps of green and white cardstock – some ink and embossing and fab silhouette stamps – and a simple but I think pretty cool card was made!

It’s pretty zingy with the Twisted citron and Peeled Paint inks and I love those funky jazzy musicians.

Definitely not the most challenging card I’ve made this series and it would be so easy to bulk make these in a range of colours – but I just went with the one card as I didn’t have huge amounts of energy for this and just wanted to get this one done before we head into the manic last few days leading into Christmas!

I’ve actually enjoyed making these masculine cards – although obviously I still prefer pretty florals, sparkly elements and feminine ribbons and bows – but it was a surprise to find that a few of the projects I made probably turned out to be some of my favourites this year!

So I am as yet undecided on whether to continue the challenge – maybe I will, maybe I won’t – let’s see what happens in January! But for now here is the complete playlist of the 2025 Make it Masculine projects.

Happy crafting!

Catherine

Tidying up the leftover pouches of patterned paper

I still had some pouches of leftover papers from the Making Cards magazine papers I had kitted up at the beginning of the year for the patterned paper projects – but don’t want to carry them through to the new year – so I had a big crafting session making with them!

Some papers I will admit went either to the bin or the concertina file I keep patterned paper scraps in. But the rest were used for a mish mash of projects!

Let’s start with these rainbow pineapple projects!

I used rainbows I made a while ago and then created the back panels from the pineapple papers.

I added the die cut sentiment and layer and the sun die cut – and then the foiled sentiments too!

So bright and cheery!

Next up is this card made using the boy image leftover …

I added a simple panel of white and the foiled sentiment. I also added the glossy accents to the mask on the boy to give it dimension and shine.

I raised the hands on the boy with foam adhesive too – it gives the image a feeling of movement.

But overall a simple card.

Next a card made from the confetti type papers and toppers.

I added some foiled cardstock layers and then the lawn Fawn cake image I stamped, stencilled and die cut. I then decided to fussy cut it rather than go with the white outline of the die cut.

I added some glitter glue to the candles – cute!

And finally …

Some torn scraps become a fun background with the card topper and a die cut candle to finish off!

I did make a few others from this stash … but decided one was a perfect design team project and the others were a lot of work and deserve a post all of their own!

Happy crafting!

Catherine

Scrappin Saturday

I actually videoed the process for today’s Scrappin Saturday so please feel free to check that out.

I used a page kit from Hey Little Magpie which I bought at the crop in November and decided to keep the layout pretty much the same but I did add in a little bit of difference! I did sewing, splatter and added some ephemera vintage tags.

Sarah designs lovely pages but this has too much white space for me to feel comfy with so hence sewing … I chose some fun label shapes to add and then I also added in the thread bow and trails from the tags I made … and of course shimmery splatter!

Hope you like this page. I certainly do!

Happy crafting!

Catherine

Festive Friday 2025 #50

Getting to the end of Festive Friday for this year and of course we are so close to Christmas now so I went for a load of tags for all the gift wrapping yet to be done! I really should start that!

And these were all done with random bits and pieces left in my Christmas box mainly leftover from the KCC19 I started in July. I had off cuts of cardstock and a few focal images and the. I just raided the stash of other items ready done and just waiting to be used!

I went back to my usual technique for using scraps and did some strip panels – in some cases full tags, in others that became the background.

I have a mixture of foiled or embossed and die cut sentiments and also some die cuts too!

I added some glitter glue to a few of them too which adds some fun – and I love how they all look together – a very random collection but with similar colour schemes!

All in all a fun job to put these together and helpful to have another little stash of tags to use as I now have to face the idea of gift wrapping!

Happy crafting!

Catherine

Playing with patterned paper scraps

Today’s card was using up some very different scraps of patterned paper.

The two bright papers were scraps from Kingston Crafts Everyday papers and then the ruler paper is some very old SU papers.

I grabbed two magnolia images I had in the pouch of already coloured images and added those along with the die cut sentiment with a banner underneath.

I added the panel to the brown card blank.

I finished off the card with the glittery gems that picked up on the peachy colours from the stamped image and the die cut and foiled sentiment.

Happy crafting!

Catherine

Using up Making Cards magazine papers

My challenge this year was to work through those Making Card magazine papers that I’ve had in the stash for ages … I had a few pouches left and decided not to take them into the new year … so here are two more simple cards using more landscape type arty card toppers and some masculine papers.

I teamed them with black layers and some card Candi.

I also chose foiled sentiments using the Dina Wakely press plates and dies to finish off.

I love the craft against the darker images and papers.

I also love the dotty card Candi which coordinate with that circular paper.

Quite simple cut and stick and layer type of cards but effective nonetheless!

Happy crafting!

Catherine

Scraps and digital stamps

I am back with another ‘tidy up and use up stash’ project – I found a pouch that had leftovers of scrap papers I had made design team projects from for Kingston Crafts mainly using either the summer collection or the everyday papers and decided to make use of them as best I could … from this four cards made!

Aren’t they bright and cheerful?

You will see two I went with the lighthouse digital image I had coloured on another occasion but never got around to using – and then that cute rocket image too!

I did a very slim strip of the patterned papers with the strips and then in the background two triangles leftover from a scrapbook page.

I then cut the Hello There out of the word paper.

I added glossy accents to the window for the rocket and then fussy cut it out along with those stars. So cute!

Kept with the strips technique for this one but a wider panel for the same DL shaped card.

I then moved to smaller format cards… these were using some of the larger panels of cardstock left over!

Just two pieces of the patterned papers with the angular cut!

I then mounted the image onto blue which I think pops against the red,

The smaller one really is small … so just room for a die cut leaf and flower!

Love these cute and bright cards! And once again happy another stash of scraps and leftovers has been put to good use!

Happy crafting!

Catherine

Spring slimline rainbow bonanza

This month will likely be about finishing off half finished projects, using up pouches of stash and trying to tidy things up for the forthcoming new year … today’s post is very much one of those!

I pulled out what was left over from the spring slimline cardstock I got a sample of for making my design team cards and enjoyed making these five cards using the fab Concord & 9th dies.

Let’s start with the DL shaped card …

This one I used three stripes of the paper to do the background to the die cuts. I then chose a rainbow I had made using the yellow, green, blue and lilac cardstock.

I cut a cloud shape and then also one of the suns from the set too.

Then I die cut the sentiment from the yellow with a white background die cut – I love a layered sentiment die!

I adhered it all together and then added glitter glue round the centre of the sun and the edge of the cloud.

Next up I carried on with the striped panel theme but this time just a small panel as a topper on a different background.

This time I chose the sentiment to be more of a focal point with white words and the peachy orange background.

I added the smaller sun as the die cut element and added glitter glue to the central part so it is super sparkly!

Next I used the strips of the cardstock to create a fun angled background panel.

This, along with the panels of the pastel cardstock from Kingston Crafts created a lovely base for the sun die cut.

I added glitter glue around the outside of the circle part of the sun and then grabbed the glimmer foiled sentiment. I also added the cute card candi to finish off!

Ok next up the square you made my day card…

This time lots of leftovers of the paper glued onto a square panel and then I created the square in the middle and added the gorgeous rainbow.

I added the die cut words which are from the same set using the negative die cut to position them.

I then added the funky pink and lilac sun to go with the colours on the card and stamped the little sentiment from another Concord & 9th set.

Lastly the left over strips from the kit – my usual technique of just creating stripes across a panel – this time adding in the blue and yellow stripes too – then added the fun die cut sun and the Altenew stamped and die cut sentiment with the card candi to finish off!

It was also fun to do this onto the blue card base too not a white one – inside I added a white panel for writing on along with another leftover strip of the patterned paper.

It was fun to do these rainbows in pastel colours rather than brights – and very cute to team with the spring slimline papers too I think! I still have a few ready made up rainbows too so they are left in the pouch ready for next time I fancy going rainbow! 🌈

I have only got a bit of the slimline papers left now which makes me a little sad – but know there are similar colours in the Hello Life EDS set so may have to pull them out to play with soon 😀 – but also happy as one of the main aims of this batch of cards was to get stash used up and this is one pouch of supplies that is almost finished – and that makes me feel good!

Happy crafting!

Catherine