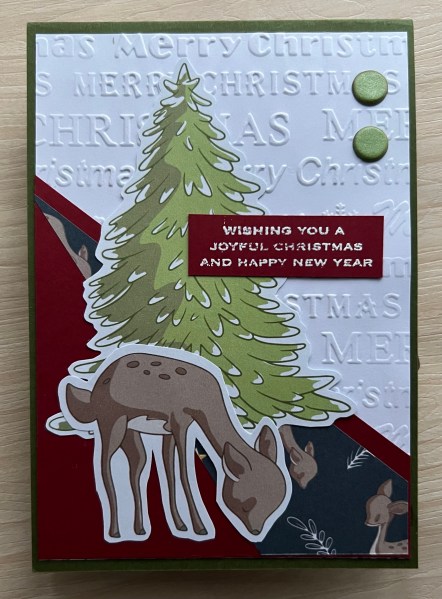
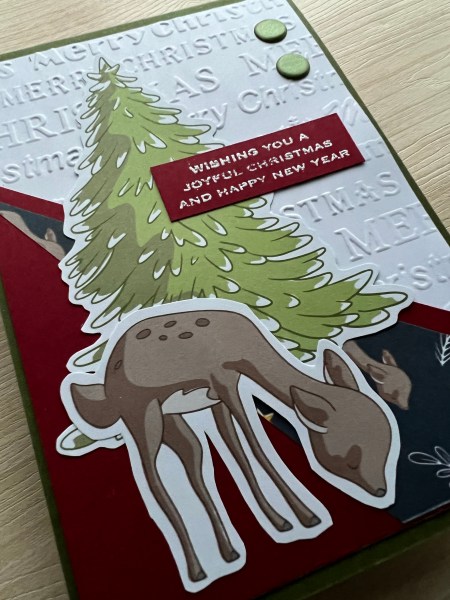
Had a few days away in York so no crafting was done … but back again now so carrying on with the Christmas in July projects… today another of those sheet load of cards leftover cards for you … this time kept it simple with the added fussy cut sentiment and the reindeer as the main focal elements but also added in some cute shimmery sparkle with the little banner and the stars.
It did make me wonder why I don’t add little banners more often as they look so cute!
Hello … a small interlude from all the Christmas themed blogs … although clearly I could have made these a little Christmassy with the star theme…. But I didn’t!
I made my inchies for the uk stampers forum and I thought it would be odd to do Christmas in July for that!
So I made an inky background with oxides and then stamped the star randomly before adding the packaging inchies to the background and cutting them out.
I then added a stamped word using little alpha stamps. I decided to emboss them and turn them into little tiles but I added the little silver stars first which then I had to be really careful with as the heat warped them slightly!
So these are this months inchies … slightly but not really Christmas during my Christmas in July season … but hey another blog post coming soon!
Also this is another of those Craft Stamper stamps that I’ve had a try of and decided it stays and I think that star will definitely come in handy again in future!
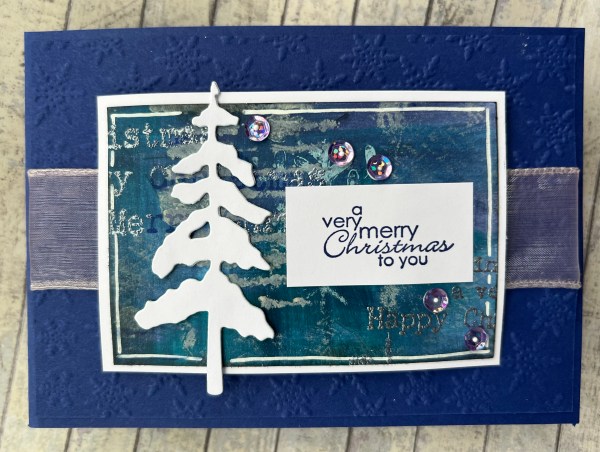
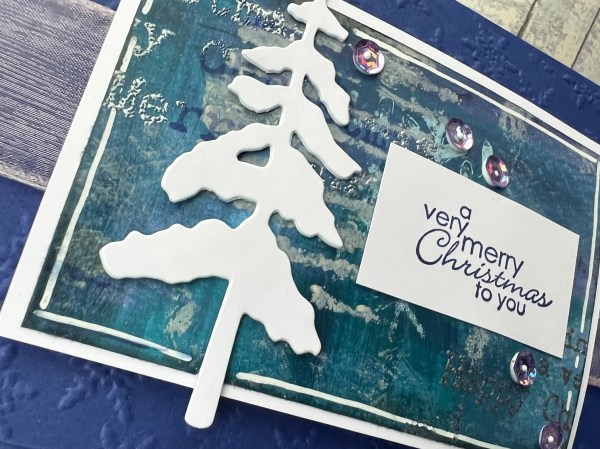
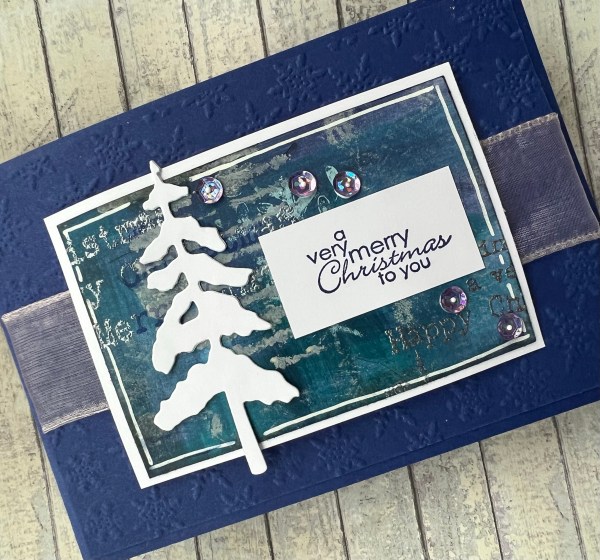
Final piece of that painty background I made back in May and finally got round to using the last bit of it for this card. This time it was only a small panel not a bigger one but I think it worked well against the embossed coloured cardstock with the white die cut.
I added some sheer ribbon for texture against the embossed panel and then raised the background piece up on some foam so it is quite dimensional. Then I stacked three die cuts together and this created a nice focal element. I added the sentiment and then the sequins to finish but I have to say it was a simple card to pull together as all the work of creating the background had been done in advance.
Oh just realised I also did the white posca pen outlines too which worked with bringing the white mat layer and the white tree together.
Todays project is a mish mash of two previously prepped projects!
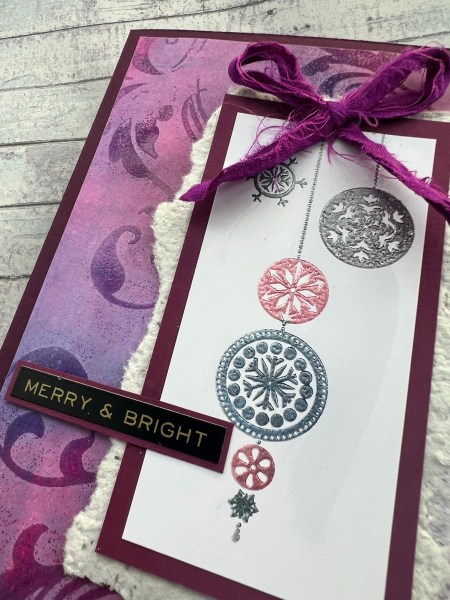
The background I had made ages ago and kept it in the pouch of ‘to be used’ backgrounds. It’s a trapped ink under embossing technique with beautiful pinks and purples.
The topper with the embossed baubles I made a few months ago as part of playing with some old stamps and again just set it aside to use on another day.
Well I decided they were perfect together with the dark purple cardstock and that lovely handmade paper I had been gifted!
I grabbed a scrap of sari silk for the bow and then a Tim Holtz sentiment sticker for the finishing touch!
Very elegant and luxury looking card… but simple because all the hard work was done months ago making a background I could just grab and get going with!
After yesterdays fail (ok it wasn’t a fail but it was a card I didn’t love) I decided to challenge myself to use another of the already prepped sheet load of cards layouts and see if I could do something I was happier with … and I did!
Maybe it is the smaller amount of the patterned paper or that fab embossed panel but whatever it is I love this card so much more than the one I made yesterday!
Maybe it is the amount of white that I love more … or just it is a card I feel more is my style than the last one? Who knows?
Warning! This is not one of my favourite cards I’ve made so far this Christmas in adult season but I wanted to share it regardless. Once again I’m using the papers from a failed sheet load of cards I had set aside waiting to get used and this time I added the fussy cut tree from the magazine on the top and lots of gems.
In fairness the gems I added to try and detract from the fact I wasn’t loving the card but hey ho! I have no idea why this one just didn’t work for me but I also know it’s a perfectly acceptable card regardless hence it didn’t go in the bin and I am still showing you what I did.
I added the little embossed sentiment and made the card blank smaller to fit the topper.
What do you think?
Well it’s a card made and I never set out to make all perfect cards for this years Christmas in July season! So it’s going in the basket of completed cards to use!
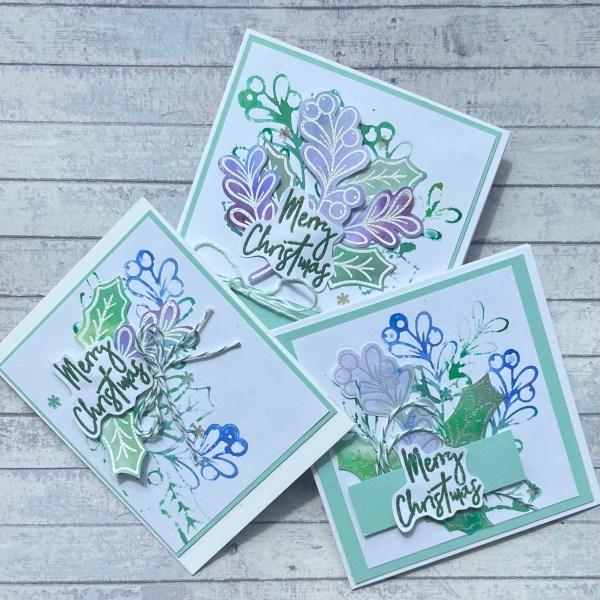
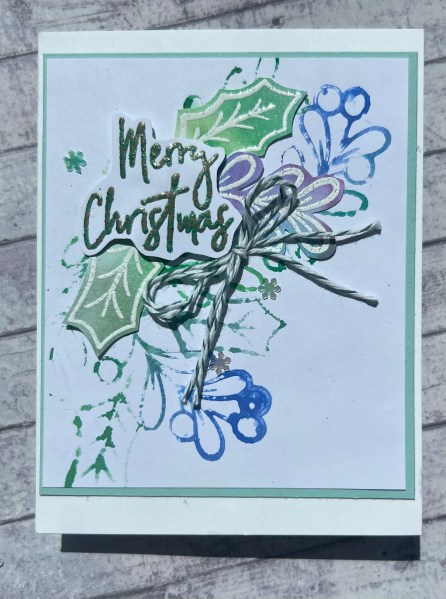
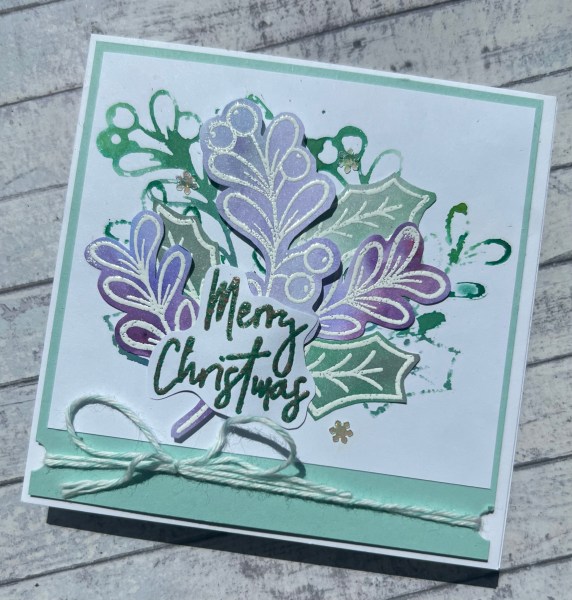
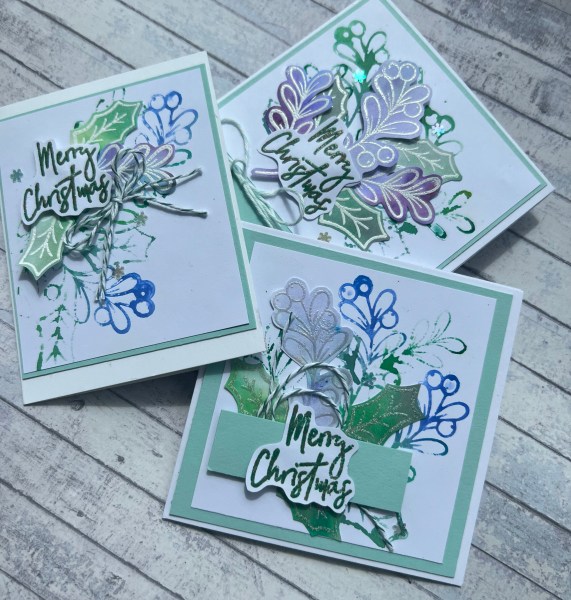
Todays post has three cards made using brushos to stamp with and then wiping up the brushos ink to make a great card to emboss on and cut out the elements. They are also three small cards as I like to make a mix of shapes and sizes for my Christmas cards.
For these I used an old but still favourite Creative Stamping magazine set of stamps … they are modern and fresh looking and I love using them for something a bit different.
I started by sprinkling the brushos in ultramarine and emerald green onto my glass mat and then added some water I then stamped into the puddle of ink as if it was an ink pad… this creates the fluid looking stamping with pools of colour and some imperfect stamping. I love this. I also love that the brusho inks already create variation in colour for the image.
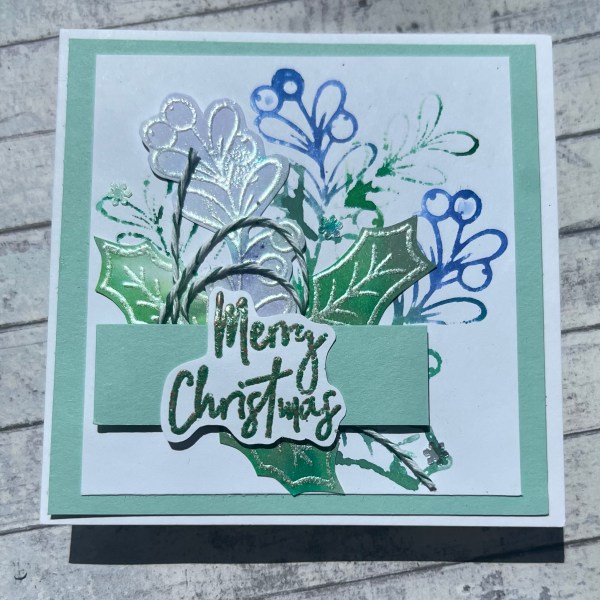
Once I had the background clusters stamped I wiped up the leftover ink with some scraps of white cardstock and then let those dry. Once dry I heat embossed some of the images and fussy cut them out. Some I used white heat embossing but the card above shows those I did pearlescent embossing.
Each of the panels I mounted onto the soft sea foam cardstock and then chose different ways to put the small card together but for each I did the same sentiment which I heat embossed using the Seth Apter Baked textures powder which has metallic elements in the green.
This final one I actually added a little of the purple brusho to the ultramarine in error … but turned out to be a great idea and worked well with the white embossing.
Love how sweet these cards ended up being and this splotchy but fun technique.
This card was made like the one I shared yesterday from an old Making Cards magazine image and some of the paper leftover from another magazine kit. I actually found three of these images in the stash and decided it was good to get them used … so will share the final card on another day when I need something preprepared!
I kept it fairly simple with two panels of the paper cut at angles and the cute Soft Sea Foam cardstock as the base. Then the focal image, a Tim Holtz sticker sentiment and some twine for interest and texture.
Hello there … thought I would start this post with a happy birthday … to me! Yup today is my birthday so unlikely to be crafting today as spending the day with my family. But I did get prepped and so wrote the last weekend when I made this card using old Making Card magazine image and other magazine kit papers.
I kept it quite simple but big in size with an embossed panel and some ribbon for texture and then the image with the paper and some cardstock for mounting.
I used Tim Holtz sticker sentiments and then gems to embellish. Simple but super cute!
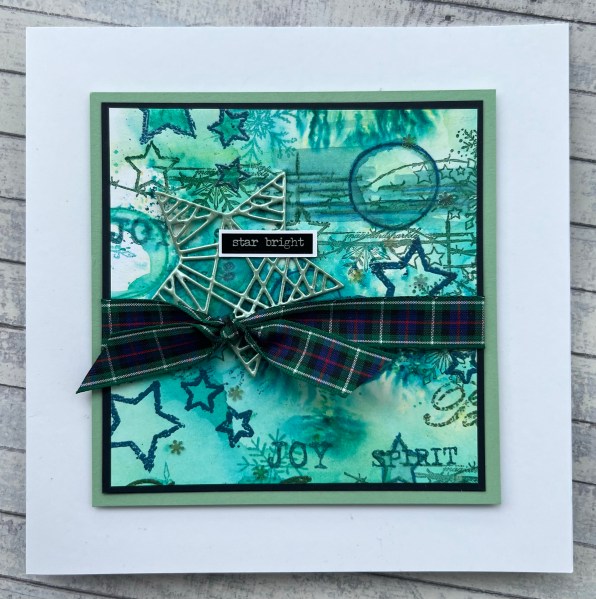
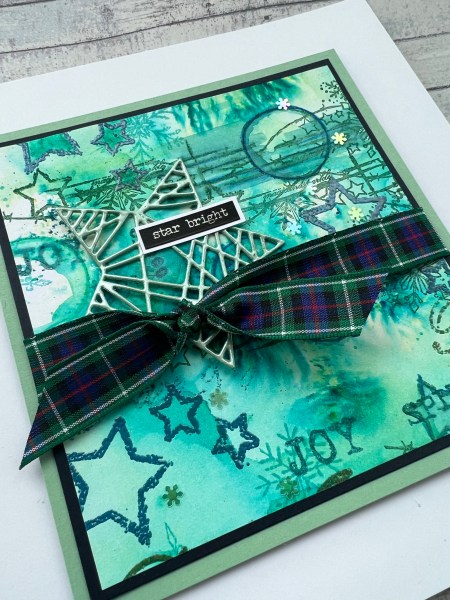
Last weekend I made a masterboard playing with brushos and a set of Indigo Blu stamps I got in a magazine kit. I added some additional colouring with the inktense and some texture with embossing powders too.
Then I cut it up into different sized pieces to make into cards… I only got round to making two so far but the others will no doubt follow!
This is the first one and the biggest piece of the background…
I decided to add this lovely tartan ribbon and then one of the fancy stars from the Trimmings and Tidings set … I die cut this from the soft sea foam cardstock twice and then embossed it with a pearl embossing powder so it’s a really pretty embellishment.
I added the sentiment sticker from Tim Holtz and then added the little iridescent snowflake embellishments across the card.
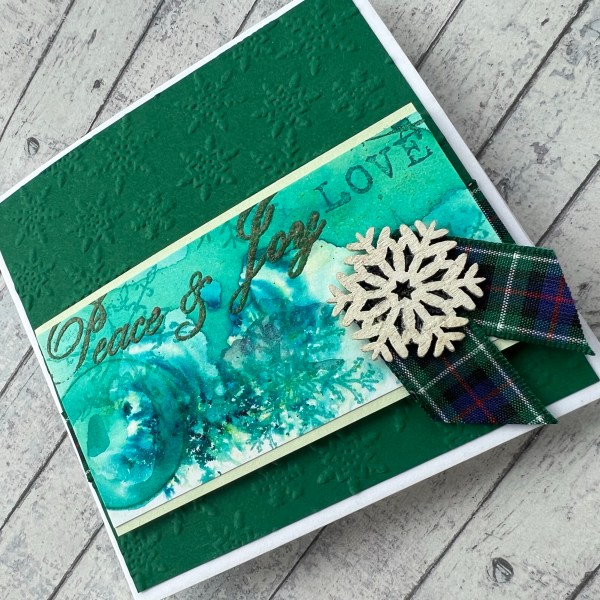
The next card used the smallest piece of the masterboard.
This I turned into a panel on a 4×4 card with a piece of the dark green cardstock which I embossed with a snowflake embossing folder. I again added the tartan ribbon but only a little bit on the front and the rest wrapped at the back but most of it ended up being covered so not really visible.
I also added a sparkly wooden embellishment from the stash that I think I was gifted in a swap.
Decided against added another sentiment as the panel had the embossed Peace & Joy so it worked well as a sentiment already.
So I have two pieces left to play with … might get to them before the month is out … let’s wait and see! I am already wondering if my Christmas in July energy is running out or whether I can keep going for the full month! Again let’s wait and see!