Happy birthday to my princess

My gorgeous girl turned 17 today … still can’t believe she’s reached this age already and that I’m old enough to have a 17 year old!

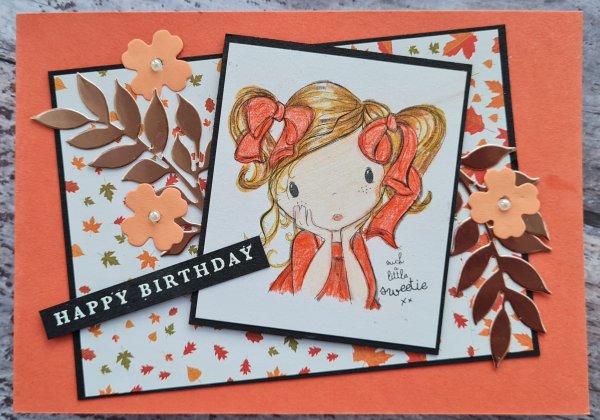
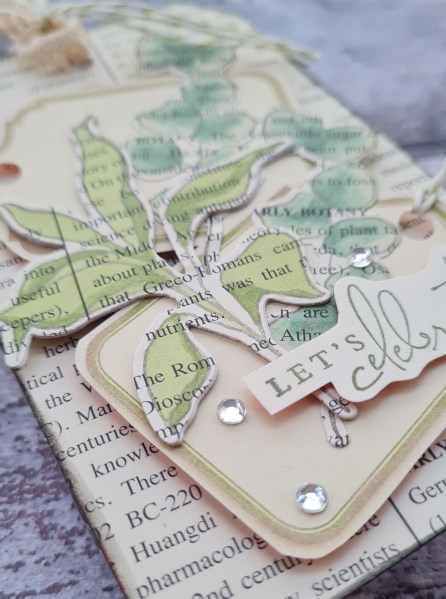
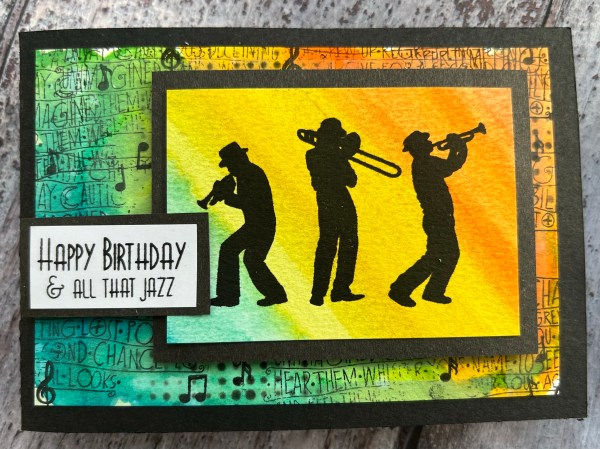
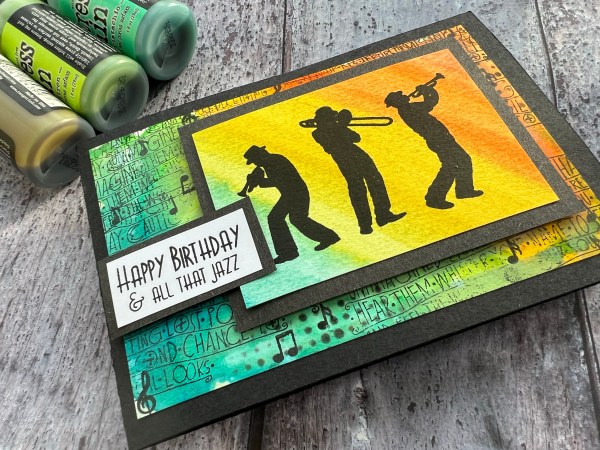
I made a fashion and green themed card for her.

It’s certainly a little different than my usual style with these fun fashion sketches but I thought it would be suitable for my fashion and textiles loving girl!

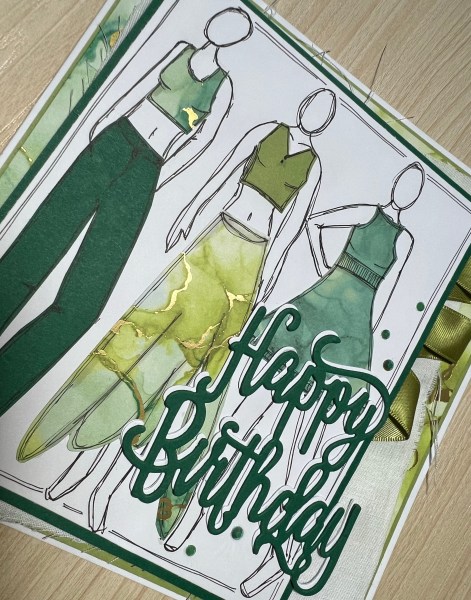
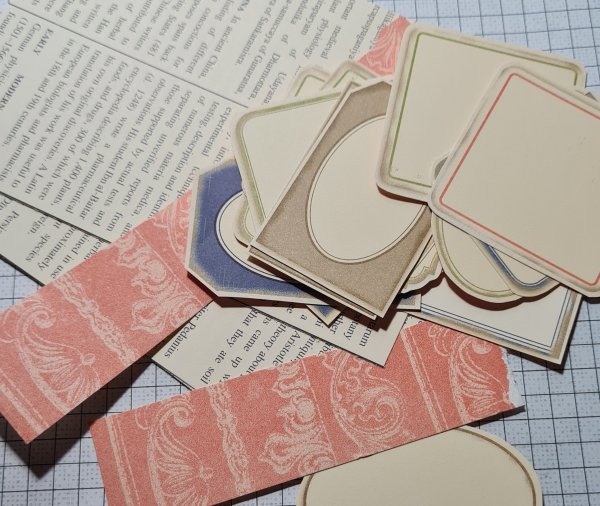
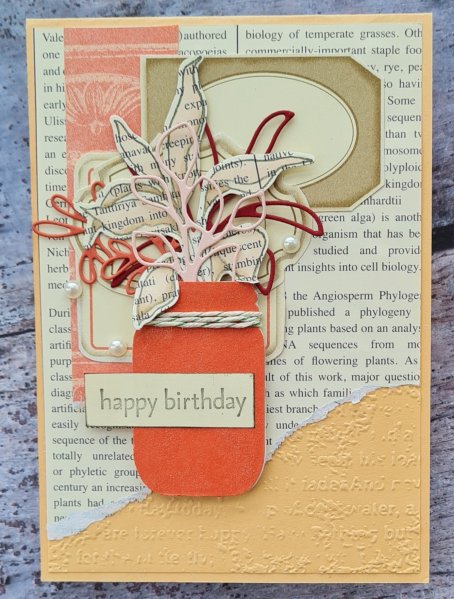
I used the Expressions in Ink dsp and some little templates from a little booklet I’ve had for ages. Then I made it up! I added in some cotton fabric and a bit of old olive ribbon.

I was going to add sewing but in the end I decided against it.

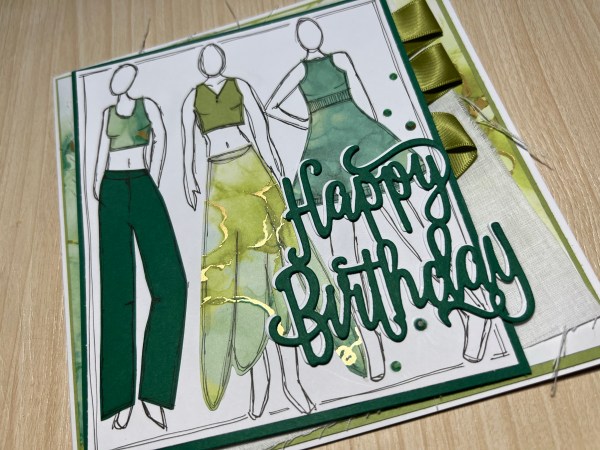
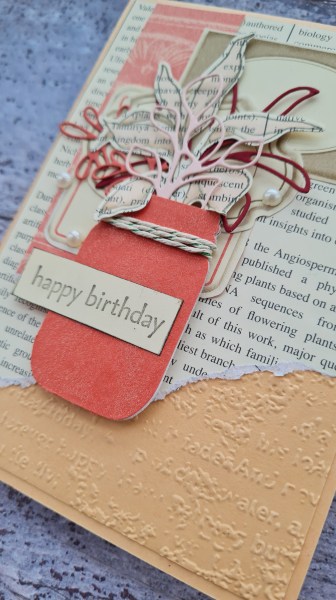
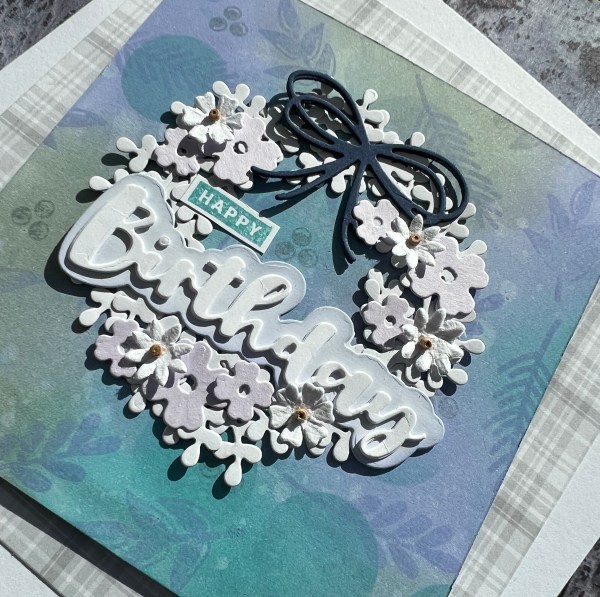
I added the happy birthday sentiment die stacking the green twice and then the white twice with the white slightly offset so it was a little like a shadow.

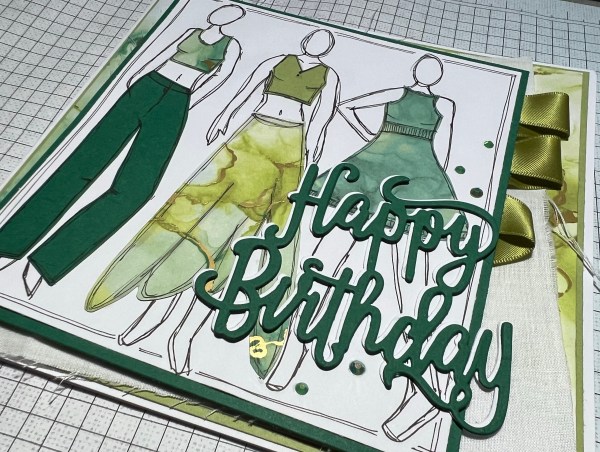
I finished off with a few gems. I considered adding Mayas name in gold or the word daughter but in the end decided that it would be too much for the already busy card.

I did video making the card so if you fancy watching me make it check it out on YouTube.

Happy crafting!

Catherine

Playing with bits off the desk

Today I managed to have some craft time and decided to put together a card with some of the random bits on the desk …

I used some of the bright yellow cardstock I had in the folder of card already cut into and then started layering up bits … like the die cut panel (Honey Doo Crafts) and the bits of patterned paper I got in the stash.

Next I added the sentiment from Biggest Wish stamp set (I don’t think I will ever get tired of this set!) and mounted that on a piece of red scrap.

Happy crafting!

Catherine

DT: Happy Little Stampers Anything goes with dies

Hello! I’m so pleased my Happy Little Stampers challenge blogs are back after our little break. This time it is the turn of the Anything Goes with Dies challenge and I have the Mother’s Day card I made for my Mum … so shhhh… don’t tell her you’ve already seen it! Lol!

I used a few different dies… Playful Alphabets, stitched circles and some Splendid stems … and used lots of old dsp and some gorgeous flowers stamps from Creative Stamping magazine. A bit of a hodgepodge if I am honest but I love it!

I also did a bit of hand sewing and added charms and pearls. Just love how it all came together from my stash.

Hope you like this … of course please leave me a message below and then come and join in over at Happy Little Stampers.

Happy crafting!

Catherine

Craft Stamper magazine sort out

I’m still going with my craft stamper magazine stamps sort out and today I have an Easter card I made using the cute Hares stamp … which I will say straight away has gone straight into the keep pile.

To be honest I knew as sure as I saw the stamp in the box that I was keeping it as it’s such a cute image plus the silhouette style is perfect to stop it being too cute!

I inked up an acrylic block and spritzed with water to make the background that was perfect for then stamping the image onto.

Then it was a case of finding the right background paper to play with and make up the card. I ended up going with the Art By Marlene collage paper and some black for contrast.

I added the sentiment from the Arrange a Wreath set and then some pink gems and a green gingham ribbon for embellishment.

Simple and sweet. Love it.

Happy crafting!

Catherine

DT: Happy Little Stampers Anything Goes Birthday challenge

Hello all!

After a few months of holiday from the challenge Happy Little Stampers is back and so here I am with a design team contribution. This is for the Anything Goes Birthday challenge.

I’m trying my hardest this year to not get new stash and to use more of what I already own… so this time I raided the pouch that has already printed and in some cases like this, already coloured digital images.

I also grabbed patterned paper from the stash and decided to make an admittedly autumnal looking card using the beautiful All Dressed Up image and the leaves paper.

Then to make it special I added the rose gold die cut leaves, the pretty peach die cut flowers and the pearls for the centre.

I then embossed the sentiment onto the black which coordinates with the black mats for the image and paper.

So quite quick to put together as the image was already coloured. Pleased I thought to dig into the printed digital stamps folder for this.

Happy crafting!

Catherine

UK stampers forum tag swap

Hello! Today I have a tag I made using the bits and pieces still on my desk from the patterned paper playtime blog post from the 1st. I often do this … make stuff from the stash left on my desk as I am rubbish at keeping tidy and hate to put things in the bin if I think I can get a little more use out of them.

So as I had the dictionary print paper there I started by covering a piece of sturdy card in the paper at a slight angle and then cut out the tag shape. I then chose two of the labels that were tag shaped, punched a hole and threaded some twine through. I raised these on foam and added them as background to the main images.

I then stamped and coloured using the stampin blends three of the leaf images from Splendid Thoughts and die cut them out. The bigger of the leaves I also die cut from cardstock to stack it and give it some strength as this paper is quite thin.

I stuck them down and then chose a sentiment and fussy cut that.again I added some dimension underneath to raise it up. Finished by inking the edge of the tag and some lovely silver gems.

Of course because it is a tag I also added some lace trim to the top with more of the twine that has a green running through.

Love how this all worked together. So pretty.

Happy crafting!

Catherine

Patterned paper play

How is it the beginning of March already? Wow this year is going so fast already.

So as its the first of the month it is time for my playtime with patterned paper.

Those of you who have popped by my blog for this before will know I got myself super organised last year, chose some 12×12 dsp and got fussy cutting and popped all the bits into a pouch so I could be ready to go with the starting point of a card! This time it’s an odd one as the dsp I cut up had lots of these labels on one side and the coral pattern on the other and I teamed it with some dictionary type print paper too.

So I grabbed some Pale Papaya cardstock and made up a card blank and used another piece to add texture then started layering up a few of the labels, a strip of the coral and the book paper.

This gave a nice spot for a focal feature to be added and I decided on a jar full of splendid Stems!

I did punch the jar a few times to give it some dimension and covered the top layer in wink of Stella so it’s very shimmery!

Inside the jar I added the die cut Stems and one of the stamped images which I stamped and coloured onto the bookprint which I think looks fabulous!

I finished off with a simple sentiment from For my Family and some pearl gems and a bit of twine wrapped round the jar.

Love how this finished up. A lovely mix of modern and vintage I think!

Happy crafting!

Catherine

Jazzy distress stains

Todays project was made a couple of weeks ago when I had some playtime with distress stains and videoed it for my You Tube channel.

The play didn’t exactly go to plan mainly because I think my stains are so old that I think they are past their best… certainly the foam tops had started to disintegrate and the ink inside the bottles was a little gloopy … but I persevered and made a rainbow funky background and used some fabulous silhouette stamps for the main focal image.

I love how this looks with the very busy background and the bold silhouette images.

Think it makes a very cool card … full of drama!

I used a strip of the leftover cut off inside the card to finish off.

Happy crafting!

Catherine

Busy weekend … grabbing a few mins here and there

So this weekend has been busy … working! Yes I had a day off work on Friday but because of being poorly the week before I had so much to catch up on so I chose to work this weekend. Not full days but a few hours each day to get caught up a little on what I had missed with being ill.

But I did manage to do a bit of crafting too and made this card.

It was made in stages usually in 10 minute sessions and in some cases grabbing hits already die cut etc to build it up.

It started with the background I had actually started on Thursday using distress oxides and the Peace and Joy stamps.

I then chose to add some wreaths to it but to make it into a pretty birthday card rather than a Christmas card.

I die cut two wreathes from white and offset them to fill out the foliage a little. Then I chose flowers that had already been die cut from scraps and some embellishment flowers too.

I used the sentiment die cuts I had done whilst poorly and stacked them up for dimension. I inked the shadow layer as wanted it to blend but also give some definition between the word and the background.

I chose a die cut bow from another set of scrap die cuts I had. Again I stacked this for dimension.

I added the little Happy stamp from the Peace and Joy and then raised the whole panel up on foam before adding it to the patterned paper (leftover from making James’ card I shared on my blog on Friday).

Perfect for a 7×7 spring coloured card.

Happy crafting!

Catherine

Happy birthday James

Hubby and I have had a restful day off work together today which has been fab … and then we are off to the cinema with M tonight to watch Antman which I am excited to see. So I am glad I am late in posting the card I made for my cousins son, James. (To be fair I was also late in physically posting it to him too …. But then again Auntie C is always late in posting cards … my theory is I am just extending the birthday!).

I used some very old patterned paper I’ve had in the stash for years and years as the base and the letters and paired it with the red cardstock to make a simple but funky card for a teenager!

Given male themed cards and teenager cards are not my go to make I am pleased with this one … I used a stack of paper from DCWV which has some encapsulated glitter but isn’t overly sparkly. It also has alphabets as the theme so grabbed the large J and then the rest of the letters from another piece and this created the focal point of his name. I then built up around that with punched circles and card candi.

I added the sentiment embossed from Paperartsy and pretty much left it at that… layered pieces of paper and cardstock!

There is some dimension with the j and the birthday sentiment raised and then the whole background raised off the card blank too.

Inside the card I added some scraps of paper, another punched circle and another embossed sentiment (I couldn’t work out whether to go with black or white on the front so did both!)

Really love how this came together… funky but also super simple really!

Happy crafting!

Catherine