Hello & welcome to my little bit of the internet! Time for another Addicted to Stamps and More challenge and this time I went for stamping and colouring as our theme is Make your Mark!
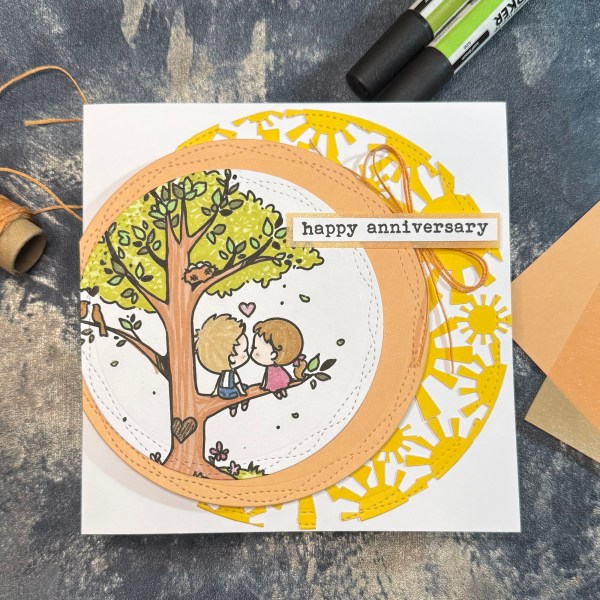
I think it has been a while since I’ve done so much colouring with promarkers and it made for a relaxing hour just colouring in!
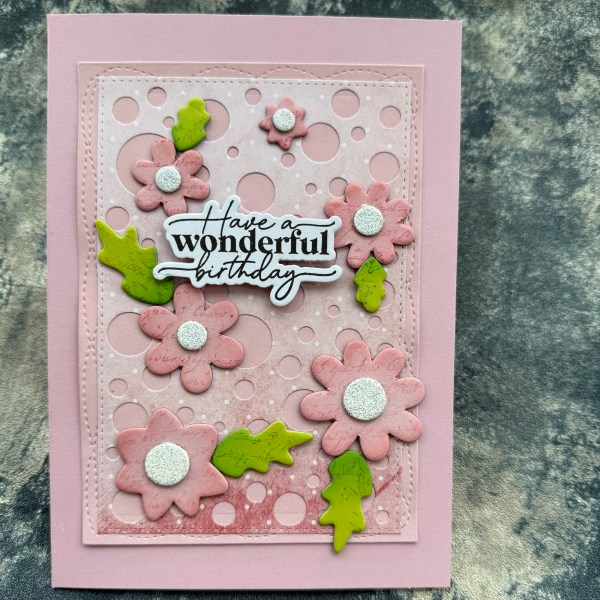
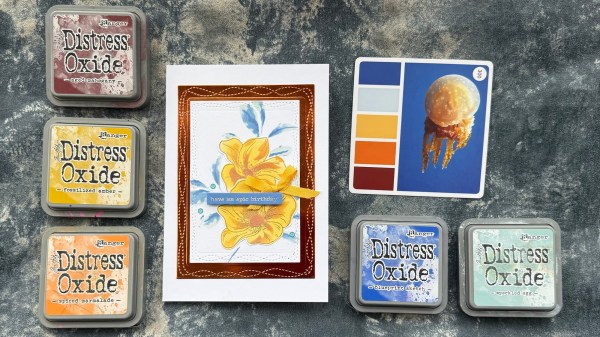
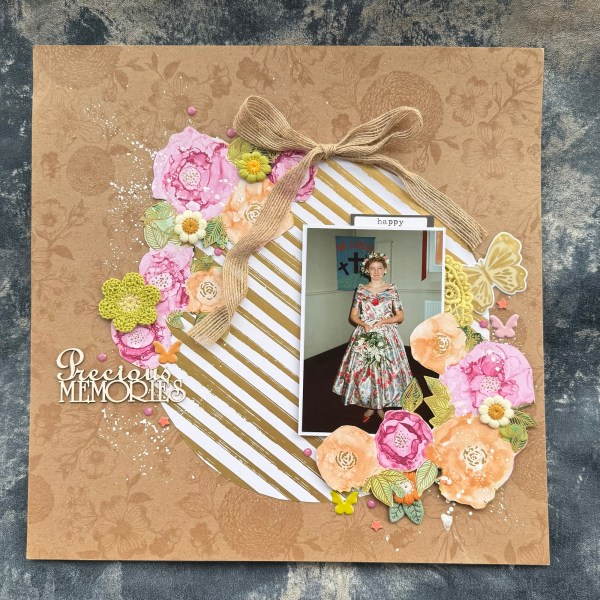
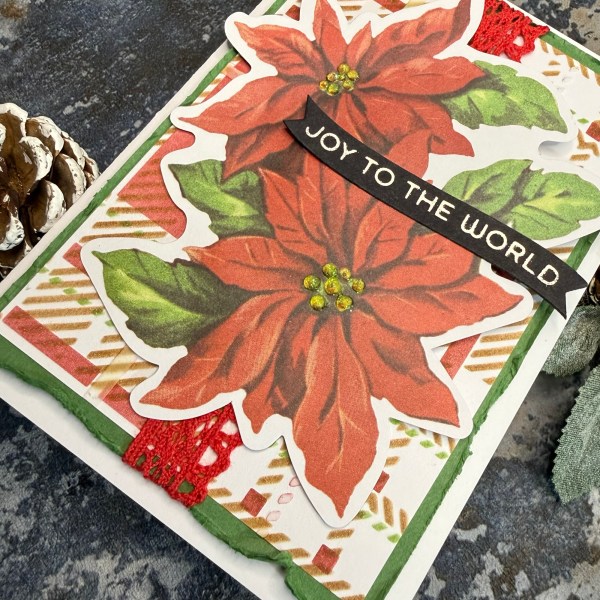
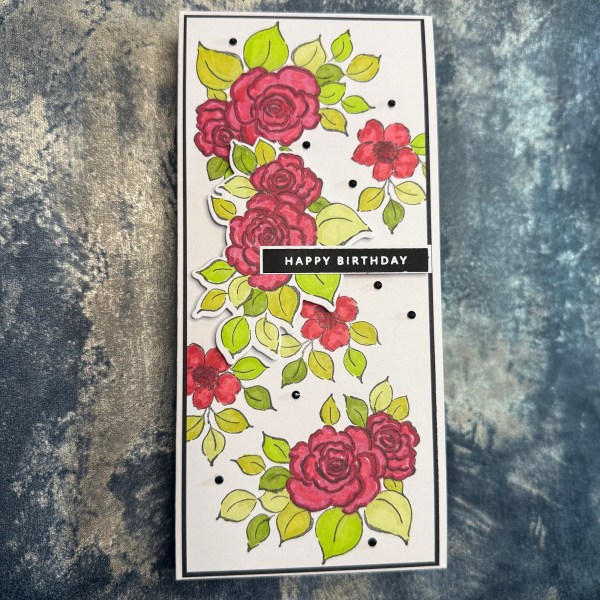
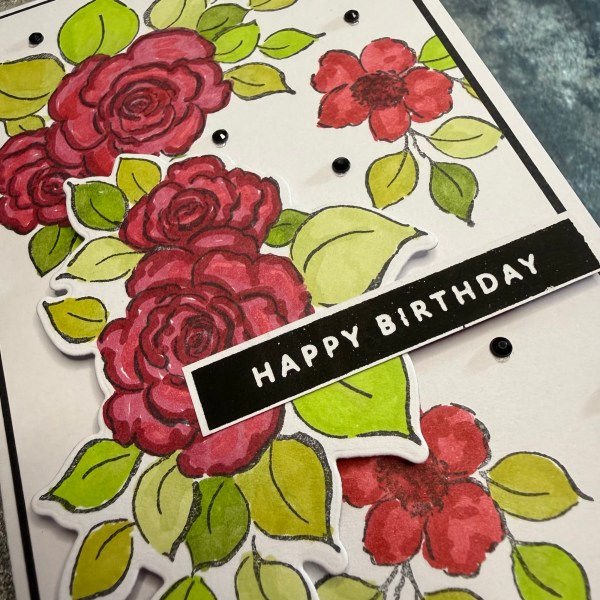
I used the Charming Day stamps I bought in January and stamped one long panel with the big cluster of flowers twice and then another panel I stamped that again twice.
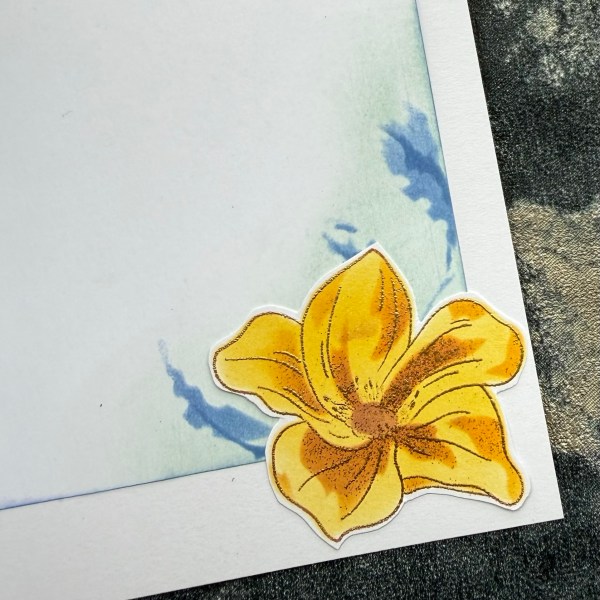
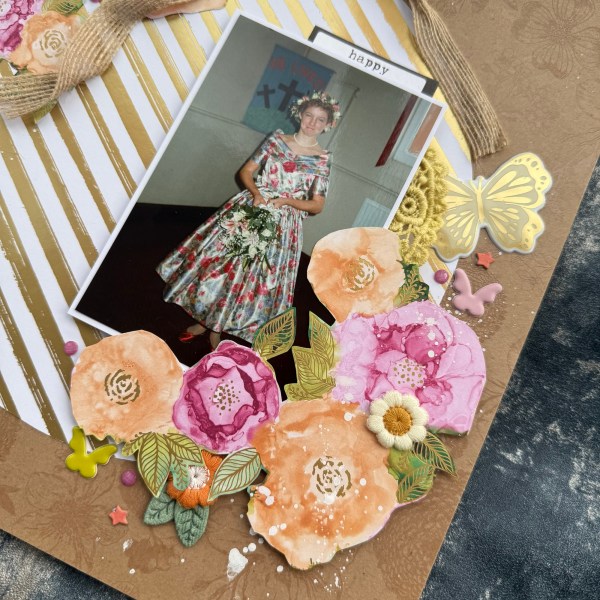
Then I stamped the smaller flower three times on the large panel.
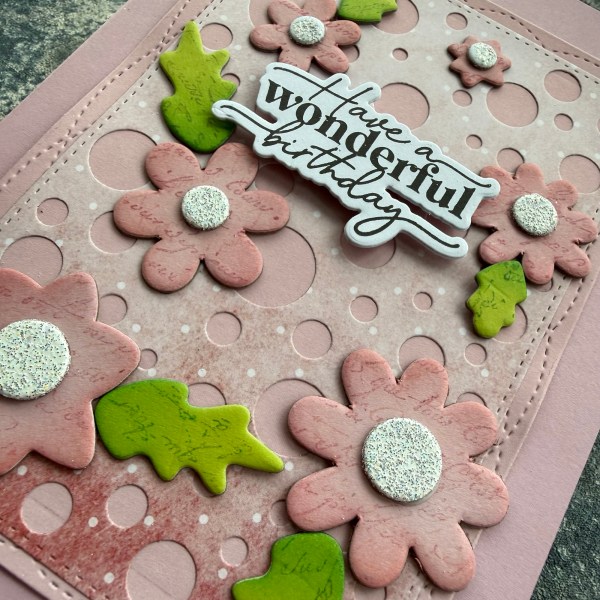
Then set to on colouring with a mix of both promarkers and Stampin blends.
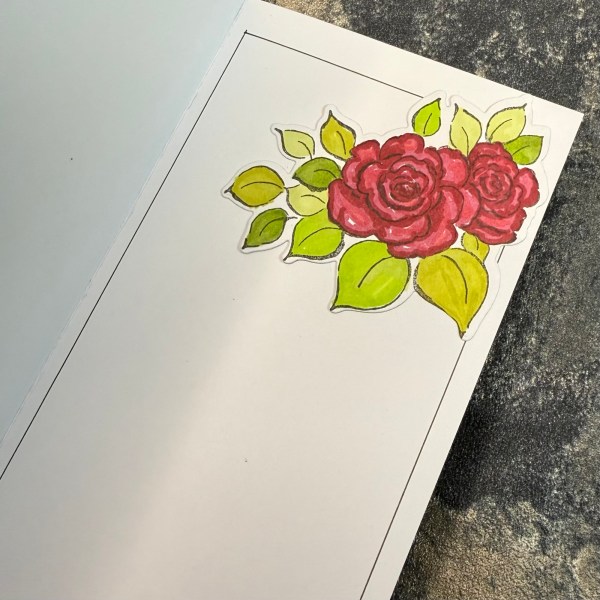
Once I had coloured everything in I then die cut the two that I had stamped separately.
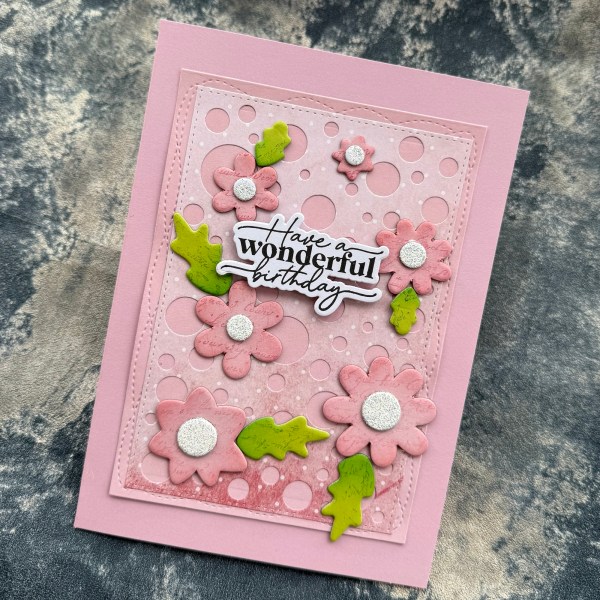
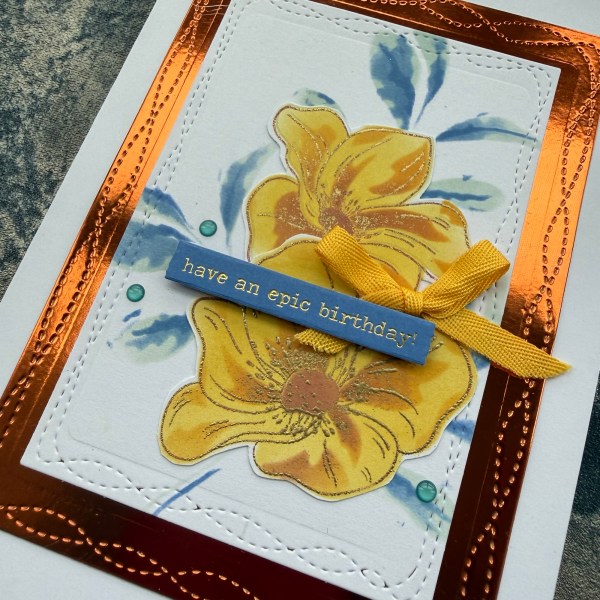
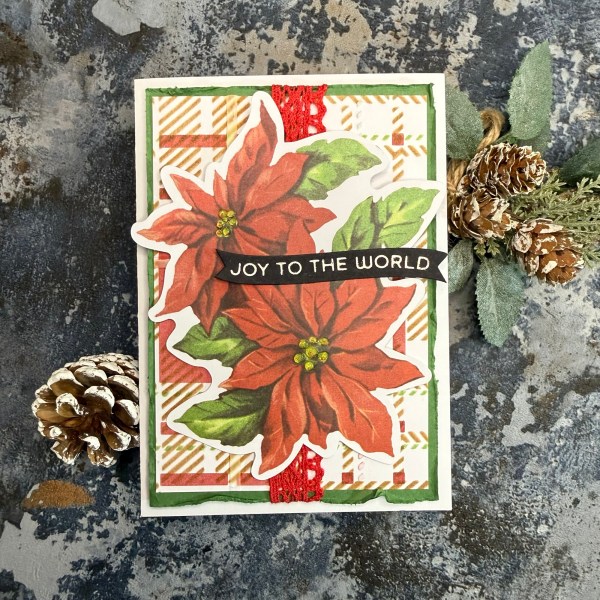
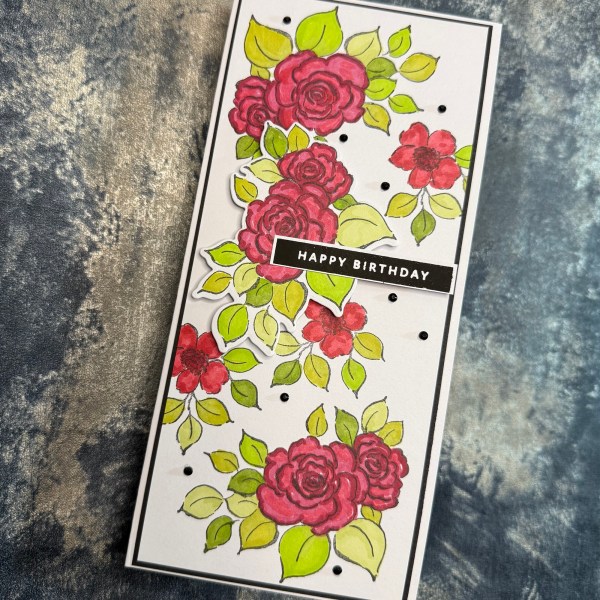
I then started putting everything together. I mounted the long panel onto black cardstock and then mounted it on a DL card I made.
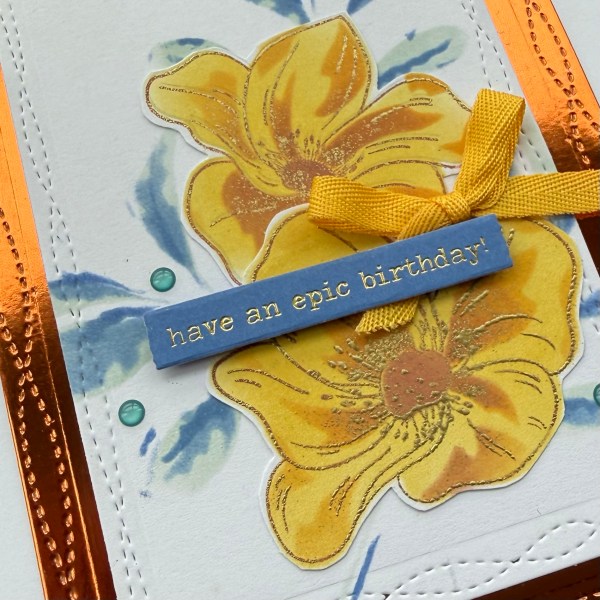
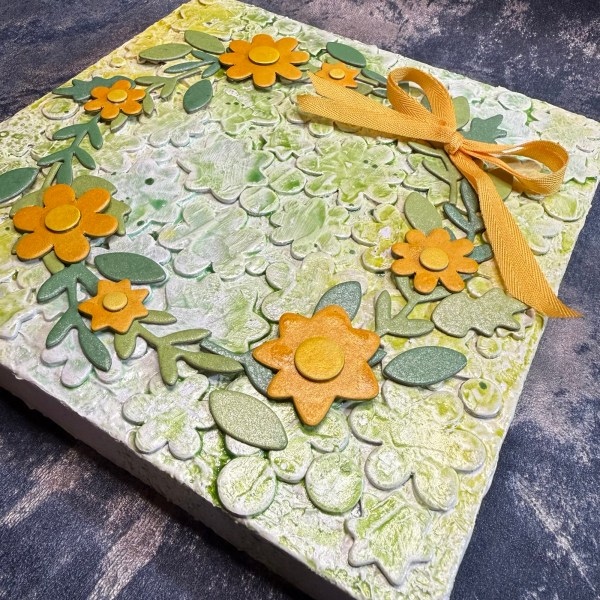
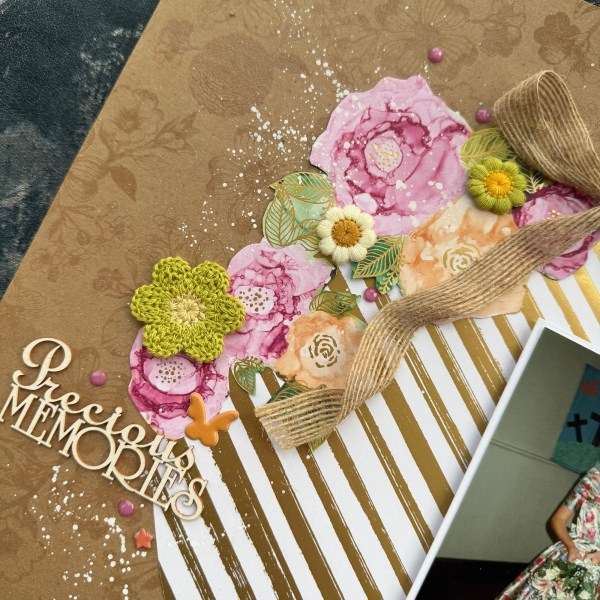
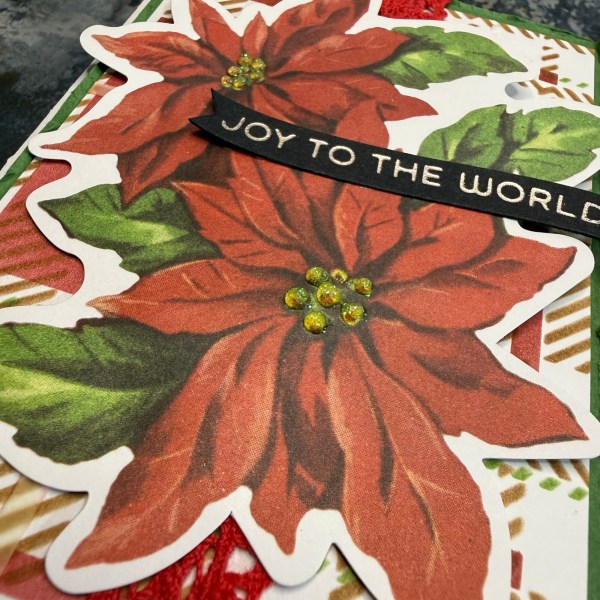
I added dimension to the die cut I added to the front using foam adhesive and then I chose the foiled sentiment I had made previously adding foam on the side hanging off the floral element.
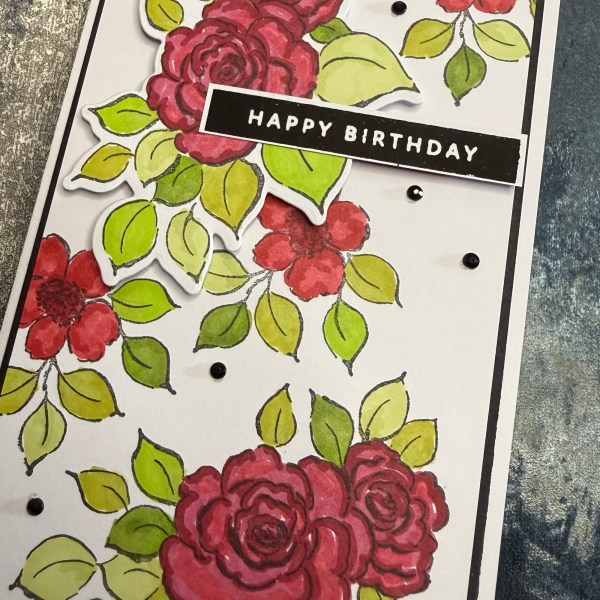
I added the black gems scattered along the card to finish off the front.
Inside the card I drew a rectangle to replicate the black mat layer on the front and then added the remaining die cut.
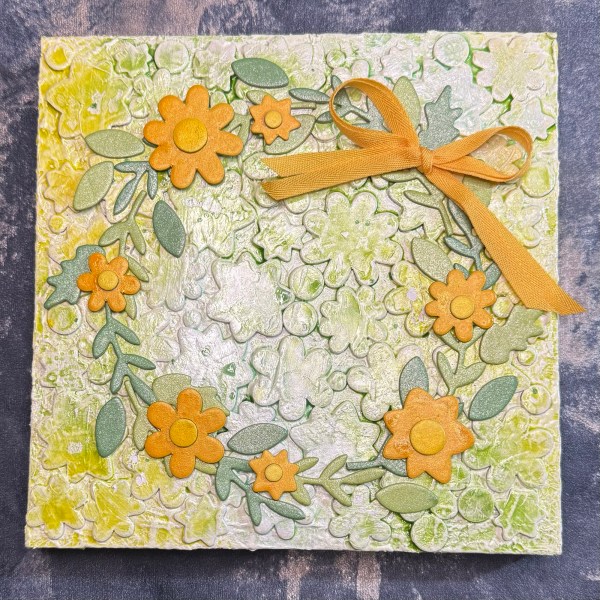
Just love how this came out – quite simple to create but the colouring took time – a perfect relaxing thing to do whilst listening to the radio!
Happy crafting!
Catherine