Hello! Back with another Christmas project – and this one made it on camera too so you can check out the video on my YouTube.
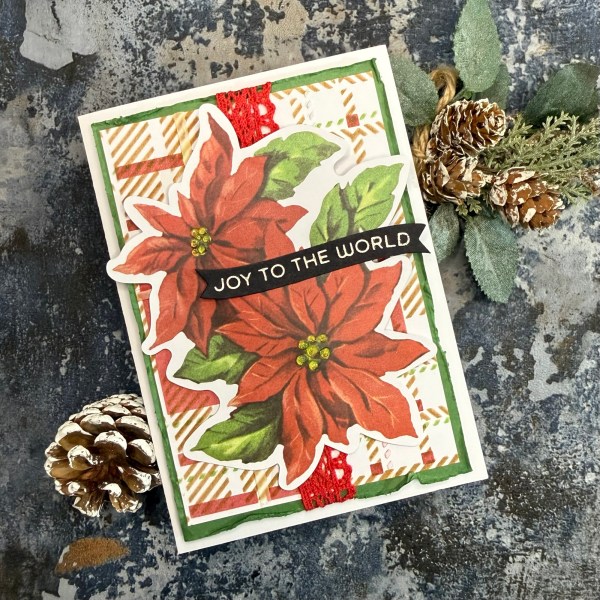
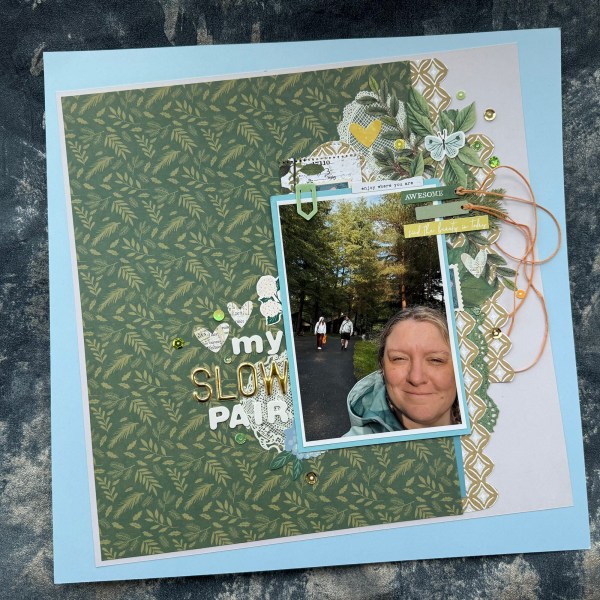
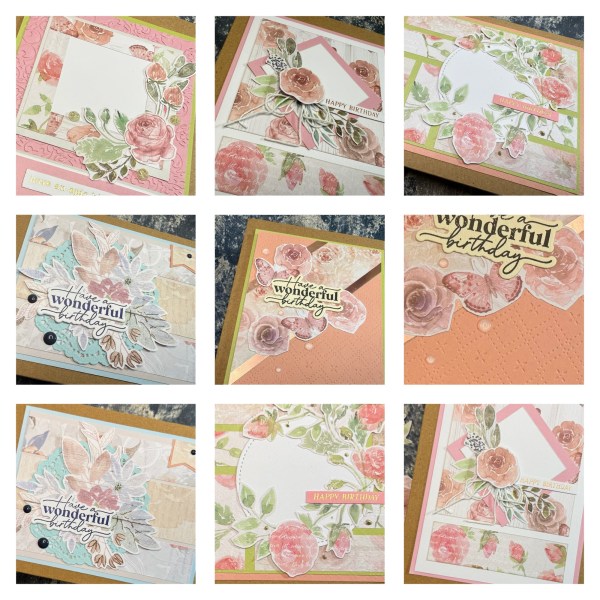
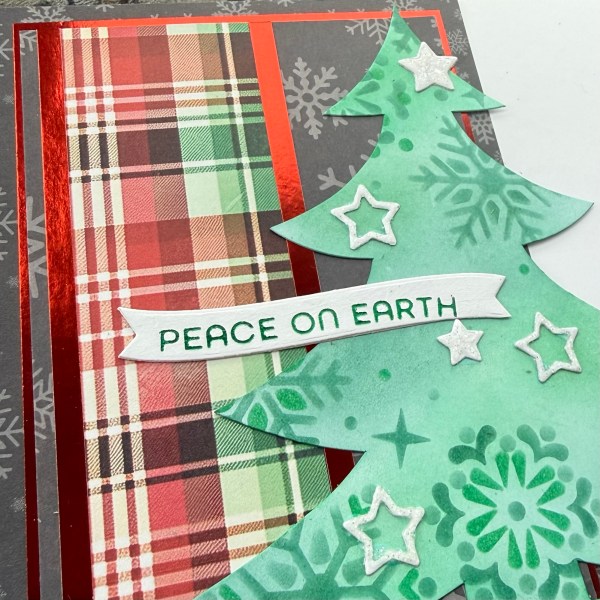
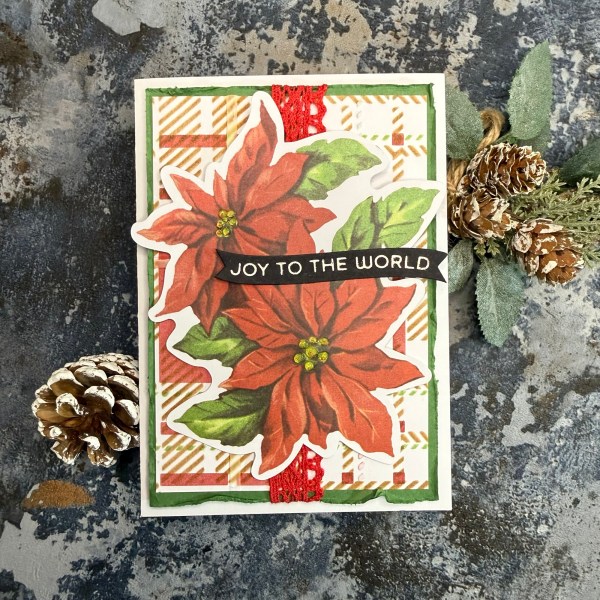
I put quite a lot of effort into the background but then covered most of it up with the Simple Stories Big Bits poinsettia – don’t get me wrong – I love it – but it amuses me when I go to lengths to create a fun and textural background and cover most of it! 😂
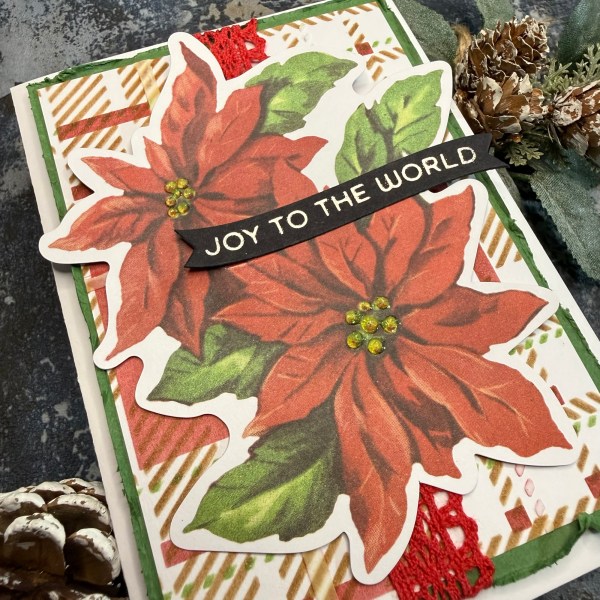
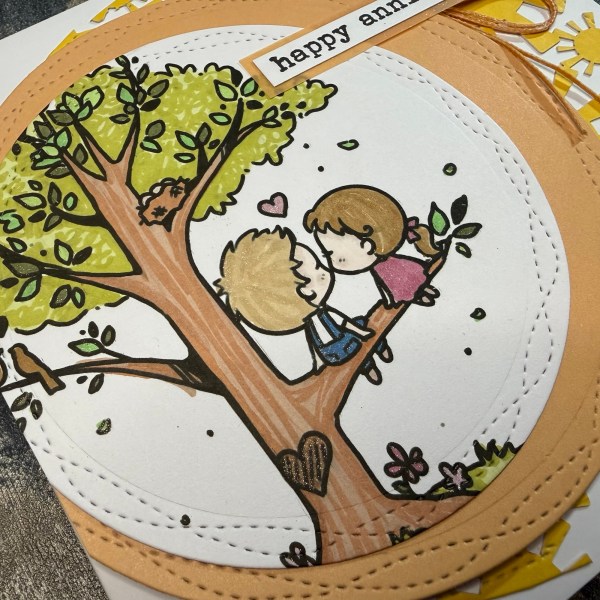
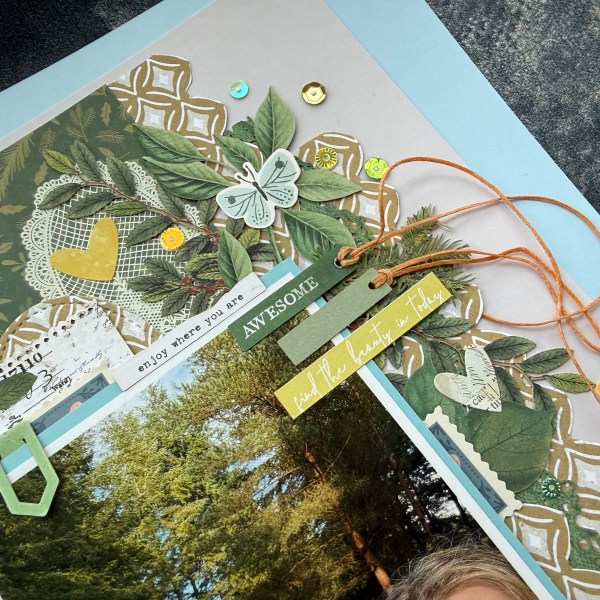
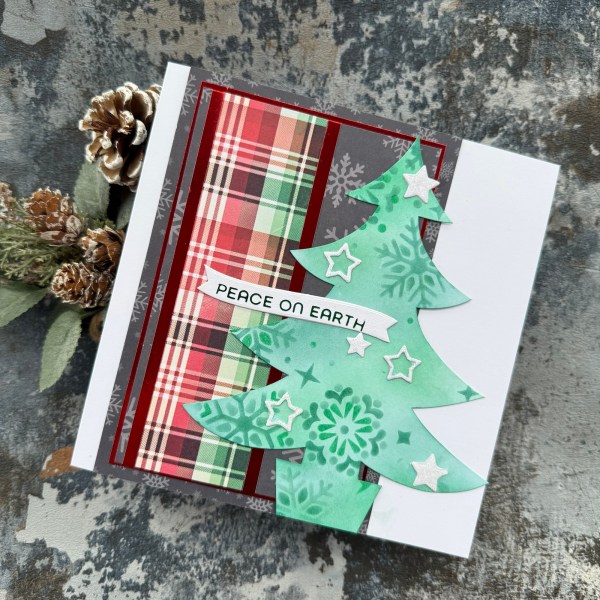
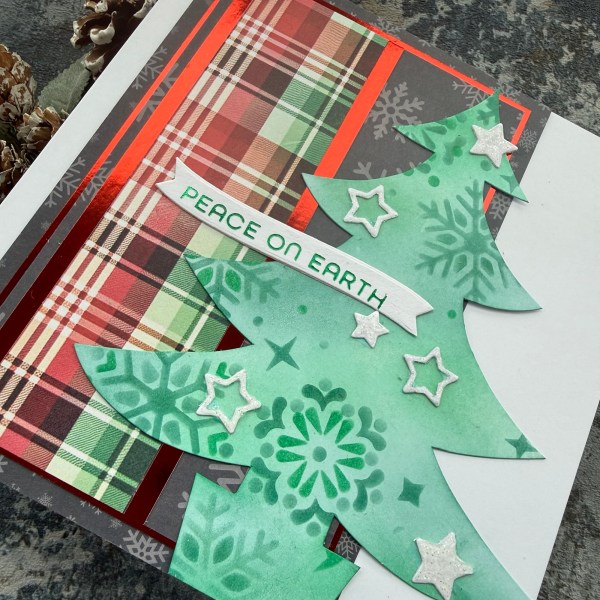
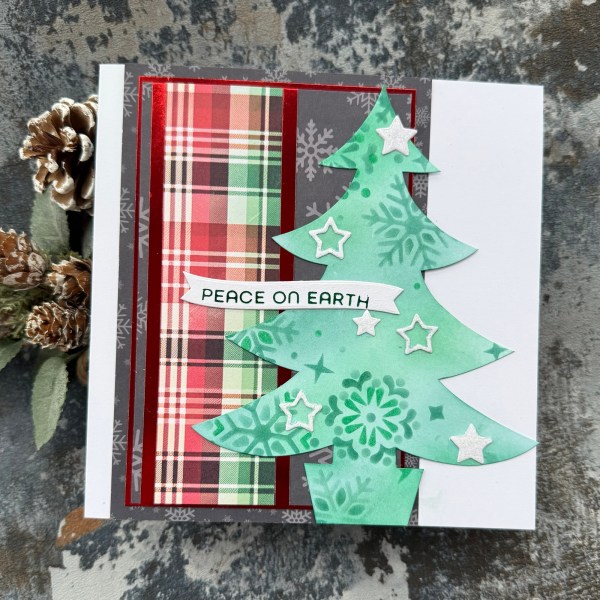
I created this one with layered stencils and the final layer includes modeling paste.
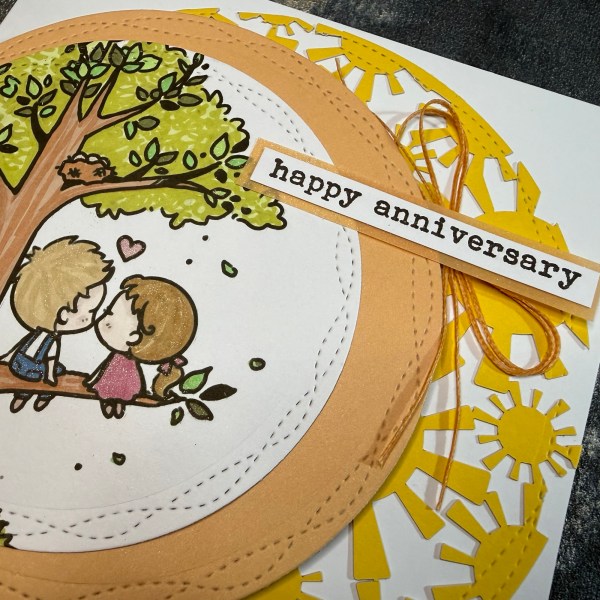
I also added the crochet trim too for more texture.
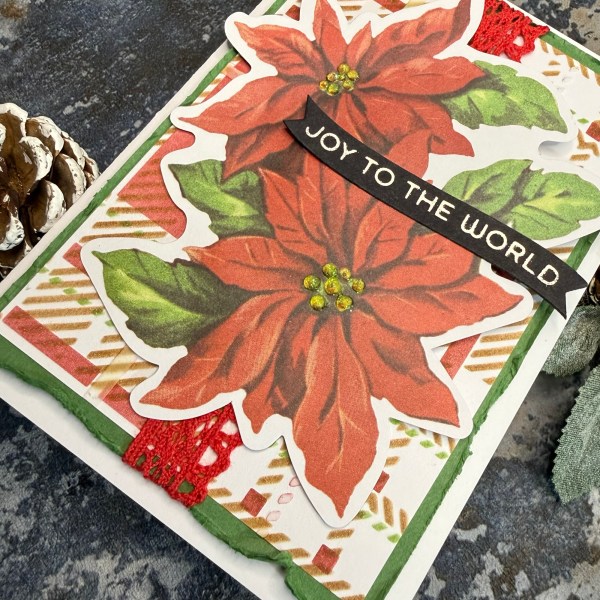
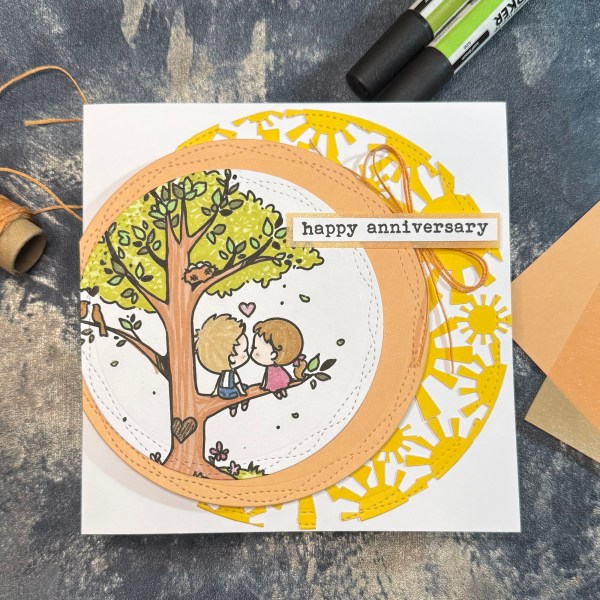
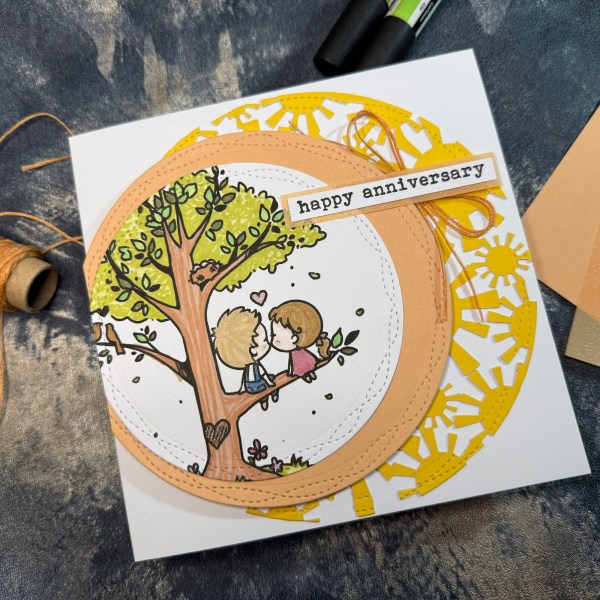
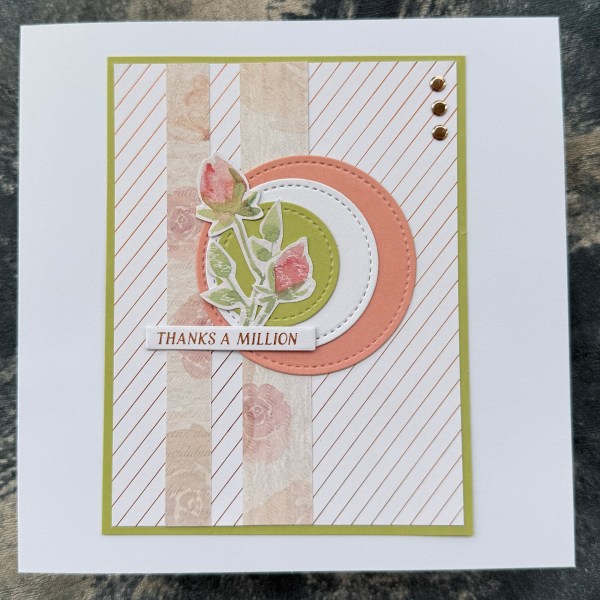
I kept changing my mind on the focal point but decided eventually on the poinsettia and to add to them I added glitter glue to the flower centres.
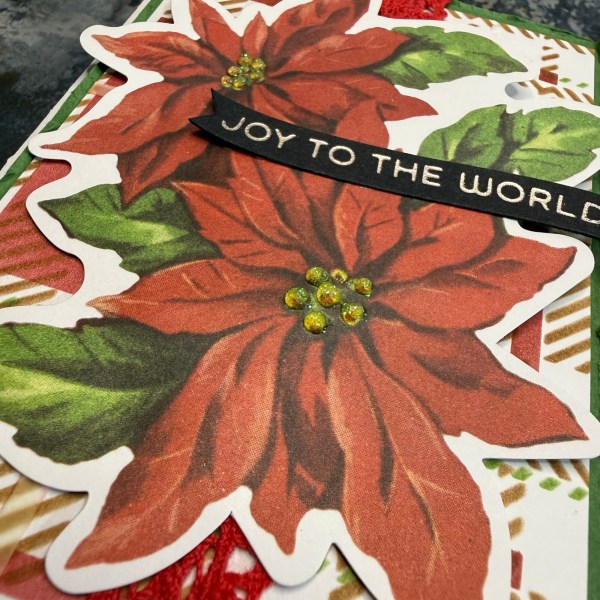
A foiled sentiment is of course my finishing touch for the card.
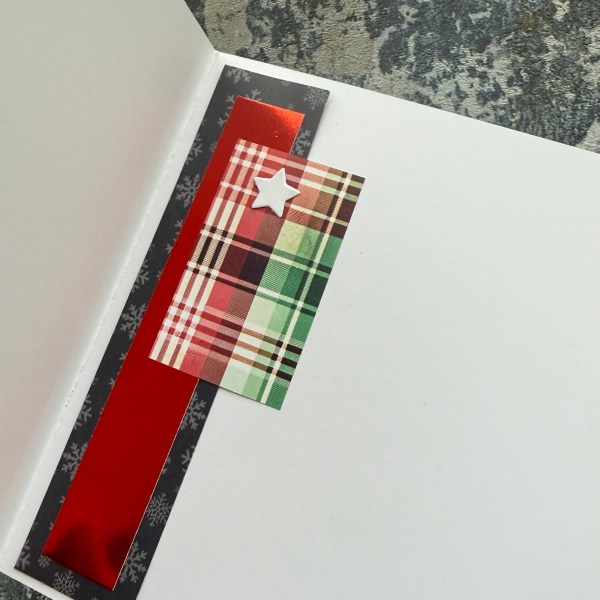
Inside the card I added a strip of the stencilled paper I cut off and some holly from the simple stories pack. I forgot though to take a picture of it! Ooops!
But there you go – another Christmas card made – love how this turned out!
Happy crafting!
Catherine