Paperartsy playing

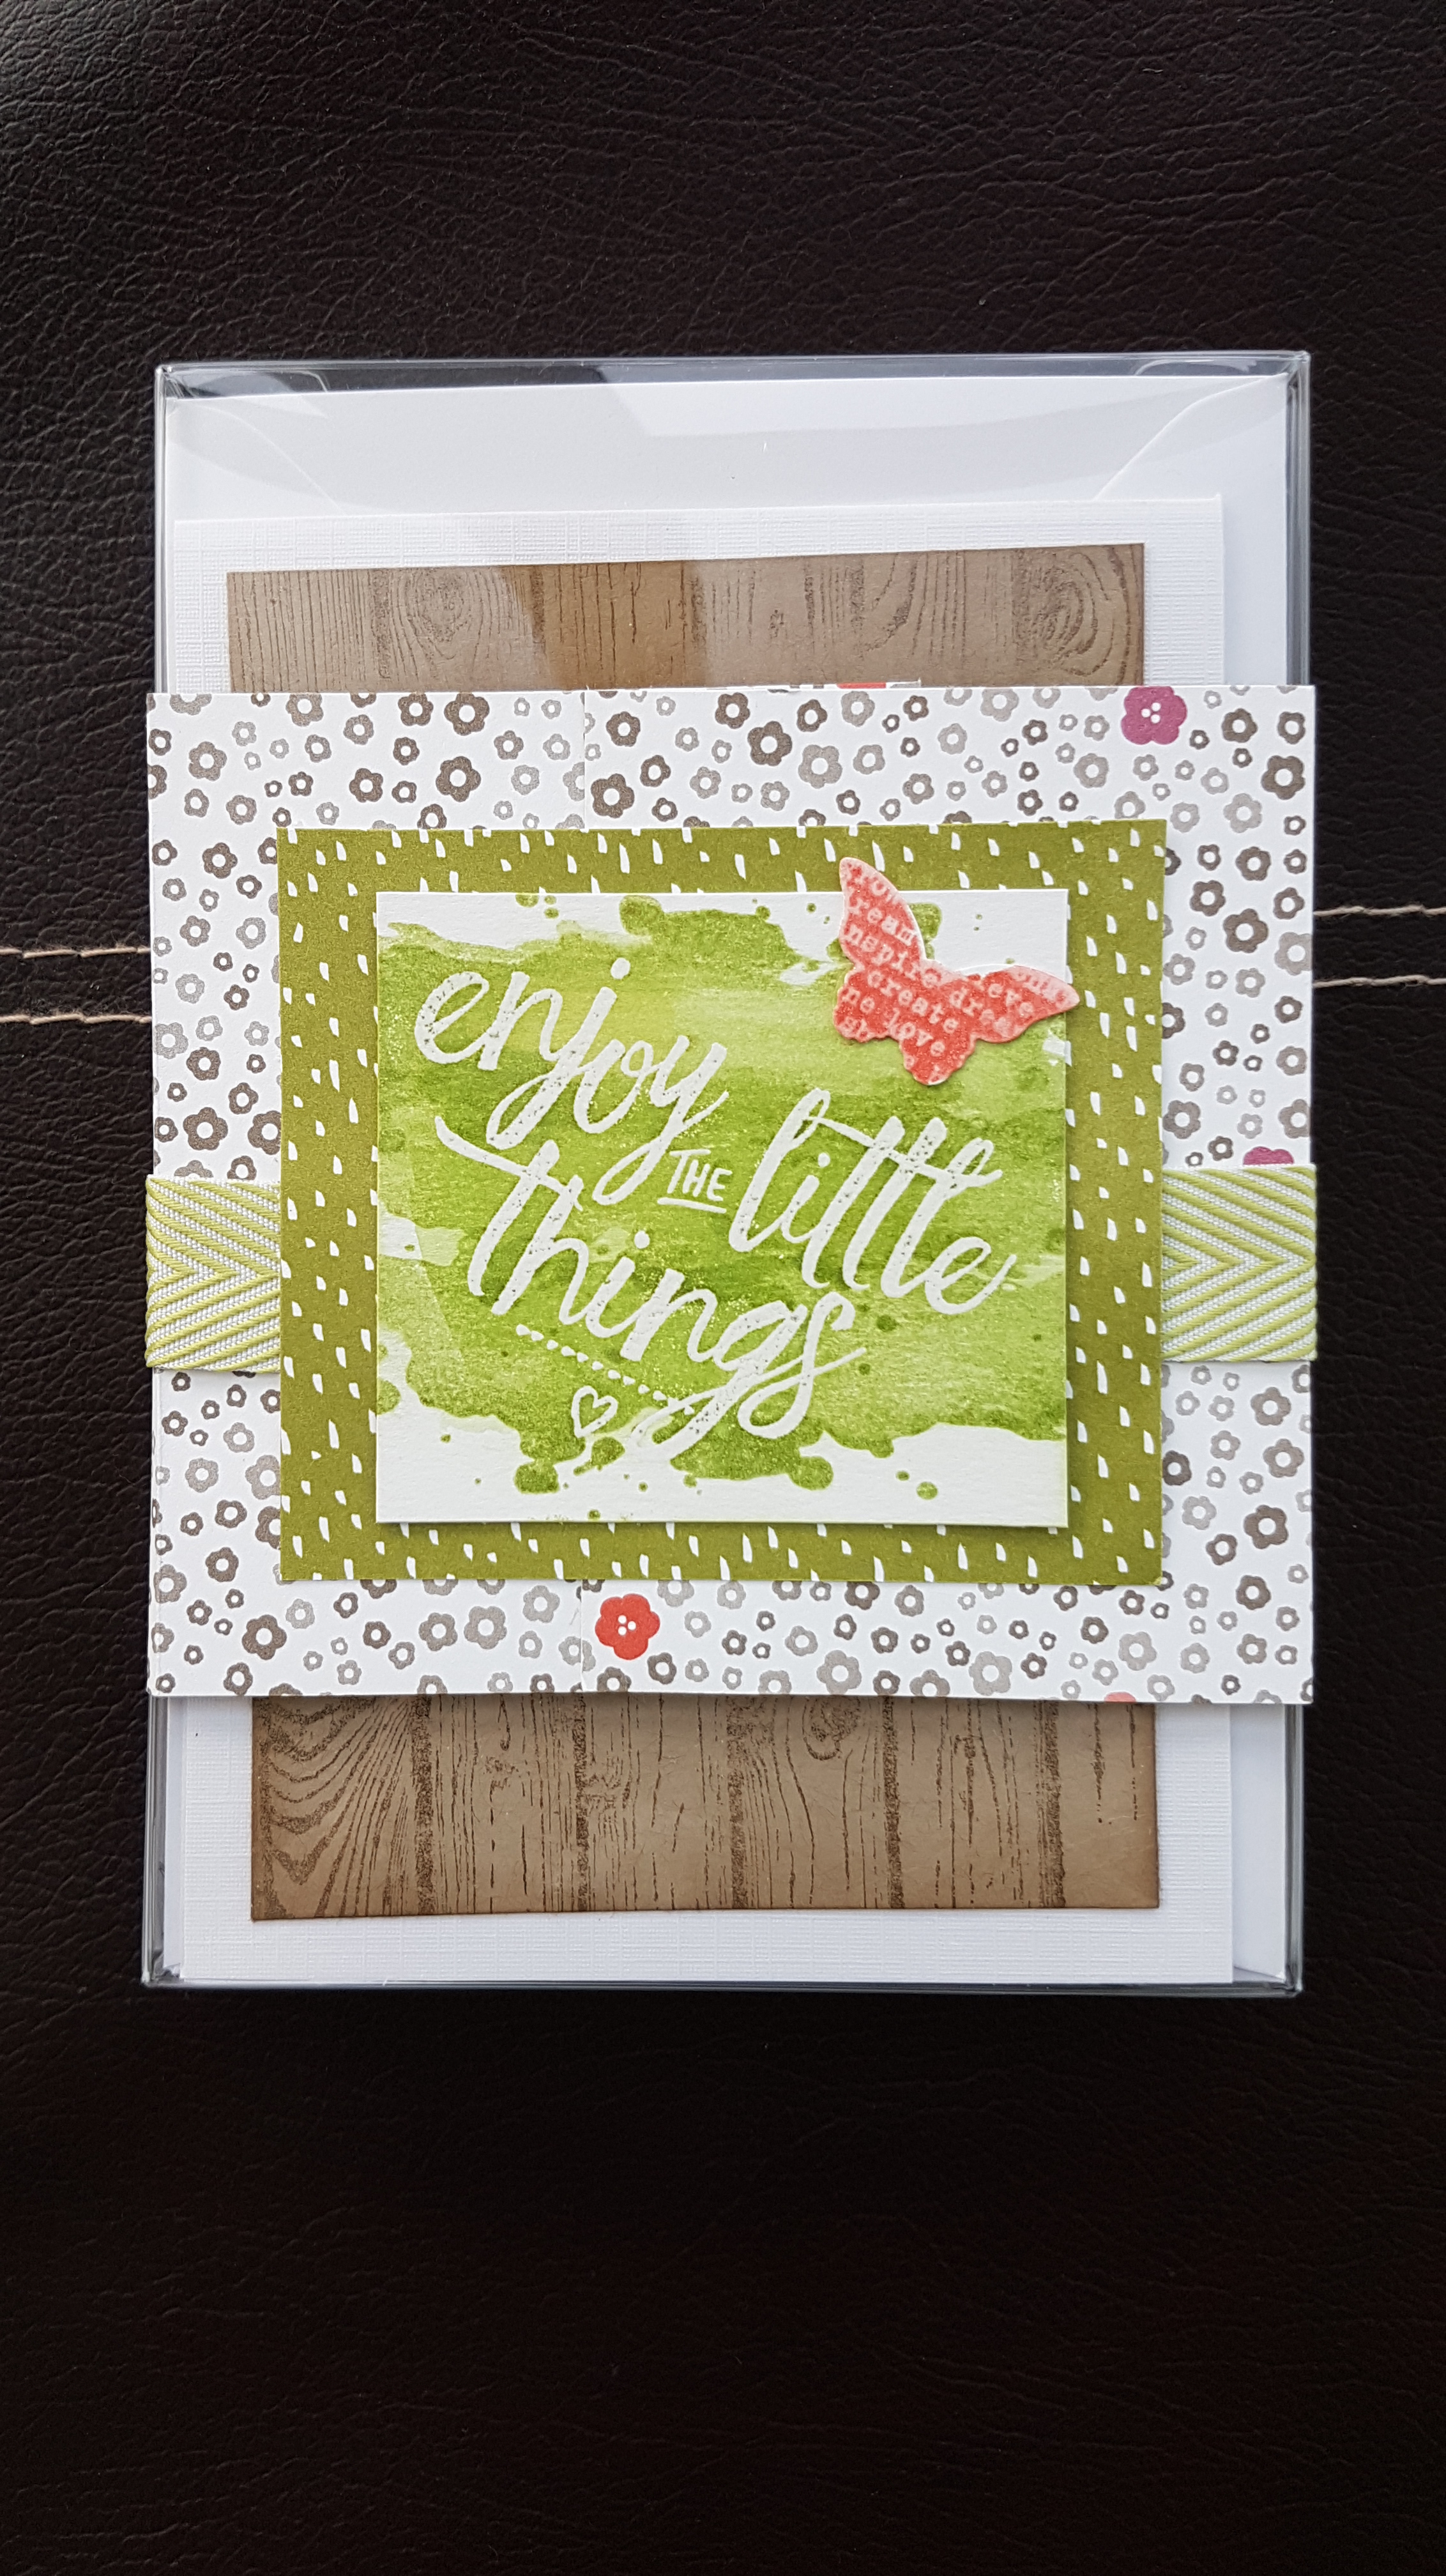
I decided after the Lynne Perella play I shared the other day to make some more Paperartsy themed birthday cards.

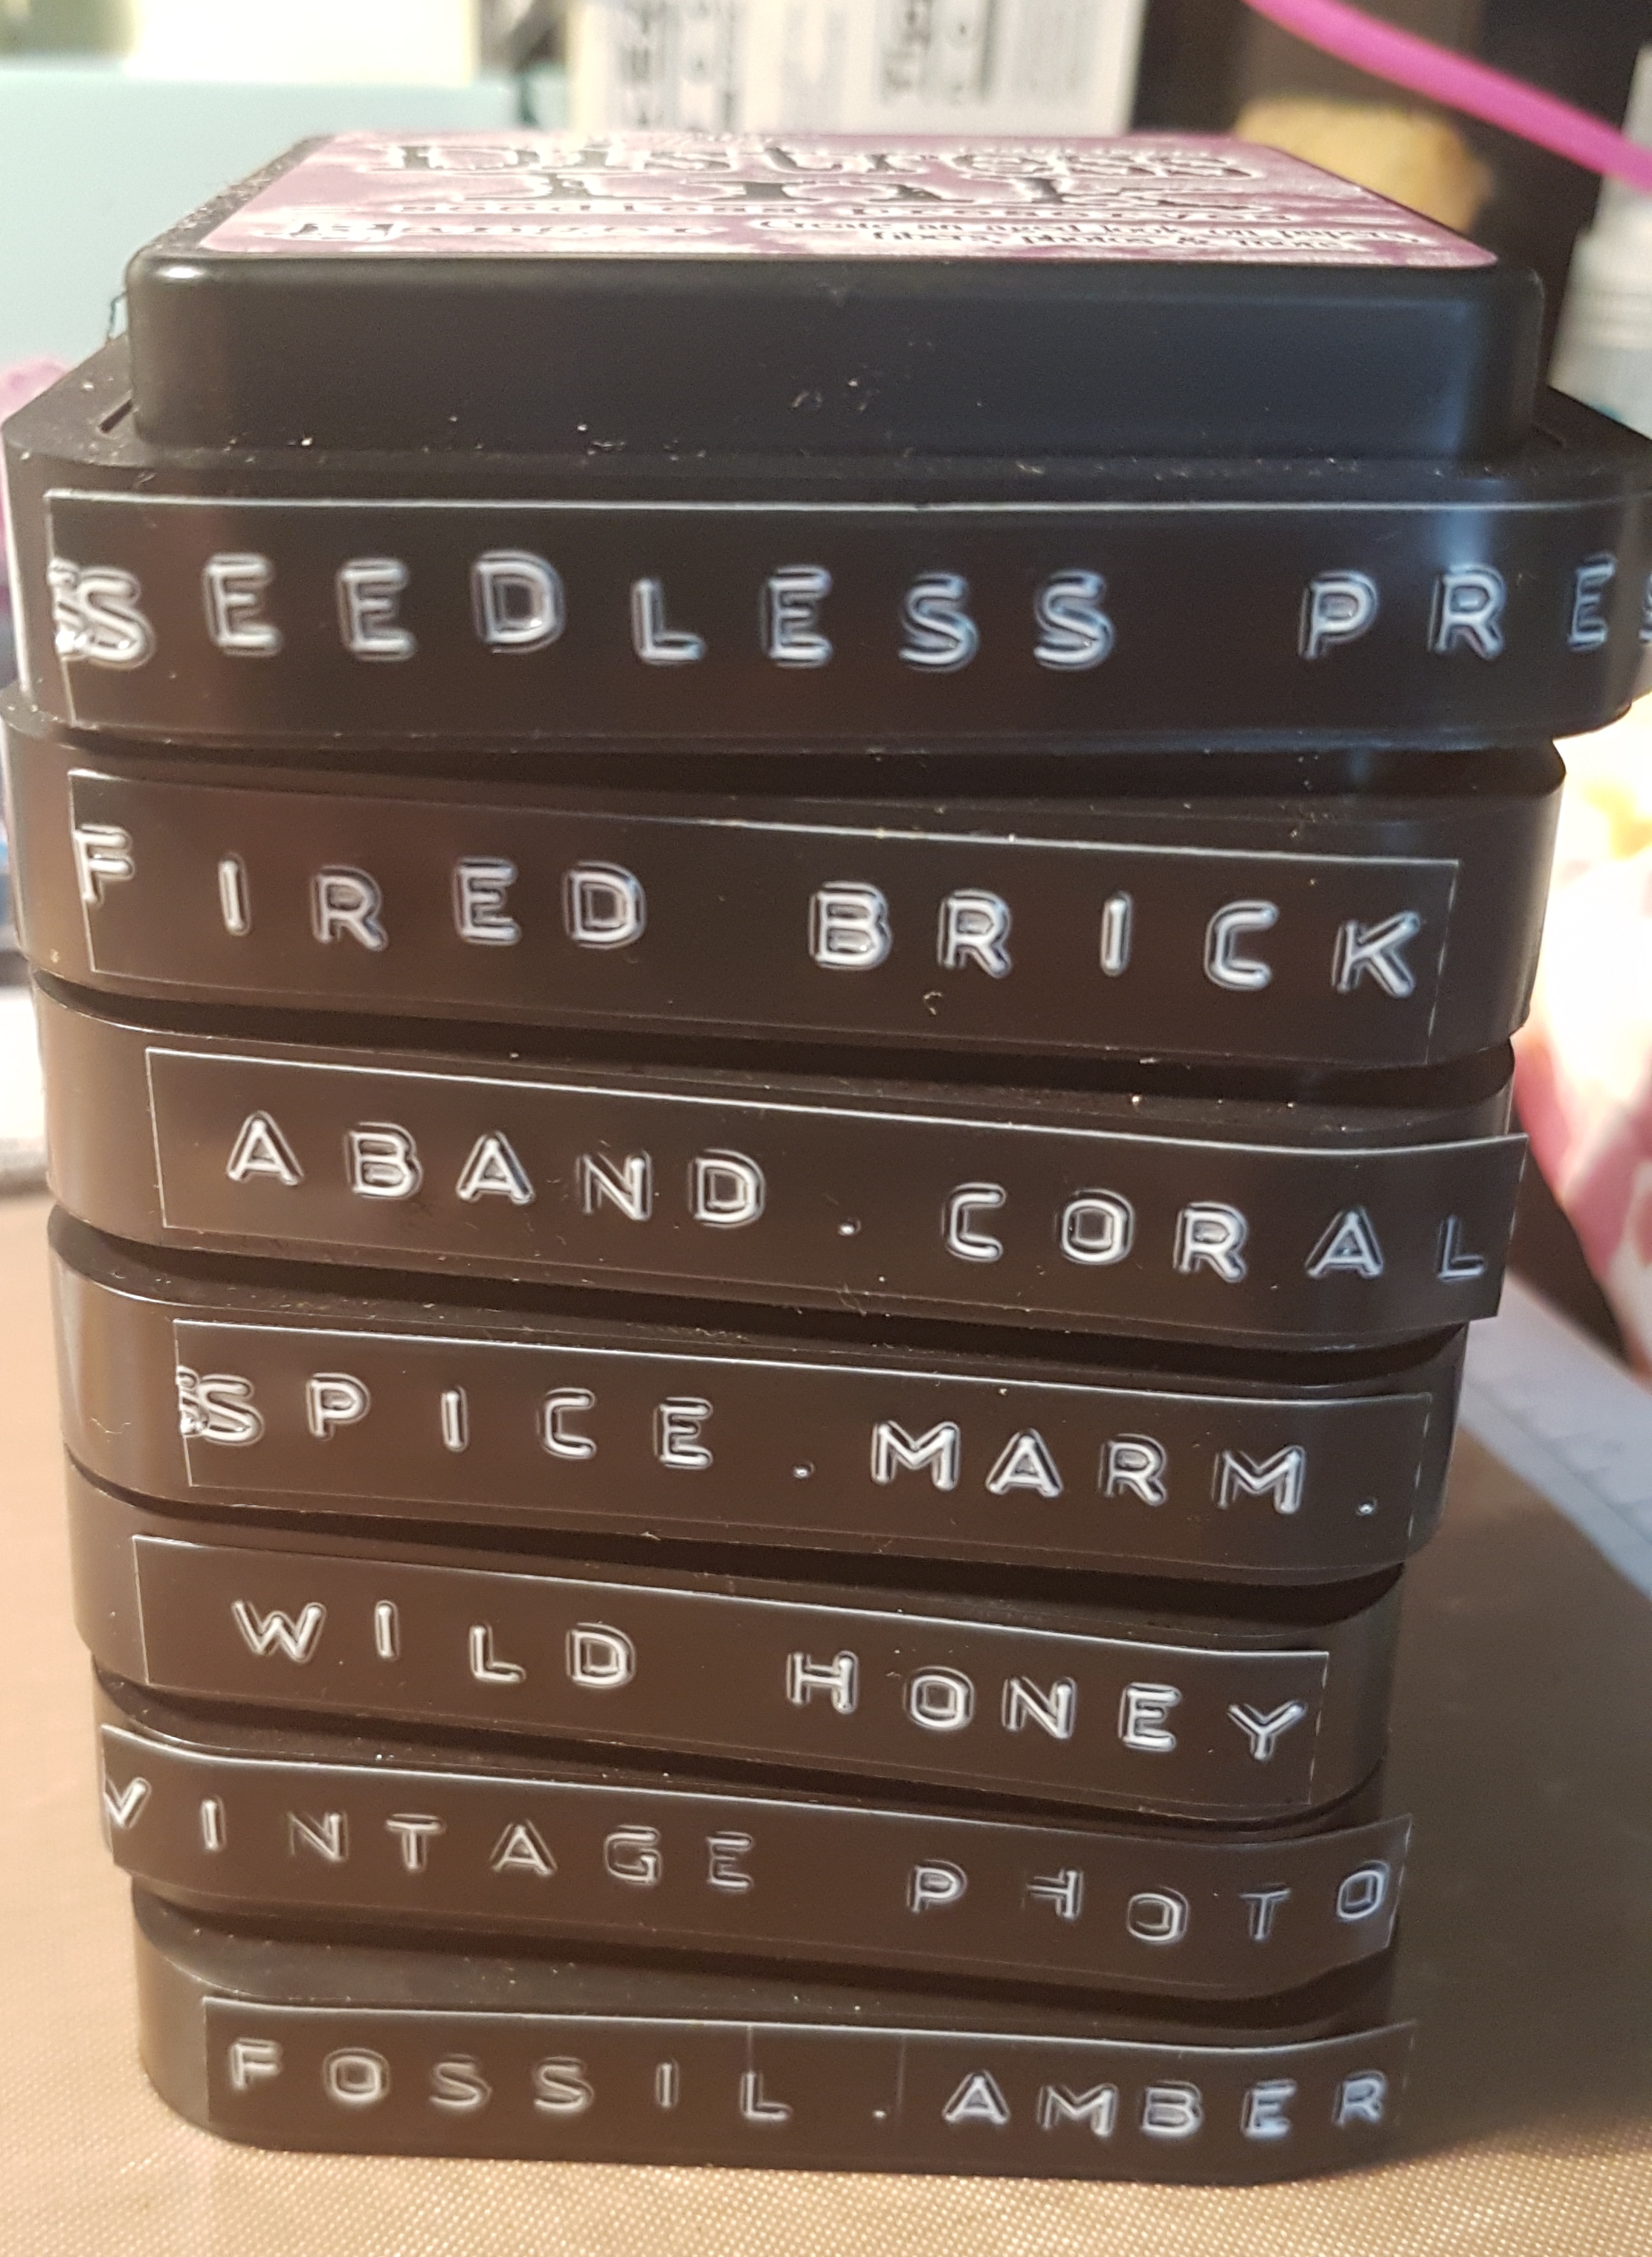
This time I chose to play with Distress Oxides and the fun Ellen Vargo carved flowers.  I love the linocut appearance of these. 

I started with making two backgrounds… both different to each other but both fun to make. Then on a separate panel of cardstock I made the tags. The top one was a scrap of cardstock I had already painted with a layer of fresco finish paints and I decided to heat emboss the tag and the flower. The bottom one I did a watery layer of distress oxide using the same colours as the background.

I raised the tags on foam tape to give dimension and added some scraps of ribbon to the tags. 

Both sentiment and the tag shape are Emma Godfrey stamps. 

Happy crafting!

Catherine 

Countdown to Christmas ATCs pt 10

Another post in my Christmas card topper stack of ATCs….

Today I have two bright pink and purple ones to contrast the last couple of posts where it has been more vintage in cokour and style.

Plenty of yummy distress oxides, stencilling and the cute Winter Friends stamps coloured with promarkers.  I also added some punchinella with a couple of coloured staples. 

I love that the sentiment I chose from the Emma Godfrey Paperartsy set fits in the word window punch too!

Happy crafting! 

Catherine 

Countdown to Christmas ATCs pt 9

Some more for my Christmas card topper stack… 

Just like yesterday I wanted a more vintage feel… but a different colour scheme today…

I went for peeled paint with frayed burlap and walnut stain.

I did two different pieces of cardstock as I went along so I could make three in total! 

I decided to go for a ripped panel and heat embossed the fabulous Dasher stamp in a dark emerald green.

I also added heat embossing round the edge before adding all the layers. I added some copper thread to one of them.

The other one I added the heat embossed trim stamp across the panel and then added the cute Winter friend fox and a sentiment.

Love how these came out. 

Happy crafting!

Catherine 

Postcard swap… Happy halloween

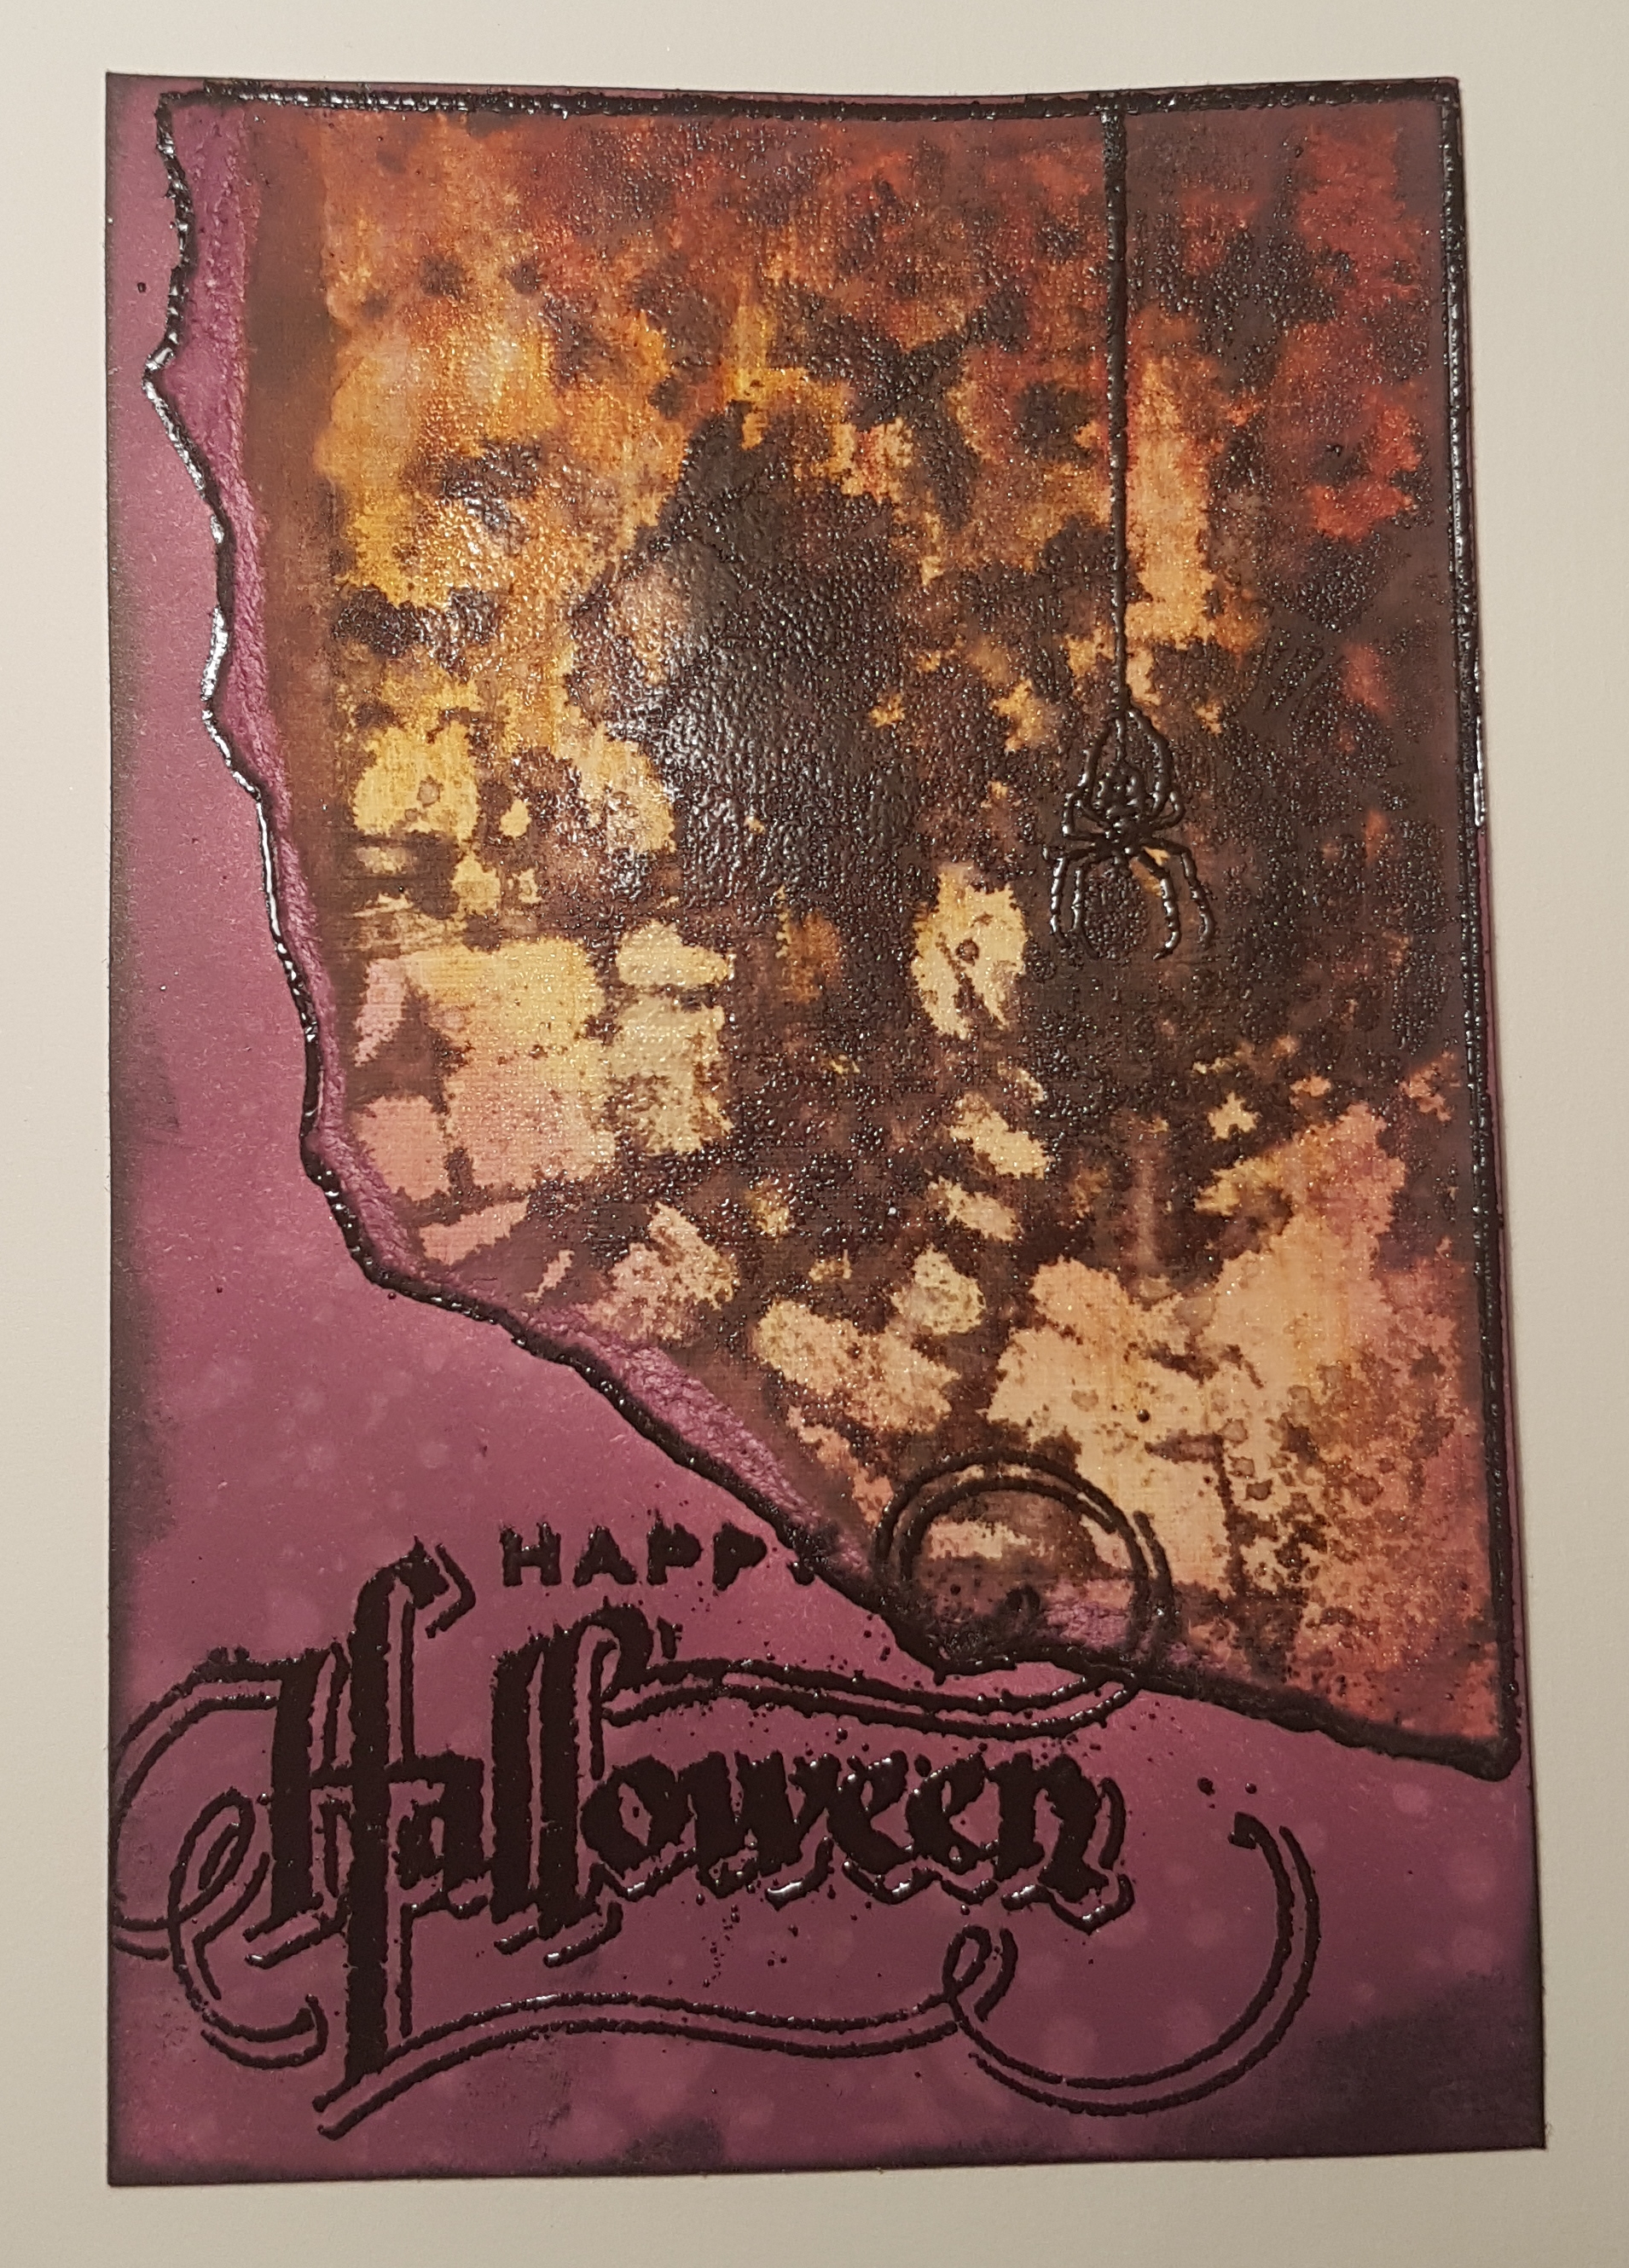
So today’s post is a about a postcard I made several weeks ago for a swap for halloween…

I started with a base on which I added lots of the seedless preserves distress ink.  Then I took another piece of cardstock and added lots of orange and yellows.  Then I added distress glaze through a stencil and then added the ground espresso distress stain over the top. The distress glaze provided some resist but it wasn’t very precise.  But I didn’t mind I still like the effect. 

Next I tore the piece to add onto the top of the seedless preserves piece and glued it down. 

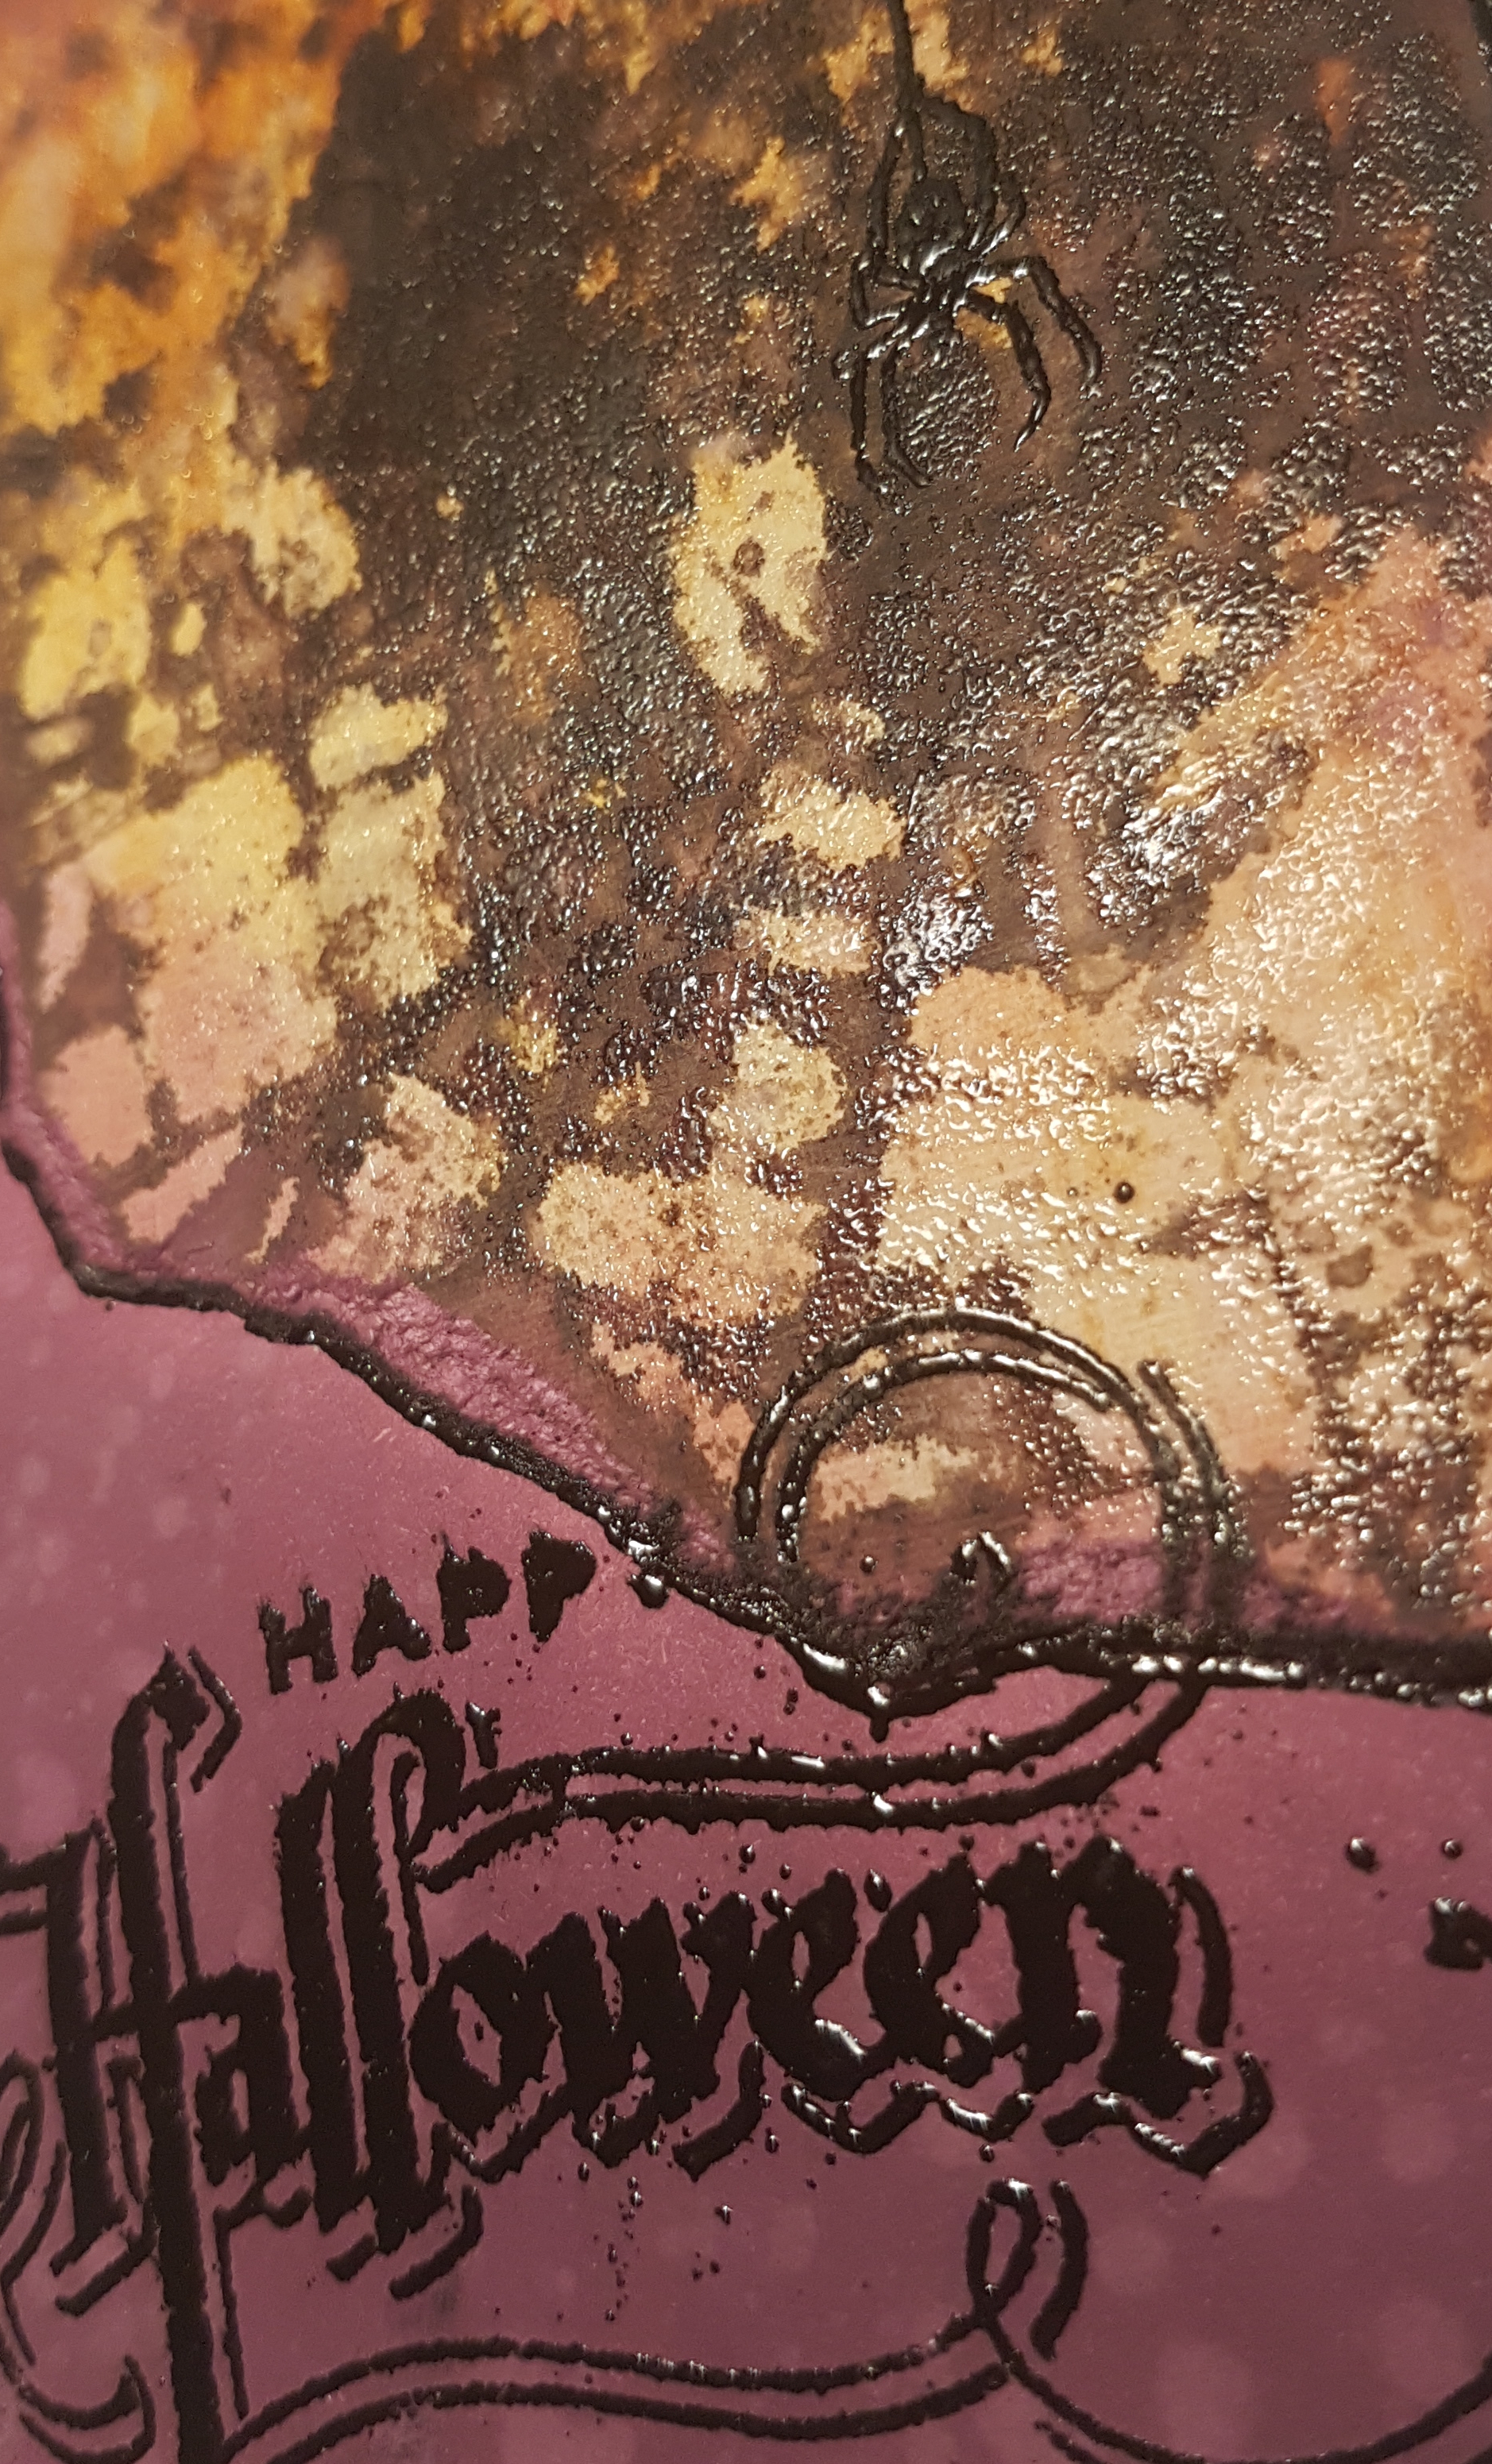
Then I started heat embossing… first the sentiment and spider in Black powder. Then I added the outline to the torn piece using the embossing pen and black powder. Then I added the stenxil back over the top and pressed versamark through and clear embossed… this provided some fab texture.  I think you can see it best on this closeup.

So I loved creating this spooky postcard and I hope the recipient enjoyed it too! 

Happy crafting!!!

Catherine

Halloween Pocket letter 354-362

Spooky goings on in my craftroom… well spooky stamps and stencils at least. 

I joined in a project letter swap where the theme was Halloween as I wanted an opportunity to use my limited Halloween supplies! 

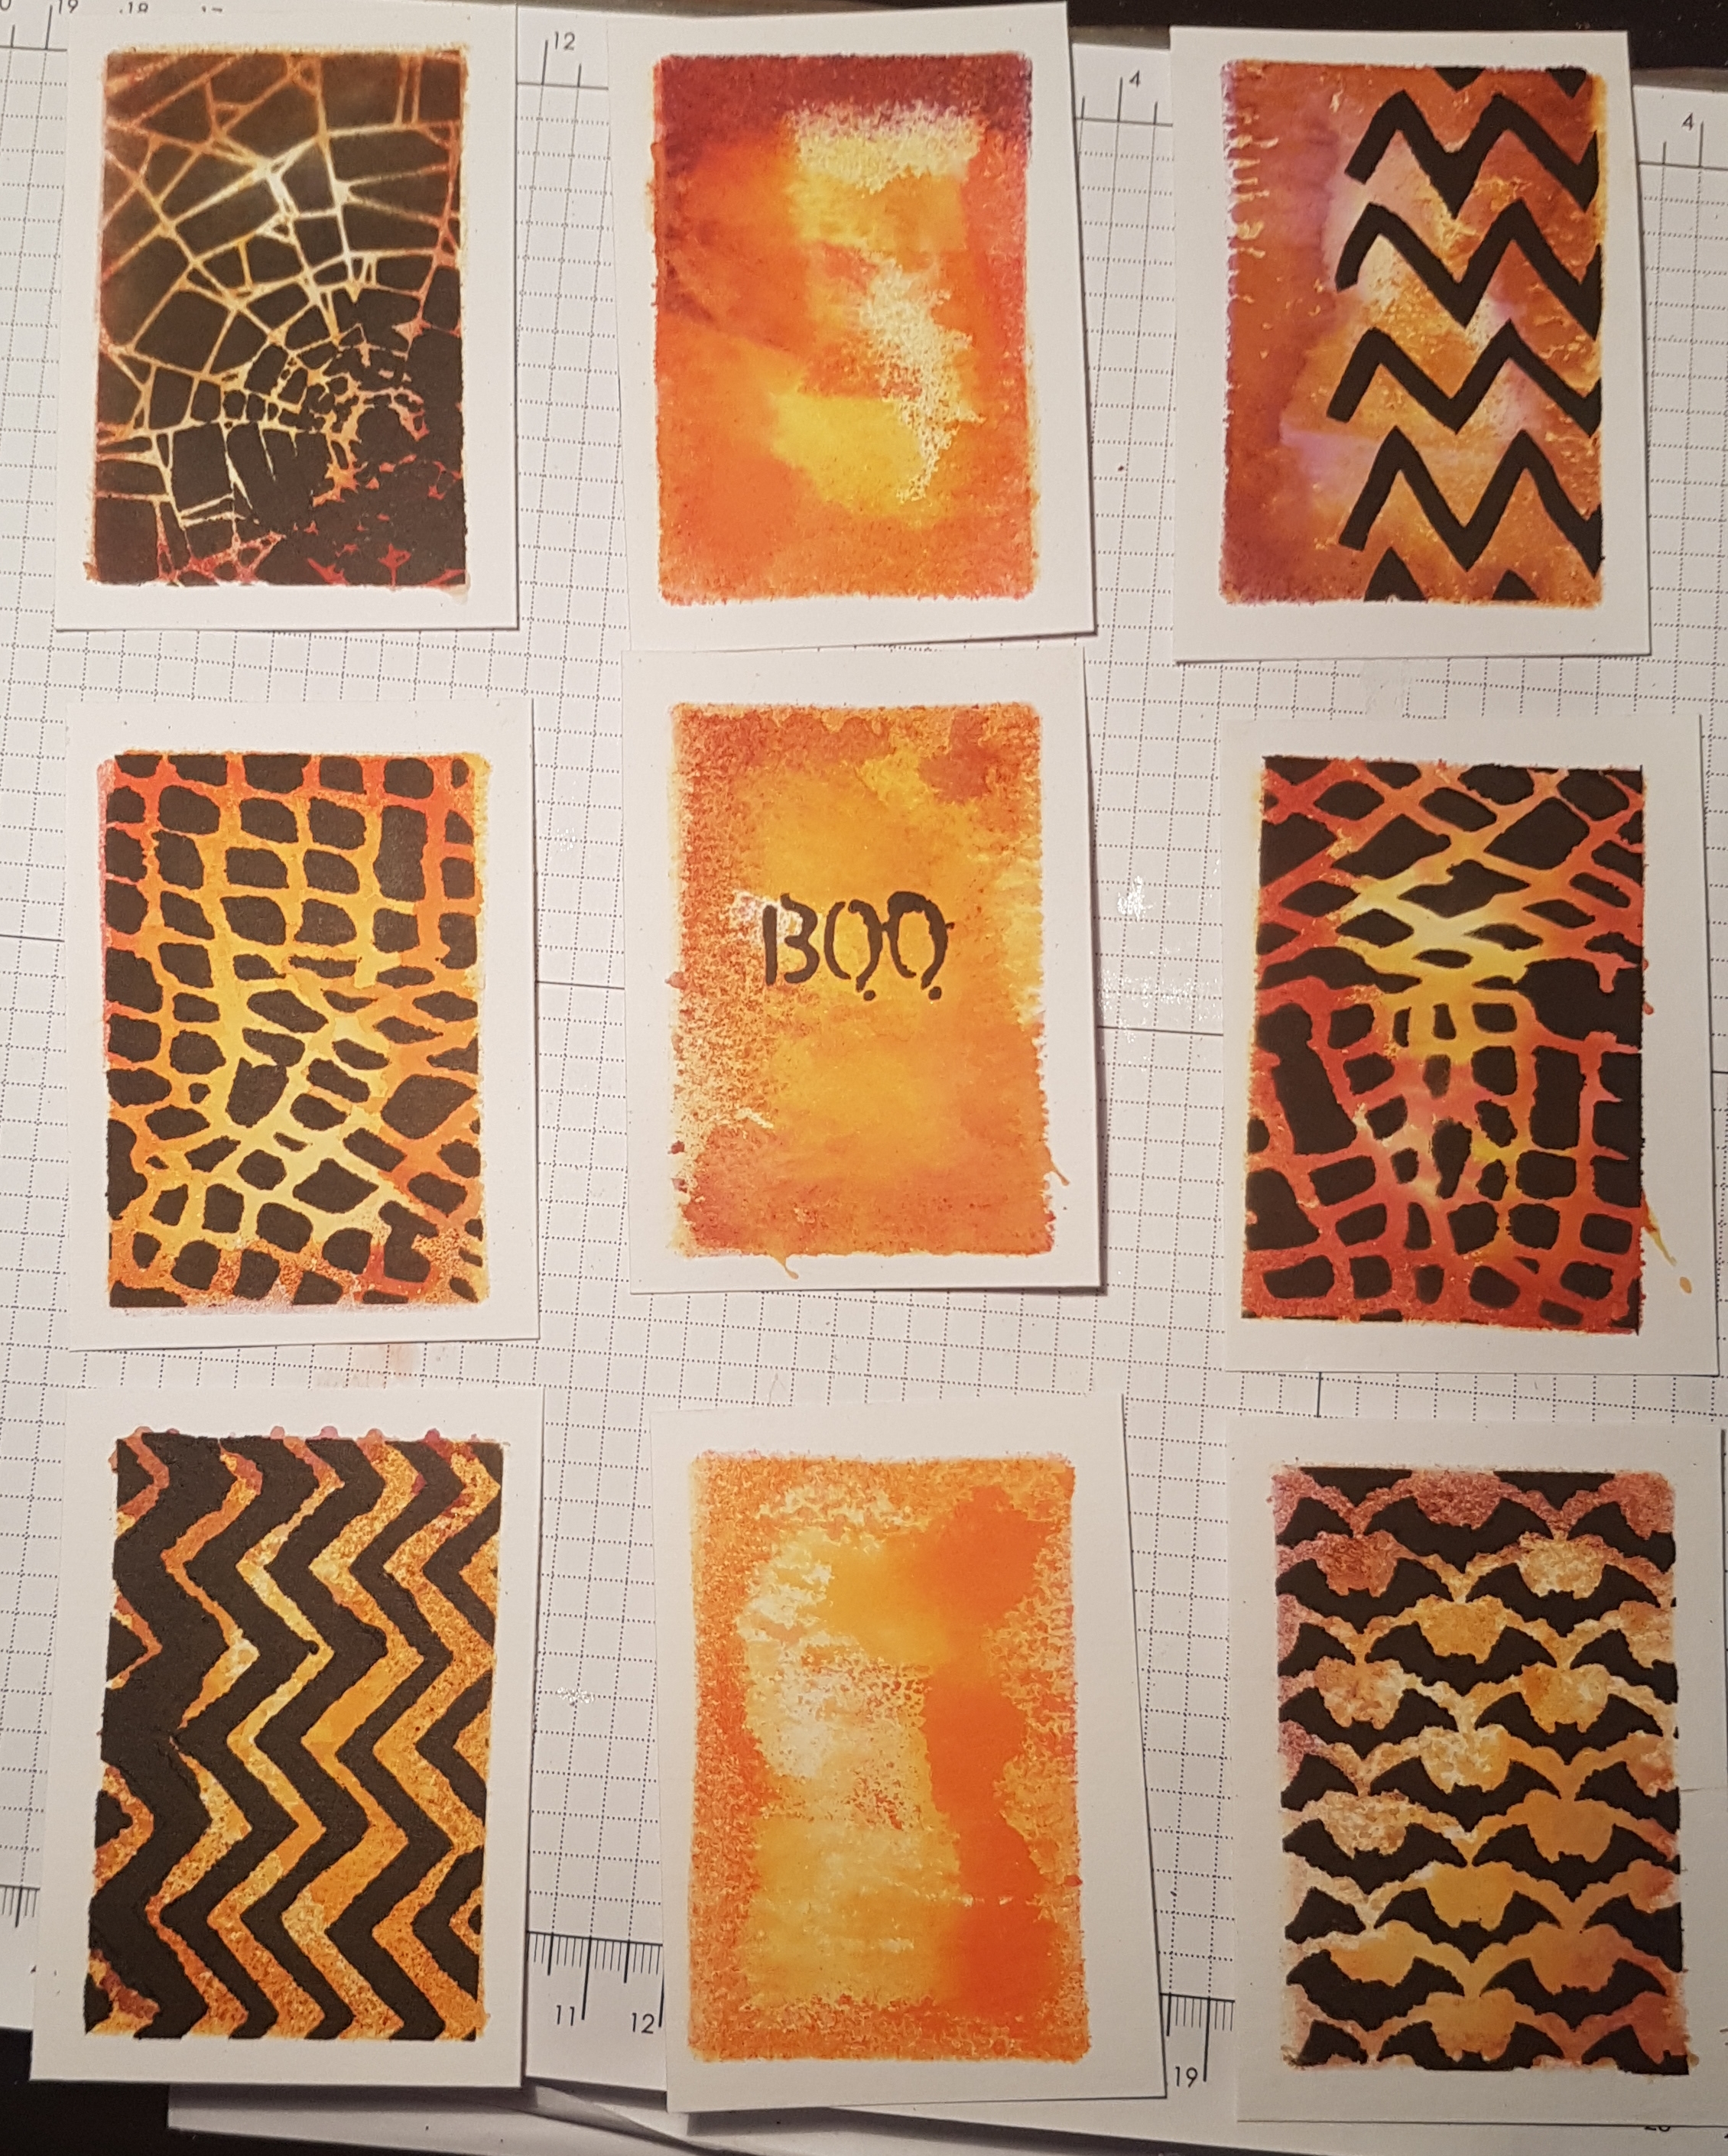
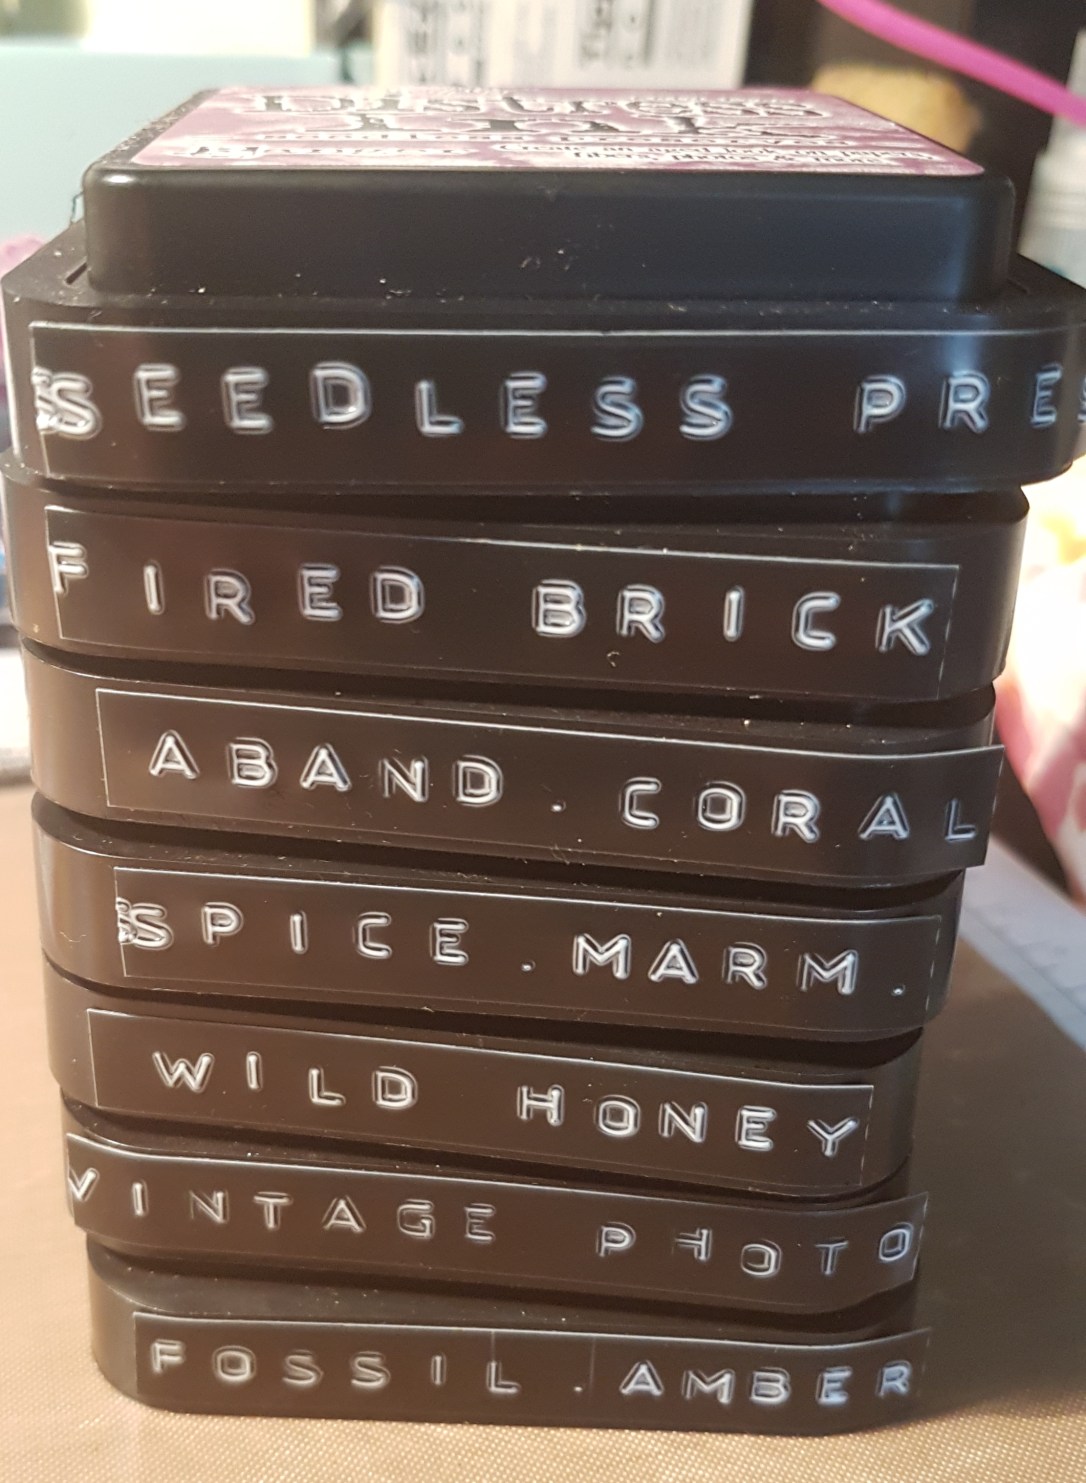
And determined not to just use my trusty oxides I decided to grab a selection of distress inks instead and my mini rectangle gelli plate. 

I love this technique for adding a simple background for atcs which has plenty of interest.
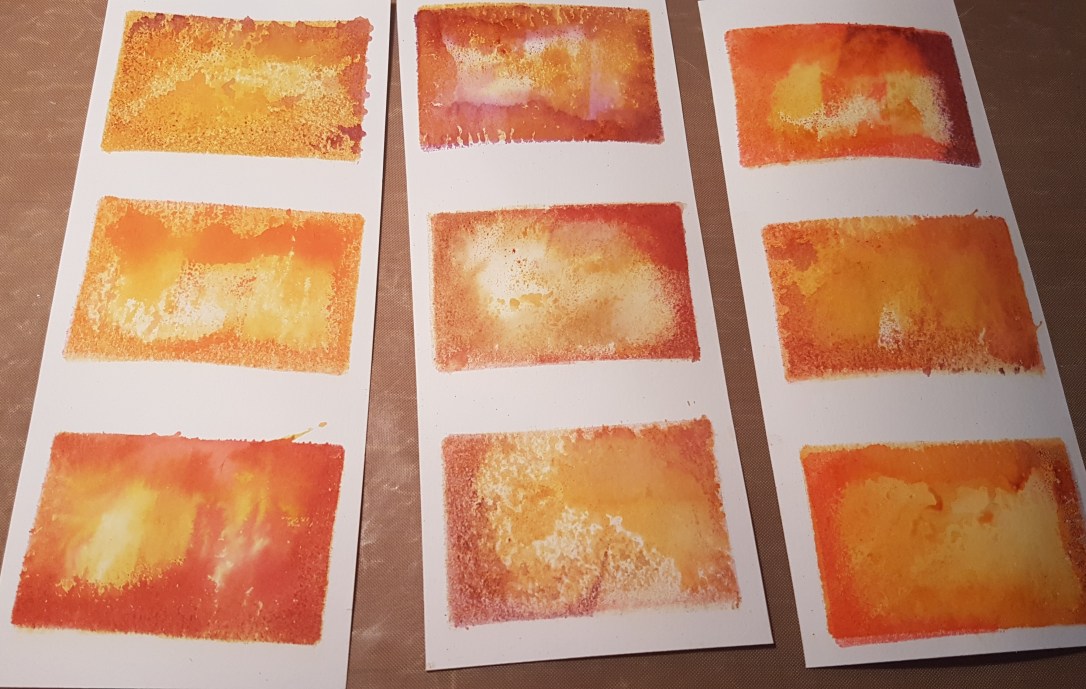
I added the ink and then sprayed water to the gelli plates and made all nine panels by layering the different colours.
Next I cut them up, masked the white edges and started applying black Dylusions paint through stencils.  I kept a few without stencilling too.  I made a mess on the one with the web later so made another one and didn’t add the web the second time.

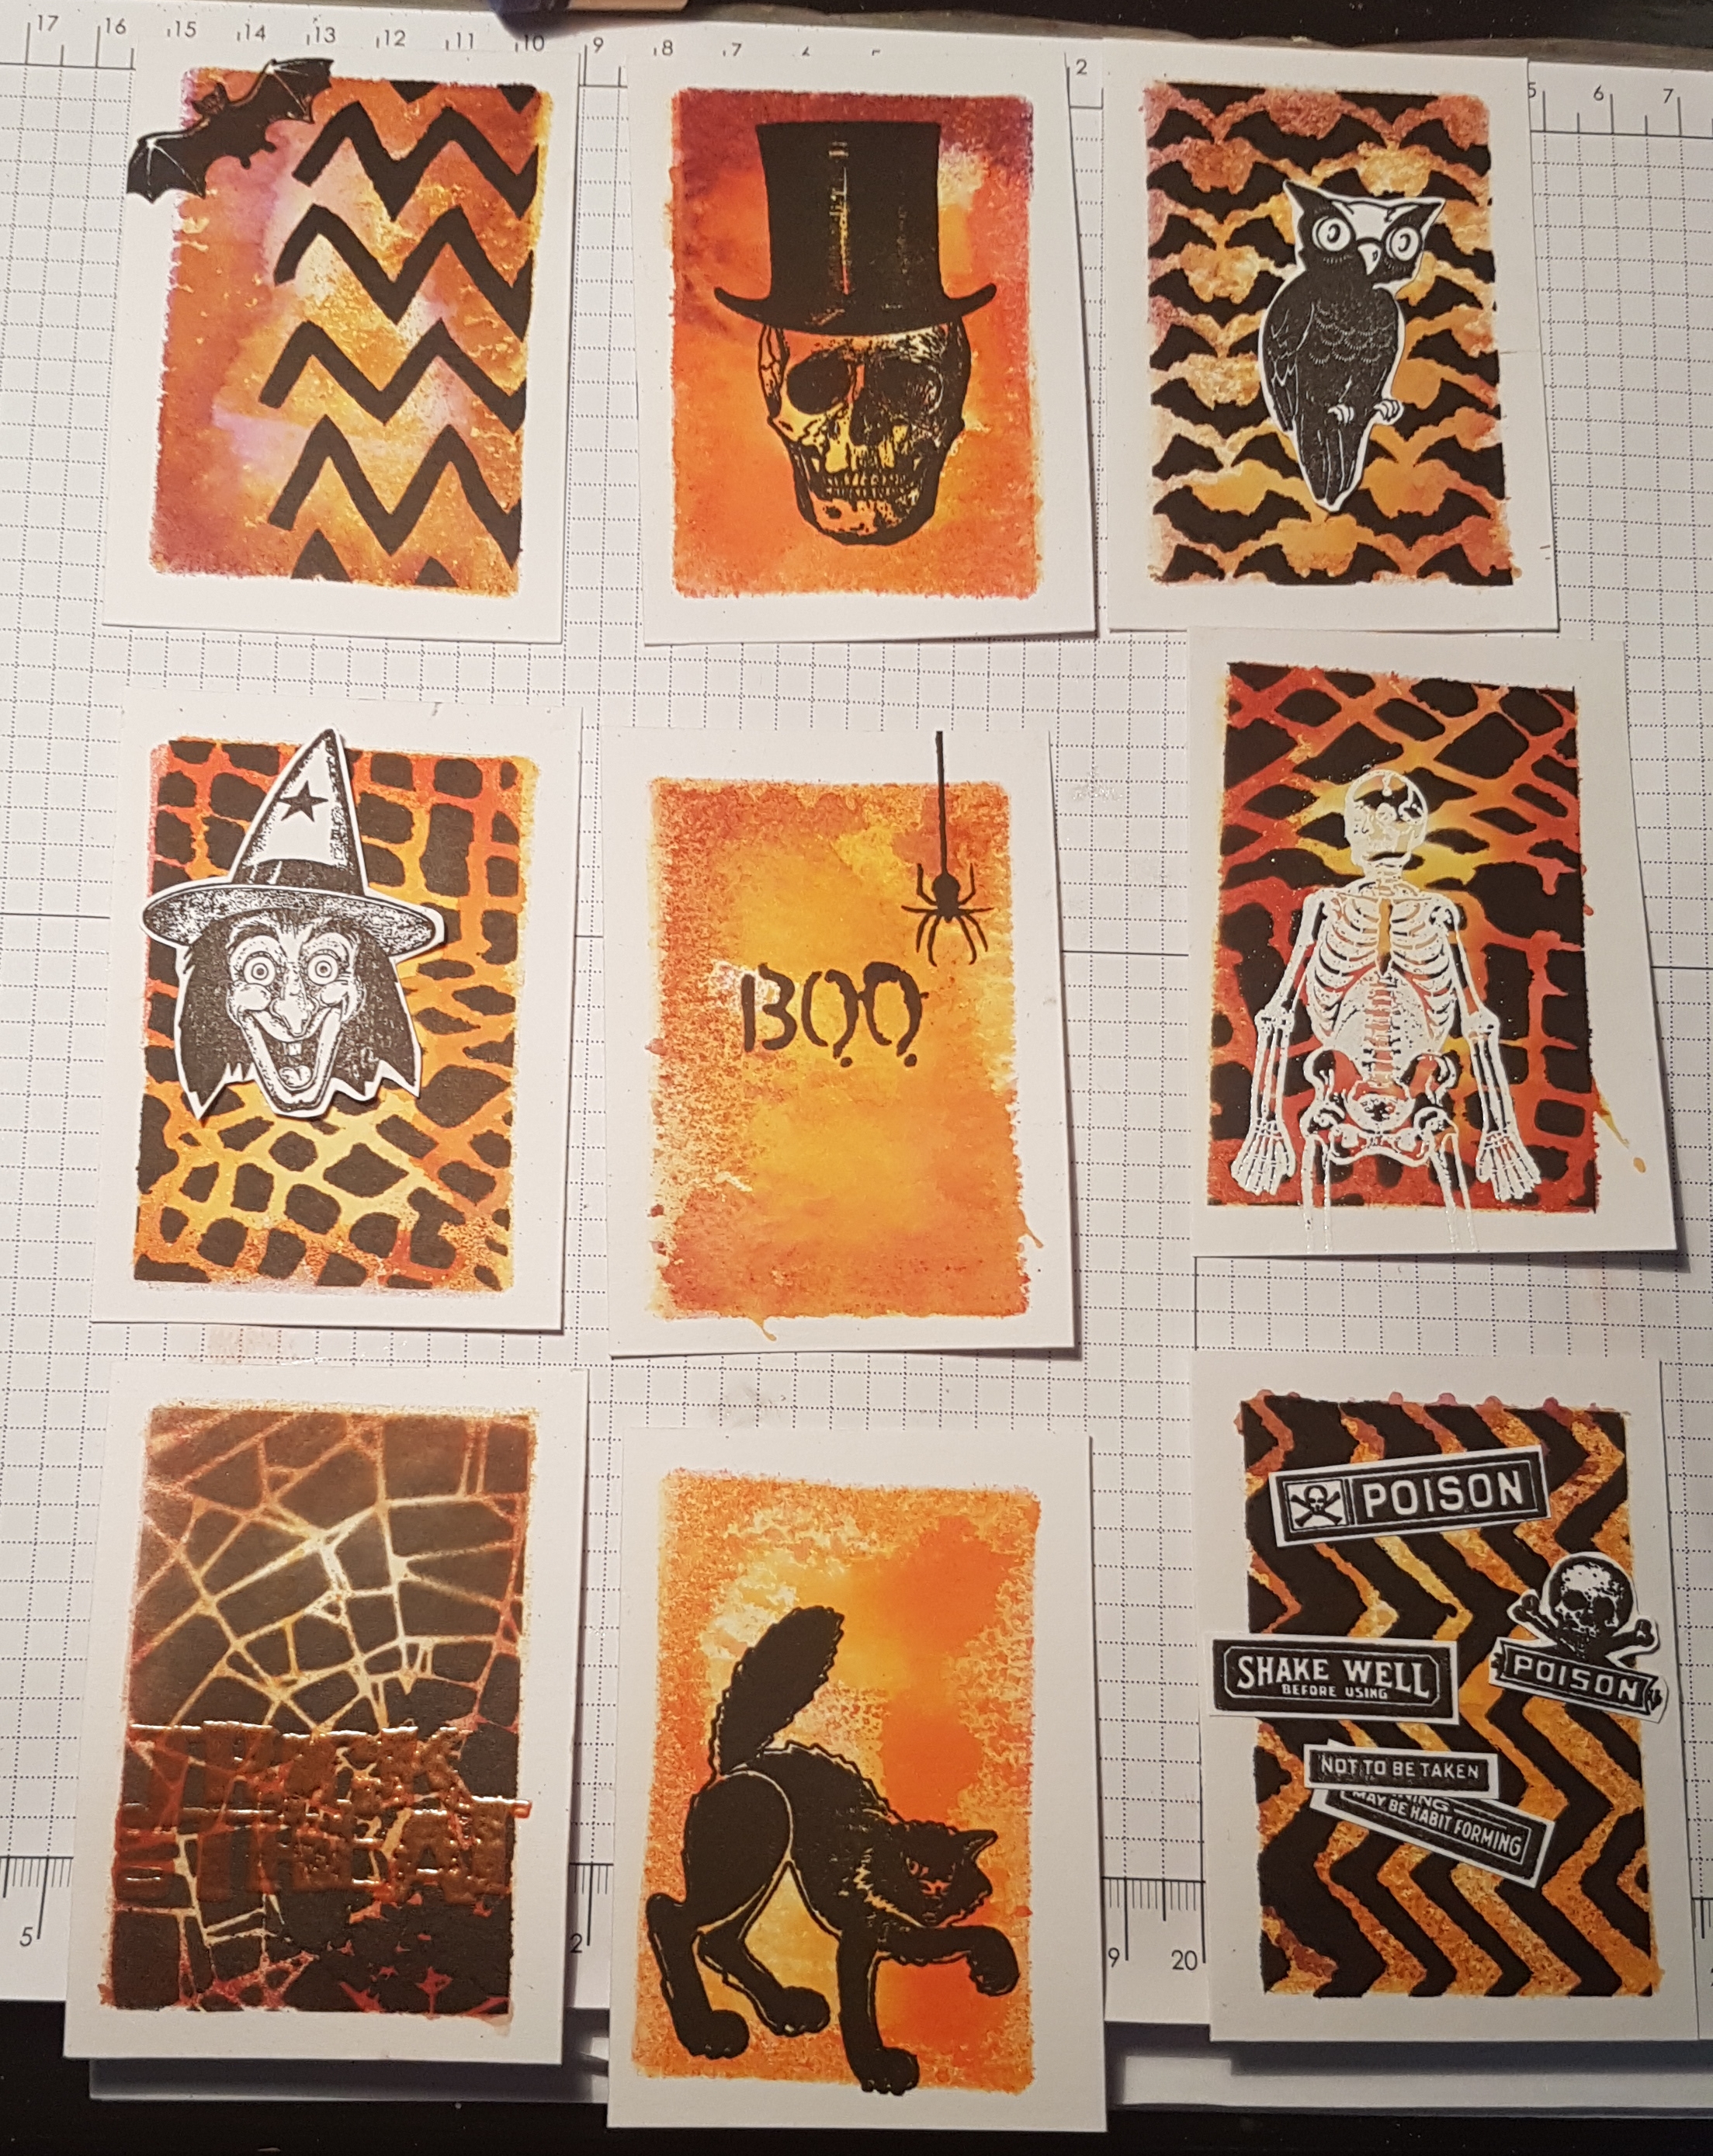
Next it was time to add stamping… some were stamped directly onto the cards, some embossed and others onto pieces of white card and then cut out.
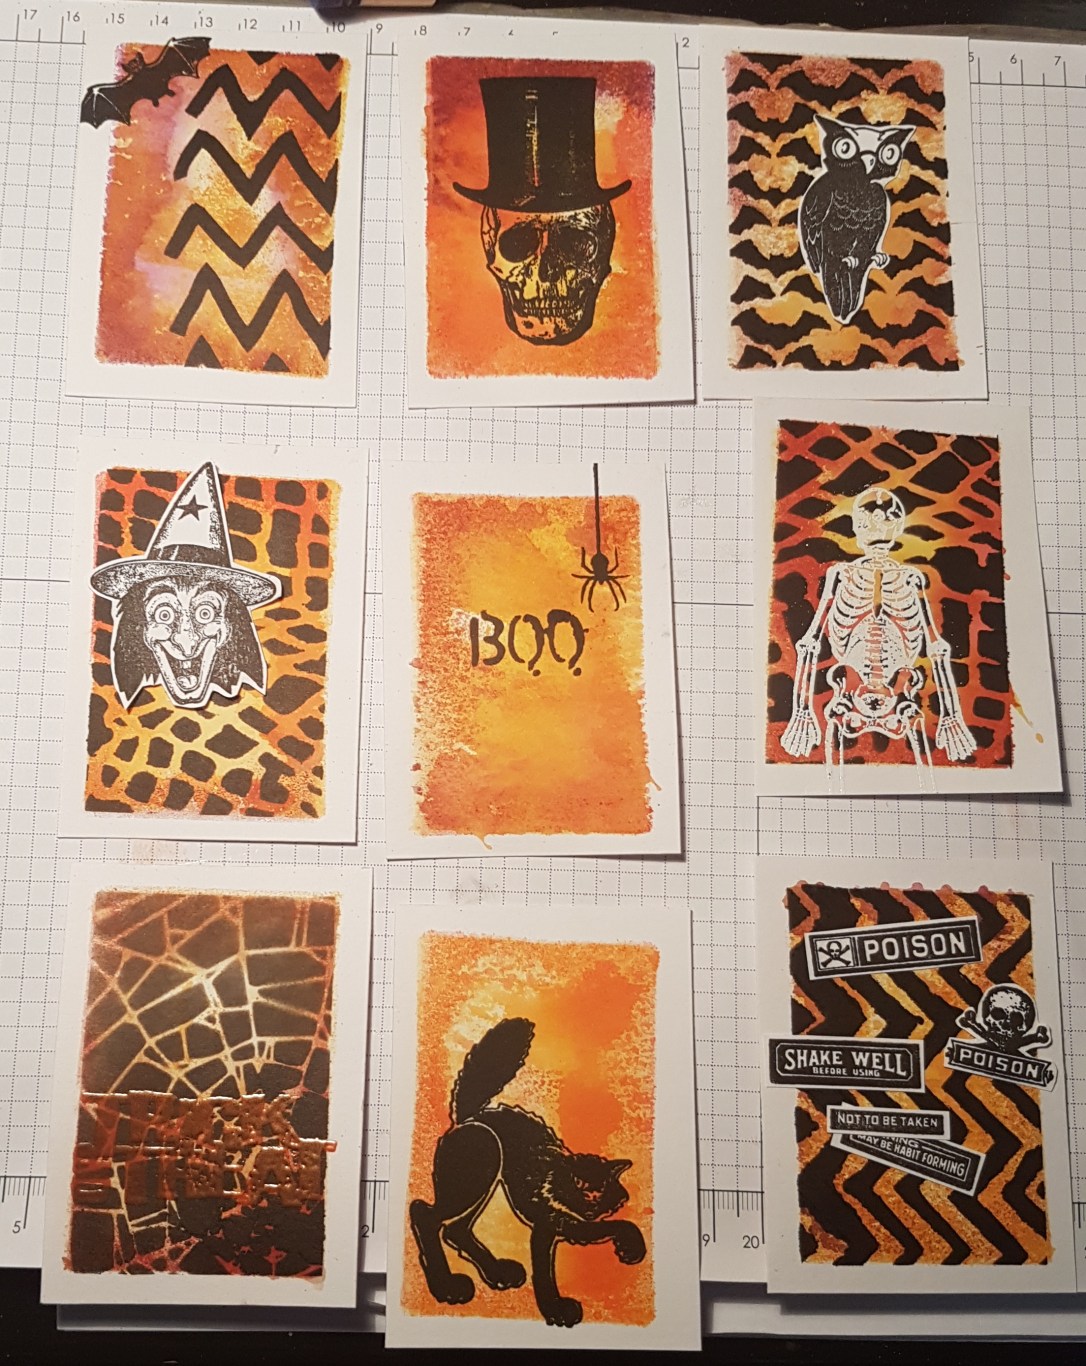
I then added a few extra features to some of the elements.  The pic above is before loose pieces were stuck down. 

I added hand drawn elements for embossing using the orange, clear and black embossing powders.  This added some extra fun to some of the images. I also added a little bit of water colouring for the witches face.  Next it was time to assemble and put them into the pocket letter.

I decided that a few needed some additional elements…. for some it was additional stamping and others it was some added bling… the cat even got some googly eyes! 

Here is how it finished up… 
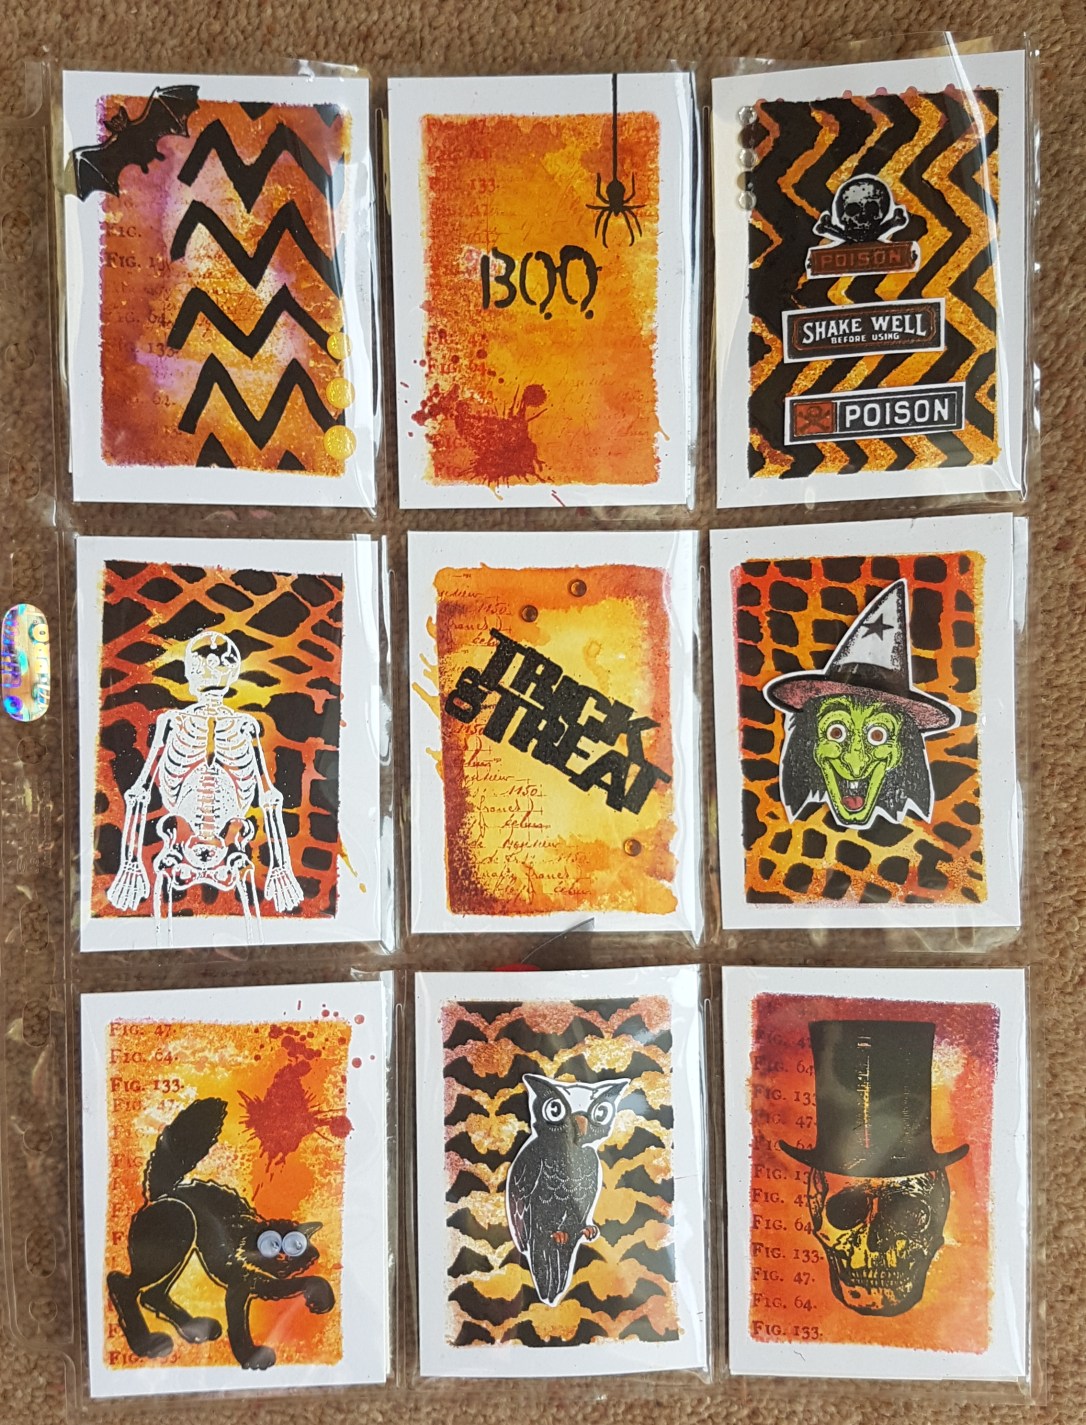
I really love how it looks with those arty backgrounds and the white edges.  I’m going to have to keep playing with the gelli plate to make more like this… maybe for Christmas ones? 

I added goodies to each pocket and a little note in true PL style and hopefully the recipient likes the full gift!   

And as for the challenge… well that’s another 9… taking me to 362! 3 more to go! 

Happy crafting! 

Catherine 

Brusho butterfly

This card is the finished card from the crafting session I held a few weeks ago.  I used versamark to stamp the base of the butterfly and then sprinkled on the brusho trying to keep it only on the versamark area before spritzing it lightly.

Once it was dry I then stamped on the rest of the parts and patterns of the butterfly.  To finish I added stickles and a layer of black cardstock to mount it.  I love the movement created by the brushos.  And love these colours.

Happy crafting!

Catherine

Playing in my journal… out of the box

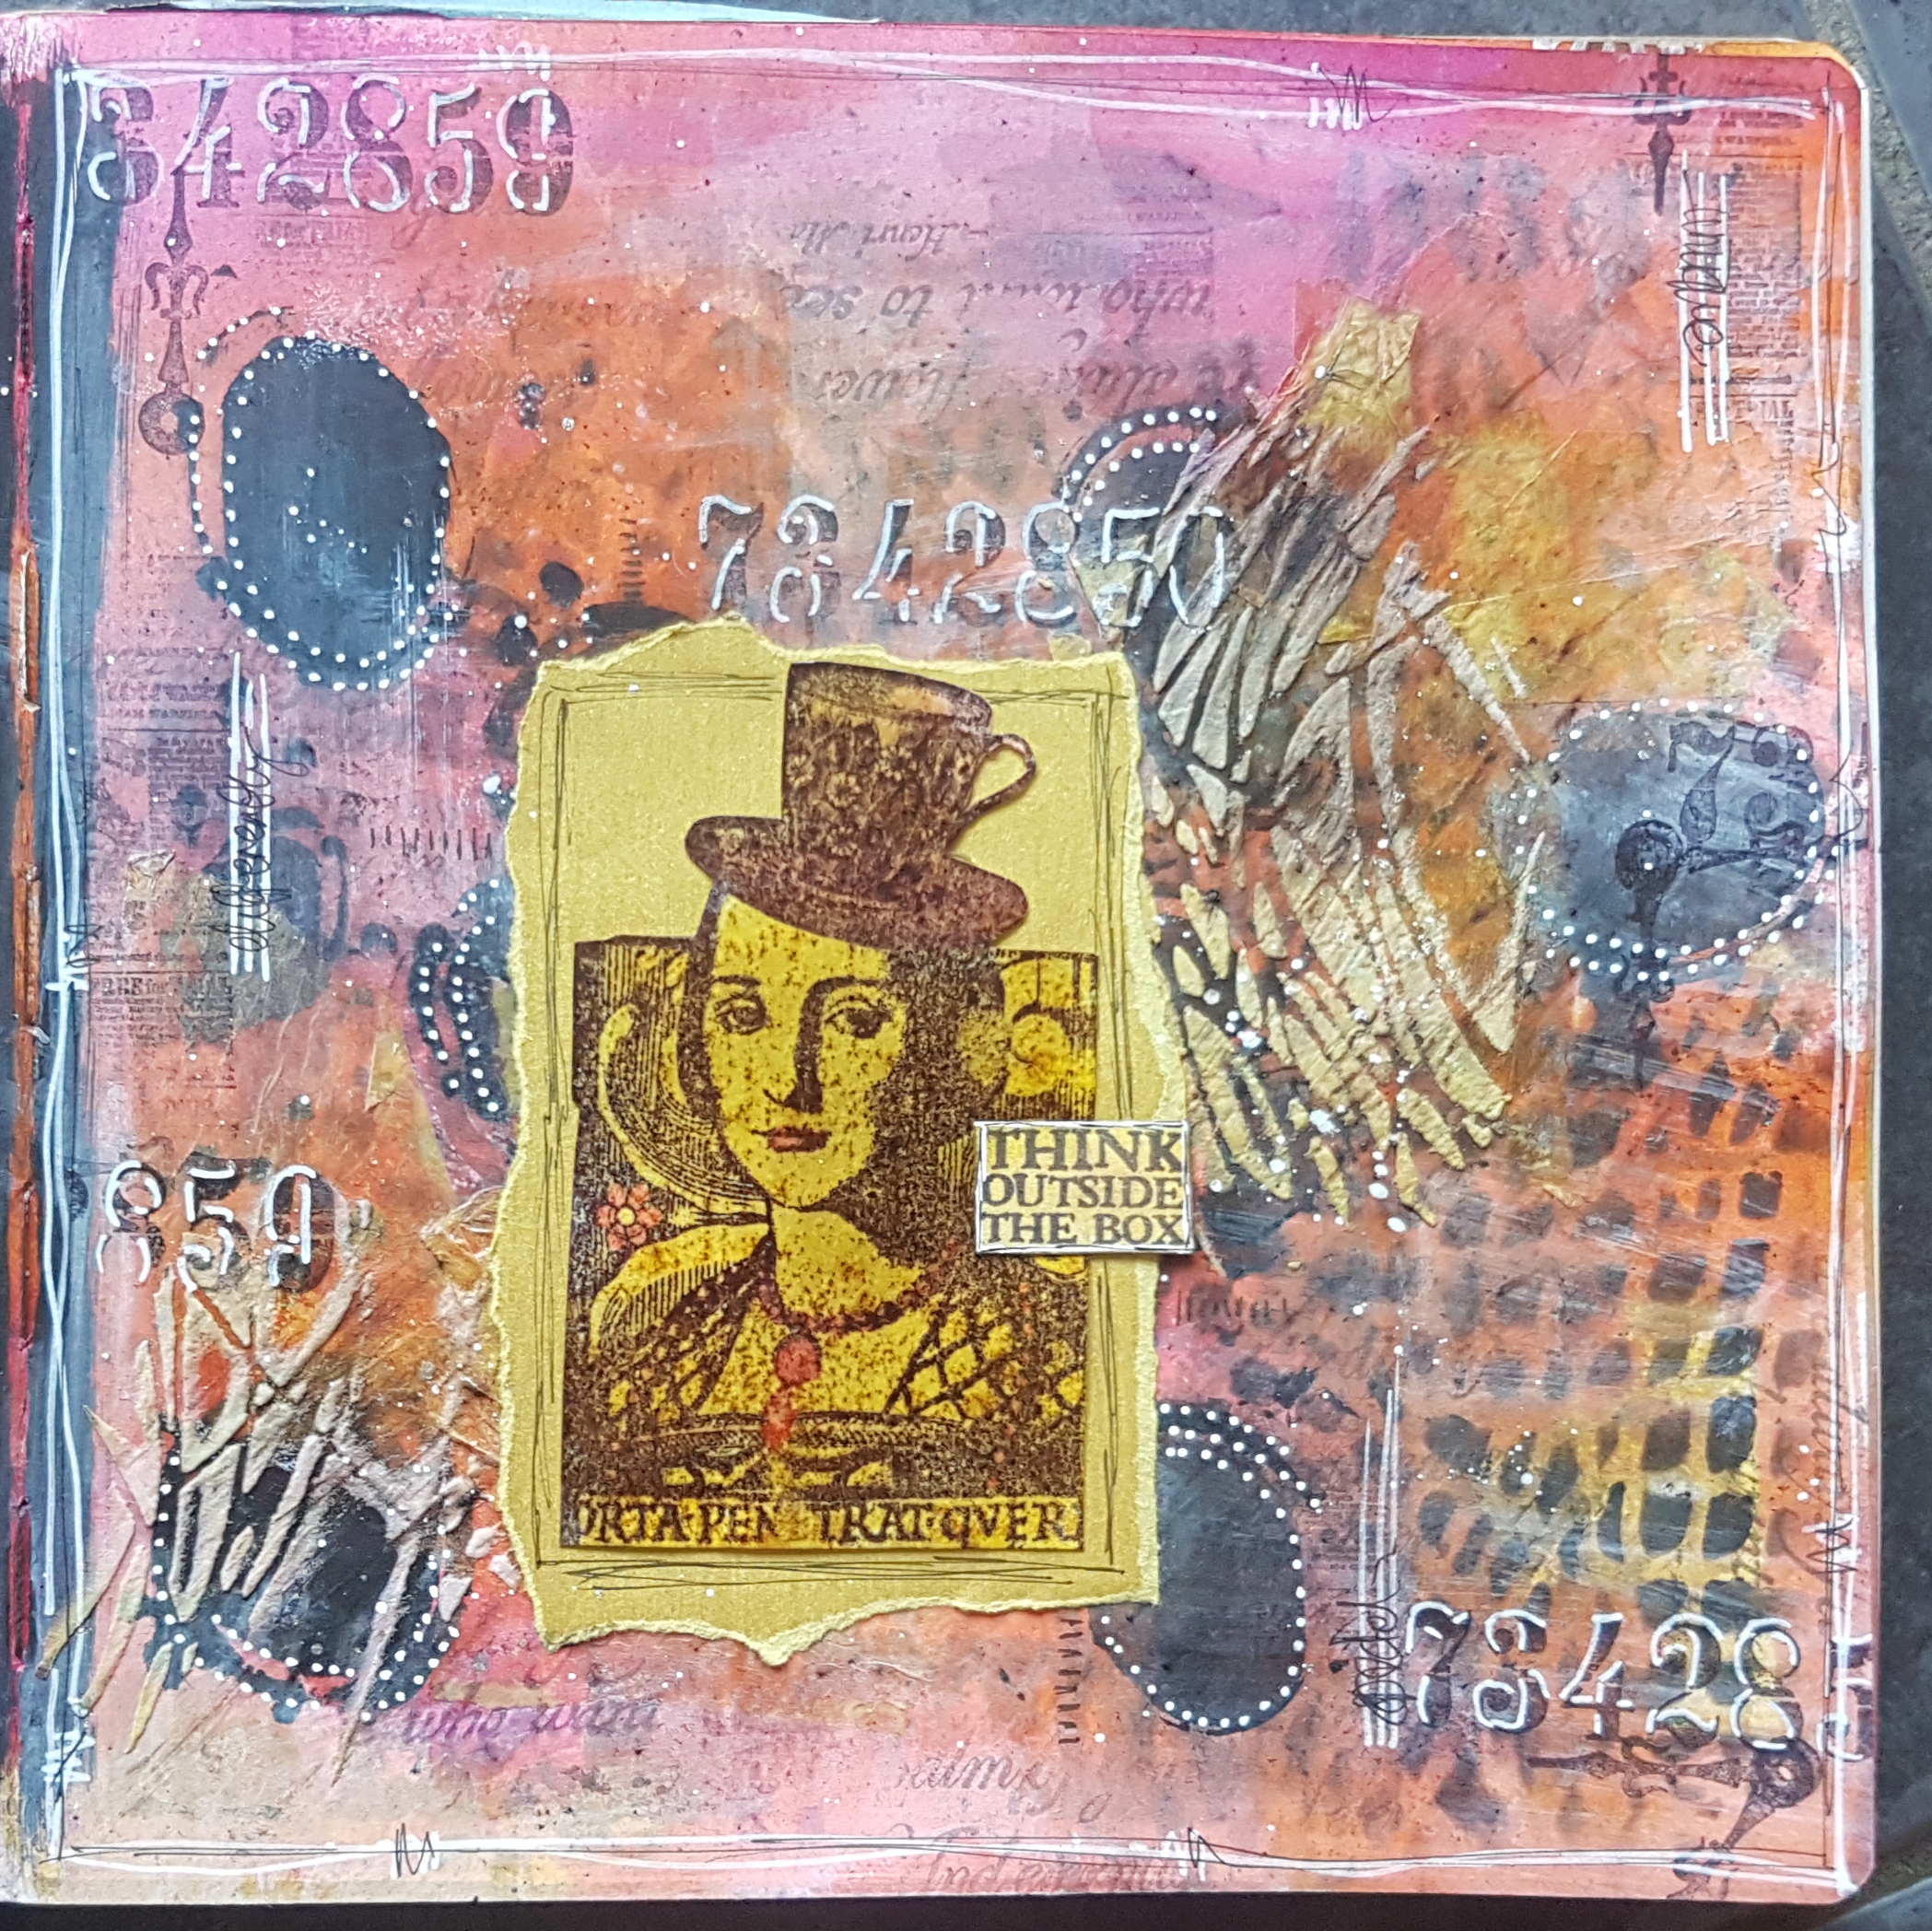
Today I’m sharing a video of last weekends playtime in the craftroom. I had nothing in mind when I sat down to play other than I needed to do something with colour! And the result… well I’m very happy with the final page. The video doesn’t cover the doodling which I did the day after to allow for everything to dry properly.

Here is the link to the video. 

Hope you enjoy watching the page emerge. 

Happy crafting!

Catherine

Swirly scribble framelit card

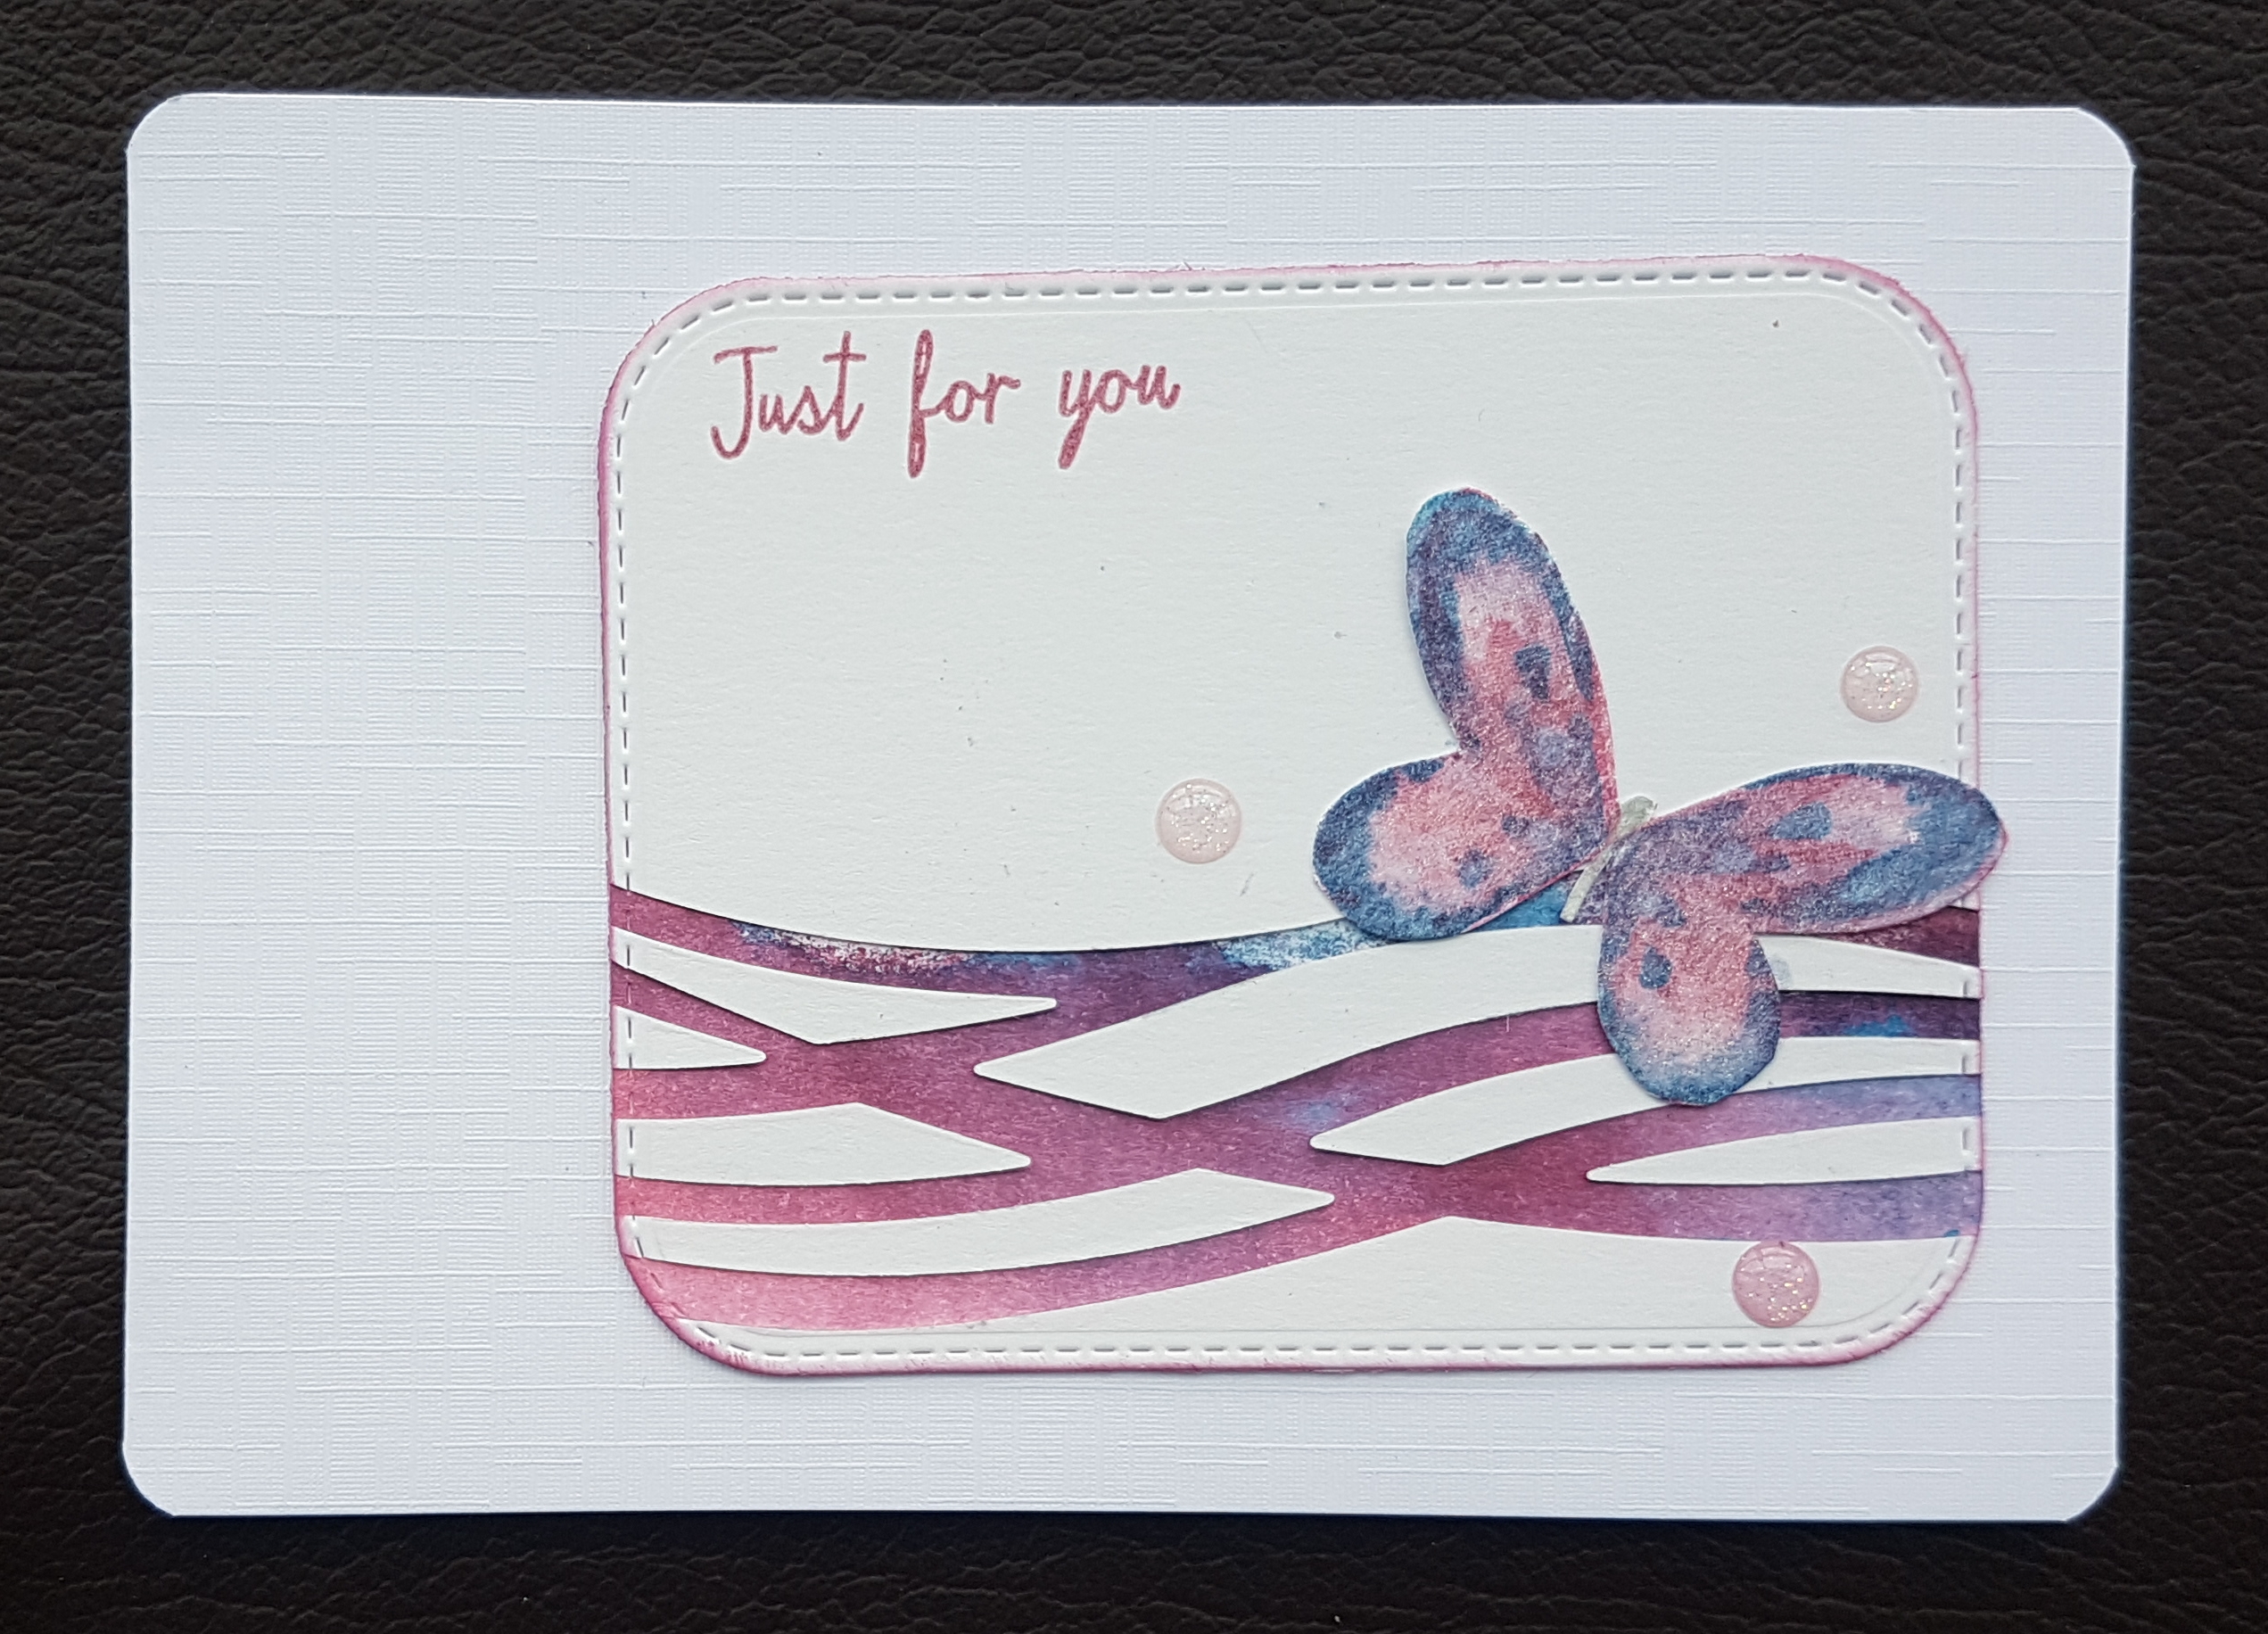
I saw an idea on Pintrest that I wanted to have a go at using the swirly scribbles framelits to peep through a white card to a colourful background. Of course I now can’t find the original inspiration pin. But thanks for the inspiration whoever came up with the idea. 

I created a background using a couple of inks colours and some water.  Then I layered up the white cardstock and cut two panels to the same size (larger than the final die I used to cut them out). 

Then I took the white panel and die cut the swirls.  I then sat the main die back in place and then adhered the two side pieces onto the background.  I then adhered each section back into the gaps before I then took out the die cut. 

I then die cut the panel into a card topper. 

I love how this came out and then added the butterfly from Watercolour wings and edged the panel with the same pink ink. 

Finally added the little glitter gems to embellish 

Happy crafting!

Catherine