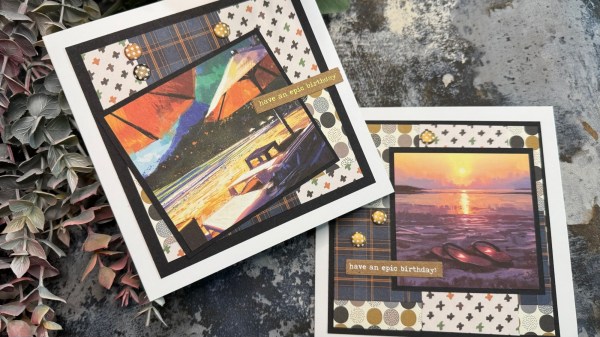
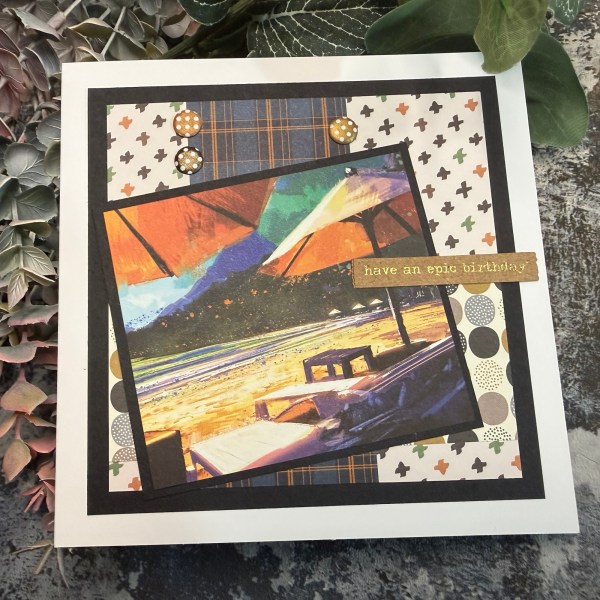
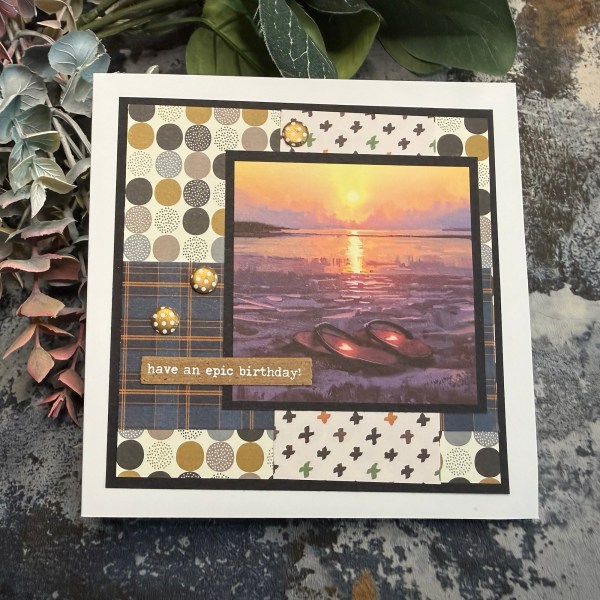
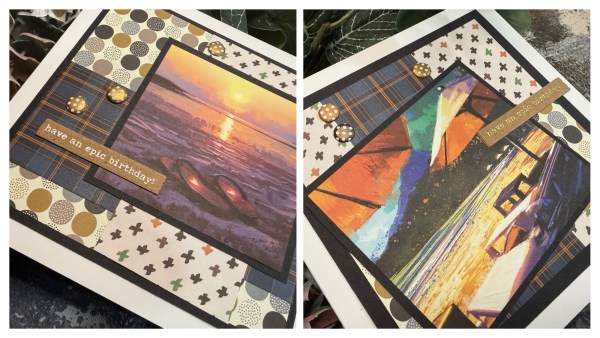
My challenge this year was to work through those Making Card magazine papers that I’ve had in the stash for ages … I had a few pouches left and decided not to take them into the new year … so here are two more simple cards using more landscape type arty card toppers and some masculine papers.
I teamed them with black layers and some card Candi.
I also chose foiled sentiments using the Dina Wakely press plates and dies to finish off.
I love the craft against the darker images and papers.
I also love the dotty card Candi which coordinate with that circular paper.
Quite simple cut and stick and layer type of cards but effective nonetheless!
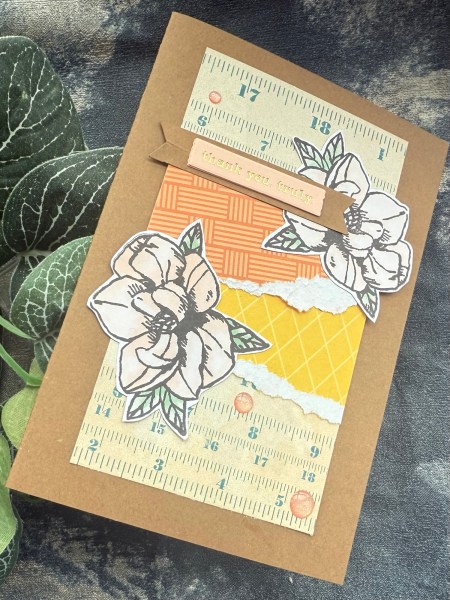
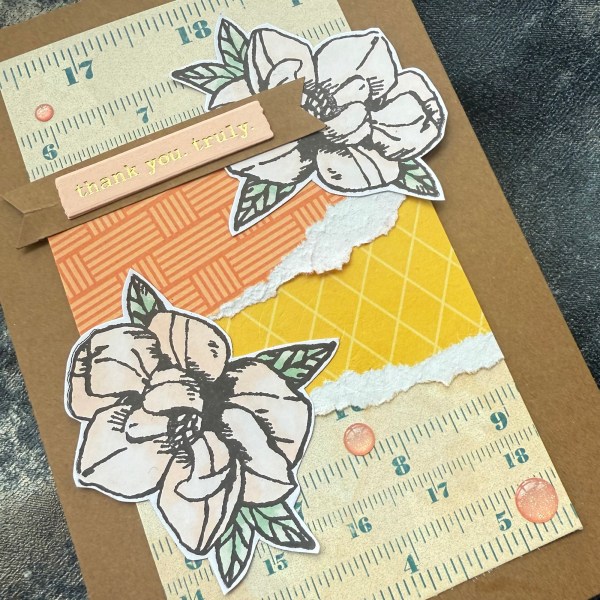
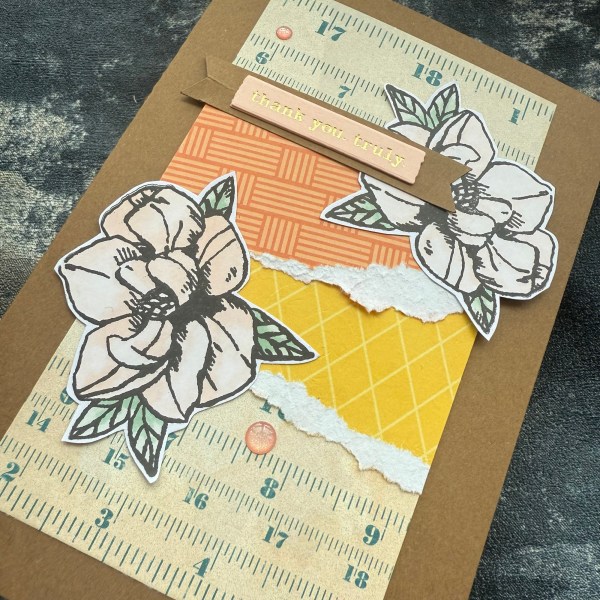
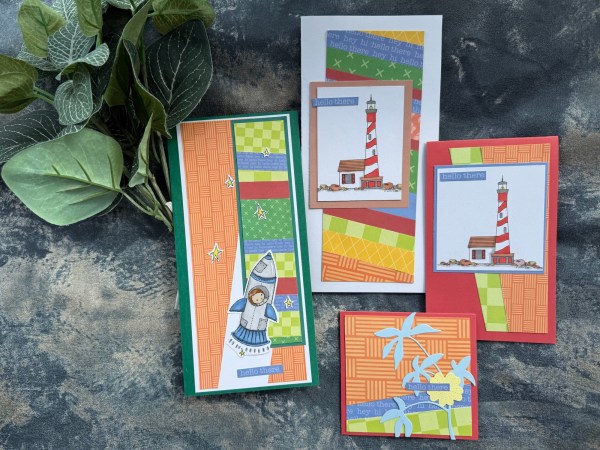
I am back with another ‘tidy up and use up stash’ project – I found a pouch that had leftovers of scrap papers I had made design team projects from for Kingston Crafts mainly using either the summer collection or the everyday papers and decided to make use of them as best I could … from this four cards made!
Aren’t they bright and cheerful?
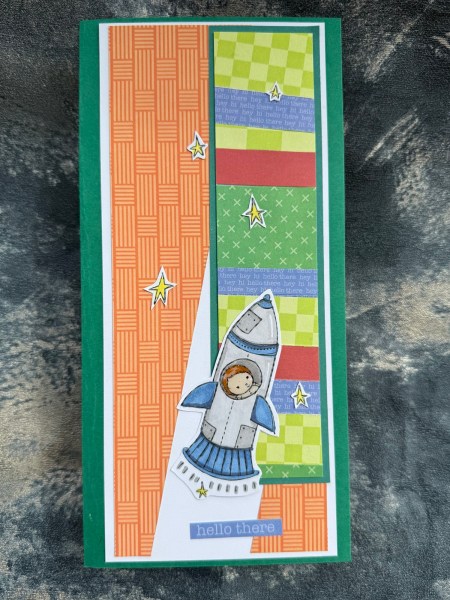
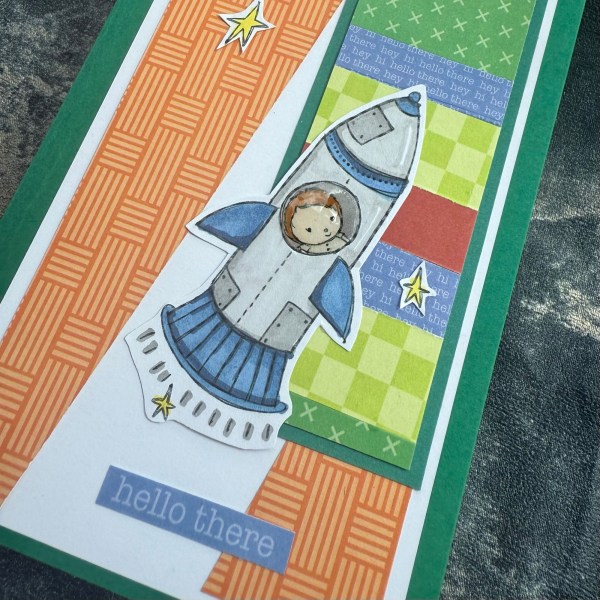
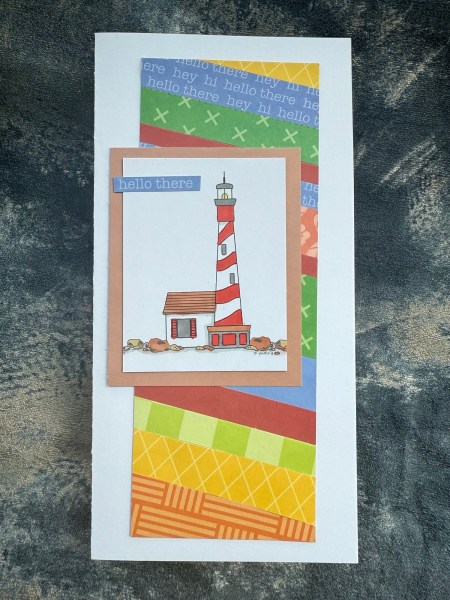
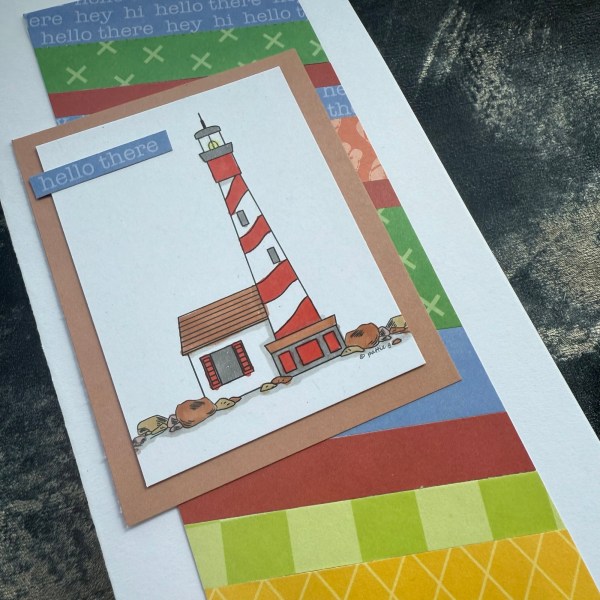
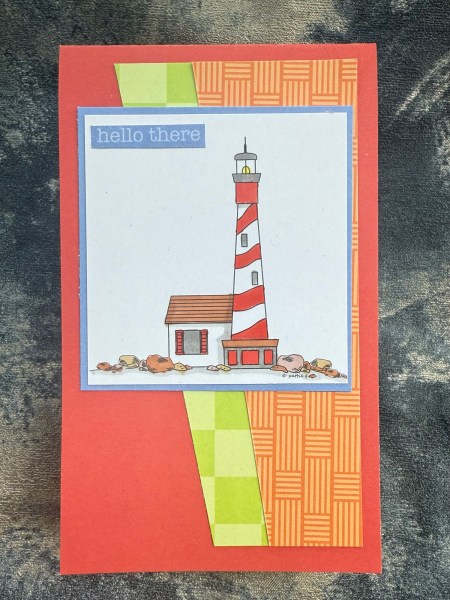
You will see two I went with the lighthouse digital image I had coloured on another occasion but never got around to using – and then that cute rocket image too!
I did a very slim strip of the patterned papers with the strips and then in the background two triangles leftover from a scrapbook page.
I then cut the Hello There out of the word paper.
I added glossy accents to the window for the rocket and then fussy cut it out along with those stars. So cute!
Kept with the strips technique for this one but a wider panel for the same DL shaped card.
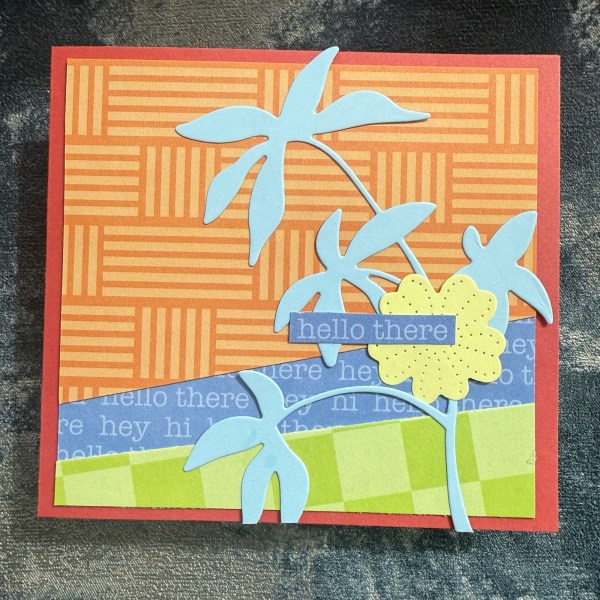
I then moved to smaller format cards… these were using some of the larger panels of cardstock left over!
Just two pieces of the patterned papers with the angular cut!
I then mounted the image onto blue which I think pops against the red,
The smaller one really is small … so just room for a die cut leaf and flower!
Love these cute and bright cards! And once again happy another stash of scraps and leftovers has been put to good use!
This month will likely be about finishing off half finished projects, using up pouches of stash and trying to tidy things up for the forthcoming new year … today’s post is very much one of those!
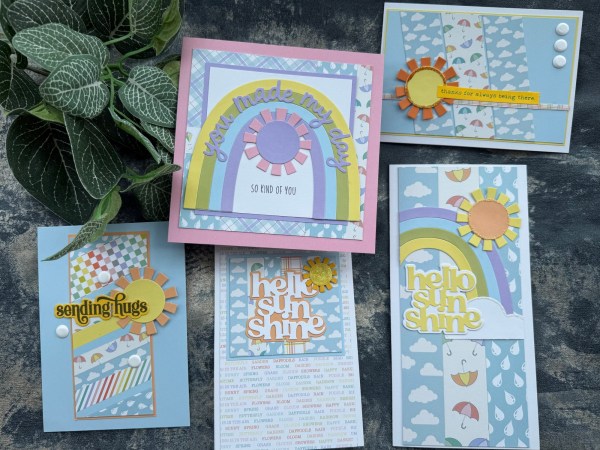
I pulled out what was left over from the spring slimline cardstock I got a sample of for making my design team cards and enjoyed making these five cards using the fab Concord & 9th dies.
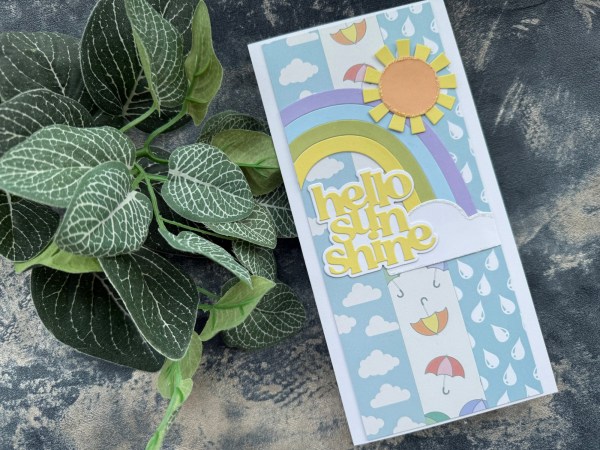
Let’s start with the DL shaped card …
This one I used three stripes of the paper to do the background to the die cuts. I then chose a rainbow I had made using the yellow, green, blue and lilac cardstock.
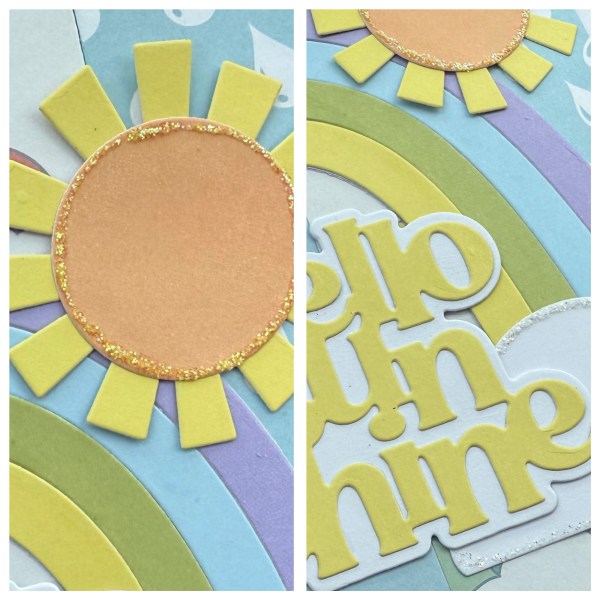
I cut a cloud shape and then also one of the suns from the set too.
Then I die cut the sentiment from the yellow with a white background die cut – I love a layered sentiment die!
I adhered it all together and then added glitter glue round the centre of the sun and the edge of the cloud.
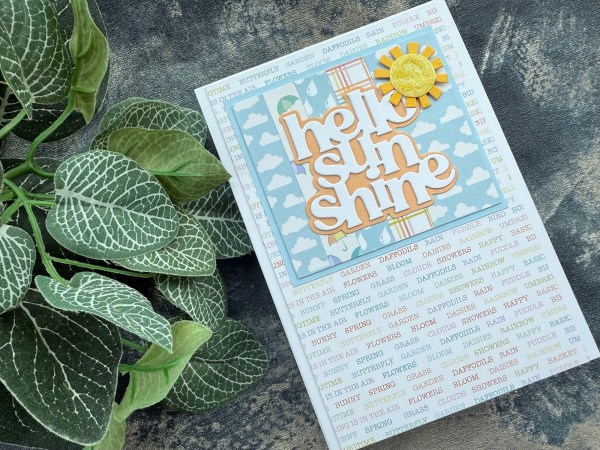
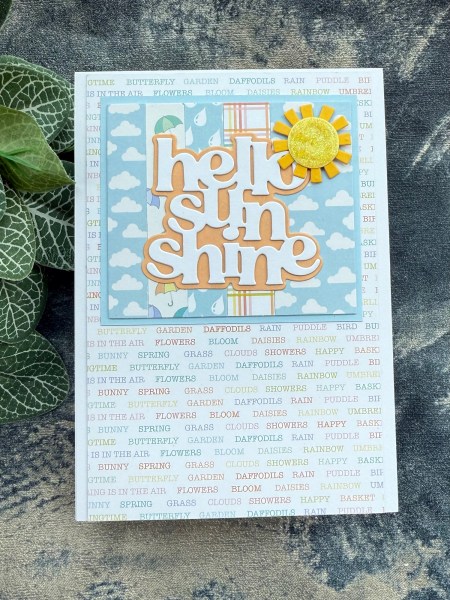
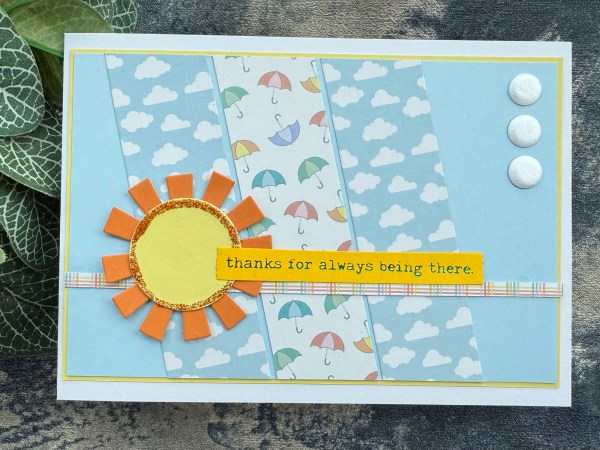
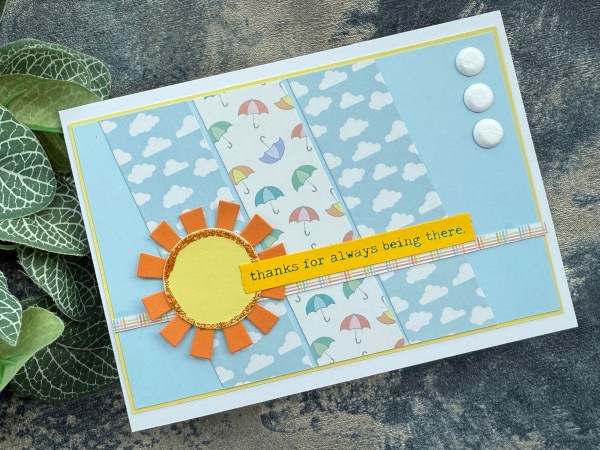
Next up I carried on with the striped panel theme but this time just a small panel as a topper on a different background.
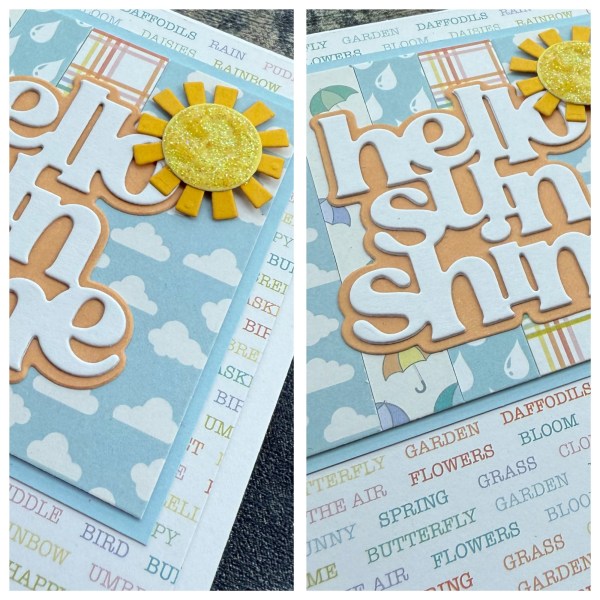
This time I chose the sentiment to be more of a focal point with white words and the peachy orange background.
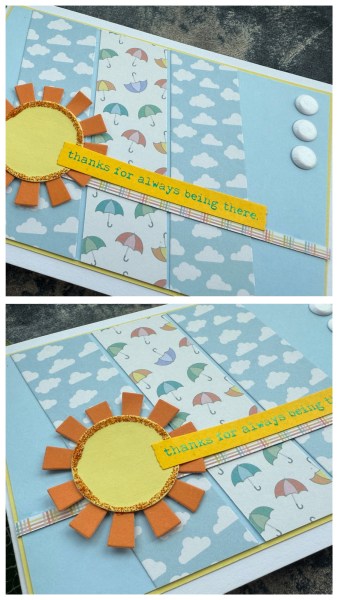
I added the smaller sun as the die cut element and added glitter glue to the central part so it is super sparkly!
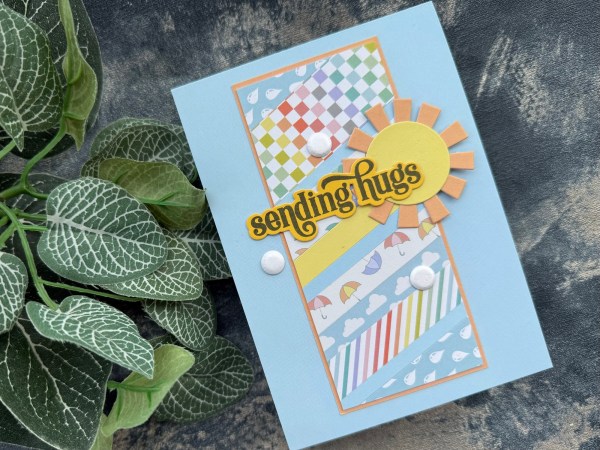
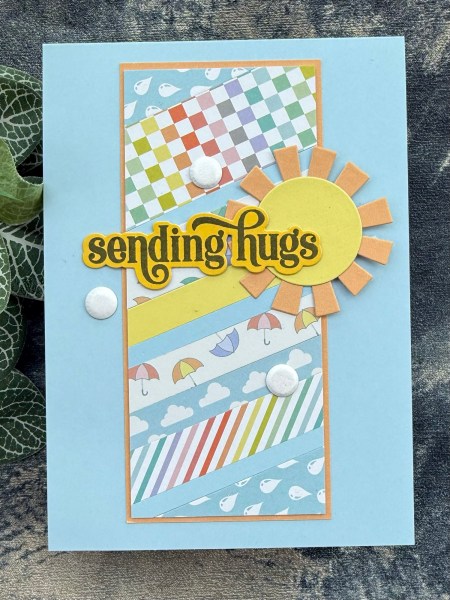
Next I used the strips of the cardstock to create a fun angled background panel.
This, along with the panels of the pastel cardstock from Kingston Crafts created a lovely base for the sun die cut.
I added glitter glue around the outside of the circle part of the sun and then grabbed the glimmer foiled sentiment. I also added the cute card candi to finish off!
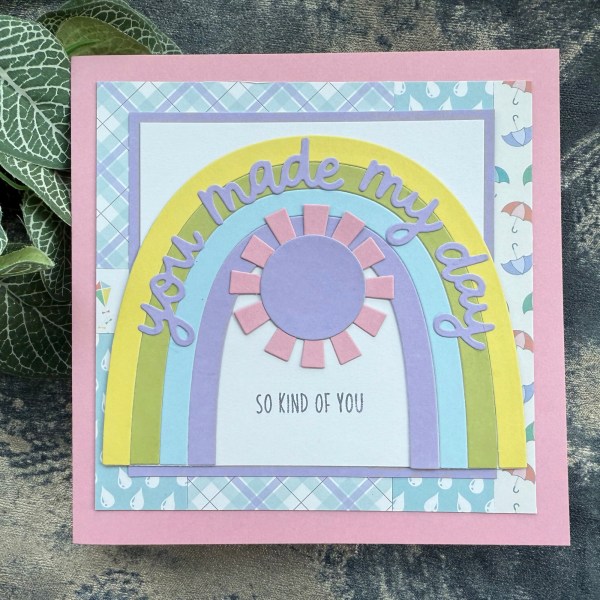
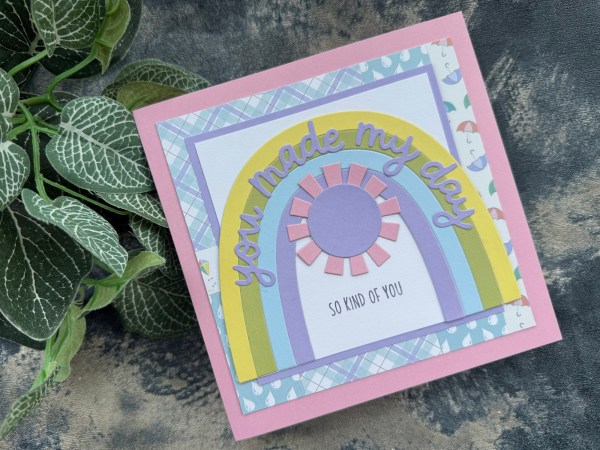
Ok next up the square you made my day card…
This time lots of leftovers of the paper glued onto a square panel and then I created the square in the middle and added the gorgeous rainbow.
I added the die cut words which are from the same set using the negative die cut to position them.
I then added the funky pink and lilac sun to go with the colours on the card and stamped the little sentiment from another Concord & 9th set.
Lastly the left over strips from the kit – my usual technique of just creating stripes across a panel – this time adding in the blue and yellow stripes too – then added the fun die cut sun and the Altenew stamped and die cut sentiment with the card candi to finish off!
It was also fun to do this onto the blue card base too not a white one – inside I added a white panel for writing on along with another leftover strip of the patterned paper.
It was fun to do these rainbows in pastel colours rather than brights – and very cute to team with the spring slimline papers too I think! I still have a few ready made up rainbows too so they are left in the pouch ready for next time I fancy going rainbow! 🌈
I have only got a bit of the slimline papers left now which makes me a little sad – but know there are similar colours in the Hello Life EDS set so may have to pull them out to play with soon 😀 – but also happy as one of the main aims of this batch of cards was to get stash used up and this is one pouch of supplies that is almost finished – and that makes me feel good!
Yes I am late with my Make it Masculine card for November – but better late than never right?
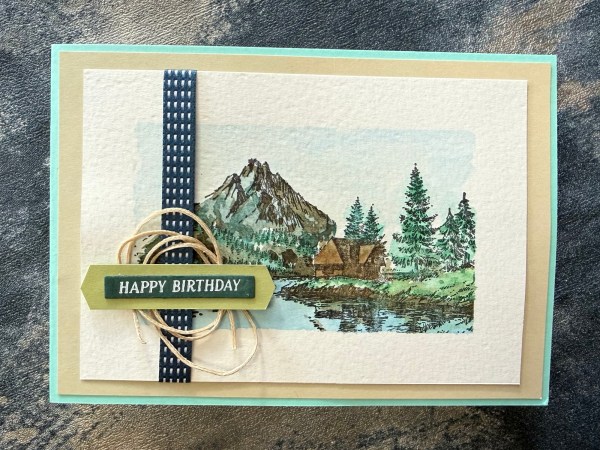
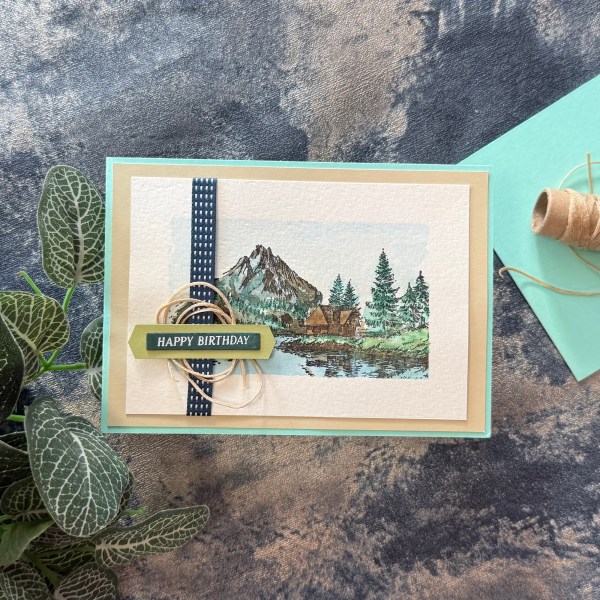
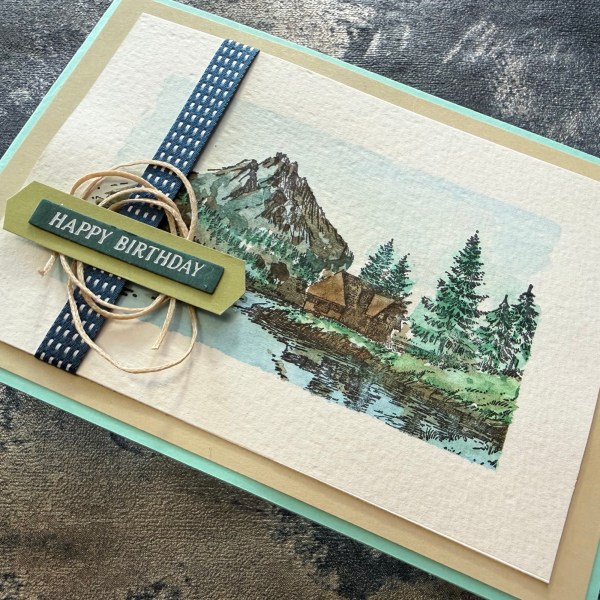
I decided to use Creative Stamping Magazine stamp to create a scene and did some water colouring.
I videoed the process for you to watch. But here are the close ups!
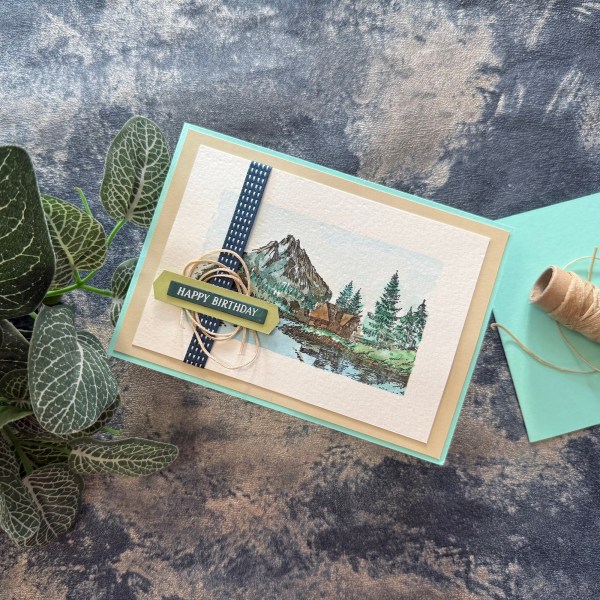
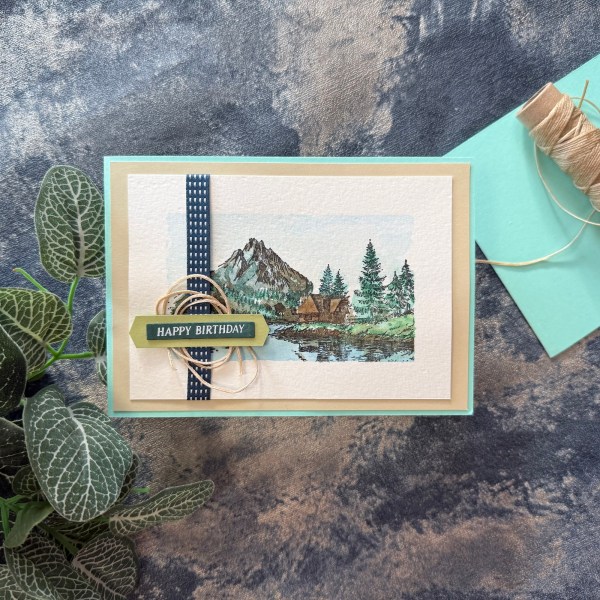
I wrapped the ribbon, added a foiled sentiment and a little label with a thread nest to give some separation from the image.
I then chose a sand layer and a turquoise blue for the base to bring the colours all together.
Love this card – certainly suitable for either gender so it counts as a Make it Masculine card!
One more MIM project to do this month and I will have completed my challenge for the year! Hurrah! Actually although I still don’t enjoy making cards for males (where is the sparkle and pretty stuff?) I haven’t disliked any of the cards I have made – in fact I actually feel pretty proud of the ones I have made! (some might even be within my favourites of the year!)
Still undecided on whether to keep going with the challenge for 2026 – what do you think?
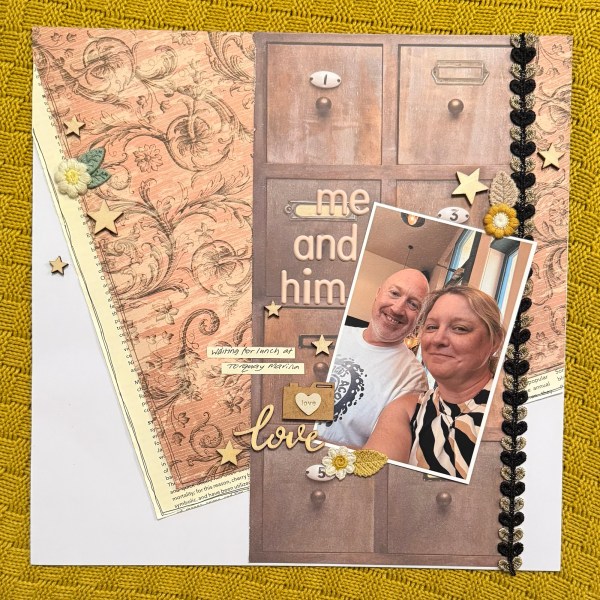
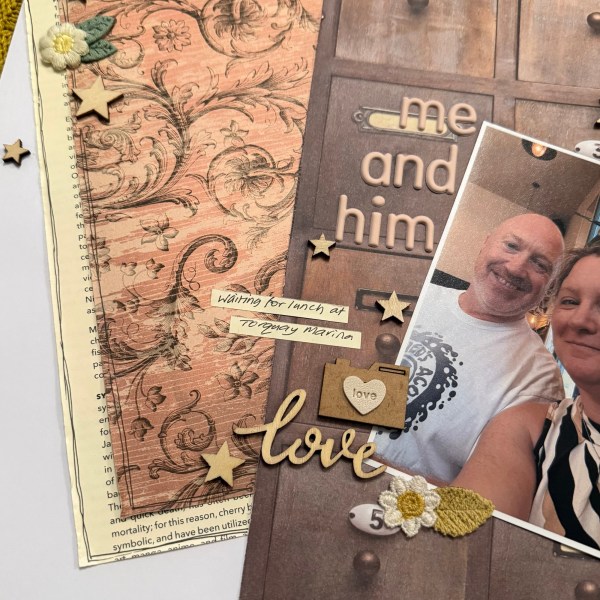
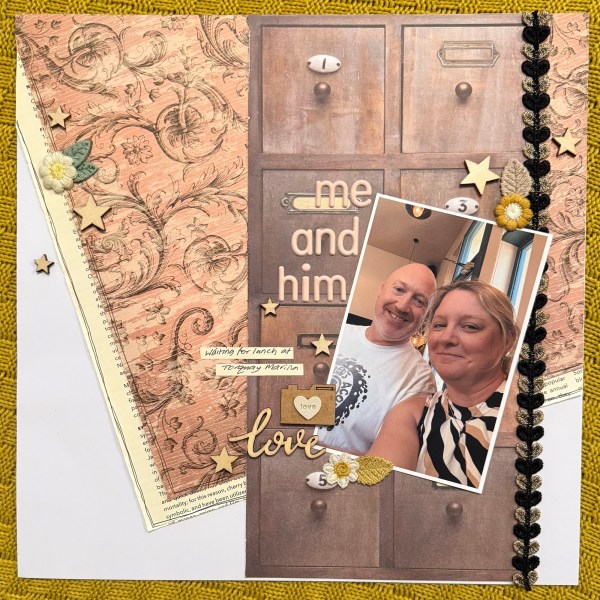
Today’s page was the final page I made at the crop in November- this time not a page kit – but instead using very old papers from the stash!
I scrapped a pic of me and hubby on our holiday in Devon in July – and I went with the colours of my dress to try and bring those tones into the page with those papers.
I loved the angled pieces and then that block of wooden drawer paper to bring the page to life.
I then grabbed Hey Little Magpie embellishment kit stash I had with me to use on the page.
I might have then had a little second mooch in the Hey Little Magpie shop Sarah brought along to get the letter stickers to finish off the page!
Loved putting this page together – a real contrast too from the two previous Scrappin Saturday posts which were very Christmas themed!
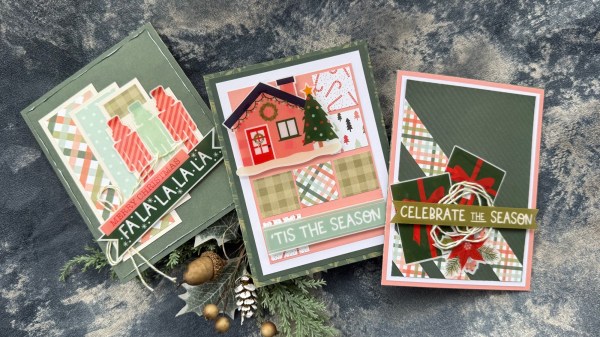
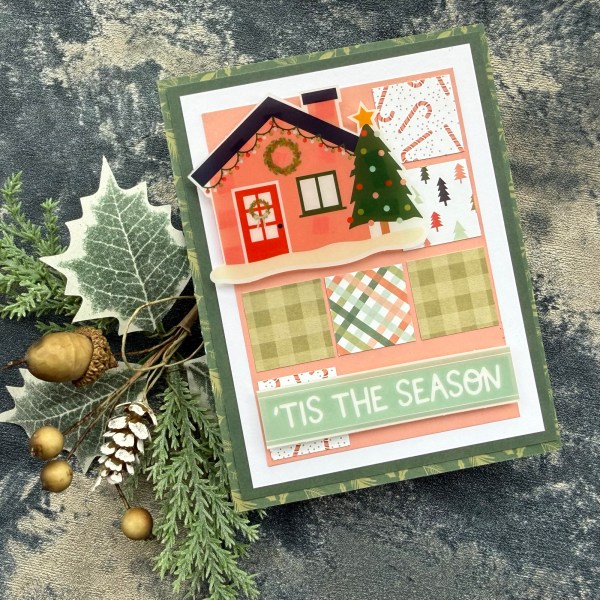
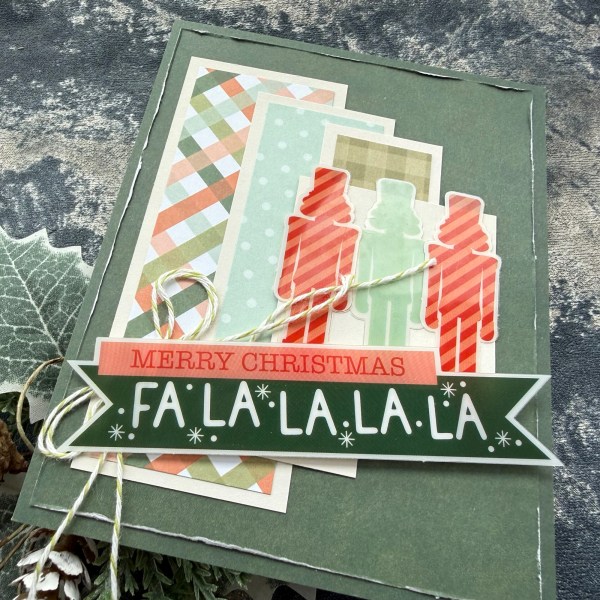
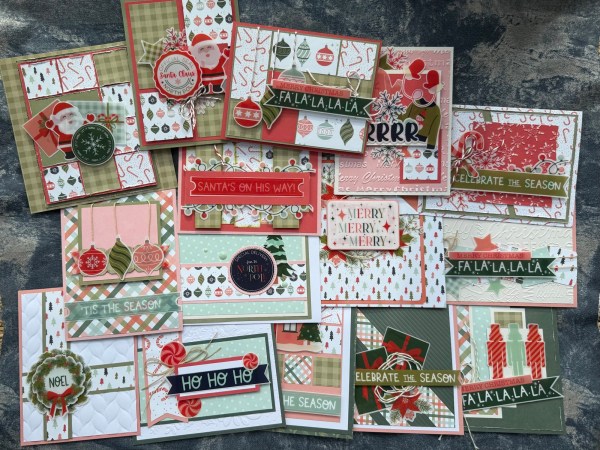
Final set of cards from the #kcc20 using the Kingston Crafts Christmas paper and acetate bits … this has been such a fab set to work with! Photo of the full set is at the bottom of this!
I did actually make these a few weeks ago directly following the last set but only just got around to editing the video and sharing.
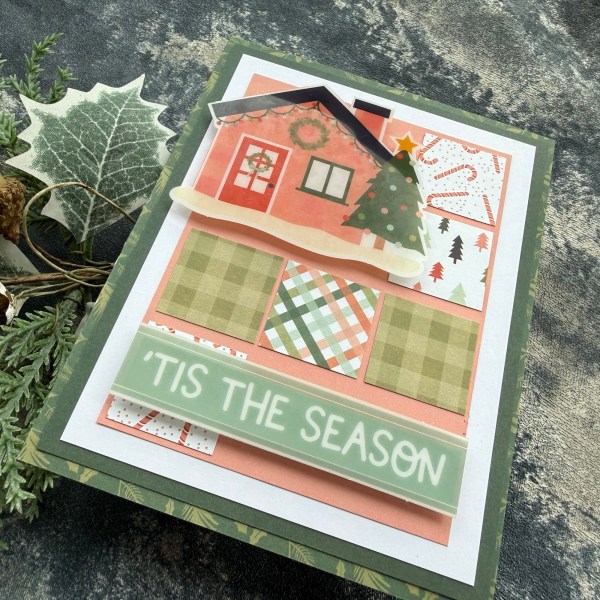
I think that house worked perfectly in the space the sketch allowed … but had to fiddle a bit with the sentiment and then it came together nicely!
I popped up the acetate elements on the adhesive foam to give dimension and I think that the cute pops of pattern from those paper squares work so well!
I did cut a layer out from the design and that allowed the pattern from the card base to peep out too!
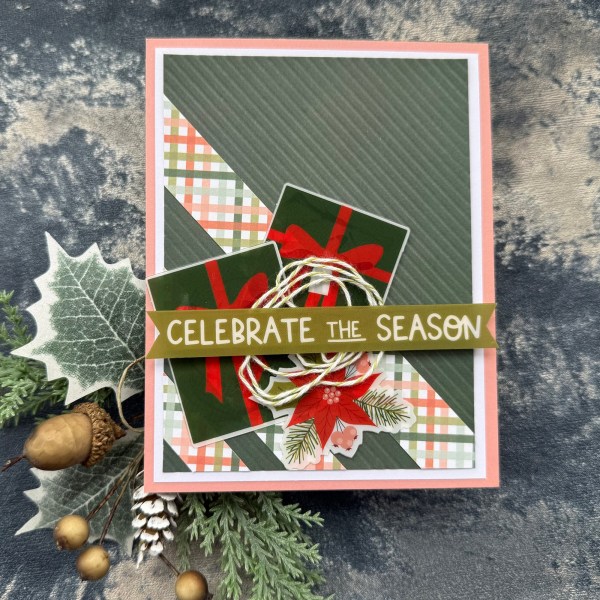
This next one I really loved the diagonal stripes of the patterned paper and decided to use the scoreboard to add to that with the stripes on the background panel. And I am delighted with the end result. Why do I not use the scoreboard more often?
I again fiddled with the sentiment and made it a little smaller so it got rid of the white trim and fit the card a little better.
I also added in the bakers twine for some more texture.
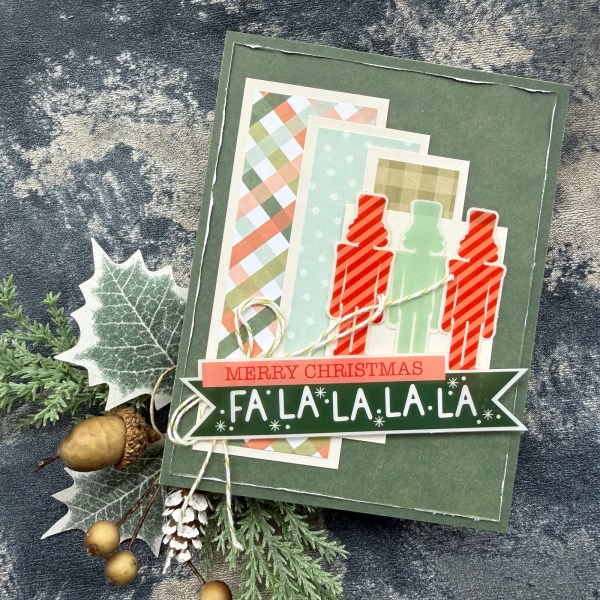
I hadn’t got round to using the nutcracker shapes and was determined to get them on at least one project so this final card was the perfect base for them!
Again I added twine and also a ‘wonky’ sentiment which just finished it off perfectly.
I went with a two layer of the same colour background and just distressed the edge to bring out the white core which was perfect for adding a little texture and framing!
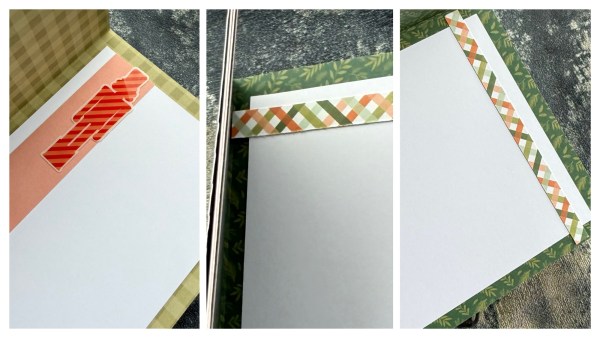
Inside all cards I added the white panel and some bits and pieces of the scrap patterned paper.
So this has been one of the most fun sets of cards to put together and super super easy because of all those acetate pieces which just make it so easy to grab elements and just stick!
Then adding in a few softer elements with twine and thread to give different textures.
So there they all are! I must admit I went a bit mad with dimension but it was a delight to put them all together!
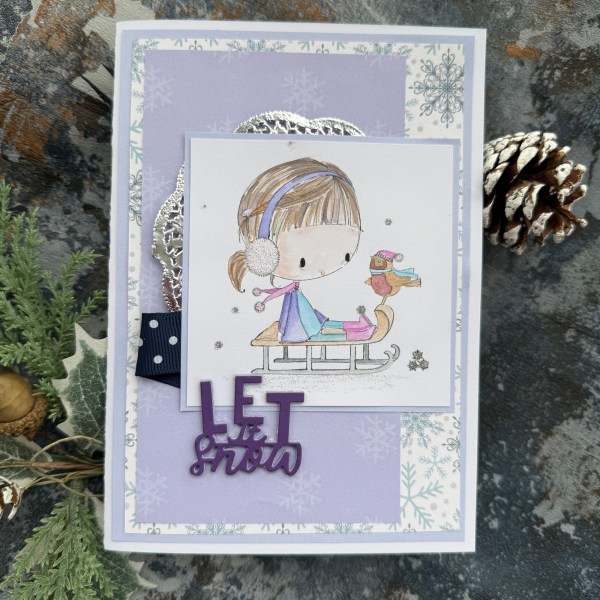
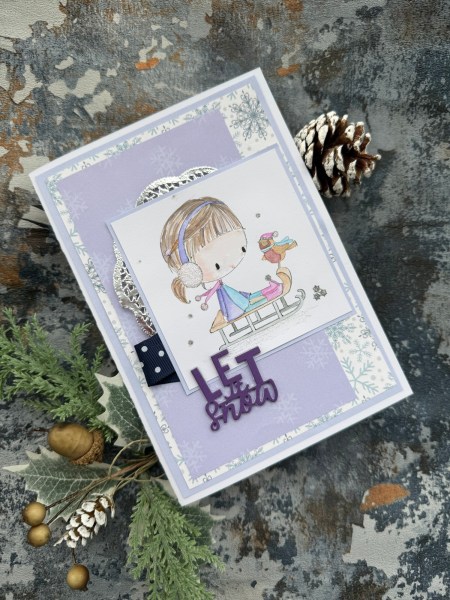
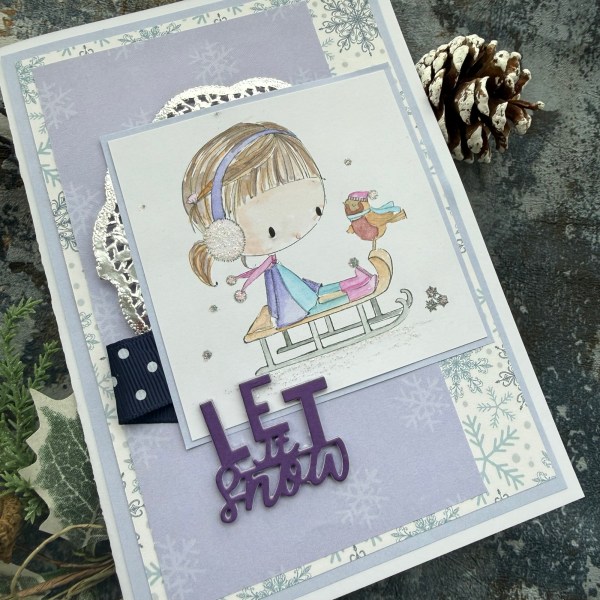
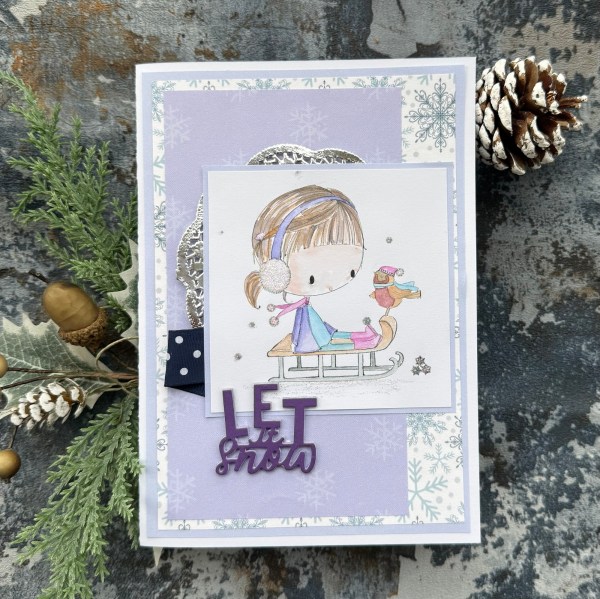
It’s actually quite a large 5×7 card as I printed an image that didn’t quite work on a standard card – but that’s fine – I have plenty of space then to make sure the image popped and still lots of lovely layers underneath.
I used m my intense pencils and water to paint the image and then used clear glitter glue to embellish on the fluffy bits and the snowflakes and of course the snow on the ground.
I then used magazine papers for the layers underneath in a mix of lilac and blue.
I also grabbed a silver doily from a Hey Little Magpie embellishment kit to just peep from the back of the focal point.
I also added a scrap of navy polka dot ribbon as a little tab which added some different texture.
Once all that was adhered I used a die cut sentiment.
This is stacked quite a few layers to make it chunky – helps to balance the ribbon tab and the layers underneath the focal point where I added three layers of cardstock to just give it some sturdy dimension – lower than foam adhesive but gives it just a little lift!
Loved this project – but then I am a big fan of All Dressed up digital stamps – the art work is always so pretty!
Off to see what the rest of the gang made for this challenge – would love to see you join our challenge with your Winter Wonderland projects!
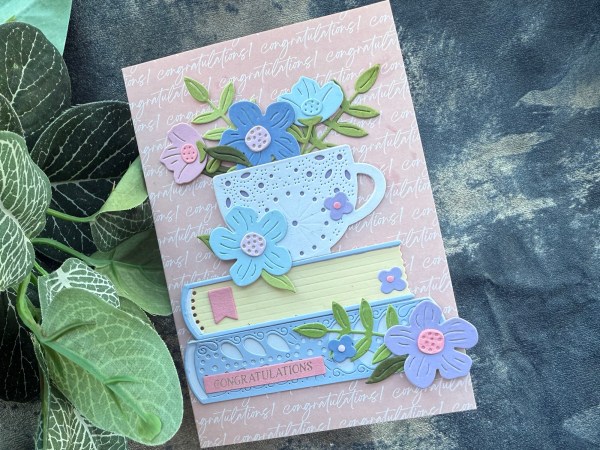
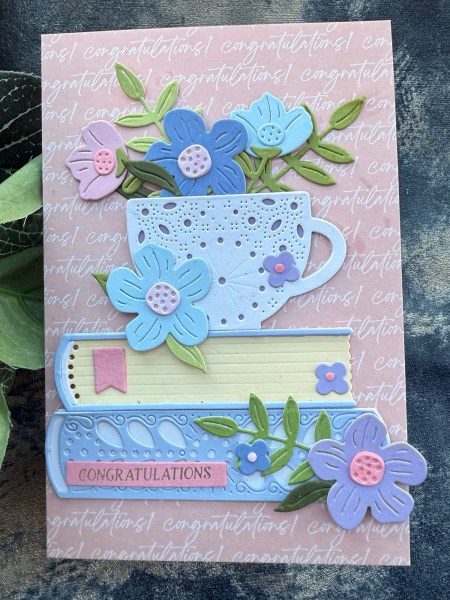
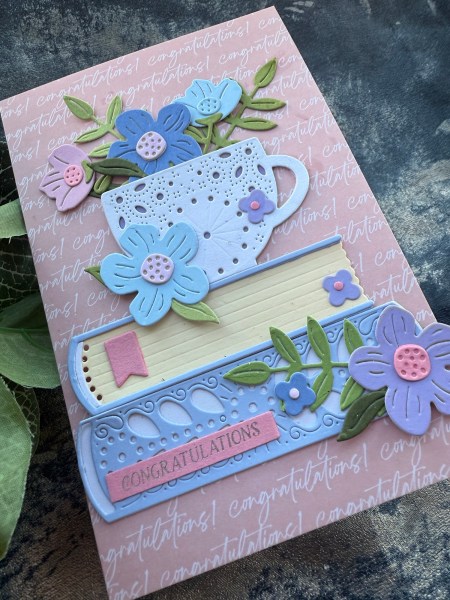
I decided it was time to use up some of the very small scraps of cardstock and grabbed this gorgeous cup and books set of stitching dies and die cut enough to make a lovely display on my card. But I was not in the mood to stitch – which with these ones is absolutely fine and not necessary!
I mean aren’t they just gorgeous!
I layered up the cup with lilac peeping through the white and then the book with white peeping through the pale blue. I chose cream for the pages of the book and then chose all the scraps of green for leaves and mix of lilac, pink and pale blue for the flowers.
I decided to keep it simple and use a preprinted card blank from the Kingston Crafts ones that went well with the colours and this pink congratulations one was perfect.
I then added a foiled sentiment strip also saying congratulations and called it finished!
I love all the detail on these dies. The gorgeous floral elements are so pretty but that cup and those books are just divine!
Maybe next time I grab them I might actually sew them – but for now I will just look lovingly at this pretty card I made!
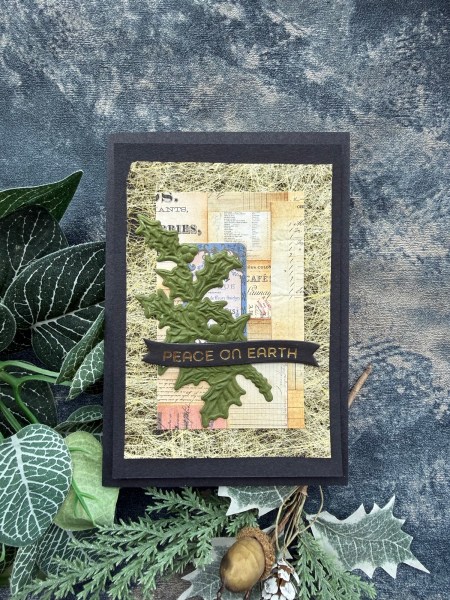
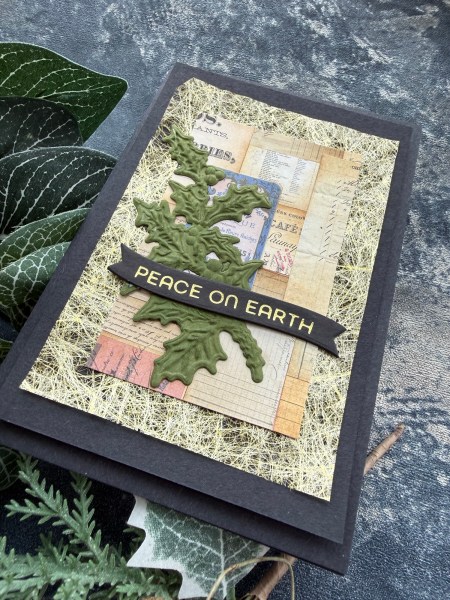
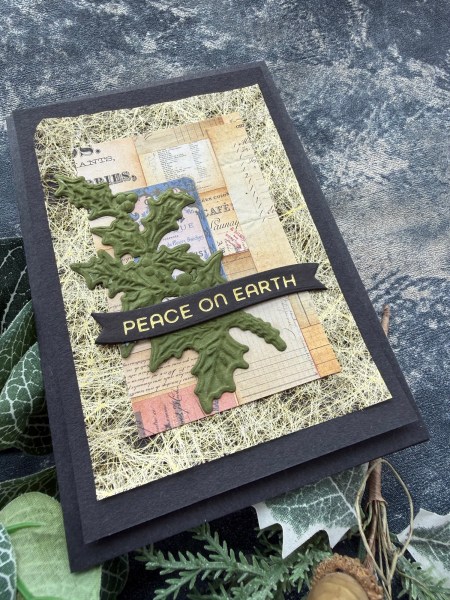
Earlier today I shared four cards I made and with the leftovers of the ephemera I had cut and inked I made a small panel – well I popped it away for a few hours but then was inspired to make it into a Christmas card … perfect for today’s Addicted to stamps and more challenge!
I layered the patchwork panel onto a piece of gold angel hair paper (I found lots of this when tidying the craft room so expect to see it quite a bit!) and then added the holly branch I had die cut and embossed when I first got the die/folder back in September.
I then added the foiled sentiment which determined a black card base would work well to tie it all up together.
Really pleased with how this looks! Going to have to remember this for future cards as still have a lot of those ephemera pieces left in my stash to work through!