Hello! Here is my round up of this weeks index cards for #dyicad2025
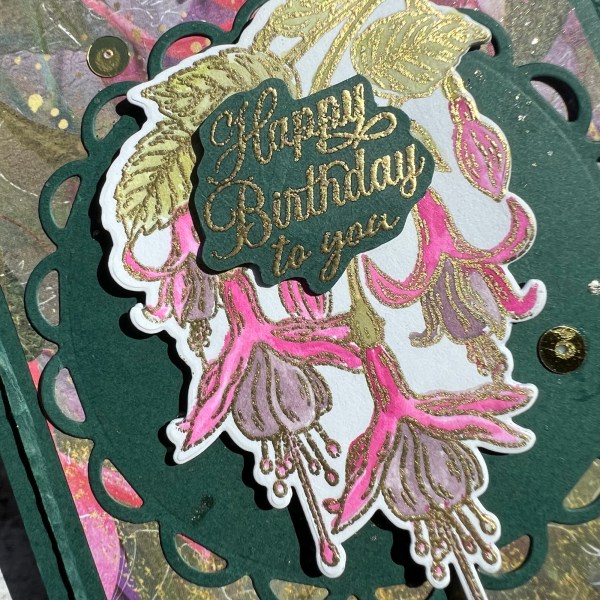
Day 8 – I went fishy mad! But isn’t this the cutest? As I had a little more time on my hands (weekend) I pulled out all the colours and that helped build this lovely pattern – I think this would make a lovely fabric to make a skirt or dress for the summer!

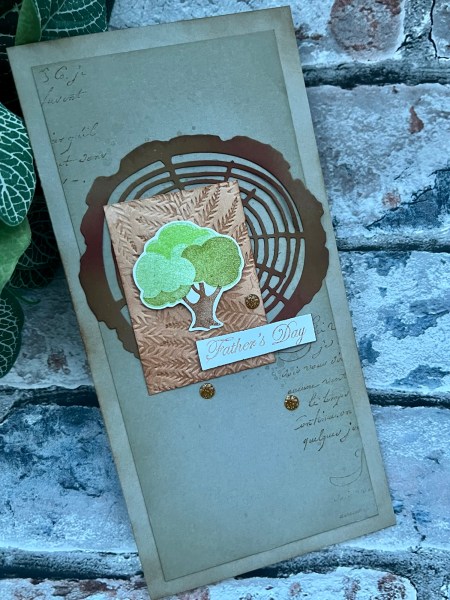
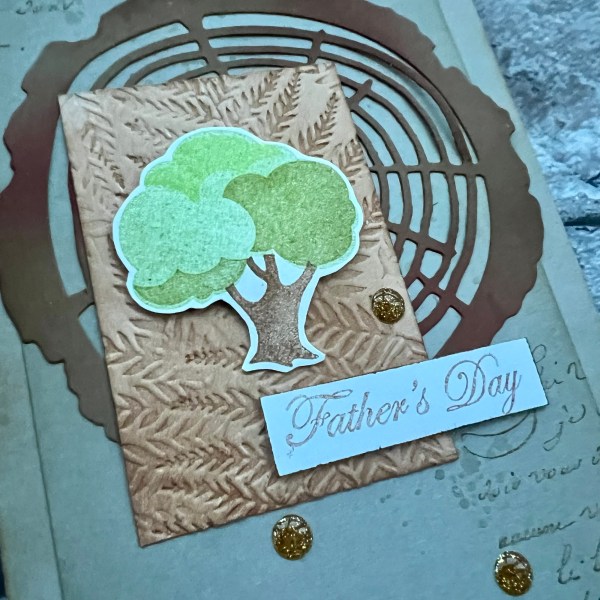
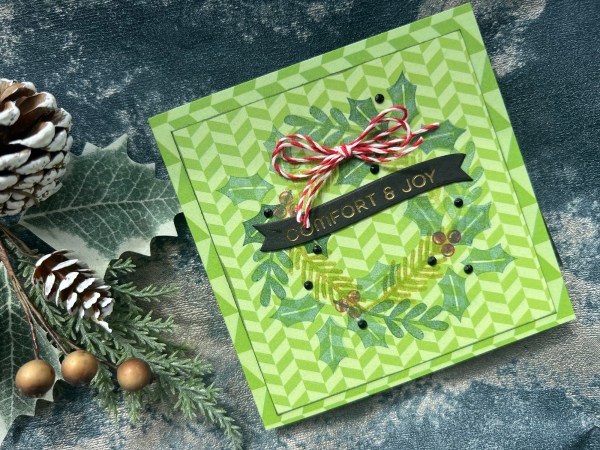
Day 9 – this one was inspired by the sentiment sticker and so I took an old magazine kit stamp and did the colouring with the promarkers and then added the glitter glue to the veins in the leaves to create the glitter element. Also love the shadow I created for the leaves so they look like they are floating above the doodled background.

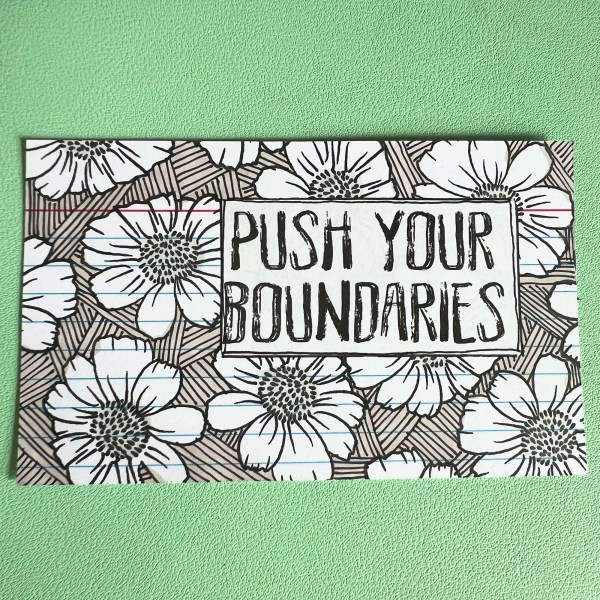
Day 10 – decided to not stamp over all the card this time – not sure I like this but hey – it was an experiment and like the sentiment says – you learn by doing!

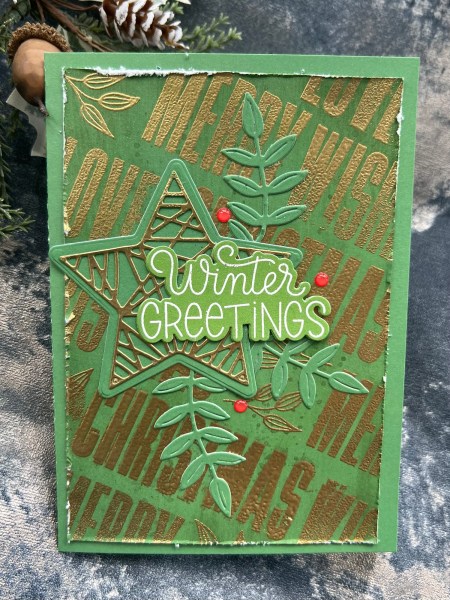
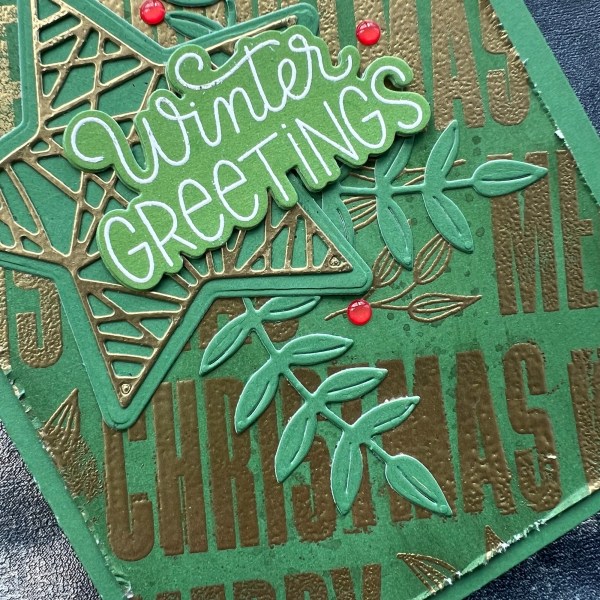
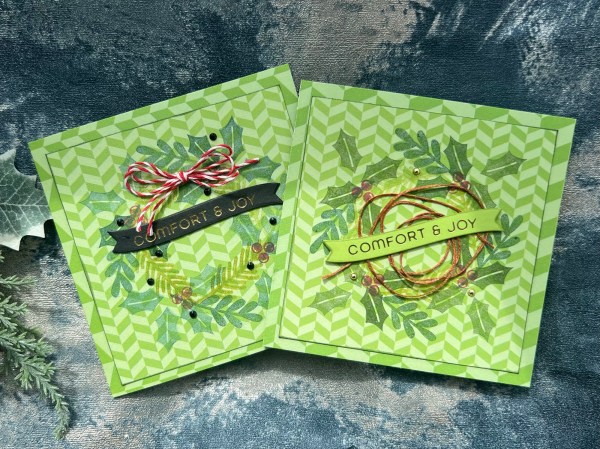
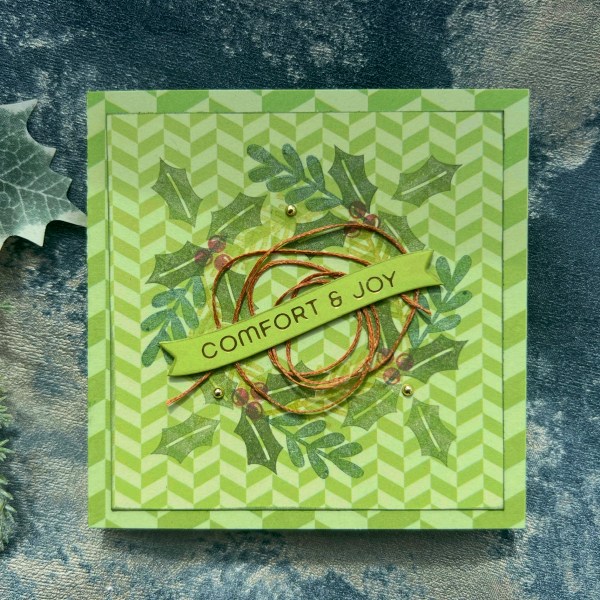
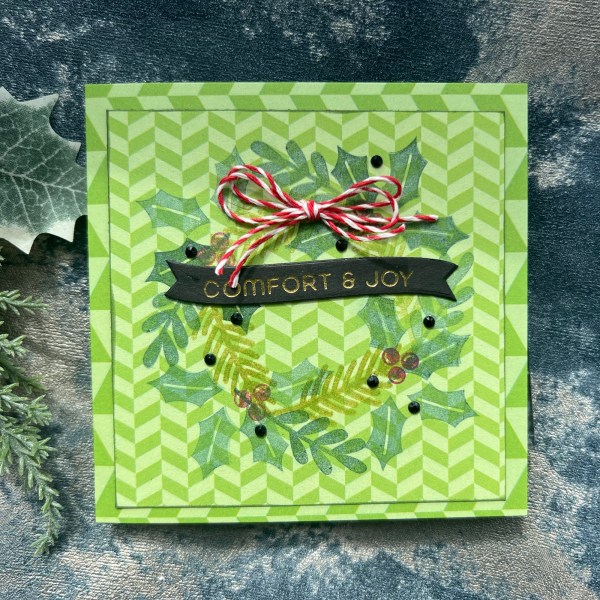
Day 11 – back to loving it! Big bold stamp for the leaves and stems and then echoed the design (the talented Darcy designed the stamp) with my doodles – went for a green theme! 💚

Day 12 – another Darcy stamp from Paperartsy this time created a patchwork effect and went full on with colour! Had to do this over two days so was a little late in posting this one! But it is so cute! Love it! Again can imagine this being a cute fabric!

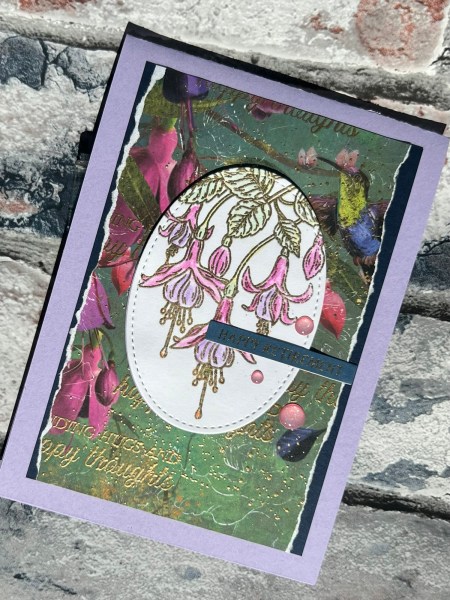
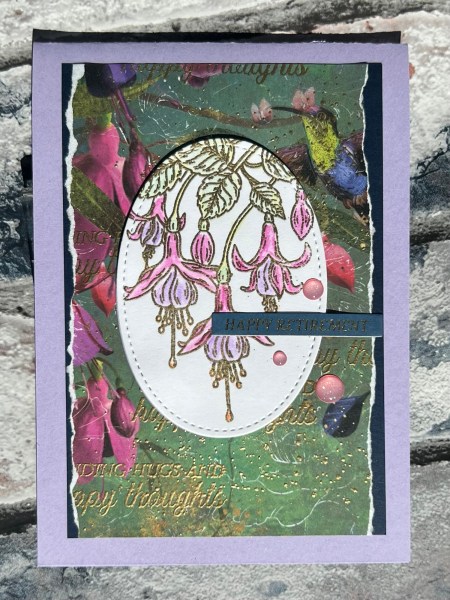
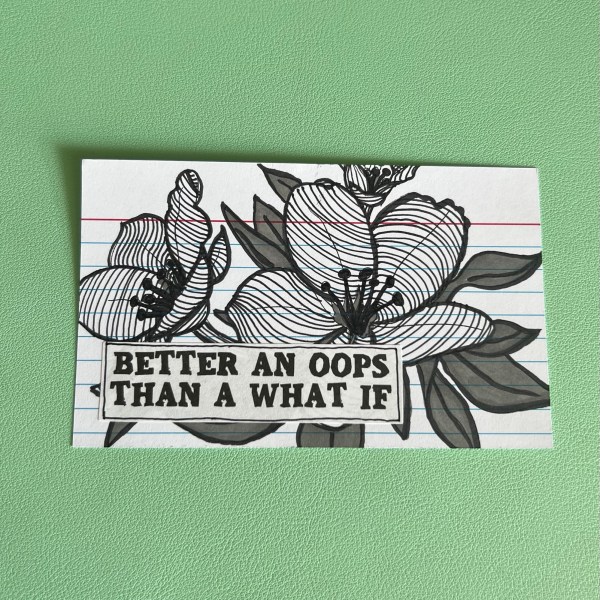
Day 13 – subtle colour this time and very much inspired by the card I made on day one but with a different floral and the addition of a pop of light yellow! I like how this looks – and doing those background doodles is really fun and calming so suspect we will see a lot of these over the 61 days!

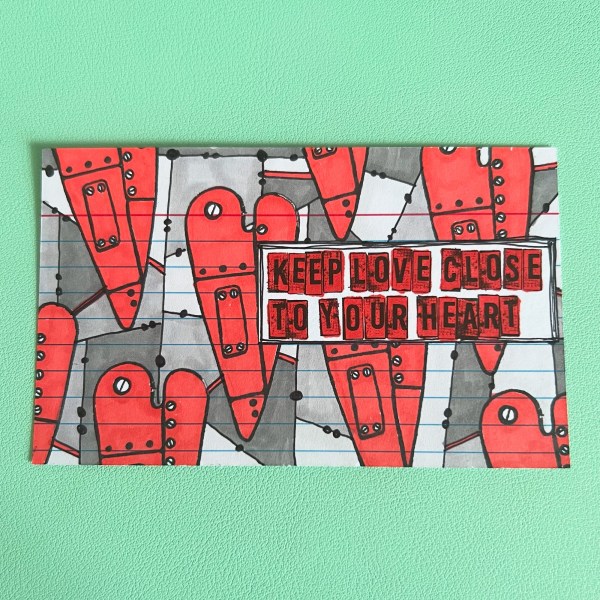
Day 14 -I almost forgot day 14 as I had a really busy Saturday – so just as I was about to go to bed I remembered and grabbed the first stamp set to hand and made this one – very much more about the colour than the doodles!

The last card I did break from the sticker sentiment as I actually stamped this onto card from the same stamp set and then adhered that as if a sticker! It is easier to do a sticker but on this occasion I couldn’t be bothered to stand up and get one! Total laziness at 11pm!
Wonder how this series will progress …
I think as I own so many floral stamps that this will become a common go to in my cards if I stick to the stamp, doodle, colour theme! but hey let’s see how it goes!
Happy crafting!
Catherine