For my Any Occasion card for this fortnights challenge at Addicted to Stamps and More I played with a new to me Alex Siberia foil plate I bought from a destash group. It was part of a bundle and isn’t really the reason I bought the bundle – but it is a really fun plate!
It is called Angel Bells and I believe comes with a layering stencil and maybe a die to cut it out – but I only have the foiling plate so decided to test it with this pale peach cardstock (Sneak peek of Kingston Crafts cardstock coming soon!) and gold foiling. It came out beautifully and I decided to colour it using watercolour paints.
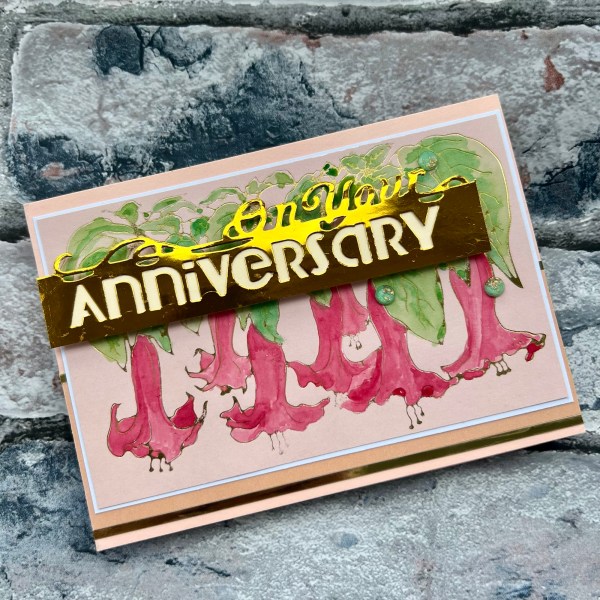
The cardstock is a little bit coated so although it works with the water coloring it does sort of sit on the top so it can look a little powdery when dried but I think that’s fine!
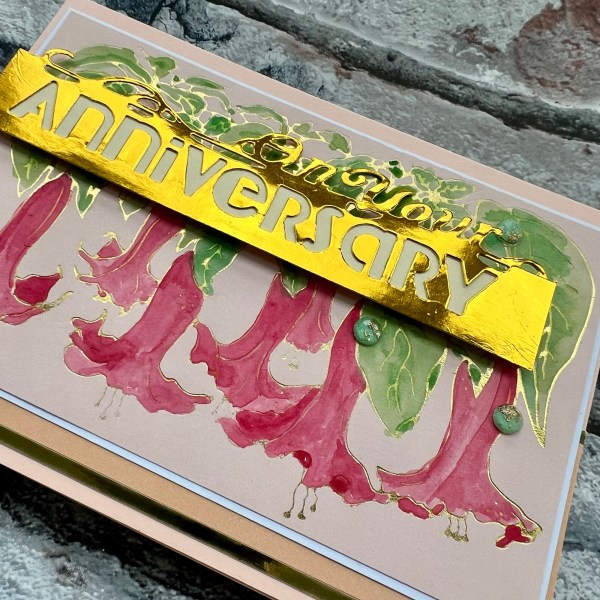
After colouring the image and letting it dry I then mounted it onto white and then chose the different peaches for the background. I also added those very thin gold strips to bring out the gold.
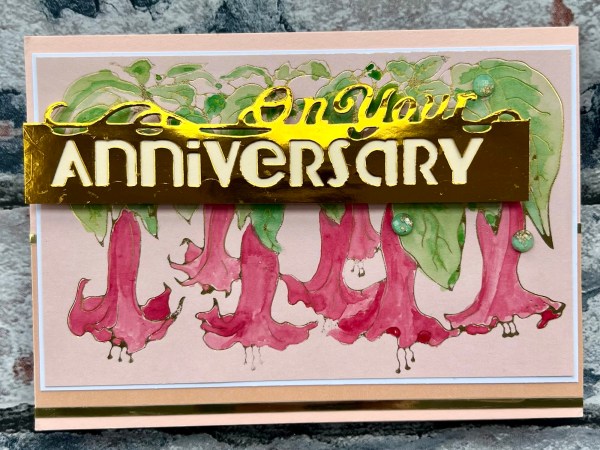
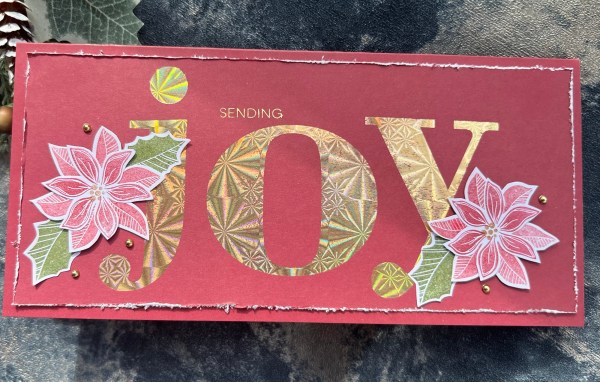
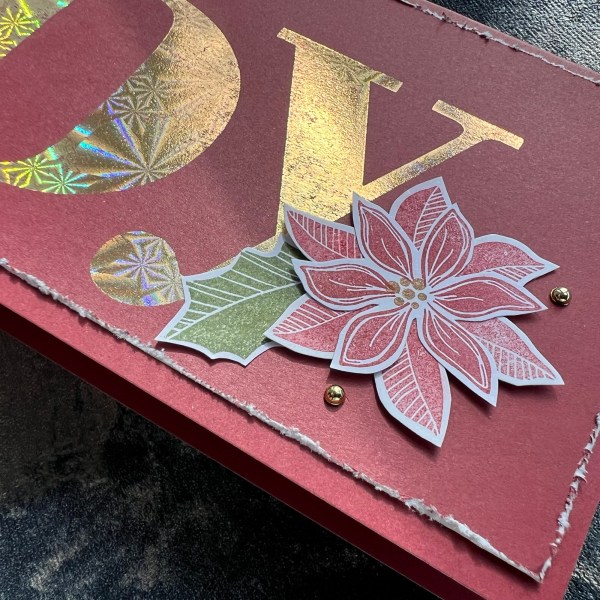
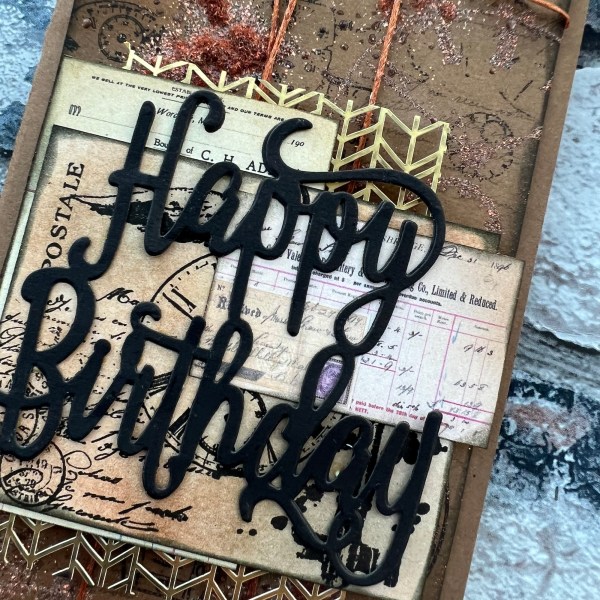
Next I die cut from the foiled cardstock the Crafters Companion sentiment, backed the open letters with the cream and added that on top using foam adhesive to raise it up.
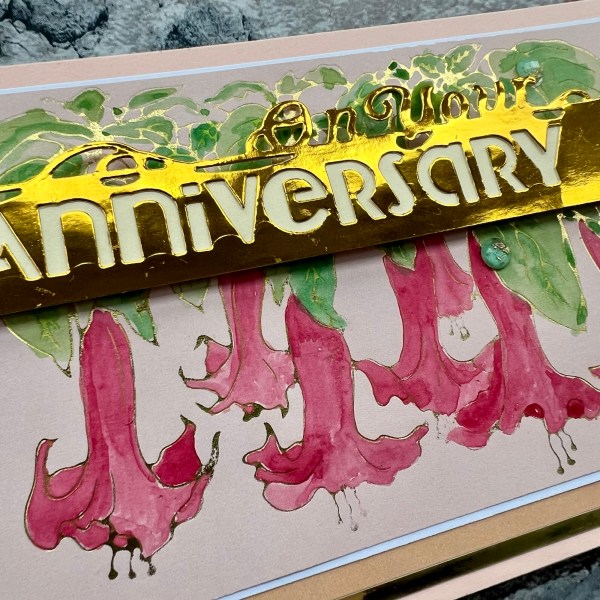
I love the shine on the foiled cardstock and this sentiment is fun for adding to a card with the different elements to it.
I chose to add it to the left and then added three glittery green gems from the stash to finish off.
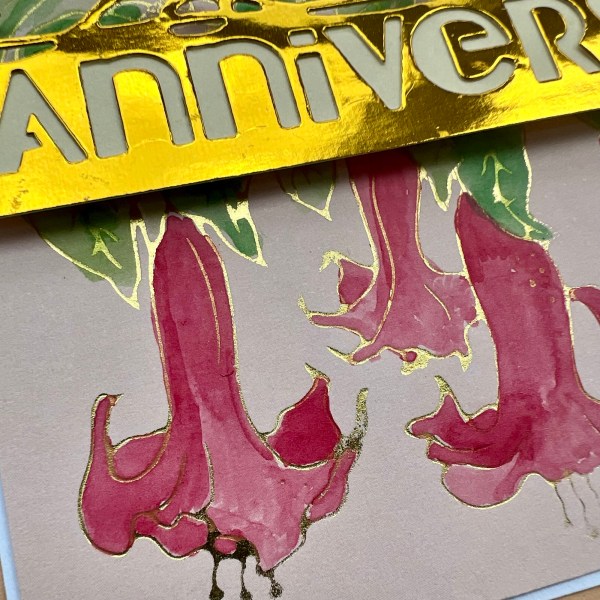
This is such a lovely large image – and next time I might try it on a larger card blank to make it more of the feature rather than a background – also going to see if I can get the stencil that goes with it as that will be easier than colouring them myself!
Happy crafting!
Catherine