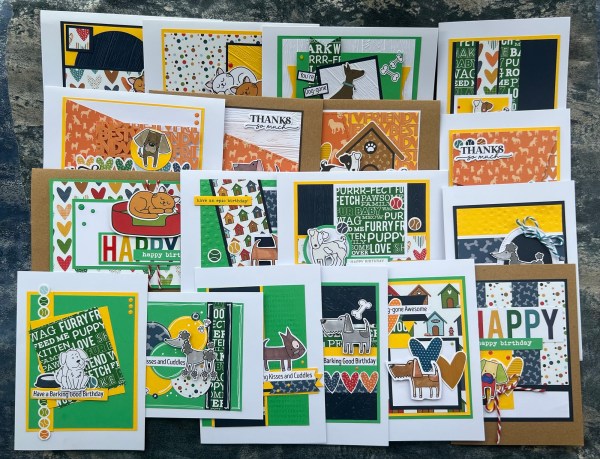
Final two cards made from the Kendra’s card challenge number 18 which I’ve made using papers, die cuts and embellishments from the Kingston Crafts pet collection kit.
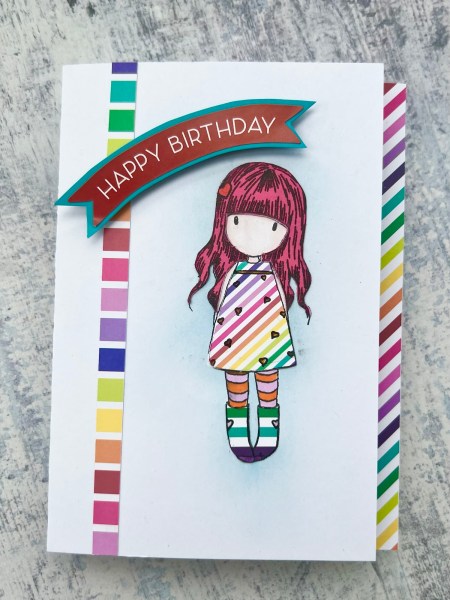
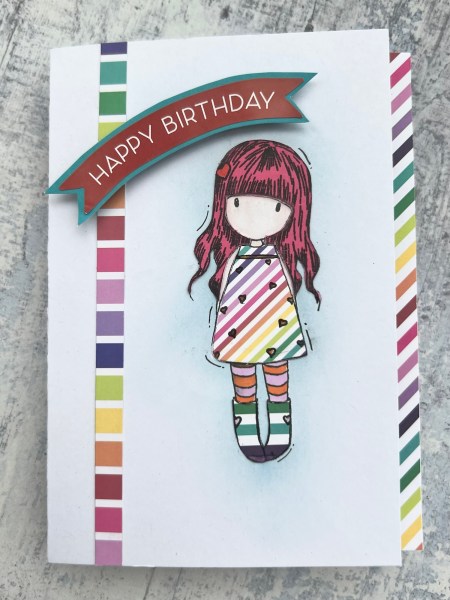
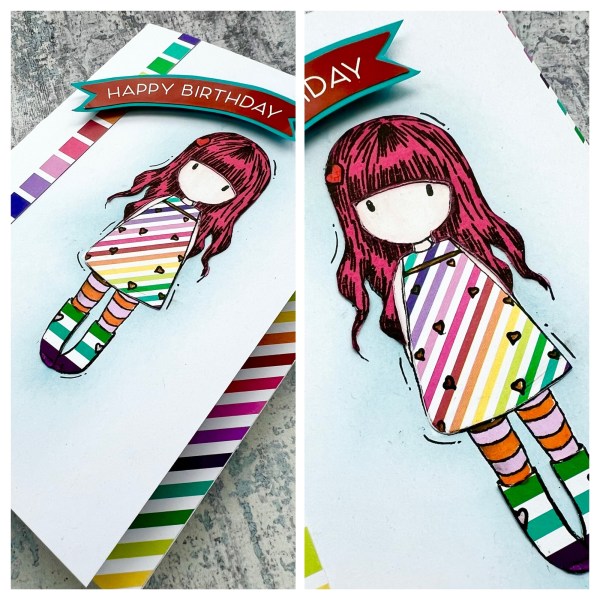
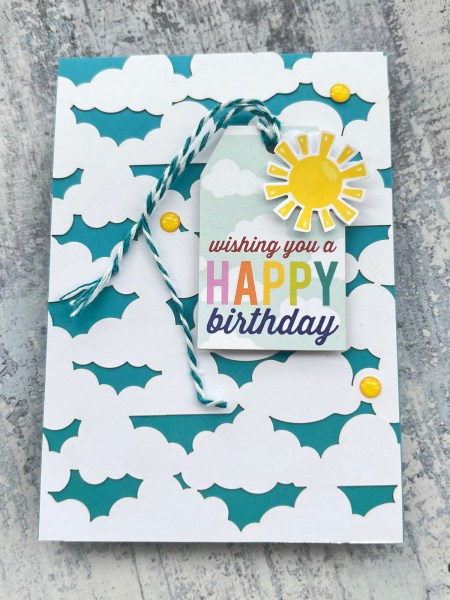
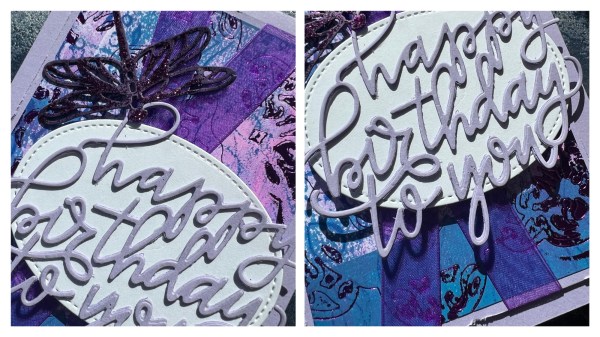
I grouped these two together to make as for both of them I had the rainbow happy word which was cut from a sticker for the first card and a die cut for the second. I can’t remember what the whole sentiments said but I just wanted to use the word happy for form part of the birthday sentiment for each card so I chopped them apart!
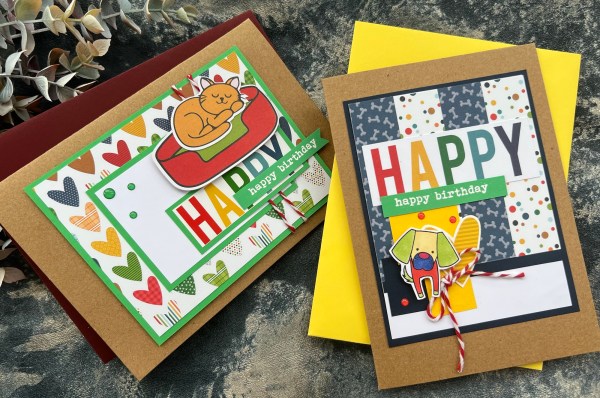
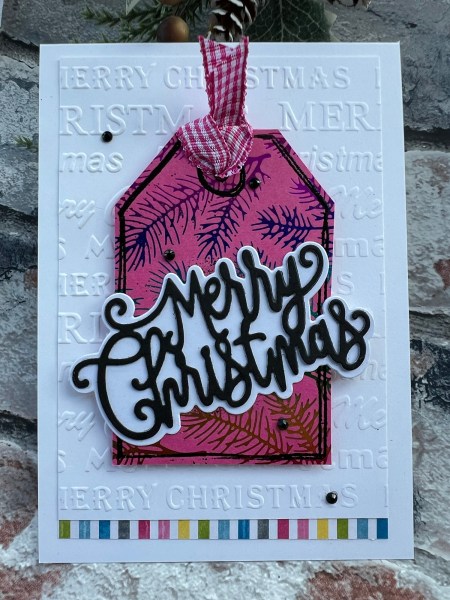
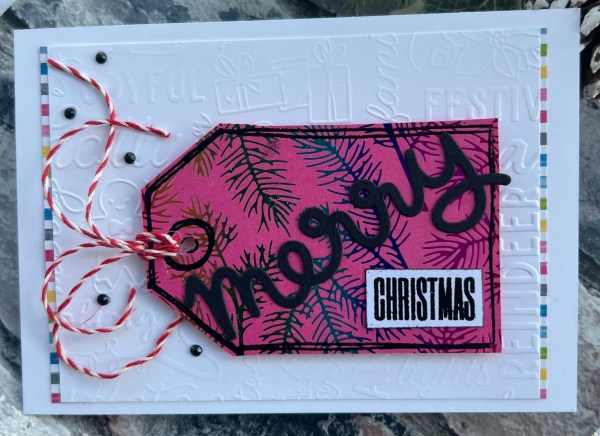
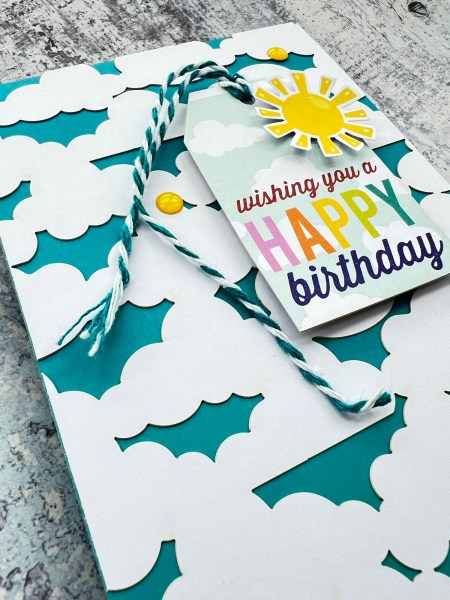
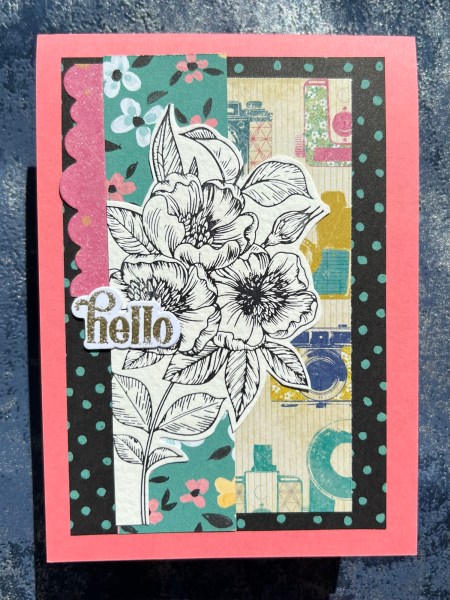
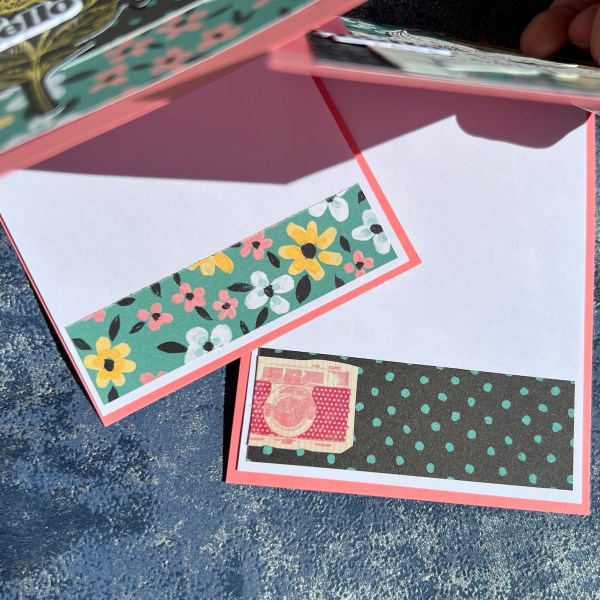
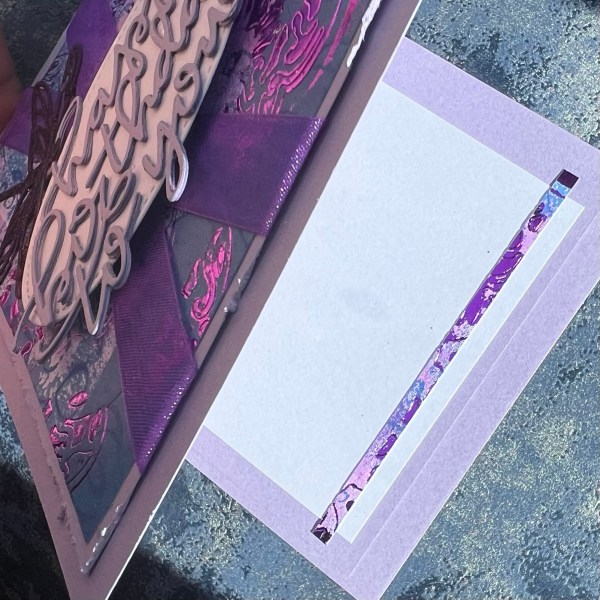
Both of them I chose to add to Kraft card bases which gave them a fun look.
I did have to change up the sketch for the first one as the cat and the bed took up a lot of real estate on the card! Plus I loved the background so I cut the middle panel smaller so less of it was covered. I obviously also rotated the sketch somewhat as the paper was directional with the hearts and so couldn’t have it as a portrait card.
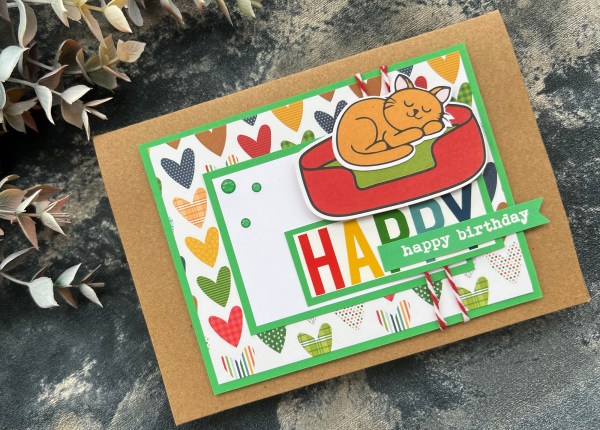
Once I started changing it up it became almost unrecognizable from the original sketch and so I also decided to bring in the twine too!
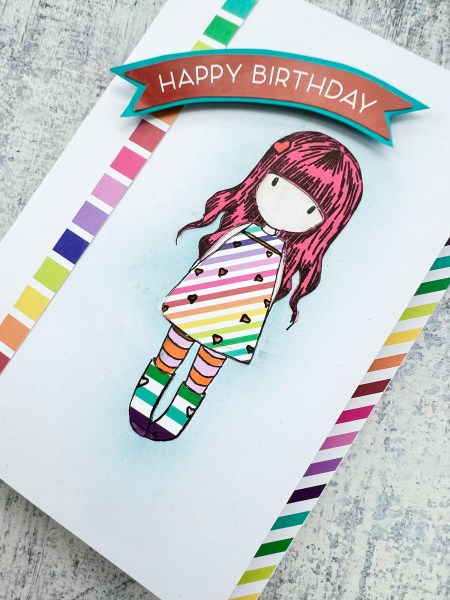
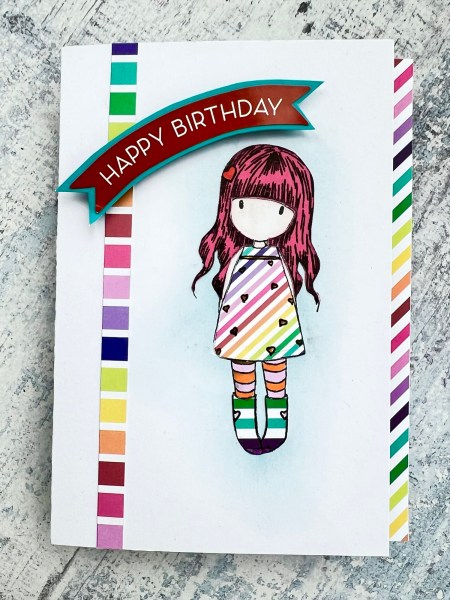
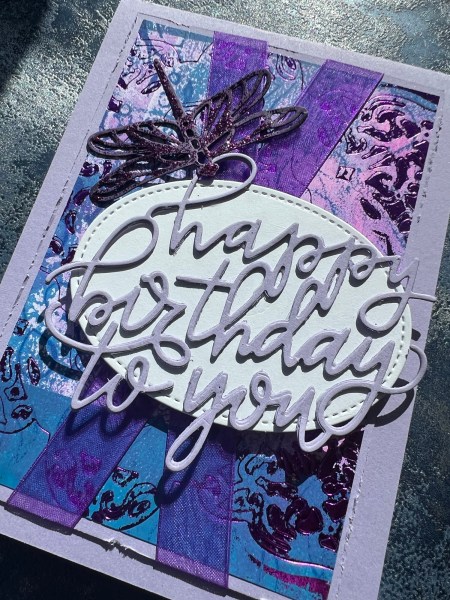
The second card looks a little more like the original although again I changed up the sketch a bit with the cluster moving further down to accommodate the big sentiment.
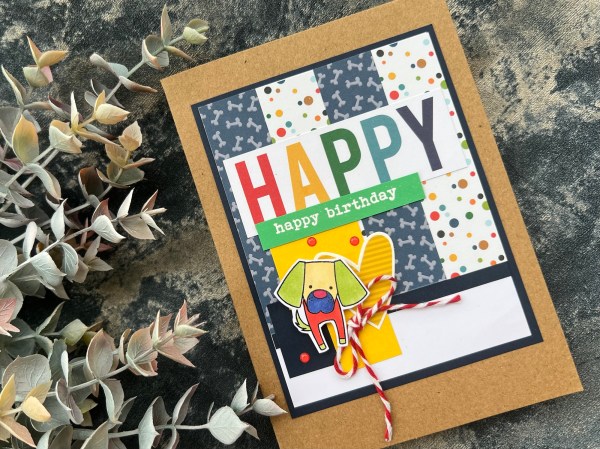
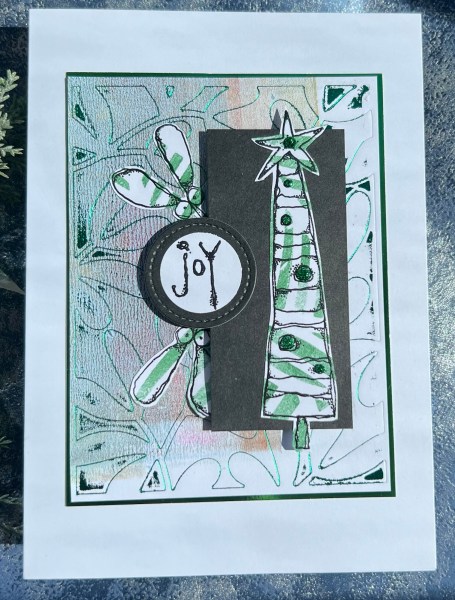
On this one I added in a My Favourite Things dog stamped image which I chose to colour with all the colours to match in with the rainbow feel of the sentiment and the joyful papers. A bit of fun and why the heck not?

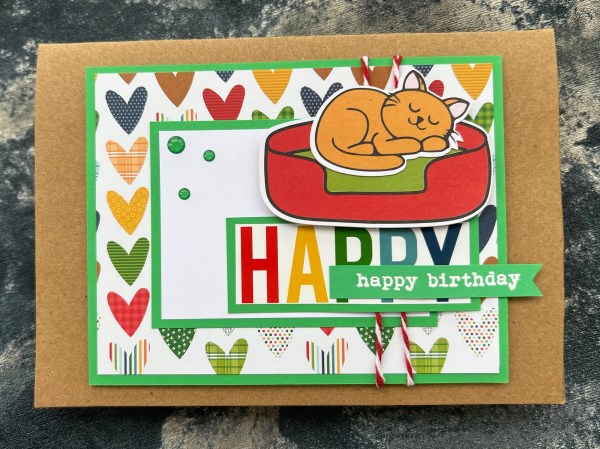
For both these cards I added the twine from the kit but I had run out of the gems so instead I pulled in gems from my stash but I think the colours went well.
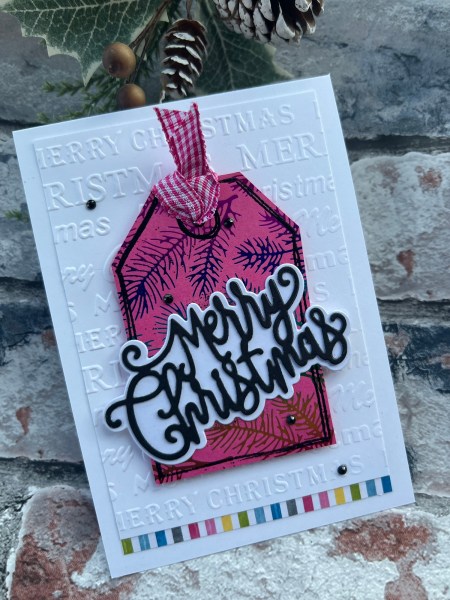
I also heat embossed a Paperartsy sentiment (I love this font) to finish off the cards.

So there you go that’s all 18 cards finished! I think it is quite an achievement for me to finish as I know that the last few KCC’s I tried I never quite got around to finishing them all. In fact I may have a few random envelopes with bits of cut apart cardstock still hanging around somewhere in my craft room – should really dig them out and get them finished!
Hope you’ve enjoyed this series of cards – as much as it’s been fun and I’ve enjoyed playing with the bright colours and patterns of this kit – I now am looking forward to not doing a cat or dog themed card for a while! 🤣
Think I might set to on playing more with the Rainbow kit soon – or getting more of that magazine kit used up – or maybe prepping for Christmas in July! Gosh so many things going on – I don’t think I will ever run out of crafting ideas and things to play with!
Happy crafting!
Catherine