Hello!
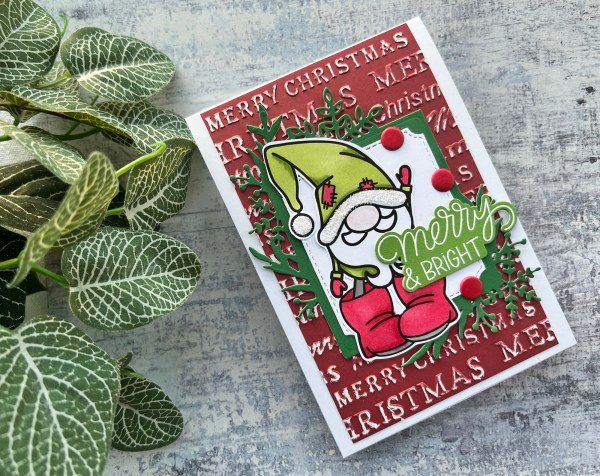
I went back to raiding the digital stamp images that I used last week and for the DT earlier this week for today’s Festive Friday and decided it was time for this gorgeous gnome from Mirtillamente stamps to get his moment!
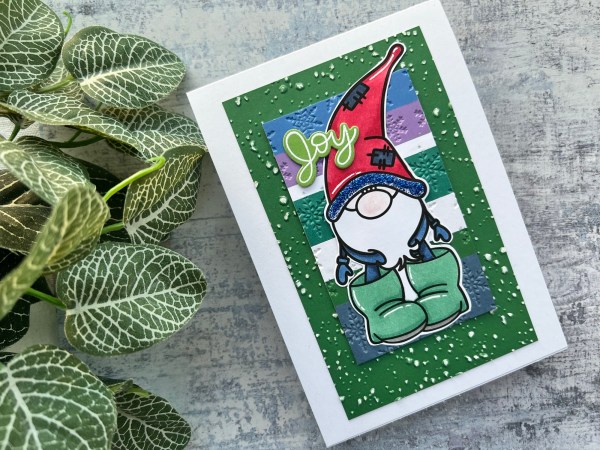
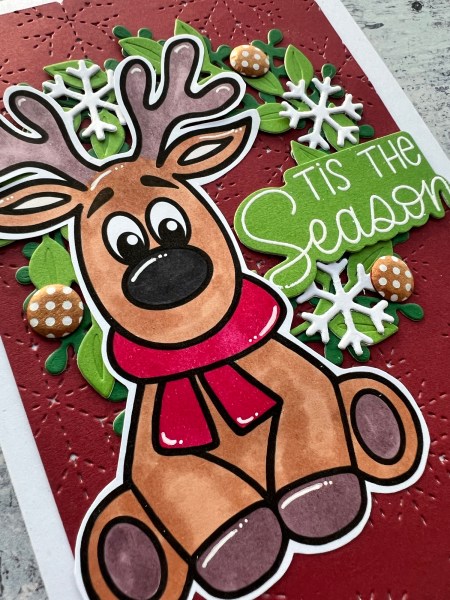
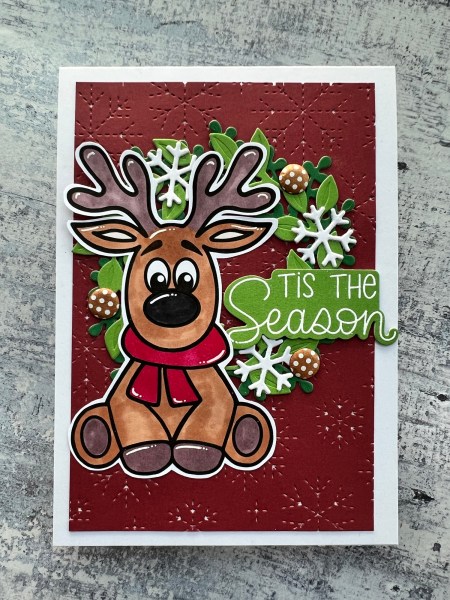
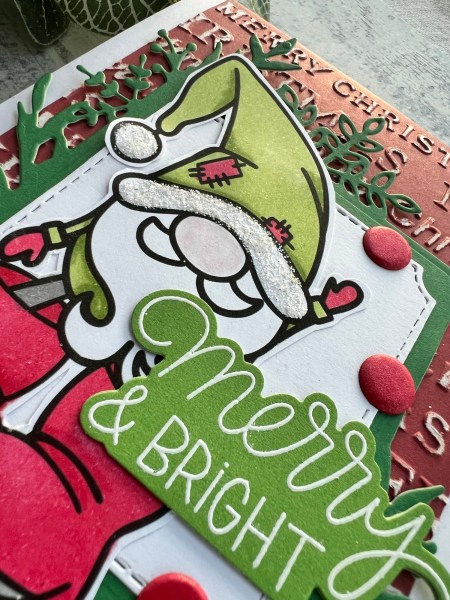
I coloured him using my Stampin Blends and then used white gel pen to give him some highlights. Then I cut him out so I could then choose what to do with him!
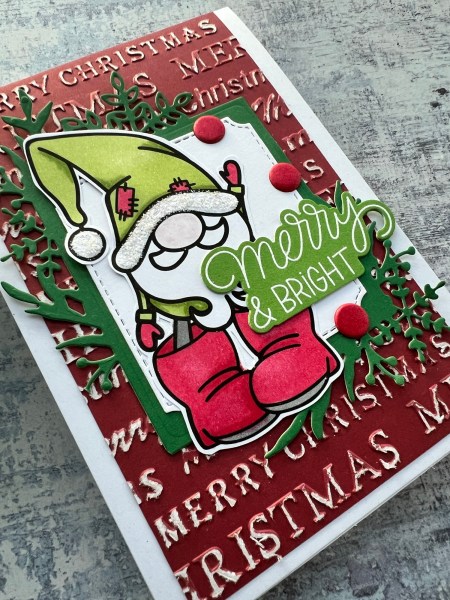
I ended up plumping for a bold colourful background using a panel I had added strips of cardstock to from the scraps stash. I thought this colour combo worked quite well with the colours I had chosen for the gnome.
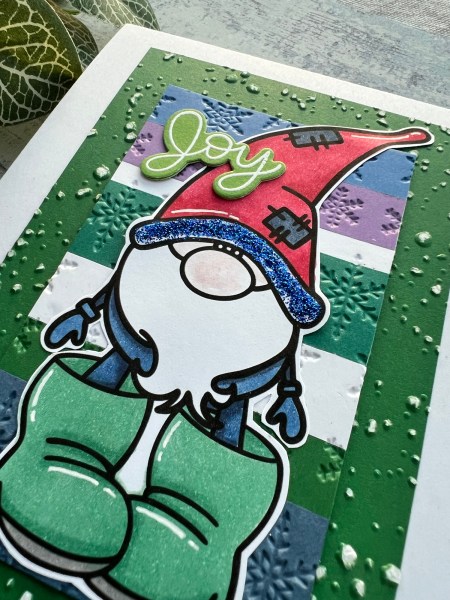
I embossed the panel to give it some snowflake texture and then grabbed a piece of green and embossed that with a snowy background and sanded it lightly to expose the core which makes it look even snowier!
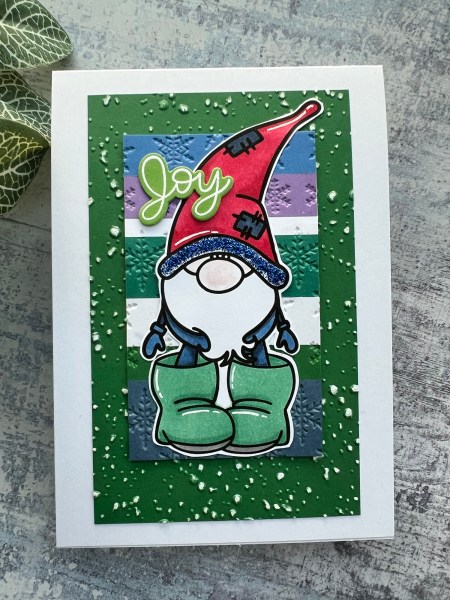
I adhered it all together onto a white card blank and then grabbed one of those Pink Fresh studio sentiments I had previously embossed and die cut and stacked to add the Joy to the top left of the image.
I decided to add more blue into the image then with the blue glitter glue from Kingston Crafts clear- so he got a sparkly rim to his hat!
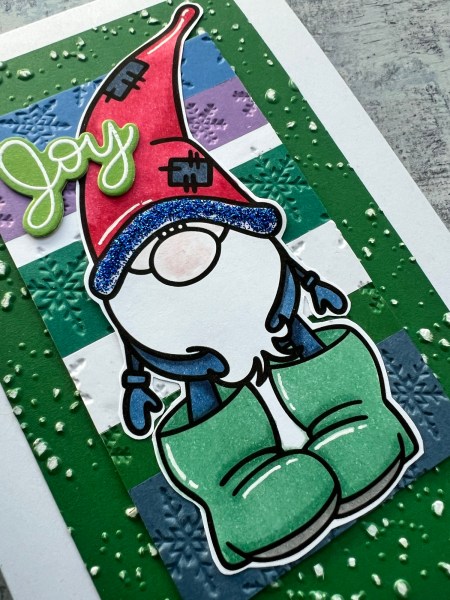
Hope you like the textural and sparkly finish to this card – I think it’s pretty cute!
I’ve really enjoyed using these images over the past week – to the point where I am tempted to print them off again! But maybe it is also time for me to pull something new to play with so you don’t all get bored seeing the same style! 🤣
Happy crafting!
Catherine