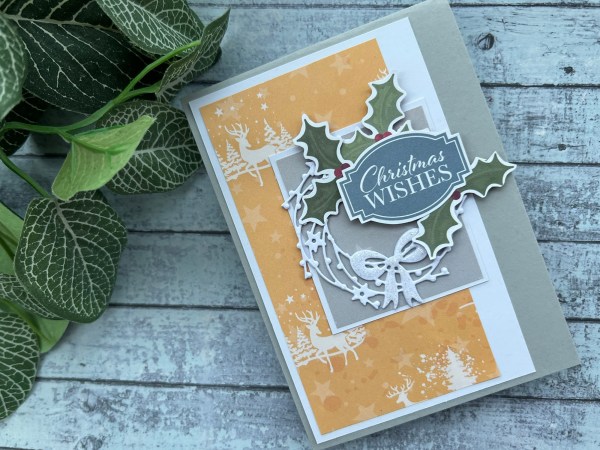
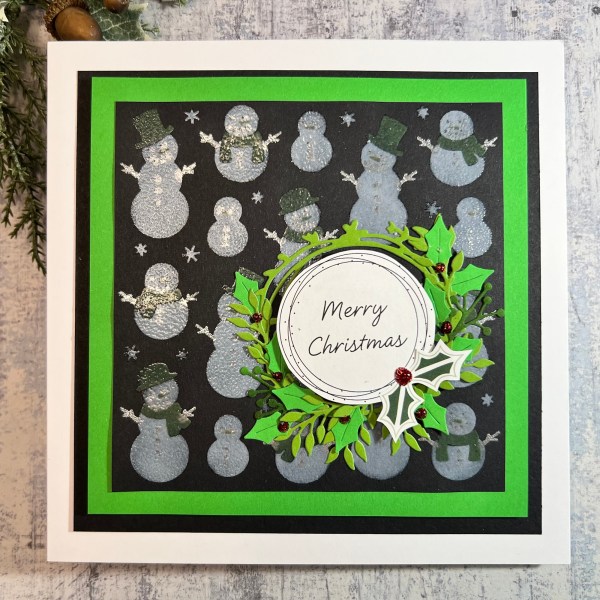
Merry Christmas dear blog readers … just popping on to wish you all the best and to share the last card I actually made for Christmas this year … the one for my lovely hubby! I went for cheery and fun with this card…

I started with the snowflake layering stencil I got from Pink Fresh Studio but hadn’t got around to using. I used white pigment ink for the base and then green distress oxide for the next bit – I added a little orange oxide too but didn’t show so well. I then added the clear embossing powder to the top which gave it a lovely finish. The third layer I added the versafine through and then did silver embossing.
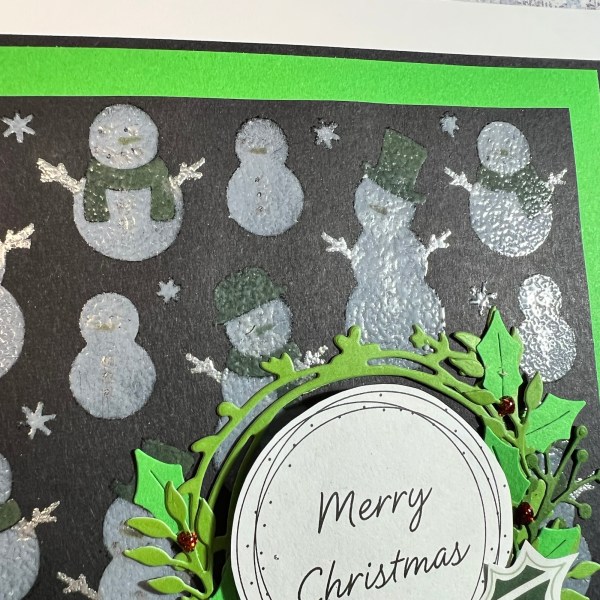
I added the green base panel and then black panel for the bottom layer.
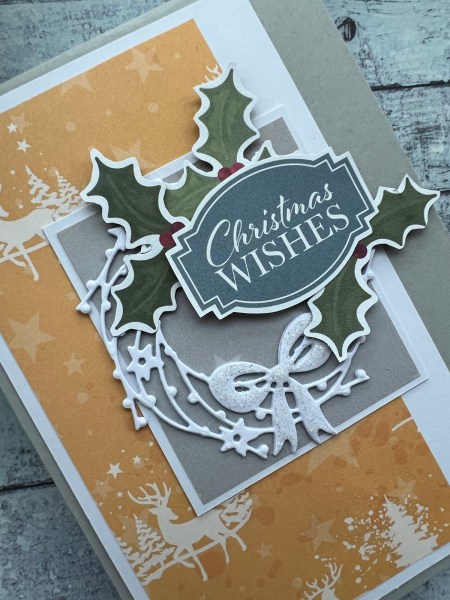
I then die cut some green cardstock with the wreath and then lots of festive fauna.
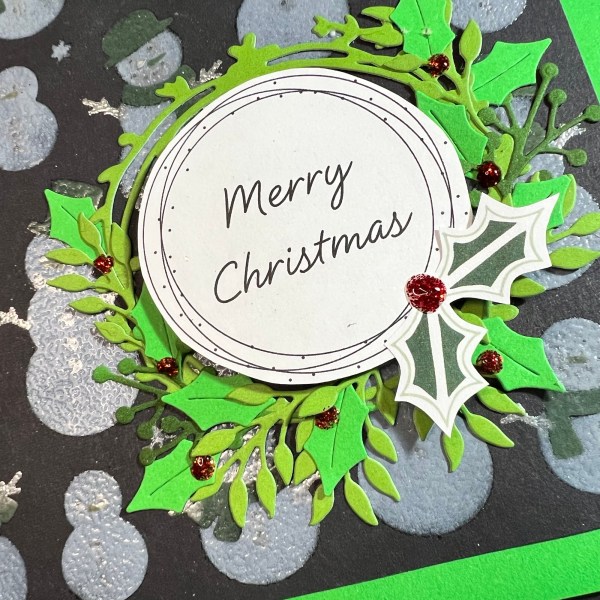
I then used the cut apart from the magazine kit for the sentiment panel.
I also added the little holly leaves.
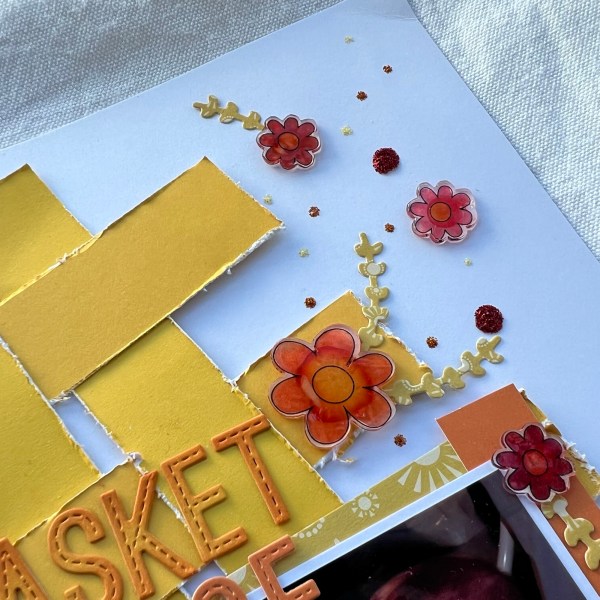
I used the glitter glue for the berries!
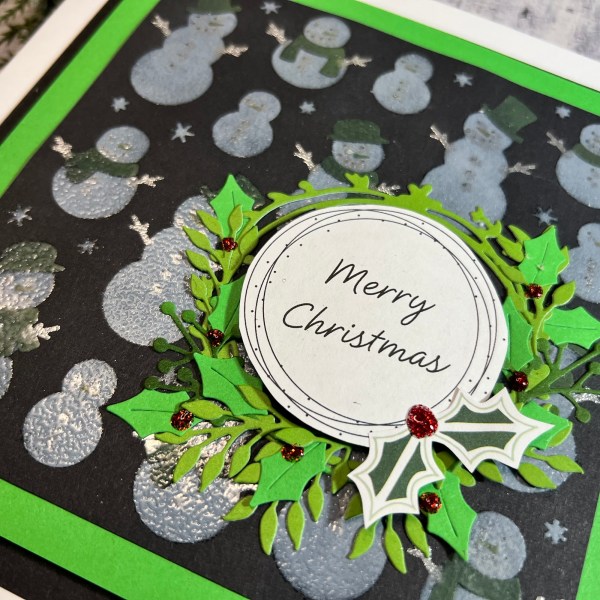
I added panel to the card blank and called it done! Something a bit different but hopefully hubby liked it.
So hope you have a lovely Christmas and the rest of the festive period! I’m just getting ready to start the cooking and welcome the parents to our home after quite a chilled out morning of gift opening, coffee drinking and pain at chocolat eating!
Happy crafting!
Catherine