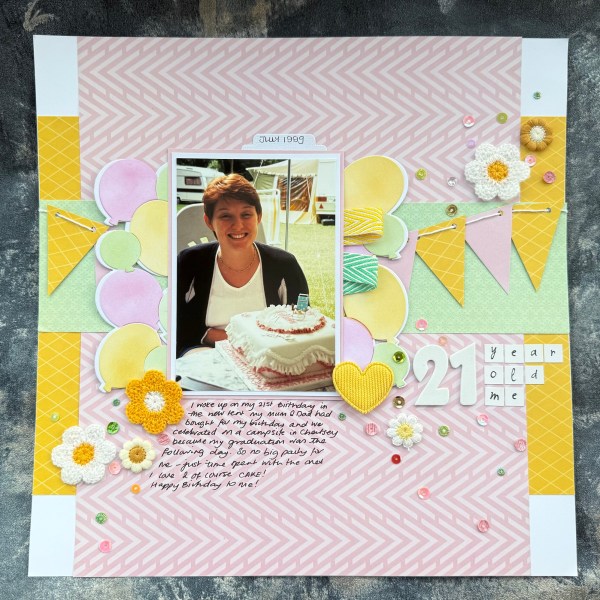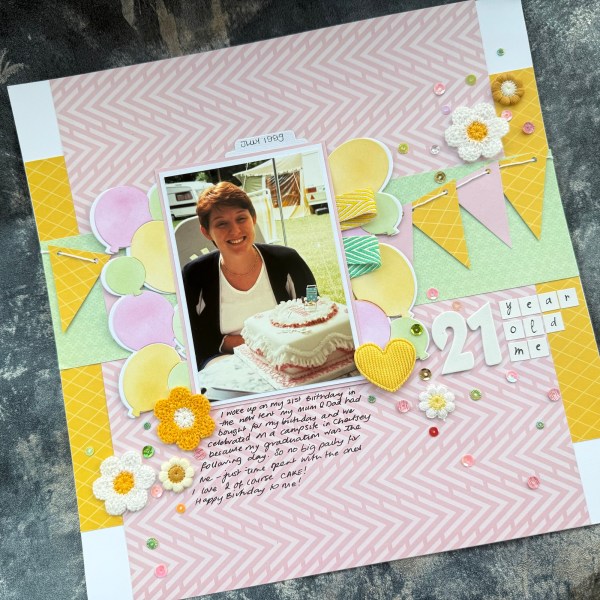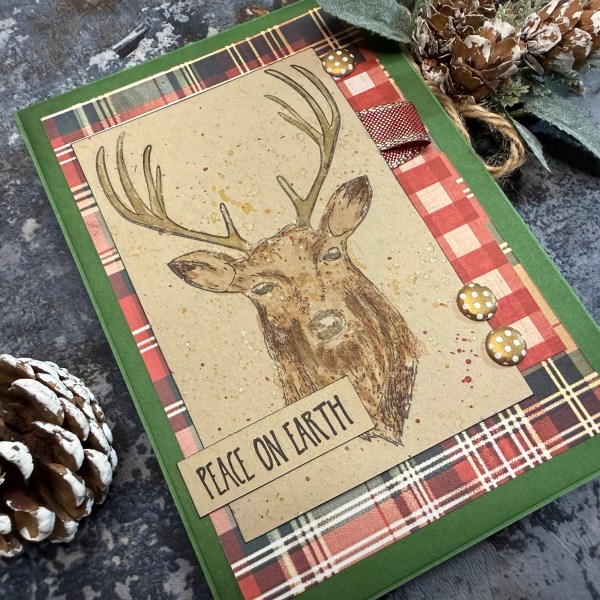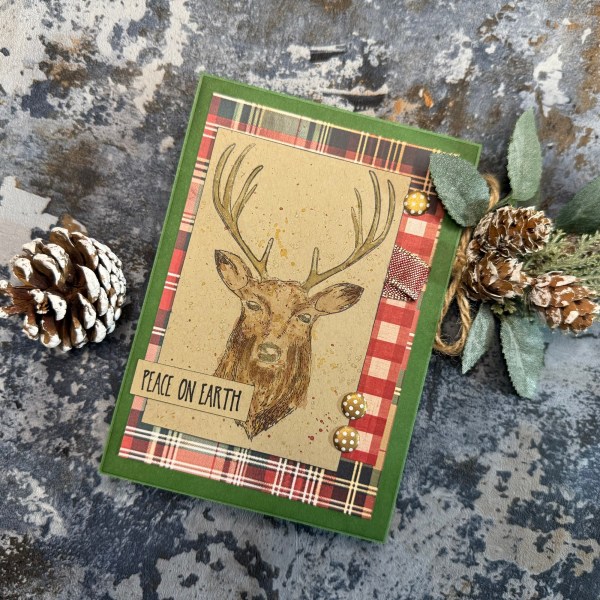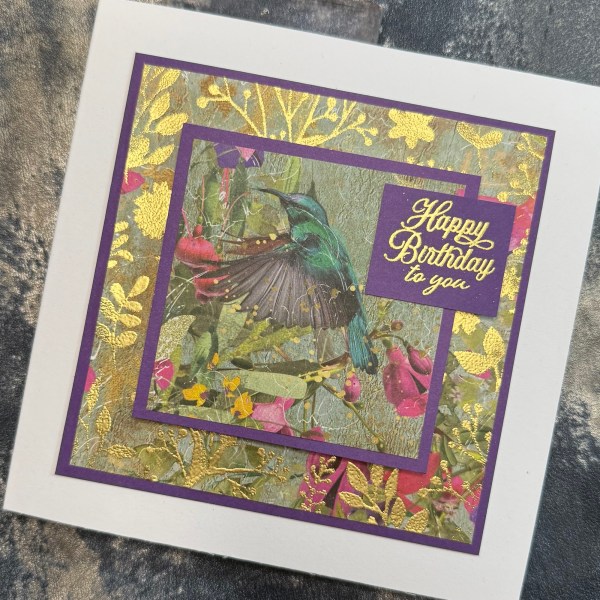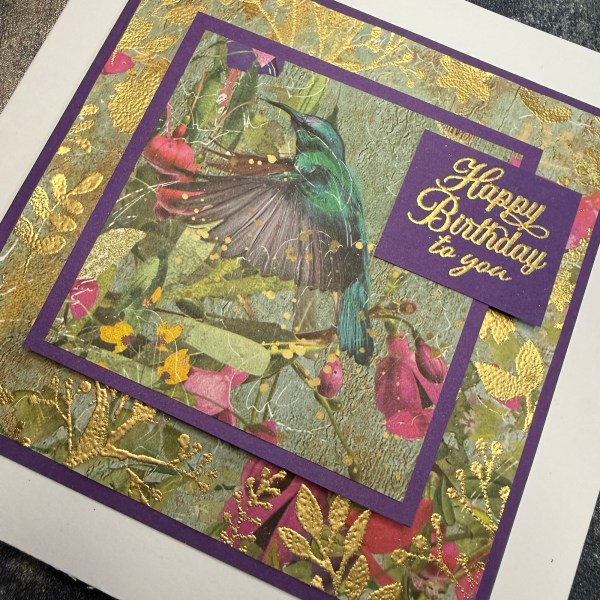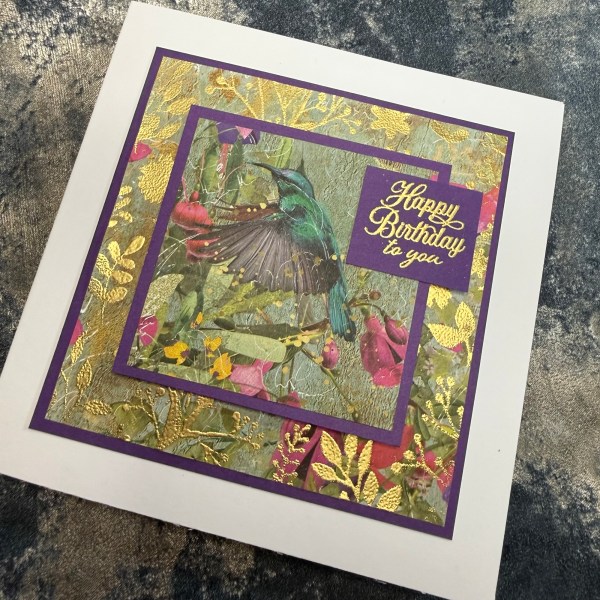
Hello! For today’s design team card for ATSM our theme is any occasion so I decided to just use up papers that were on a pile on my desk leftover from a scrapbooking project and see where it took me!
And it took me to this vintage shabby chic look of a card! And I love it!!
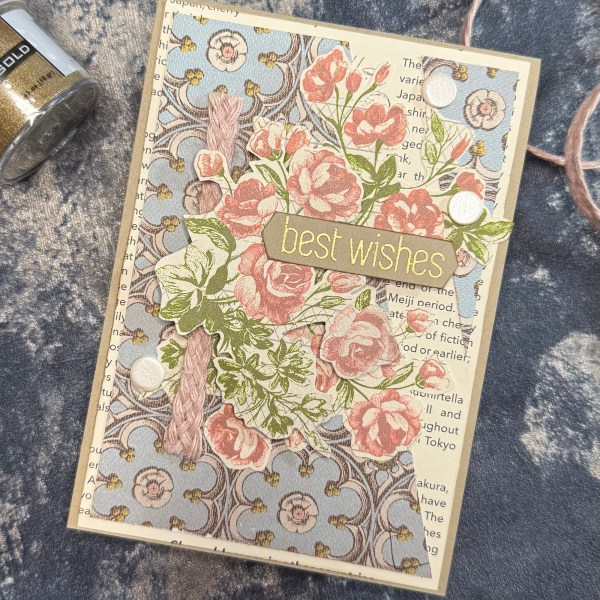
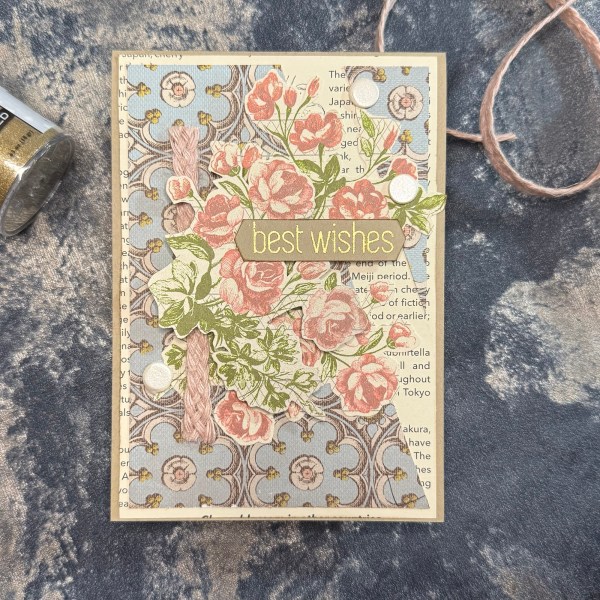
Papers came from old SU packs and then those flowers I fussy cut and have had in a pouch for years – I used them for a patterned paper challenge around 2 years ago! Seriously why do I hold onto these things? Oh because then the perfect project like this comes along!
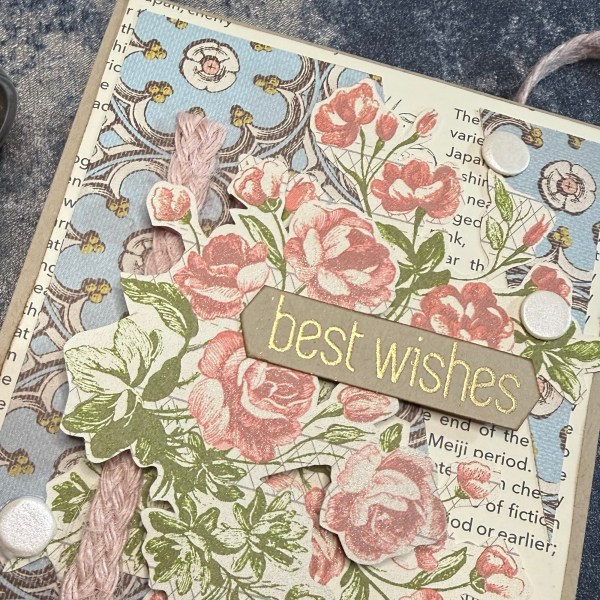
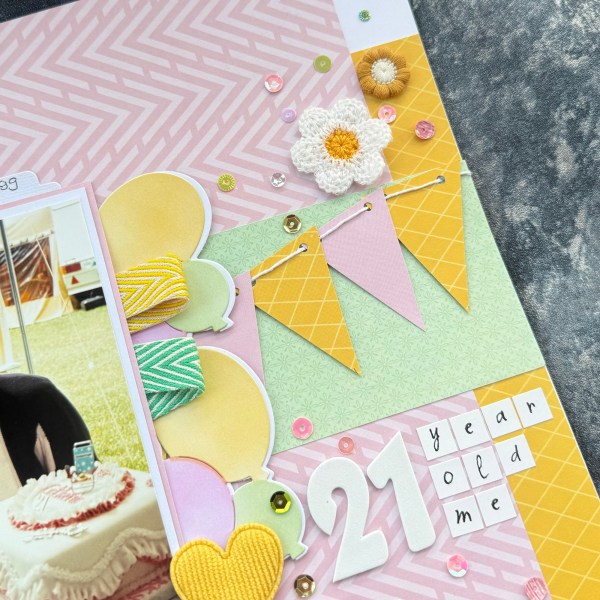
I layered the smaller cluster of flowers over the larger one with foam adhesive to give it some dimension. I love how the angle I had cut the paper on gave a fun peep through effect for the background too.
Before I adhered it though I realised that the new braided twine I bought from SU would work well and so adhered a strip of that down – this really adds a lovely texture.
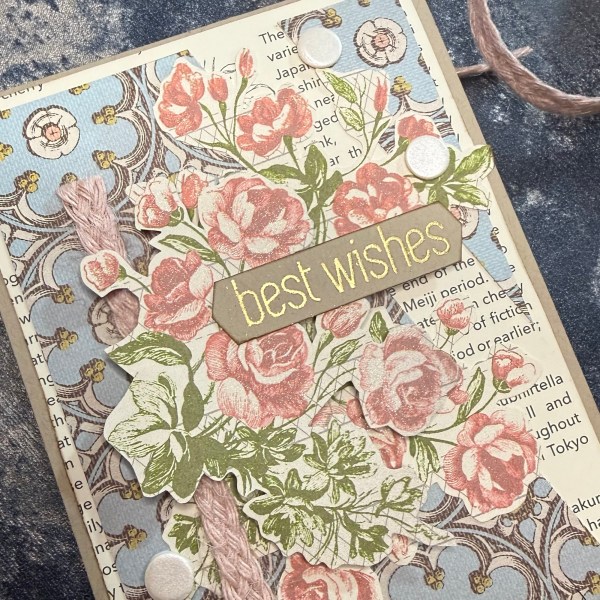
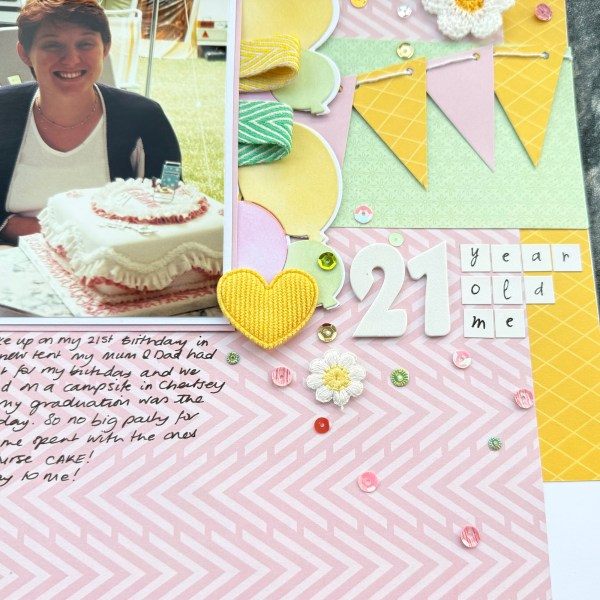
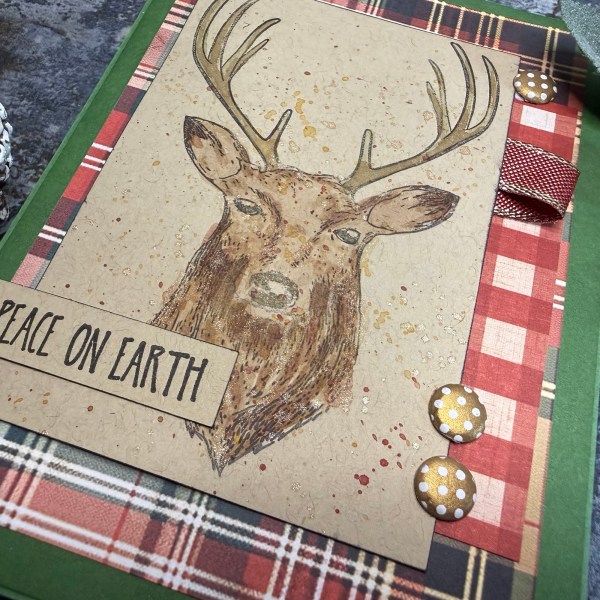
I then chose this lovely elegant font sentiment and gold embossed it onto the crumb cake. I then used the punch to finish the edge into the pennant type finish.
I raised one end on the foam to be the same height as the flower bit.
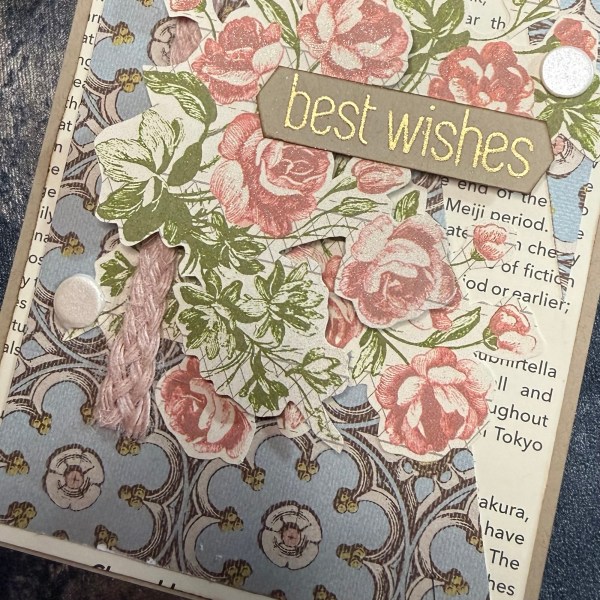
I am currently obsessed with wink of Stella and so went over all the flowers with that to give them shimmer. I then chose some cream card Candi to embellish.
I edged the panel with some brown ink (I did the same to the sentiment) and then adhered to the crumb cake card base.
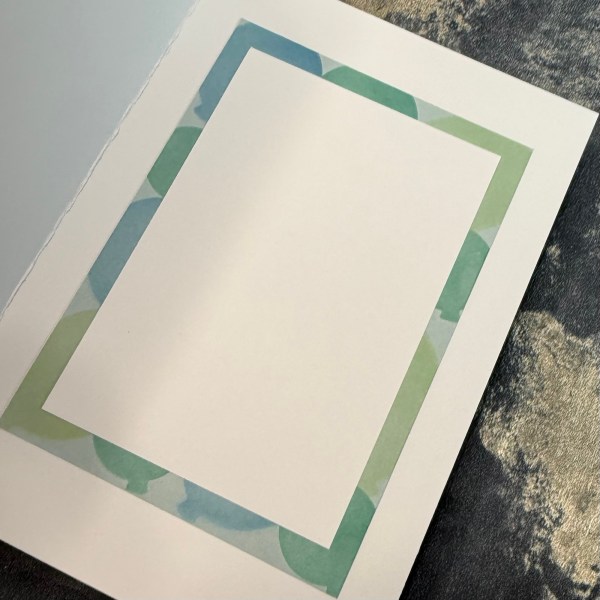
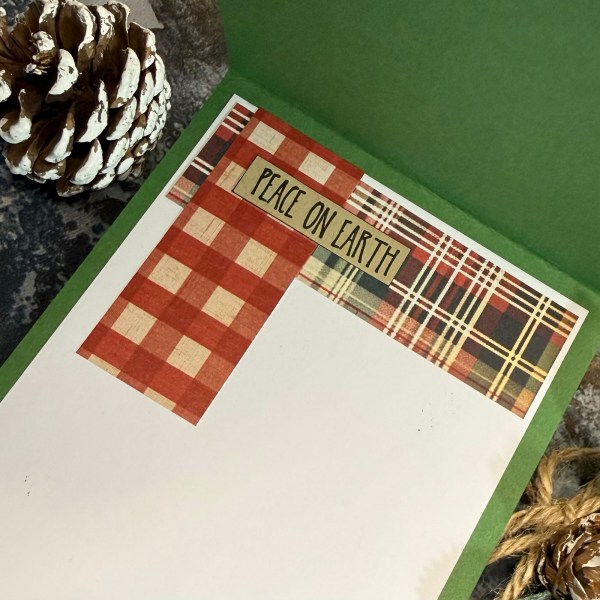
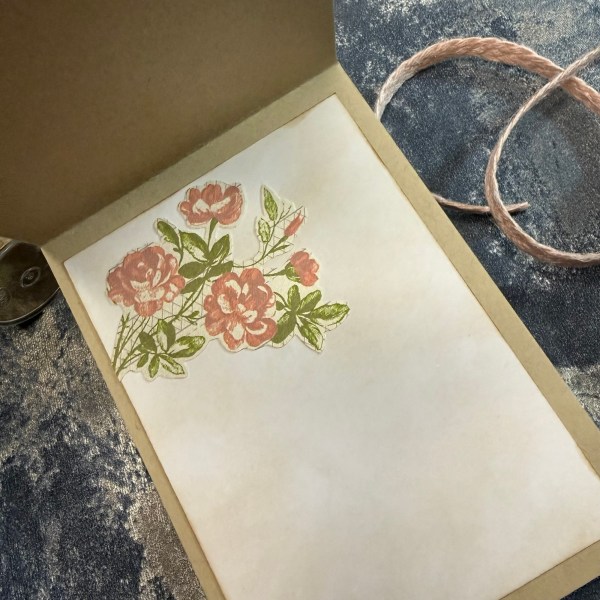
Inside the card I added a panel which I had edged and then lightly inked. I then added the other floral element that had been in the pouch with the others.
So much fun to just grab supplies and see what comes from it – this really was a mix of such old supplies and then the addition of the newest with that twine – but it just worked perfectly!
Happy crafting!
Catherine