I decided for this design team contribution to film the process which I’m not sure I’ve done with a DT contribution so that was fun. Please check out the video!
I went with two of the lovely Eclectic Bouquet images to fill – well over fill – the front of the card! I watercoloured very loosely and then added gold embossing of the line art over the top!
I added a textured and splattered card front.
I then added the sentiment using a teal cardstock I thought worked with the leaf colours!
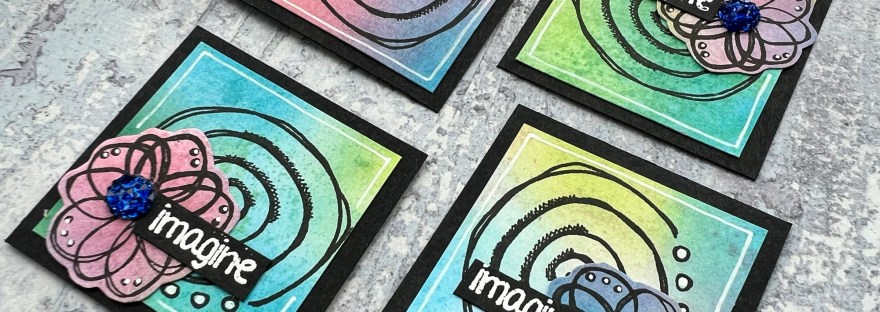
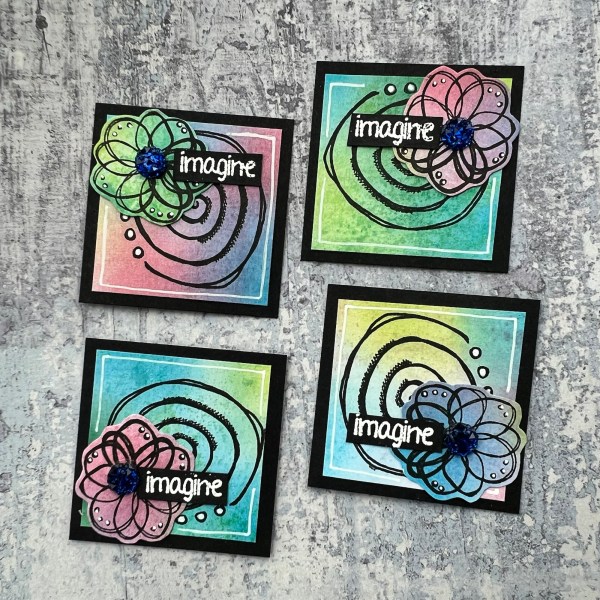
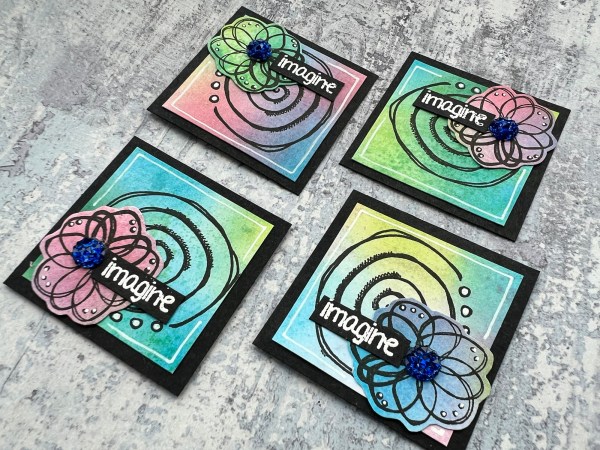
Like last month I’ve made an effort to join in with more of the swaps over at UK stampers forum – these are my Twinchies!
I started with two pieces of card I had mopped up some ink with – I then blended some additional ink so I could cut four twinchies from it as the background.
The theme for this month on the twinchies is Swirls and Twirls so I used the swirl from a Paperartsy Darcy stamp set and stamped it in black versafine.
I cut down the inked background a little so there would be a frame and glued it to the black twinchies.
I then stamped the swirly flower image on the leftover inked card and fussy cut it. I chose to put the flower in the same place on each twinchie but rotate it onto the base twinchies.
I then stamped and embossed the word imagine four times and cut them out – I added them to the side of the flower centre. Then I added the blue sparkly gem from the stash to the centre of each.
I then used my white police pen to add a few little highlights to the twinchies – a doodled line and the white dots.
A fun set of twinchies made from scraps!
Doing these swaps is pushing me to use supplies I don’t often grab for and it’s fun to create without a real boundary (other than the theme or the artwork size of course!)
Next to make will be the inchies … hopefully they will equally fun!
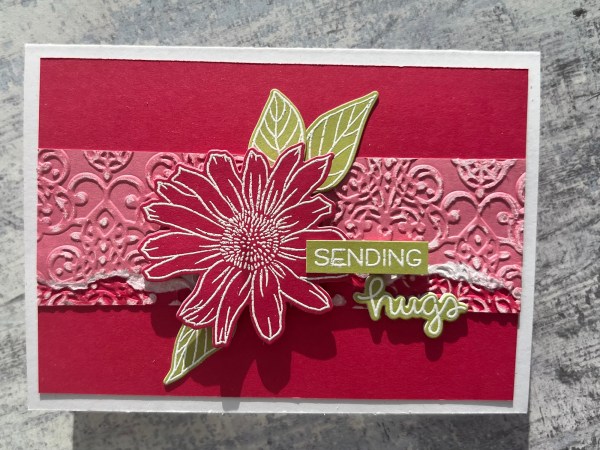
Back again with another of the sketches that Martin has shared for #sketchmayhem365 – this time day 23
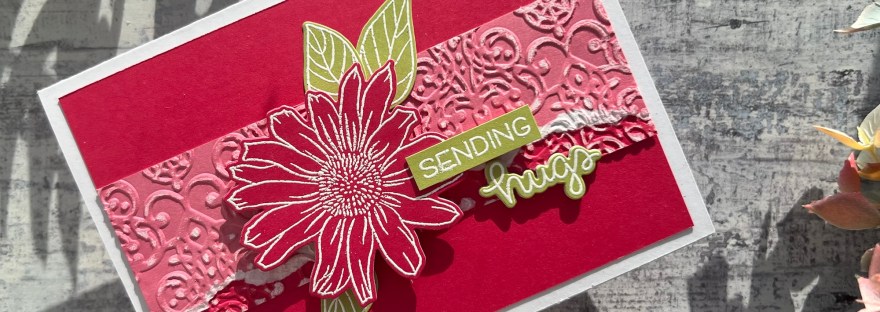
For this one I had some leftover embossed card pieces on my desk from another project so used that to look for a sketch rather than starting with the sketch and no ideas! And this sketch with the horizontal panel worked great.
I chose to use a floral to represent the circle and then a two part sentiment rather than a bow but otherwise the sketch is very obvious.
Used the Altenew Smile More stamp set and the Lawn Fawn for the sentiment.
The embossed and distressed panel were leftover from a project I will share soon (can’t do a spoiler as it’s for my Aunties birthday) – I used the Kingston Crafts cardstock throughout the card – love embossing and sanding it back to reveal the white core.
Raised the flower and sentiment up for dimension – the shadow from the sunshine when I took the photo makes this look very raised but it was only foam adhesive tabs!
Thanks for the inspiration Martin. And for those that like to watch a process video please check out my YouTube channel as I recorded this one!
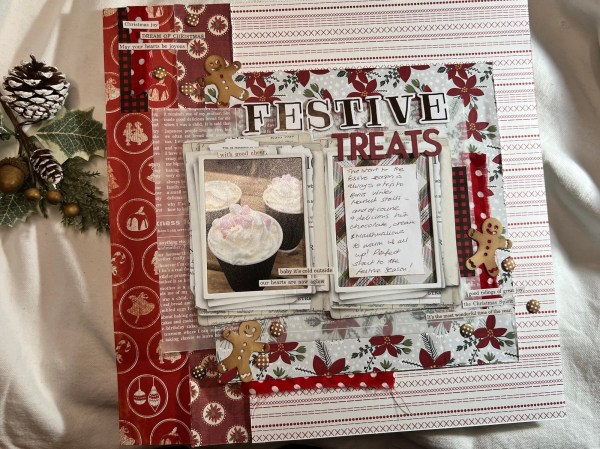
Ok so this might be random to post a Christmas page in February – but I don’t scrap in order or anything – I just do what comes to mind! And in this case I had the photo already in the frame from the previous page I shared with you!
So as it was a picture of the hot chocolates we had at the winter markets it felt right to use some Christmas papers to scrap the picture – so I grabbed a lot of papers from the stash – some of these are very old and some of these were gifted so no idea where they are all from except the stitches one is papermania!
I did lots of layers and also grabbed the printed vellum panel too as that adds a nice texture in there.
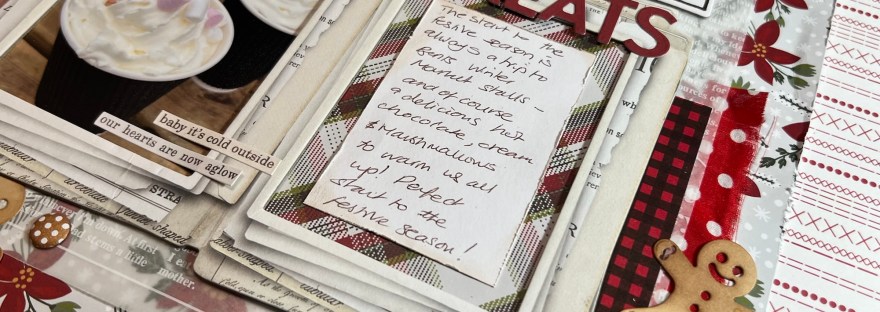
I added a panel of journalling to go where the other frame is and then some scraps of fabric for added and lots of old Tim Holtz stickers for the words etc.
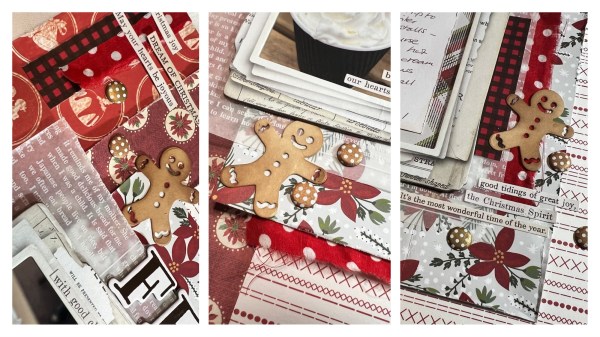
I used the gingerbread men dies for the main embellishment along with spotty card candi.
I chose some thickers for the first part of the title and then die cut the others from scrap cardstock.
Love how this page looks and so pleased to have got some of the old papers used up in my stash!
If you want to see the page come to life please check out the process video over on my YouTube channel.
I decided to keep it simple and just use a piece of cardstock that was on the desk to stamp and emboss the gorgeous Snow Crystal stamp. The cardstock was actually from the Kingston Crafts Everyday Stories album kit but was a plain colour on this side (the other side was patterned but I figured it was more likely to use this as a card front than the pattern on the other side!)
I then added the punched circle and a die cut snowflake and a sentiment I stamped and die cut using a Spellbinders set. I did stack the sentiment to give it a bit of dimension.
Then I used some star puffy stickers from the Everyday Stories album from Kingston Crafts to embellish.
And so here is a quick card for the festive Friday challenge! Another week completed!
The last few days have been scrapbook heavy so time to return to cardmaking!
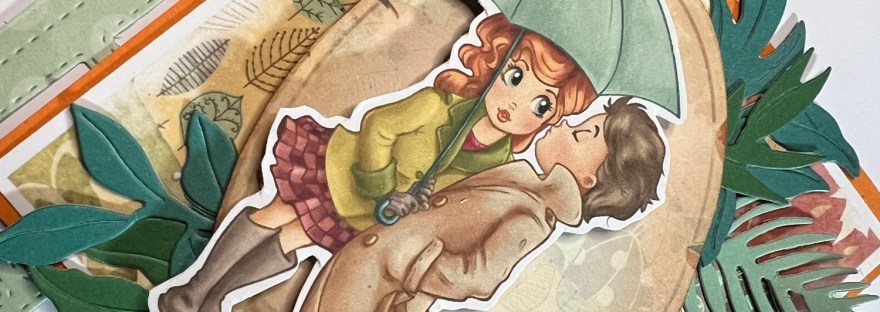
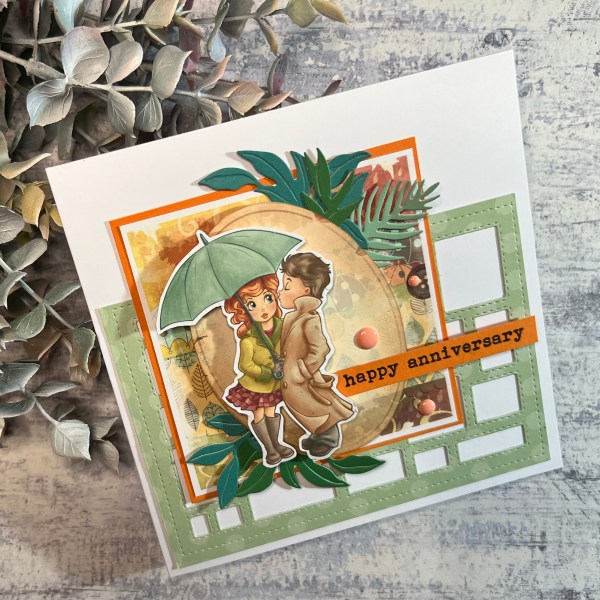
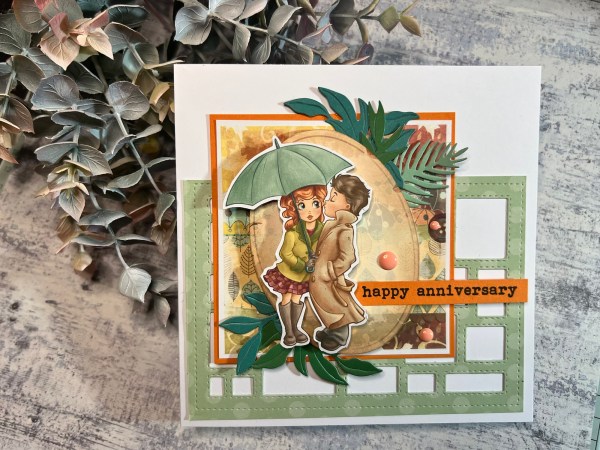
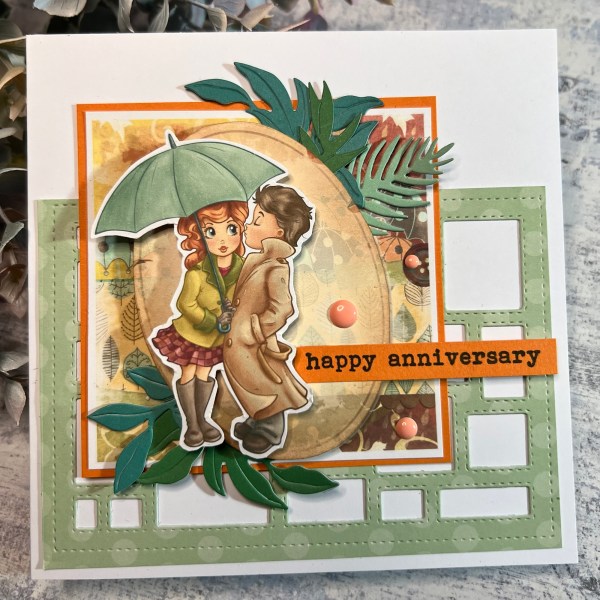
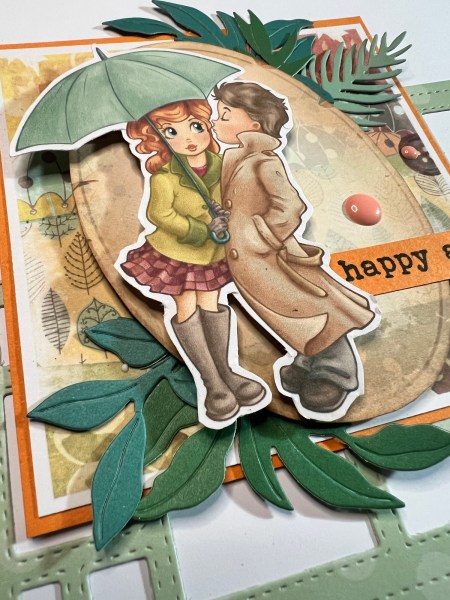
Our theme for the latest Creative Knockouts blog is ‘love’ – so anniversary/valentines type of thing! We were given the Autumn Love image by Paper Shelter to work with – oh it is so cute! One of things that’s so fun is they send a coloured version and a line art version and a background too!
This time I decided to use their coloured version of the couple and print two versions of the background so I could give it some real dimension!
It also meant I could add the die cuts to the card between the layers of the background which I think worked quite well.
I started however with the die cut panel I had in my box of bits and bobs to be used up – this was cut from a subtle patterned paper so just added that to the card blank to give the background some interest.
Next I worked on the main focal point. I fussy cut it out with a white border and then I also cut out the oval from the background. I inked up the oval a little with vintage photo distress ink to give it a little definition. Then I used foam adhesive for both the oval and the couple image to raise them up.
I added a panel of orange cardstock to the back of the panel too as a mat.
I decided that the waffle flower leaves die cut from three different greens would work well and added them top left and bottom right to frame the image and help define the layers I had created.
Next I stamped the sentiment and cut it into a strip to sit off to the right. I added some foam on the right hand side and glue on the left so it would sit nicely on the different layers.
As a finishing touch I brought in those enamel gems in the peach colour that I thought looked nice with the colours in the image and the paper.
A cute card indeed celebrating love!
Off to see what the rest of the team did with the cute image!
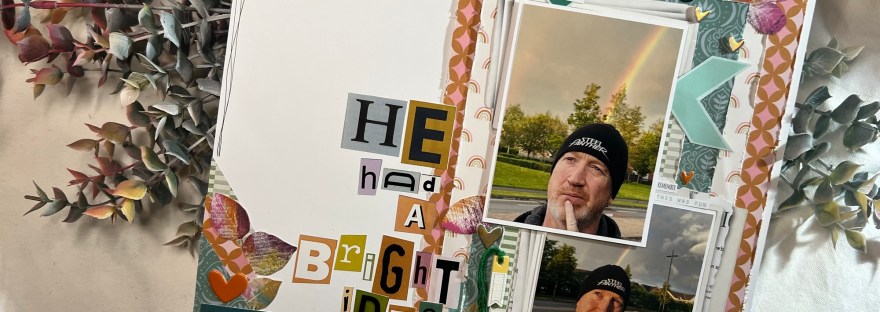
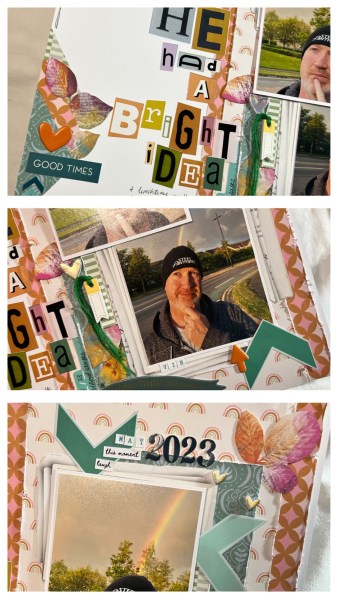
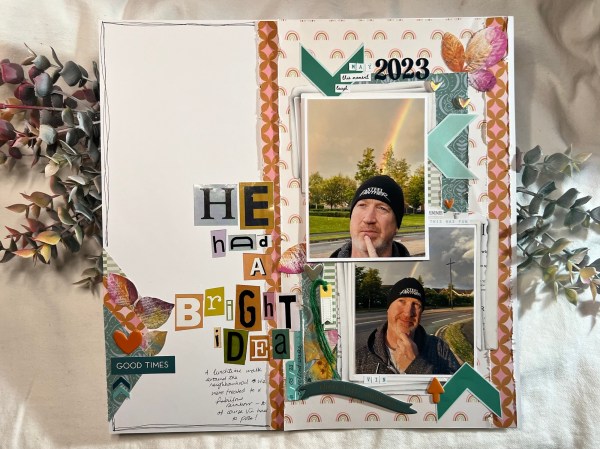
Today I have a page I made using some of the leftovers from the page kit I shared a few days ago – and of course I raided my existing stash too and pulled some of that in too! I also decided to play along with the monthly challenge at Hey Little Magpie Facebook group and made sure I included hearts in my page!
With a big panel of the rainbow themed paper left I knew I needed to scrap the rainbow themed photos of the hubby! So I started with that as the vertical stripe down the page and edged with the reverse with the orange and pinks.
I then added in the teal and green colours from the other papers leftover. Triangles/arrows from the leftovers also came in and then I just had a play with other stash from Kingston crafts bits and those 49th & market leaves and some bits from the old Lollipop box club kits.
The main thing however became the title and I faffed for a long time until I came across these ransom style stickers which I thought would work with such a long title!
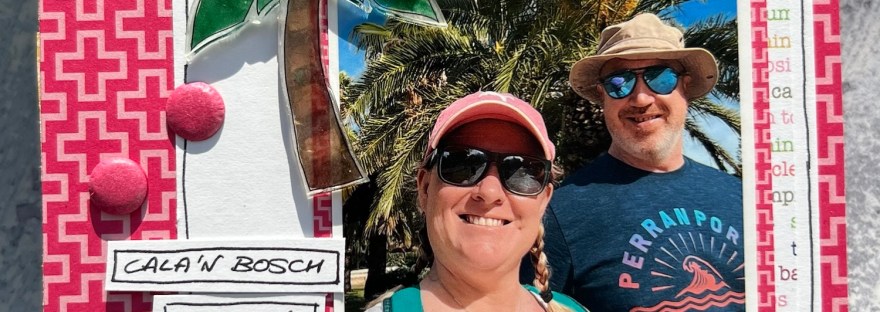
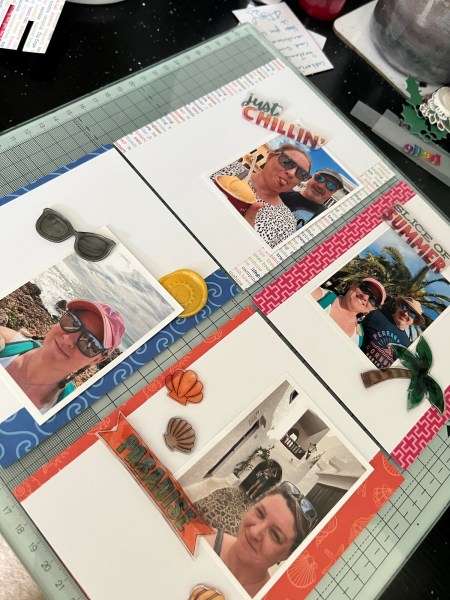
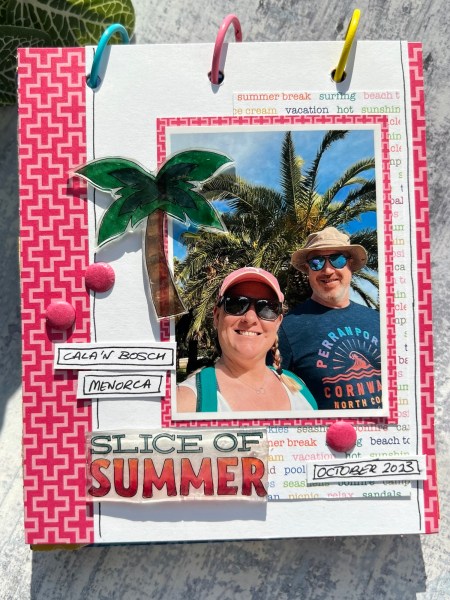
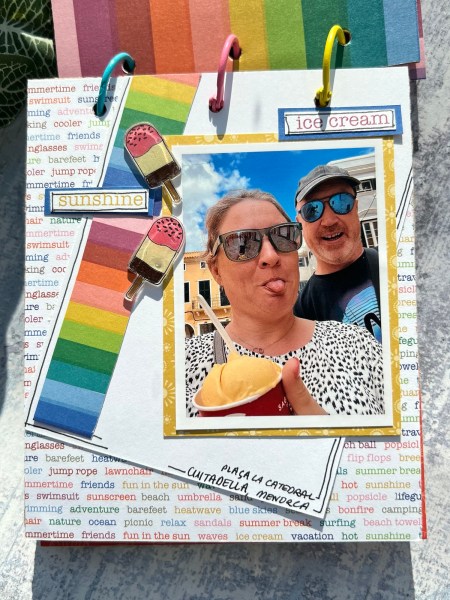
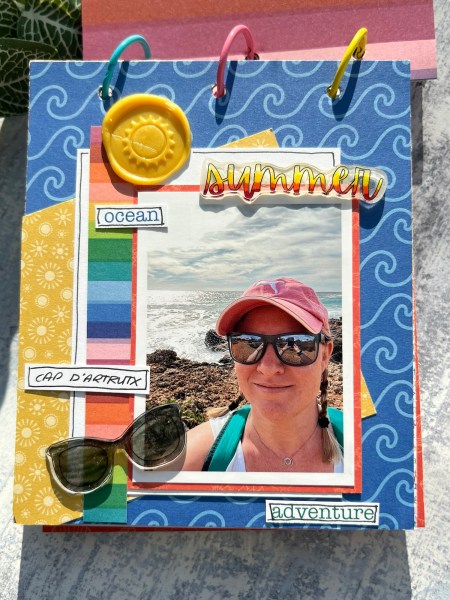
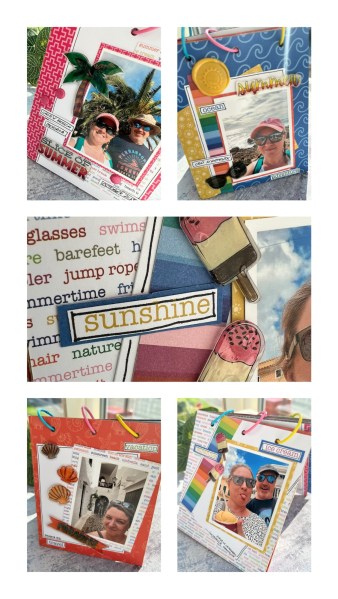
So I went a little overboard for this next project for my Kingston Crafts design team as I couldn’t decide which shrink plastic pieces to use and whether to make one 12×12 scrapbook page, and 8×8 scrapbook page or just to go a little off the wall and make a little mini journal style scrapbook for some our pics from Menorca … so yes I went with that!
I started by playing with shrink- colouring things and cutting them out and shrinking them – then I cut some papers from the summer collection pack and some white from the everyday cardstock collection. I already had my mini photos cut ready to use and then started arranging things loosely how I might want the pages.
Next I had to decide on what construction I fancied for the pages to sit on – in my head I wanted a little flip book so it could sit on a shelf and change the view whenever I wanted to look at a different page!
So out came the junk recycling – you know the packaging from having had craft supplies delivered which I am very guilty of ordering! I always save packaging as you never know when it will come in handy! It needs to be sturdy obviously but doesn’t need to be pretty as it will be covered by the pretty papers! I decided to use the fab rainbow stripe paper for the back of each of the panels as it then coordinated with all the panels.
I decided to use the wide red tape to adhere the papers to the junk card bases – this way I knew it would be secure and wouldn’t warp!
Once all four were covered on both sides I used my cropadile to punch holes in the top so I knew where the book rings would go and then started with the decorating and sorting out each page!
I had lots of fun putting each page together … this is the point where I was almost finished … but did add in some other touches once I had popped them together with the book rings.
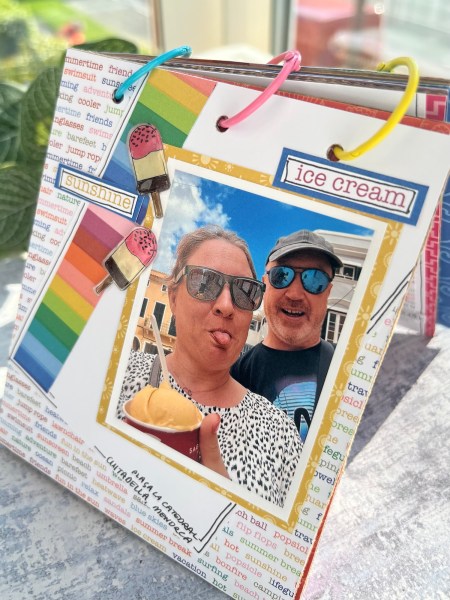
I added in some hand drawn lines and frames for the extra words I had added and some little journaling elements like the where and the when!
I also added some card Candi to this page…
… and some additional shrink wrap icecreams I could resist adding to this one!
I know I still need to add journalling but decided I would add that to panels on the back of each page as the main point is to have the front visible on display. I will add that later… for now these are with Martin ready for going on display. When I get them back I will add the journalling to finish off.
Hope you like this fun project – I am really pleased with how fun it is and a different way to do some memory keeping!
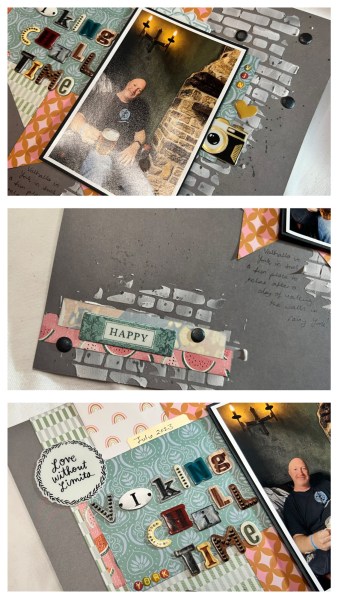
Hello! I did some more scrapping – this time one of the page kits I bought in January from Hey Little Magpie – and although the layout stayed similar in terms of the sketch I totally changed the page by changing the background from a white 12×12 to grey. I’ve saved the white piece for using with leftovers and instead made what was quite a romantic page into something a bit more masculine to fit the photo of my hubby!
The papers retain the cheerful feel but I added in the modeling paste brick stencilling and lots of dark grey splatters to grunge up the page.
The picture is of my hubby in the Valhalla bar in York enjoying a pint after we had been out in the rain most of the day walking the walls around York.
I brought in the mixed alpha from an old papermania masculine set but mixed in with the cute glossy puffy stickers from the original kit it still works well.
A fun page and really enjoyed mixing up the kit to make it feel very different from the original inspiration.
This is why I love page kits – you can totally go with the original design – you can mix it up and do something different but keeping with the sketch – or just do your own thing with the kit and go your own way completely!
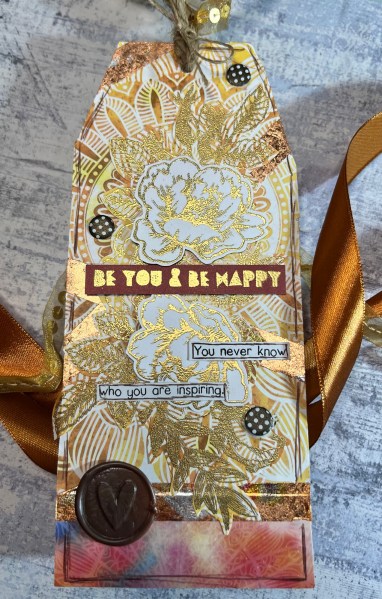
Once again I’m joining in with the UK stampers forum decorated tag swap – and like last month I’m also using up papers from the magazine collection I have although this time I went for full on background with more of the mandala papers.
Sorry this first photo is a bit of whiteout but it is partly due to all the shine on the tag! Once I covered the tag (which I made from recycled packaging) I added some stripes of adhesive tape and then the gilding flakes. I love the fun shine and glamour this provides – and it’s so easy!
Just don’t sneeze or cough near the flakes!
Next I heat embossed in gold the Beautiful Flowers image from Simon Says Stamp – a favourite of mine (thanks for Amy from Prairie Paper and Ink) – I did this directly onto another panel of the mandala paper (yes that’s another piece used!) and cut it out. I then glued that direct to the background – so there is the shiny embossing over the background covered with gilding flakes too! No wonder I’m struggling to photograph this tag!
Then I added two of the individual flowers which I heat embossed onto white cardstock and cut out – these are at least a little easier to distinguish! I did add some scraps of white cardstock underneath to give some subtle dimension.
Then I embossed the main sentiment from an Altenew set onto some rust coloured cardstock leftover from the cards I made for the beginning of the month.
I also added a sub sentiment just stamped in black onto the white cardstock.
I added some doodles using a brown pen to the sub sentiment and the edge of the background elements on the tag. I also added some spotty dark brown card candi for embellishment.
I finished the tag off with a few bits of string and the sequined ribbon and a brown wax melt heart image which was on the desk from playing with the wax melt kit from Kingston Crafts!
A fun and shiny tag! Those flowers are just gorgeous and love how the mandala paper became an interesting mix of the colours on the images.





















 Inkyfingeredcat