Hi
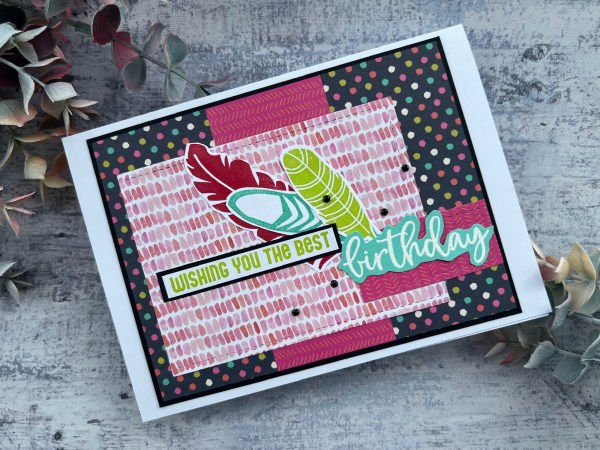
At the beginning of the month I always play with patterned paper and this month I didn’t get around to tidying away the pouch I had pulled out so I made another card. I actually used a scrap of cardstock I had die cut from last time too!

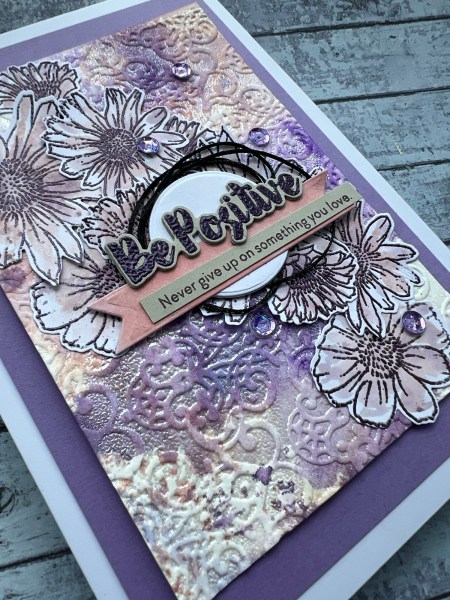
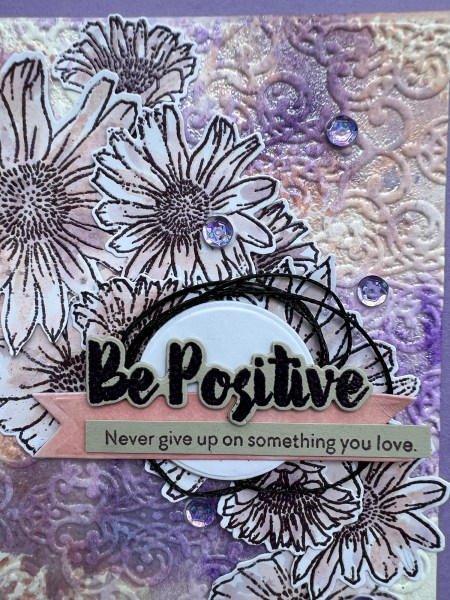
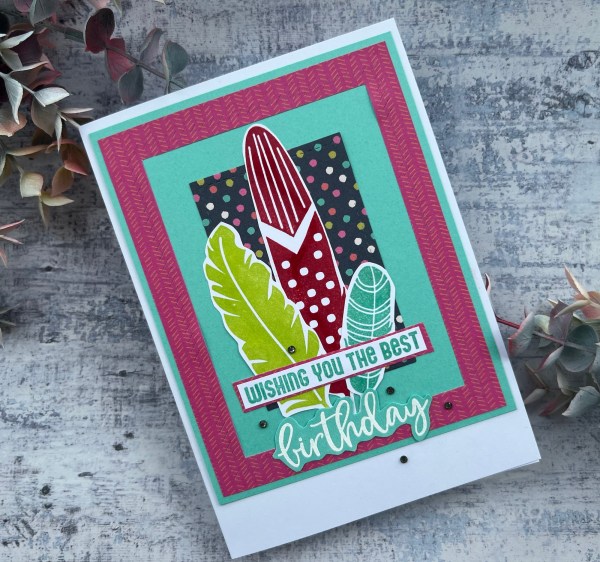
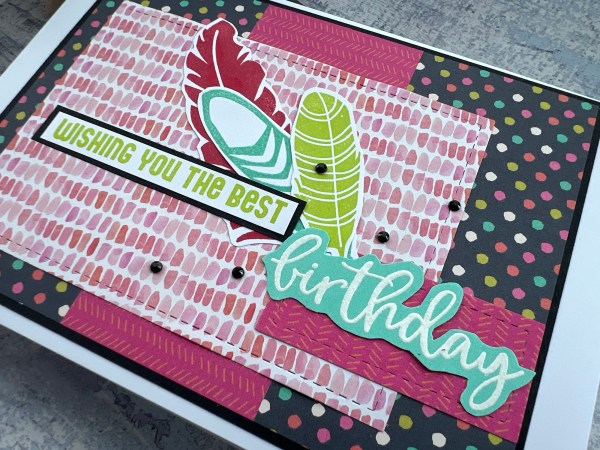
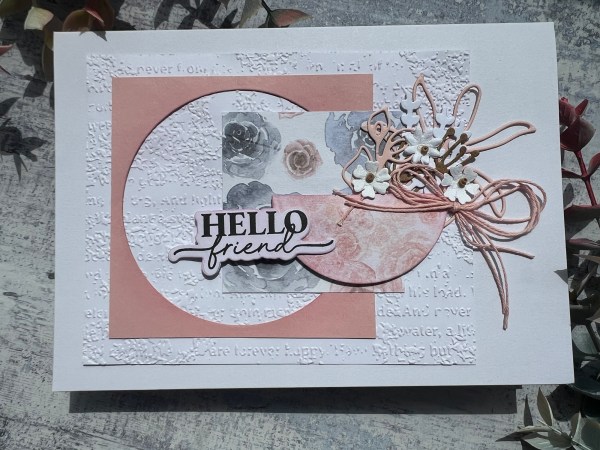
So the two pieces of patterned paper were cut for the sheet load of cards challenge months ago but I never got around to doing the full batch and I couldn’t actually work out which sketch this one was for so didn’t end up doing that … instead I added the die cut panel and an embossed panel background and made a vase out of the half circle with sone random die cuts and the little flower embellishments and a thread bow.

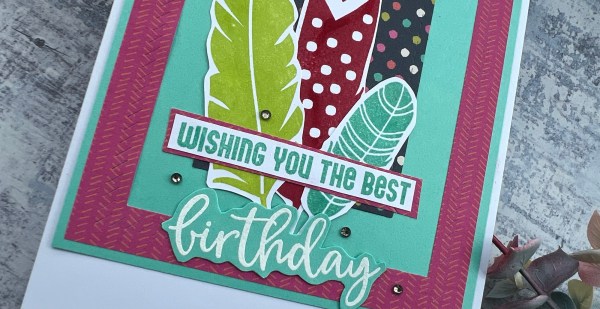
I also added the sentiment from Waffleflower.
I lightly inked the background, the sentiment and the edge of the vase – I had previously inked through the die cut circle so that’s a bit inky too!
Really pretty papers and I think a cute used of the shapes and that panel.
Happy crafting!
Catherine