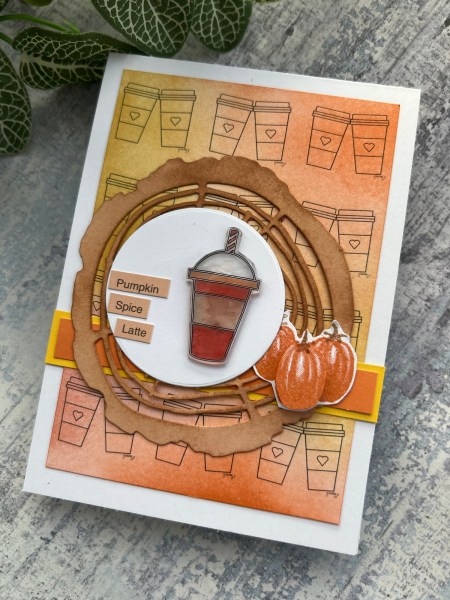
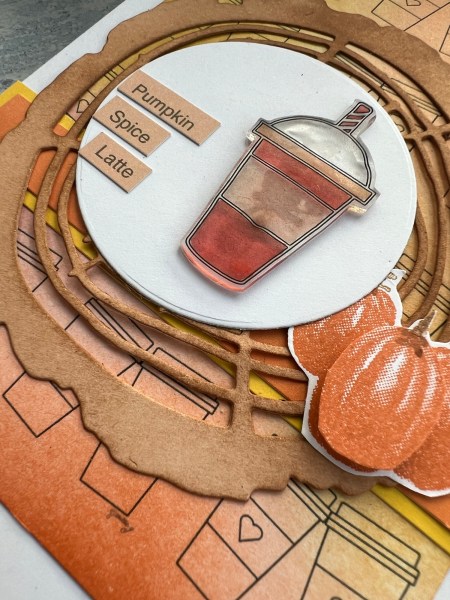
For this card I really wanted to represent the PSL joy! Not sure what I mean – well Pumpkin Spice Latte is one of my go to treats as soon as the coffee shops start selling it. It’s a hideous amount of calories though so I’ve try to limit myself but do miss it when it’s not available anymore! Also I love it iced as well as hot so when I saw these shrink plastic images that was what came to mind!
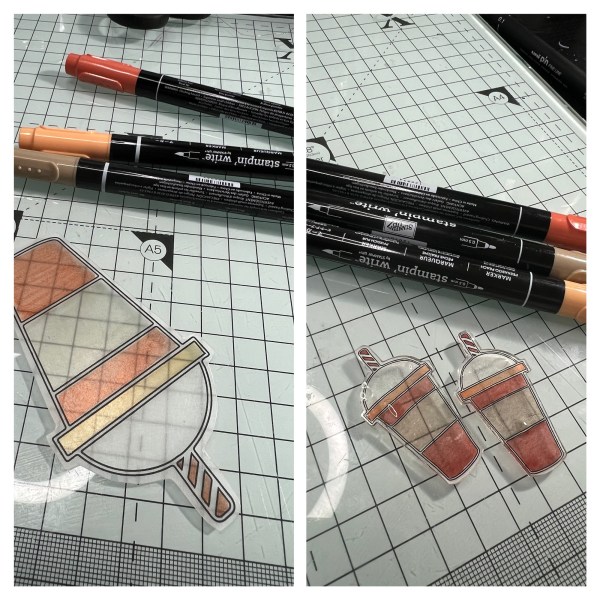
So I started with the shrink images and cut them out and coloured them in with the pumpkin colours and shrank them!
Aren’t they just the cutest?
I remembered that in my digital stamp collection I had these cups so printed out a whole panel full of them onto the white and did ink blending in lovely autumnal colours.
I die cut a circle for the little shrink PSL’s to sit on.
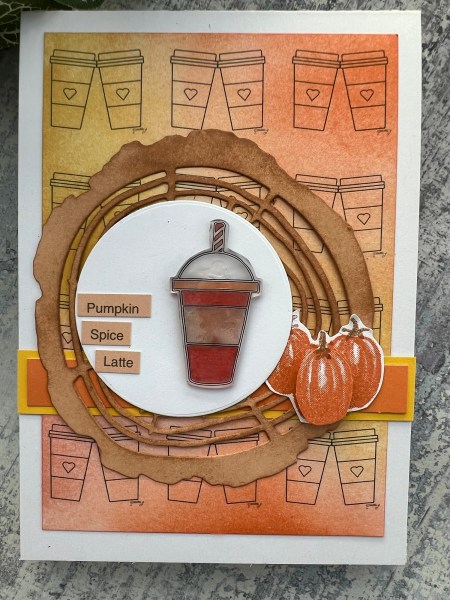
Now at this point I paused crafting for a few days and when I came back I had a small disaster and I tipped some water onto my desk and it ruined one of the shrink plastic pieces by disturbing the colouring – so note to self water based inks don’t mix well with water on shrink plastic! Doh! But fortunately everything else was safe it just meant two drinks became one!
I grabbed a couple of scraps of everyday cardstock to make a panel across my card and stuck all of those pieces down but then I had an idea … firstly I wanted Pumpkin Spice Latte on the card so printed that off on some of the solid cardstock that is in the spring slimline kit and then from the same piece I die cut this wood slice die from Altenew. I then inked it up with some distress inks and used that as the base for the circle die cut.
I also decided it needed some actual pumpkins so out came the Scenic Pumpkin patch stamps and stamped and fussy cut the set of three and then cut one out of the same set to raise it up on the foam adhesive.
I decided that was then done – a perfect PSL card – perfect for sending a Gift card to a fellow PSL lover I thought!
I decided this year to try and join in with more swaps and mix up my making so it’s not too card focused. So today’s post is the inchies and twinches I made for the swaps.
I kept them similar as I made them at the same time using some scrap cardstock, distress oxides and some embossing.
Except once I made them I realised I had not read the instructions for the twinchies and instead of anything goes with stamping it was Green Blue and Yellow – so these twinchies won’t be being swapped this month but held onto until I can find a use for them!
Regardless I thought I would share them here!
So I started with the two pieces of white cardstock and added distress oxides to them for the background before adding some black text stamping and the number stencilling.
This gave me a fun background to work with and chopped it into the inchies and then four 1& 3/4 inch squares that I could mount onto twinchies.
I inked the edge of each of the squares and then using the scraps leftover I stamped and embossed hearts using an Alpaca Pals set. There was a larger heart and a smaller heart – perfect for the two sizes of the artwork. I fussy cut them out and stuck them down.
That was how I left the inchies – but the twinchies I added a stamped word to them which I heat embossed on black.
I then mounted them on scrap cardstock that is a dark purple colour.
The following day I decided to then make a blue, green and yellow version of these twinchies so I could at least join in with the swap!
This time I did some stamping with the alpaca pals stamps onto the background make with the distress oxides and then embossed the heart onto a panel I coloured with the ultramarine brushos and the oxides mixed up.
This time I used a different Alpaca pals sentiment and also positioned the heart and sentiment slightly different.
Love these fun little pieces of art. Nice to get creative on different sizes too!
Hello! Addicted to stamps and more is back after a little festive break and we are continuing our challenges (& with a new colourful logo!). I love this challenge because it is a fairly open theme each time and lots of blogs to visit who take on the theme and make it their own.
We start for challenge #484 with Any Occasion.
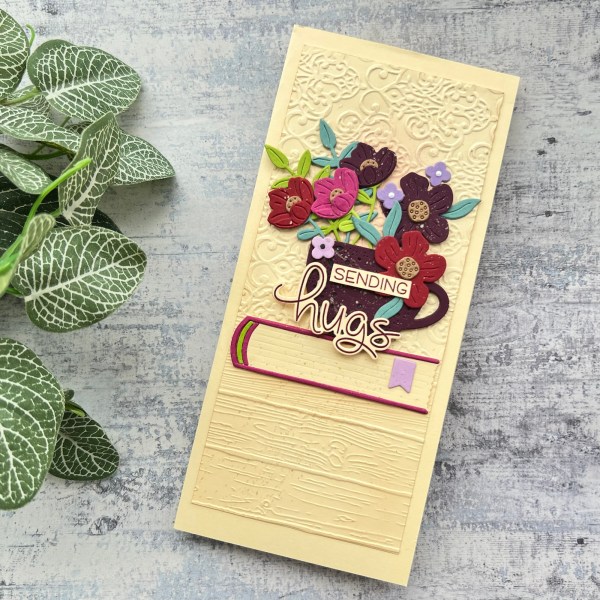
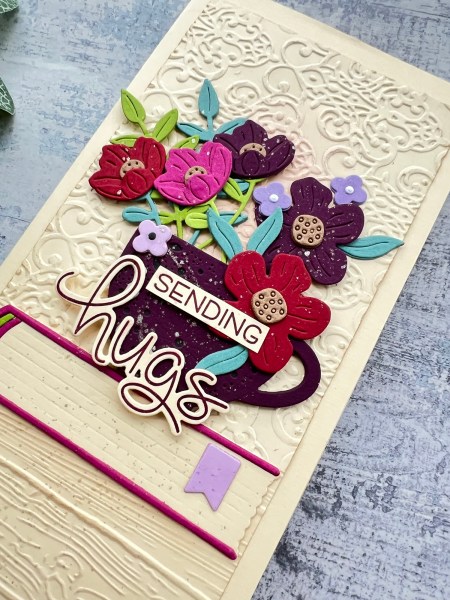
And I decided it was time to start working through some of the half made pouches I have in a basket to the side of my desk. I sometimes do extra die cutting when I make one project and then just stick it all in a pouch ready to grab next time – well this was one of the spellbinders stitching die sets I’ve really not used much of and in fact I don’t think I’ve ever used it for sewing – this time included. It includes books, the cup and then lots of florals and I had lots cut out so I could stack the die cuts and put together this cluster for the card.
I concentrated on the glueing together the die cuts and making the cluster and then needed to decide how I wanted to use it.
I went with a cream tall card and created a background for the cluster using two embossing folders – the brocade and the wood! This created a table/ wallpaper look!
I inked in a pale pink behind the cluster and then light brown for the wood and the edge of the panel just to give it a slight difference to the card base itself.
Once I was happy with the background I adhered all the elements of the cluster together.
Then I splattered with some champagne shimmer ink to give it some shine.
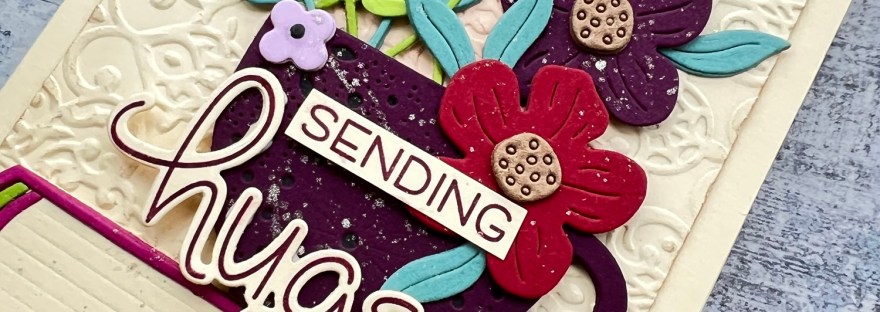
Once that was dry it was time add a sentiment. I chose the Lawn Fawn hugs one and stamped the two parts of the sentiment in the dark purple and die cut and stacked the hugs sentiment a few times. I also added some extra strips under the left hand side of the sending to make it even with the dimension of the flower on the right hand side.
I really love all those flowers and leaves that make up the floral display and probably need to use this set more – maybe even do some actual sewing with it!
But for now this is my any occasion card for the Addicted to Stamps and More challenge. Why don’t you come and join us over there with a creation of your own?
So one of the products I was sent to play with from Kingston Crafts for my DT work was an adhesive mega kit and it was released by hobbymaker tv on 5th January so can now share what I did with it.
Well it certainly was full of really useful items – double sided tape of different widths, red tape of different widths, glue dots of different sizes and lots of different colour adhesive foam dots. As I say really useful – but then I had to think of a way of showing off what having this range of adhesive could help create. So as it’s an odd thing to show off I thought I would blog all three things I made in one post …
Well one of the first thoughts I came up with was to use it as a way of adding gilding flakes to a project – so that became my first project.
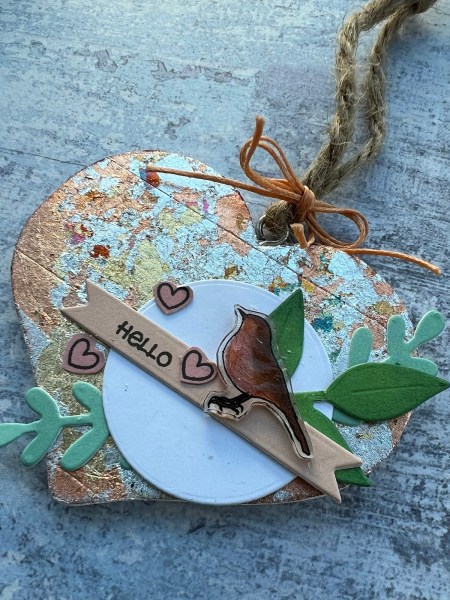
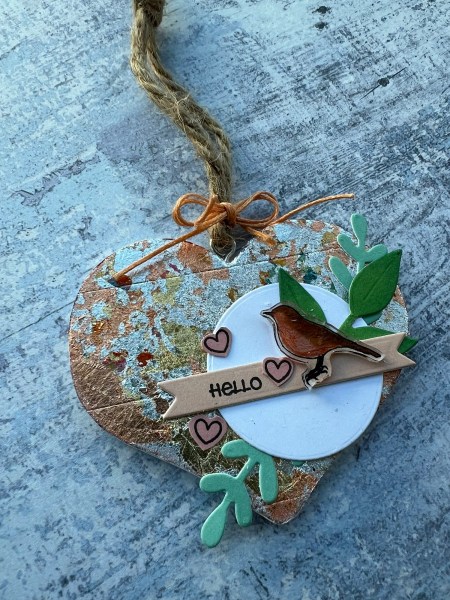
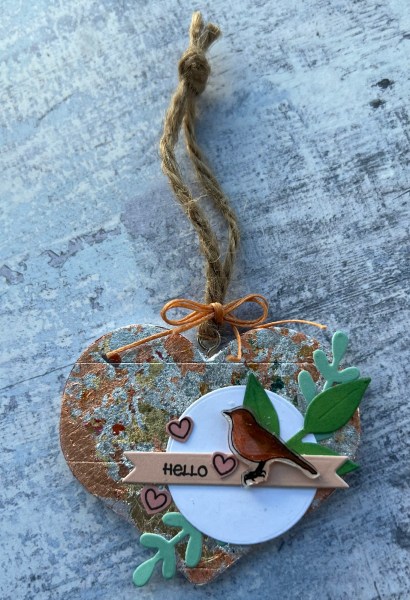
I decided to decorate a little decorative wooden heart I had in the stash (it is the same as one I covered in glitter glue for another project I shared a few months ago) so I chose the widest of the red tapes and totally covered the surface of the heart.
I then removed the cover sheet off the tape to expose the sticky and rubbed the gilding flakes all over the top. I just love how this looks – and it makes me wonder why I haven’t done this in ages!
Then it was time to decorate the heart – in reality I could have done both sides with the flakes and left it like that as it looks so pretty – but decided to create a little more interest to the front.
I added the die cut elements all cut from the scraps of either everyday cardstock or spring slimline papers that were on my desk. I then added the stamped sentiment and stamped some tiny hearts and cut them out to scatter a few onto the cluster. I then added a shiny plastic bird I had chosen from the Spring shrink plastic set.
All of these I added with the double sided tapes which stick really well – even on the gilded background.
Finished off with some string and waxed thread to create a hanger to the decoration.
So I think that made good use of the adhesives and created a really cute little decorative piece that could either be added to the front of a card or a gift.
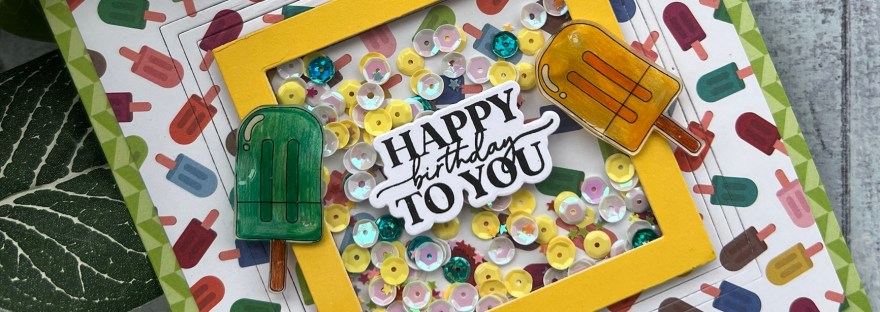
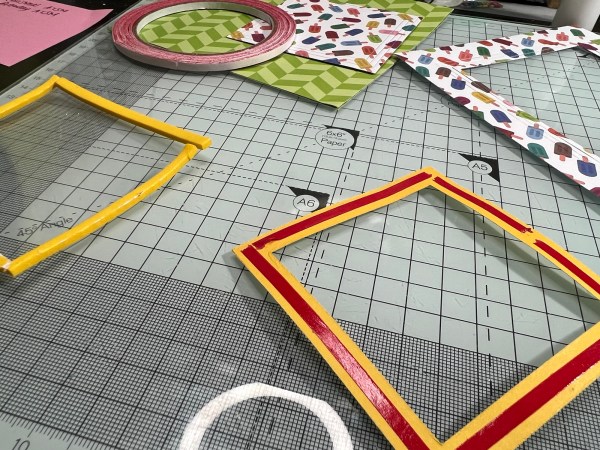
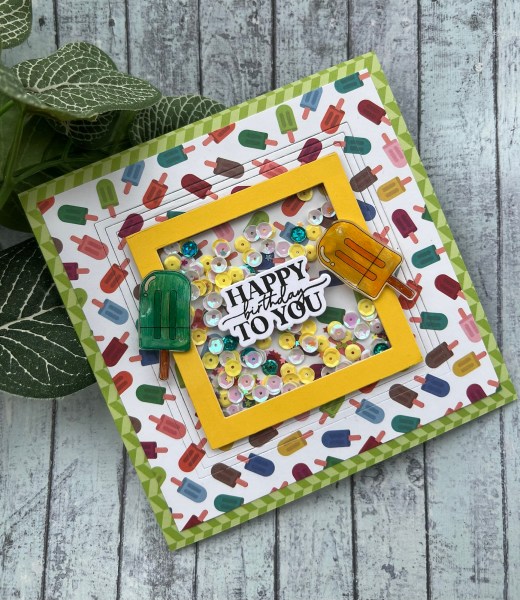
Next up is a shaker card – after all adhesive foam is perfect for giving the dimension needed for a shaker element – especially as each sheet comes with the long strips around the edge as well as all those individual squares.
Well I actually use the red tape too on this to make sure the acetate was stuck well to the card frame and then the foam strips for the edge of the acetate to raise it from the back.
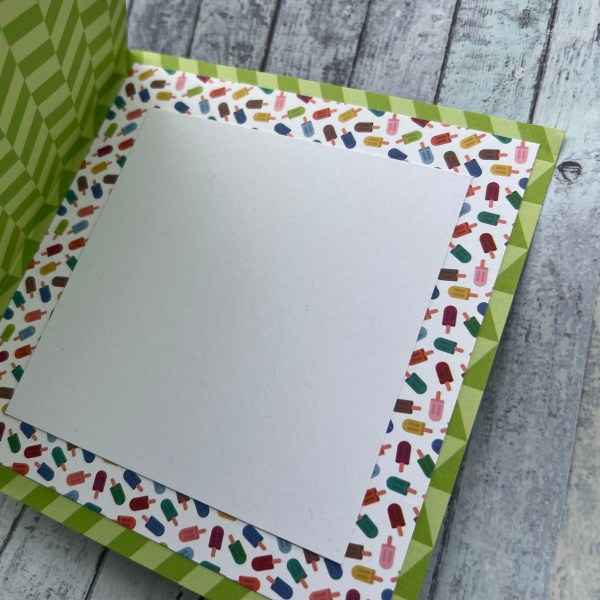
I added a lot of sequins and shiny bits in my shaker and themed it to the Summer Collection papers and shrink plastic pieces for those cute ice lolly’s.
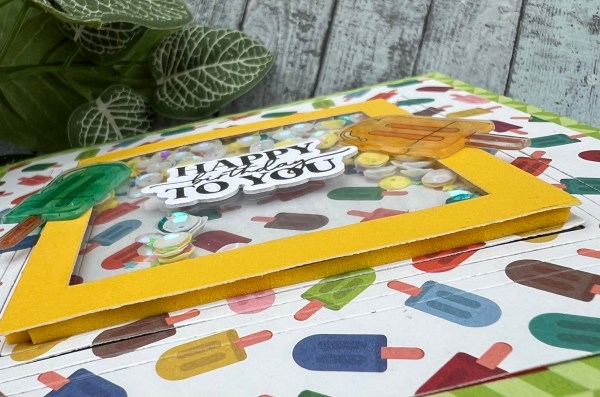
You can see when I tilt the card that the coloured foam works so well at making the card look finished too!
I did use the normal double sided adhesive on this too just to stick all the layers into place both inside the card and out!
Aren’t shaker cards just so cute?
Glue dots are also in the kit but I didn’t end up using them on these projects specifically – but I thought I would mention when I do normally – and that’s for adding a bow to a project – a glue dot is always my go to for the best adhesive to use – it doesn’t bleed through like wet glue and the easiest way to do it is to add the bow to the dot on the roll and then peel up and stick to the project!
So finally I have my double sided adhesive project – well I use it all the time but I guess the thing that is great is that it comes in all the widths of tape – so I decided to try and show that off… so went back to the gilding flakes again …
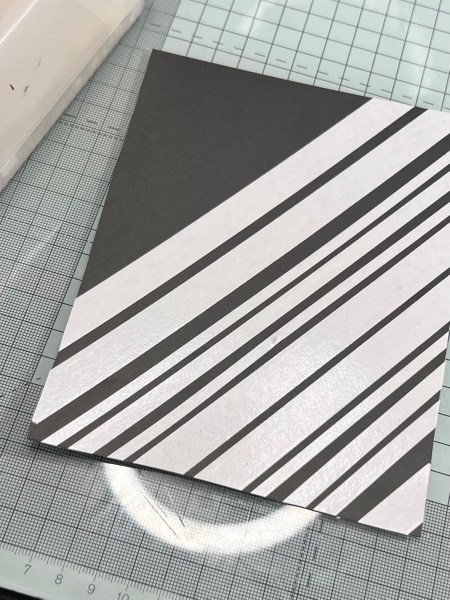
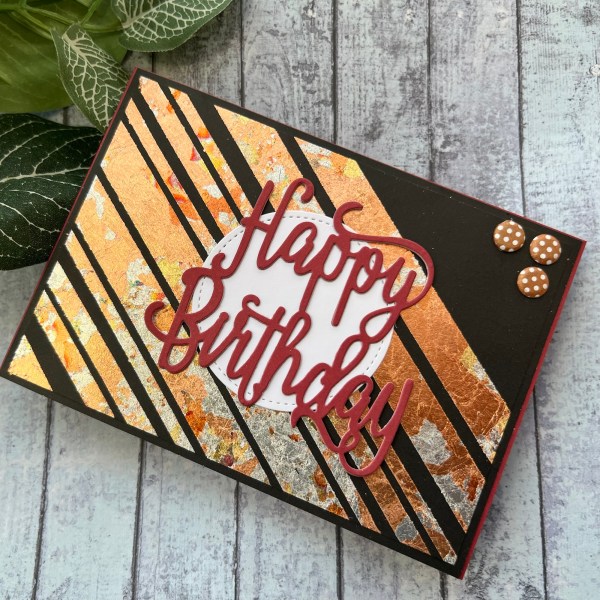
I took a panel of the black everyday cardstock and used the different size of tape to create some diagonal stripes across the panel. I tried to keep them straight but not worried about spacing them evenly.
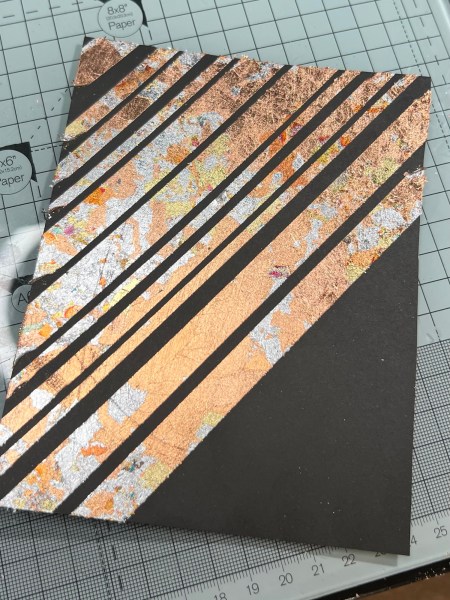
I actually think if you had different colours of foiling or gilding flakes separate this would be good to add different coloured stripes – I don’t though mine are a mix of flakes of different colours. So I peeled back the tape covering and rubbed the flakes over the tape …
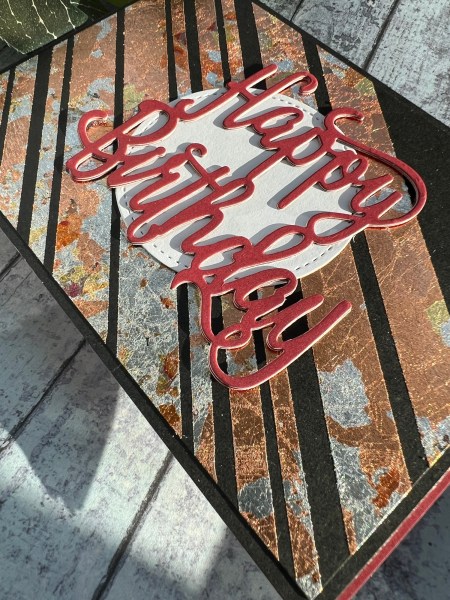
Just fabulous! I trimmed the panel down to be just smaller than a card front and then added a frame of black.
I decided to keep the topper simple after all the focus should be on all that shine from the gilding!
So a die cut sentiment onto a white die cut circle and then some card Candi to finish that corner off!
So a fun blog post with three projects all featuring the mega adhesive kit – but obviously nearly all my projects feature the kit – just usually the adhesive is more hidden! 🤣
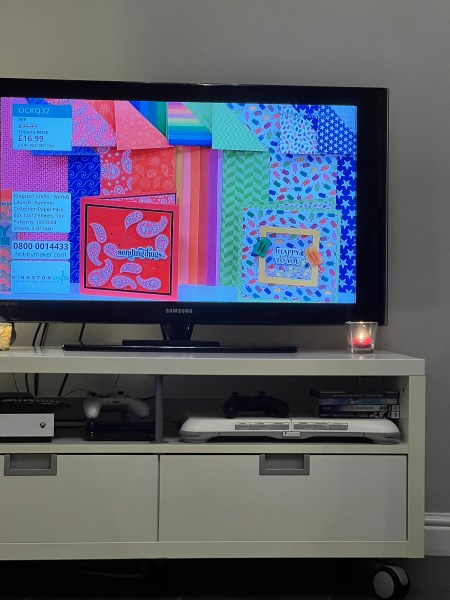
I did spot my shaker card on tv too back on 5th January … so officially this is another ‘as seen on tv’ posts! 🥰
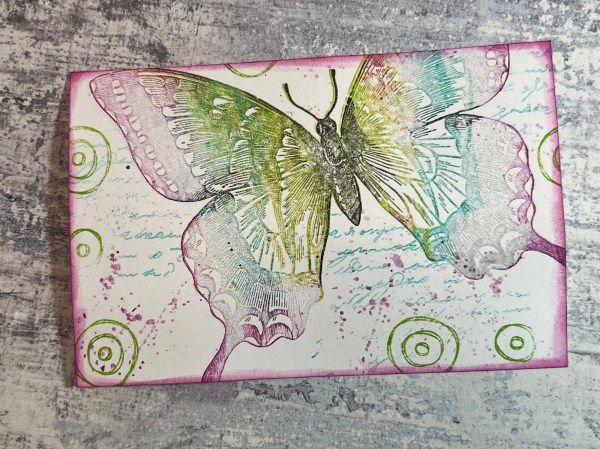
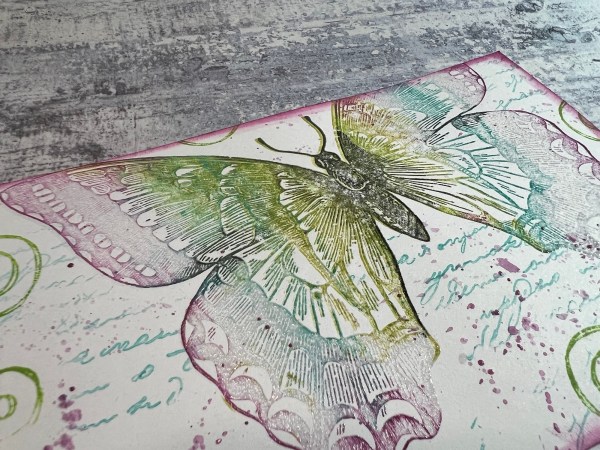
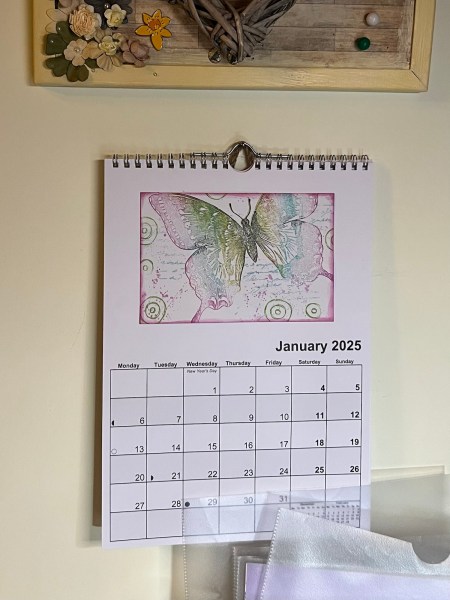
A few days ago I shared a postcard I made for a swap using the Swallowtail stamp and said to watch this space … well here is the second project I made using it … another postcard but this time one I am using to decorate a calendar I bought in December but didn’t get a chance to start making the art for! This was heavily inspired by the calendar art I’ve been seeing a friend share on her blogs and social media – thanks Pauline x
This time I did multicoloured stamping using distress oxides and then clear embossed over the top.
I then used the same colour oxides to do some additional stamping, splattering and edging.
So pretty!
I then simply adhered it to the January page on my calendar …
And hung it up next to the desk (I really need to sort out the basket that’s underneath it!
So a simple project but a nice one to make something for displaying every month!
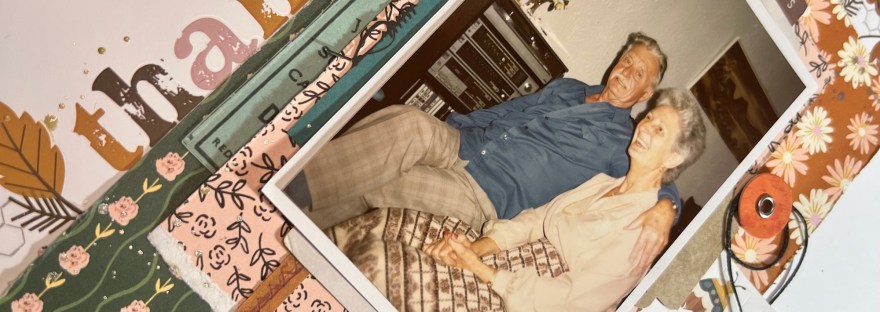
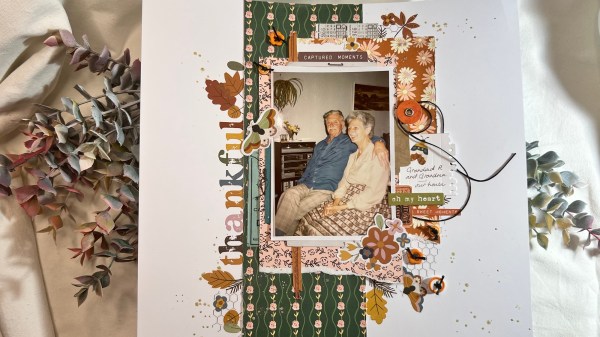
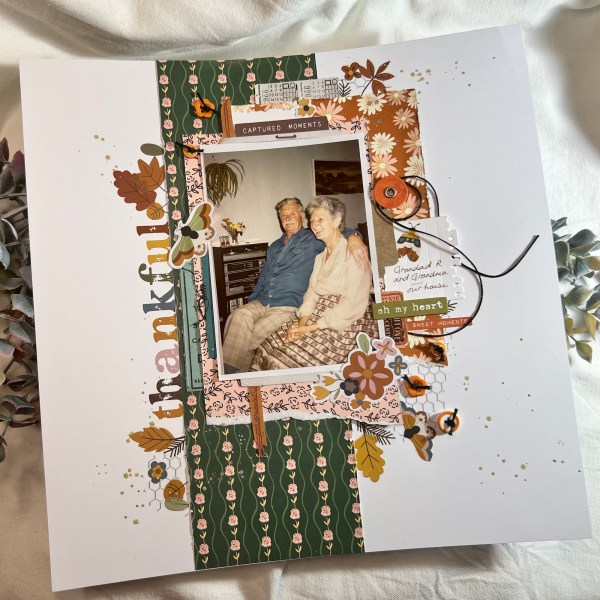
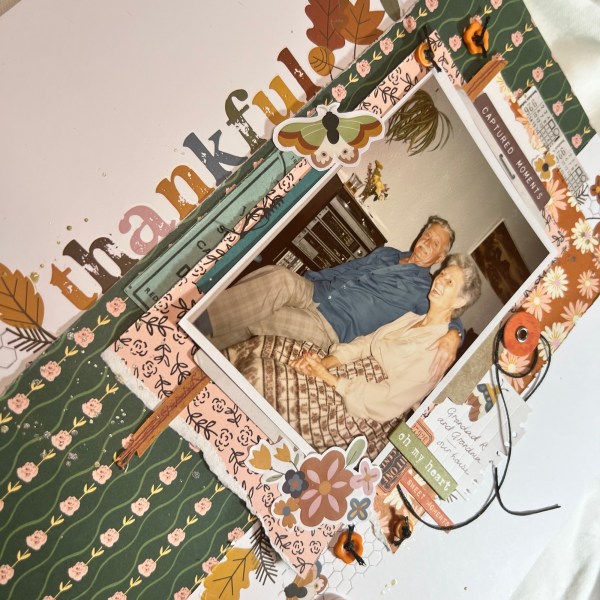
I decided to use the page kit that I got from Sarah at Hey Little Magpie and make this page with a vintage feel that was perfect for the photo of my grandad and grandma.
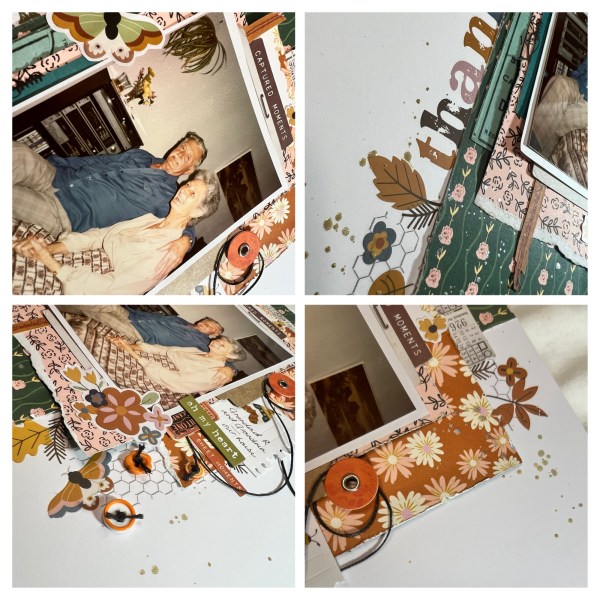
I did add in some additional bits and pieces from the Spice kit from 49th & market too – plus the waxed thread.
But mainly I kept to the layout Sarah had designed with the kit.
I also added in some gold paint splatters at the end as it felt wrong to have no mixed media!
I did remember to stick the camera on for the process so you can check this out on YouTube.
We should have all been crafting together at the crop today but the weather disrupted our plans as the snow and ice is still making the back roads treacherous so safety first – I am going to make sure I get my crafty fill today at home (& a little spend at Hey Little Magpie as missing out on a browse in Sarah’s pop up shop!).
Hi – back with another card – although this is a slight cheat because this is actually the card I made for my parents for 2024 Christmas but never got around to blogging!
I went with a stencilled and inked background using two different snowflake stencils. This way I also could use it as my ‘use a stencil’ entry for a competition over on UK stampers forum.
I then added some die cut stars which are in lots of different but similar colours. I stacked some for additional dimension and then scattered them on a diagonal line across background.
I then decided to focus on the sentiment with an embossed sentiment that was die cut and stacked! I then decided to raise that up on the die cut banner – I inked that slightly and then added some foam adhesive underneath to raise it up. I added some silver thread underneath to add in a different texture.
I then added some of the little stamped and die cut stars too and the sequins in three colours to add sparkle!
I framed the inked background with a layer of a dark purple and then had a larger layer of the pale blue underneath. I did add foam adhesive between those two layers to add the dimension on the card.
Love the colour combo for this card.
So a cheat post for me this week – but still at least it is something I could share that is festive!
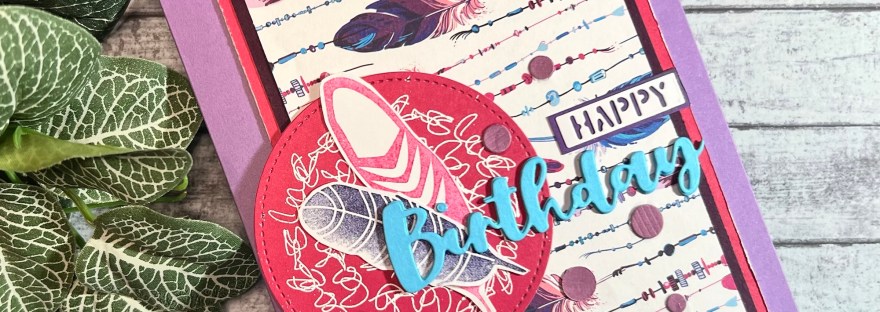
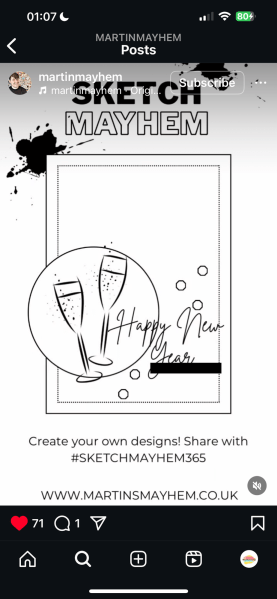
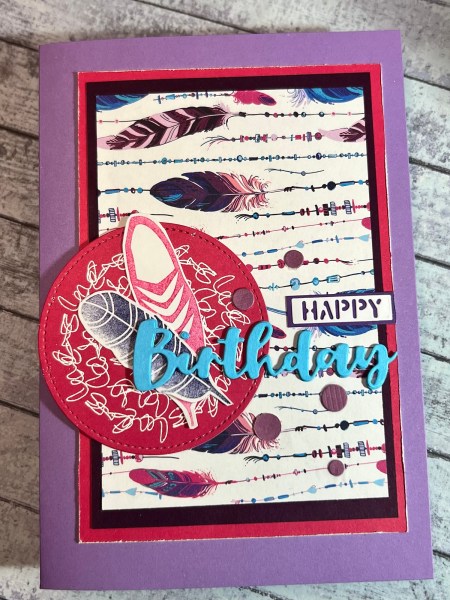
The fabulous Martin has decided to share a sketch daily on his socials and so I took the first of those sketches he created on 1st January and made a card which is actually one I will swap as part of the UK Stampers Forum swap.
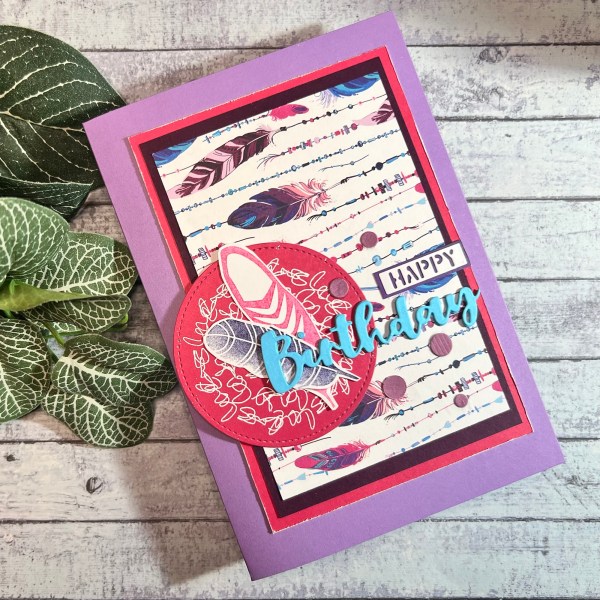
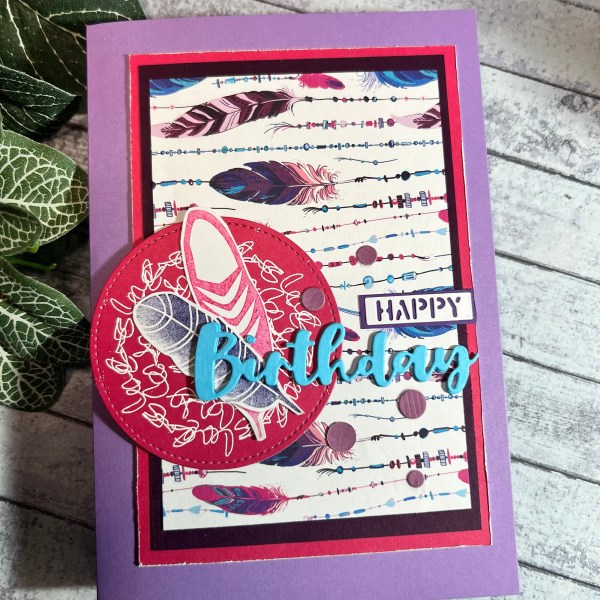
This is the card I made.
I followed the sketch reasonably closely…
Obviously the sentiment I had to play around with slightly and moved the horizontal strip up to accommodate the Happy die cut above the Birthday die cut.
I also added an extra layer of cardstock to bring the dark purple out in the papers more.
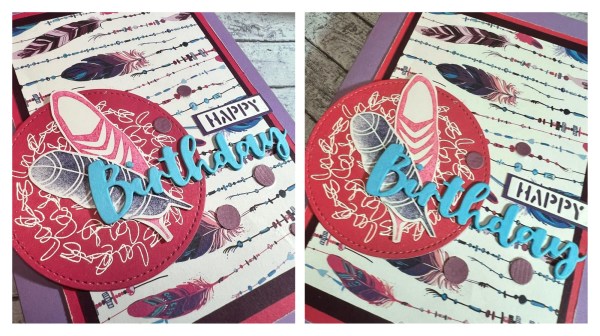
I used old making cards magazine papers (yes I am trying to use them even outside of the first of the month challenge) and the feathers inspired me to get my old waffle flower feathers stamp set out for the focal feature.
I wasn’t keen on the feathers on the circle on their own though so grabbed an Alpaca Pals stamp to add the white heat embossed squiggle circle onto the pink die cut.
That worked well in giving the feathers somewhere to sit.
I added the sentiment and then had some circle die cuts sitting in a pot in a purple colour that I thought worked well.
I distressed the edge of the pink layer of cardstock to expose the white and then made the card blank out of another purple cardstock – so it’s a very pink and purple card in the end!
Loved using the sketch – no way I will be able to do all 365 but it was fun to get one done now and we will see how many others I manage over the course of his (insane) challenge of one whole year of sketches! Good luck Martin!
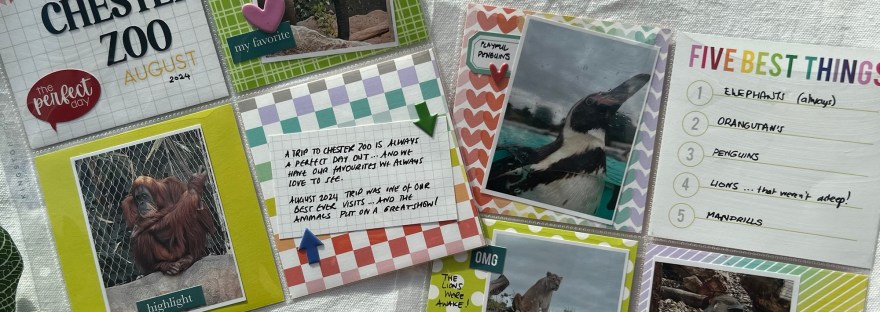
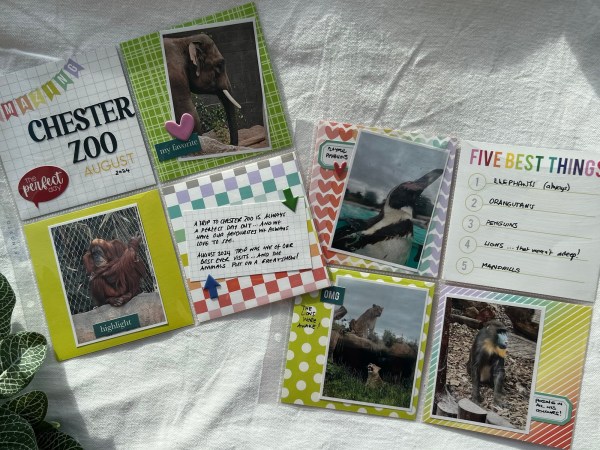
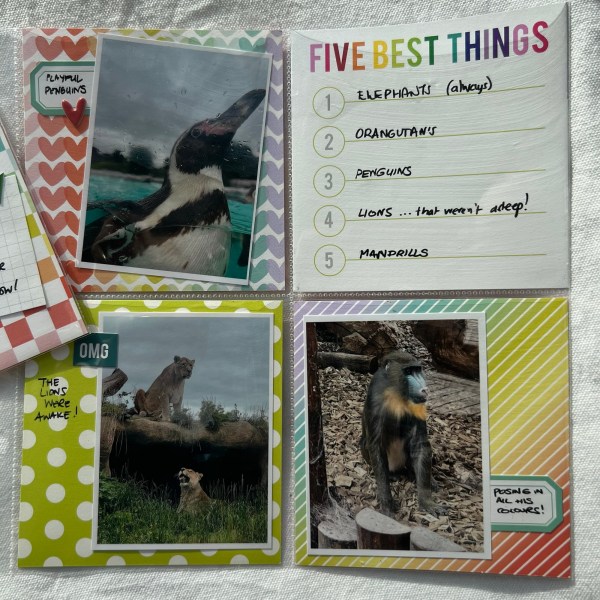
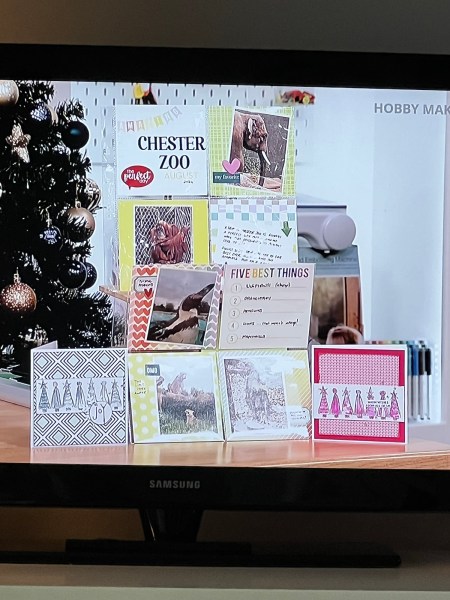
Another couple of pages made using the Everyday Stories album kit from Kingston Crafts which was debuted on Hobbymaker tv at the weekend – this time documenting our trip to the zoo!
Well I thought that this was the perfect way to document some of my favourite pictures from the day and the system is so simple to use it meant the page was done in next to no time at all … both sides!
As with previous pages I have shared I have used two inserts as it is initially going to be used on the tv … but when I get back I will recombine it into one insert back and front to save room … for another event to be documented!
Simple pages = quick and easy scrapbooking! And here they were on the tv …
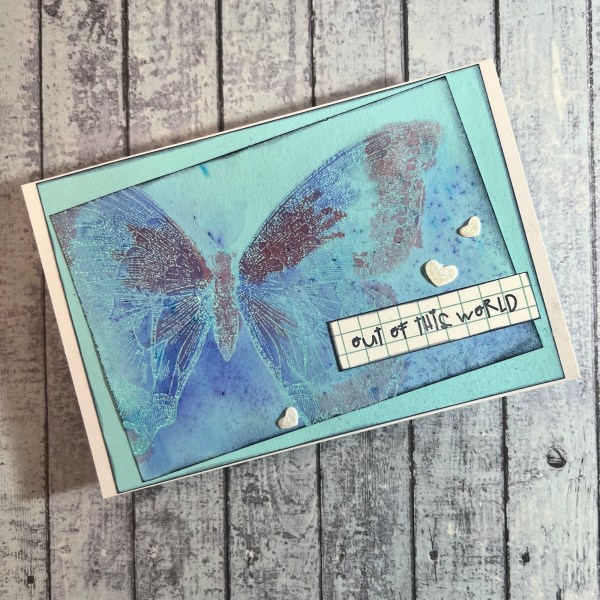
I decided to try and join more of the swaps this year over at UK Stampers forum – so started with the Postcard one.
The only rules are to make something that includes stamping and can go flat in an envelope for posting. So I grabbed an oldie but goodie – Swallowtail!
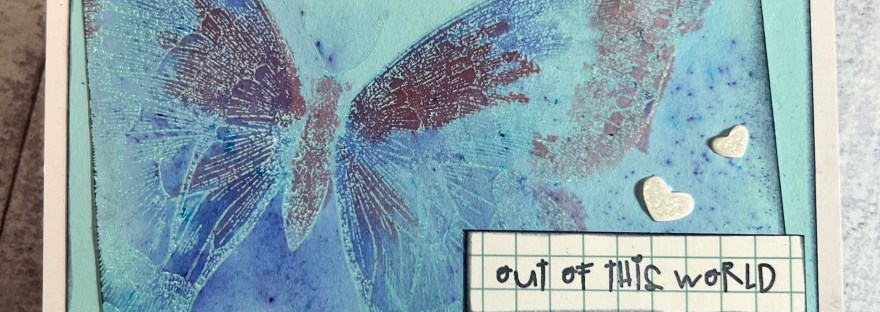
I decided to stamp it onto the pale blue cardstock and clear emboss and then use Brushos to add the colour.
I started with just a spray of water and sprinkling the powders for the first layer but then I added definition by painting the pigments into the areas I wanted to define adding scarlet for the second colour.
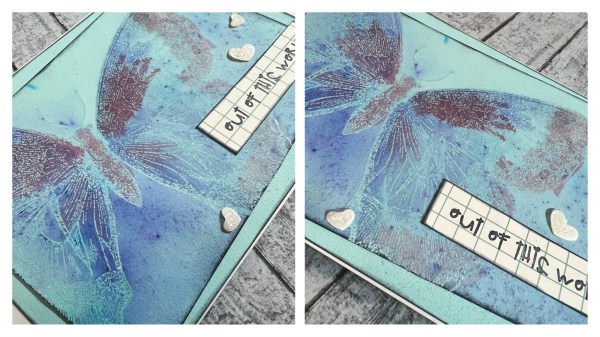
I love the effect of this and how the colour bleeds with the water. I am so pleased I refound my brushos – they’ve been missing for about 6 months as they had fallen behind a box on the shelf. I had come so close to rebuying them as I missed playing with them – thankful I resisted!
I edged the panel and stuck it onto another panel of blue and then edged that before adding it to the white postcard. I then worked on the sentiment which I stamped onto some scrap patterned paper and edged with the ink. Then I added three die cut hearts which I added some clear glitter glue to so they are sparkly.
A fun project and also good to get an old stamp out to play with … watch this space though because I couldn’t resist keeping the stamp out to play with again!