DT: Creative Knockouts

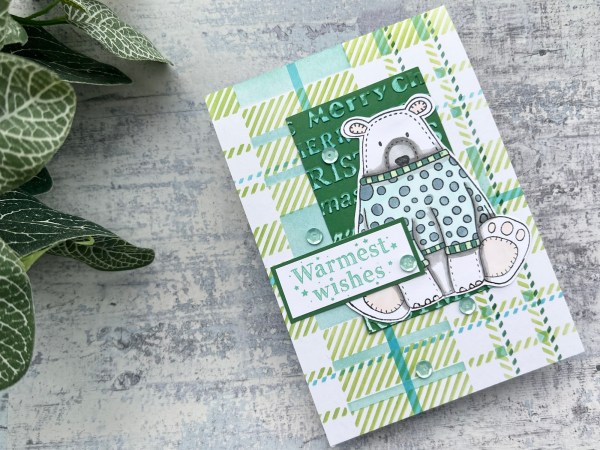
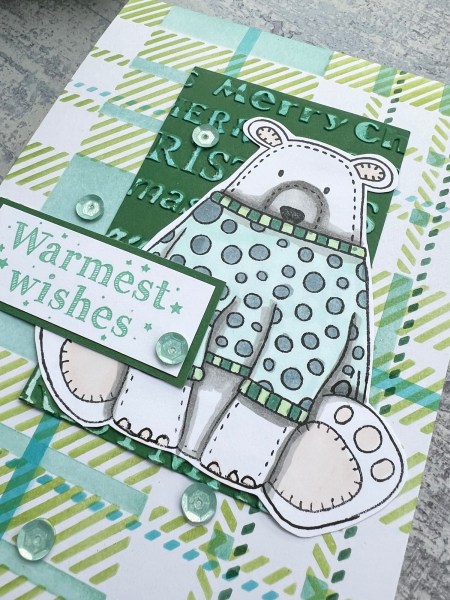
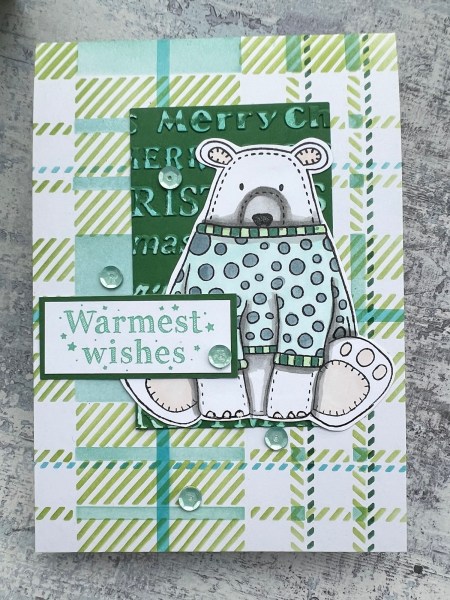
Our challenge for Creative Knockouts is use your favourite embellishment and mine is always something shiny or something sparkly – sometimes gems are the thing I grab but sometimes I sequin – in this case because I had colours that worked well with the colours I had used sequins won out!

The challenge is sponsored by Paper Shelter and the image I used from them is Cheerful Snowman which is just so cute!

I decided to have a play with my Dylusions inks for these cards to create fun backgrounds behind the snowman and also for his scarf and hat.

I am not a big fan of the mess of Dylusions sprays so this was a challenge to me but I love the bold colour and the way the colours work.

I actually printed the image six times … once for the background, once for the hats and scarves and once for the snowman body and the snowy ground.

This first one was a spray background combining the blue and teal. The hat and scarf I added the ink with the end of the tube to the areas I wanted and then added water to blend them.

For this one I splattered the inks using the tube on the sprayer and then sprayed with water to wick the ink. For the hat and scarf I did more intense amount of the ink to fill the area.

Both of the backgrounds and the hats and scarves required drying time as all had a lot of liquid on them!

The bodies of the snowman I coloured with my Stampin Blend alcohol markers and then when the other layers were dry I fussy cut the body and then scarf and hat and paper pieced them.

On the teal/blue one I didn’t adhere the hat straight away as I knew I wanted it to peek out the top of the frame. I die cut the images and some additional white cardstock with the same dies to create the frames.

I added a few layers to the frame on the purple themed one to give dimension.

I then took a little stencil to ink the card base with the hearts using blue on one and purple on the other. I just used ink already on the brushes so it kept it soft.

Then adhered the images. I then chose a die cut sentiment which I again stacked for dimension.

Finished off with the sequins for embellishment – as per the challenge!

So some cute cards for the stash made and also I pushed my comfort zone to get some Dylusions used too!

Happy crafting!

Catherine

Splendid Thoughts and leftover papers

I had this paper leftover on my desk from the cards I made using pumpkins as the focal feature that I shared in yesterdays blog and decided to use the papers but change up the focal image for the leaves from Splendid Thoughts.

The first card I layered the two papers onto the background then used the Fern embossing folder to emboss the whole panel. Then I stamped and embossed the image a couple of times onto white card.

I inked up the image using a couple of colours that I thought would work with the papers and die cut them. I also die cut the long thin leaves from brown along with a couple of labels to go under the sentiment.

I stuck the leaves down and then used some waxed thread through the label and tied a bow and adhered it into place.

I embossed the sentiment on the scrap of orange and die cut it using the smallest circle die from the stitched framelits.

I added the little flowers from the stash with the beads as I thought they worked well and then added it all as a panel to the orange card blank.

The second card I changed up a little with the book print as the base for the stamped leaves and this time rather than ink blending I used the stamps in the set to add two colours to the leaves to ‘colour’ them.

I took the sentiments from a Lawn Fawn set mixing up the stamping for the strips on the yellow and the coloured ink on white for the die cut. I die cut the word four times to stack it so it’s very chunky!

I die cut the two ovals (I used ovals on the pumpkin cards so they were sitting there saying use me again!) to sit behind the sentiment to give it a base and some definition.

Again added the flower embellishments – oh and a nest of the waxed thread behind the sentiment cluster for some different texture! This second card I did as a swap card over at UK Stampers Forum too – so it is leaving my house this week for a new home!

Cute autumnal feel cards (and you can probably guess who the second card is for!)

Happy crafting!

Catherine
Festive Friday

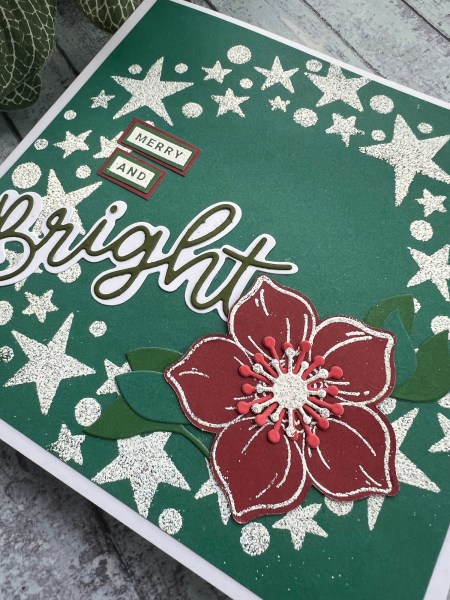
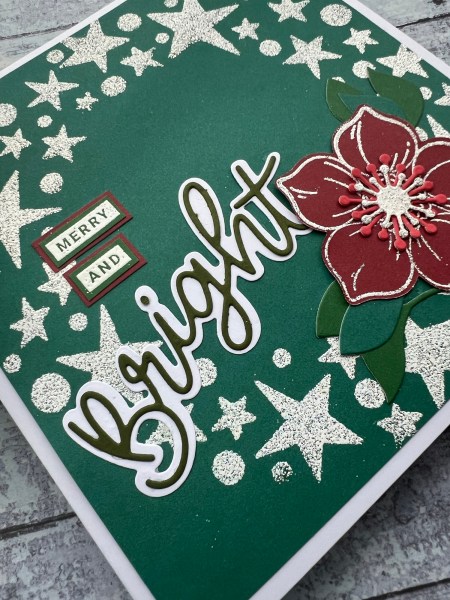
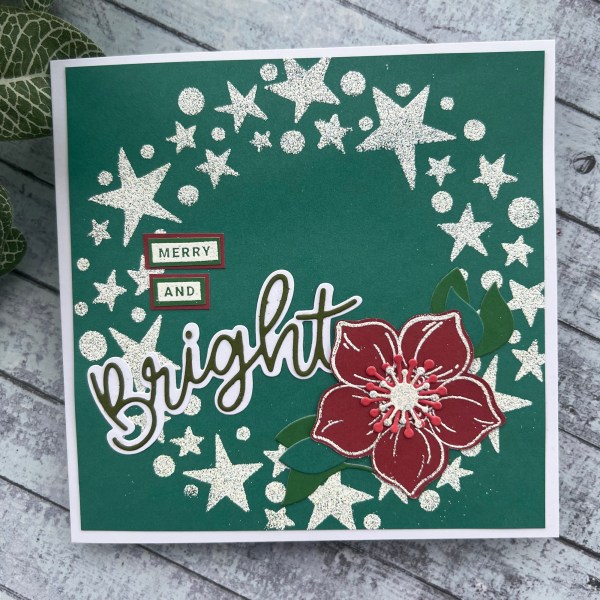
I decided to use up the mop up background I created a few weeks ago to create this weeks Festive Friday project.

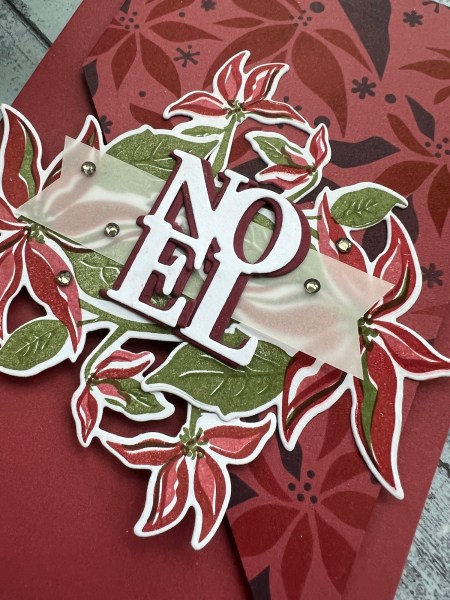
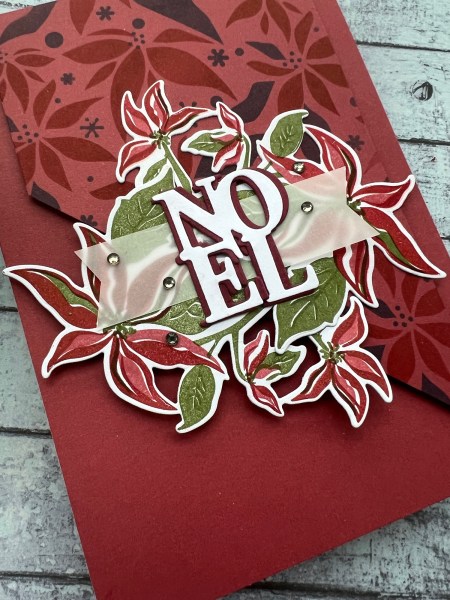
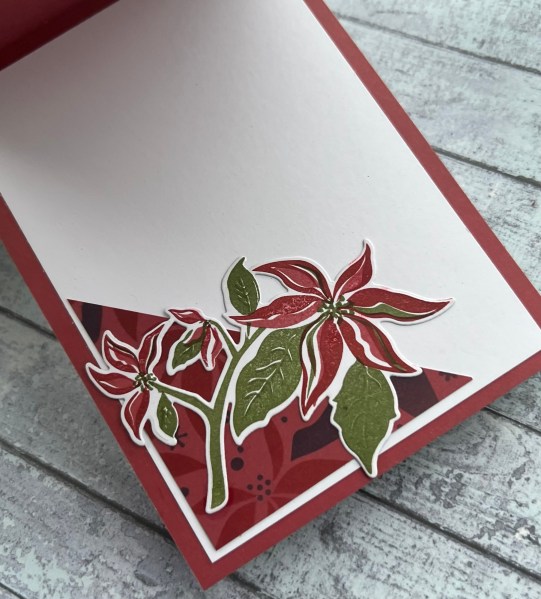
I teamed it with the Waffleflower Poinsettia stamp and die set I had bought in the sale. This is a layering stamp set and although a bit fiddly to use I love the image it creates!

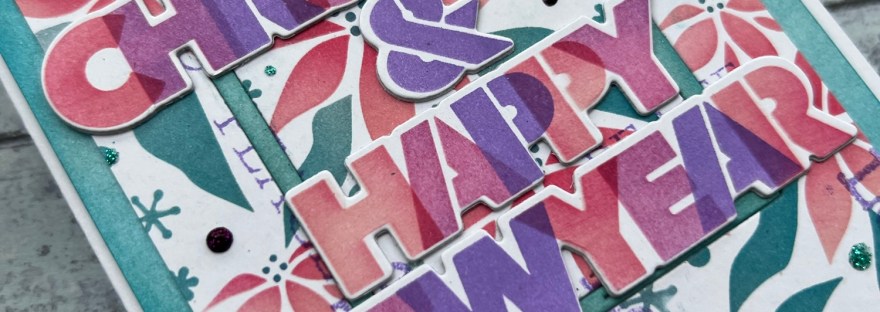
I trimmed down the background panel that had the Waffleflower poinsettia background stencilling on it and ran it through the embossing folder with Christmas words on it. I brushed over it with my blending brush just to enhance the writing a little.

I added the panel of the claret coloured card and then the die cut string of lights as a fun additional element.

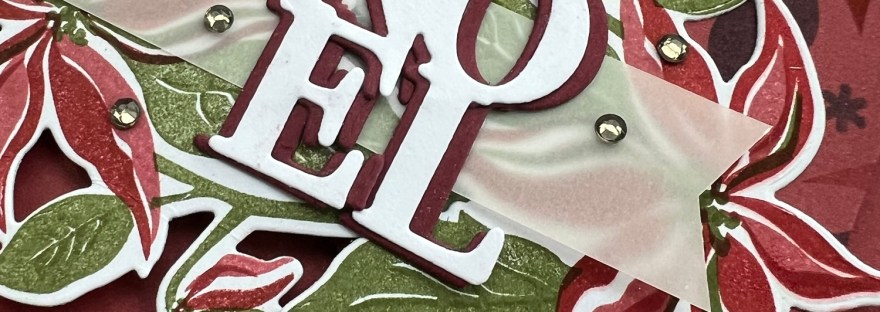
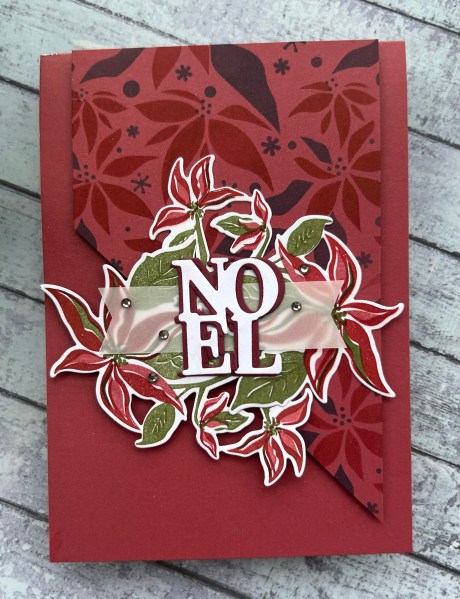
I then added the stamped and die cut floral element and then the banner and the embossed sentiment.

Love how this came out – so interesting to combine the different elements.

Once again I remembered to stick the video on whilst I was creating so there is a process video over on my YouTube channel.

Happy crafting!

Catherine
UK Stampers forum tag swap

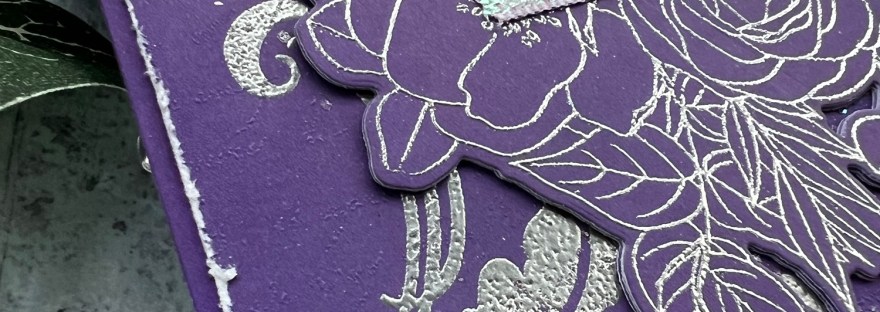
I made this tag for the UK stampers forum swap using a mix of Concord & 9th and Altenew stamps and stencils and lot of embossing!

I actually started with some inky backgrounds that were from previous sessions of gelli printing and messing with inks. There are two backgrounds used on this as the tag was too long for the panels I had. However because I then stencilled and added the stamped and die cut pieces on top it’s not so obvious that there were two panels.

I used the leftover of one of the panels to then stamp and die cut some flowers, another one for the rest of the flowers and then a green themed inky panel for the leaves.

All the leaves were stamped and embossed with green powder and the flowers with an orange powder.

I actually started however with the stamped sentiment direct onto the background on the tag using that orange powder to emboss. This was from the Garden path stamps from Concord & 9th.

Then I took the stencils from that set and added flowers and leaves with ink and the final stencil with the pearl accents to add texture and shine.

Then I did the stamping and die cutting using the Smile More Altenew set.

I added the flowers and leaves on top around the tag to create the texture and with all the colour in the gelli prints they are stamped on and the shiny embossing they make pretty funky flowers and leaves I think!

I just added the pink trim for the top then and called it done!

Really enjoyed putting together this floral but autumnal tag!

Happy crafting!

Catherine
DT: Addicted to stamps and more #478 Birthday

I’ve been a little more absent on the blog recently – life is just so busy and finishing projects has been challenging. I did however manage to finish this so here we go…

Todays blog is a design team contribution for Addicted to stamps and more where our challenge is Birthdays!

I decided as I was running a little late on this project to just look at what was on the desk and go with that and had these papers left from a few scrapbook pages and thought why not make the card with those!

So it’s a patterned paper heavy card with fussy cut elements and a few panels of the pattern in the background.

Of course it’s in the title of the blog challenge ‘stamps’ so I did include a stamped sentiment – one of the Altenew ones that I had already made and die cut and stacked! Perfect!

I added some thread below the sentiment to add texture and then the sequins to finish the front!

Inside the card more paper and another fussy cut flower to finish off!

Loved this and it was so easy as the papers all coordinated and everything was ready to play with!

Now I must tidy the desk and have a think about other projects I am behind on getting ready! 😂

Happy crafting!

Catherine
Scenic pumpkin patch and old making cards magazine papers

It’s the beginning of the month so it’s patterned paper play … and as the weather is telling us it is very much autumn I grabbed the Scenic Pumpkin Patch stamps again to make these cards using old Making Cards magazine papers for some cute autumnal themed cards.

I did stick the camera on to record so if you fancy watching them get made please check out my YouTube channel.

This one is so bright and cheerful but clearly still autumn themed with the pumpkins and the leaves on the paper. I was struggling with this one a little until I brought in the yellow and then I was happier with the combo.

I did some sewing on both cards – just fancied adding a little hand sewn element on each.

I also added card Candi to both with the dotty Candi which I thought was cute.

I used stitched framelits for both cards – particularly liked choosing the ovals for this – not a shape I use often – so it makes a nice change.

On this one I inked the edge of the base cardstock for both the background and the die cut topper element in green which was a nice contrast to the orange elements on the papers and pumpkin images.

I also chose to create a scene for the focal point.

For both cards I used a sentiment from the Beautiful Flowers SSS set which I just love as it’s simple but classy!

Love my cute little autumnal cards – they were good fun to make and nice to get some more of that old paper used up!

Also confession time – I made these a few weeks ago and thankful I did because it has been crazy busy recently and not managing to get to finish projects recently!

Happy crafting!

Catherine
Notecards from scraps

Hello! Today I’ve got a video showing the process for making these notecards up on my YouTube channel

I made three notecards using the Altenew Be Strong stamp and die set focusing on those cute little cactus and the light strings and using up scraps of card and patterned paper.

Whilst this first one is slightly more traditional with the stamping on white and colouring with the stampin blends to create both the focal images and then the plain panel I created in the background of the string lights…

… I also stamped and coloured the images on the coloured cardstock too which I used for cards two and three.

The base colour changes the colouring of the alcohol blends but still looks fabulous and you can still get variation in the colouring to give the impression of depth/shape.

I added different pieces of scrap patterned paper to each card along with other pieces of leftover cardstock from other projects.

Love how cute they all are.

Really love in particular though the first one with that sentiment cluster and the bigger panel of the stamped background.

Wish the stamping on the sentiment was a little cleaner but sometimes these things happen!

Happy crafting!

Catherine
Festive Friday

Well that has been a week of crazy busy and I really didn’t manage to get much finished in my crafting (plenty of bits in progress but nothing finished to share) but fortunately before the week had started I had managed to get the Festive Friday ready!

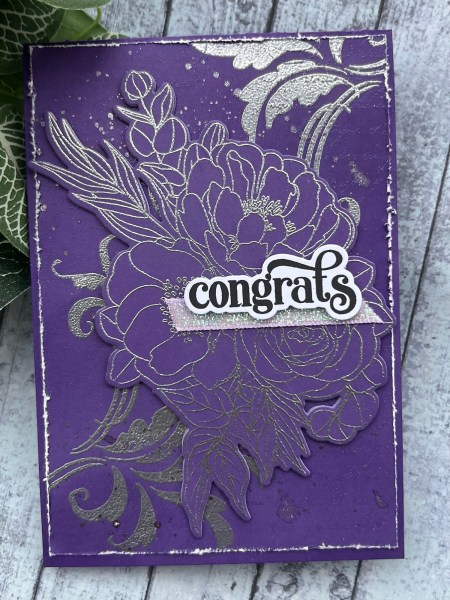
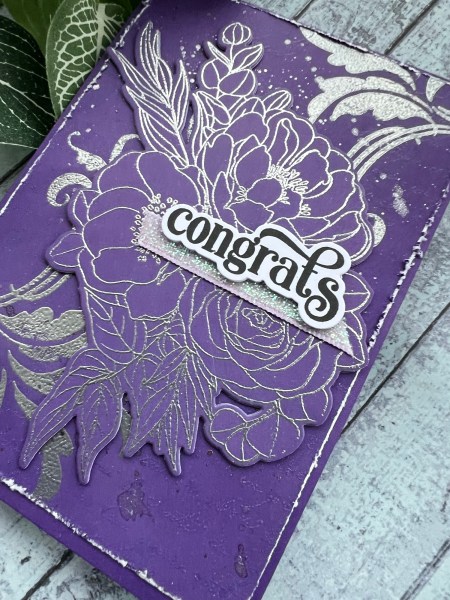
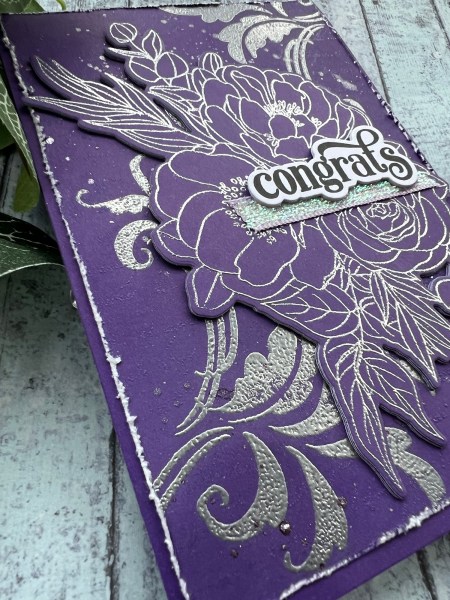
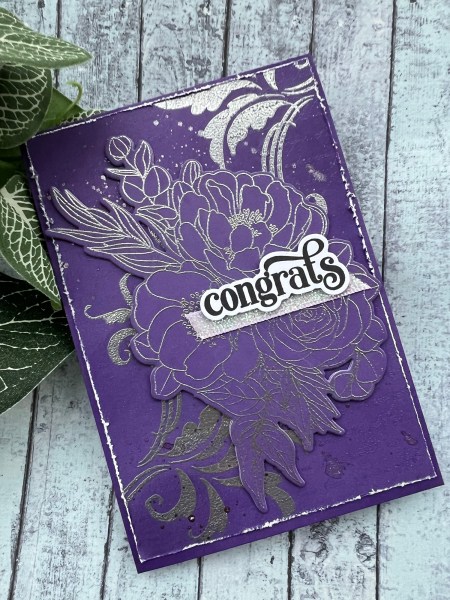
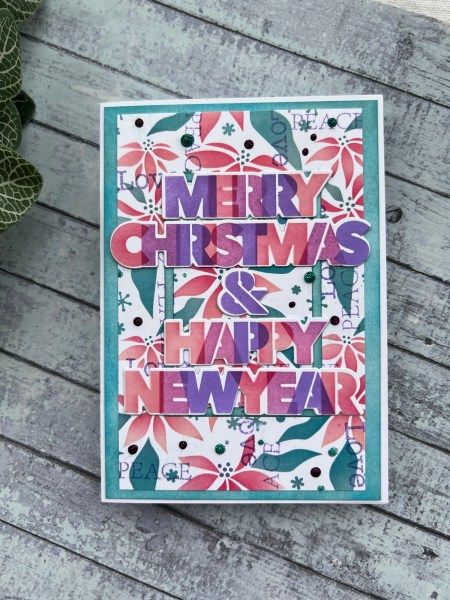
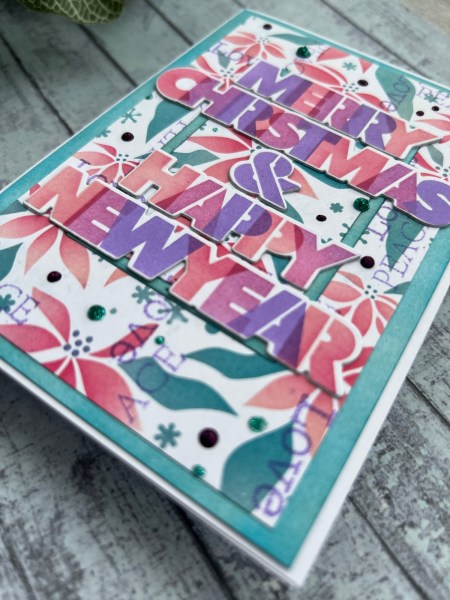
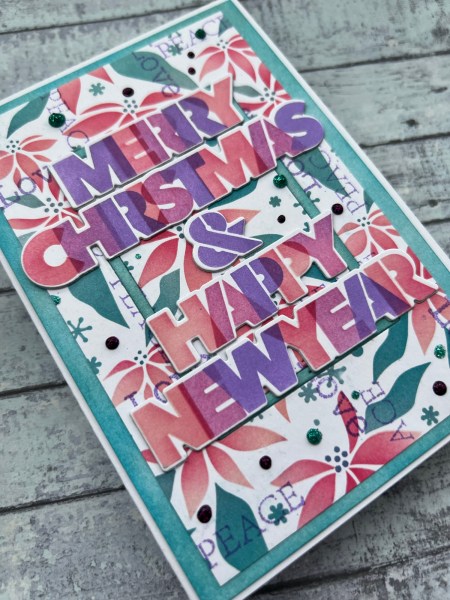
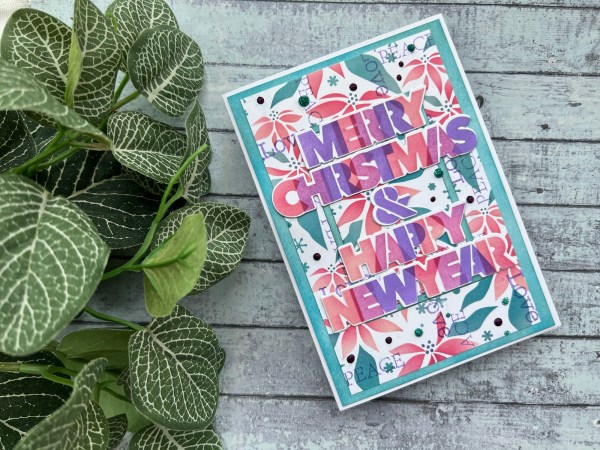
I went back to the Waffleflower pointsettia background but used it totally differently this time and combined it with those fab overlapping Christmas words stencils and dies.

This project was definitely a bit messy with both the texture paste and the ink all over my fingers – it meant I spent a fair amount of time cleaning up!

I did make a video of the process (but cut out most of the cleaning!) so check that out!

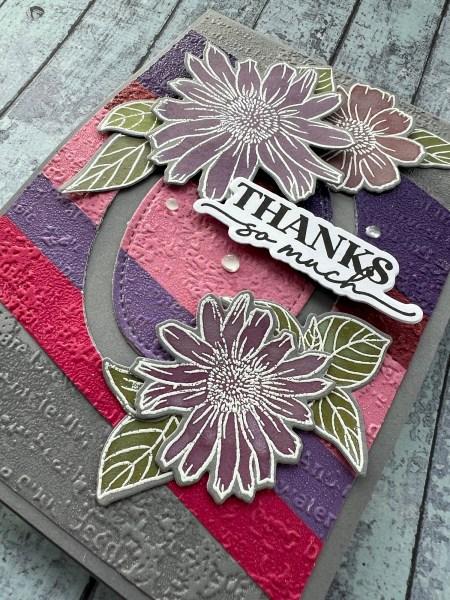
I used two pieces of purple cardstock to make the panels and inked both with Rich Razzleberry – one of them I went heavy with the ink, the other lighter just using the ink on the stencil and the brush.

For both I added the second stencil layer using iridescent texture paste – on the first I kept it as is, on the second I tinted it pink with some shimmer ink to keep the colour sparkly!

I then used pinks and purples for the words (this took two attempts as I messed up the first with a shifting stencil and inky fingers!)

I added some sparkly ribbon across the panel and then added the words and the stars to the fronts – one landscape and one portrait.

Added these toppers to the front of 5×7 card blanks and kept it simple as they really are so patterned and textured already with that background and the bold words!

Love how they came together (even if they did take a lot of cleaning up to make them!)

Happy crafting!

Catherine
Quick stencil card

Sometimes you just want to add ink through a stencil and make an easy card … this was what this was!

Yesterday evening, after a trip to Manchester to see my daughter I wanted to craft but wasn’t sure what to make … well I started by using some new to me slimline rectangle dies and cut out a panel of white and a frame of black. But then wasn’t sure what to do with it until I remembered this fabulous large 12×12 stencil and decided it was perfect for this shape of card to just do a section of the stencil.

I inked through the stencil with distress inks (fossilized amber, spiced marmalade and fired brick and love the gradient of colour across the image.

I kept the card itself really simple addigg no the black frame which I stacked three times for dimension.

I felt like the sentiment needed grounding so I also cut another two strips using the smallest of the slimline dies, stacked them and added them in the left hand side to the top. I felt this helped in giving the sentiment a home.

I then added the black card candi to embellish as I thought that helped tie in all the black frame and strips too.

So a simple but effective card that satisfied my urge to be creative.

Happy crafting!

Catherine
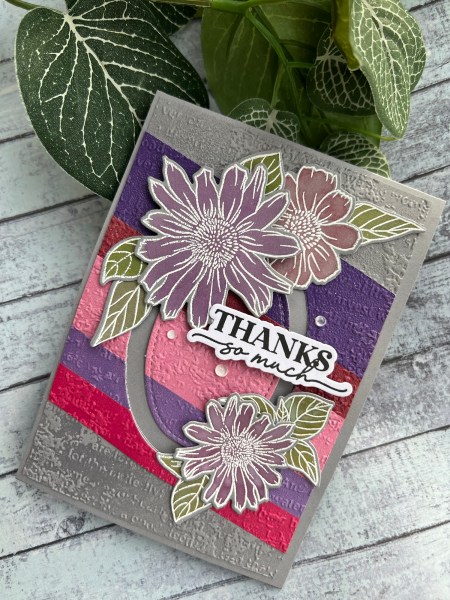
Partial die cutting with Eclectic Bouquet
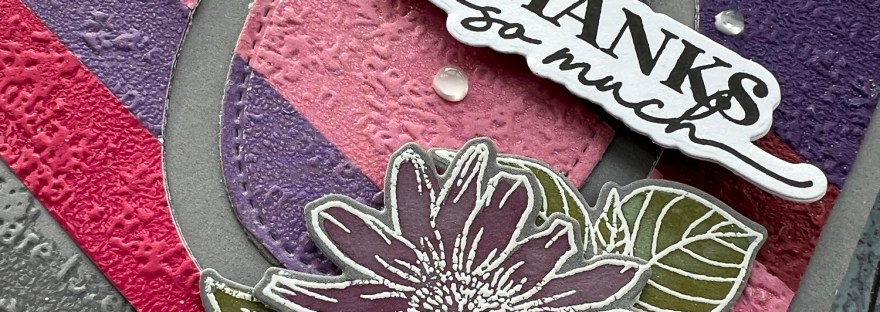
I made some simple cards using up painty backgrounds and the fabulous Eclectic Bouquet set from Altenew.

I kept the layers down but made it a little different with the partial die cut edge.

I kept the backgrounds the same with the petal pink cardstock as the card base.

I heat embossed onto the painty background and then die cut. I also did a run of the embossing folder too to add to the texture.

I added the petal pink thread for the ribbons and to add a different texture and then added the sentiments and gems to finish off.

Love how the painty backgrounds gives the cool and funky finish to the cards – certainly adds interest!

I did video the process for these too – so check this out to see more!

Happy crafting!

Catherine