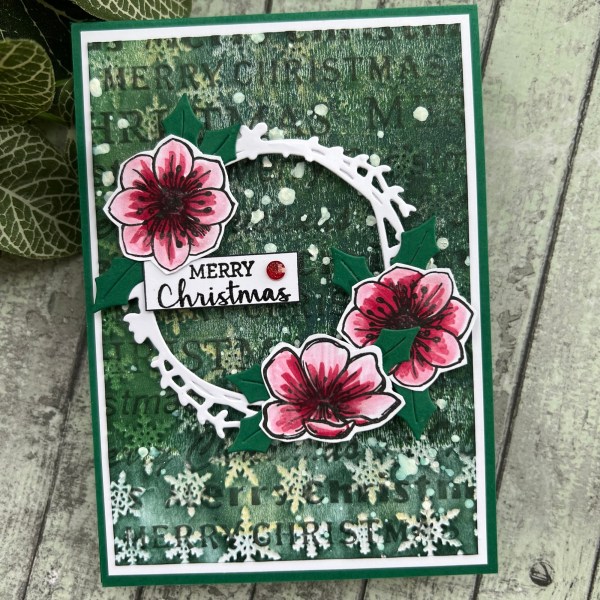
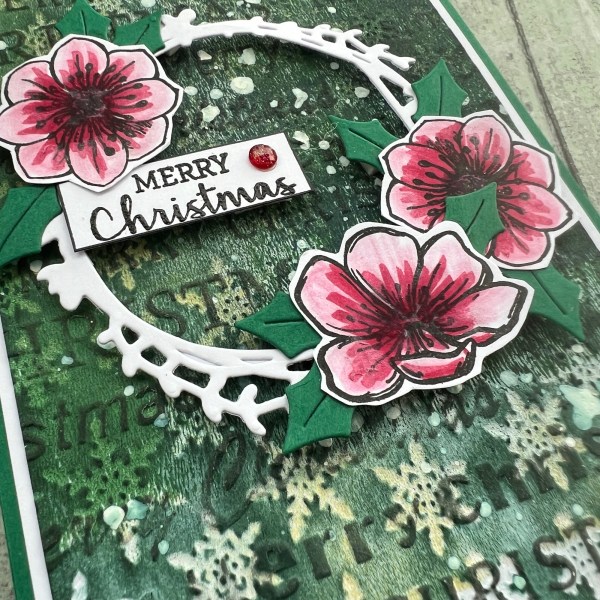
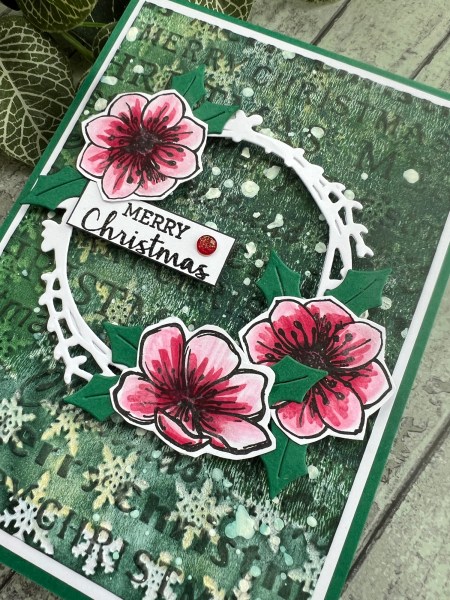
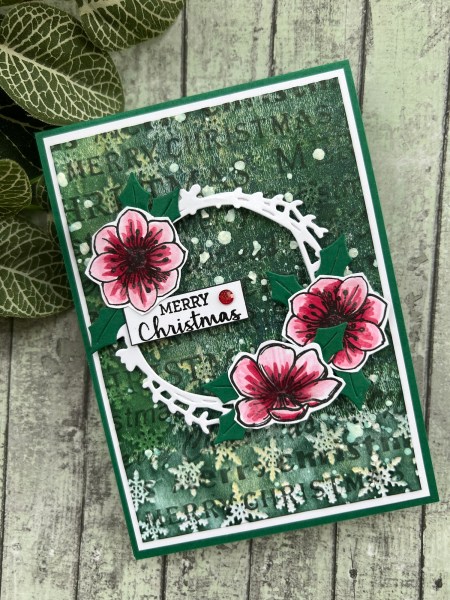
Another using up those inky backgrounds Festive Friday project. This time I really wanted to use the Claritystamps word chain stamps as I love the font on these but ended up combining with a few other stamps too to create the embossed stamping over the top of the inky background.

I chose white embossing and love this as it brightens the background. I also added a posca paint doodled border to frame the panel as it almost covered the whole card base.
I did end up trimming a bit and mounting on white but think you can see the little bit of Mossy Meadow poking out the edge.

Once I had finished up the background I went delving through the stash to decide on a focal point. And then remembered the first spellbinders stitched die I got … this fabulous tree.

I die cut it from green, stitched in green and then die cut the sentiment from a different green to finish off!

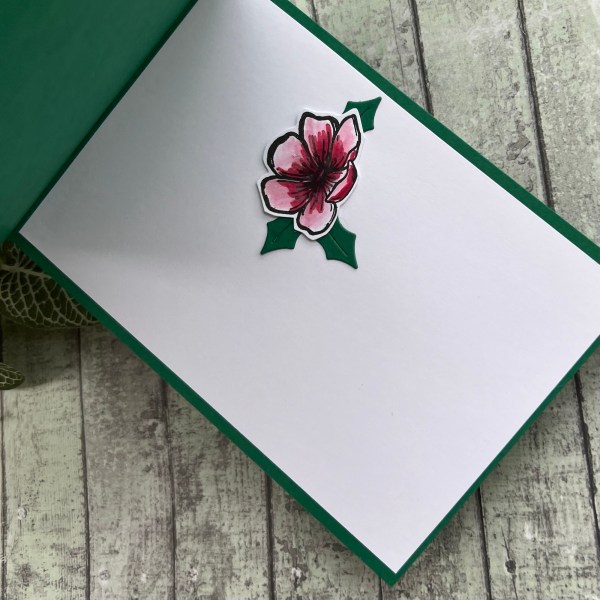
Well I say finish off except I felt it needed bling so some holographic snowflakes added around the focal image and then inside two strips of the inky paper added with some white to make sure inside was done too!

Probably should have also stamped the word chain sentiment too … maybe I will go back and do that now I have thought about it!
Another background used and another festive Friday card done! Pleased with this green inky card!
Happy crafting!
Catherine