Today’s card is my contribution for the design team for Addicted to Stamps and More and the theme for this one is Birthdays! Not so difficult for me as I make lots of birthday cards!

This one I used a few of the papers where I had brayered off during the gelli printing session I did a few weeks, actually may even be months ago now – time flies! Anyway when gelli printing or using paints I always keep papers to the side of me for mopping up or cleaning off the brayer and they also make great backgrounds.
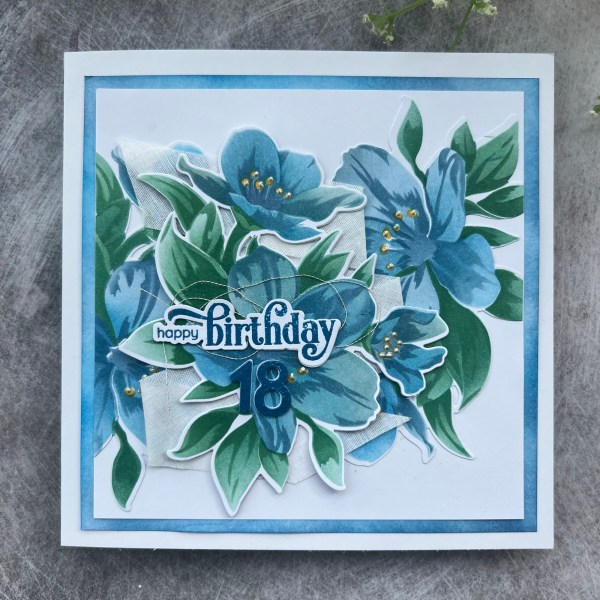
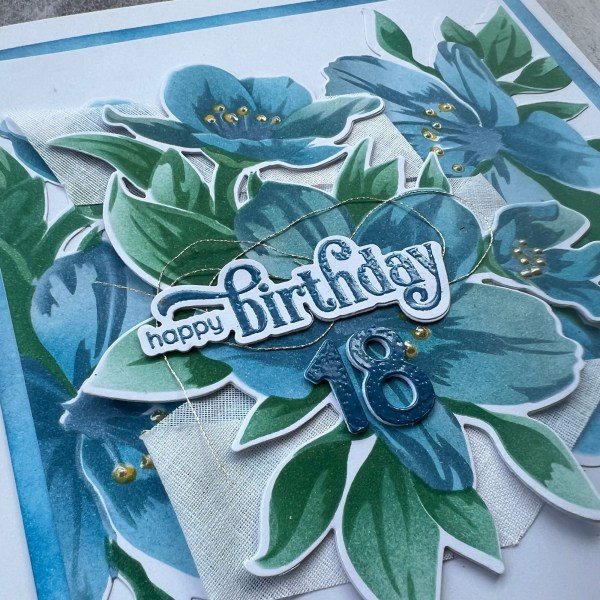
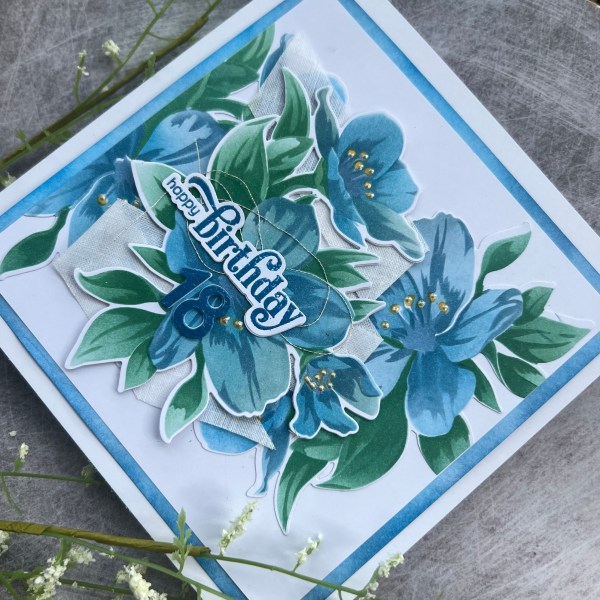
This one was only painty for part of the panel but it worked well to ground the large floral image I used to stamp and emboss. This is Beautiful Flowers stamp from Simon Says Stamp that I have been wanting for a long time because I keep seeing it on Amy’s videos.

After stamping and embossing the panel I did trim it down a little and then added those lines round two edges of the panel as a sort of frame. I then mat it only the black.
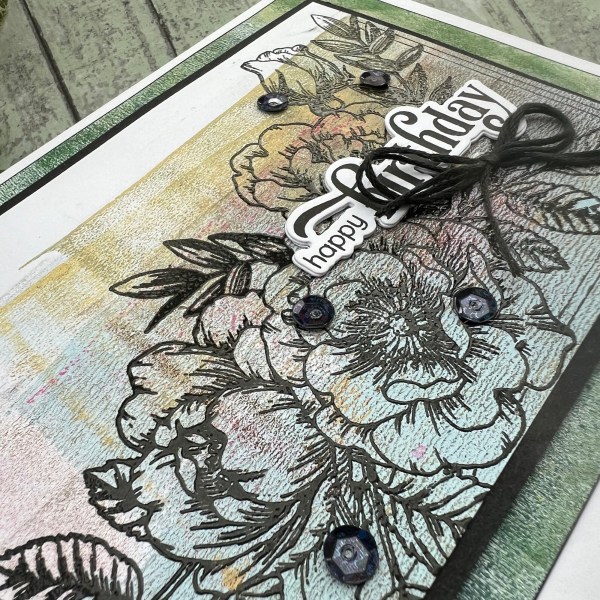
I added some foam and then added this on top of the other piece of brayered off painty paper. Although not an exact match it was close enough to work as a backing piece.
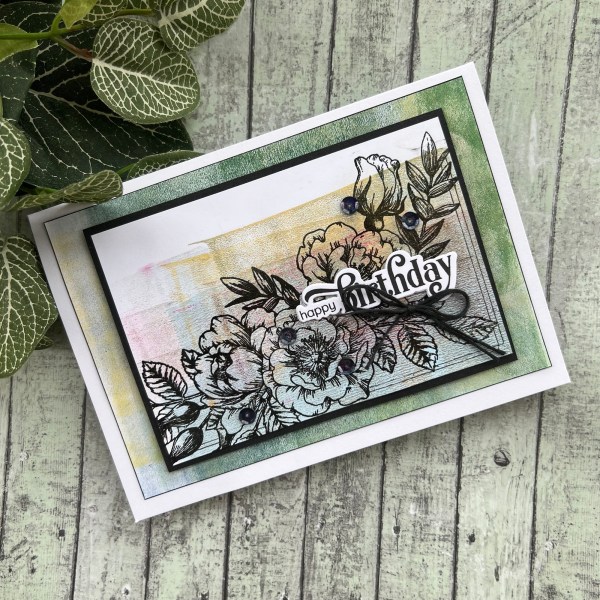
I finished off with the sequins and some floss tied in a bow and an Altenew sentiment stamped and die cut.
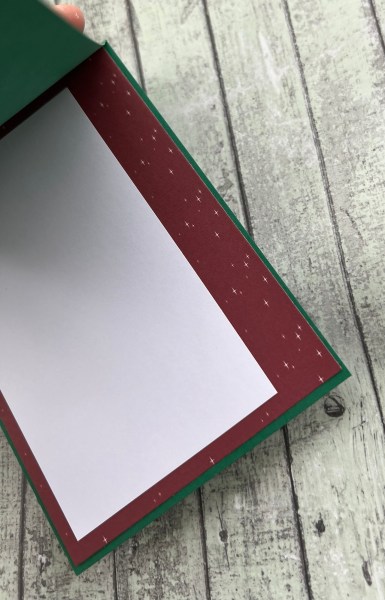
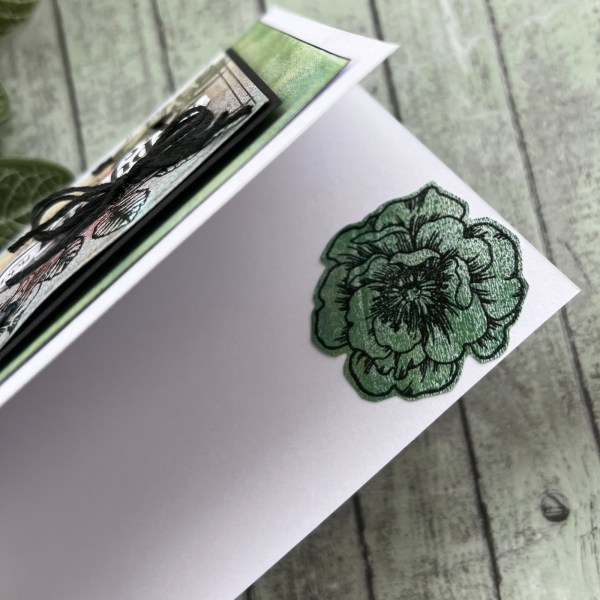
Inside I stamped one of the single flowers from the stamp set directly onto the painty paper (again another not completely the same but similar colour tones papers) and cut round it before adding it. Not the most exciting inside but at least it works with the front.
Really love this stamp and how it brought to life the painty background paper.
Happy crafting!
Catherine