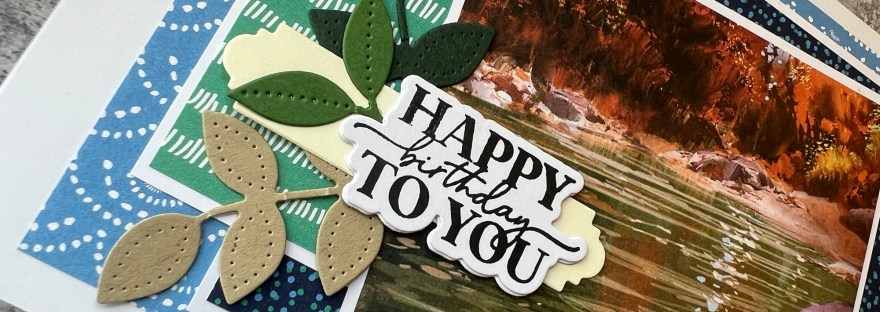
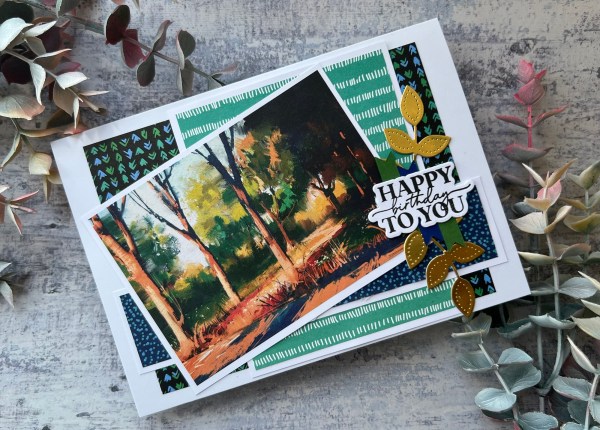
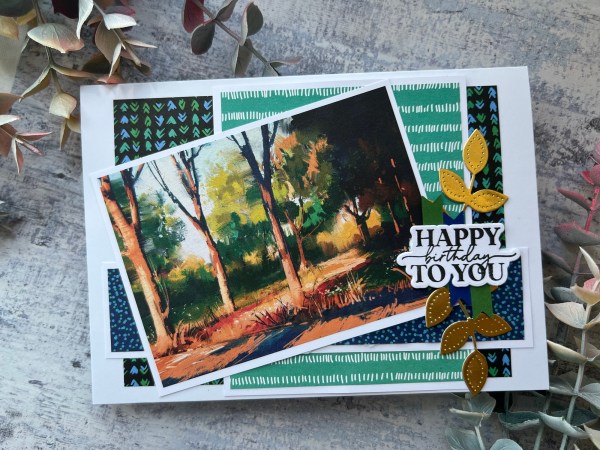
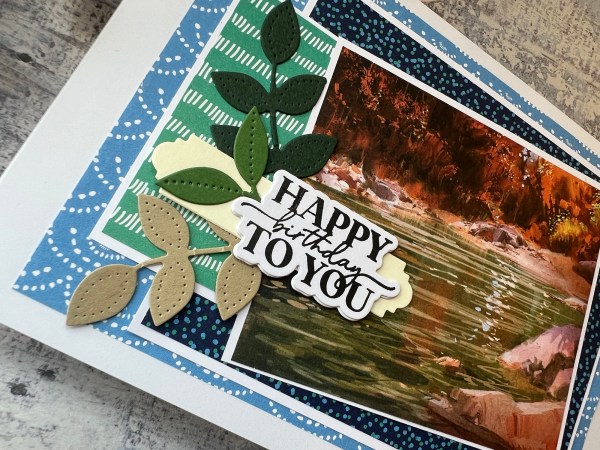
I made two very very simple cards using old Making Cards magazine stash.
I added sentiments and some die cuts to finish off – but otherwise it was a case of simple cutting – layering – sticking!!!
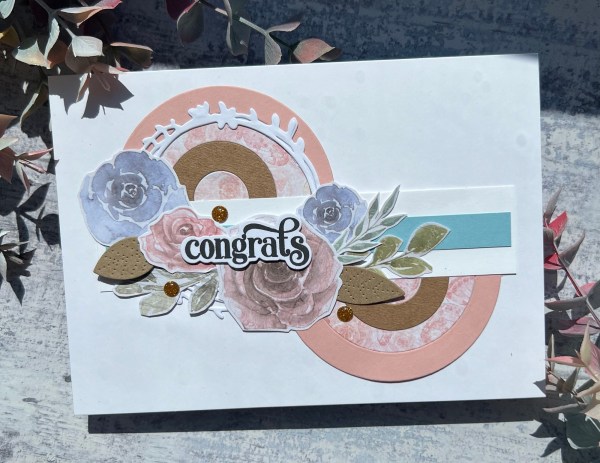
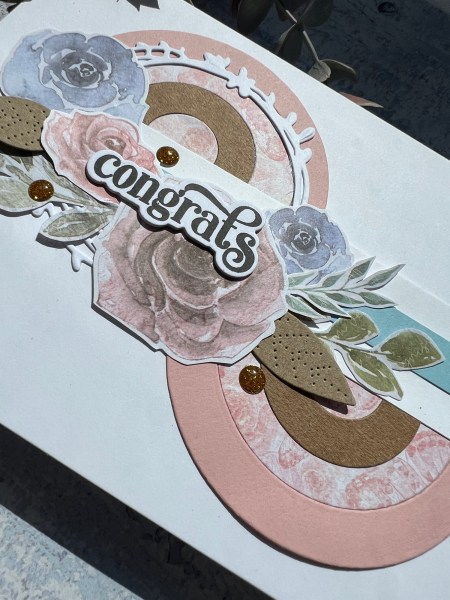
This one I added some gold pierced leaves and some banners under the sentiment from Waffle flower.
The second one I added a different banner and three colours of pierced leaves.
I also cut down the topper quite a bit on this one too.
Simple cards but perfect project to do as it got some stash used, got two cards made and I felt a little creative doing this and it helped clear the mind a little!
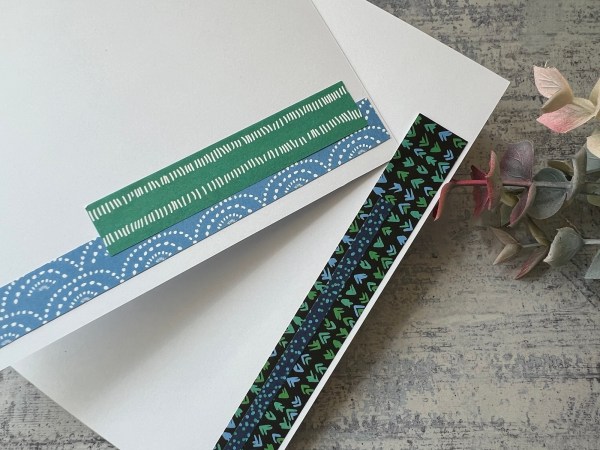
Inside the cards I just added little strips of leftover paper!
Even though this was a simple project I decided to film the process – so please check that out over on my YouTube channel.
It’s been a while since I joined in the swap for UK Stampers forum but I got inspired to make this earlier this evening.
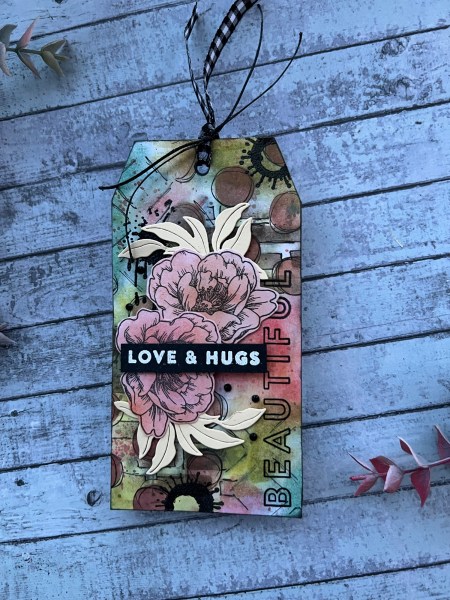
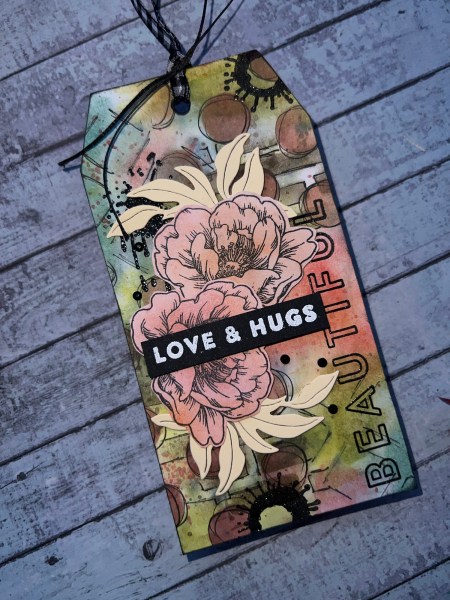
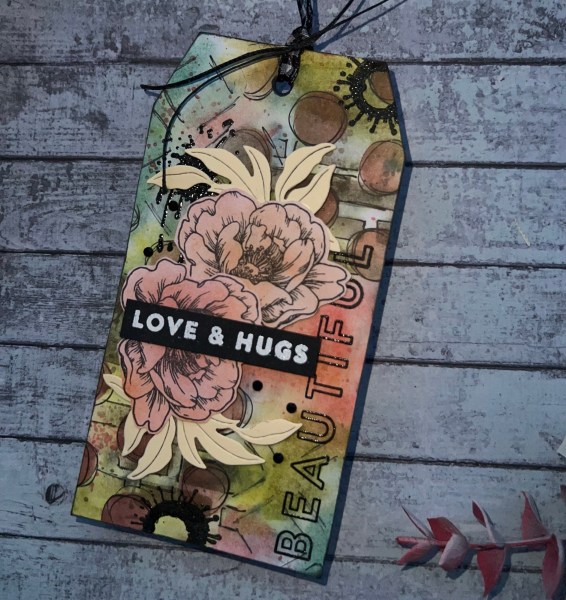
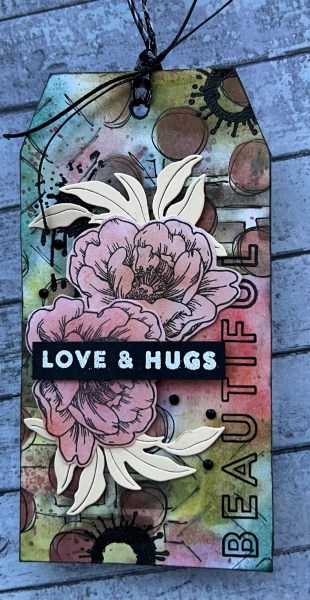
The background was an inky background made some time ago with a bit of pen work on it. I added it to the tag I had made from chipboard.
Then I added the stamping and embossing of the word Beautiful and the splats. This gives some nice texture as well as the additional pattern.
I then used two die cut leaves using the Waffle flower Greenery die and then stamped two of the individual flowers from the Simon Says Stamp Beautiful Flowers onto cardstock before inking them with blending brushes and fussy cutting them out.
I finished off with the Love & Hugs sentiment from the Simon Says Stamp set and embossed it in white on the black. I added some black gems dotted around as some extra sparkle.
I also added some waxed thread and a bit of black and white ribbon to the top of the tag.
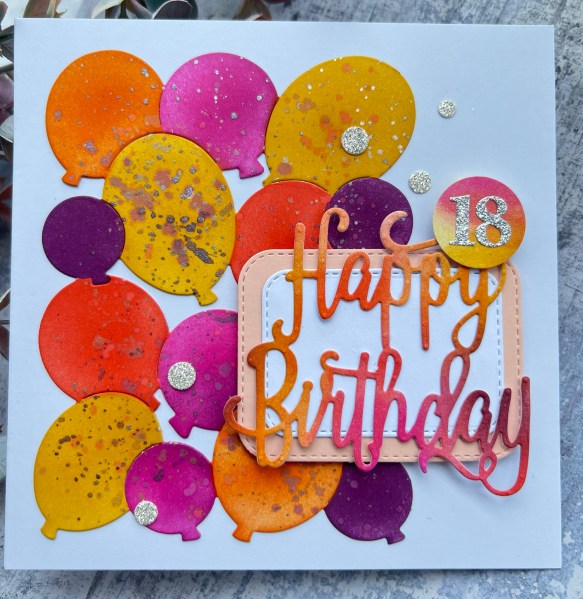
I actually made this card in June for Amelia’s birthday in July but only blogging now as I decided it should be a design team card!
This is the last of the 18th cards that I’ve been making for the last 12 months as all my daughter’s friends have now reached adulthood!
I made this one from us, because I made one I’ve already shared from the daughter to her friend.
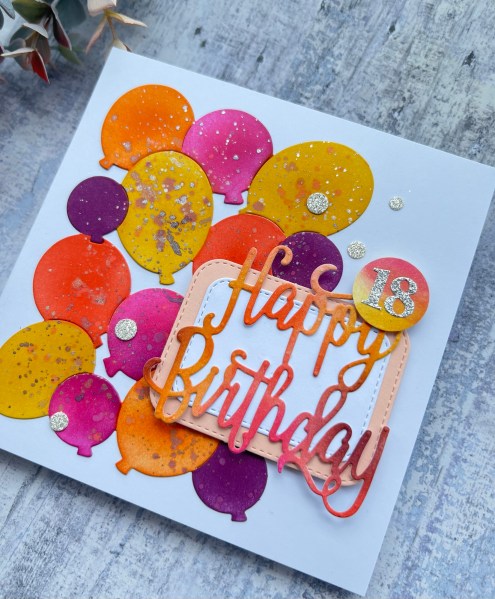
I decided to go bright and shiny with the waffleflower balloons and the sentiment.
After die cutting the balloons I added the colours using distress inks and then did lots of splattering using both the inks and some shimmer paints… so this got messy but the die cut against the white background still looks clean and modern.
I used the same inks to blend a panel of cardstock before die cutting the sentiment out so it would match.
I decided to then create a panel for the sentiment to sit on so it could be seen clearer and punched a circle from the leftover blended background for the sparkly stickers to sit on for her age.
I raised them up on foam so they sit proud of the balloons. 🎈
I then added the little sparkly circles that were leftovers from the zero waste leaf die panel I used for her other card.
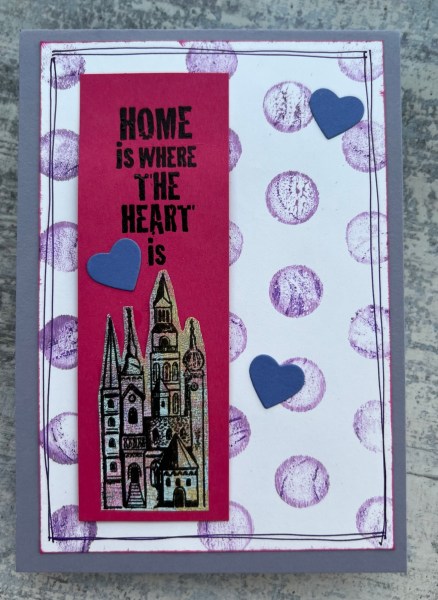
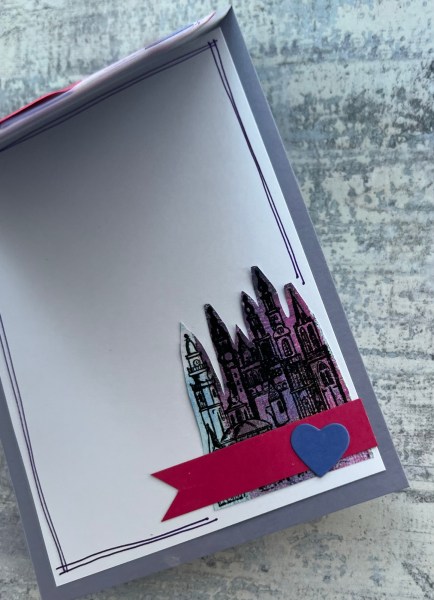
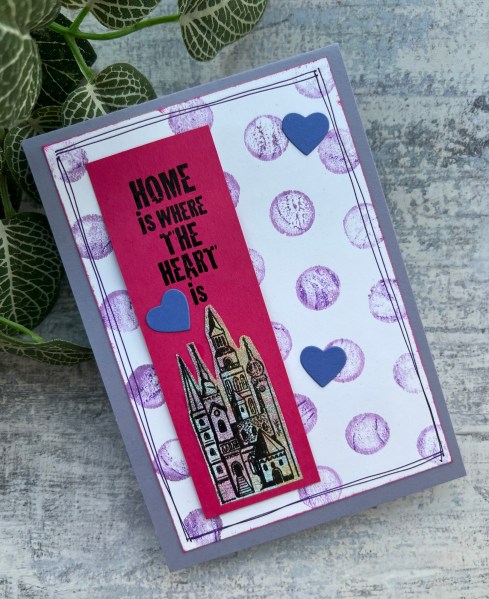
I needed a new home card for my friends who have recently moved … well actually they moved in June but I am only just getting around to posting this on my blog because I was so late in posting the actual card (really should do better at posting things out!).
I used a panel I had used to remove paint from a gelli plate through a stencil and it had created these fun circles. Then I used a mop up panel of paint from the same gelli printing session to stamp and emboss the building images from ArtJourney.nl as my focal images.
I know Lynn would appreciate the quirky artsy look of the card as she is creative too.
I did however keep it simple with the panel of pink and the sentiment and then the die cut hearts.
Love all those colours coming through the building image … such fun!
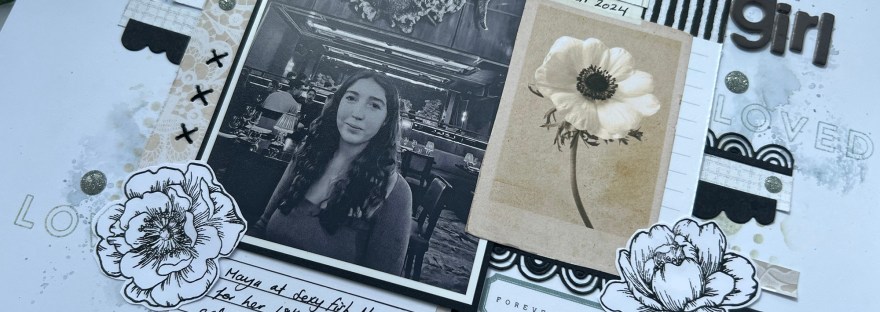
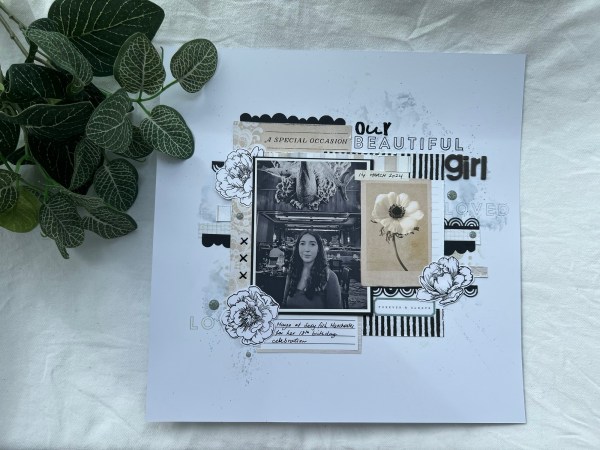
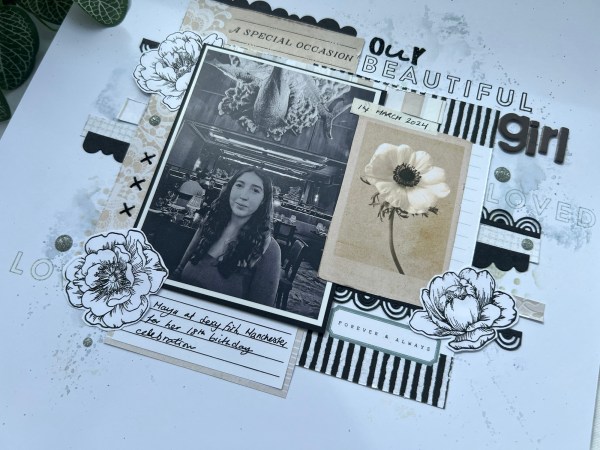
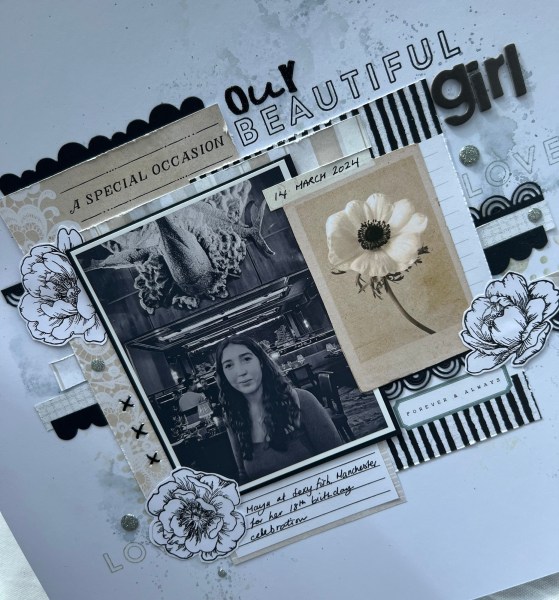
I used the scraps of the page kit from Hey Little Magpie and made a scrapbook page. I love using kits and trying to get more out of them than they were originally designed for.
Fell in love with the neutrals on this one. Also used some of the Hey Little Magpie dies and some black cardstock too.
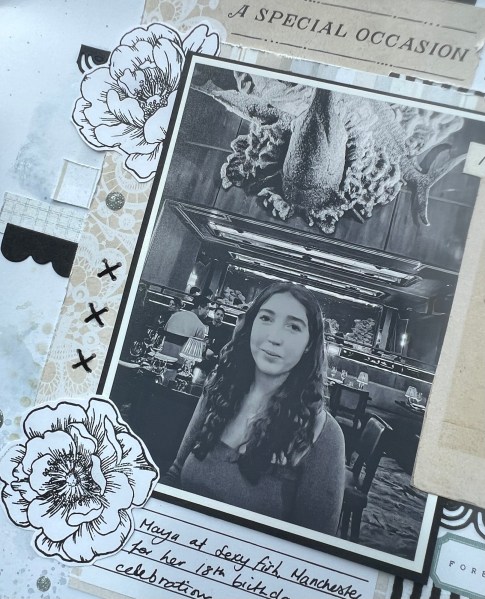
I added in those gorgeous flowers which were stamped from the Simon Says Stamp Beautiful Flowers set.
I loved mixing up the stamping and the stickers for the title.
I also added in a little bit of sewing just those three little x’s.
I did video the process and you can check this out on my YouTube channel.
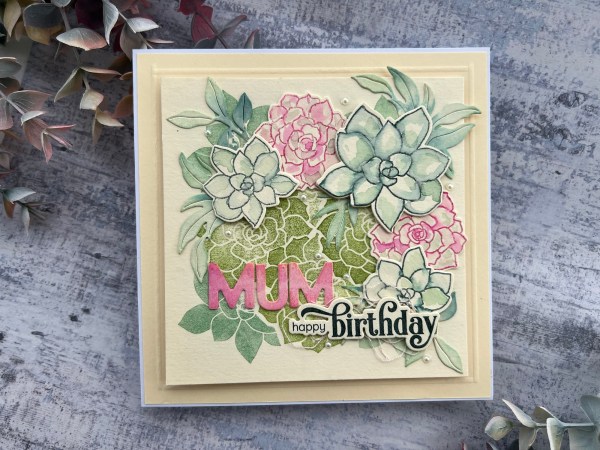
Well it was actually Mum’s birthday on the first but as her card had no patterned paper I couldn’t post it then! So here is the card I made…
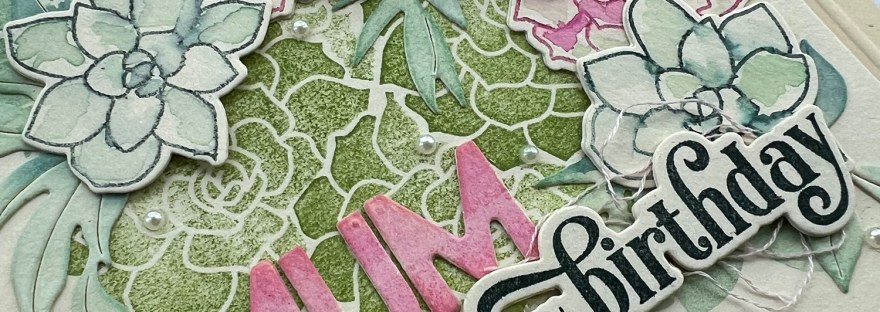
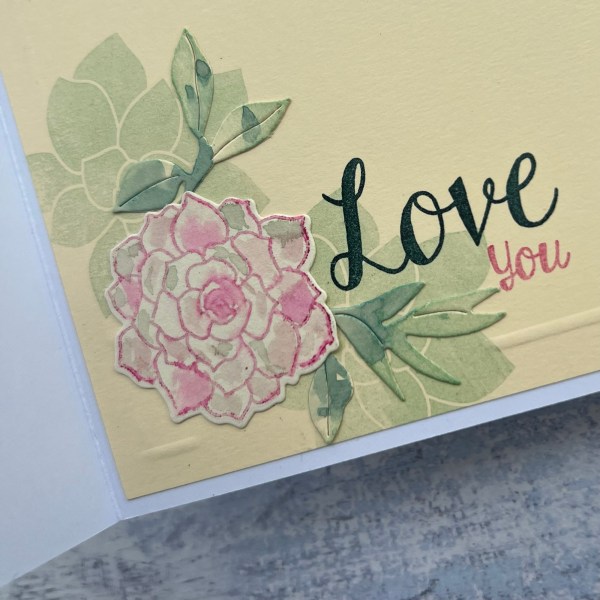
I used some new to me stamps and dies to create this that I bought in a sale of old stash from Waffleflower through Seven Hills craft. This set was called Succulent and there are a few solid stamps and some outline succulent images as well as some sentiment/word stamps.
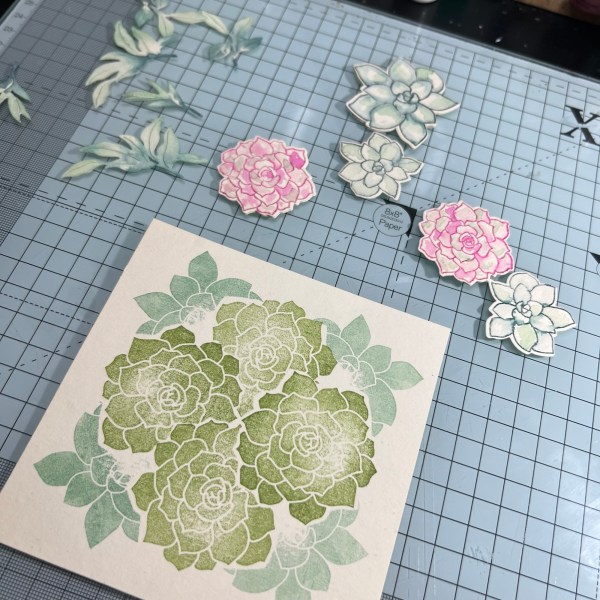
I started by creating this panel with the solid stamps and the wreath builder template with some masking. Then I stamped the line art images and added some water coloring before die cutting.
I then took another new to me die set (foliage) which I die cut some of the leaves and added ink to then too.
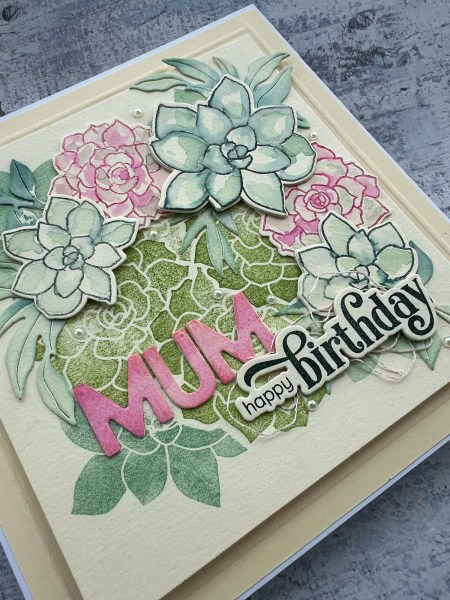
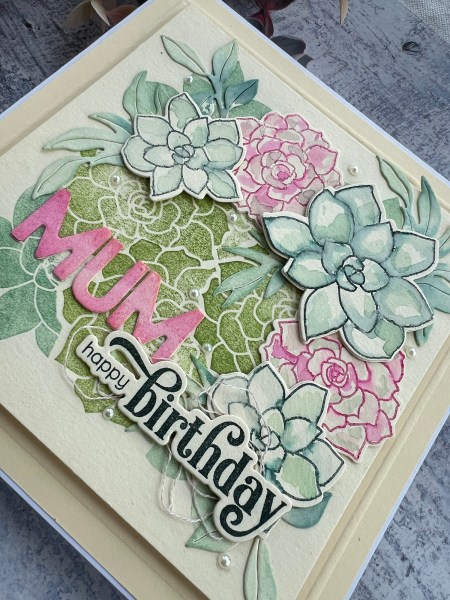
I stacked up those succulent die cuts to give dimension and then adhered them in place. For the sentiment I used an Altenew one for the happy birthday, and then playful alphabets dies to create Mum which I coloured in pink.
It was nice to use cream cardstock as the base for a change from white. I added foam behind the main panel and then with a different cream for the back panel.
I dry embossed a frame around and this almost fit the whole of the 6×6 card blank.
I also added a little thread just behind the sentiment and then some pearls dotted round the card for more texture.
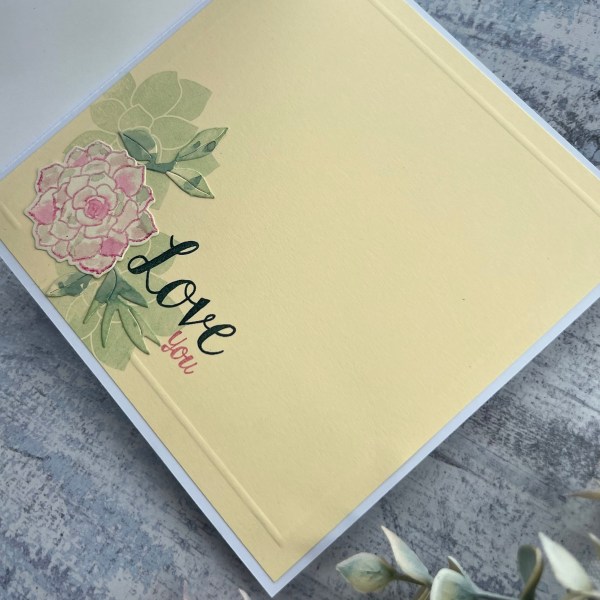
Inside the card I added another panel of cream and stamped some of the solid images and then added some of the die cut leaves and one of the die cut succulent images I had water coloured.
I also added stamping using the word stamps from the succulent set.
I added a dry embossed frame again to go around the panel excluding the part with the image.
So happy birthday to my Mum and I hope she liked the card. I certainly enjoyed making it!
Now July is over I’m back to the weekly challenge of a festive project once a week – rather than the mammoth effort of daily! Having said that it might be a challenge given that I might have Christmas burnout after all those festive projects – but I will give it a go! Starting easy with these ones…
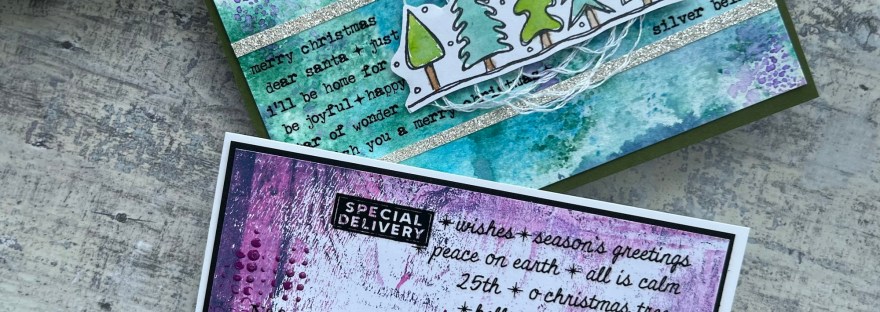
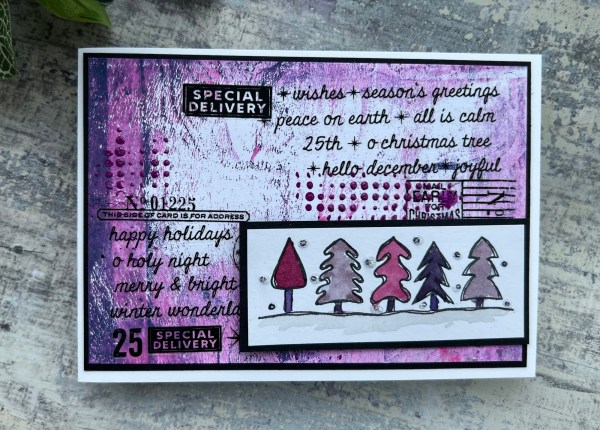
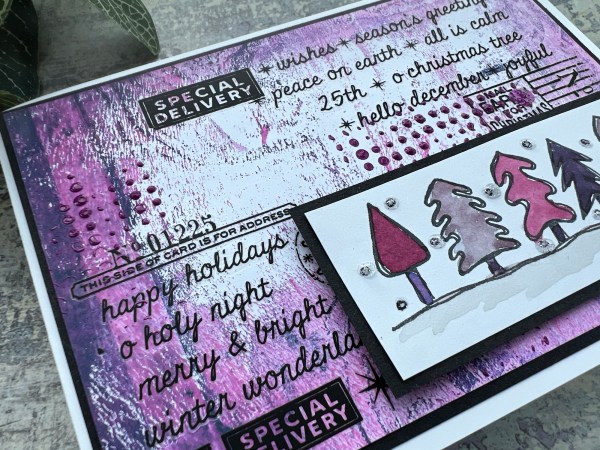
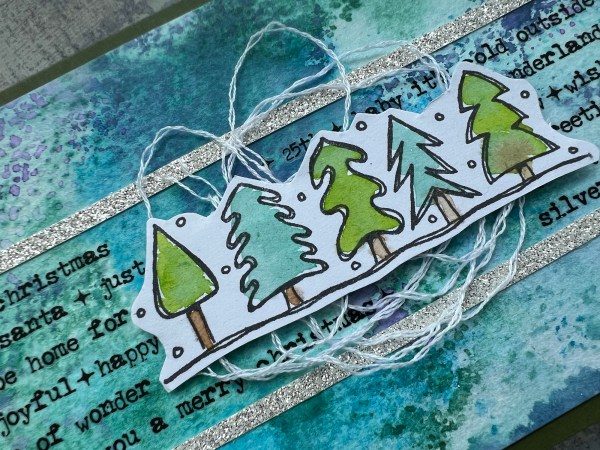
Today I have two cards made using up inky/gelli print backgrounds and the rub ons I had in my stash for years and finally found a way I love using them … and now have no more but a real urge to buy more as they look so fab on the inky and gelli print backgrounds!
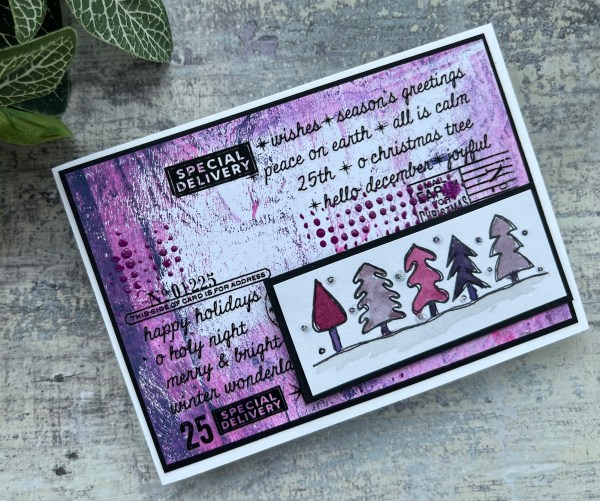
Let’s start with this one … the rub on element was done a while ago for both cards and then these just sat in the box of ready made backgrounds to play with in future. Well when I came across the little Darcy Paperartsy trees I stamped and set aside I decided they were perfect for these backgrounds when watercoloured with matching colours.
This one I did doing some stencilling on the background with the enamel accents (an idea I got from old craft stamper magazines and had never tried before !)
Then I mat the background and the stamped and coloured image with black.
On the snow on the stamped image I added a bit of glitter glue just to add a little extra sparkle. And I did raise up the stamped image a bit with some cardstock behind to give dimension.
This one I added two strips of sparkly glimmer paper on either side of where I had added the rub ons. Then I used some embroidery floss threads behind the trees and fussy cut them. This time a little strip of foam behind them gave them dimension and I added the panel to the dark green cardstock.
Just love how these came out … and I have so many premade inky and gelli print backgrounds I am really tempted to order more rub ons so I can do these kinds of projects again!
Hmmmm…. Temptation is not good when trying to be more frugal with my crafting spends!
Ah well two more cards made for my Festive Friday challenge!
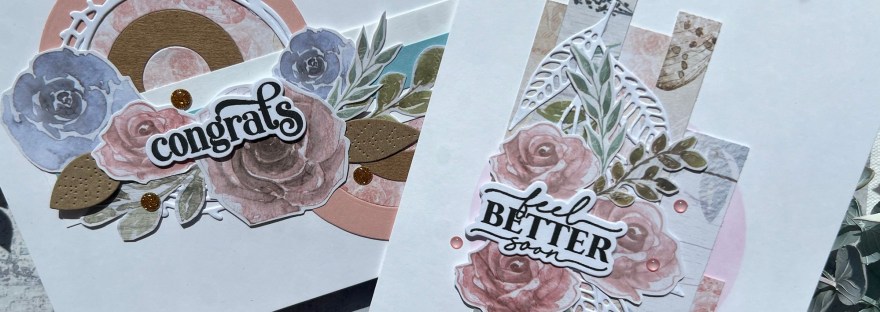
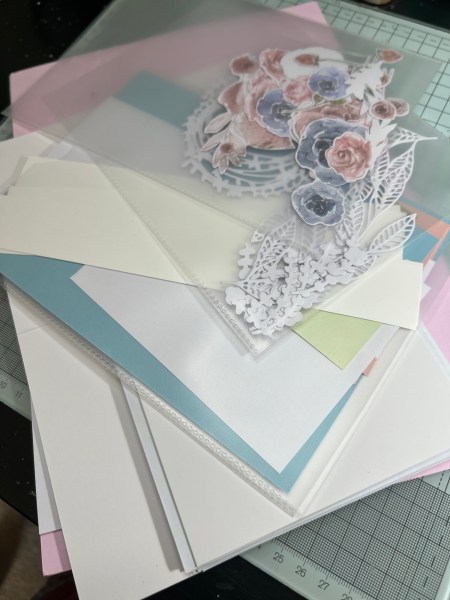
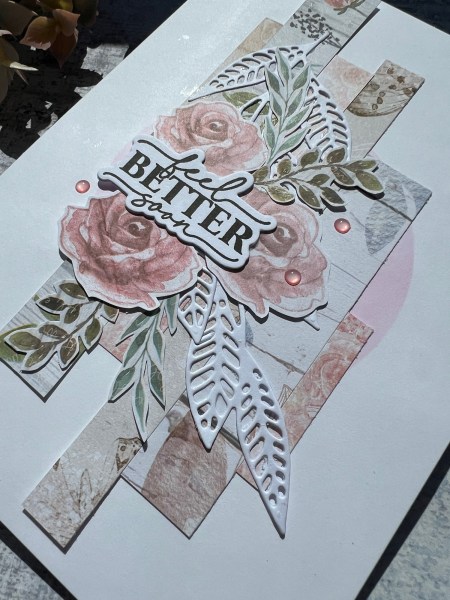
Easing myself back into non-Christmas projects with the usual start of the month patterned paper and this time picked up my pouch of the Sheet Load of Cards templates from earlier in the year that were already cut …
I didn’t follow the actual sketches but certainly put together some fun cards with the items in the pouches. These sort of half made projects are the sorts of things I take to crops as then I can just get on with something if I’m not inspired to do a scrapbook page and indeed that had been the intention but I ended up scrapping at the last crop and so it’s sat there untouched for some time!
The two cards were easy to put together just grabbing the ready die cut elements and the ready stamped sentiments … I did have to die cut a few additional circles for the first one but that’s about it!
All the cardstock I used was already sitting these waiting to be used and although I glanced at the sketch I didn’t follow it after that point.
I also added in a few additional die cuts like those pierced leaves.
I used the glittery gems to embellish and then the sentiment from Altenew.
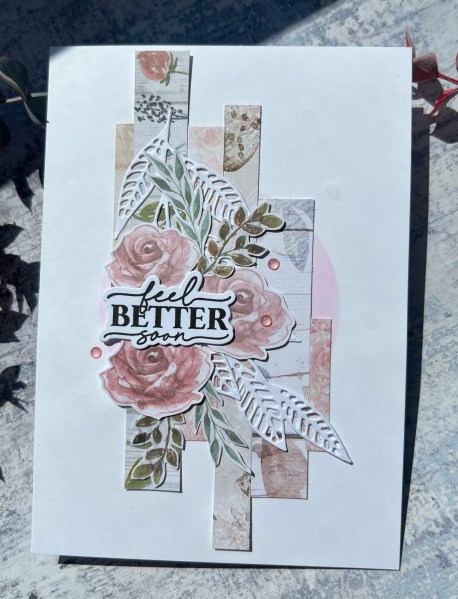
Totally disregarded the sketch for this and just created the cluster of strips with an inked circle behind the panel (could have done with this being slightly larger to show more but don’t mind it just peeping out the sides.
This time chose a Waffleflower sentiment and some pretty pink gems for the embellishment.
It was certainly nice to not do Christmas for this and remind myself of how pretty this Crafters Companion paper is that my friend gifted me. Glad I’ve still got more cards to make in this pouch for either future crops or when like today I just need something easy.
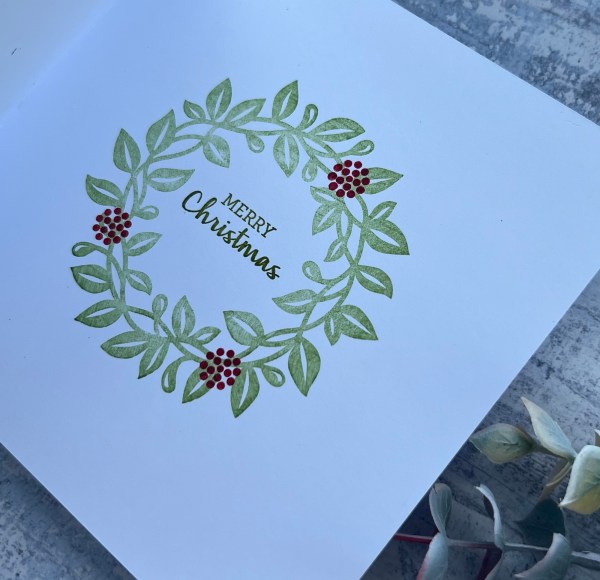
Well I managed it! 31 days of festive projects for my Christmas in July challenge! Phew! It’s been hard work at times but it hasn’t dulled my love of making Christmas projects – but glad to not have to continue at this pace!
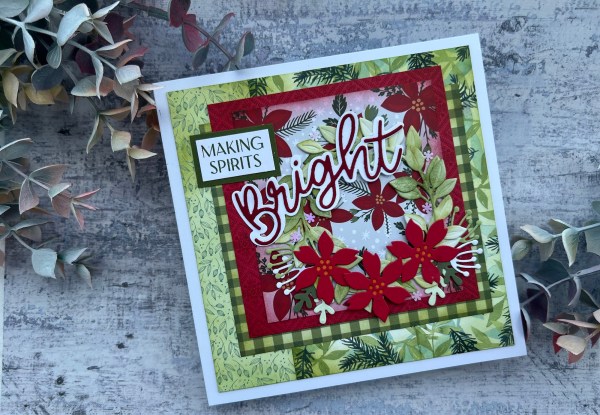
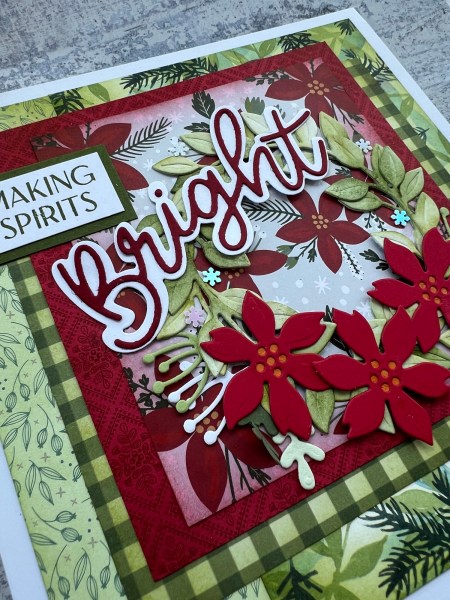
So the final card was a mixed bag of patterned papers I grabbed from the stash and made into a panel, with inking to add to the layers.
I then added the die cut elements from Wreath Builder dies to make the focal element.
I then added the sentiment using a mix of the waffle flower stamp and the die cut Bright from the Peace and Joy dies.
I added inking to the leaves on the wreath and then added the flowers and then pulled some die cuts from the stash to enhance the flower elements.
Inside the card I added the stamped elements from the Arrange a Wreath stamp set.
I really hope this series of cards helps with inspiring you to get your Christmas cards made throughout the year and please do check out my videos. I’ve been delighted to have so many visitors checking out my creations and of course welcome more to copy or use my ideas as starting points for their creations too!
So from tomorrow we go back to more varied creations and probably unlikely to keep up the daily posting – certainly not daily videos – as more than I can cope with on a continuous basis! But of course doing some of these festive makes has also made me think of other ideas for using similar techniques with other card types – so watch this space!
Nearly at the end of this mammoth run of festive projects – phew! Won’t lie it’s been tough at times to continue – pure stubbornness kept me going!
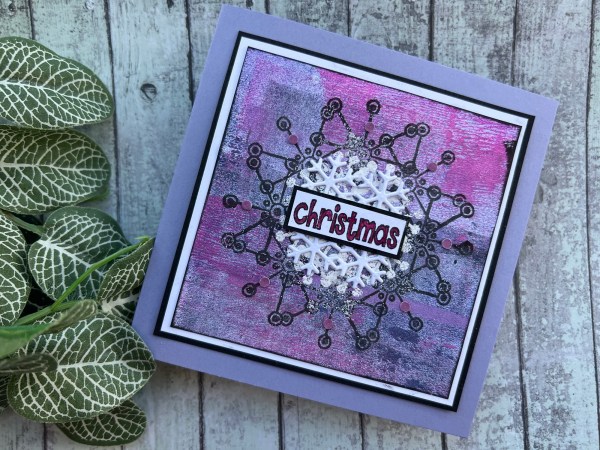
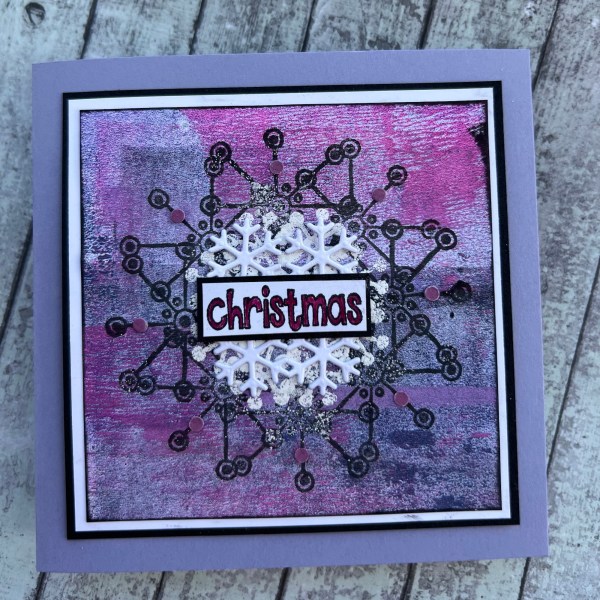
I grabbed the wreath builder template again but this time went more mixed media in my approach by using the painty background I grabbed from the stash of ready made stuff.
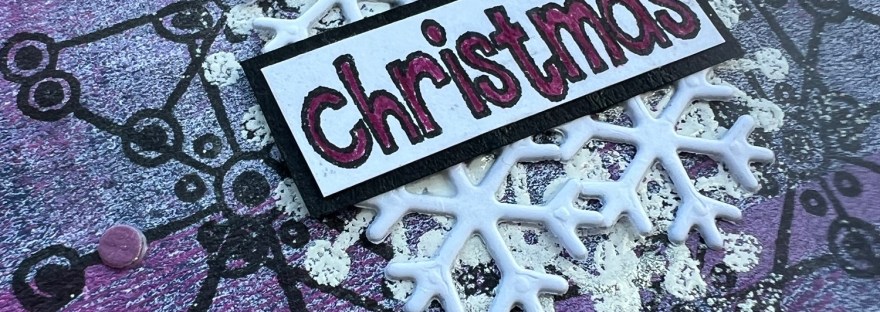
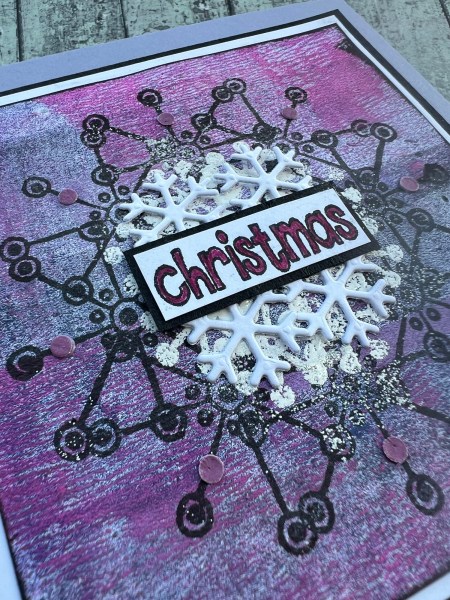
I then took Paperartsy stamps and stamped in black the larger of the snowflake motifs.
Then I stamped and embossed the smaller one in white but it got kind of messy.
So then I decided to die cut four small snowflakes and add those in the centre underneath the sentiment to cover up some of the mess.
The sentiment I stamped in black and then coloured in with a purple pen.
I edged the panel and then did two mats to frame it.
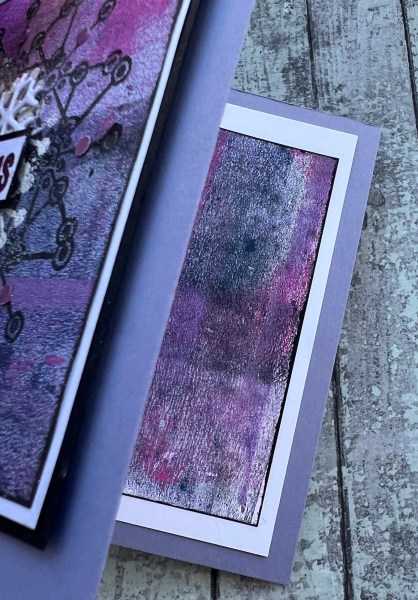
I then added it to a lilac card blank I made that is 5×5. Inside the card I added the remaining painty piece onto a white piece.
To finish off the front I did add tiny purple circle die cuts as little ‘gems’ and added wink of Stella to add sparkle in a subtle way!
Again video of the process for you to watch on my YouTube channel.