I came back to the patterned paper that I started with at the beginning of the month and decided to make two more cards … but completely changed up the feel by inking up the cardstock.
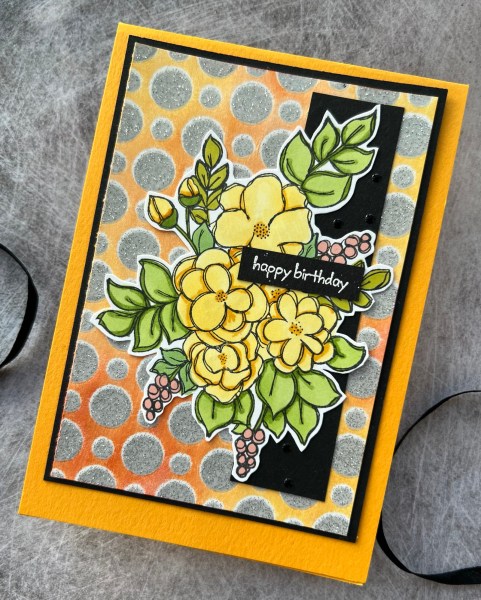
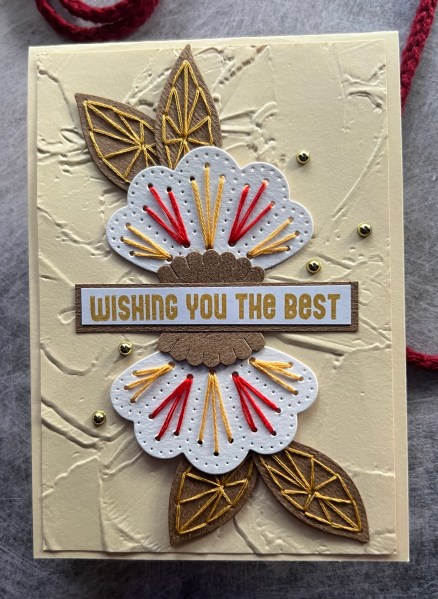
I started with this bright and cheery yellow and orange one.
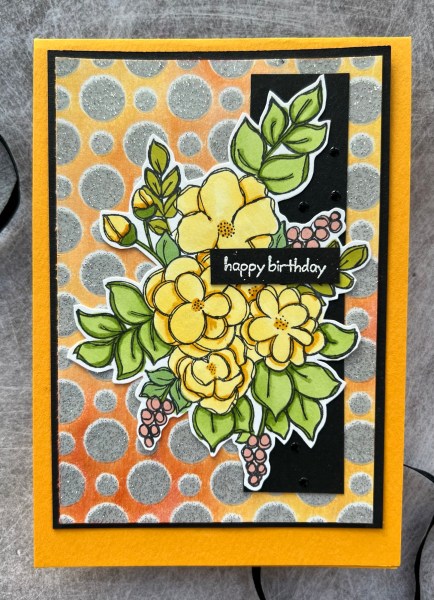
Once I had added the ink I then wiped off so that the parts of the card that had the encapsulated glitter resisted the ink.
I then decided to use the Alpaca Pals gorgeous floral image as the main element. I coloured it with promarkers and then fussy cut it out.
I trimmed the inked panel down and mat it on the black cardstock. I also added a panel of the black beneath the floral element to ground it. Then used Mango Melody card stock to create the card blank.

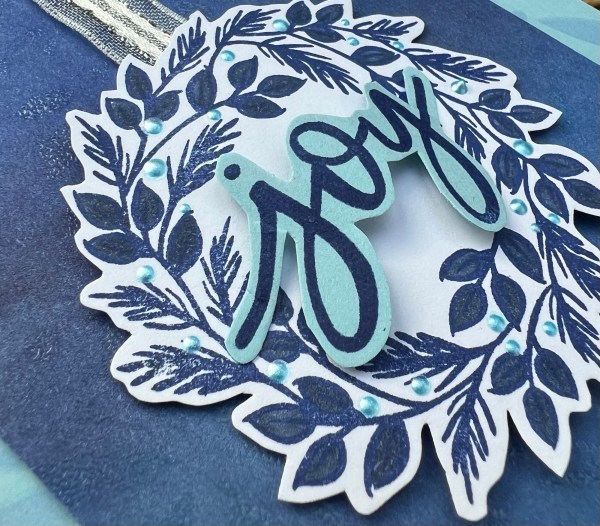
I added a little white embossed sentiment and then some enamel accents as embellishment.
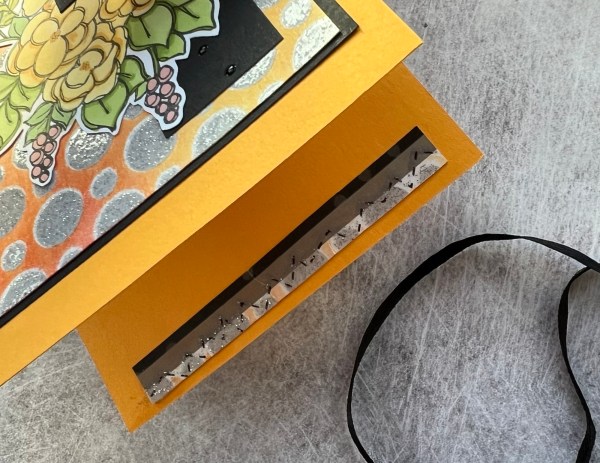
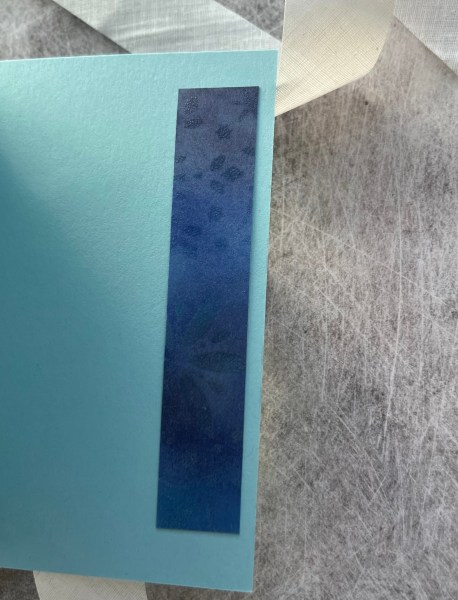
Inside the card I just added a little strip of the inked patterned paper to finish.

The second card I used my distress inks to ink up the panel and then I used the same inks to watercolour the same alpaca pals image (plus some green too of course!).

This time the panel was small square and I added it to a black panel perfect for a card front. I added the floral image at the side of it.
I then added some ribbon and the stamped sentiment. I remembered that I had some purple/black sequins too that would work well with the colour scheme so added them to embellish.

I used some purple card stock to make the card blank and on the inside some more inked paper and a mat of the black.

Love how different these are from the original because of the added colour.

I still have one larger piece of the glittery circle paper left but not sure yet what to do with it … so watch this space as I’m sure I will come up with something!
Happy crafting!
Catherine