Todays card I actually started back in July but never got round to finishing until very recently … inspired by Jennifer McGuire.

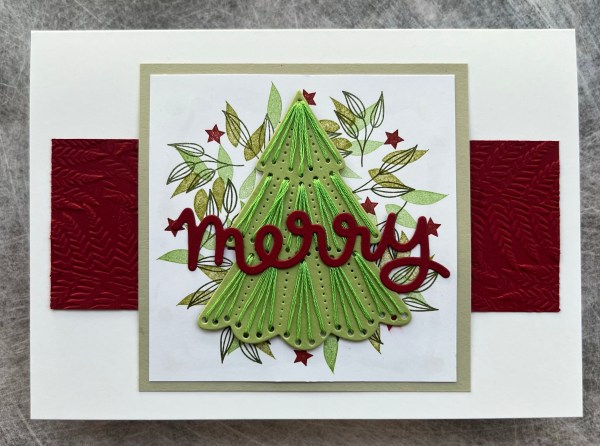
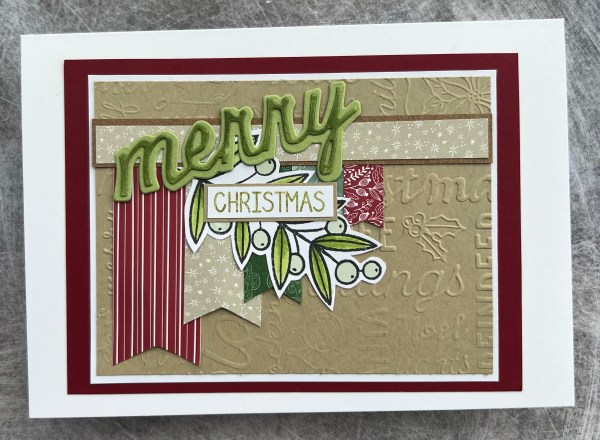
I watched her video where she did embossing using versamark on the embossing folder and the powder sticks into the crevices and decided to try it on this Merriest moments folder … but couldn’t work out which side would emboss and which debossed! So got it wrong … so stuck the attempts to one side figuring I would get round to using eventually!
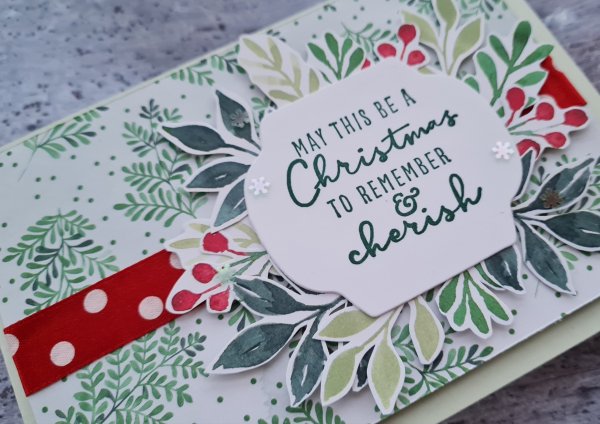
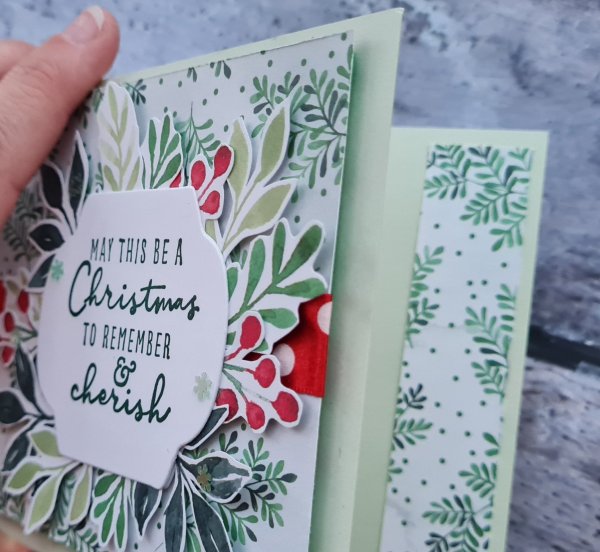
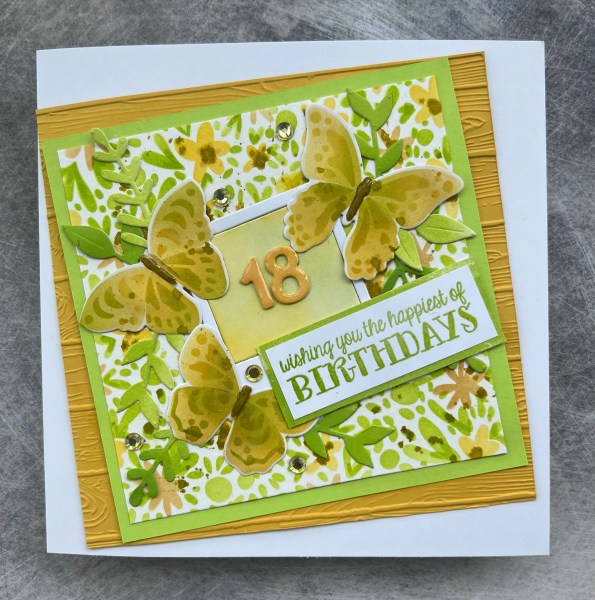
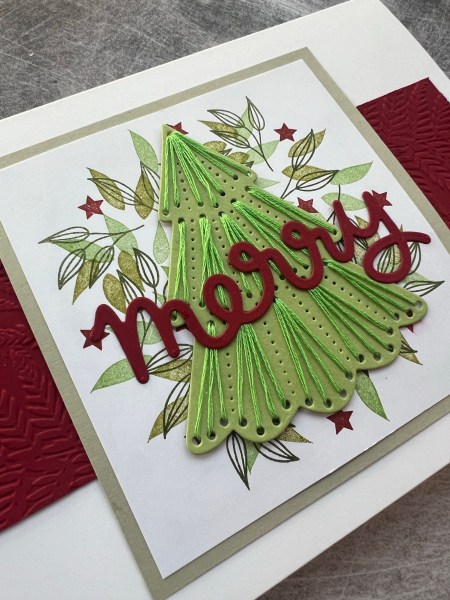
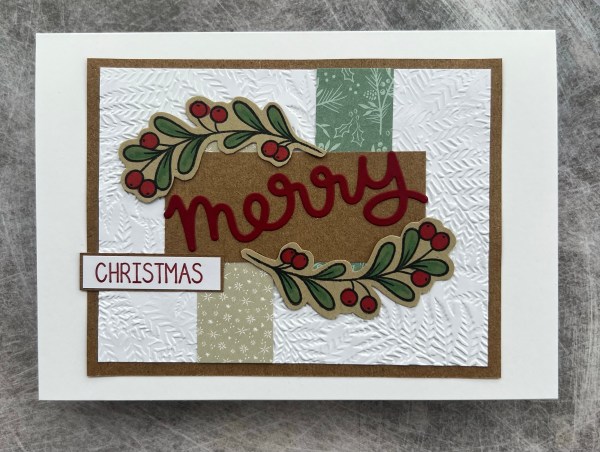
So what had happened is that the powder stuck in the crevices but around the embossed images and to be honest it still looks pretty! Especially when the image is die cut out which this set does brilliantly with two sizes of die cut!
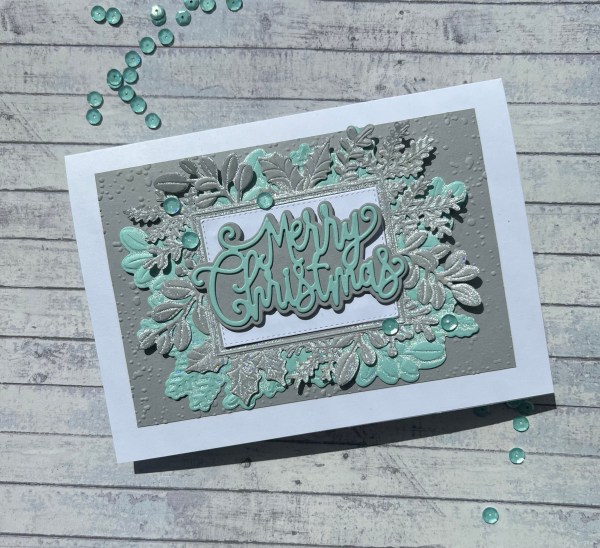
Both the grey and the pool party I had embossed with a glittery white powder so this makes it extra shiny and sparkly … a bit like snow in sunlight!
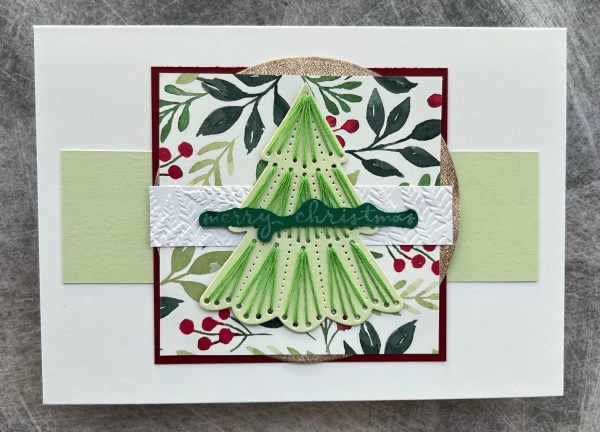
I then embossed a simple sheet of the grey for the background with snowfall and then added the Tonic sentiment (again I created this at the same time back in July and just set it aside!). Finished off with sequins.
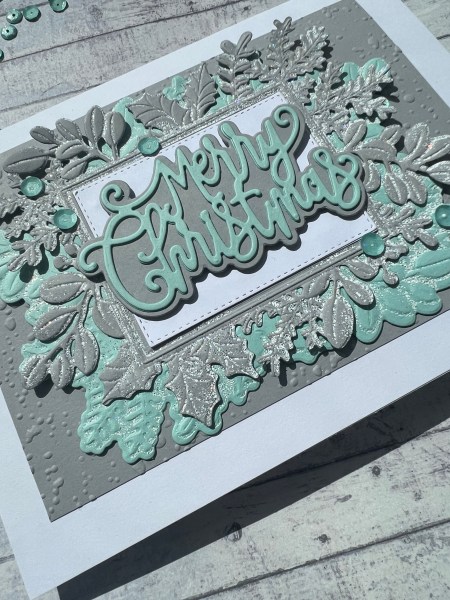
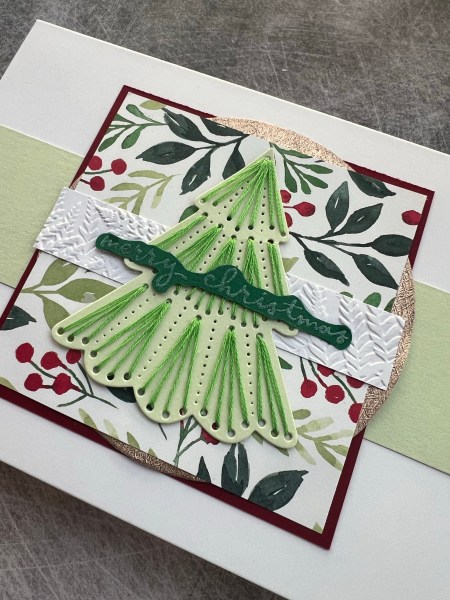
So not exactly what was intended but a pretty effect especially when layered up… to be honest I don’t think you can go wrong with this embossing and die set … they always make pretty cards but love the embossing to make it extra sparkly!
Thanks Jennifer for the inspiration… will have to try the technique again and get the embossing folder the right way round!
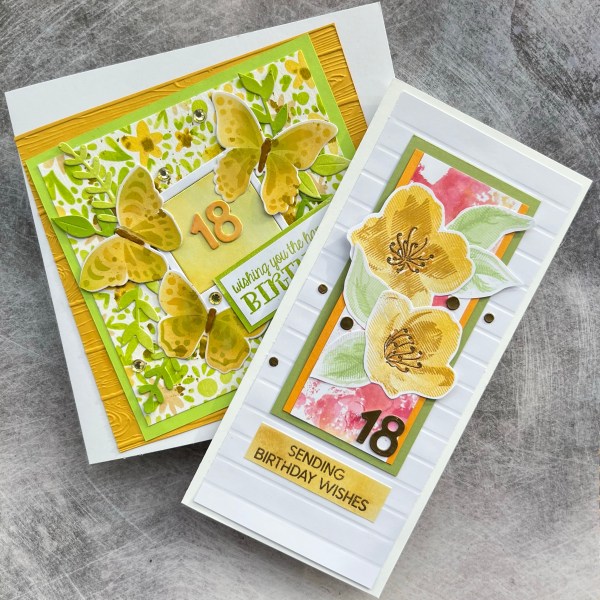
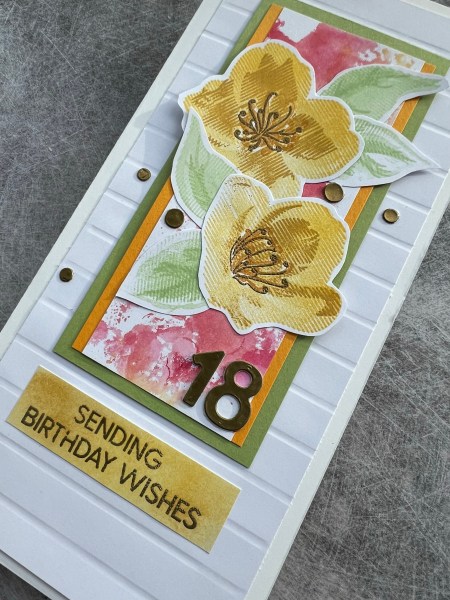
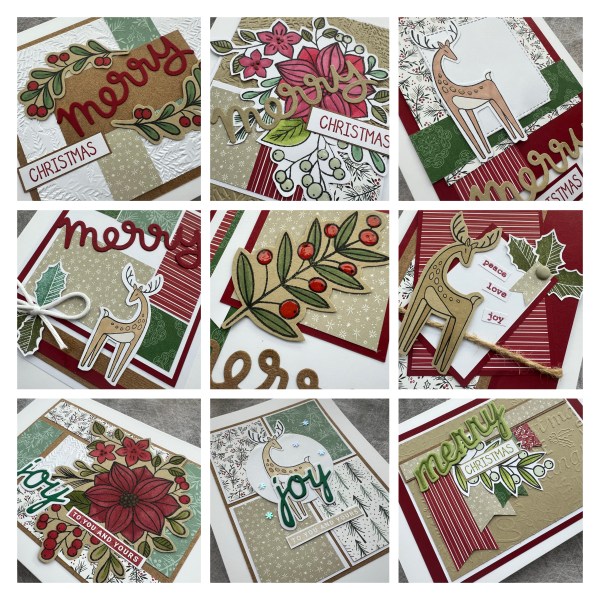
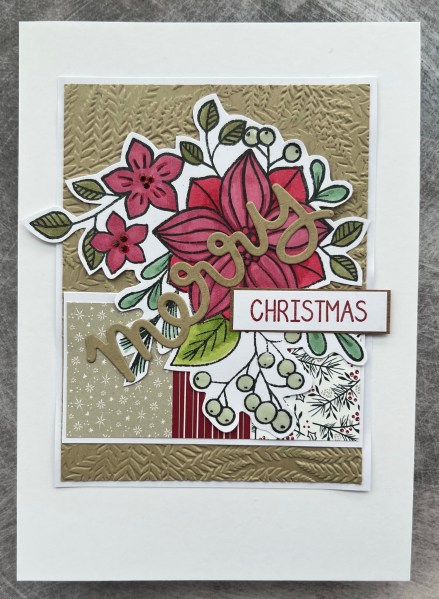
Also if you didn’t see it here is the original card I made back in July with my first embossing on embossing play from that session inspired by Jennifer.
Happy crafting!
Catherine