Another scrap page

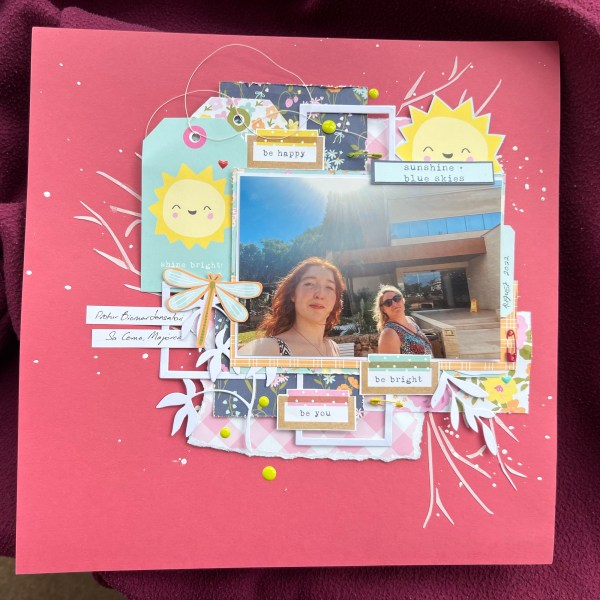
So this past week I’ve been posting projects that were made ahead of time because I’ve been pretty immobile with a bad dose of ‘digestive issues’ … best the less said about that the better! But on Friday after a trip to the doctors I managed to summon an hours worth of energy to play with the papers that were left from the scrapping I had done for Helen’s hop and decided to scrap the photo I had originally chosen for the papers but ended up not using.

I used bright pink cardstock for the base and all those lovely papers from Simple Stories that Sarah at Hey Little Magpie had put in the kit to create this.
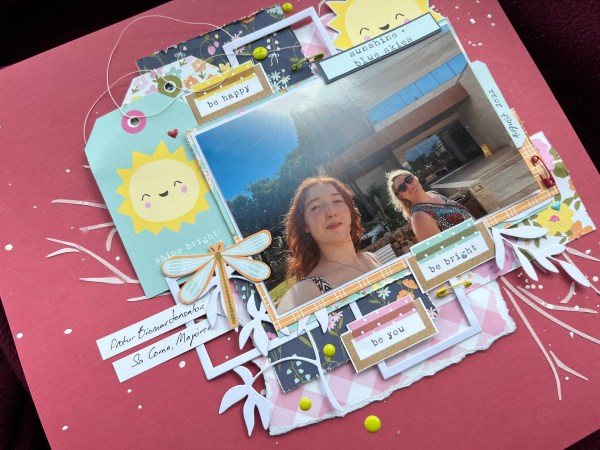
I added in a couple of leaves die cut using the zero waste leaf die and then some die cut frames to meet the April Hey Little Magpie Facebook group challenge.

I also added the stencilling with modeling paste and the gesso splatter for the background and then those cute little safety pins also added.

I added the enamel dots and a couple of enamel hearts and that was the page done!
I did video the process and have got around to doing the voiceover so if you want to watch this process please do check out my video.

Bonus project: I didn’t want to keep the remaining bits of the kit as there wasn’t much left that I thought I would make use of and rather than hoarding thought i would get it used straight away to make some little notelets (I really don’t need to make more but it’s either hoard the leftovers, chuck them away or do this … this won!).
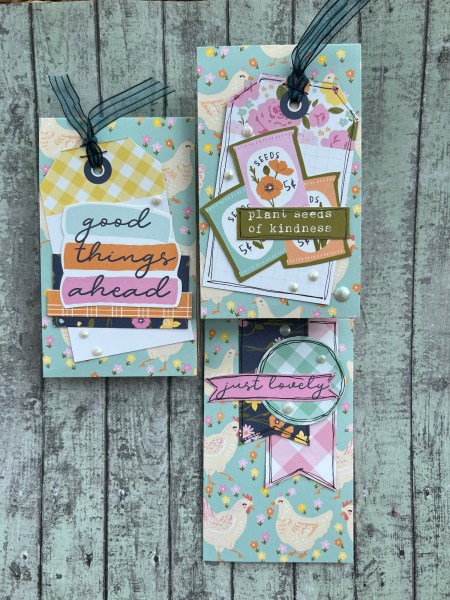
Three cute little notelets done and I feel like I made good use of the kit. There were a few tags and cut apart pieces left and they’ve been parceled up into a little gift to put in with sales I may make as again I can’t see me using them and I’d rather someone else see if they can make use of them!

Happy crafting!

Catherine

Lollipop box club kits notecards

Back at the beginning of the month I went to a crop with quite a bit of stash and that included the Lollipop Box club kits … I decided to use some of it to make some little notecards from the stash…

These were fun to put together just using what came to hand from the kits.

What I realised making these however is that I have far too much stash and it will definitely not be used up any time soon! But also when I run out of the current stash of little notecards there is always this stash to come back to and make more of them!

Happy crafting!

Catherine

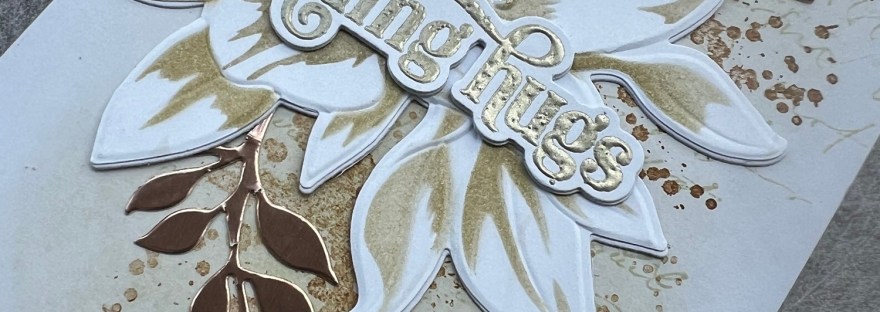
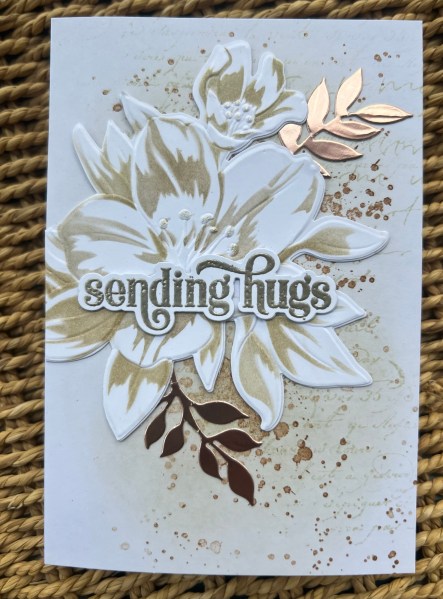
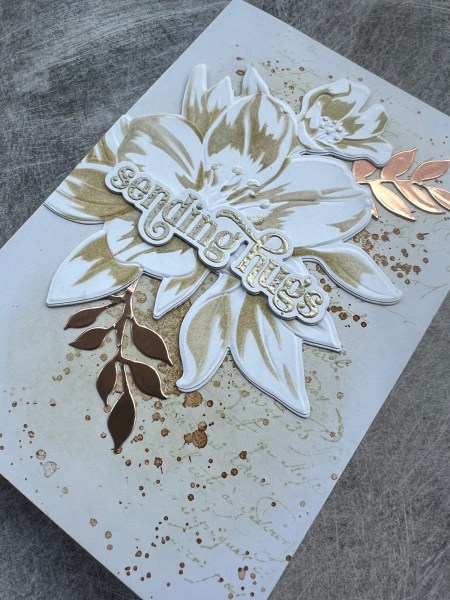
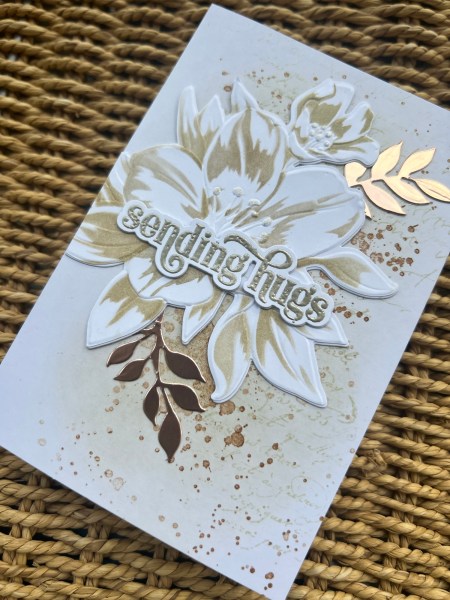
Sending hugs floral card

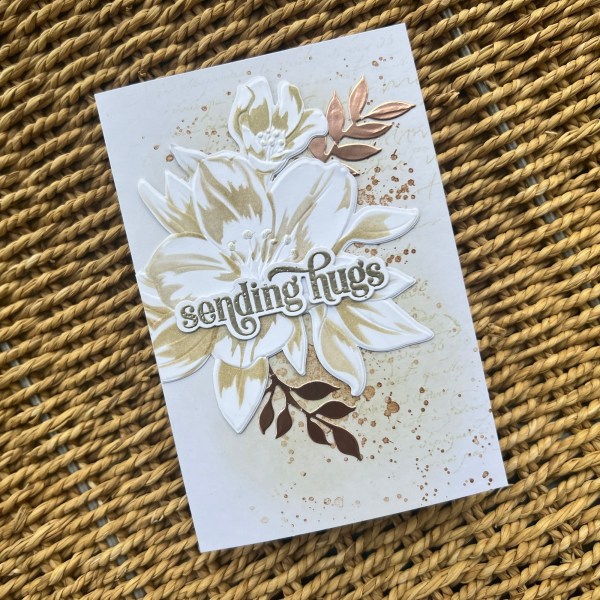
I decided to make a Sending Hugs card using all neutral colours and the fabulous Splendid Bouquet bundle from Altenew.

I decided to die cut and emboss first and then took the last layer of the stencils and add Old Paper distress ink through that to just created a simple tonal focal element.

I cut down the die cut to just have two of the flowers on it and then decided what background to make.

I ended up with some random text stamping and using the Gorgeous Grunge stamps in both Old Paper and Vintage Photo and then used ink left on my brush to add some depth to the card base.

Next I took a die cut leaf from rose gold card stock that was on the desk and snipped it apart to make two and placed them under the flower panel as a contrast.

Next I die cut the sentiment and stacked it up. I had used a champagne colour embossing powder so that added another neutral type shade to the mix!

I also used a champagne shimmer ink to dot onto the stamen of the flower too for a bit more shimmer.

Happy crafting!

Catherine

Festive Friday

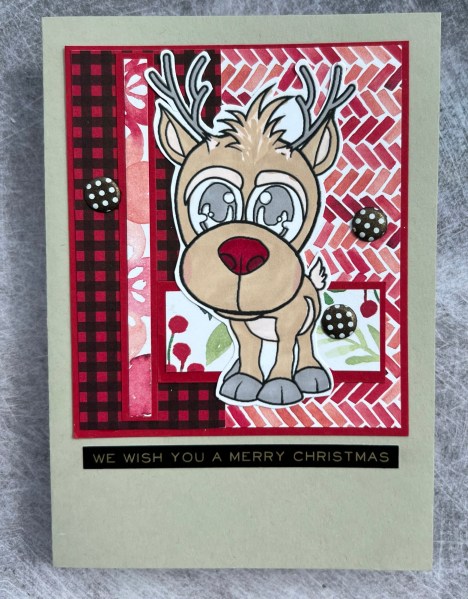
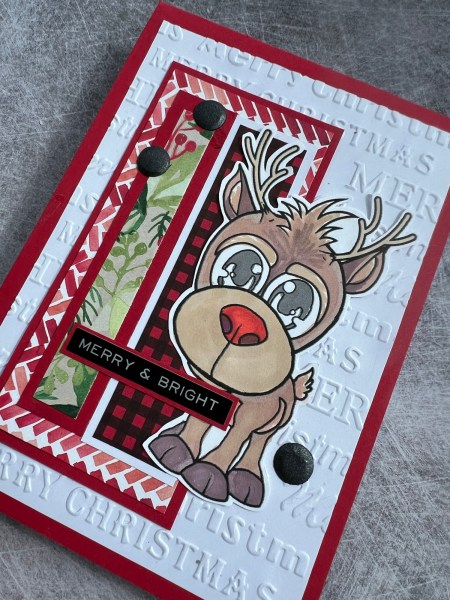
A lot of my festive Friday projects have revolved around using up scraps and stuff off the desk and today’s is no different!

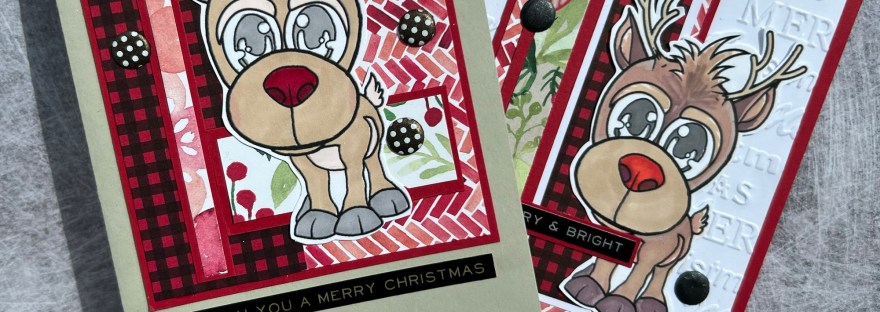
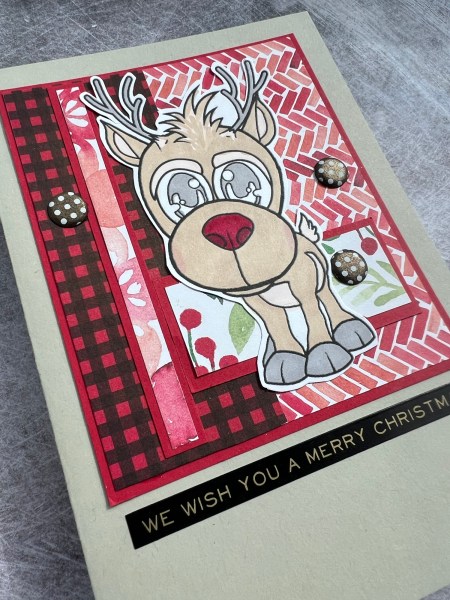
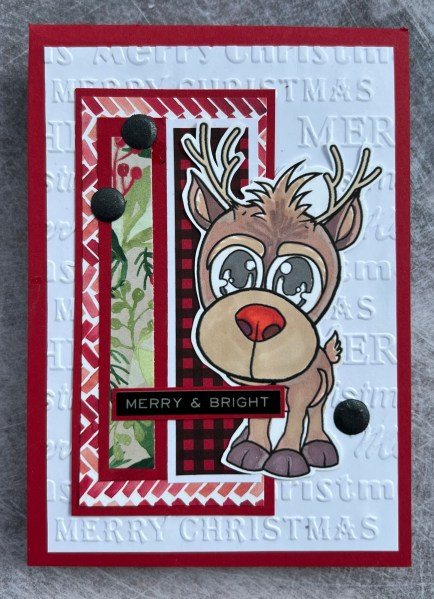
Came across the two Rudolph digital images I had already coloured and then leftover bits and pieces from other projects using the fabulous Painted Christmas paper and some other bits of dsp. I ended up with these two cards!

I used the Tin Holt sentiment stickers for sentiments…

And card Candi to embellish…

This one I felt needed more of a background than I had left in scraps so did grab some white and cut a panel and then embossed it too.

Otherwise … quick and easy cards to put together using the scraps! Wonder if next week my Festive Friday might be a little less cobbled together and more of a new project?!?

Entering the second card into the anything goes challenge at The holly and ivy Christmas challenge blog

Happy crafting!

Catherine

Patterned paper play

Last year I took pieces of dsp and cut them apart and popped them into pouches so they were ready to make up some cards for my monthly patterned paper challenge at the beginning of the month… well I found one of the pouches when having a tidy up and decided to pause the tidying and make a card!

Entering this into the anything goes challenge at Crafty gals

I chose all the blue flowers and then grabbed some pieces of Starry Sky dsp from the stash and made up a background panel… then made a focal piece using another piece of the dsp and the big pink flower.

I then stamped and die cut and stacked up the sentiment from the Waffleflower set and sandwiched some thread behind it before glueing it into place on the card.

I then added the card Candi for embellishment.

Happy crafting!

Catherine

Experimenting on black

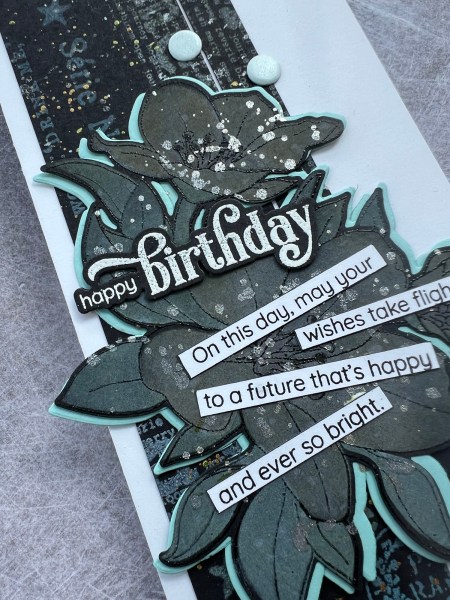
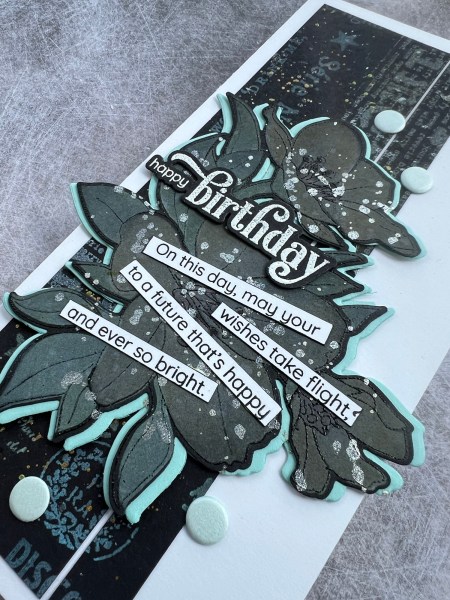
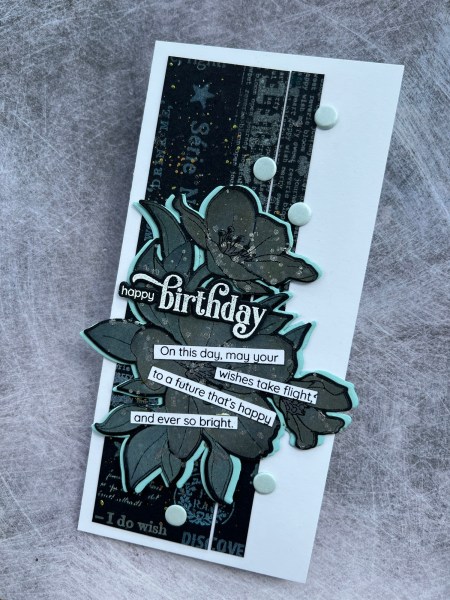
A week or so ago I made a tag from a black background I had been experimenting with and I had a little bit of the background left so I made a card using it. I also used the same Altenew Splendid bouquet stamp for the focal point but this time I did colour it differently. I wanted to see what black embossed lines would look like as opposed to the white ones. Well it certainly gave it a different look.

I also used the distress oxides direct into the black without a layer of white pigment ink… that made it significantly duller and more subtle in colour… but still a fun effect. I decided to also splatter it quite a lot with a gold shimmer.

I also added two layers underneath which I offset slightly to frame the image not just stack it for dimension.

This brought out the blue tones in the background I think and gave it a different look.

To add to that I added blue card Candi for the embellishment.

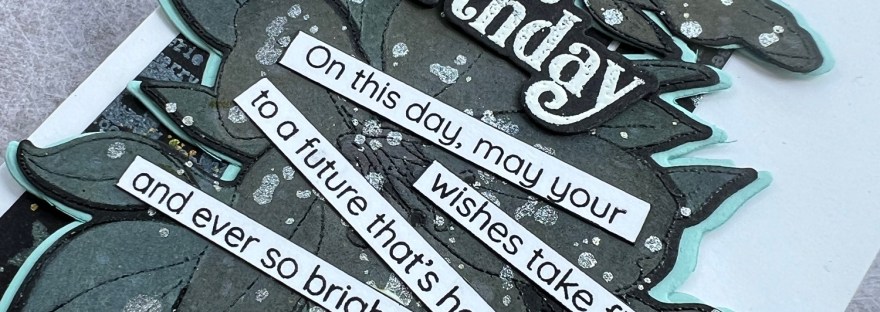
For the sentiment I thought that I would add both the bigger sentiment and the extra sentiment cut into strips. This gave the card another focal point rather than the flower and I like how this brightened what was quite a dark card.

I say dark but with all the sparkly splatter it is quite shiny when the light catches it … but all in all a fun different way to use this amazing floral piece I am obsessed with and can’t stop grabbing… and pleased I found a use for the leftover strips of the background I had made!

Happy crafting!

Catherine
DT: Addicted to stamps and more – make your mark #466

Hello! Another DT contribution for you! This time for Addicted to Stamps and More.

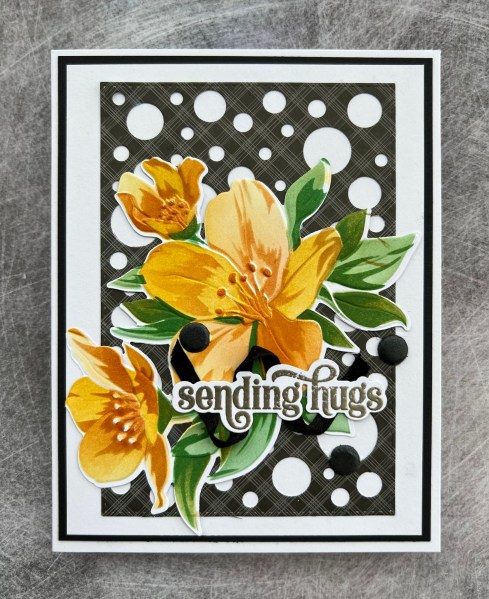
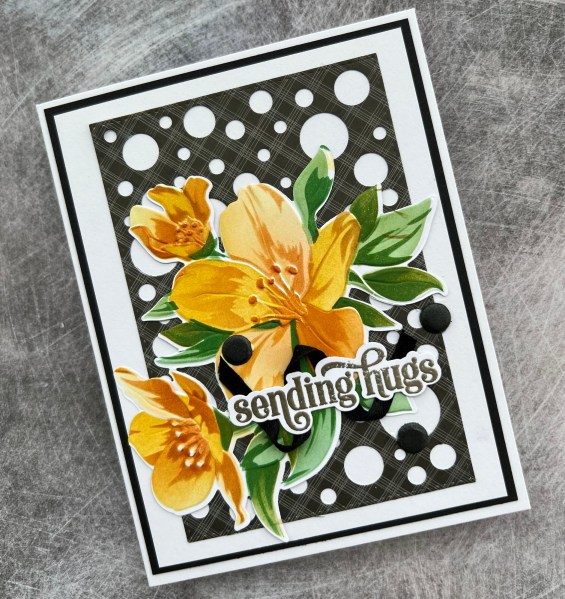
Today’s card I made using the fabulous Altenew Splendid Bouquet bundle.

I started by die cutting the floral element out and then embossed it with the 3D embossing folder. Then I added the ink using the stencils.

I just love how easy these stencils make it to add colour perfectly. I chose to use the fossilised amber and the wild honey distress inks for the flowers and the. Peeled paint and lucky clover for the leaves.

I decided to use a panel of dsp left from another project and die cut it with a gummiapan cover die to create a fun background.

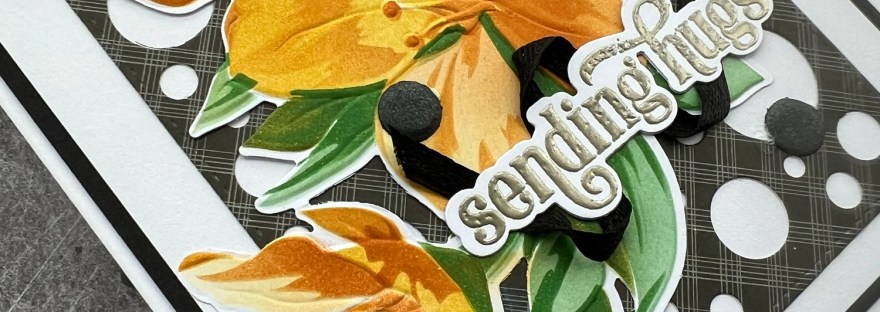
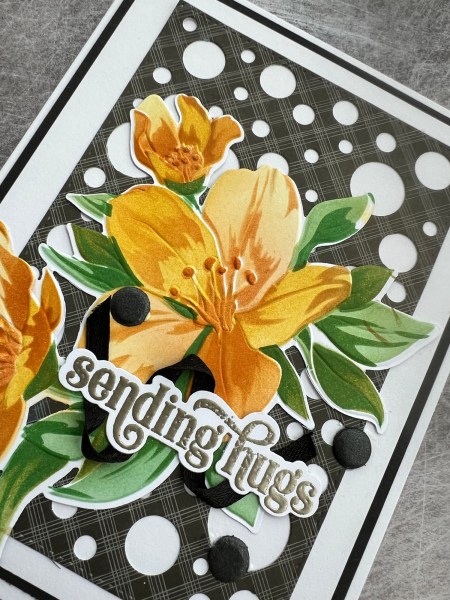
I then embossed and die cut the sentiment, sandwiching a piece of ribbon between it and the focal flowers.

I finished off with the panel of black beneath the white behind the die cut panel.

I also added some black card candi to finish off.

I think this looks pretty dramatic and like it’s been lots of work but really it just is the layering stencils that do most of the work!

Happy crafting!

Catherine
Rainbow distress resist #2

Yesterday I shared the first card I made using two focal points I had created inspired by these cards I watched Amy create on YouTube.

Now it’s the turn of the second card. This time I went to town with colourful stamping on some cardstock to create my own background paper. I used the same colour distress inks but sometimes stamped them off so lots of different shades. I also added in the Hickory Smoke too for a subtle grey.

I mat this panel on to block cardstock. I then used some of the same black and created a panel I ran through the big shot with the Old paper embossing folder. I then used the shimmer paint and brayered it over the texture so just pick up a bit of the shimmer on the raised elements. I placed this onto the panel to be a contrast for the focal element to sit on.

I then created the sentiment using the Waffleflower stamps and dies and die cut it a few times to stack up. I love the white sentiment on black.

I finished off with the blue gems in different colours and sizes to add that bit of bling!

Pleased with how both cards ended up – and it was fun to try a different technique for creating a rainbow with a difference … still want to have a go at a floral image like Amy did but for now this was fun to do and good to make me move away from Altenew florals if only for a short while!

Happy crafting!

Catherine
Rainbow distress resist

The cards I will share today and tomorrow I made because I was inspired by these cards that Amy R made using an interesting way of getting the rainbow effect. I didn’t however choose to go floral as I had been maybe overdoing it with flower cards recently and so went stash shopping in my older stash and found a Paperartsy stamp I thought would work well for giving it a go!

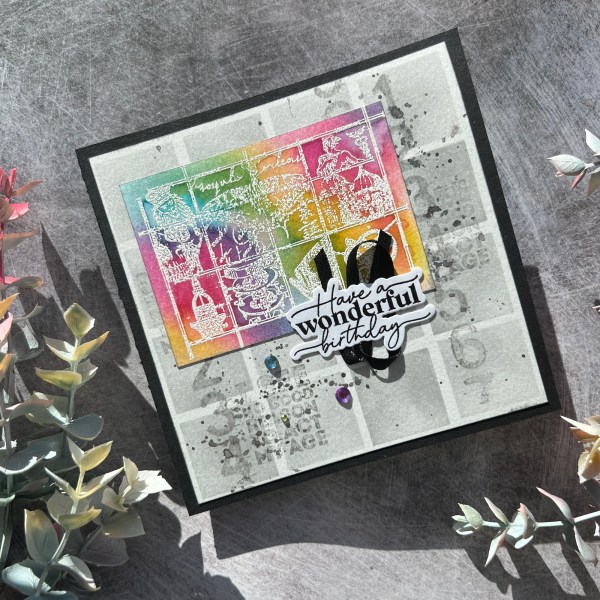
I heat embossed the tiled image using white embossing onto mixed media cardstock. I did it twice because why not!

Then I ink blended using Fossilised amber, picked raspberry, mermaid lagoon and then used a water brush and the inks smooshed on the glass mat to colour them in. The technique of blending first makes the blending more organic and less structured to create the rainbow colours … although on one of my panels I did blend in stripes rather than patches just to make them different.

Once embossed and coloured I then trimmed them down and edged them with the Hickory smoke to create a subtle border.

Then I had to decide what to do with them.

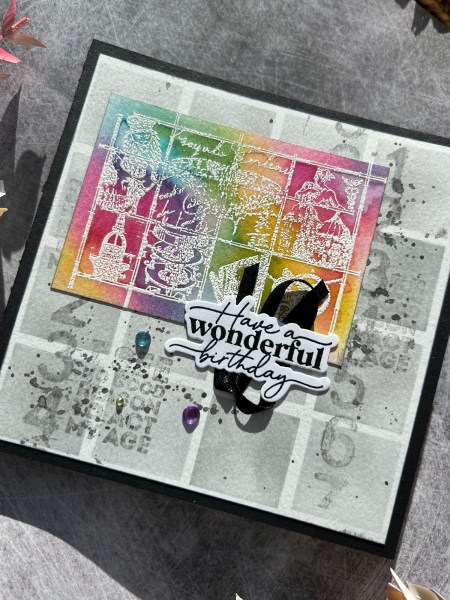
Amy had gone for a grey stencilled background for her flowers so I decided to go grey for the first one but used a stencil to create the squares. I then stamped some of the other stamps in the same set to create a grungy background. I added some splattered Hickory Smoke and Black Soot too… and then grabbed some sparkly black paint and splattered that too! After all it isn’t an Amy card without some splatter!

I decided to add a birthday sentiment on this and stamped and die cut the Waffleflower one from my newer stash and added a scrap of black ribbon behind it to add a bit of texture.

I then hunted through the gems to find three different coloured ones (my gem stash is rather depleted and needs replenishing soon so had little choice) and added those!

That was card 1.

Will share how I finished card 2 tomorrow for you.

Happy crafting!

Catherine
PS thank you Amy for the inspiration!

Helen’s 500 subscriber celebration

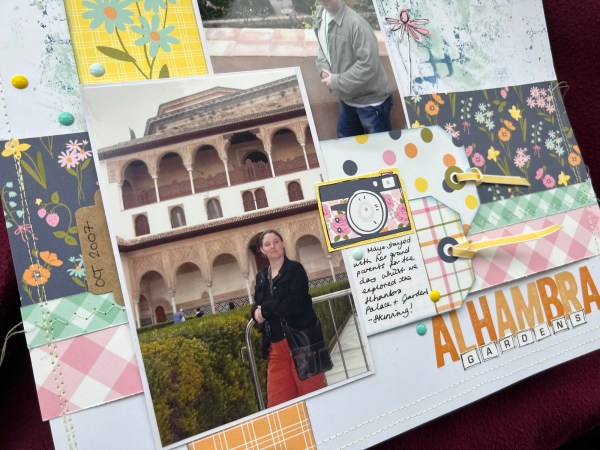
My lovely and talented friend Helen is celebrating surpassing her 500 subscriber milestone over at YouTube so I joined her with making a page with a few instructions.

  • Use tags
  • White background
  • Stitching
  • 2 or more pictures
  • Mixed media / doodling

So here is what I made …

I videoed the process and have that up on my YouTube channel.

I used the kit I got from Hey Little Magpie at the crop last weekend and had lots of fun playing putting this together!

Some distress oxide playing on the background and lots of sewing around the edges.

Love the little tags and those cute flower die cuts too!

Hope you like what I did and also go support Helen with her celebration!

Happy crafting!

Catherine