Todays blog is a card that was made in stages … using scraps and things put to one side until the time came to use them!

I had some scraps left over when I made a few Christmas cards last month so instead of shoving them back into the box I decided to make a panel of strips of paper by taping them together and trimming it so it became a panel. This then got up into the ‘backgrounds’ folder.
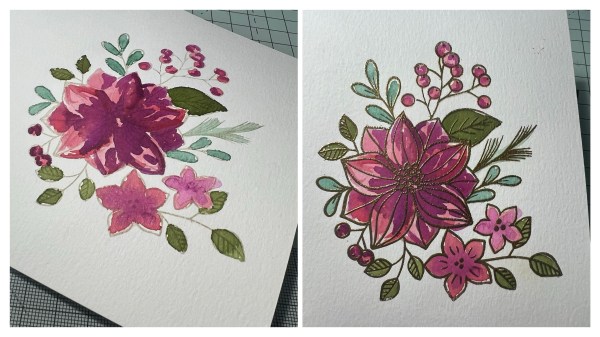
Then on another session I stamped the three reindeers all together (I stamped them twice actually … the other three are still in the folder to be used) and coloured them using the stamping blends and the promarkers.

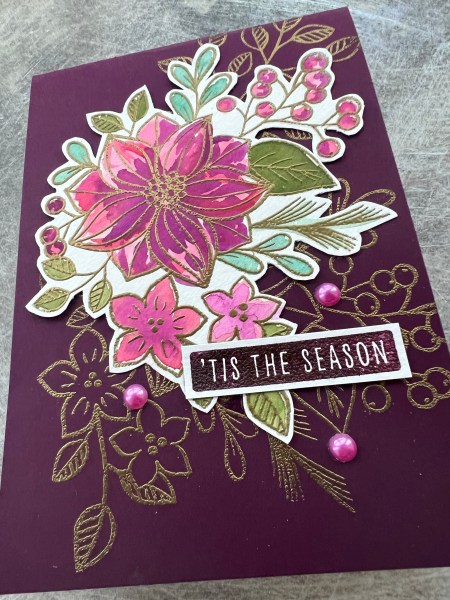
So when I made this card I had the background panel and the topper … I decided that the Kraft would work well with it and I happened to have this merry word already die cut and sitting in the to be used tray … so then it all came together quite easily. I gave the background a mat layer of the Kraft, I made a layer to offset the stamped reindeer panel and then added the sentiment die and stamped the rest of the sentiment from the Avery Elle set.

Then I added the dotty card candi and added some glossy accents to Rudolph’s nose to make it extra shiny and with dimension!
A perfect cute card made from pieces leftover from other projects, scraps and a lot of love!
Happy crafting!
Catherine