I made one more card based on the one that Liane (@lilly7h) shared on instagram that so inspired me… this time I changed up the stamps I used as well as the colours!

And it is safe to say I am in love with this … both the inspiration and the way this particular card ended up!
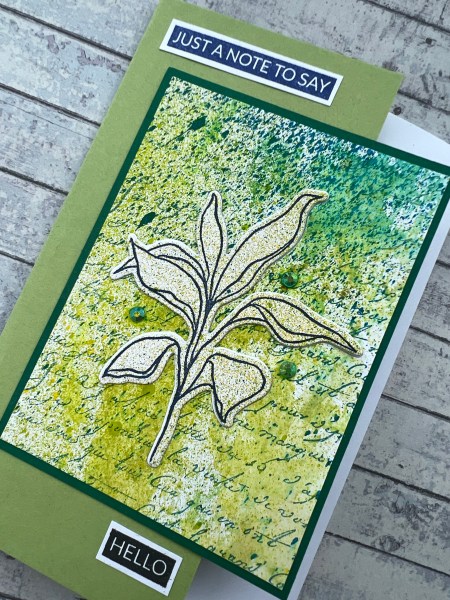
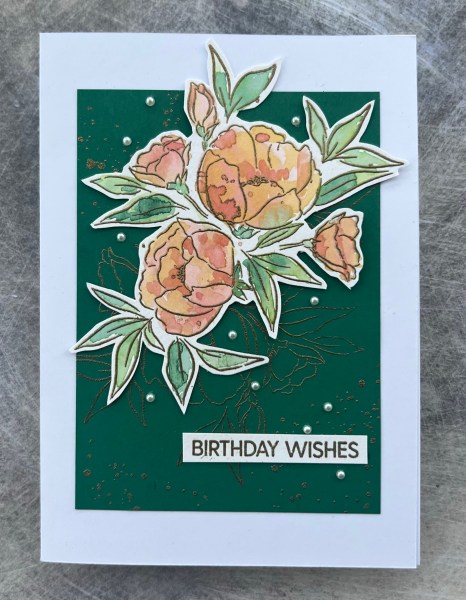
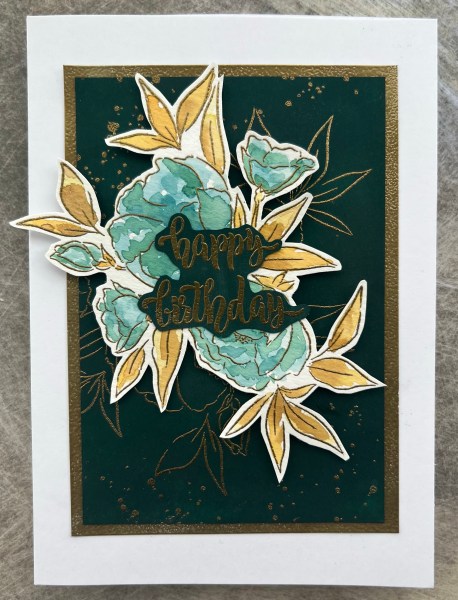
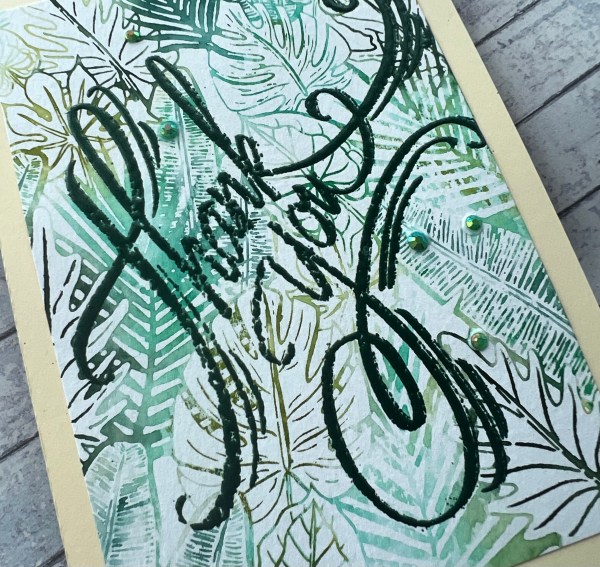
This time the cardstock is BlackBerry Bliss and the stamps are a magazine set I have been using for years as I love the line art.
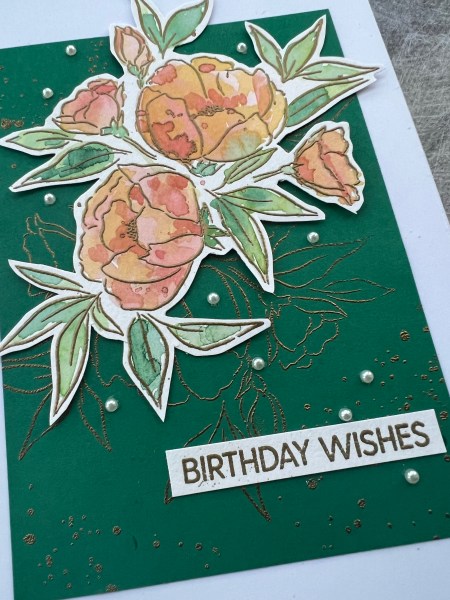
I had to put both the focal image stamp and another leaf stamp together for the background and gold embossed that.

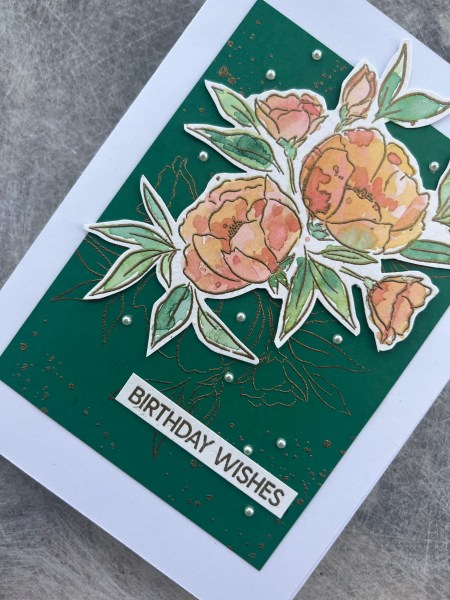
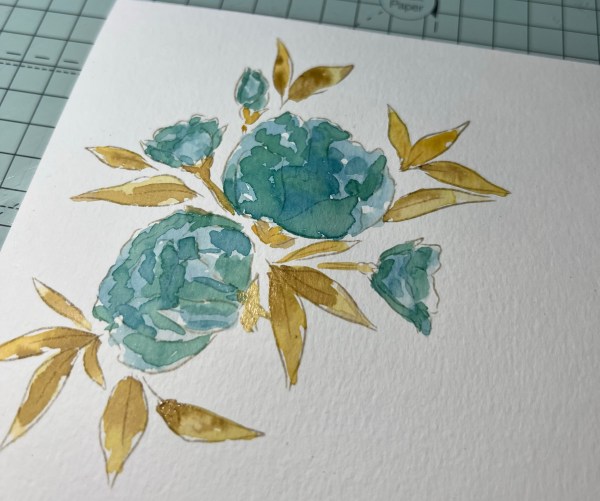
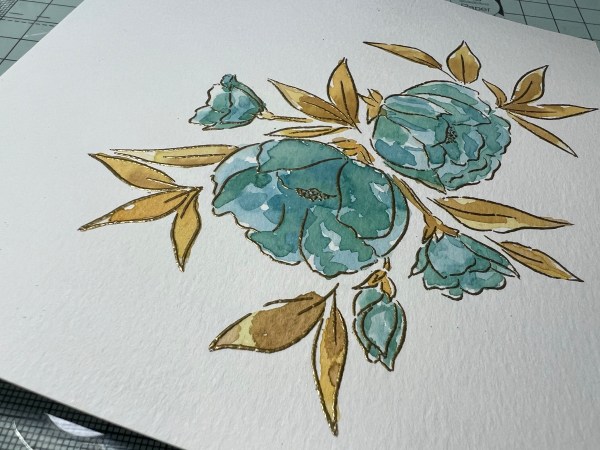
I then stamped and watercoloured the image … like last time it looked a right old mess until I then heat embossed the gold over the top!
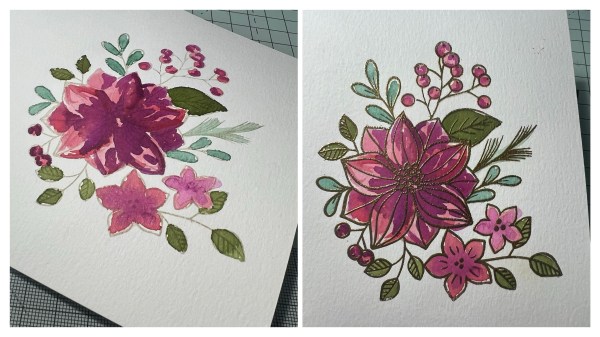
With the gold embossing on the top it really does make the paint work much better!
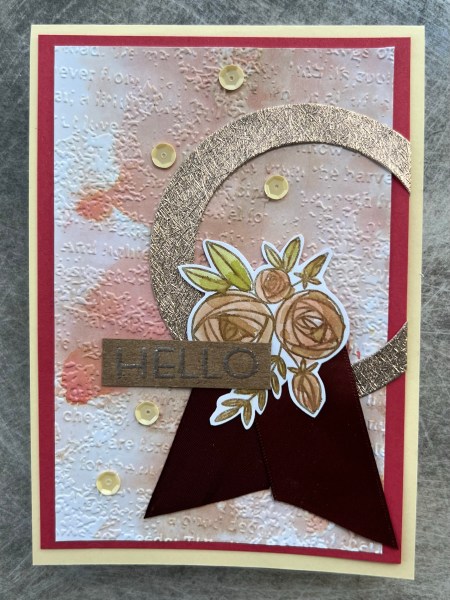
I then fussy cut the image out (you can imagine I have wished for a die for this image many times as I’ve had to fussy cut this out lots of times over the years!) and added it to the card front.
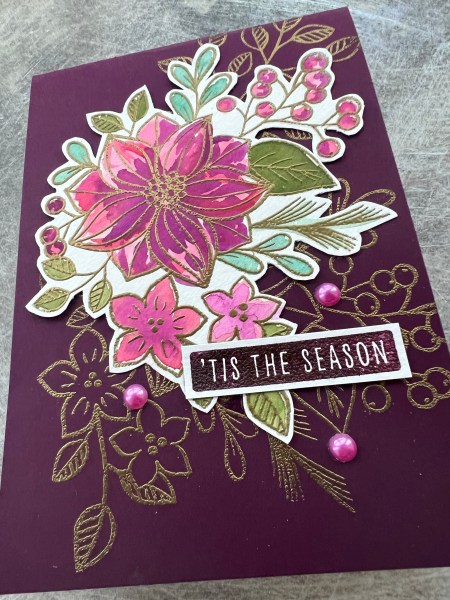
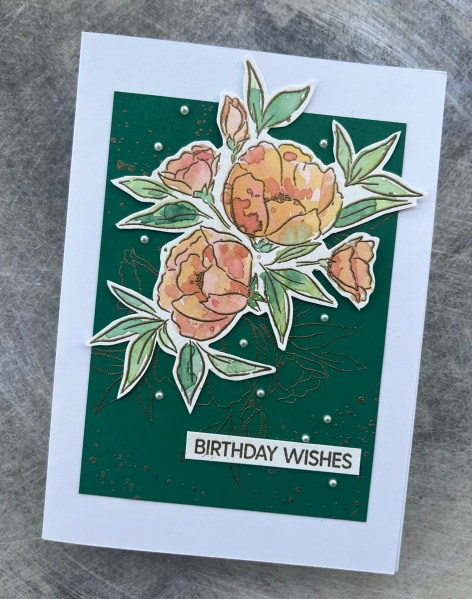
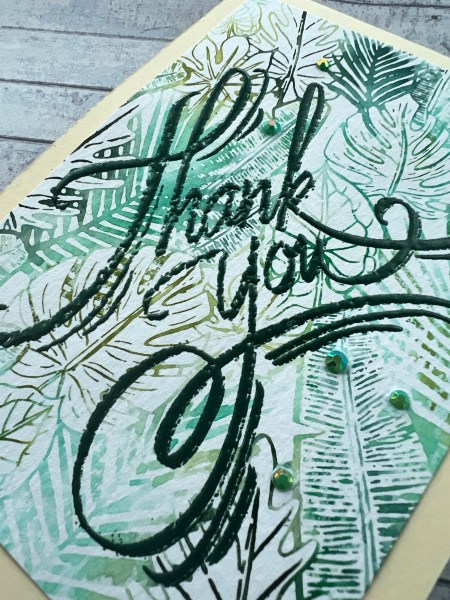
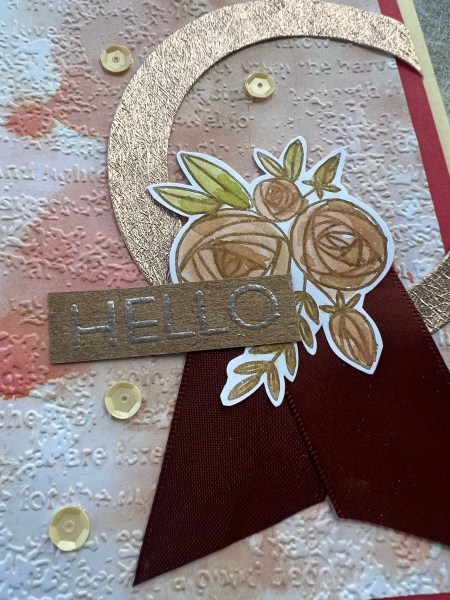
I then stamped the sentiment using blackberry bliss ink and clear embossed over the top so that it became shiny and a little darker before cutting it out.
I then added some pink pearls to the card as embellishment.
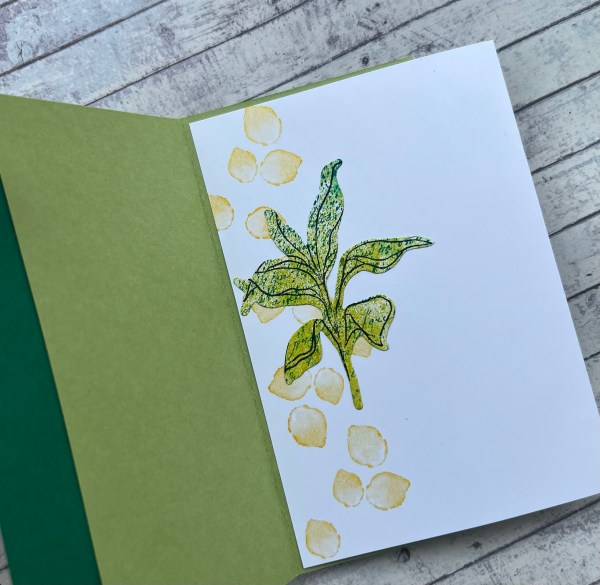
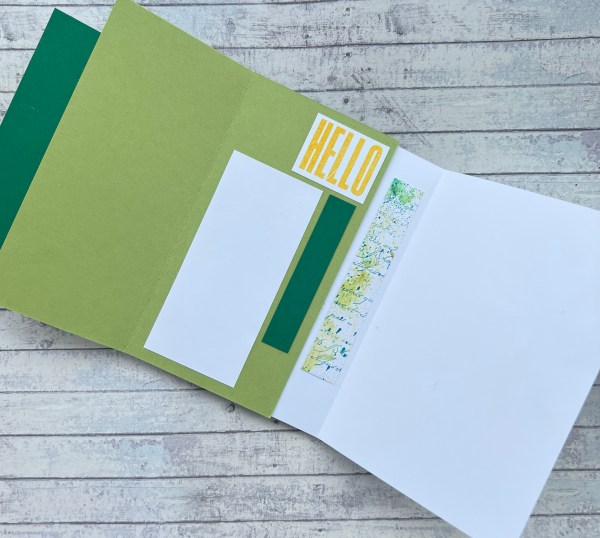
As this is a dark cardstock I made an insert and added the image again using Sahara Sand ink so that it can be written over when adding the message to the inside.
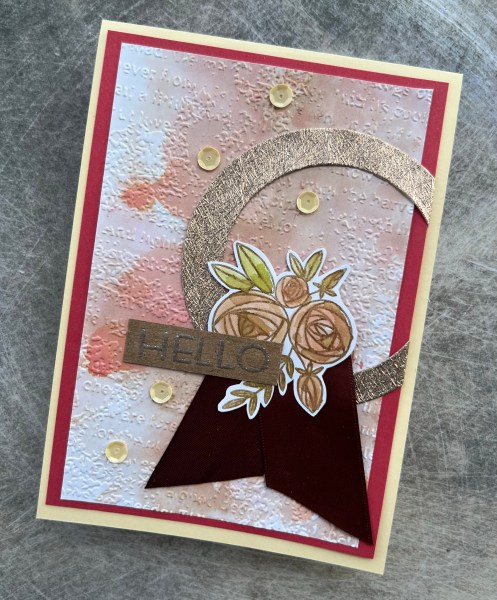
I will absolutely be making more of these cards as Christmas cards but maybe with dark red as the colour or more shaded spruce ones? They are so elegant and I really love that gold embossing on the background! Makes it so special.
I know Liane has enjoyed the fact that I had been inspired by her card and I love the fact that the crafting community is so friendly. I’ve been following lots of new people on instagram recently so imagine there will be lots of new inspired by posts to come!
Happy crafting!
Catherine