I still had some pouches of leftover papers from the Making Cards magazine papers I had kitted up at the beginning of the year for the patterned paper projects – but don’t want to carry them through to the new year – so I had a big crafting session making with them!
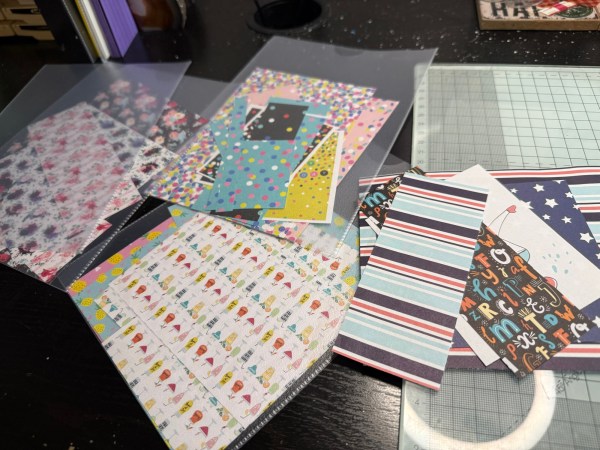
Some papers I will admit went either to the bin or the concertina file I keep patterned paper scraps in. But the rest were used for a mish mash of projects!

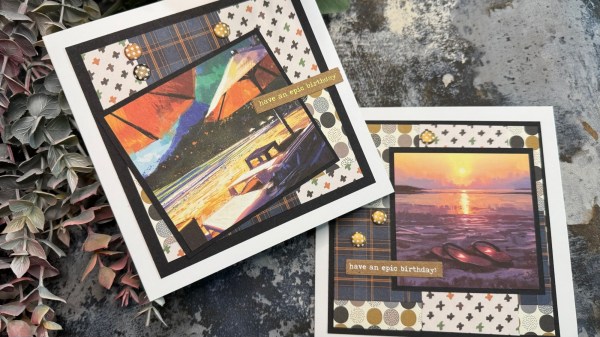
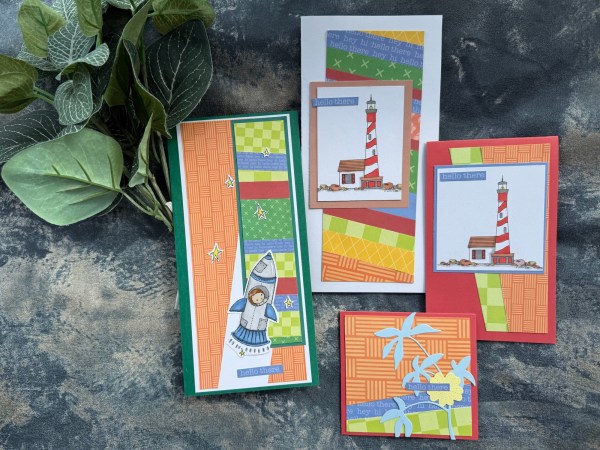
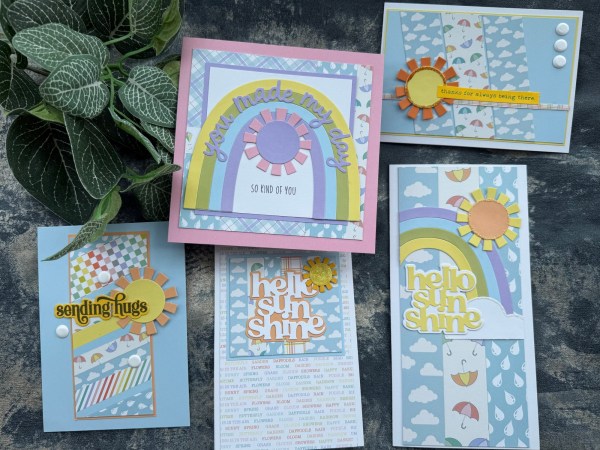
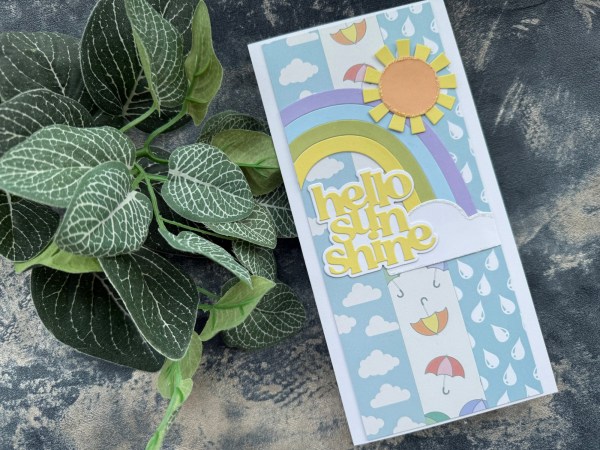
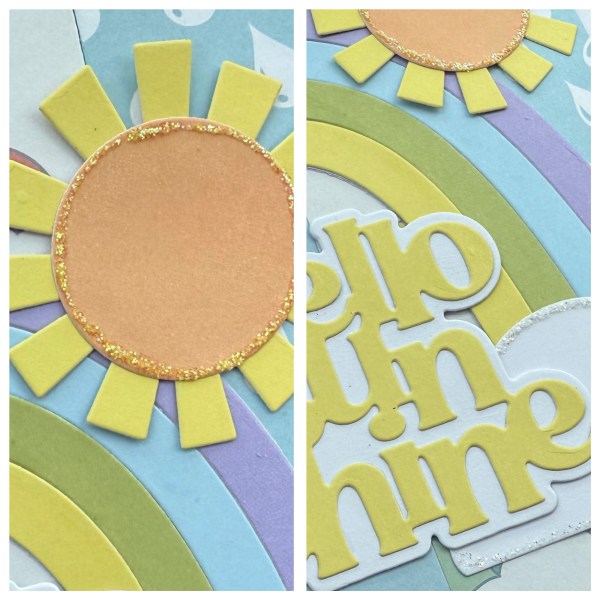
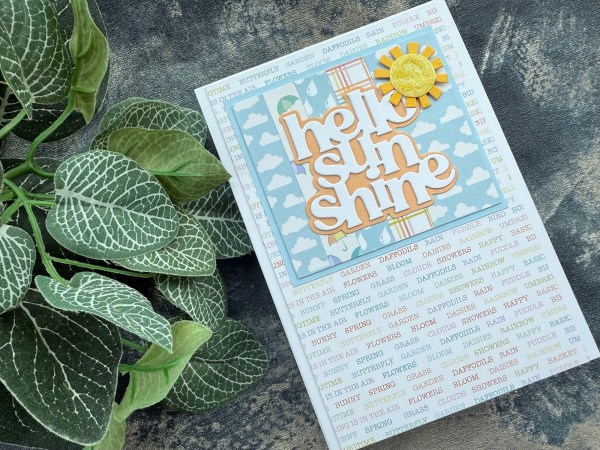
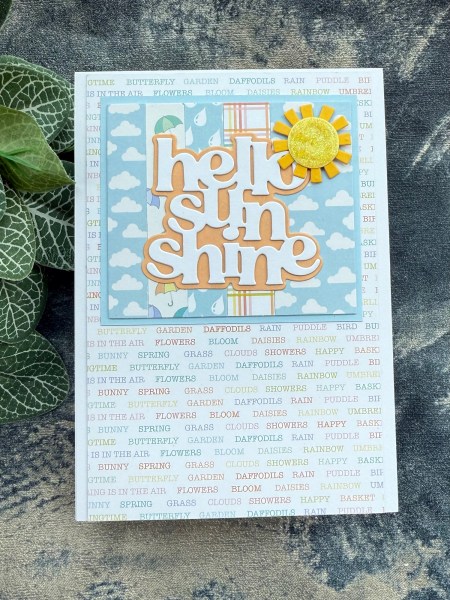
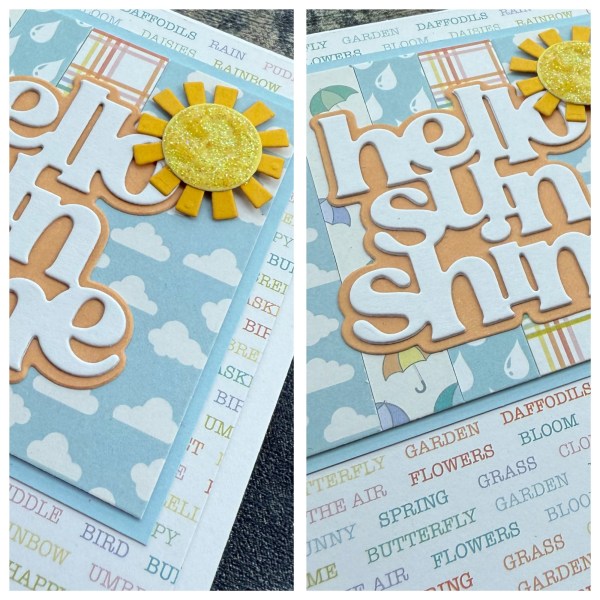
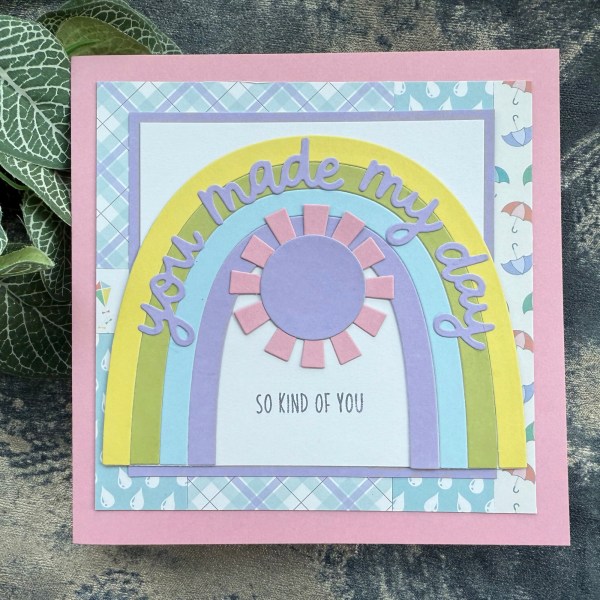
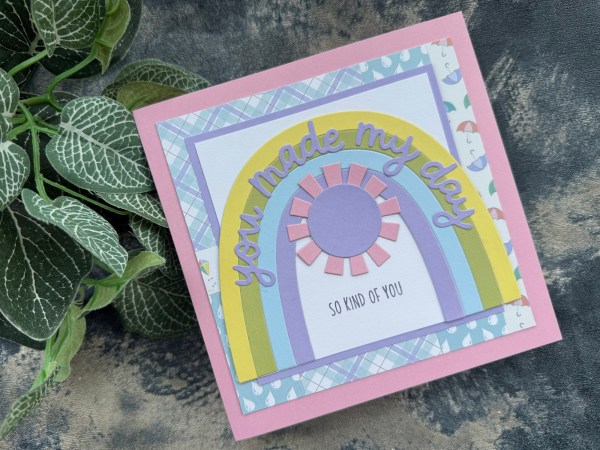
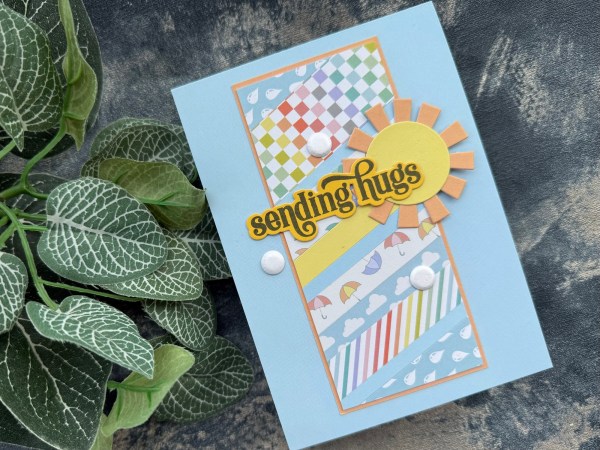
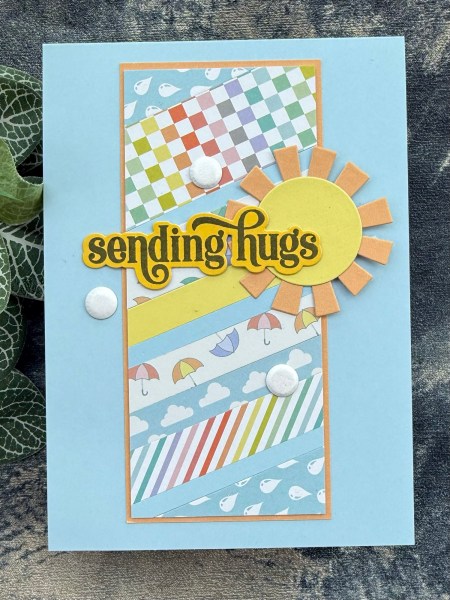
Let’s start with these rainbow pineapple projects!
I used rainbows I made a while ago and then created the back panels from the pineapple papers.
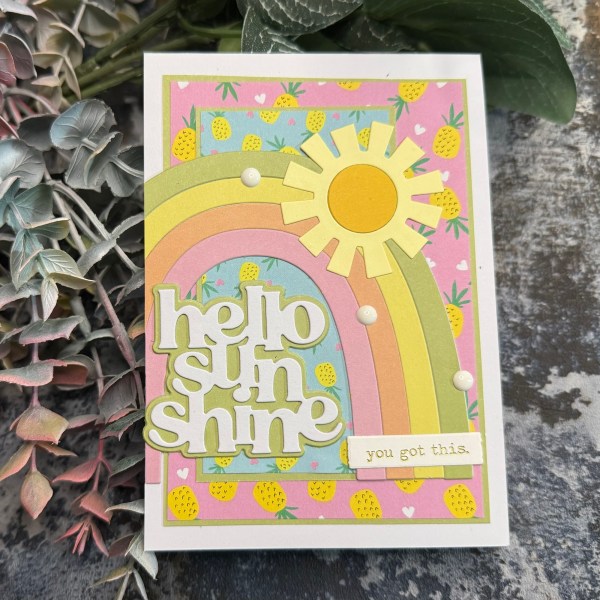
I added the die cut sentiment and layer and the sun die cut – and then the foiled sentiments too!
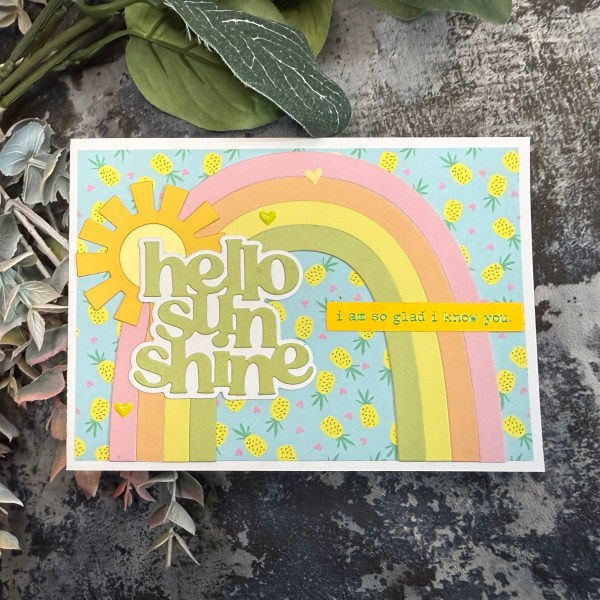
So bright and cheery!
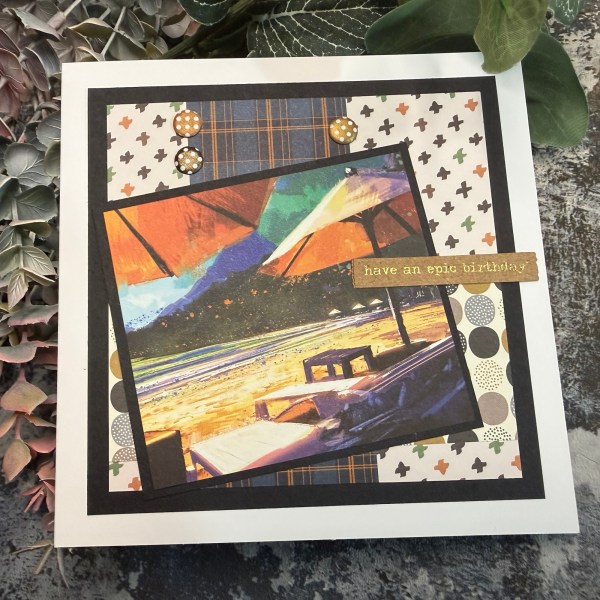
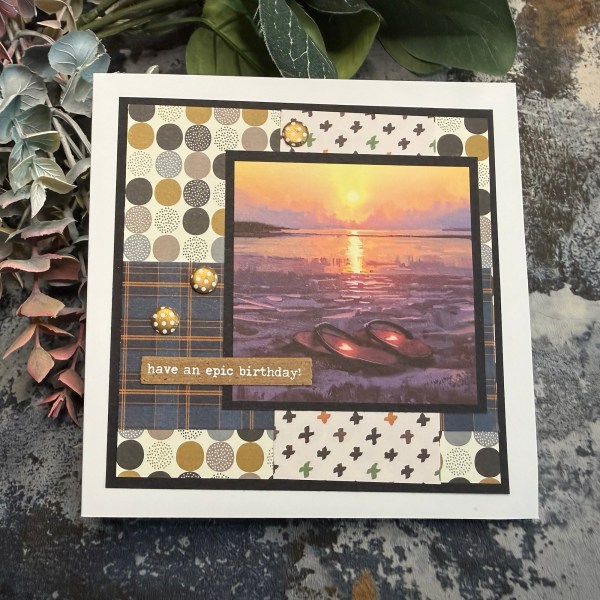
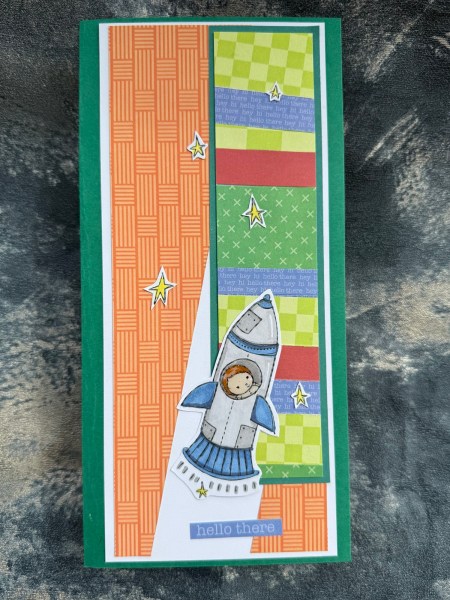
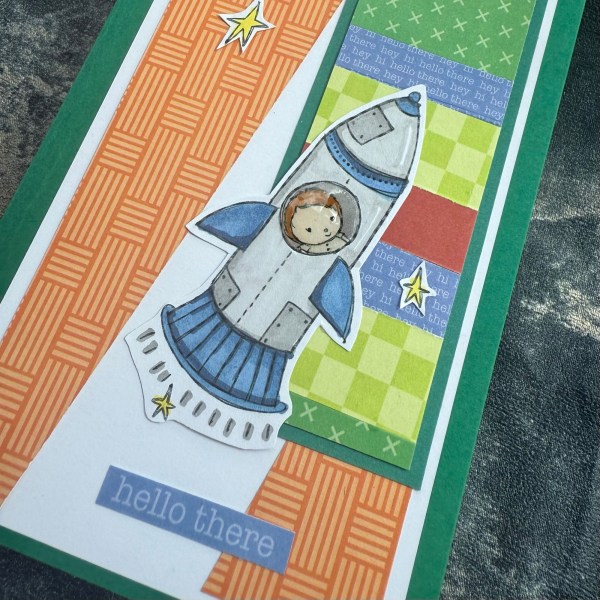
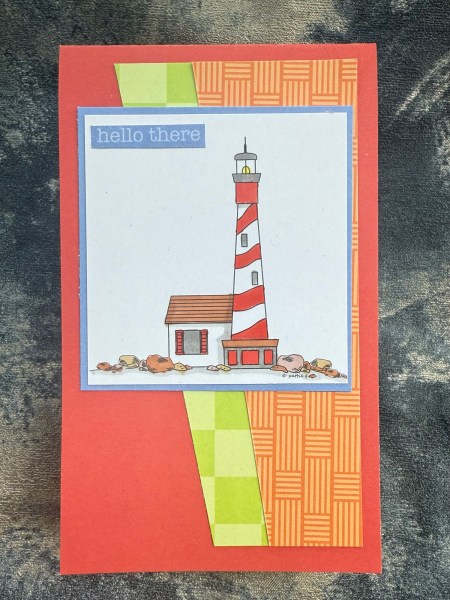
Next up is this card made using the boy image leftover …
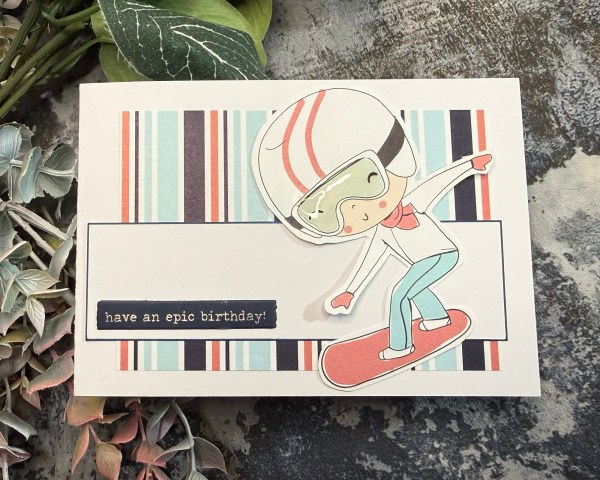
I added a simple panel of white and the foiled sentiment. I also added the glossy accents to the mask on the boy to give it dimension and shine.
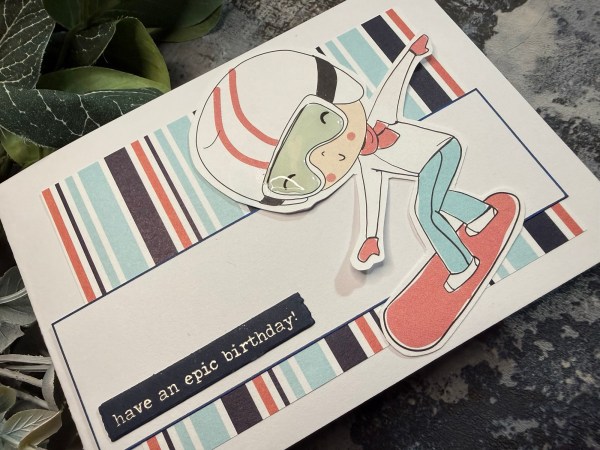
I raised the hands on the boy with foam adhesive too – it gives the image a feeling of movement.
But overall a simple card.
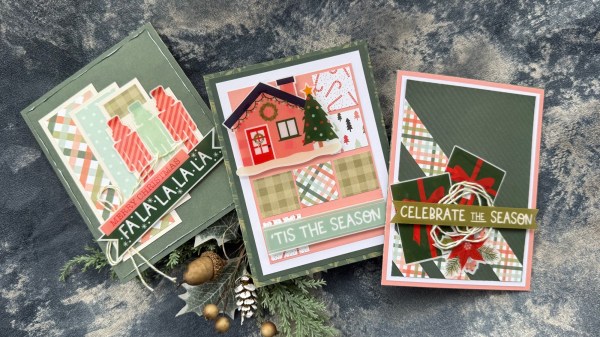
Next a card made from the confetti type papers and toppers.
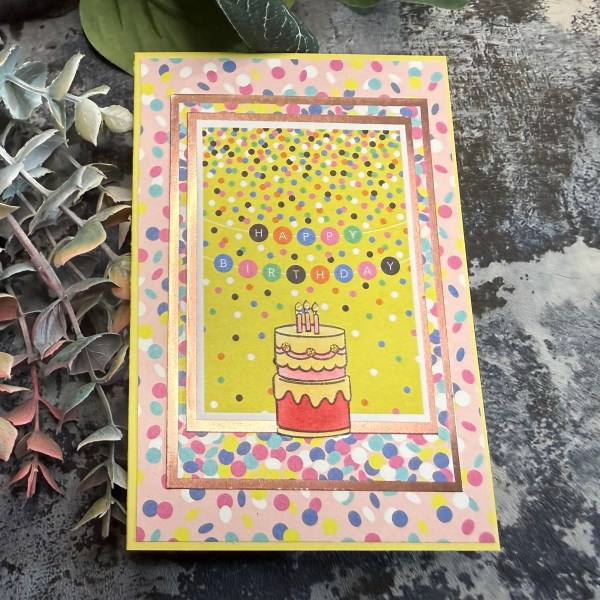
I added some foiled cardstock layers and then the lawn Fawn cake image I stamped, stencilled and die cut. I then decided to fussy cut it rather than go with the white outline of the die cut.
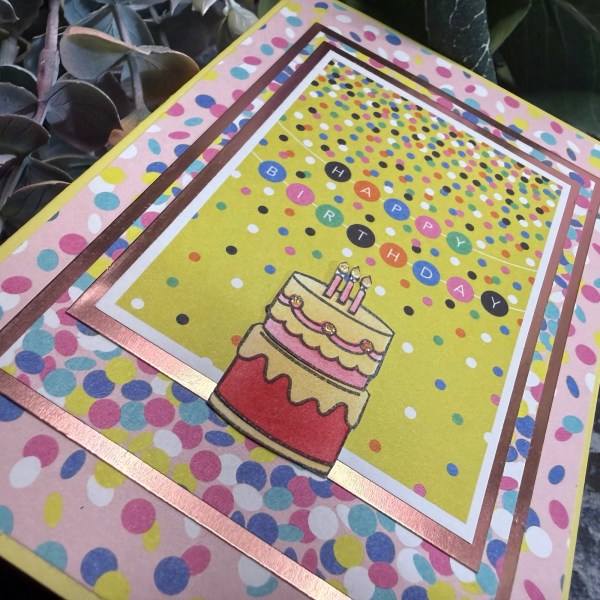
I added some glitter glue to the candles – cute!
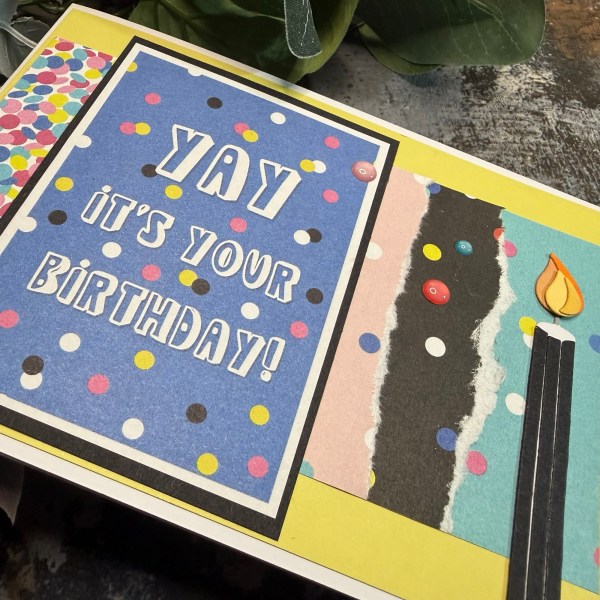
And finally …
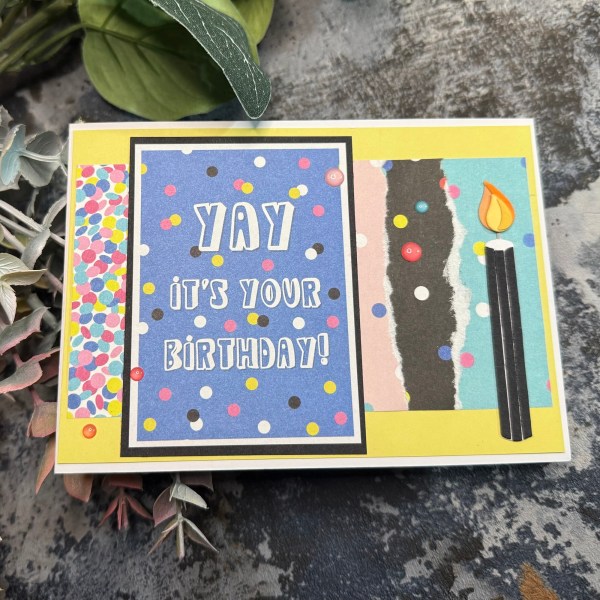
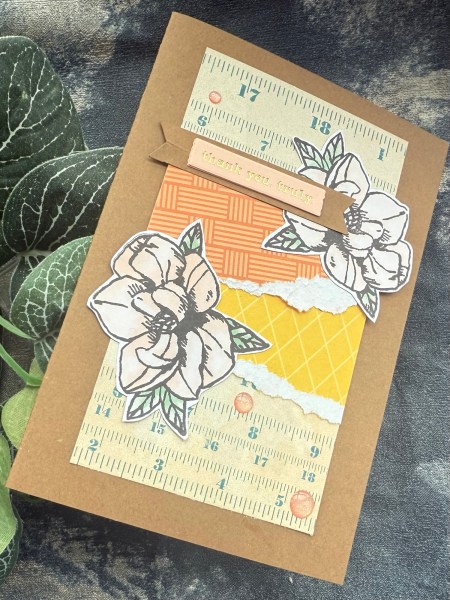
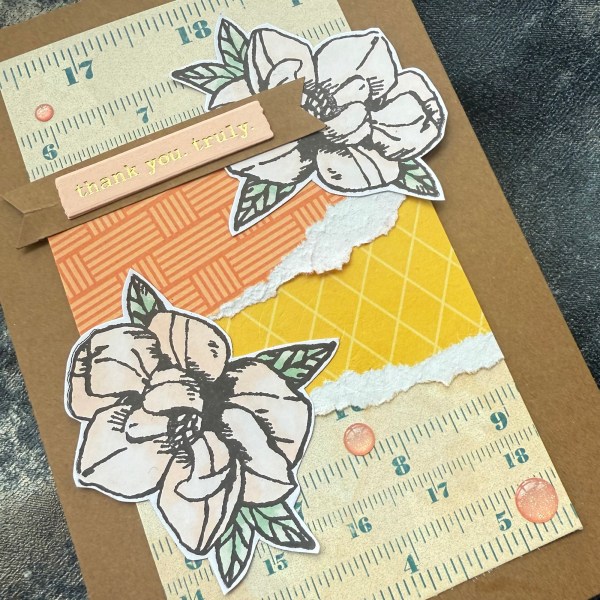
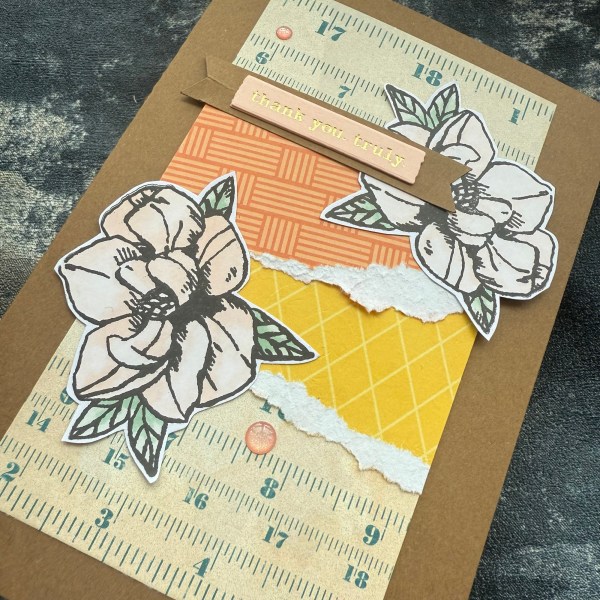
Some torn scraps become a fun background with the card topper and a die cut candle to finish off!
I did make a few others from this stash … but decided one was a perfect design team project and the others were a lot of work and deserve a post all of their own!
Happy crafting!
Catherine