

To be honest this project has taken me weeks as the current heatwave in the UK has well and truly zonked me out! I’m not really built for this kind of weather and my craft space is the hottest room in the house! Anyway… it started as playtime for the new Colorado Craft Company stamps and coordinating dies I bought …
and then I wanted to use 12×12 sheet of dsp slightly differently as a OSW!
So I started by cutting the paper into 9 4×4 squares and then played with diecutting using the Stitched Framelits to create different shapes and designs for 6 of them and then the Pine Woods dies for the other three. I did end up with a few circle frames od dsp left at the end but otherwise very little waste from the dsp.
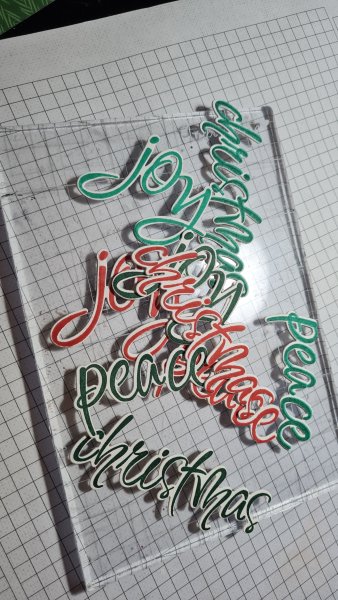
The main feature of course is the word stamps and dies which I am very happy with. Might try embossing them next time as I love the size of these words.
I then decided to do them in batches of three to make them similar but clearly each one different.
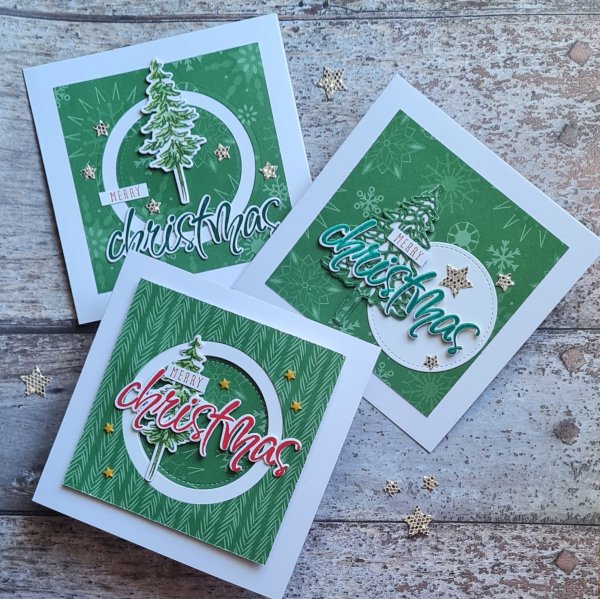
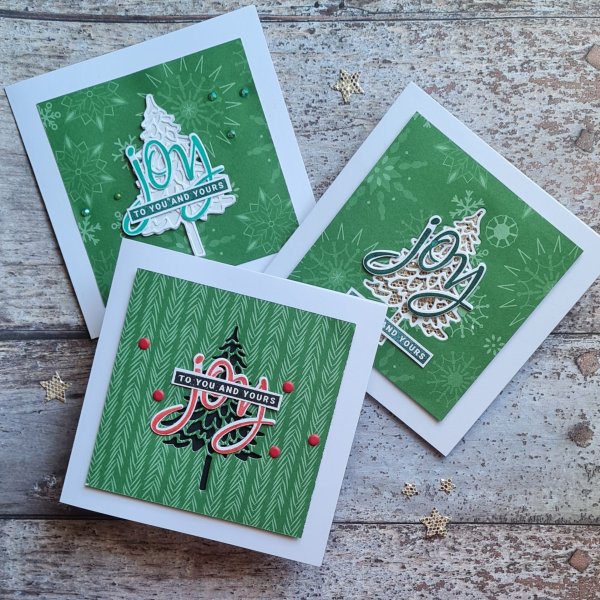
For the circles I made them all using the Christmas word and chose to add Merry from the Christmas to Remember set. I stamped and die cut a few trees from the In the Pines set and then the leftover bits of green dsp I die cut the filigree tree and added this to a white die cut.

I added die cut stars from the speciality paper I still have a few sheets of left from last year.
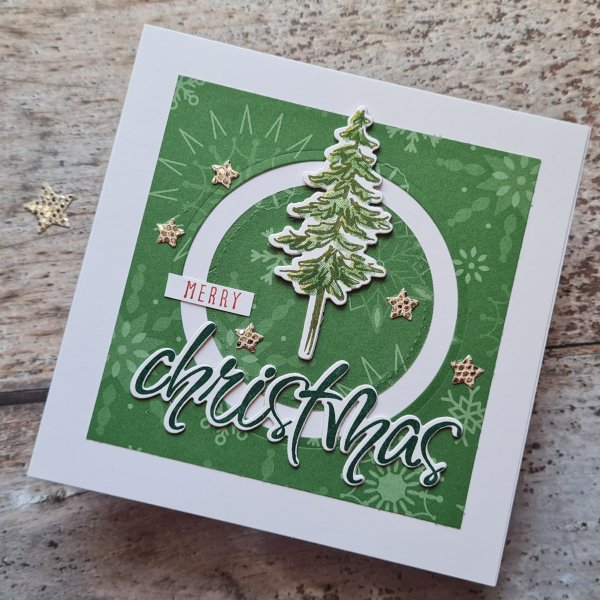
This final one I added more dimension to with foam under the frame element and then the tree and word were floating across the lower circle. These yellow stars are also old embellishments but I thought they made a nice contrast.

Now onto squares…
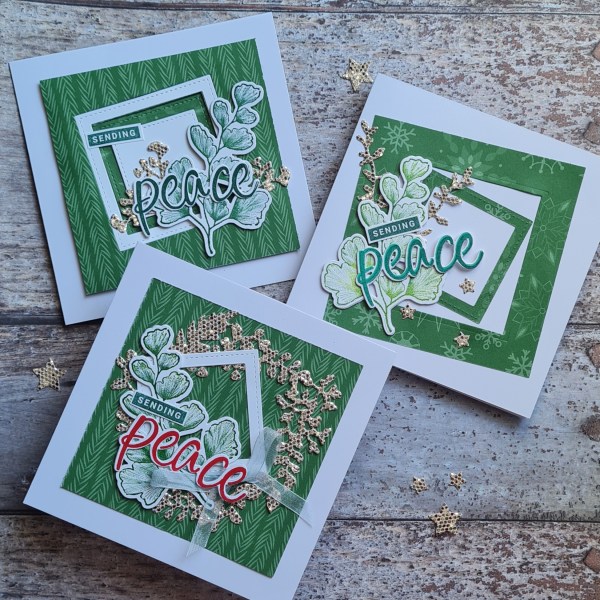
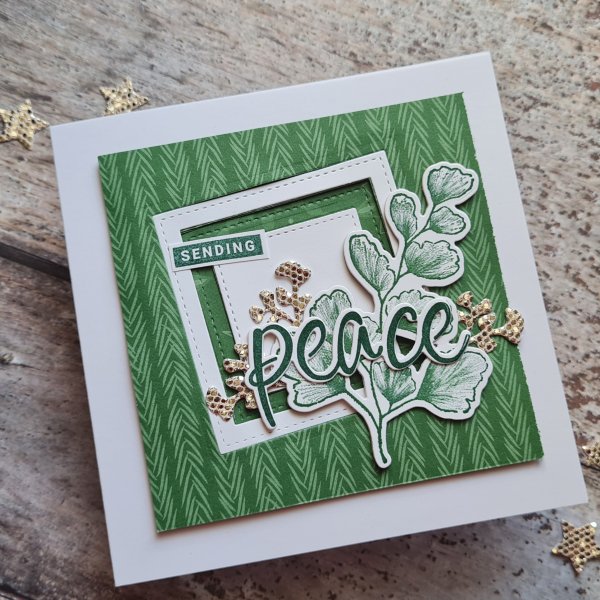
These ones I chose to use non Christmas stamps and dies to add decoration … the Nature’s Prints bundle. I thought the leaf worked well with the Peace word. I blended the ink on the stamp to give a more interesting stamped image.
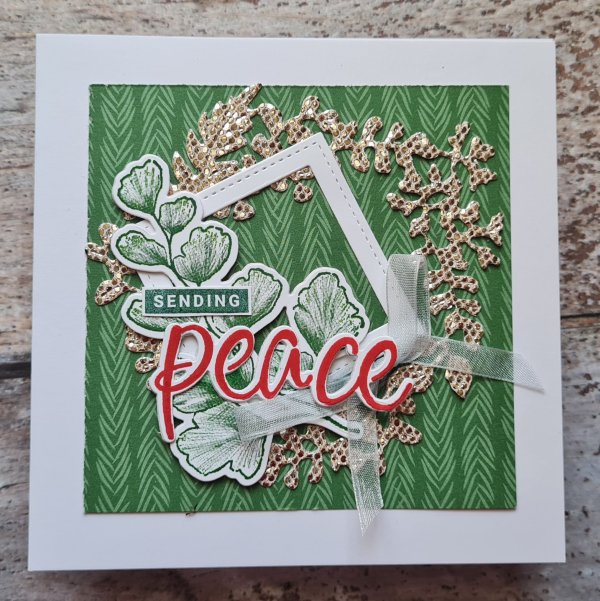
My sending word was from the Peace and Joy set as I felt it just needed something simple with that large leaf and the glimmer paper die cuts.
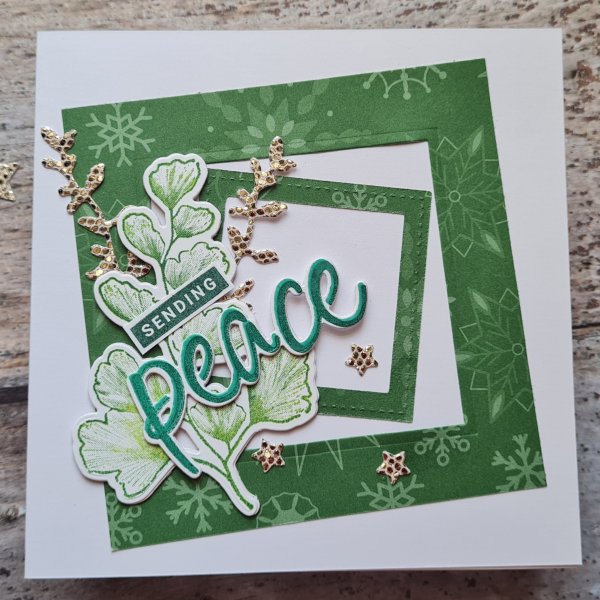
As with the circles I added more dimension as I went along. This one had foam and triple layered squares to give some texture to the background.
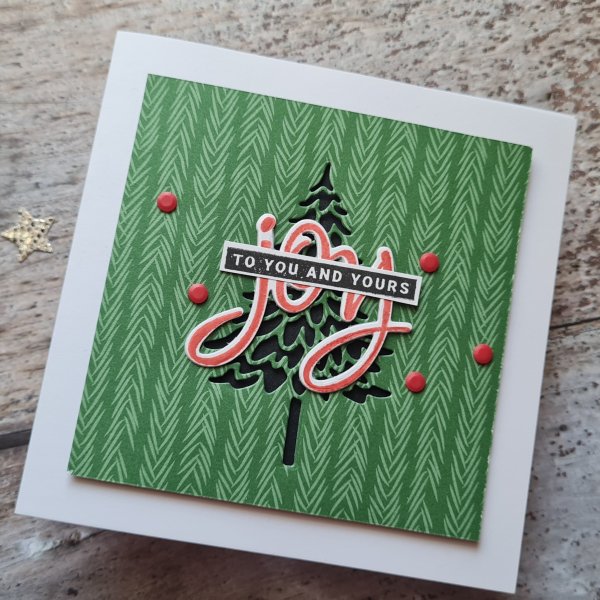
And finally the trees…
I love these Pine Woods dies. Especially the one that just cuts out the inside and not the outside edge so it creates a frame. This one I added black card behind and then foam to raise up the panel. Very funky!
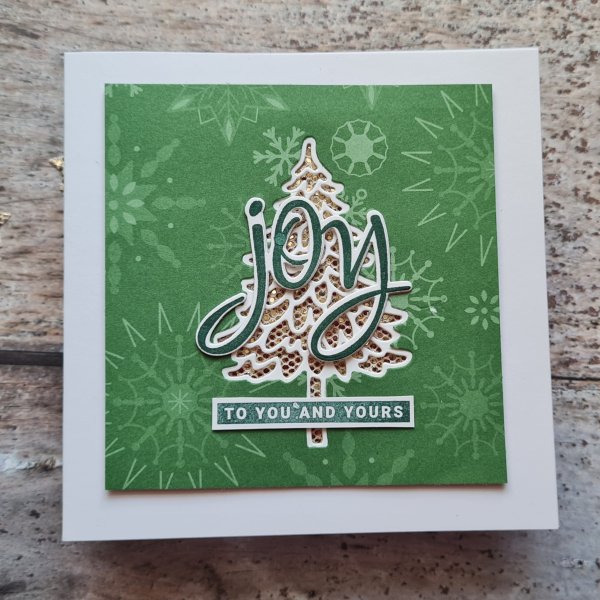
The large solid shape die cuts out the full frame for the tree and so I die cut it from the dsp and then white for the filigree and this I could then inlay into the dsp. Behind it I added the glimmer paper for some bling.
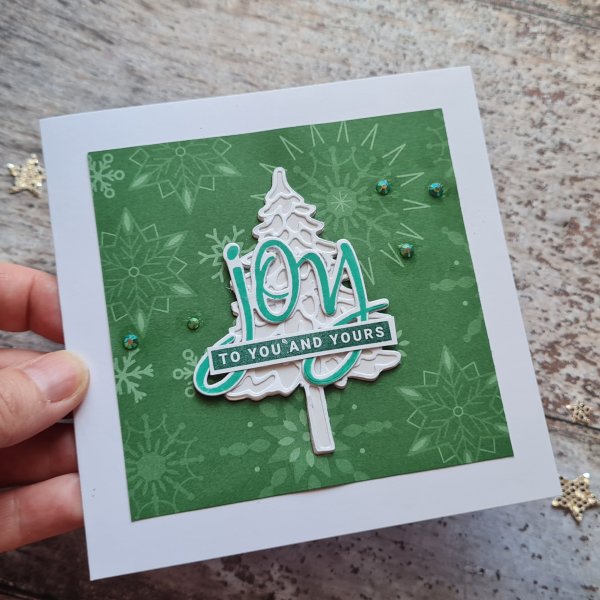
This one I kept as an element on my base of dsp … probably the most simple to end on! But can you see the dimension on this and on most of the die cuts I used? I stacked most of them two or three high by diecutting extra trees or leaves and then adhering them together. It gives them dimension without squish like the foam would add and makes them strong so they don’t bend or warp.
So pleased with how they all turned out… now off for another ice-cream to try and cool down!
Happy crafting!
Catherine
