
Now I could have made a whole heap of Hedwig inspired owls (I am a BIG Harry Potter fan) with this set of dies and stamps – I was certainly tempted to – but decided to make myself make some other owl based cards for these samples instead.
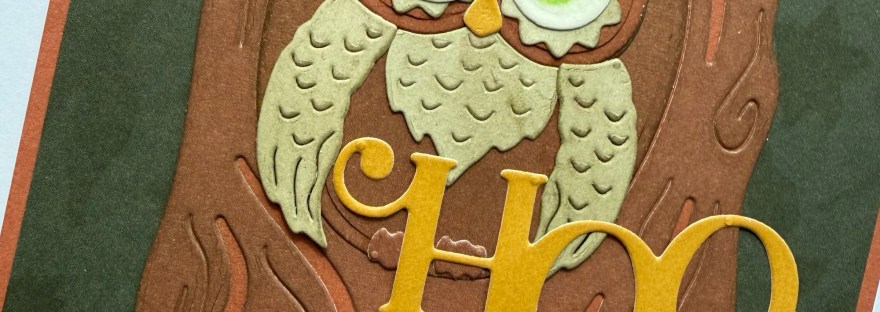
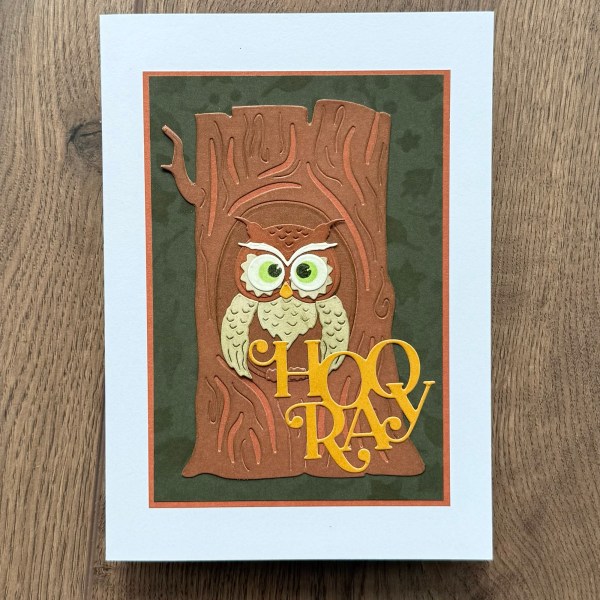
I started with the biggest die first to have the tree and then put together a brown themed owl to sit in the hollow!
I mean!
Giving me 100 Acre Wood vibes … but I did decide not to add the glasses for this one!
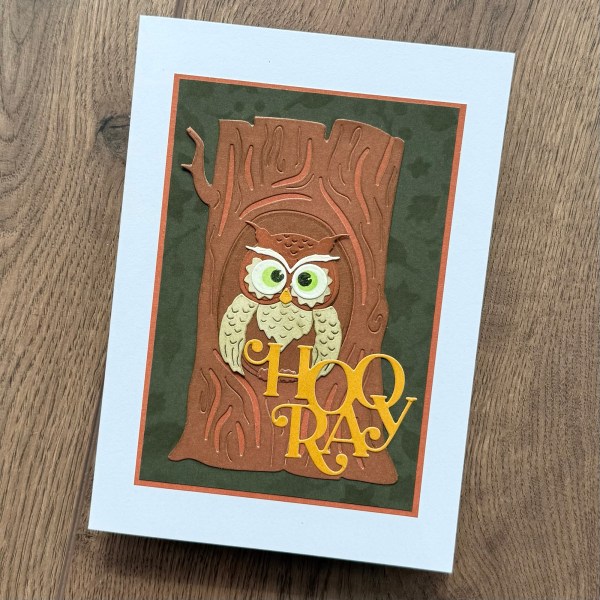
I die cut all the pieces and did my usual inking to give them texture and depth.
The background panel I inked through one of the stencils to give some subtle pattern of the leaves.
Then I stuck everything together.
I did double up on the beak as the original colour I used wasn’t obvious enough. But adding the pop of the mustard yellow worked well especially when I die cut the sentiment from the same colour!
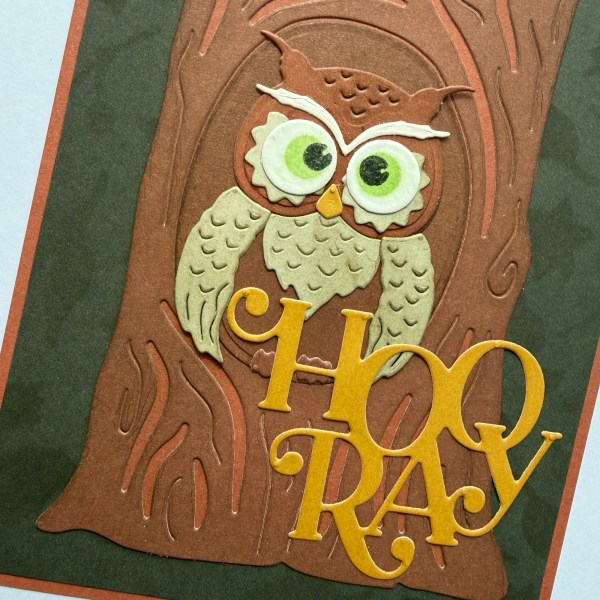
Such a cute card and scene and I didn’t think it needed anything adding! I did add some glaze to the eyes which gives them a little bit of shine. Glossy accents would have been better but mine has dried up so need to invest in some more!
Ok onto card number two – and this time I used the smaller owl.
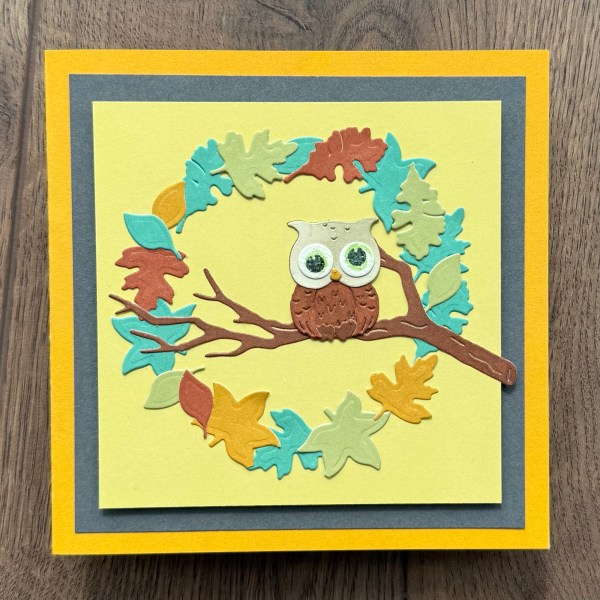
I went for a slightly crazy look with the wonky eyes! But still very cute!
I decided to die cut the leaves from different colours of the card stock and then created a sort of wreath for the branch to sit over the top of.
I love that the die for the leaves is one die so it’s easy to die cut multiple leaves in one pass of the bitsy/ bitty machine from My Diamond Press (spelling of the machine is different for UK from US! The reason for that is probably obvious for UK readers!)
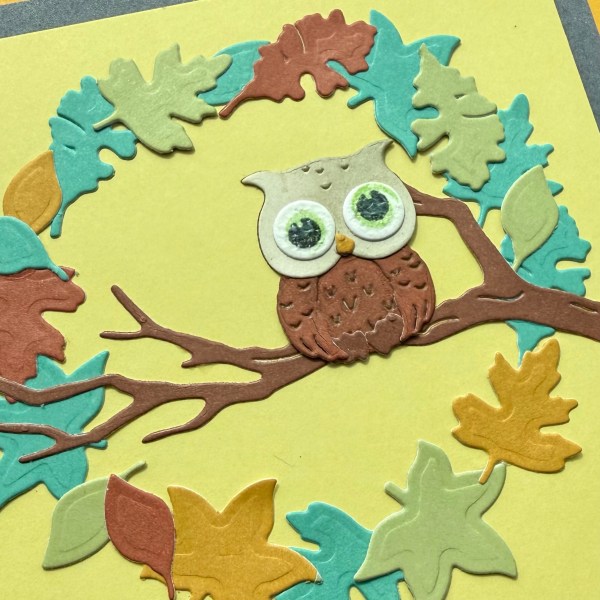
Again I added that glaze glue to the eyes for a bit of texture.
I decided against the sentiment for the outside of the card in this case … just thought it made a fun all occasion type card and didn’t need one!
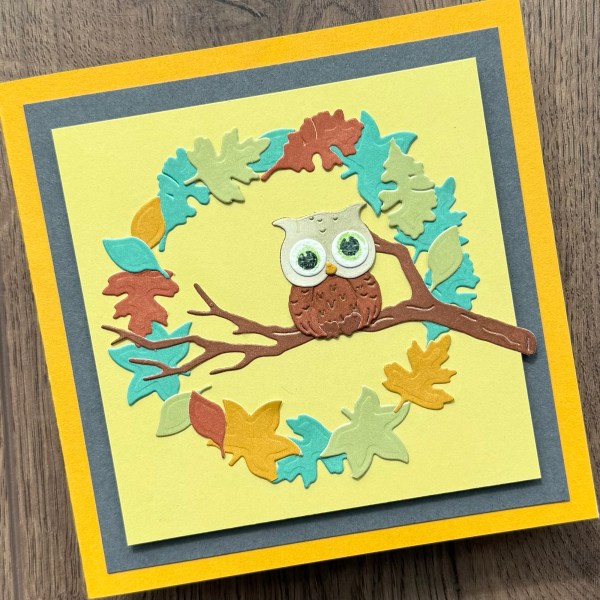
Now for card three I carried on with the die cutting of leaves using the scraps I had on the desk of leaf kind of coloured cardstock.
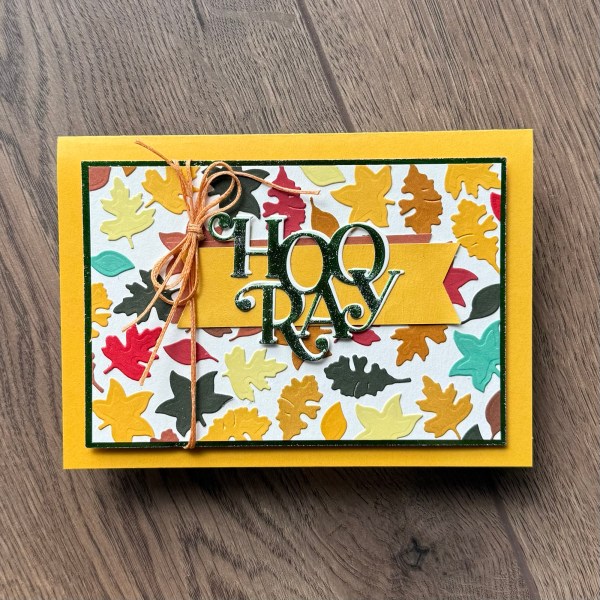
And made a fun background! Whilst it seems a little time consuming if you use the adhesive cardstock you can get from My Diamond Press it is easier than you think! Unfortunately not all my scraps were adhesive so did have to fiddle with glue for bits and pieces.
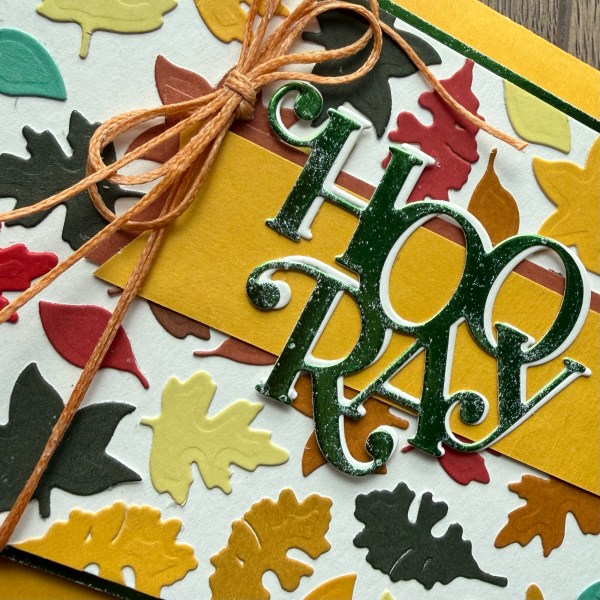
I then added some foiled cardstock for both the mat layer and the sentiment.
I decided it needed some separation between the sentiment and the background so I gave the sentiment a shadow layer and also the banner I cut from two colours to give a shadow layer too.
Offsetting them worked well to give dimension too!
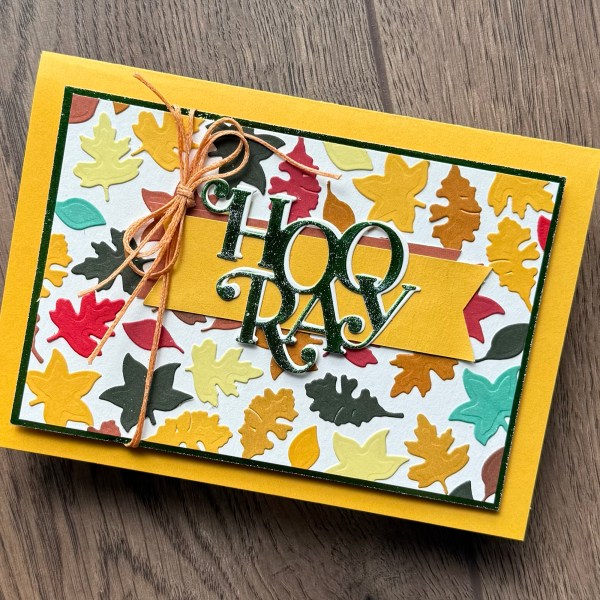
I wrapped the panel with the waxed thread and then tied a bow and layered the whole panel onto a yellow card base with foam to give more dimension. Such a fun way to use that one die to give so much interest to the background. I’m thinking an ombré look would be good too cutting different shades of the same colour and placing them dark to light across the panel! So many ideas!
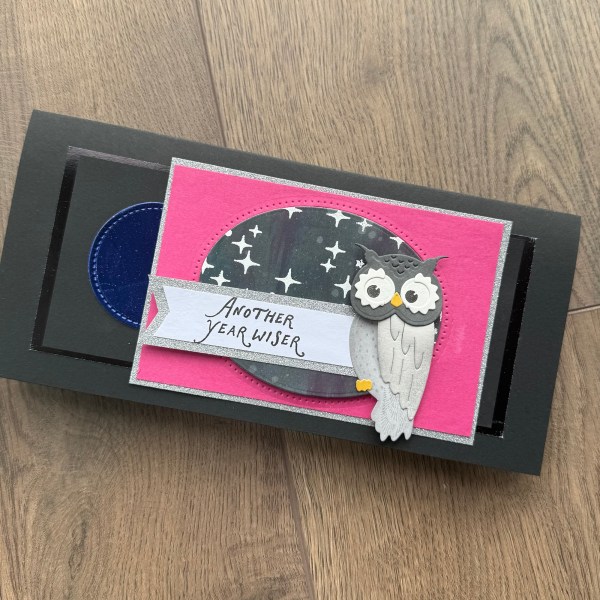
Next I went with the other owl shape that the die set gives us …
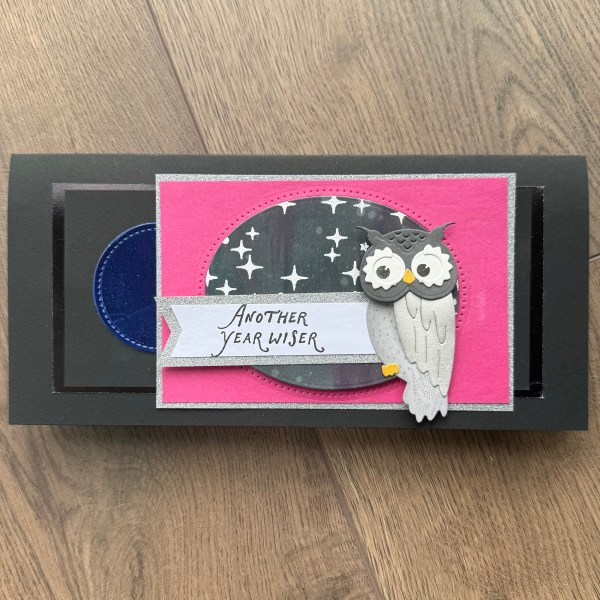
This time I went with a night scene using the gorgeous star stencil over and inky background and some white embossing.
I created the black card base and the black panels but added the contrast of the pink and the purple elements too.
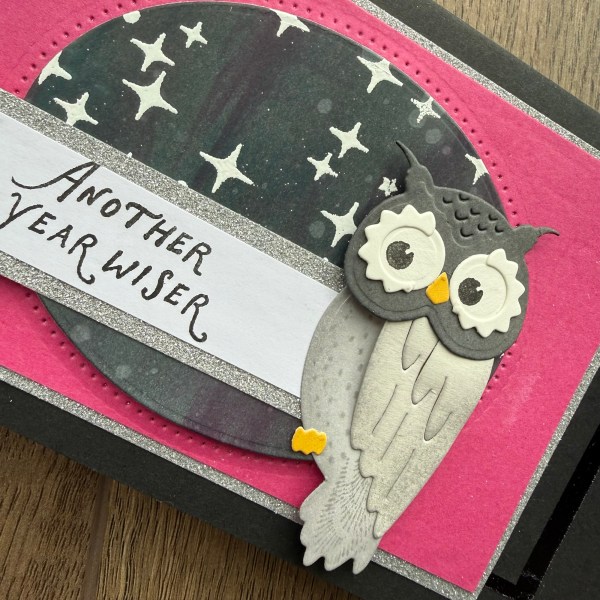
I love the font on the sentiments – such fun!
And the final sample I went with the full leafy background stencil and some texture paste. I decided to make this into a funky and fun colour owl card!
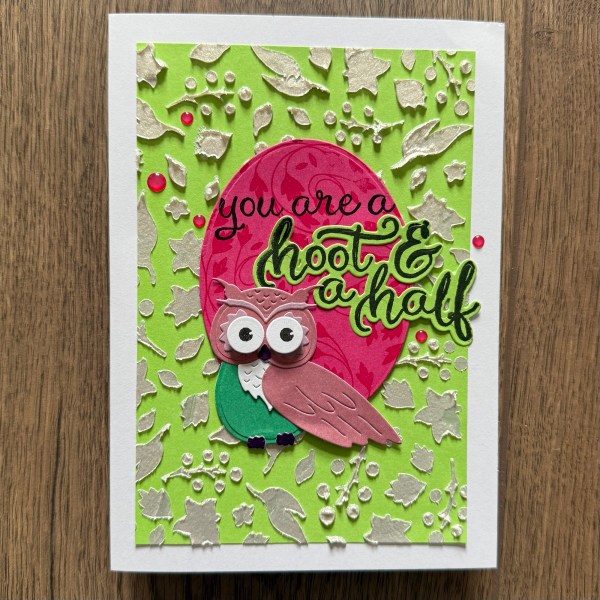
This is one of those more is more cards I quite often end up making when I don’t know when to stop!
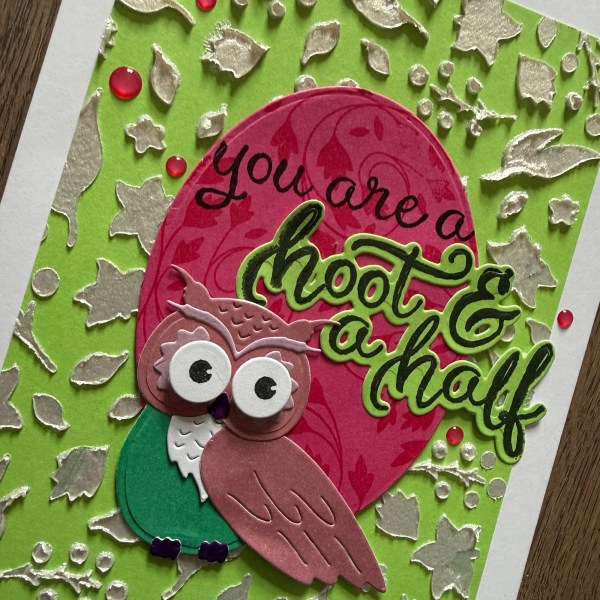
I added stamping to the oval I had die cut from the previous card. Then the sentiment stamped onto that.
I added the dimension to behind the eyes of the owl. And then the fun colourful owl!
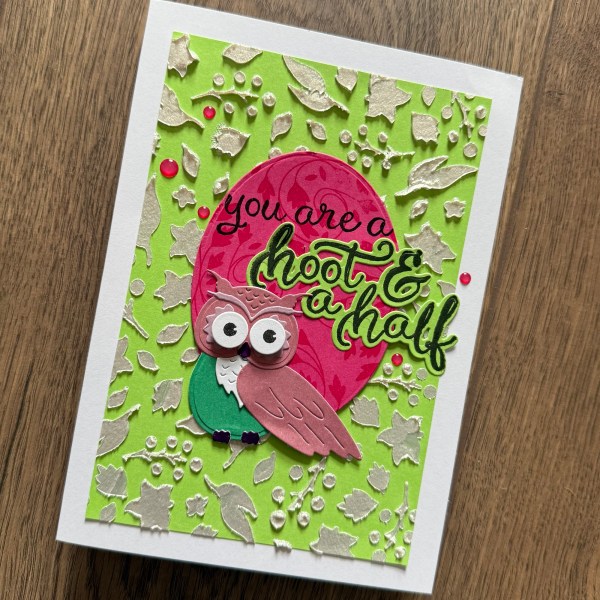
The set has some fun sentiments in and I thought this one is perfect for the fun card!
So many fun ideas on future cards to make with this set!
Happy crafting!
Catherine

