
I know first of the month is usually my patterned paper based projects and often using Kendras card challenges but for the last week I’ve had an awful virus that has floored me completely! So instead I’m sharing more design team stuff … hopefully normal service will resume soon and I can get back to crafting!
I love texture on cards and an embossing folder is an easy way to achieve that … and using these small ones in the Bitsy machine is so easy! and it also creates some focal elements – not just backgrounds!
Here are the samples I made – but be prepared to see these folders popping up in my Christmas (and in some cases non Christmas makes) in future!
Card 1 – I started with a panel just smaller than my card base of 6×6 and used a couple of folders and different green colours of the adhesive cardstock and embossed the holly strip and the word panel.
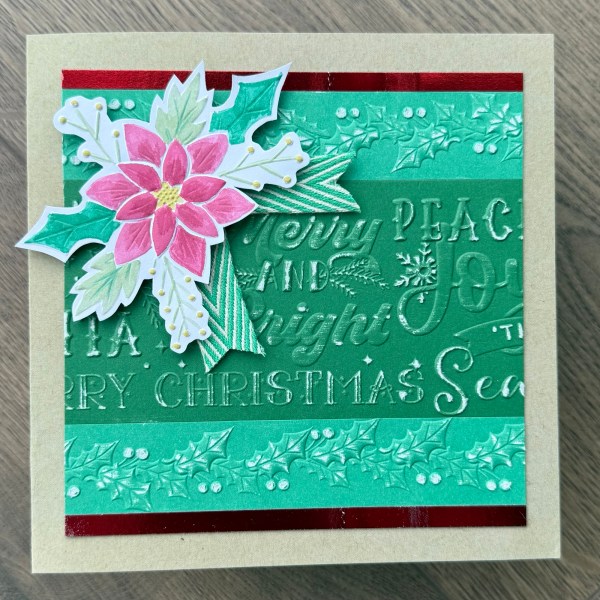
I also added some tiny strips of the red foiled adhesive cardstock to just add a touch of shine!
Then I sanded the top of the embossing to expose the white core! So effective!
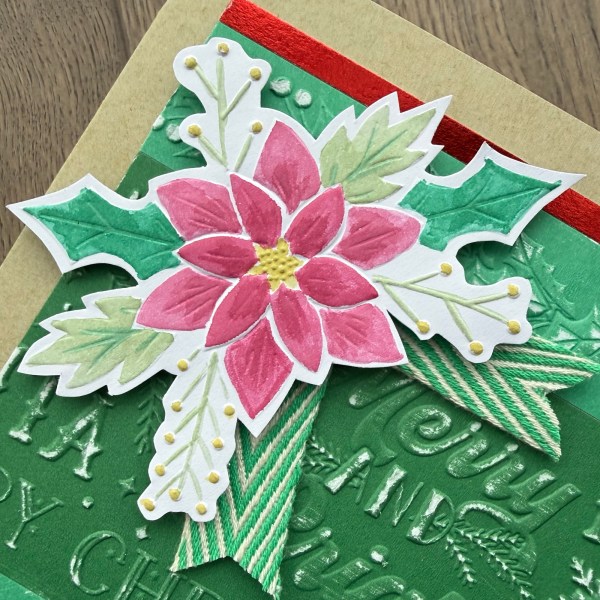
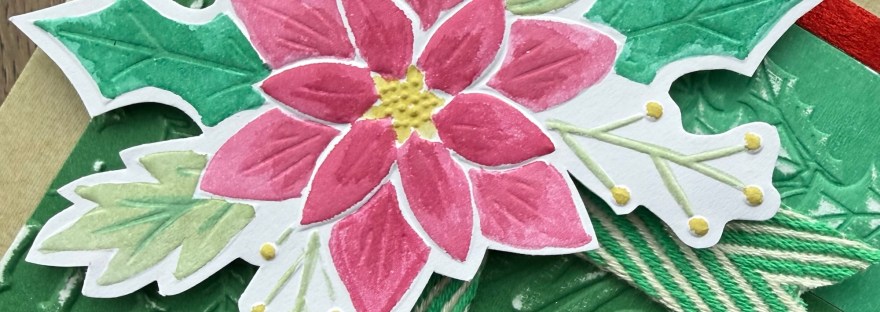
The beautiful poinsettia cluster is also an embossing folder from the kit. I embossed the white and then fussy cut it out and then used ink and water brush to add the colour to the embossing – so pretty!
I added a scrap of green ribbon and then added this to the top with foam adhesive and love how this one came out. All the texture and the delicate floral – love it!
Card 2 and I decided to focus on the baubles folder and made this very shiny dramatic card!
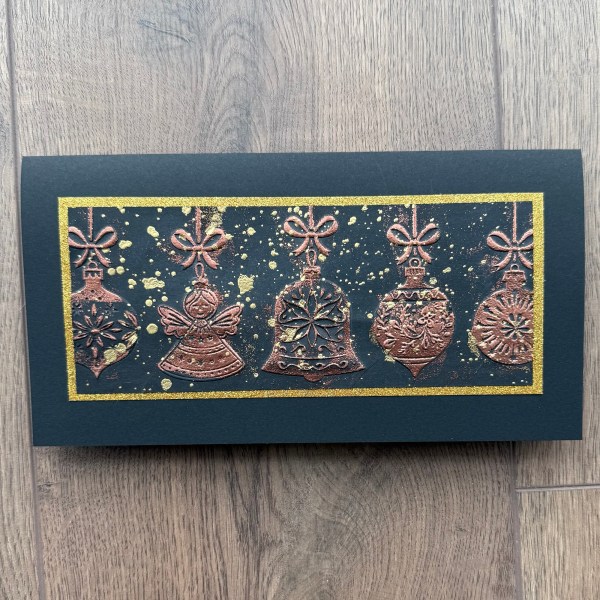
After embossing the black cardstock and lightly rubbed over the top just trying to pick up the raised baubles with versamark. I then added the copper embossing powder I got recently, trying to brush away the stray powder from the background a bit and then heat set it. Next I did something a bit different and splattered the whole panel with water and then added the gold embossing powder. Once heat set this really did make the panel special – I always think if it looks a bit messy – go intentionally messy! It seems to really work as a way of making the card look arty rather than clumsily made! 😂
Then I added a base layer of gold glitter adhesive card stock to sit behind the panel and added it all to a black card base.
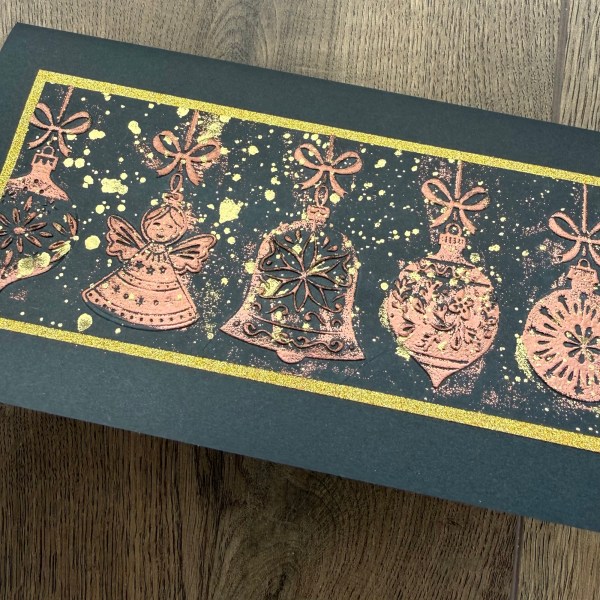
Love the baubles – loved the metallic finish!
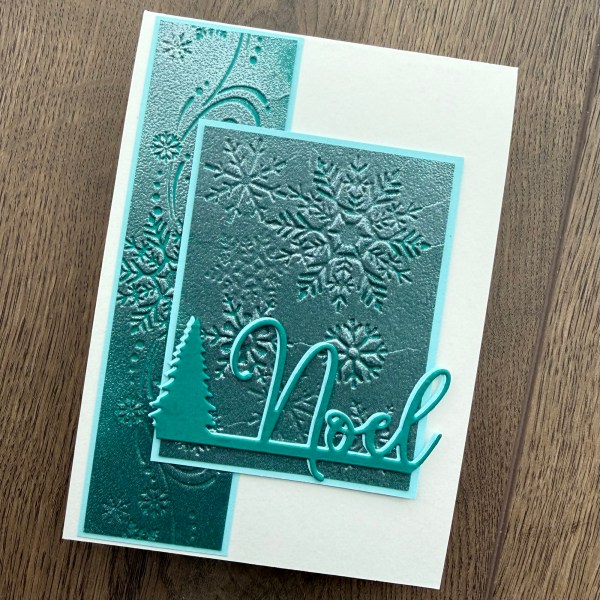
Card 3 I carried on with the embossing theme but this time I embossed the debossed aide and used the two snowflake themed folders.
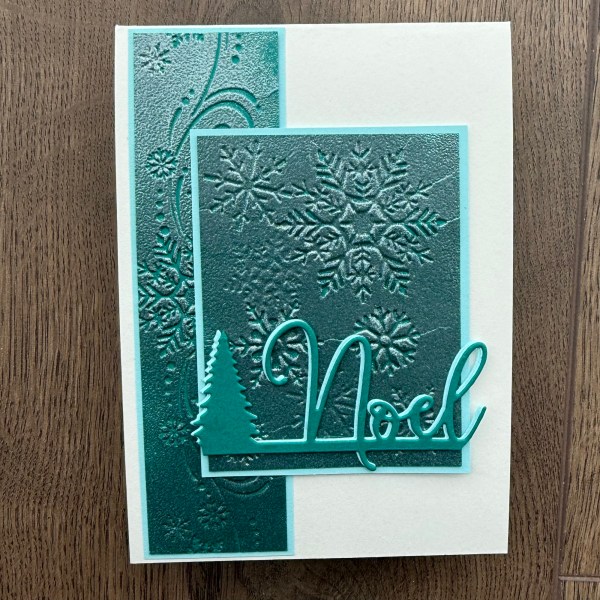
I chose a teal coloured cardstock and then the pearl embossing powder and created the two panels. I mounted them on pale blue and then layered them onto the card front. Then I grabbed one of the Christmas word border dies and die cut it three times – once from the teal for the top and then twice from the pale blue which I slightly offset from the top one to give a shadow type layer.
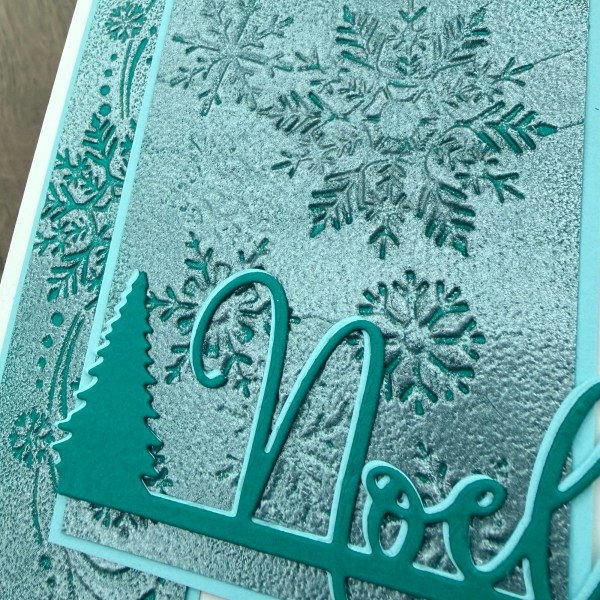
I snipped the sentiment border so it was shorter to fit on the front (I popped the little house on the inside of the card) and glued it in place.
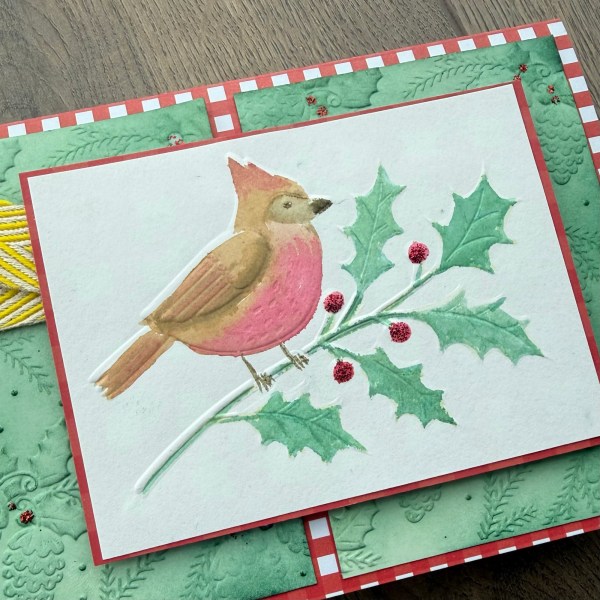
Card 4 I moved away from the heat tool and instead created the two panel with the pinecones background embossing folder. I inked them both with green and then added some dots of the red glitter glue.
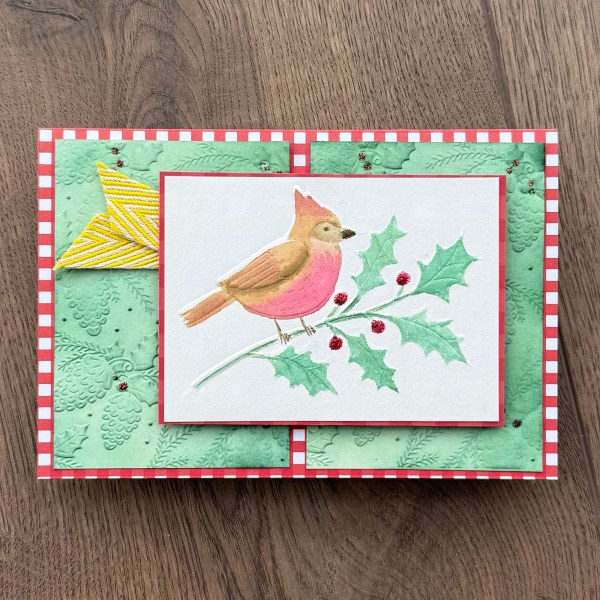
Next I embossed the cardinal image and then watered coloured the image before sticking it back into the embossing folder to reinforce the dimension.
I chose a patterned card for the card blank – a fun red check. I layered the two panels on the top and then the bird element I added dimension with foam tape and added a little ribbon to add contrast and some different texture.
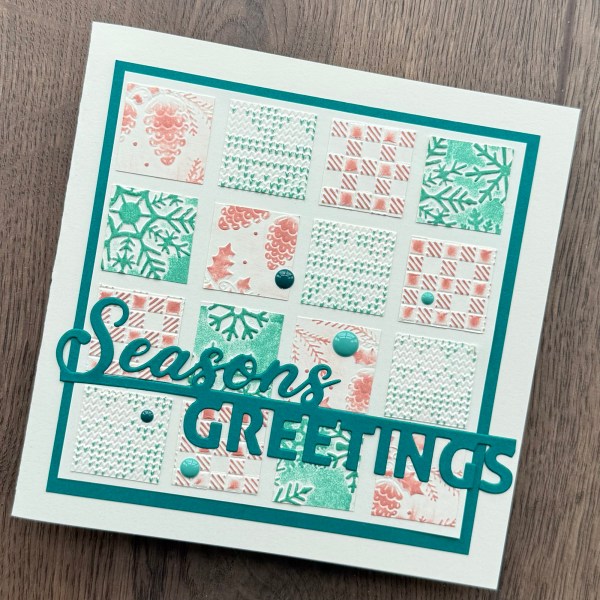
Final card I went with a grid design – I embossed four panels and inked them in the peach and teal and then cut them into 1” squares. Then I added them to the panel for the card front.
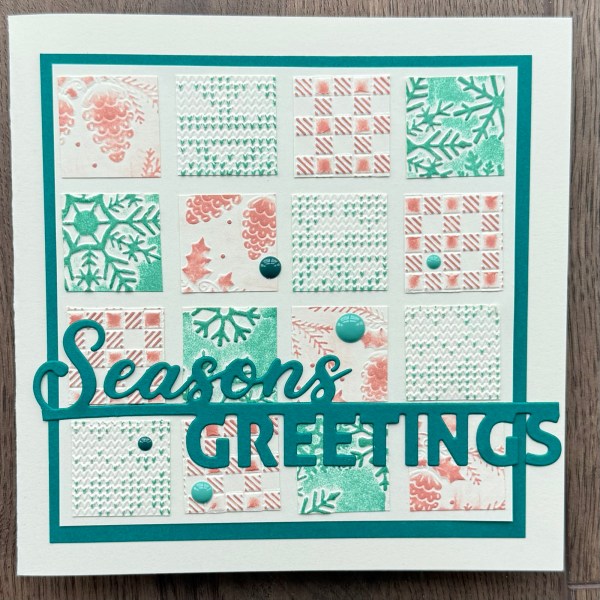
I did try and keep them straight and aligned with the aid of a ruler!
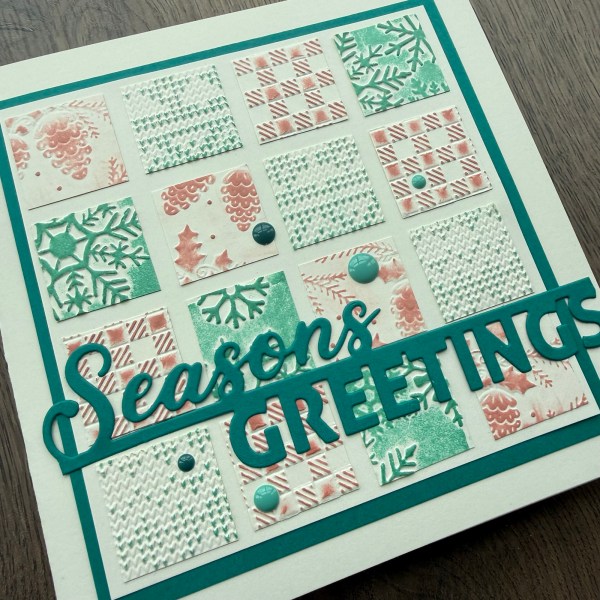
Next I used one of the Christmas border word dies (I really love these and suspect they will be a firm favourite for reusing in my craft stash!) cut it from teal and then added that.
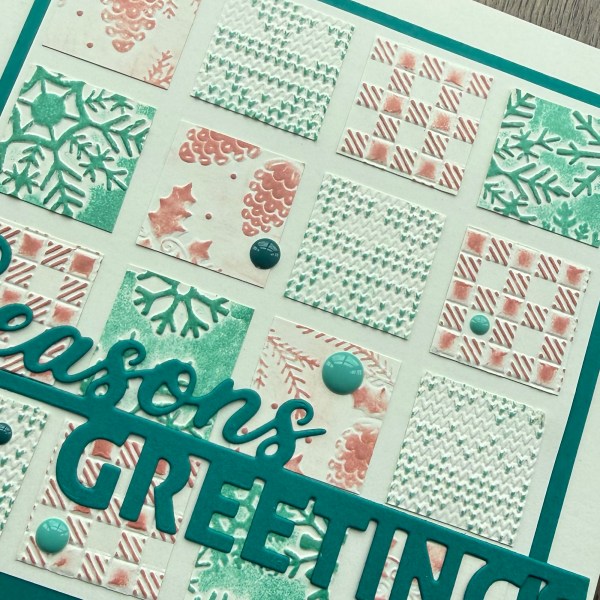
I added a teal layer to the front panel and then adhered it to the cream card base – love the different colour scheme I chose for this!
So lots of different ideas for using these fabulous embossing folders for adding texture to your cards – and no doubt you will see them again in future makes but more as backgrounds than the focus!
Happy crafting!
Catherine

