
On so the main theme of this kit is the dies to make the cocoa mug but I love the style of the artwork in the accompanying stamp set so have made a few samples for the design team using those and ignoring the actual main item! I did of course also do the mug but let’s start with these other projects first!
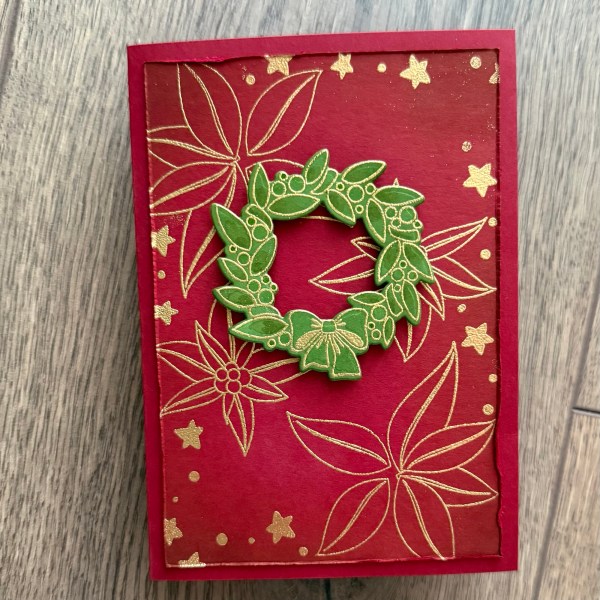
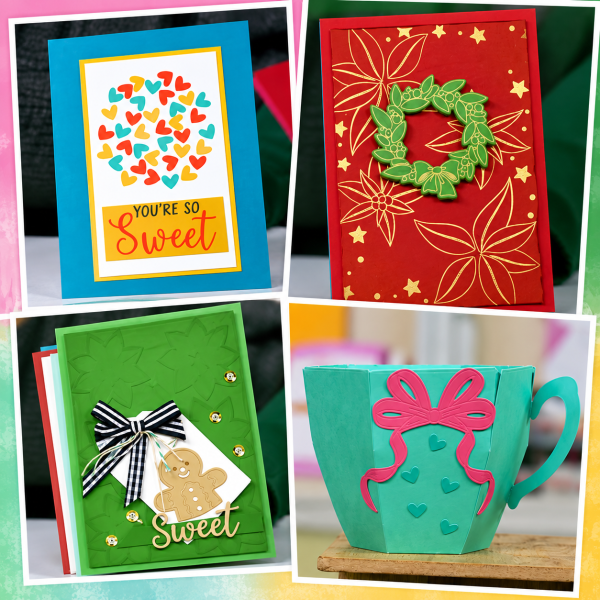
I love the style of these poinsettia stamps – I’ve used them on other samples too as well as fussy cut embellishments. This time I embossed them on this background panel along with some of the sprinkles stars and dots. The gold embossing is so rich against the red cardstock. I did add inking the cardstock to deepen the edge too.
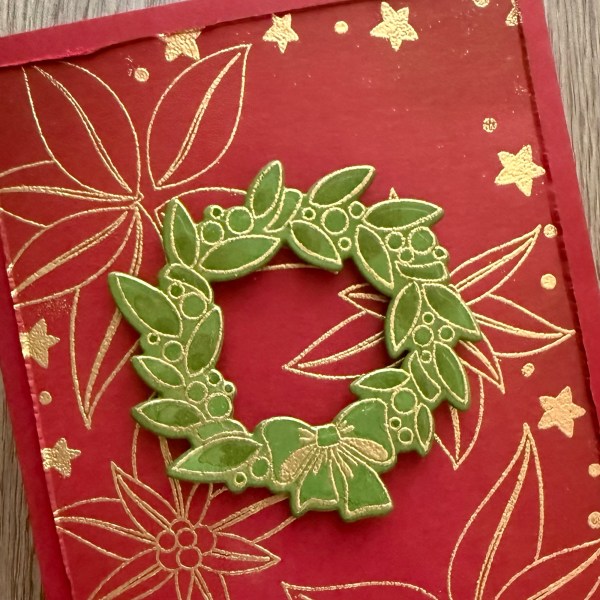
Next I die cut and embossed the wreath with some added ink into the leaves to add some depth and wink of Stella in the berries and bow for shimmer.
Such a simple card to make and could easily be replicated across different colour schemes too – although I love the traditional red and green with the more modern funky style of the art work.
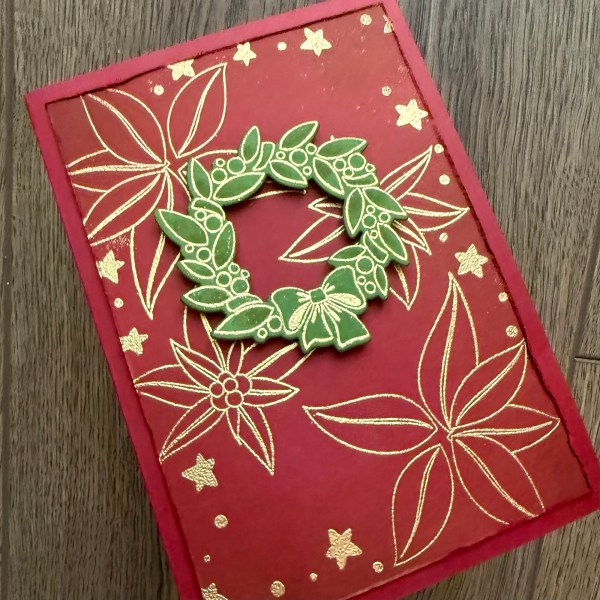
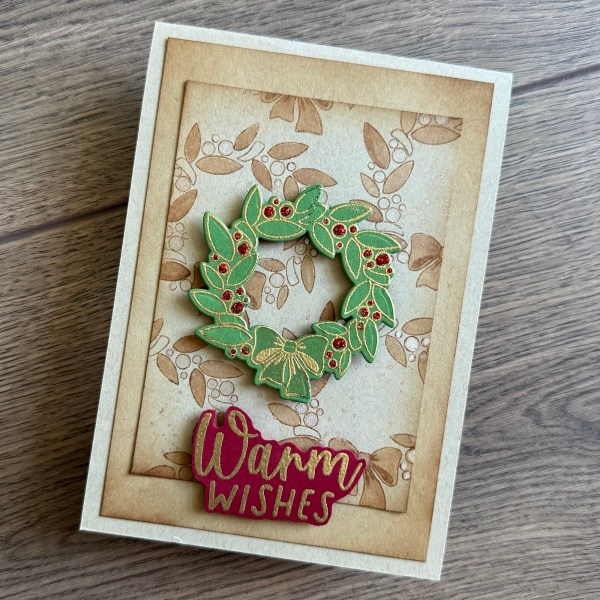
I went with the wreath again for the next card and made a vintage feeling one.
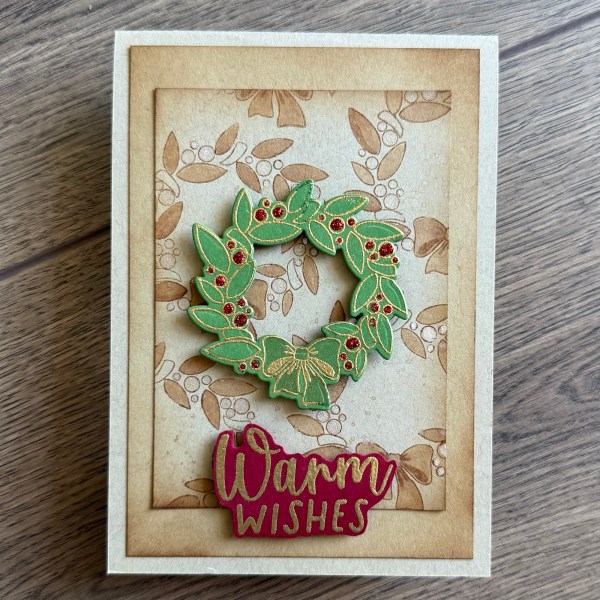
Gorgeous brown tones for the background which I added some ink painted onto the leaves … and then added some shimmer into the berries.
I inked up the full panel but concentrated on the edge to give a vignette. Then loads of splatter!
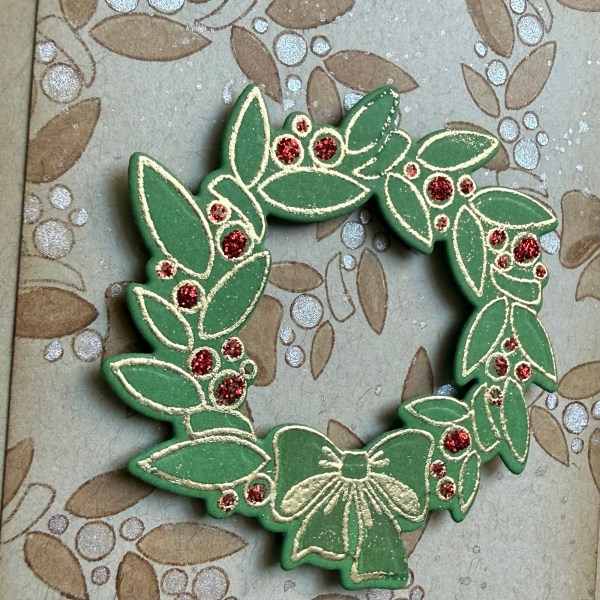
Next I embossed and die cut the wreath again and this time just added ink into the bow to give it some depth and then added glitter glue for the berries.
I let this dry and then embossed a sentiment which I then fussy cut and adhered everything together.
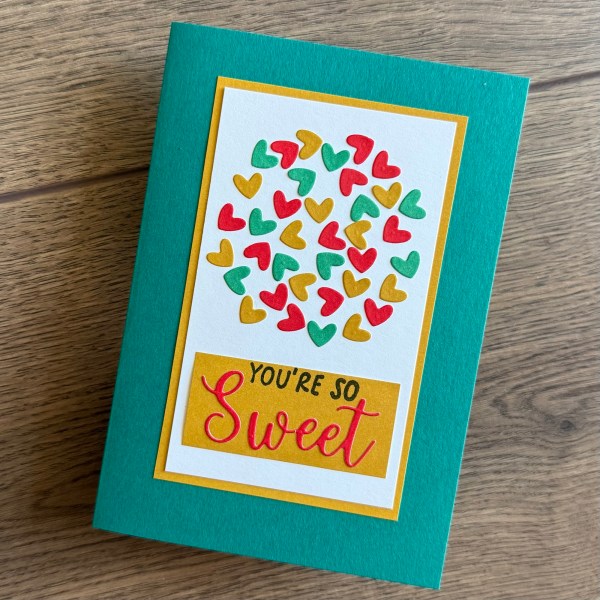
For the next card a total change of pace – using the heart die cut which cuts multiple hearts at once and cut it several colours of the holiday adhesive cardstock.
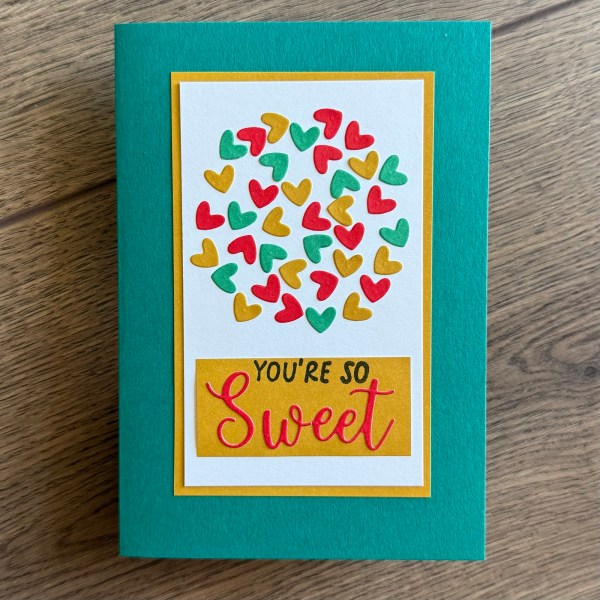
Then I stuck them to a panel to form a sort of circle of hearts – so cute!
I then die cut the sweet sentiment with the stamped ‘You’re so’ stamped onto a piece of the yellow so the die cut can sit below.
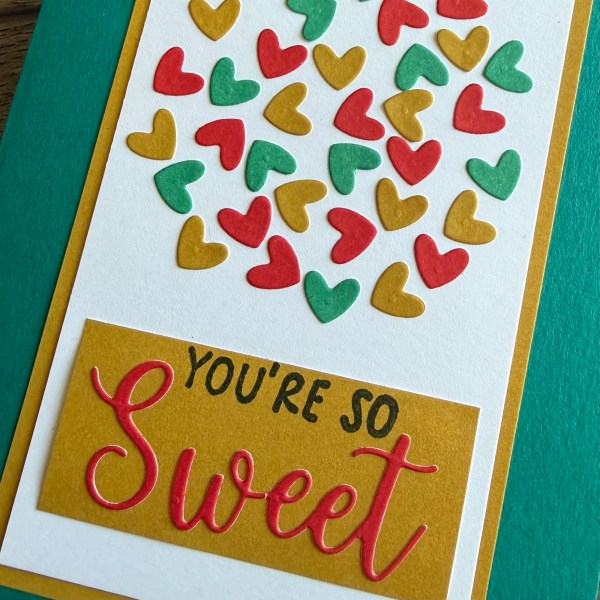
So a real change of pace from the Christmas themed cards!
Ok now let’s get to the main feature of this set – the mug!
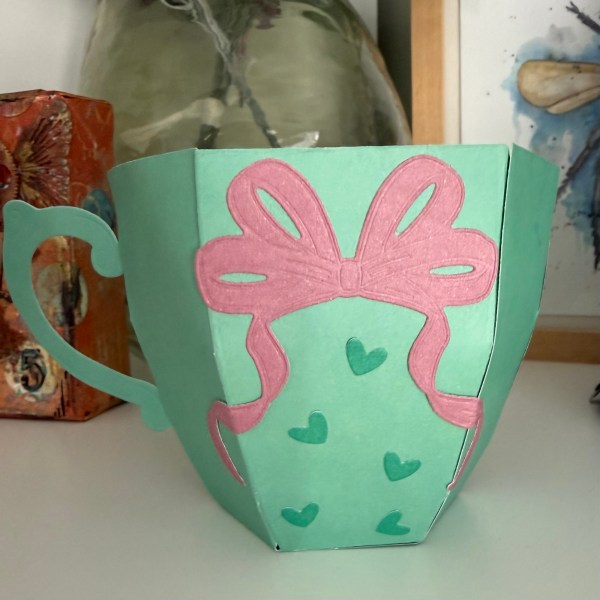
It’s just one die that you cut twice for the cup element, a die for the handle and then a die for the insert (if you choose to add that and not just use as a ‘basket’ and then the whipped cream is a really cute little die. So you can put it together so easily and then build up the elements and the decoration as you go.
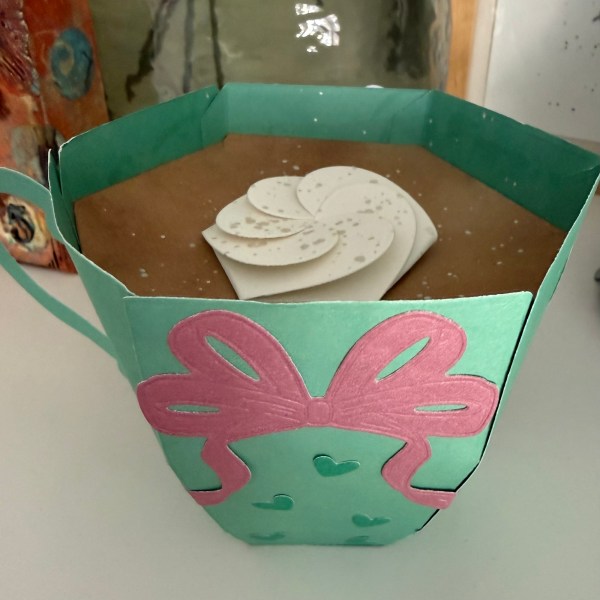
Given 3D projects are not normally my go to I was nervous – but this was soooooooooo easy! I kept it simple for my first go with the aqua cardstock for the cup itself, some inked crumb cake for the insert and of course white for the cream topping.
Then I decorated with the bow and the hearts on both sides of the mug.
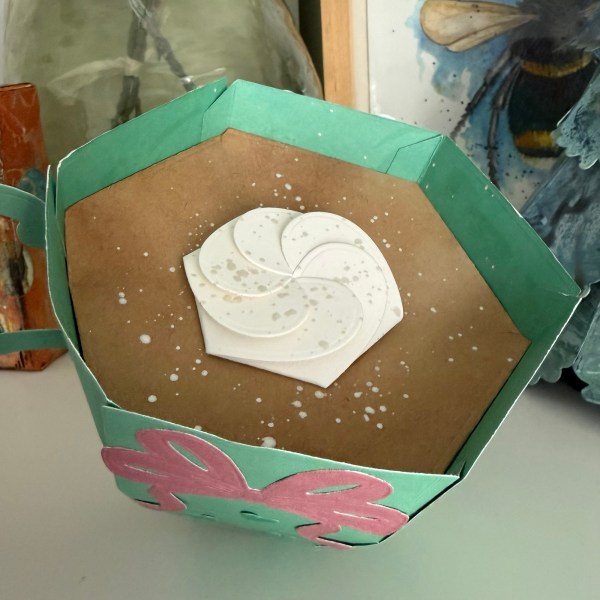
I then added shimmer splatter to the top – I’m thinking like those little sprinkles you get on a gingerbread latte – and decided this was a great little project!
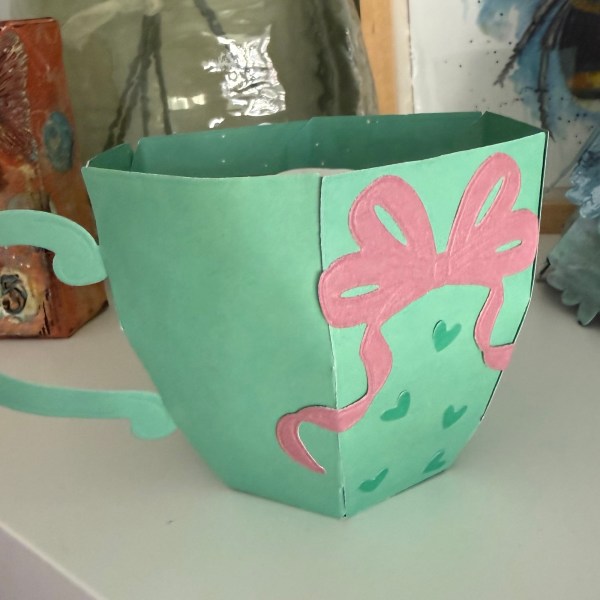
I think I may batch make a few of these to give as gifts filled with hot chocolate sachets and marshmallows for my daughter’s friends for Christmas. The stamp set has some great little stamps – so thinking I could batch cut lots of white cups and decorate them with stamps individually to make them personal.
Isn’t it fun when your head comes up with six million ideas but you have no time! 🤣
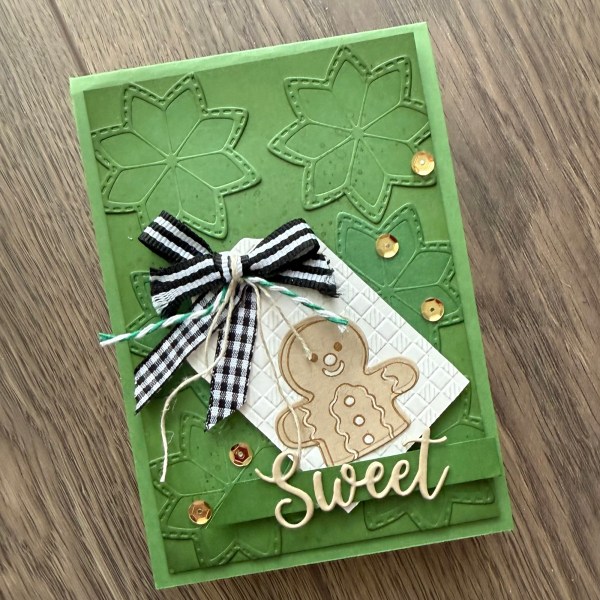
Ok back to the samples and I went back to card making comfort zone! This time I die cut scraps of green cardstock to make the background elements – think these are like those lovely skandi cookies – although obviously I’m using them as texture rather than specific images!
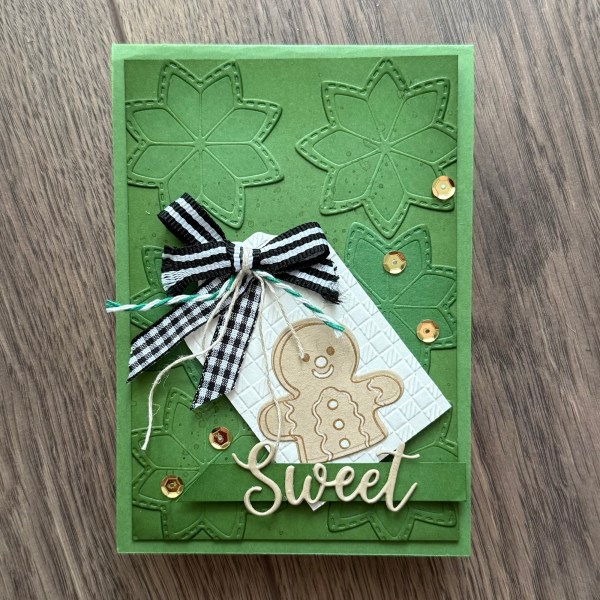
Once I had adhered to the panel I inked the edge to enhance the texture and to give some depth.
Next I created a little tag with texture (Christmas embossing folder) and then added the stamped and die cut gingerbread man – so cute! He is designed to sit in the cocoa so he’s only the top half – but given I always eat the legs first I think it’s fine! 🤣 I added some white pen bits for the icing on his features.
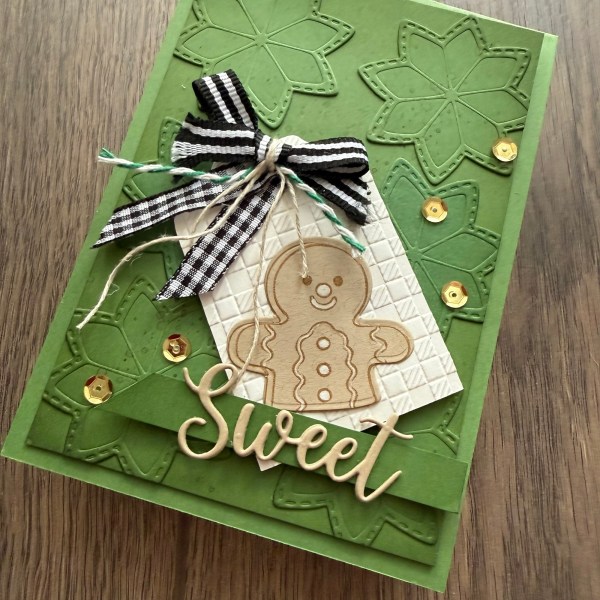
I die cut the sweet word a few times to stack for dimension and then added the strip across the bottom – I added some ribbon and twine scraps for the top of the tag and then the sequins for shine.
So I suspect this set will be one of those I grab year after year for Christmas makes – especially those stamps – as I love the artwork so much. Good one MDP!
This set of stamps and dies were launched on Hobbymaker mid October so again this is a blogpost where I can say ‘as seen on tv’ … it was fun to see not just my samples on TV for this but those from the rest of the design team too!
Happy crafting!
Catherine

