I am an on-the-side and increasingly up front papercrafter who loves nothing more than getting inky and creating pretty things with paper and stamps!
I am also a wife to lovely hubby and mummy to a wonderful 14yr old princess.
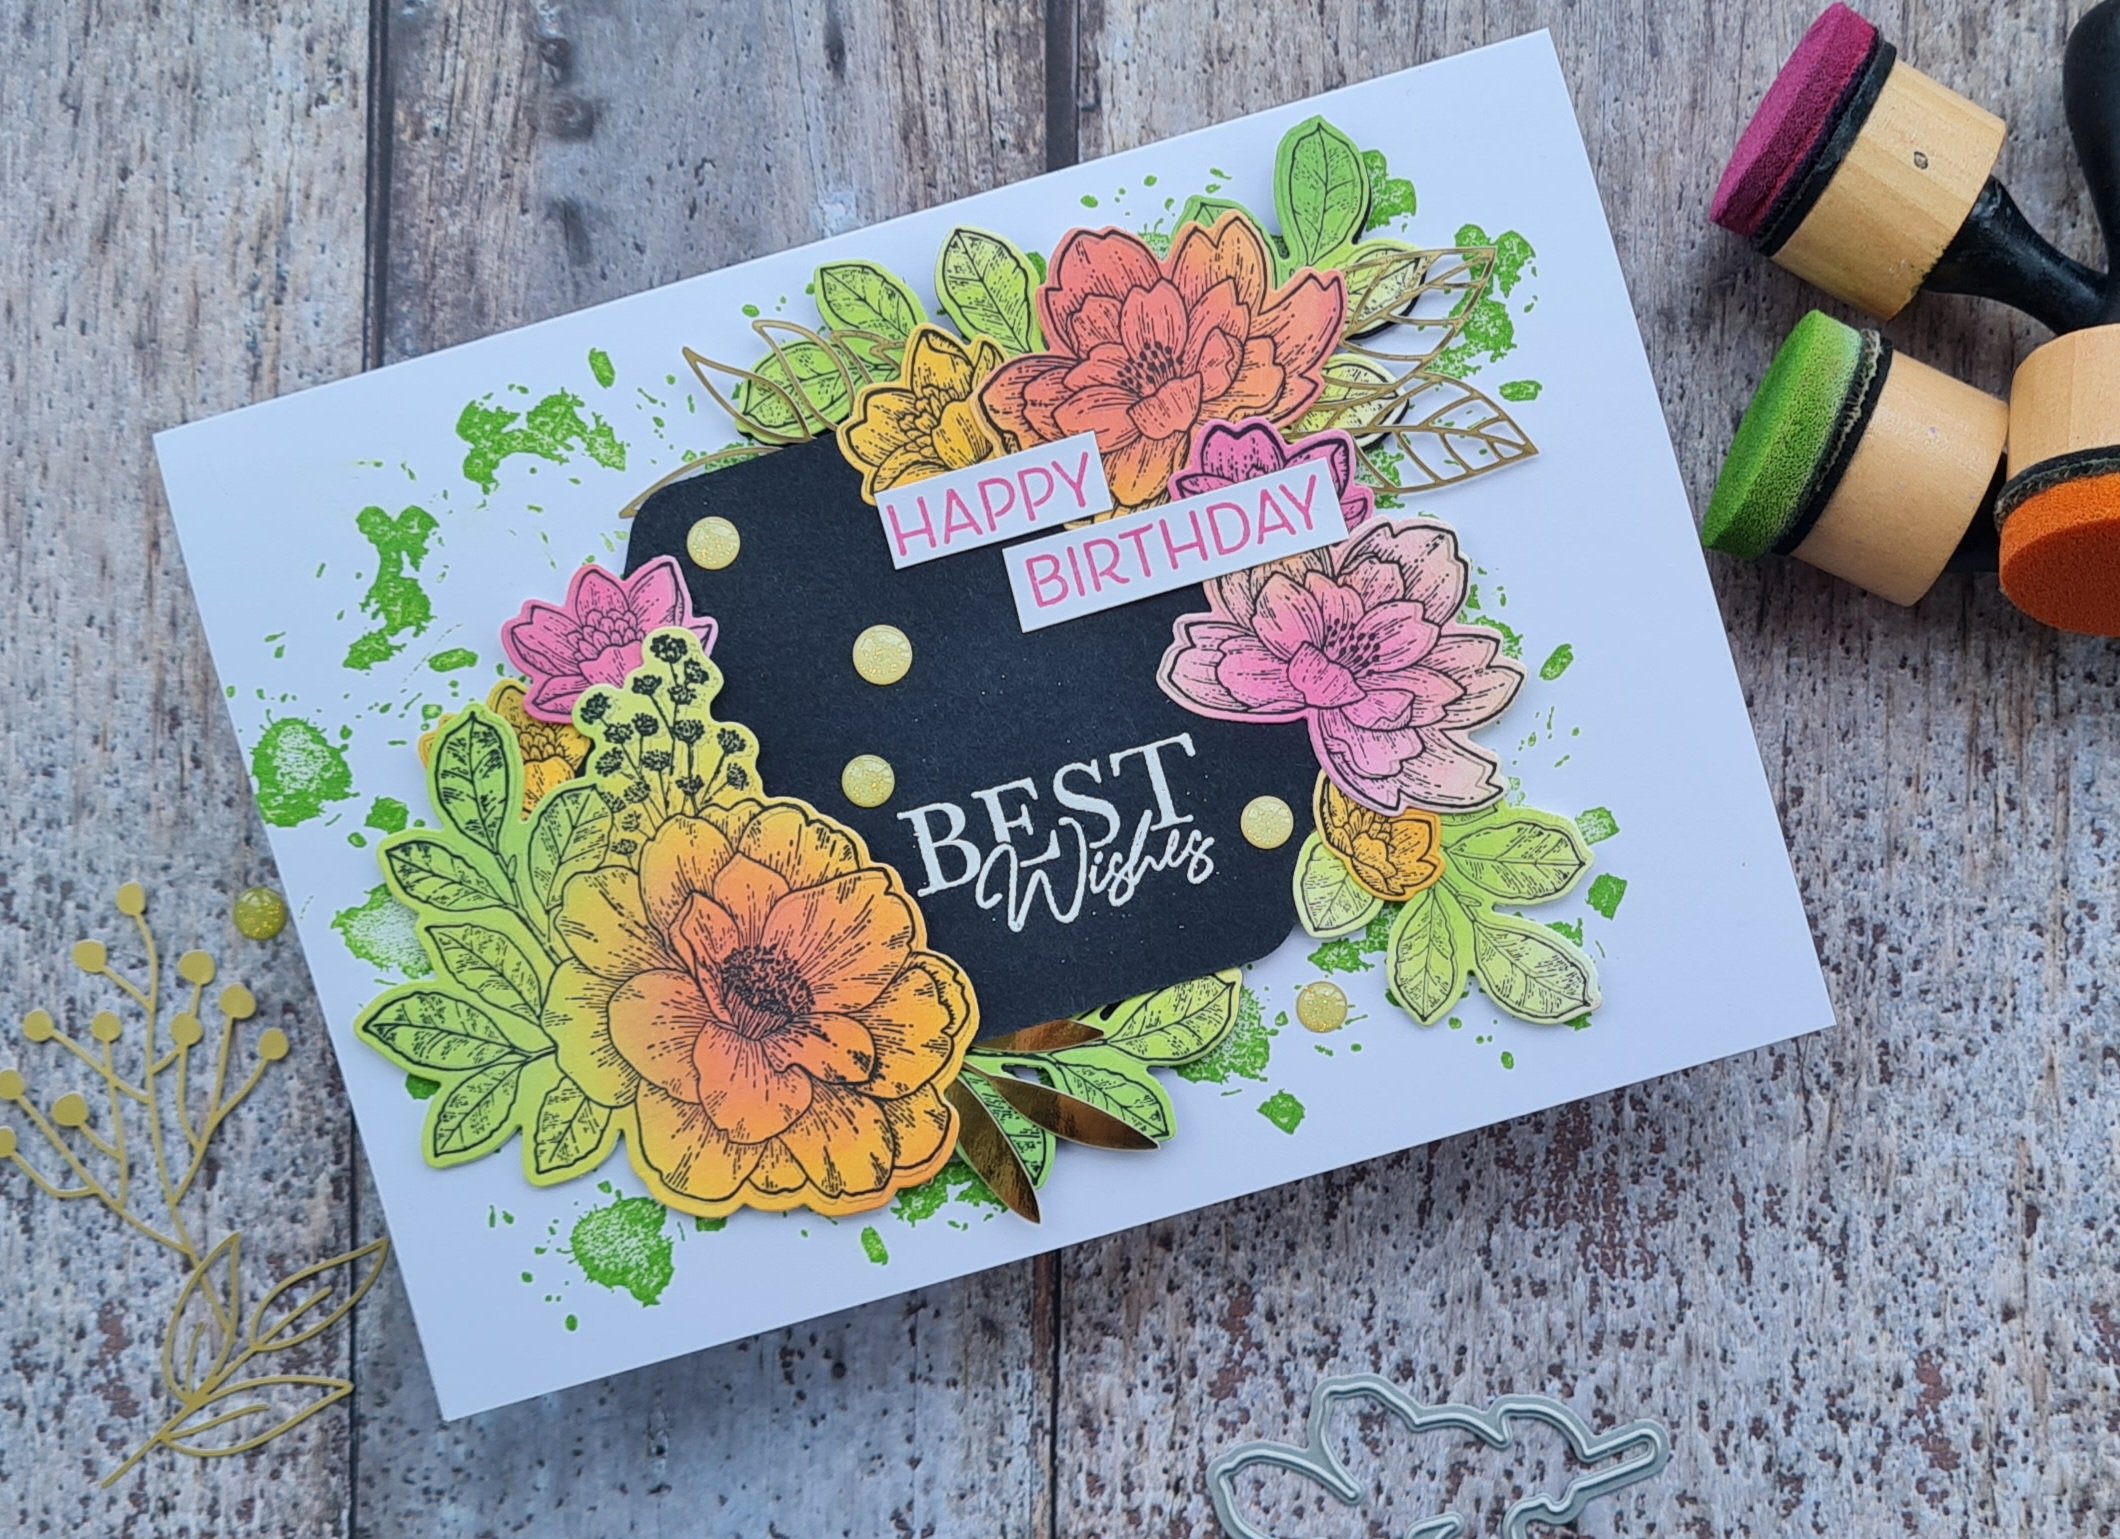
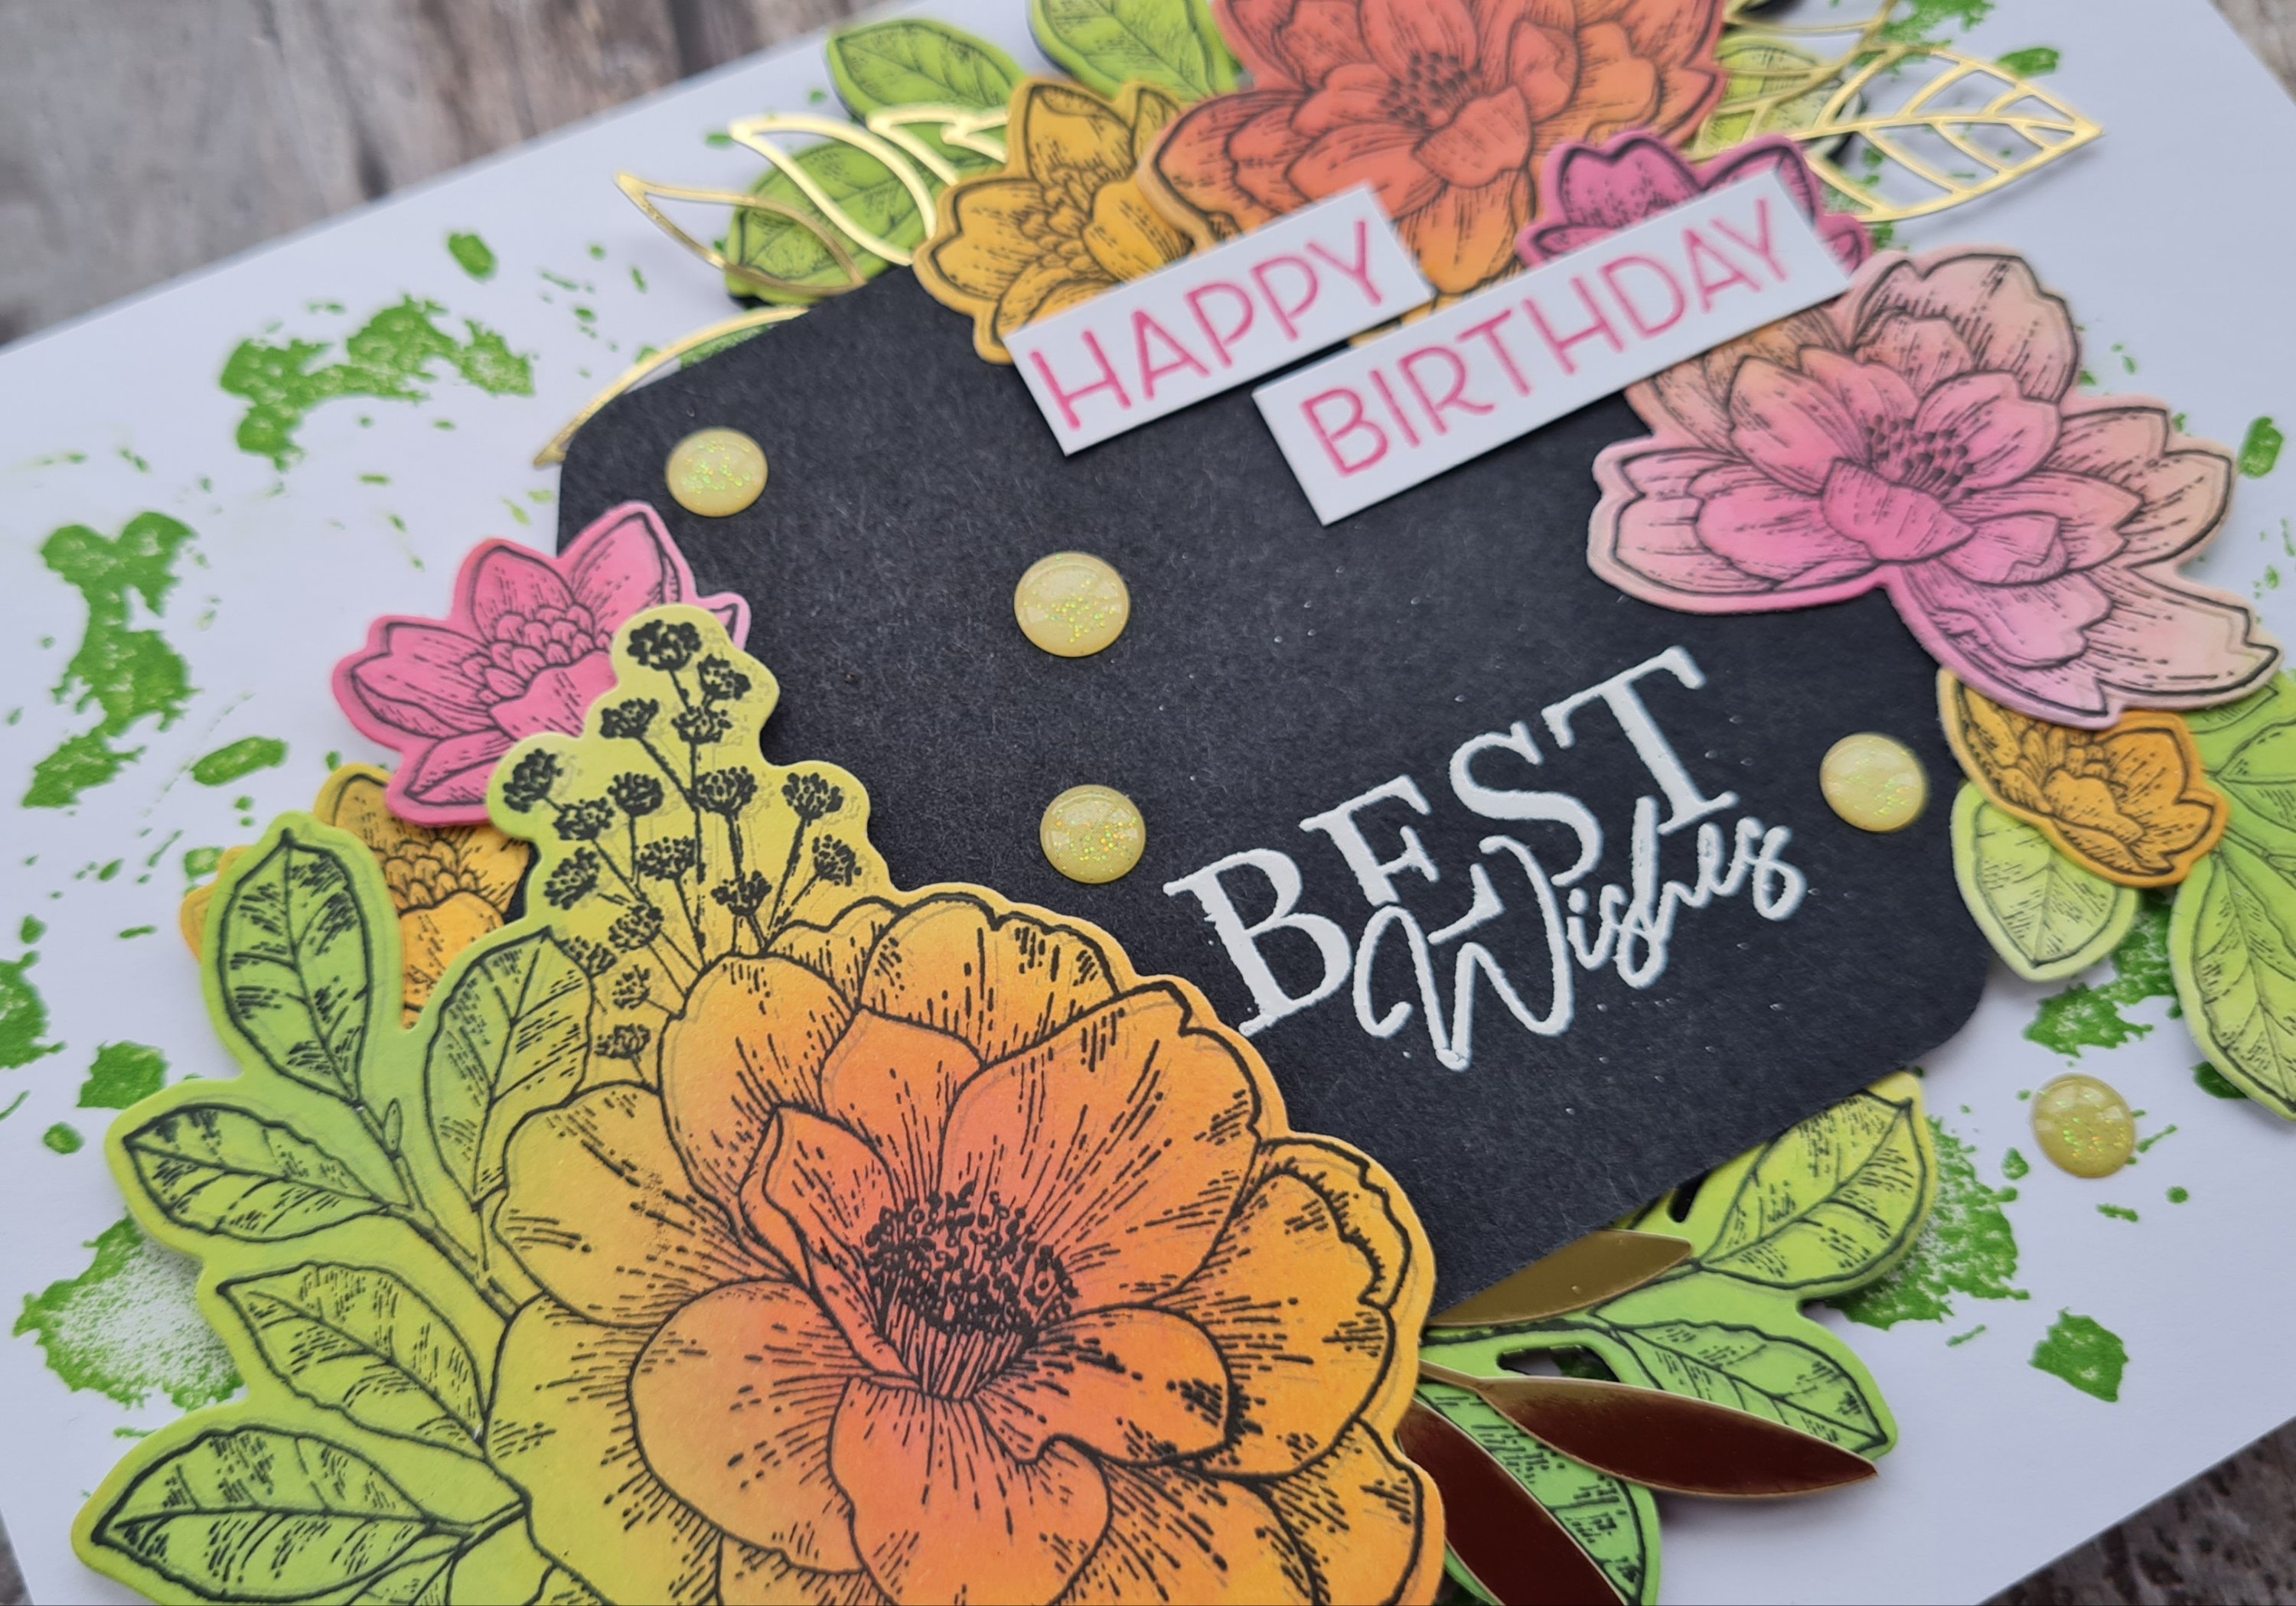
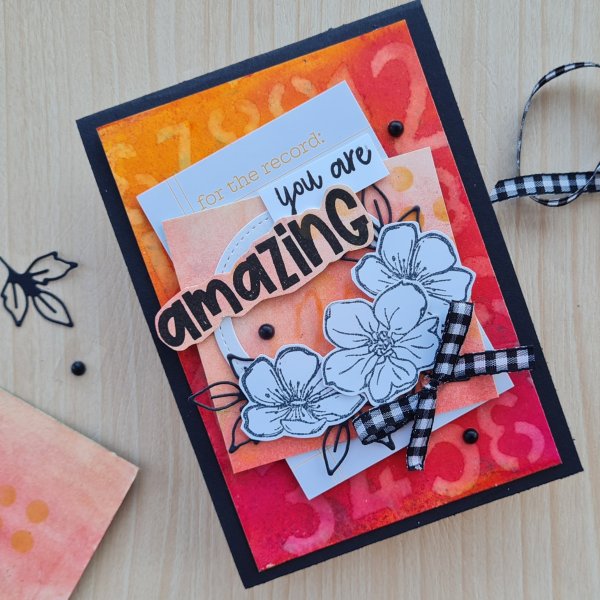
I’ve gone bright and funky with a pop of gold and black.
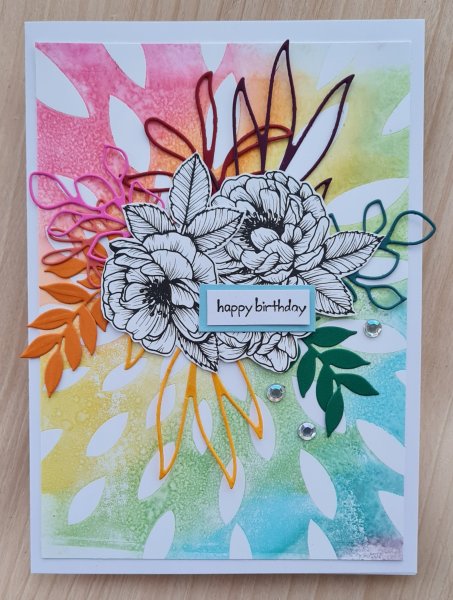
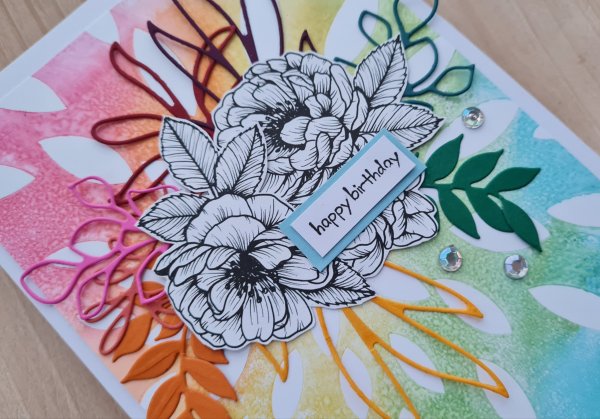
I grabbed the Cottage Rose stamps and dies and after a blending inks across the Basic White I decided to stamp in black and have them teamed with a black label to contrast the bright distress oxide inks I used.
I created the cluster and then decided I wanted some background stamping. I decided to use the splotches stamp from Nature’s Print and added that using the Mowed Lawn distress oxide so it was in keeping with the colours of the flowers and leaves.
I had wanted to add in the additional elements of the gold laser cut leaves from Forever gold pack so I slotted a few in so there was some shine, and also the glittery gems from the stash.
Hello! Happy 1st September! I’m actually writing this post ahead of time and scheduling it because by the time you read this I will hopefully in the sun by a pool and cocktail in hand on my holidays!
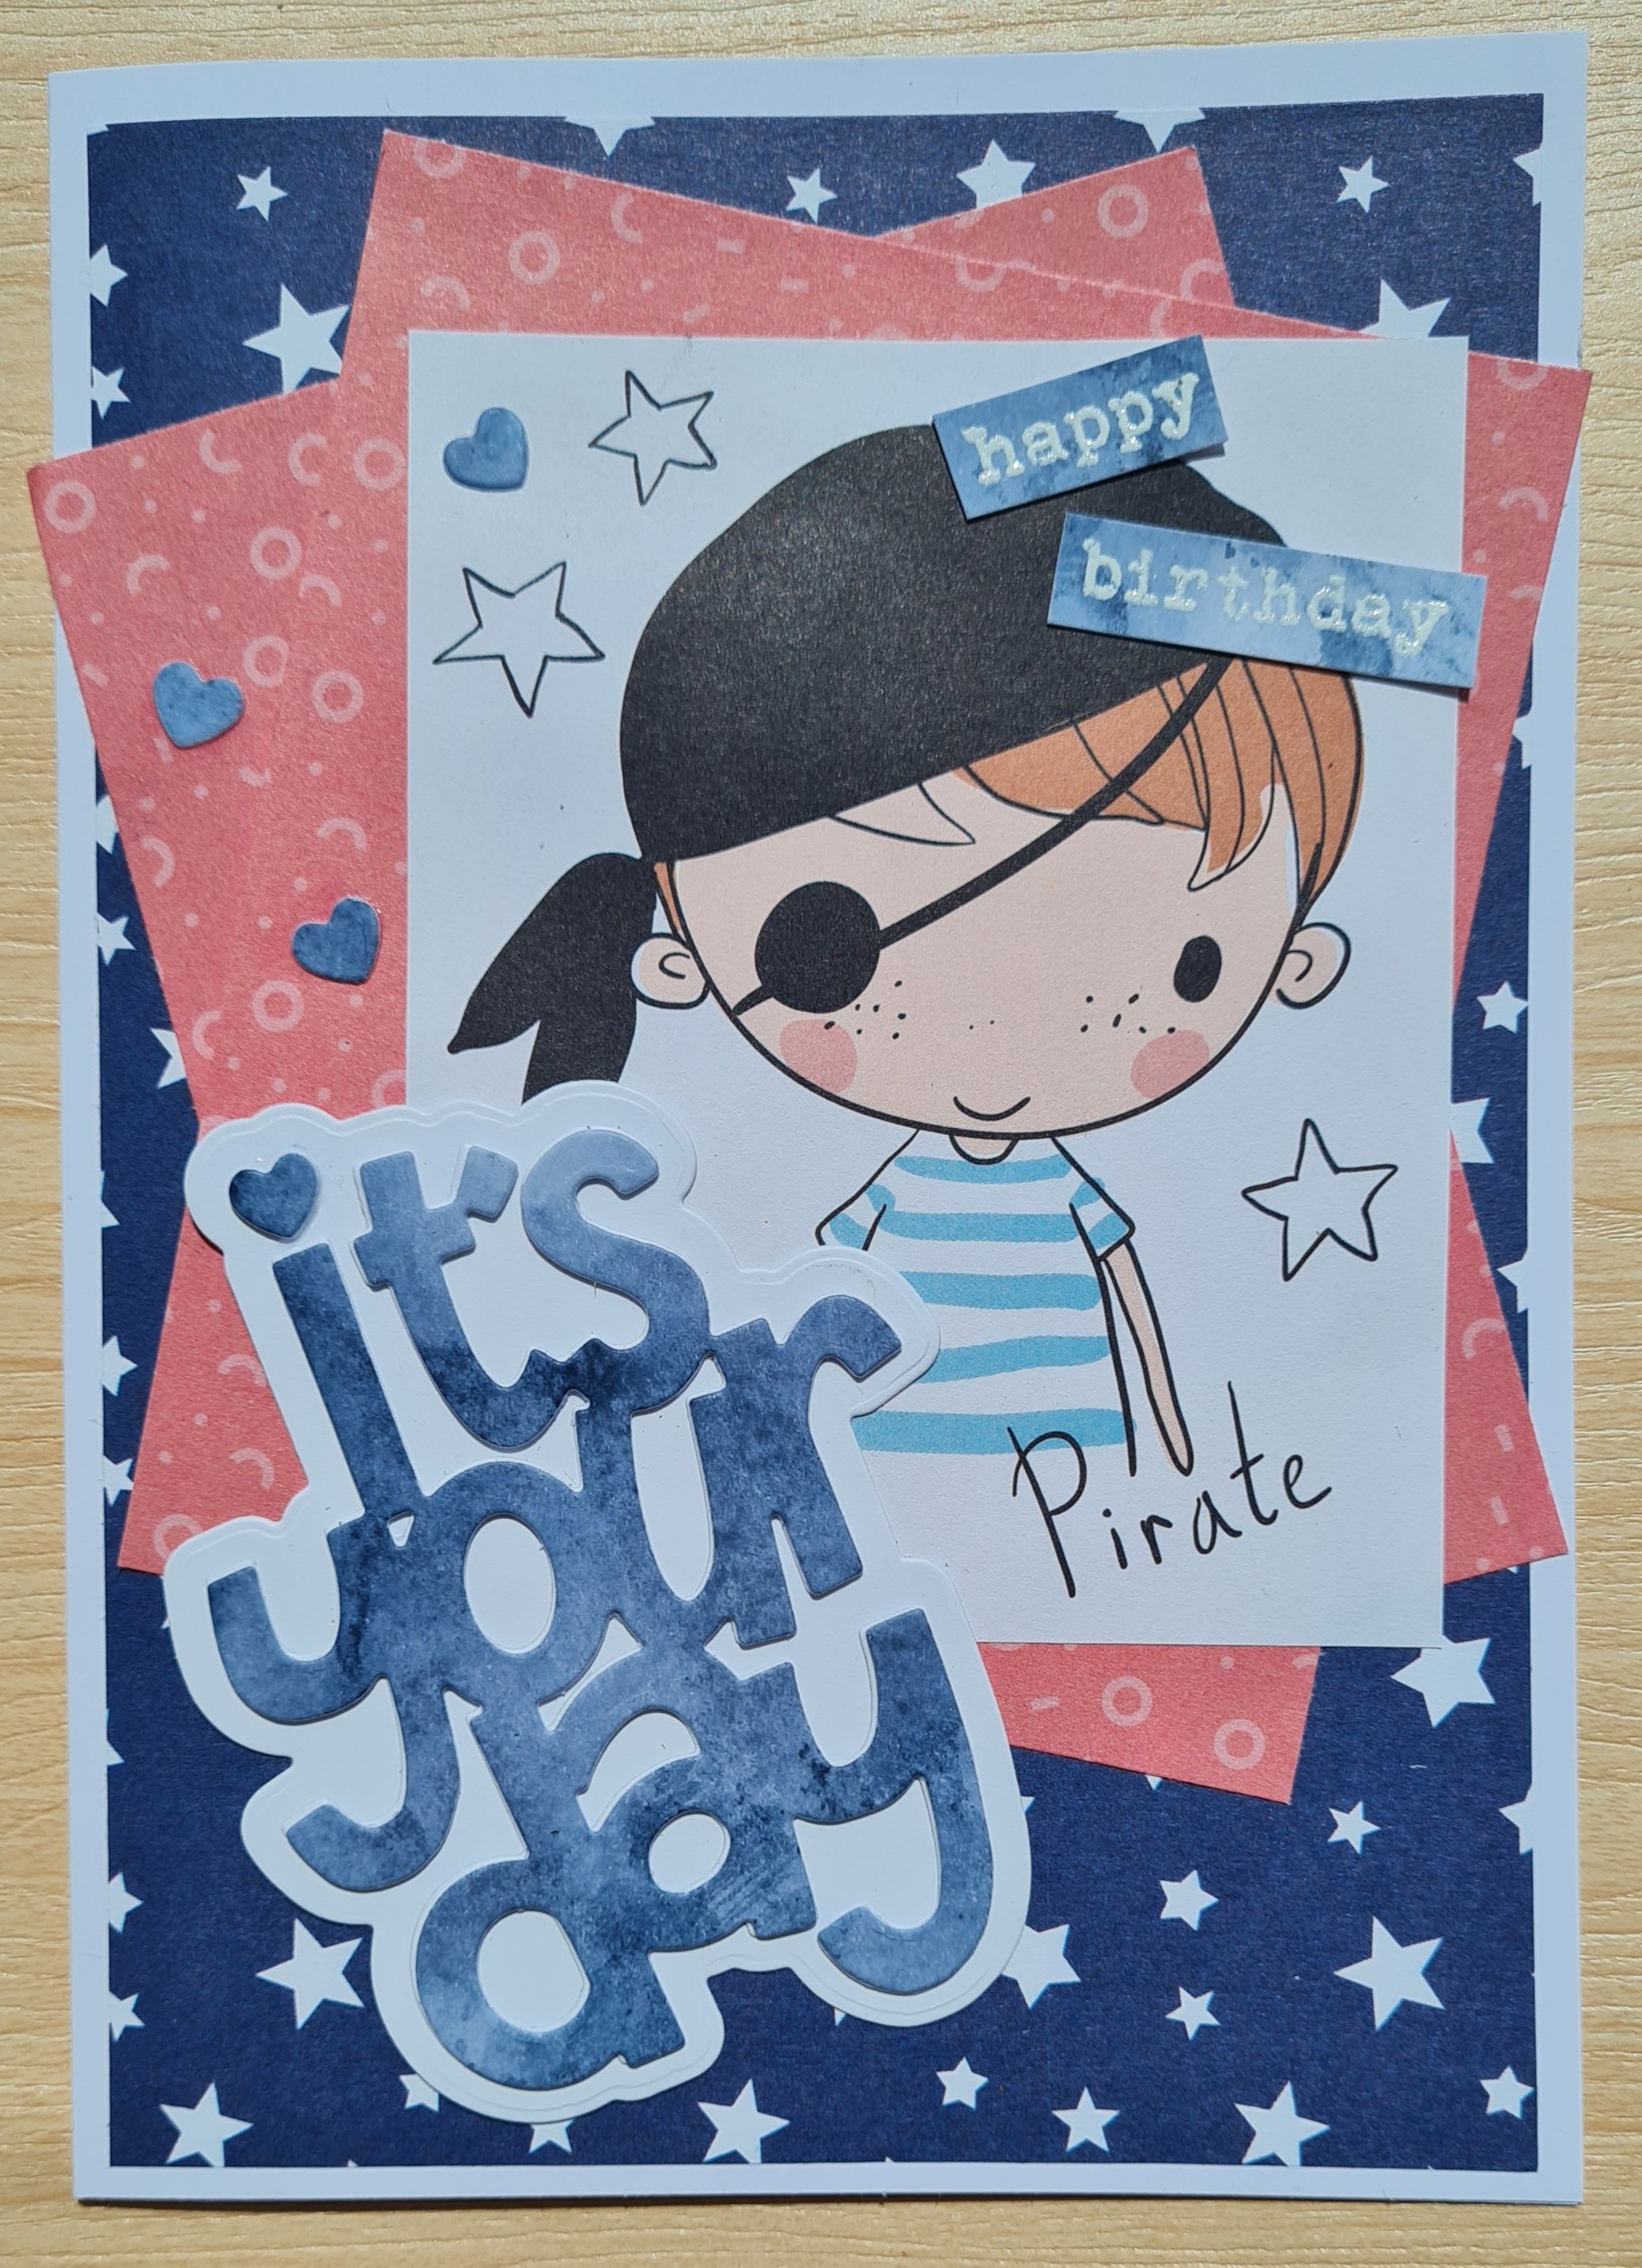
Today I have my design team contribution for Craftyhazelnuts patterned paper challenge blog and once again I turned to the stack of Making Cards magazine kits and made these two cute boy birthday cards.
Last month I said I don’t use characters in my cards often and then 2 months on the run I’ve ended up with character based cards! Lol! The reality is I needed to make some little boy cards so these images and fun papers came in handy … and so I saved them to share for my design team contribution!
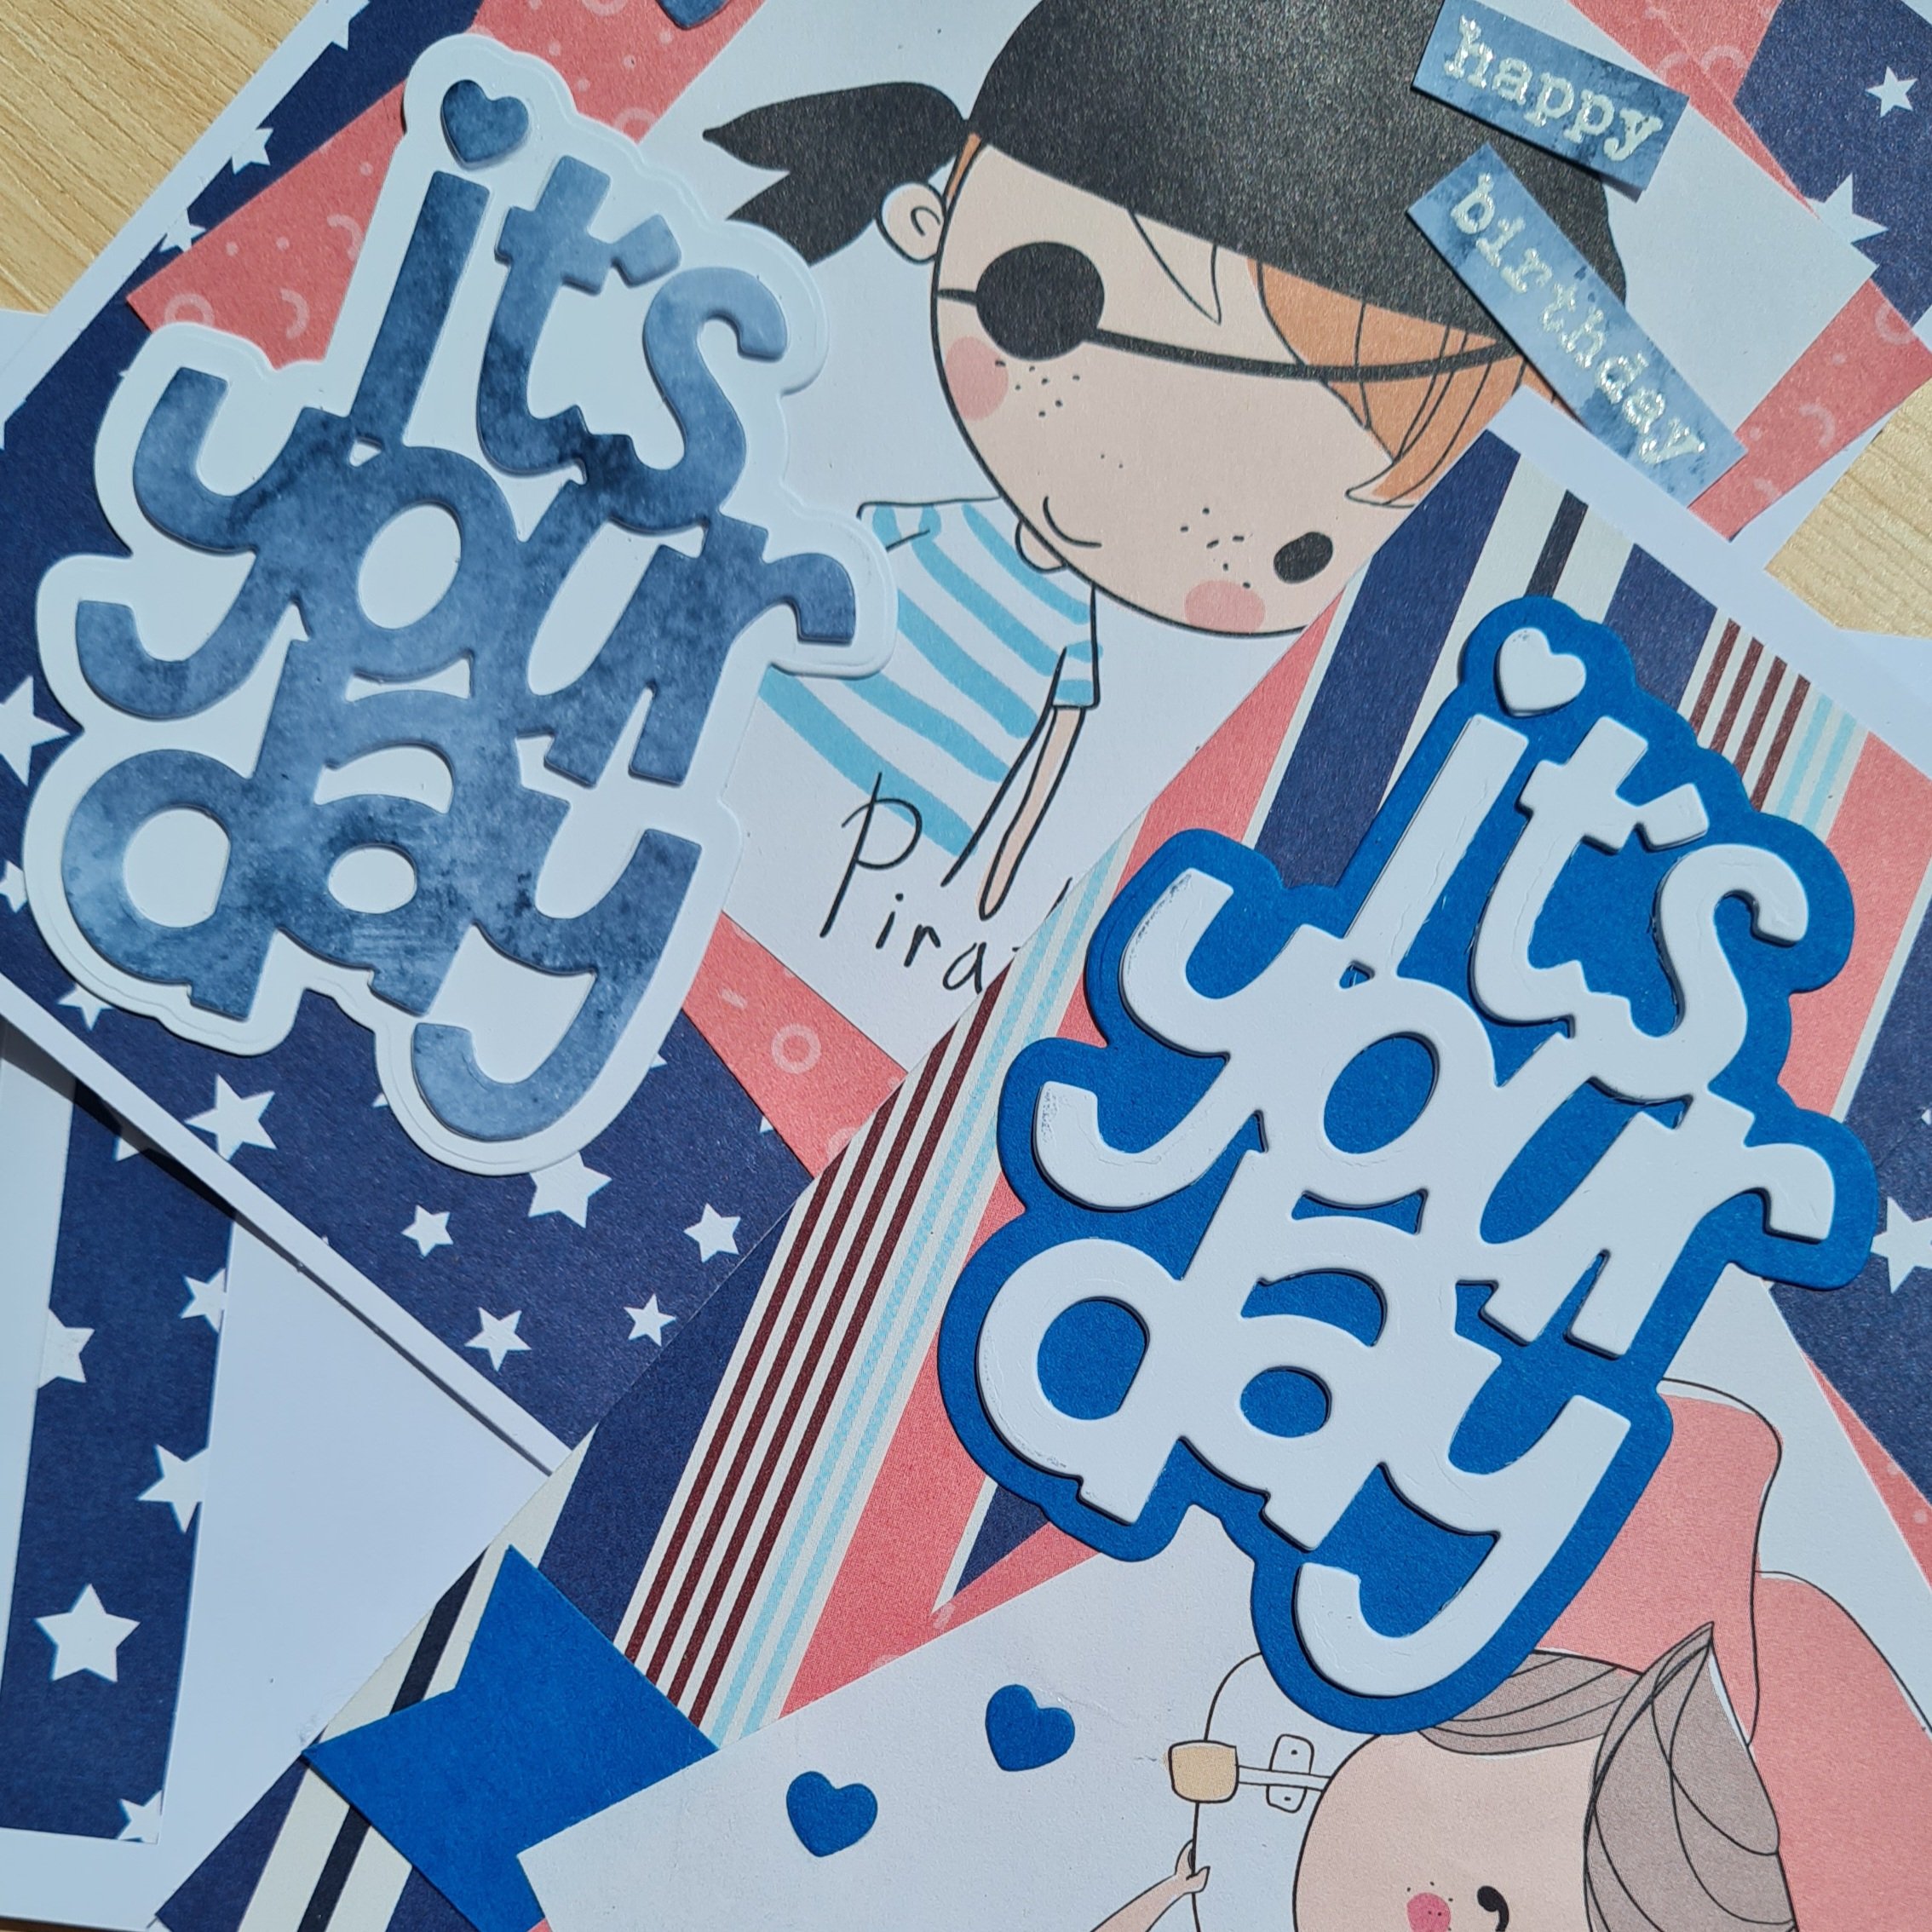
Both cards are similar with the same big Heffy Doodles die cut as a big feature and then the same sentiment stamp, but I did mix them up a little with the colours as the first I added the royal blue into the mix, and the second I made a watercolour/ smooshed ink cardstock to die cut and stamp onto!
For both cards I die cut the 💙 from the top of the i a few extra times to add as embellishments. On the first card I also stacked the sentiment to give it even more dimension.
Inside the cards (and on the envelopes) I added scraps of the paper left over. Oh I also must mention that the stripey paper was not diagonally striped originally but I thought it looked better at the angle hence I ended up with a triangular piece inside the card. May seem like an obvious way to use striped paper but I rarely twist the paper and so thought I ought to mention it!
Love how both of the cards came out, particularly like that watercolour/ smooshed ink die cut.
Today was GCSE results day for my princess. I am writing this blog post ahead of time as I know that she will have done an amazing job on her GCSEs and at this point we will be out celebrating before packing for a holiday!
I know we will be proud of her regardless of the actual results so I made a card a few weeks ago in readiness …
I used a Dylusions background (promise there aren’t any more left from the stash I made years ago … might actually have to have some inky time sometime soon to make some more! 😀 )
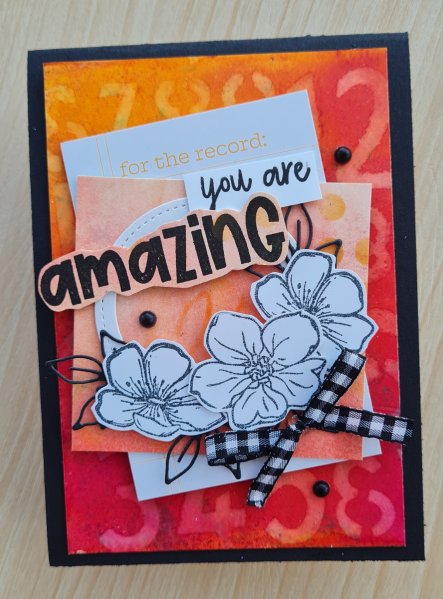
I also used a Memories and More card, another dylusions background cut down and a die cut ring. Then I added some flowers I had stamped and fussy cut out, some black die cut leaves from the Cottage Flowers set and a ribbon.
I chose to then add a sentiment from the Amazing Phrasing saleabration set and finished off with some black gems.
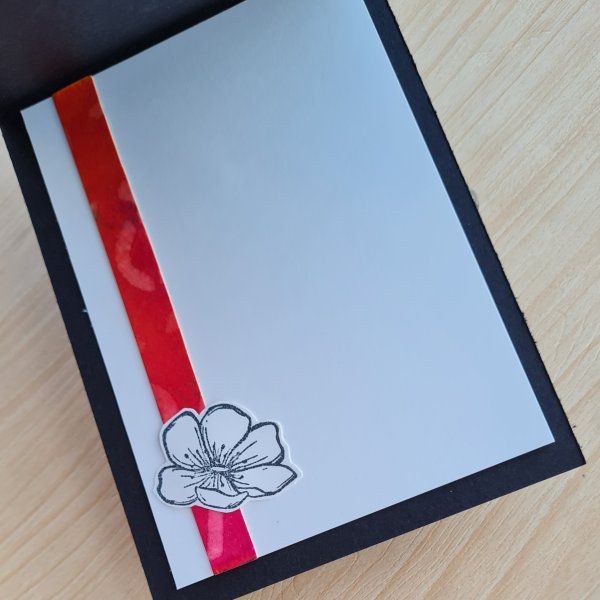
Inside I added a strip I had cut off the background and a remaining flower onto a panel of white as I had chosen a black card base.
Just love this… if I get a chance I will edit this to add in the actual results… but if I don’t get a chance just know we are proud parents regardless!
Happy crafting!
Catherine
Edited …all 10 GCSEs passed, she’s happy, we are happy and of course very proud… but then we already were… just have papers to explain one of the reasons why!
How quickly the weeks go … how are we already mid August?
Well it is time for me to share another design team contribution, this time for Creative Knockouts where we have an Anything Goes challenge this week. There is a prize sponsored by Pretty Cute stamps so I encourage you to join in.
Here is the card I made…
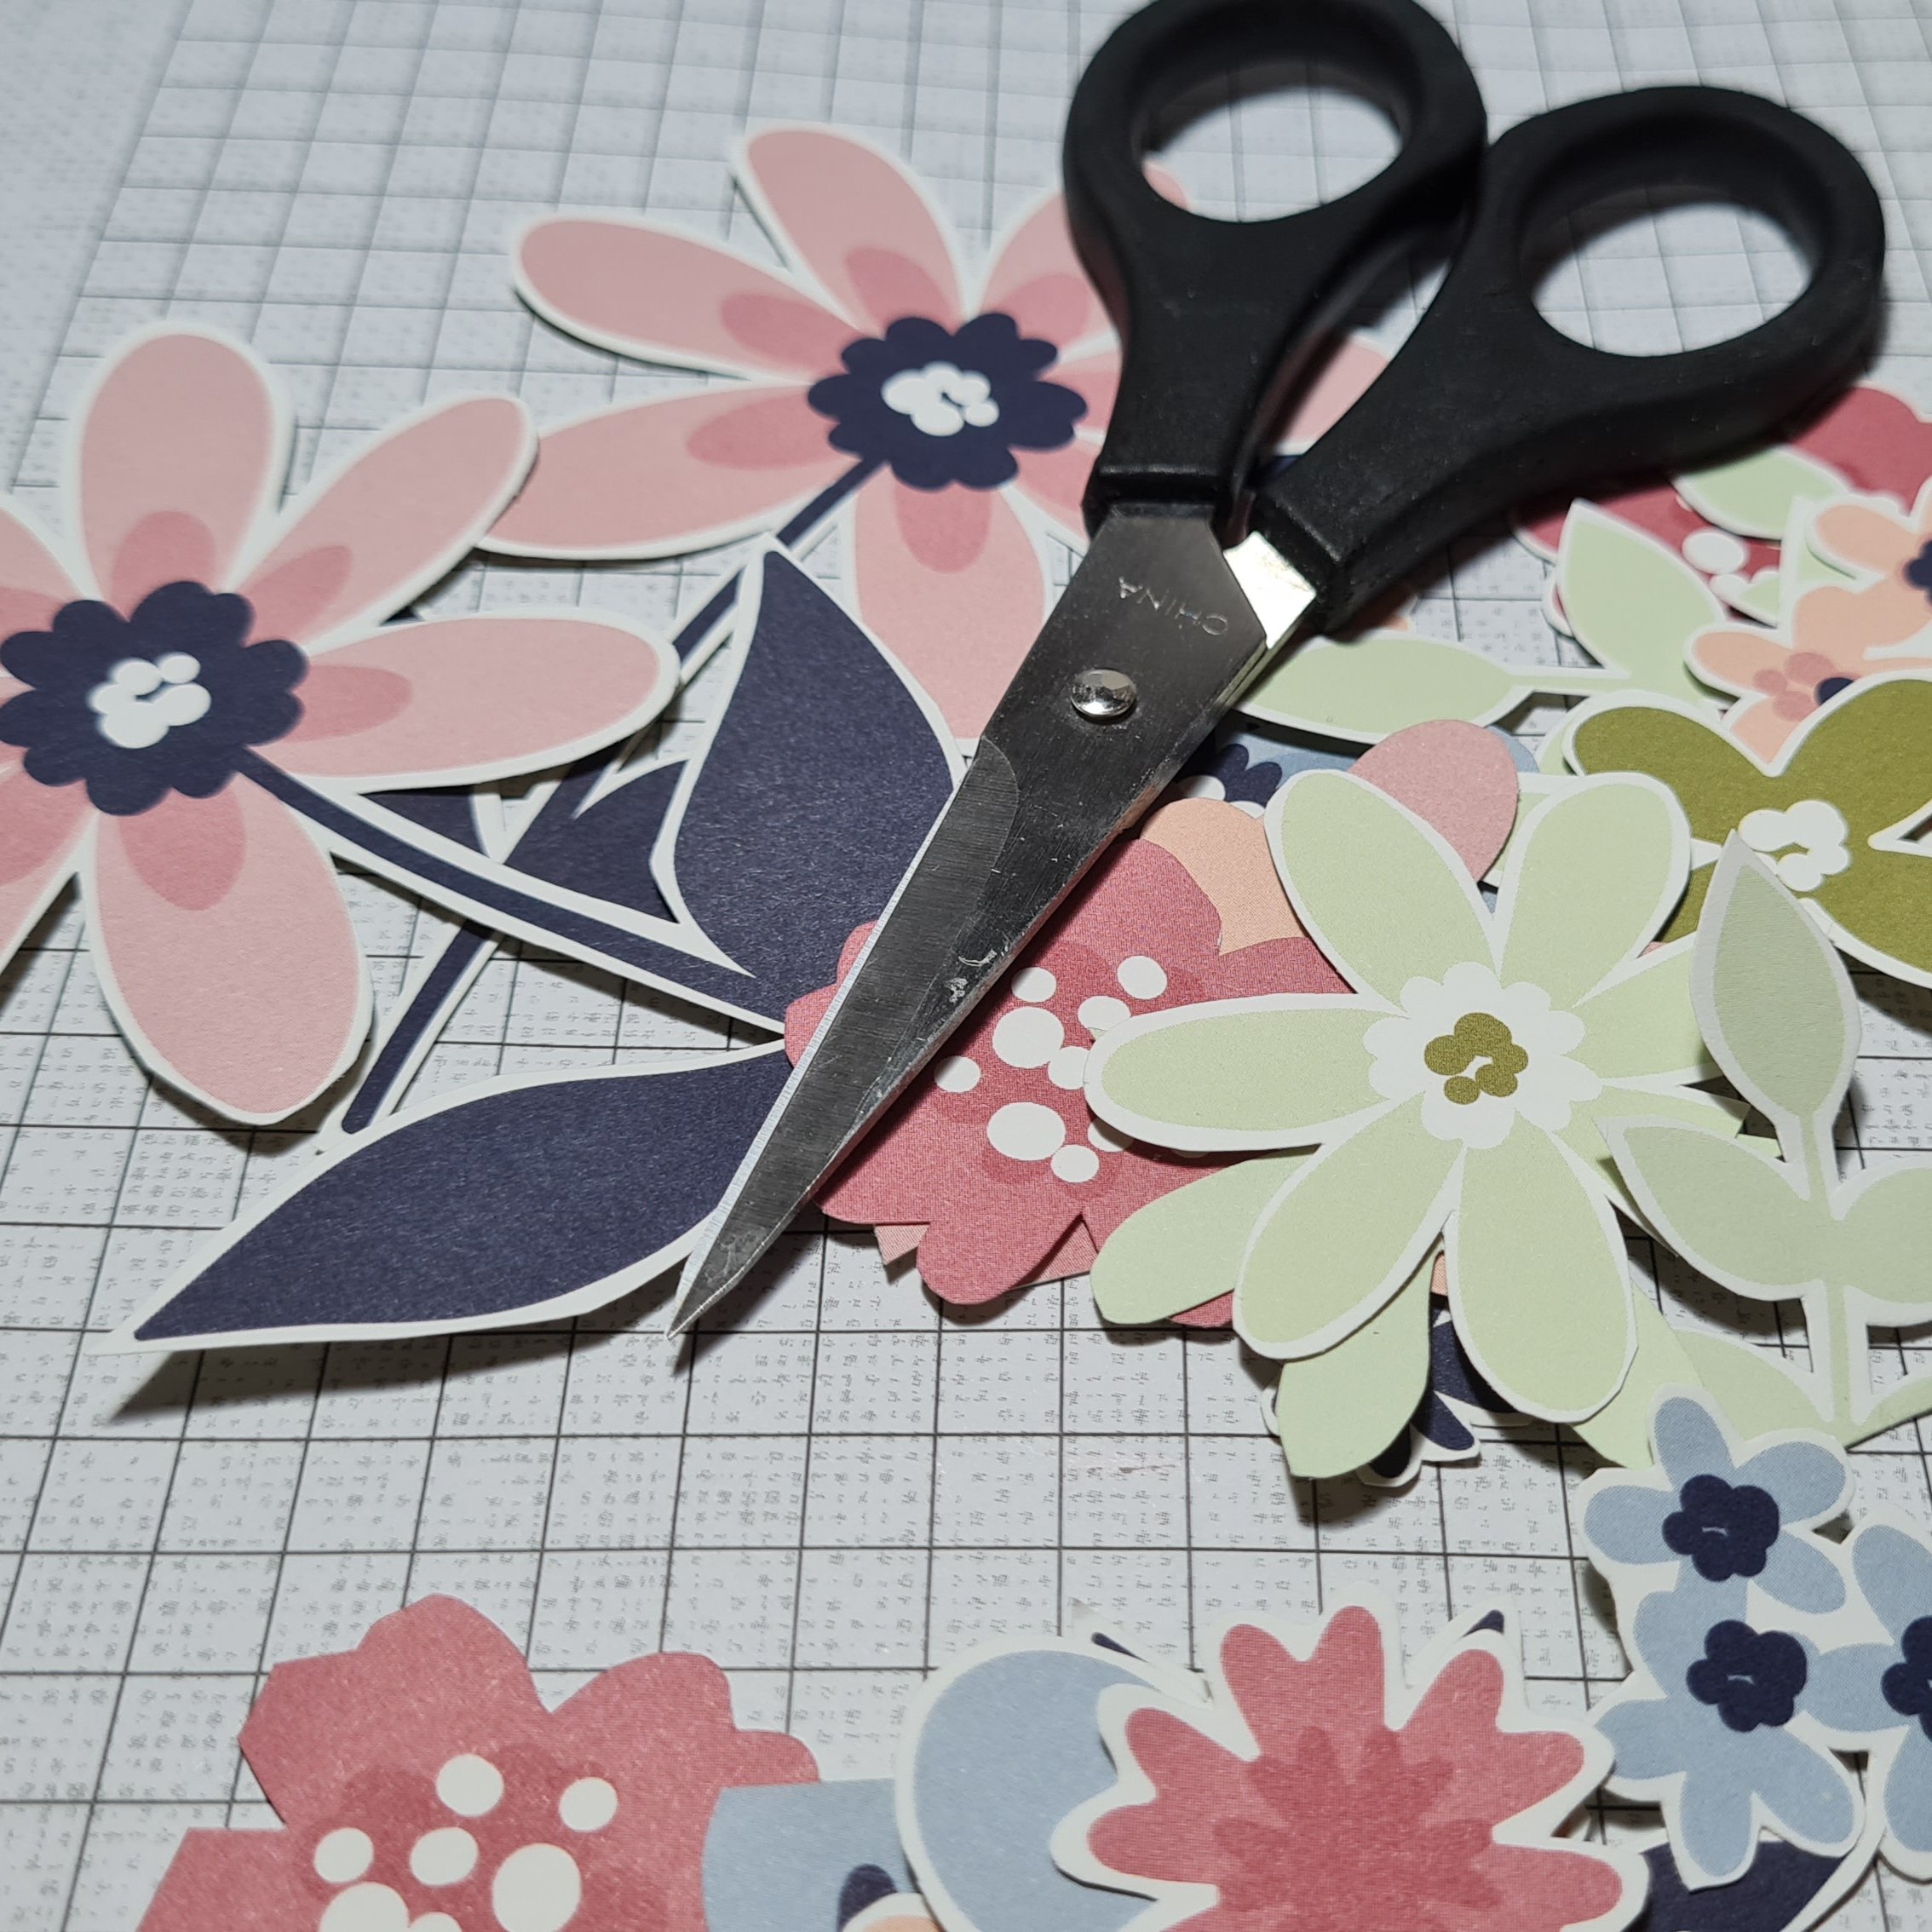
I decided to have fun fussy cutting and using some old dsp …
This was a half sheet of 12×12 so it have me a big pile of fun flowers to use. I also had half a sheet of one of the other pieces of dsp from the pack so used some of that in the background and as a banner strip.
I decided to have a bit of texture with the chevron embossing folder and then the sentiment strip across the middle raised with the larger flower as the focal image. Of course I used the Biggest Wish stamp set again to do this … I really don’t know what I would do without this stamp set!
I added some of the smaller flower images around the card too and then added the panel to the right hand side of the card.
Inside I added one of the other flower images I had cut out.
Love this … it was actually quite relaxing doing all the fussy cutting and I still have lots left so will pop them in a little pouch so I can come back and use them on another project another time.
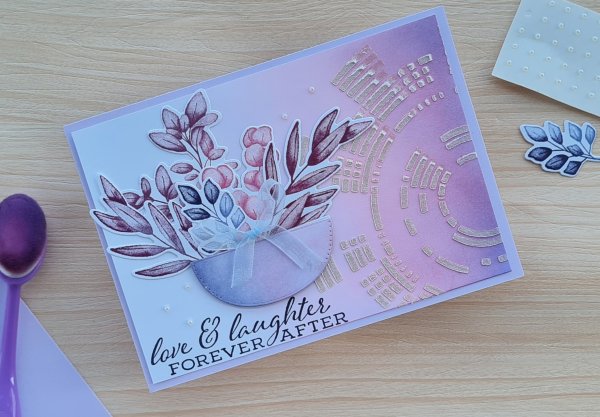
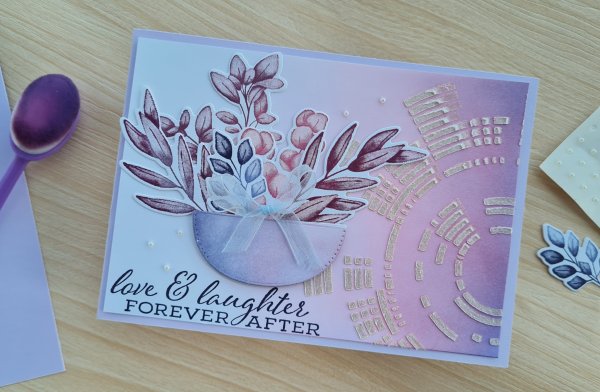
Played with some blending onto white cardstock and then added some stencilling with iridescent modelling paste.
Then I went to town with Forever Fern stamps and a few different coloured inks. I decided to make it into a card for my friend’s who recently got engaged (I unfortunately couldn’t go to their party 😔).
So I then cut a few of the bowl shapes from the Splendid Stems dies set and created a bowl of foliage.
I added a little organza bow and some pearls to finish off.
Not 100% sure about the placement of stencilling, think it might have looked better more central under the bowl of foliage, but love the final card.
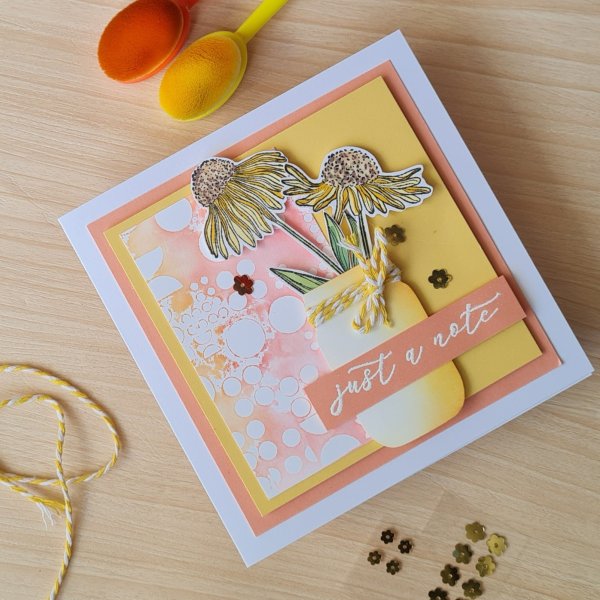
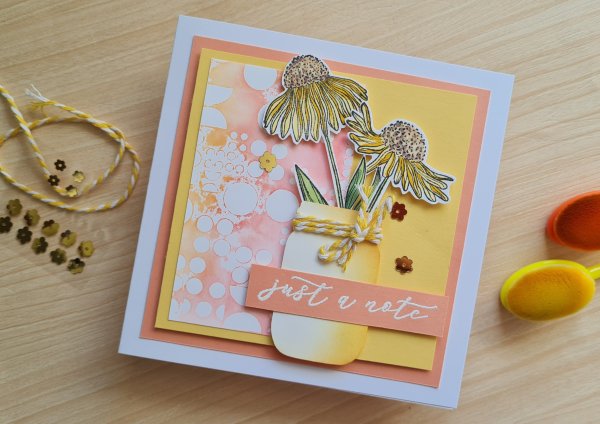
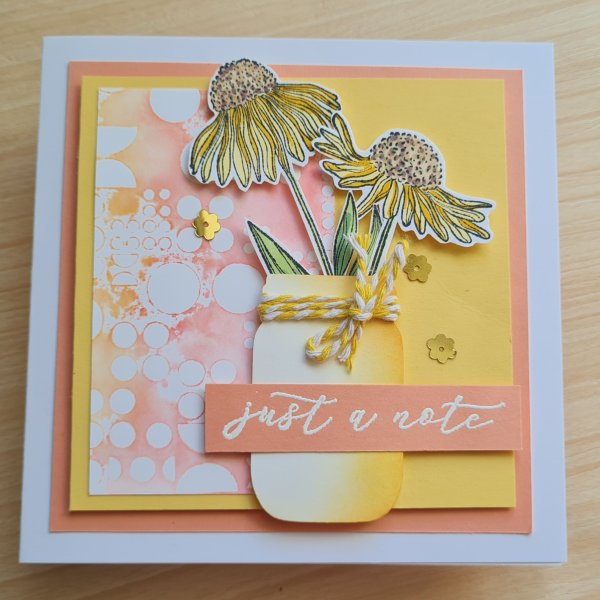
Hello! More playing with scraps of cardstock and this time a stencil and ink.
This time I grabbed a piece of scrap and after inking the Aall & Create stencil with some ink I spritzed it with water and then pressed the scrap onto it so it picked up the inks.
I trimmed it down into a panel and then decided on how to turn it into a card.
I decided to grab some cardstocks that worked with the stencilled piece and then stamped some flowers from a Creative Stamping set. I coloured them using my Stampin Blends.
I then fussy cut them out and then decided they needed a vase to put them in so grabbed some scrap, punched a jar and inked it with more colour to the right. Then I wrapped it with twine and added a little bow.
I decided to emboss a sentiment and then added some gold sequin flowers as embellishments.
I layered the jar and flowers with some foam and then the main panel with foam.
Love the dimension and the effect that the stencil added to the paper … a lovely watercolour effect but with the pops of white.
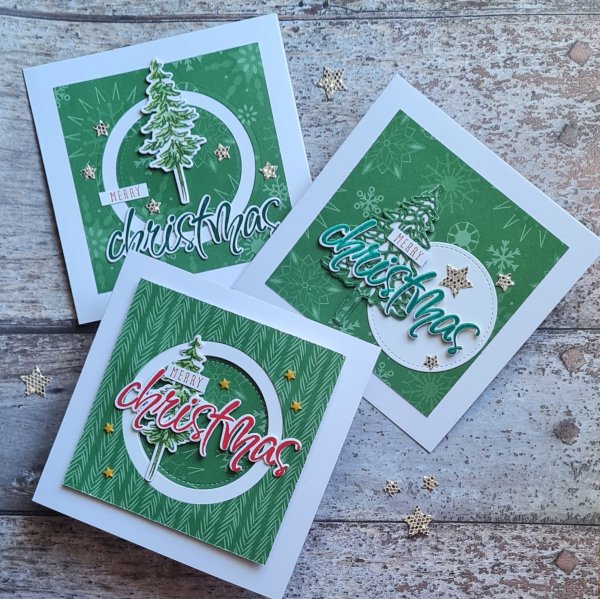
To be honest this project has taken me weeks as the current heatwave in the UK has well and truly zonked me out! I’m not really built for this kind of weather and my craft space is the hottest room in the house! Anyway… it started as playtime for the new Colorado Craft Company stamps and coordinating dies I bought …
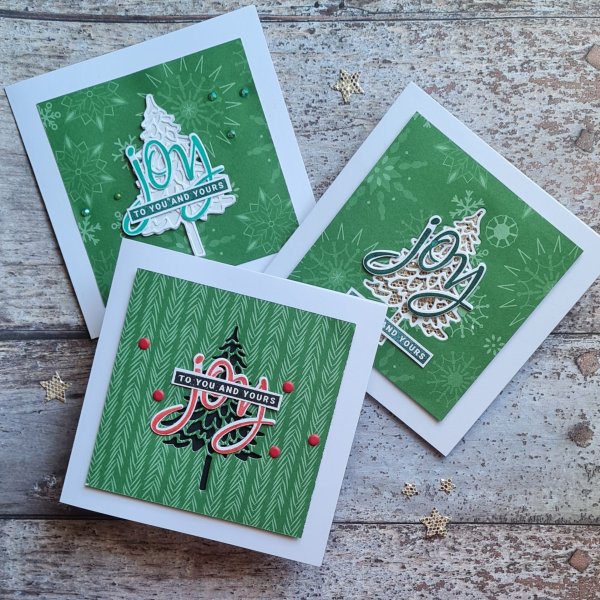
and then I wanted to use 12×12 sheet of dsp slightly differently as a OSW!
So I started by cutting the paper into 9 4×4 squares and then played with diecutting using the Stitched Framelits to create different shapes and designs for 6 of them and then the Pine Woods dies for the other three. I did end up with a few circle frames od dsp left at the end but otherwise very little waste from the dsp.
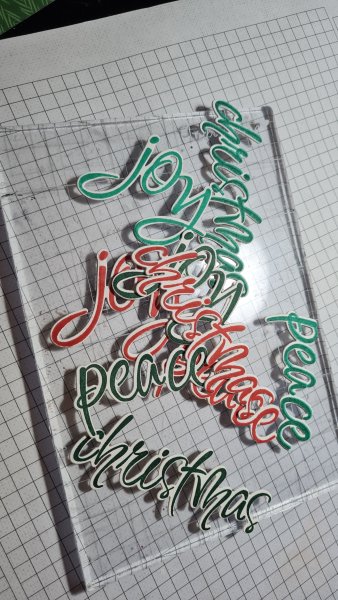
The main feature of course is the word stamps and dies which I am very happy with. Might try embossing them next time as I love the size of these words.
I then decided to do them in batches of three to make them similar but clearly each one different.
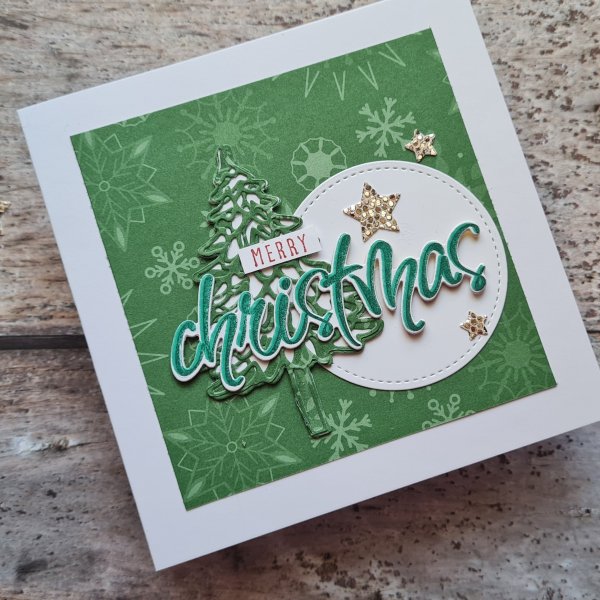
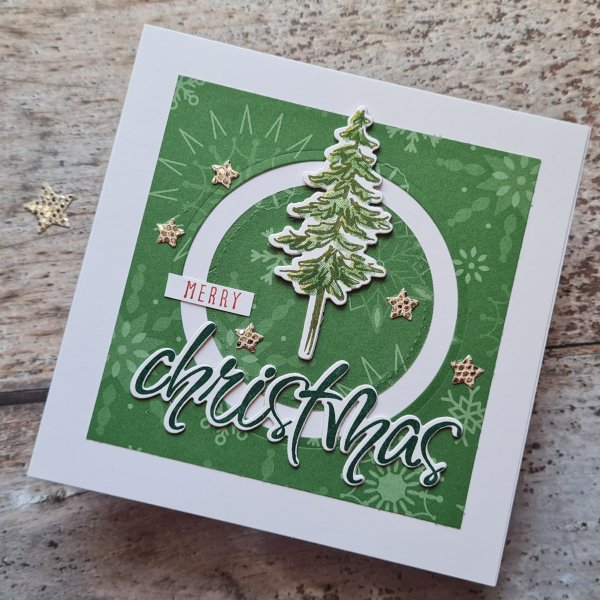
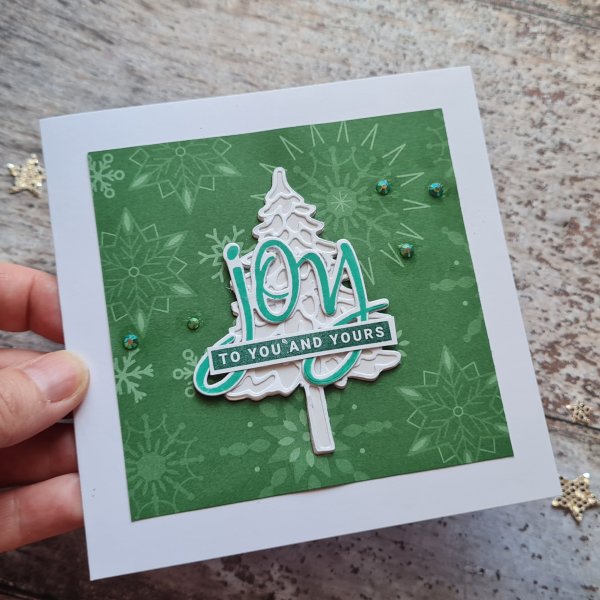
For the circles I made them all using the Christmas word and chose to add Merry from the Christmas to Remember set. I stamped and die cut a few trees from the In the Pines set and then the leftover bits of green dsp I die cut the filigree tree and added this to a white die cut.
I added die cut stars from the speciality paper I still have a few sheets of left from last year.
This final one I added more dimension to with foam under the frame element and then the tree and word were floating across the lower circle. These yellow stars are also old embellishments but I thought they made a nice contrast.
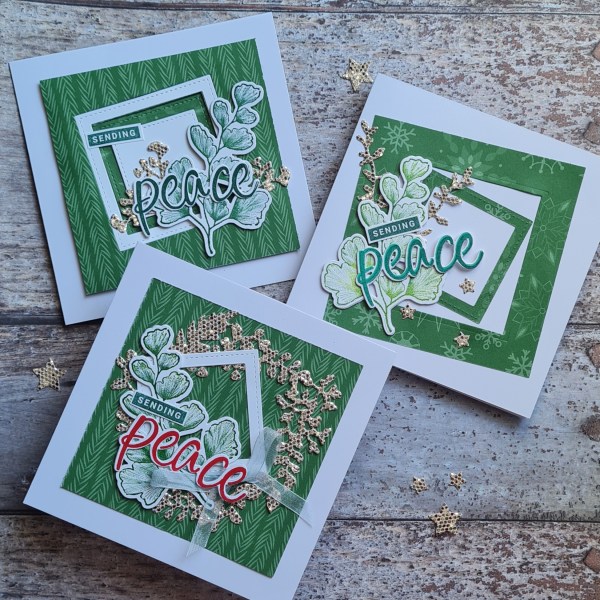
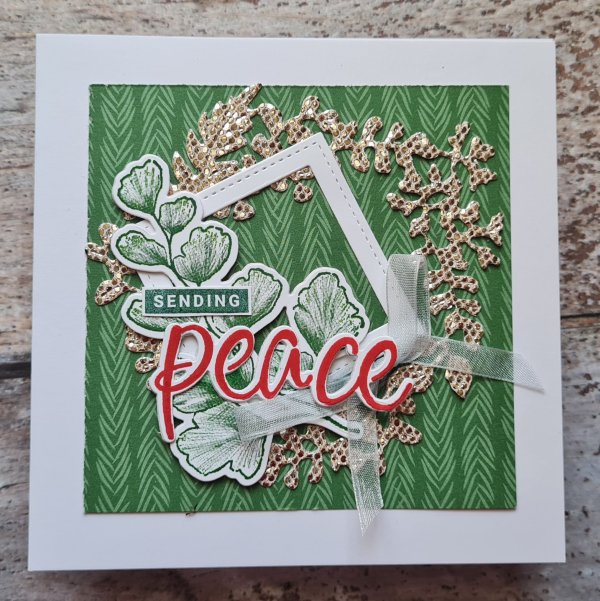
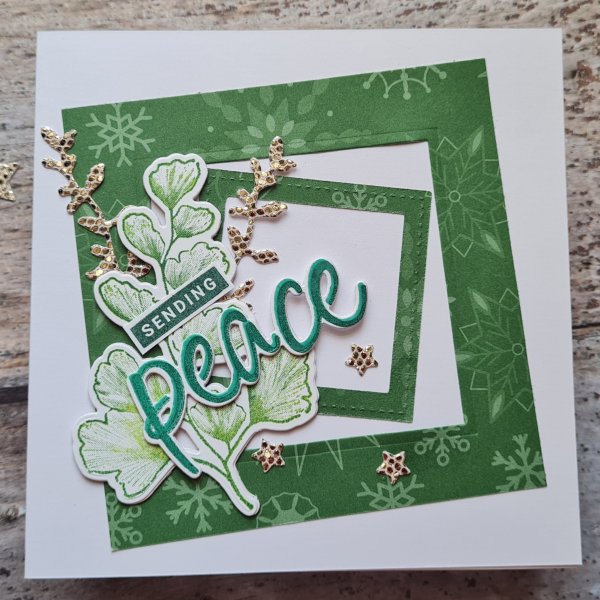
Now onto squares…
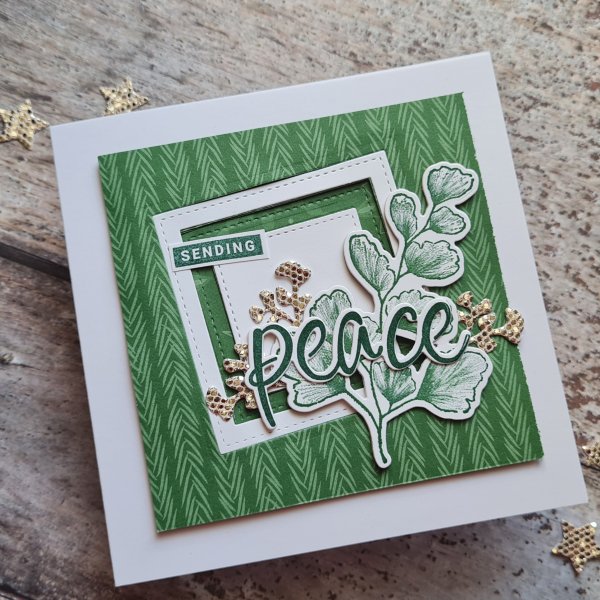
These ones I chose to use non Christmas stamps and dies to add decoration … the Nature’s Prints bundle. I thought the leaf worked well with the Peace word. I blended the ink on the stamp to give a more interesting stamped image.
My sending word was from the Peace and Joy set as I felt it just needed something simple with that large leaf and the glimmer paper die cuts.
As with the circles I added more dimension as I went along. This one had foam and triple layered squares to give some texture to the background.
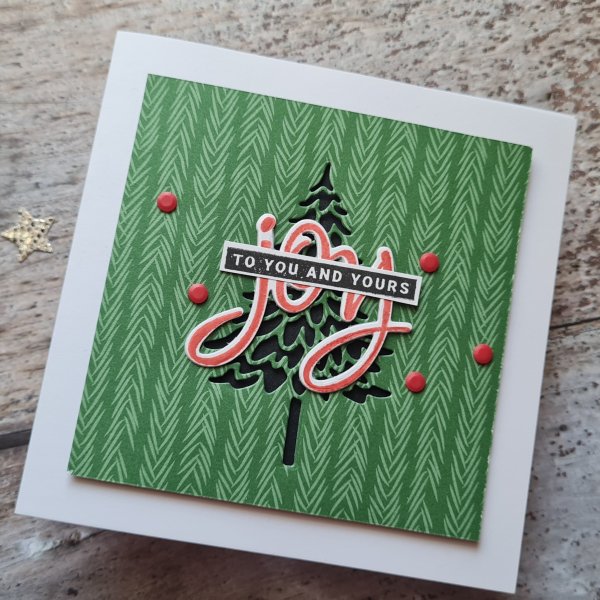
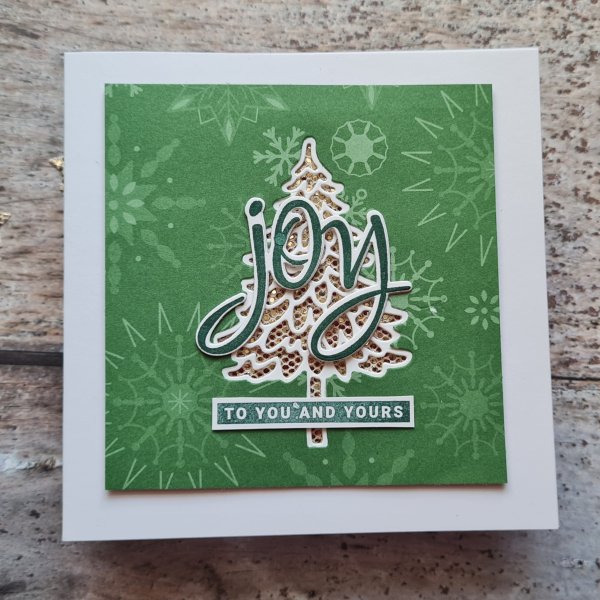
And finally the trees…
I love these Pine Woods dies. Especially the one that just cuts out the inside and not the outside edge so it creates a frame. This one I added black card behind and then foam to raise up the panel. Very funky!
The large solid shape die cuts out the full frame for the tree and so I die cut it from the dsp and then white for the filigree and this I could then inlay into the dsp. Behind it I added the glimmer paper for some bling.
This one I kept as an element on my base of dsp … probably the most simple to end on! But can you see the dimension on this and on most of the die cuts I used? I stacked most of them two or three high by diecutting extra trees or leaves and then adhering them together. It gives them dimension without squish like the foam would add and makes them strong so they don’t bend or warp.
So pleased with how they all turned out… now off for another ice-cream to try and cool down!
So I made a card that involved lots of ink on a stencil, so I put the ink to use by spritzing with water placing the stencil onto card and running it through my Big Shot to transfer the ink.
Of course this is glorious and required using!
I decided to use some die cuts I already had cut from scraps choosing a rainbow of colours and different shapes and placed them in a circle cluster… but then decided what I needed to use was a black and white flower from True Love dsp (I’ve nearly used all of this up now and not sure what I will do without these trusty flowers to turn to!)
So fussy cut a few flowers and stuck them in the middle with the rainbow of leaf die cuts coming out from underneath.
Because I hadn’t used blue for the leaves I decided that should be the mount for the sentiment that was the tiny sentiment from Happy Moments.
A few little gems and that was a perfectly pretty rainbow themed bonus card!
Hello! Hope you are having a good day and thanks for popping by to see my blog.
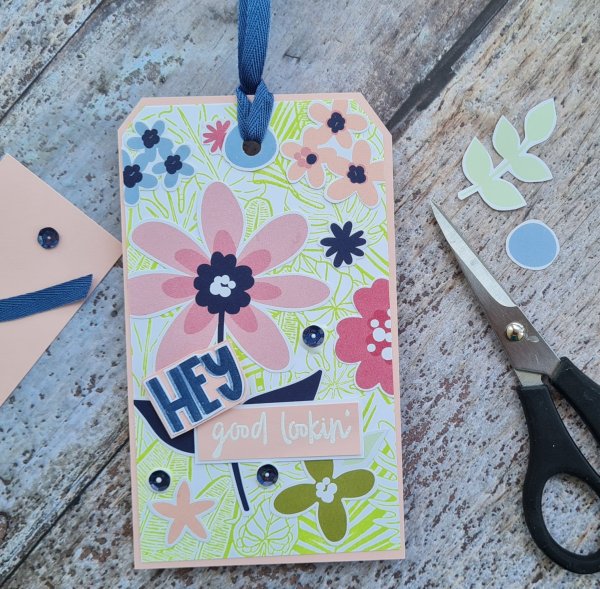
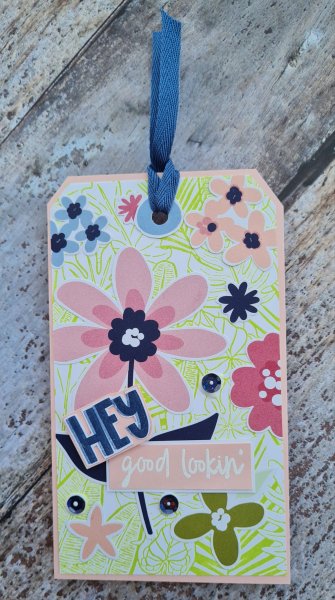
Today I have a tag I made for the UK stampers forum swap over on Facebook. I love making tags from bits and pieces I have on my desk and I decided to grab some of the flowers leftover from the card I shared a couple of days ago as the main images on this tag.
However the rules of the UK stampers forum is to include stamping so I grabbed the Tropical Hideaway background stamp and Parakeet Party to give this a fabulous stamped and bright background. I then added the fussy cut paper flowers.
Next to decide on a sentiment for the tag and this time I chose the saleabration set Amazing Phrasing and from that made my sentiment.
I did pop the Hey up on foam to give some dimension. Then I hunted through the ribbon box and chose this leftover ribbon which coordinated with the flowers. I decided to mount my tag on a slightly larger piece of the Petal Pink as it felt like it needed framing and this worked well.
I finished off with three sequins that are a dark iridescent navy colour.
Hopefully the swap recipient will like this bright and cheery tag!
Todays card was actually inspired by Martin from a Christmas card he made … my result is very different but I think you can see where the inspiration came from.
Look at the colour on this!
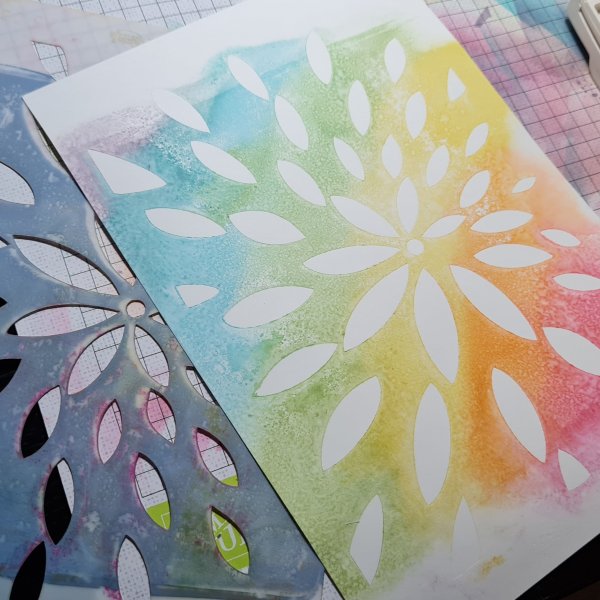
I am so pleased with this one I have to admit. So I started with a square of white cardstock and inked it up using a rainbow of colours… the tip to this kind of inking is to keep adding more and going back and forth with the colours so they blend and a decent amount of ink is laid down.
Then I laid the stencil over the top (think this is a Claritystamps stencil) and went back over the colours again adding more yellow where the yellow is, green where the green is etc.
Then when the stencil is removed you get the stencil pattern darker than the background.
This does leave a fair amount of ink on the stencil … so I sprayed it and then ran it through the Big shot to adhere the ink … hey presto a second background created … put this aside for now but sure it will make a pretty card sometime soon!
Back to the actual card… Once I had trimmed it down a little I decided to make a mini shaker and to add a black and white butterfly as the main feature … to be honest I just wanted to enjoy the background! Lol!
I ended up watering down some black gesso and splattering and then die cutting and stacking lots of the black squares to make the shaker element. Then I added some of the die cut stars I had in a pot on my desk and added those both inside the shaker and added a few on the outside too.
I used the Butterfly Brilliance stamp and die to create the butterfly and then grabbed the Lawn Fawn stamps and dies for the sentiment.
I mounted the panel onto another piece of black then onto a 6×6 card blank.
Love how this came out … so vibrant and fun. Looking forward to creating with the bonus panel too!