Hello! Thanks for popping by. I have another design team creation for Creative Knockouts using an image supplied by Pattie’s Creations. The theme for this week is Christmas in July and so I chose to use the Jingle Bells Trio. The joy of digital stamps is you can make them as big or as small as you would like for your creation… and I decided to go quite big!

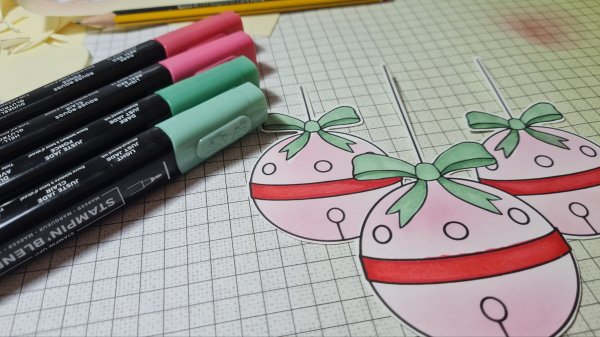
I wanted some soft colouring for my bells so went with masking and ink blending to make it soft and with a bit of a gradient.
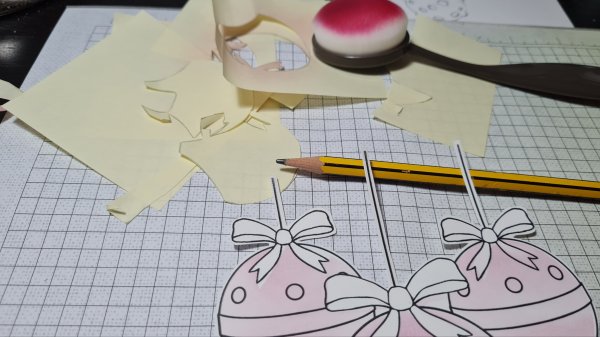
I then used my Stampin Blends markers to add the bows and the central ribbon and then fussy cut them out.
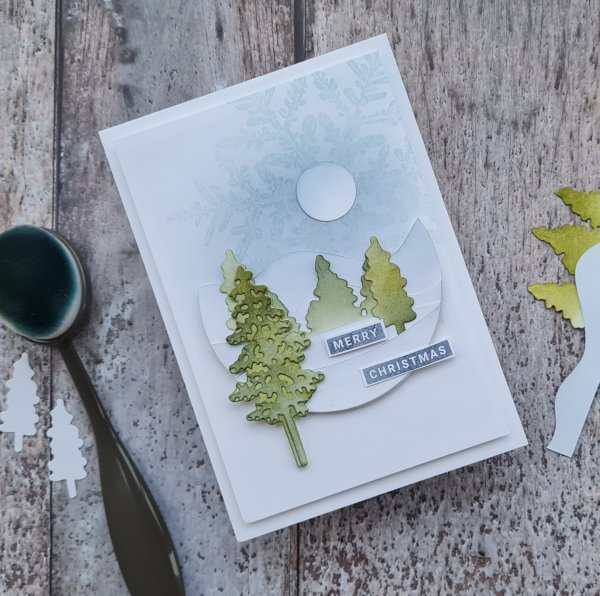
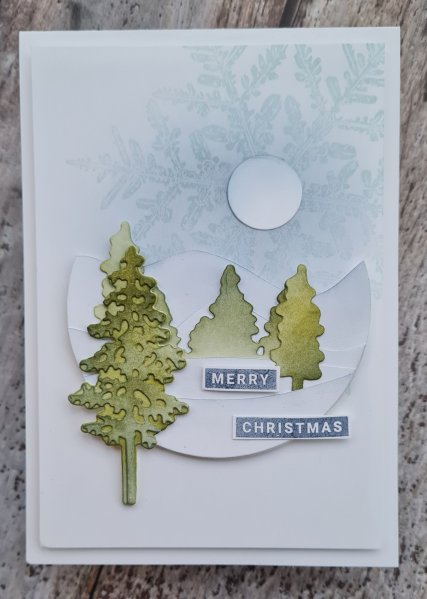
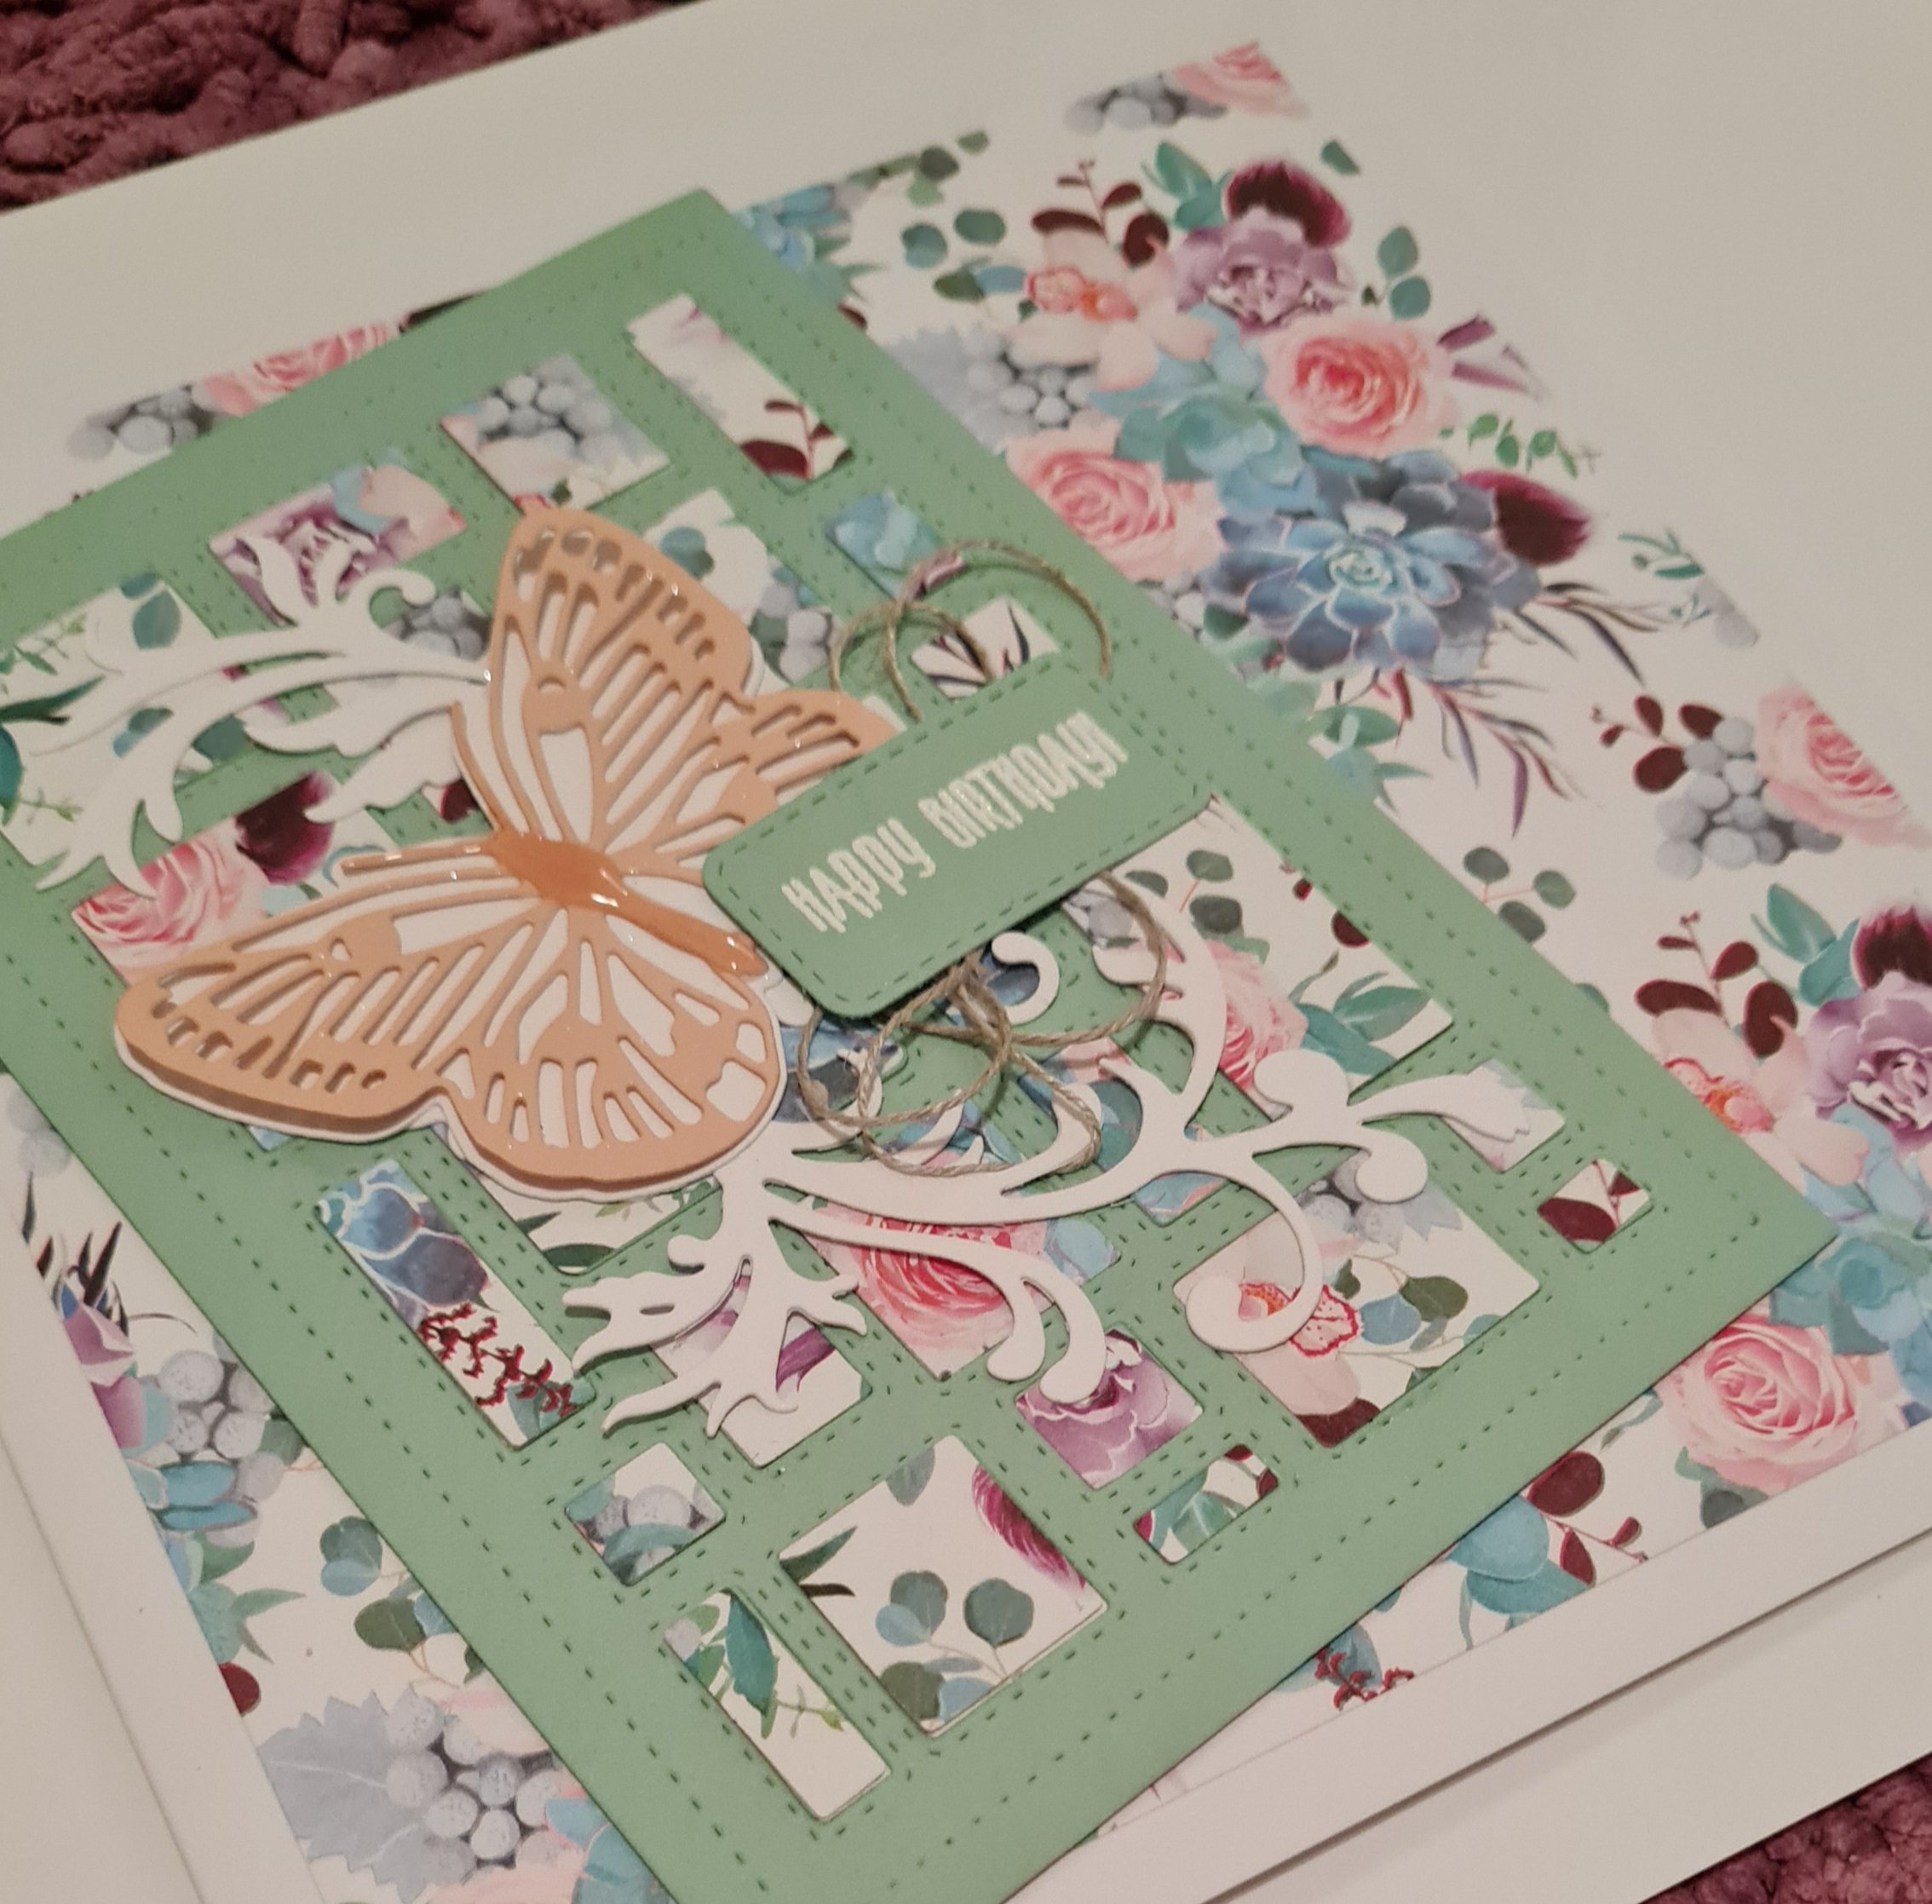
I have been watching a lot of Jennifer McGuire videos recently and so I fancied having an aperture in the card.
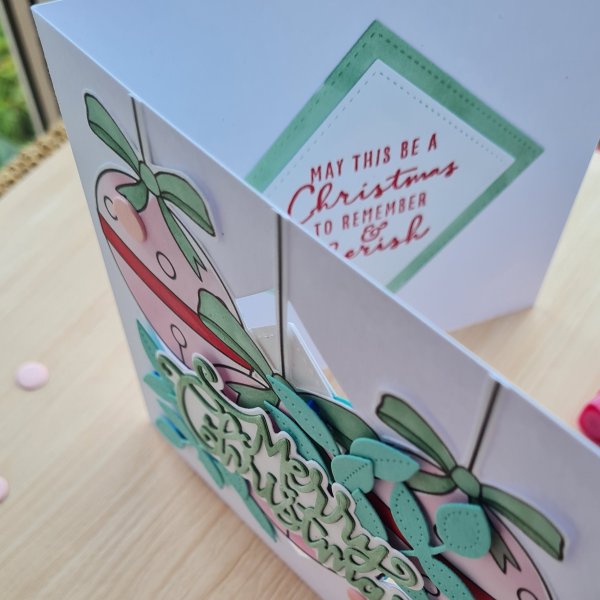
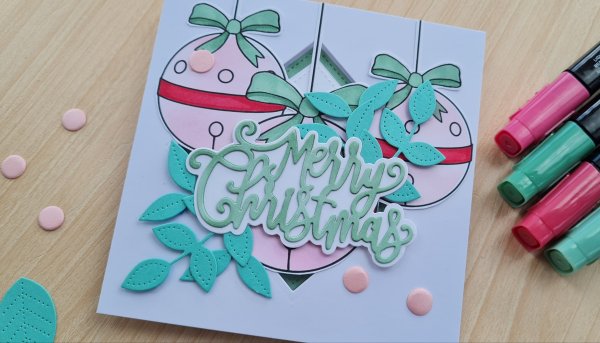
I used my stitched shapes framelits to create the aperture and then adhered the bells over the top … I wanted however to add more dimension so I grabbed the Tonic sentiment die and cut it a couple of times to stack for dimension and coloured the word part using the same Stampin Blend markers.
But when I put it in place I felt it needed something more… I must have been in a more is more mood! So I went a little mad with the Pierced Blooms die cut leaves both on the front and inside the card!
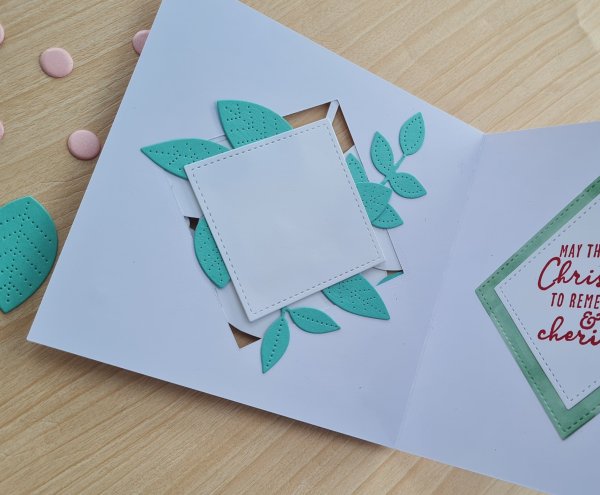
Inside I added a couple more die cut framelits onto one I added a stamped sentiment from Christmas to remember and the other I coloured using the stampin blends to keep the colour scheme going.
I finished with the Card Candi in pink to pick up the soft colouring of the bells in the background.
So the digital stamp became more of a background rather than the focal image, but I think that shows the versatility of using digital images in your projects. Plus this is totally different in the end from how I had imagined it in the beginning … funny how that happens when you just have fun creating!
Happy crafting!
Catherine