I am an on-the-side and increasingly up front papercrafter who loves nothing more than getting inky and creating pretty things with paper and stamps!
I am also a wife to lovely hubby and mummy to a wonderful 14yr old princess.
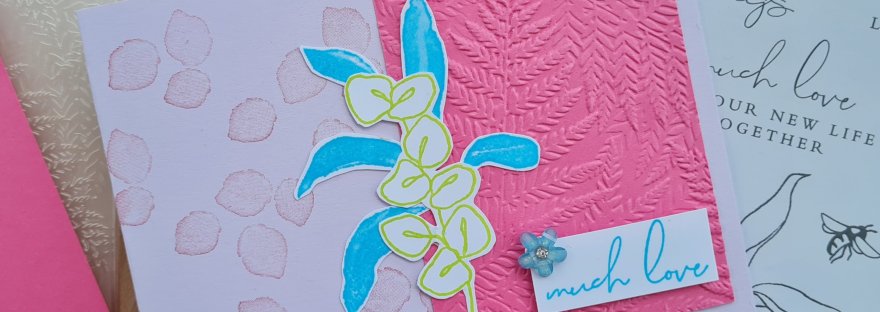
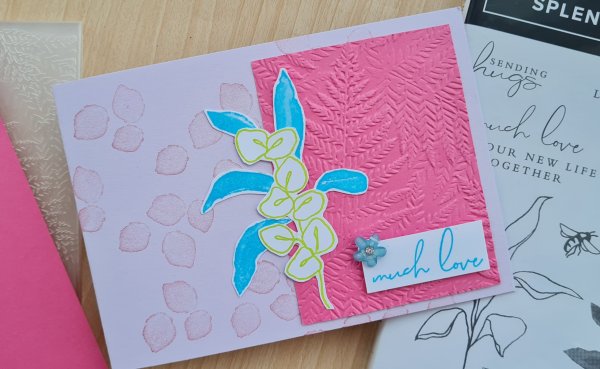
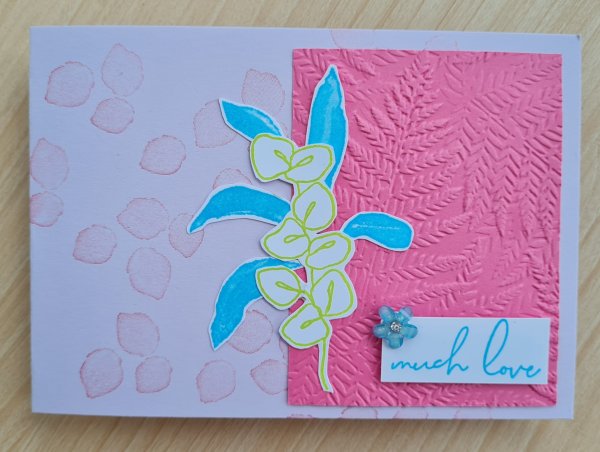
Yesterday I decided to make a card with just some bit’s left on my desk … so some stamped elements from Splendid Thoughts, some leftover cardstock in Polished Pink and Fresh Freesia and the Fern embossing folder … and this is what I came up with …
Really simple and the only thing I had to get out of the stash as extra was the little flower gem that I must have had for many years in the stash and it seemed like the perfect moment to add it to my project!
I did stamp the background of the card blank with the little Petal type stamp to give it some interest. With hindsight I wish that I had also added some ink blending to give it more depth… but hey, hindsight is a wonderful thing!
I am really liking the Fern embossing… such a lovely new addition to my craft stash, and those Splendid Thoughts stamps are great. Love how you can use just parts of the sentiments too as they aren’t too closely set to mean you can’t fussy cut them , or snip them apart!
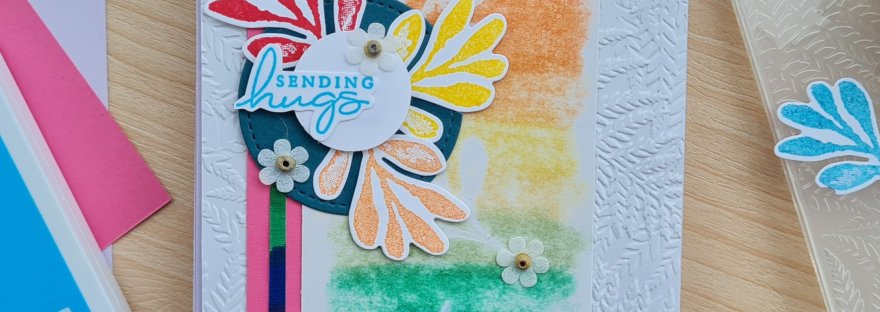
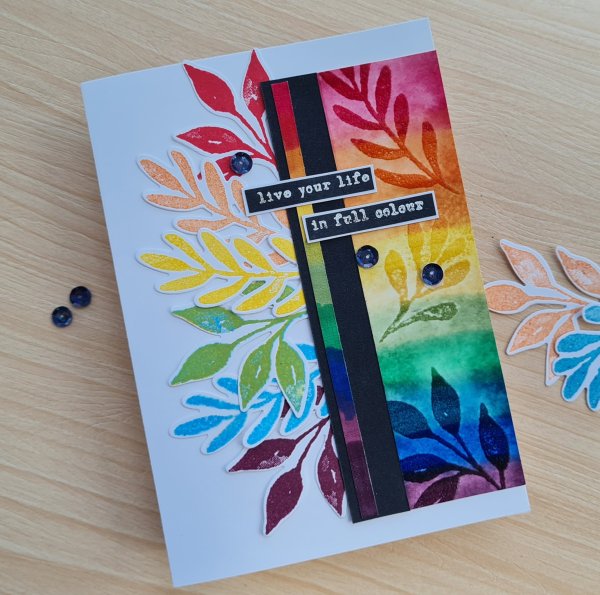
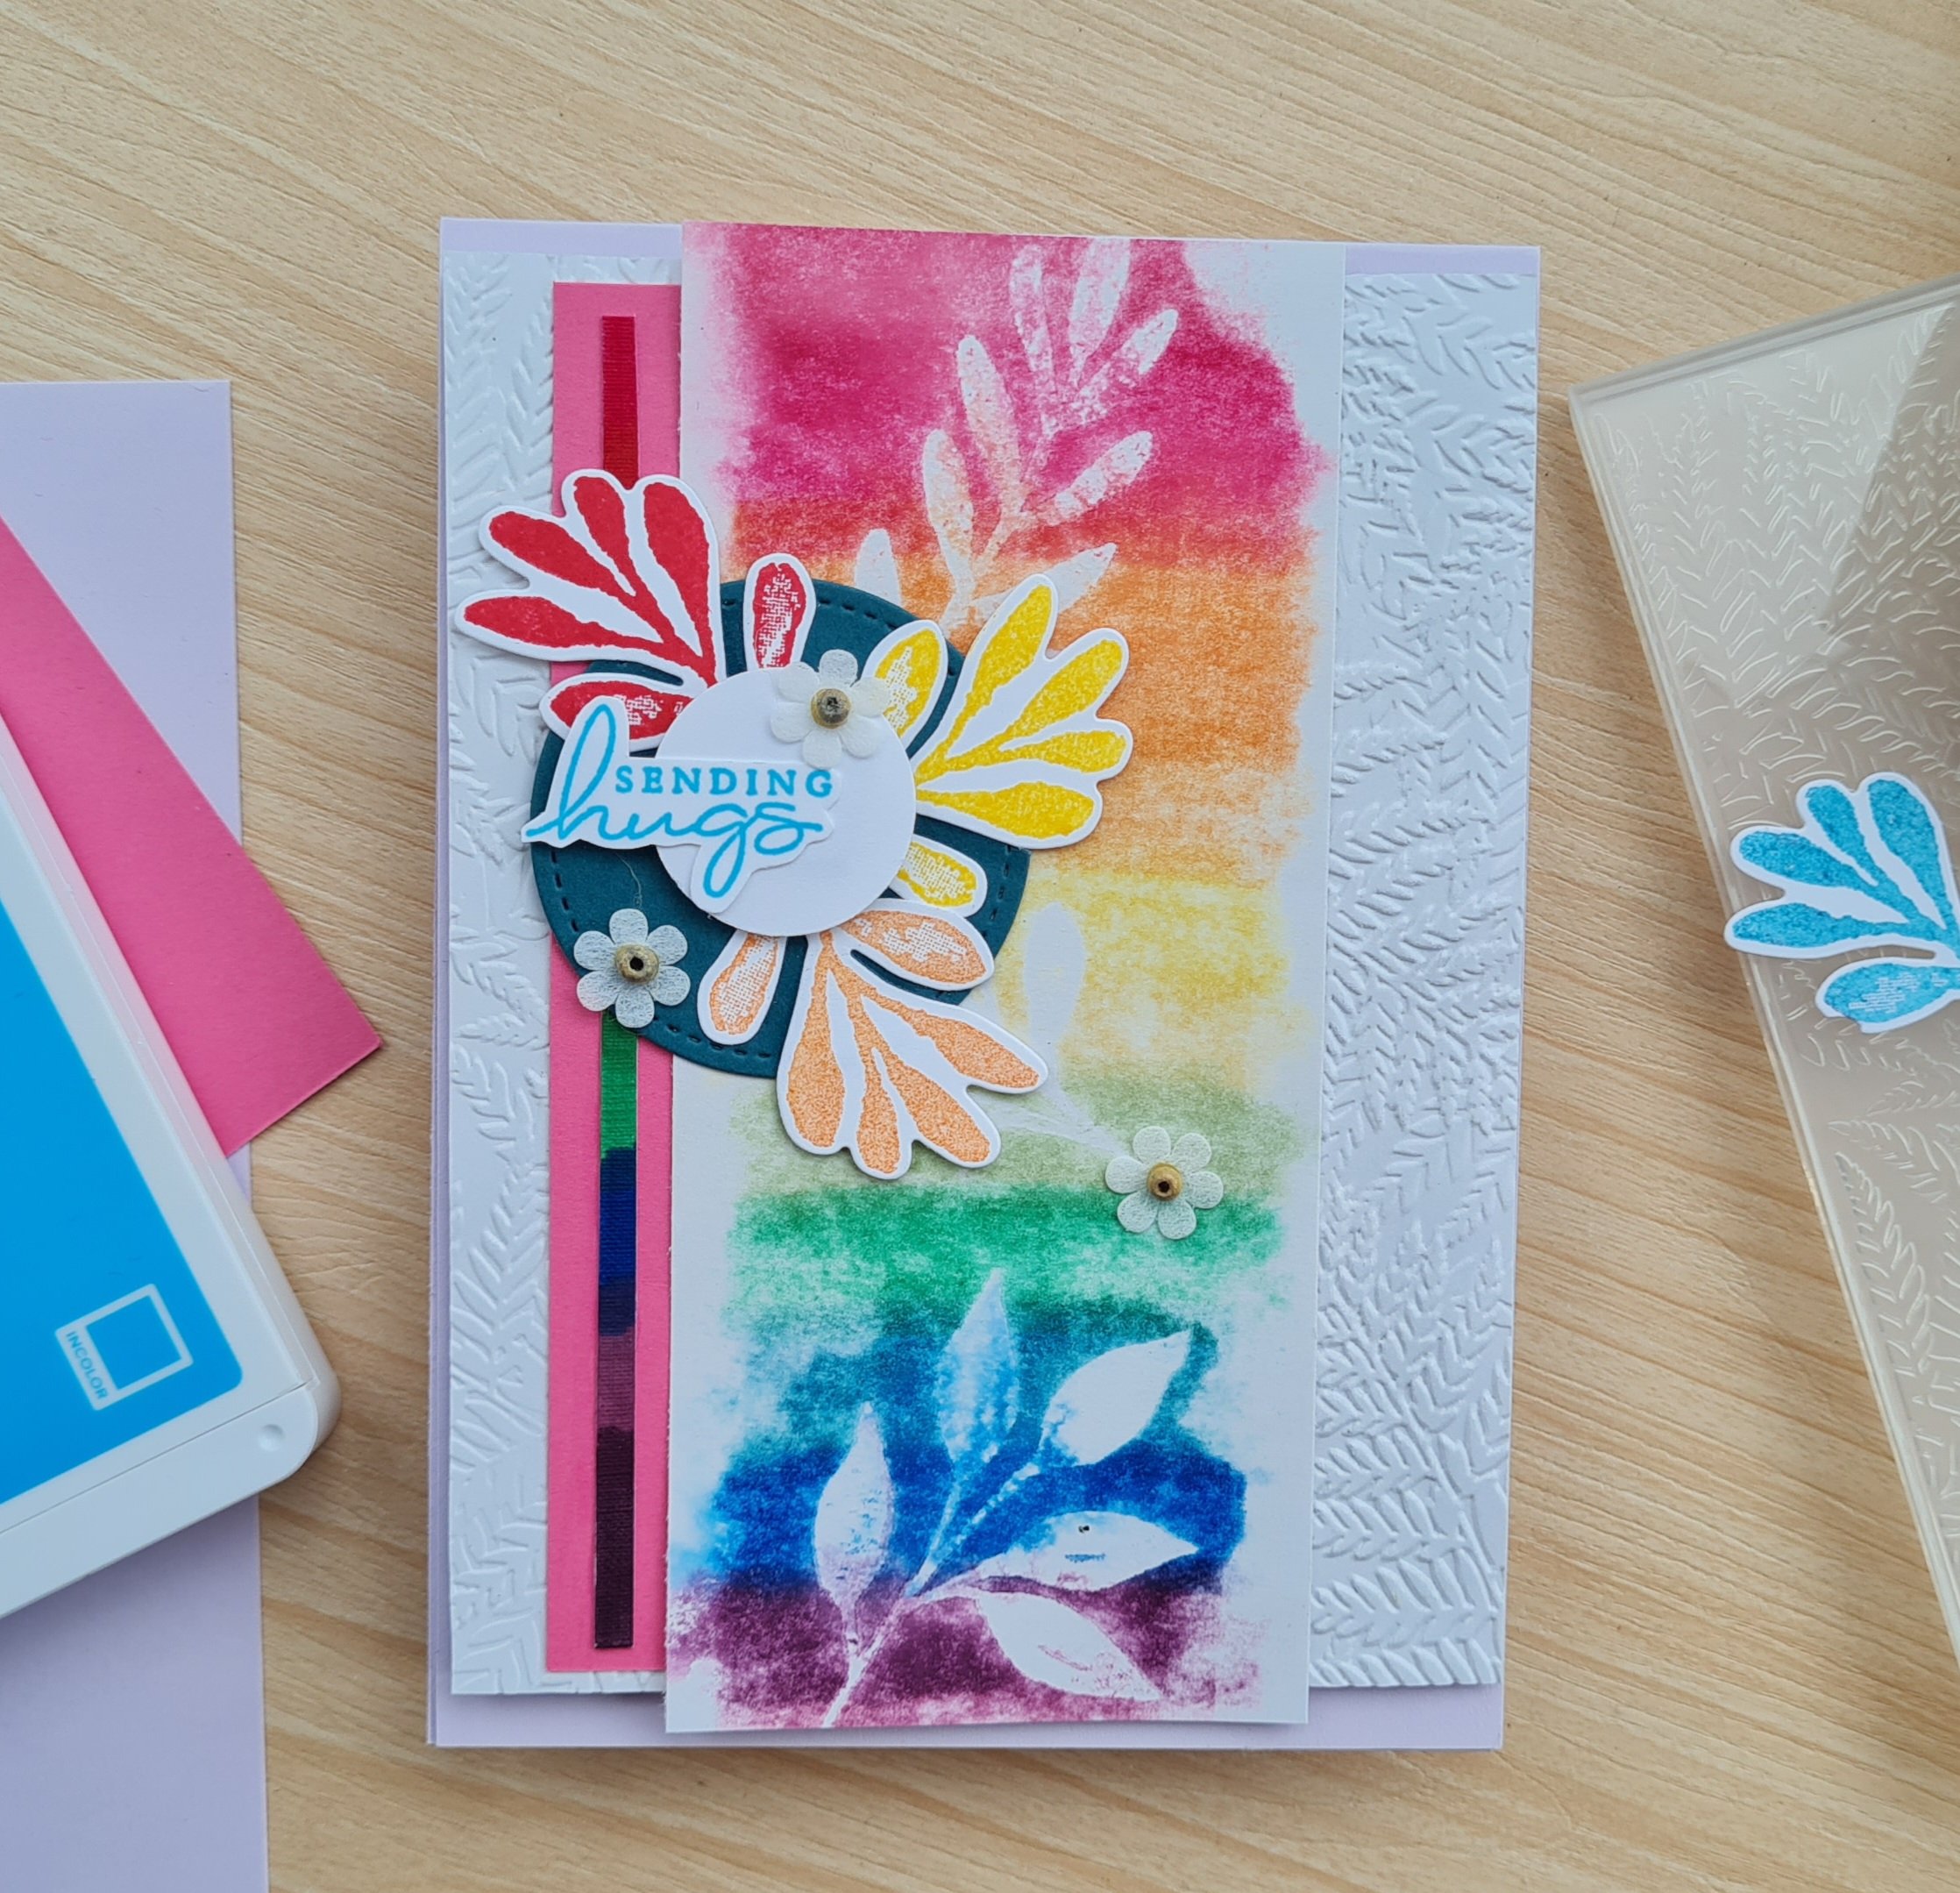
I was watching YouTube videos and stumbled across this one from Jennifer McGuire. It inspired me to have a play with my Stampin Write markers and use the foliage stamps from Christmas Season set to create some fun rainbow coloured cards. 🌈
This first one is the first piece where the colour is laid down, the images stamped on with Versamark and embossed and then the water applied with a clean sheet of paper over the top before running it through the Big shot.
This is the more intense colourful piece and the images are dark where the colour is trapped beneath the embossing.
To this card I added the images stamped and die cut in all the different rainbow colours down one end and added the black contrast (including a Funky Fossil embossed sentiment). I also added a strip of the cardstock I had added the markers to for a rainbow strip! Finished it off with the sequins for some sparkle.
The second one is the print I created when the water was applied to the first and this white paper added to the top and then run through the big shot. This meant the images are left blank (except the natural bleed of colour) and the colour is soft around them.
This one I added the strip of cardstock I had coloured, plus some Polished Pink cardstock. Then decided I wanted the background panel to be embossed so used the new Fern 3D embossing folder to create some nice texture.
I also wanted a cluster of for the focal element so use a die cut circle of scrap Tranquil Tide and three stamped and die cut leaves behind a circle of white and a fussy cut sentiment. I then added some of the cute little flower elements from my stash as embellishments. I then used a Fresh Freesia card blank as the base.
Love how both these cards looked and how the technique worked. I think I need to experiment more with more ink types and a slightly different papers to see how they all react but definitely a fun technique. I must admit I love the way Jennifer explains techniques and her cards are always so pretty … certainly jealous of her craft supplies collection and in awe of her talent!
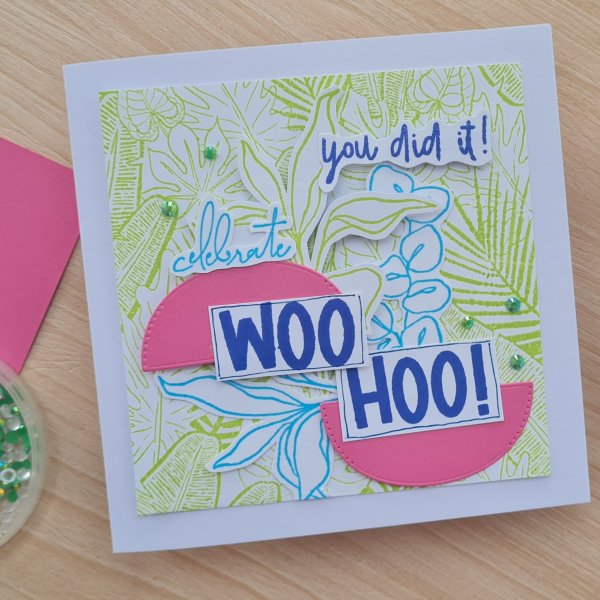
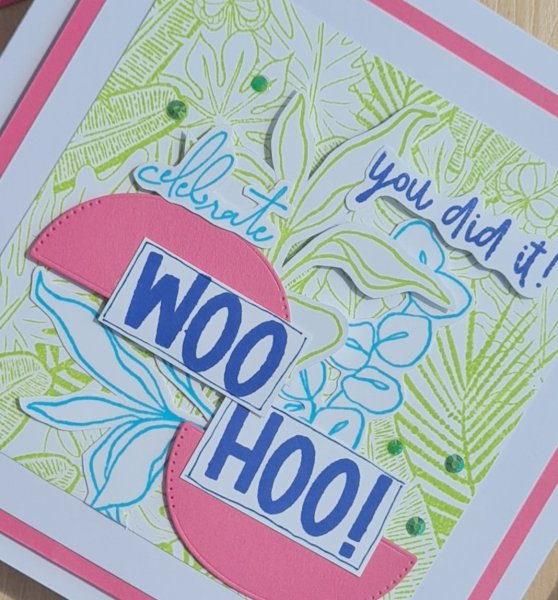
I got some new stash to play with and I made a card for my daughter to celebrate the end of her exams … because yes we got there!
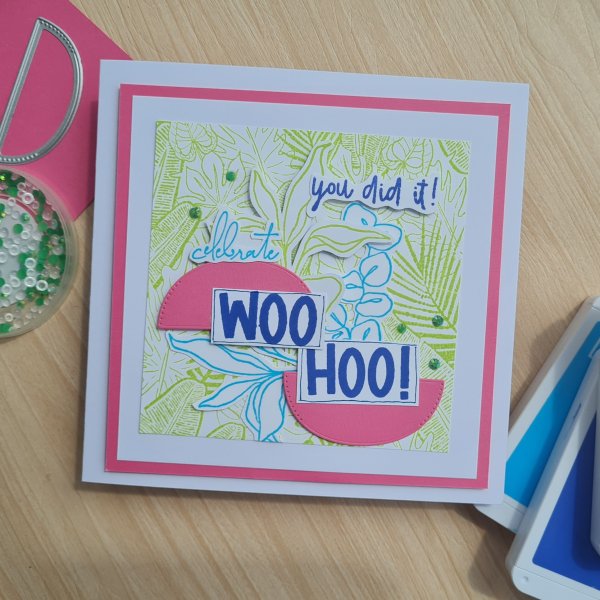
I started by stamping the Tropical Hideaway background in Parakeet Party (I love this colour … it’s so fresh!) then some of the leaves from Splendid Thoughts in both the Parakeet and Tahitian Tide. I decided the card needed a pop of pink then so die cut the bowl shape twice from Polished Pink.
Then I grabbed the Amazing Phrasing stamps that are from Saleabration and stamped the Woo Hoo! and the You Did It! in Orchid Oasis … yes using lots of the In Colours on this card!
I layered them all up and added some dimension with foam under one of the sets of leaves and the bowl shape piece. I then added some gems for bling.
I then wrote inside the card and it got messy and smudgy and I ran out of space so I ended up cutting the card front off… adding a panel of the Polished Pink and more foam and adding it to a 6×6 card.
This time my inside writing went fine and job was a good’un!
So you can see both the original and the final card… what do you think? I think the extra pop of pink on the final piece is actually better and helps frame it all … so a happy accident!
Today I have a final card made using the last of the Boho Indigo kit that I found last week when I was tidying up … it was all bits and bobs that I got in a pocket letter from a crafty friend.
I decided to team it with a few cards from the Memories and More kit.
It might have been a bit mad to have so many die cuts framing the main part but I really love how it came out.
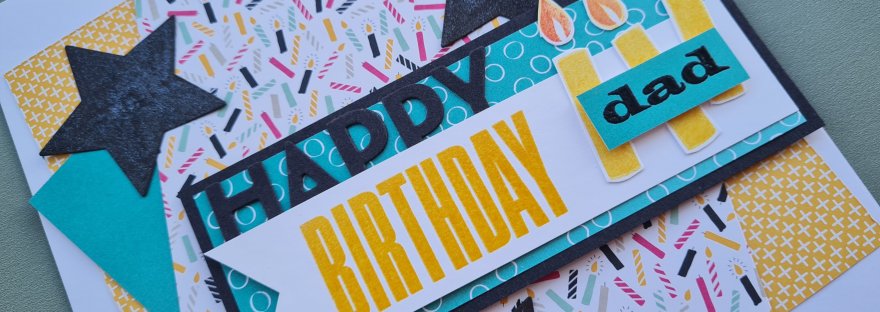
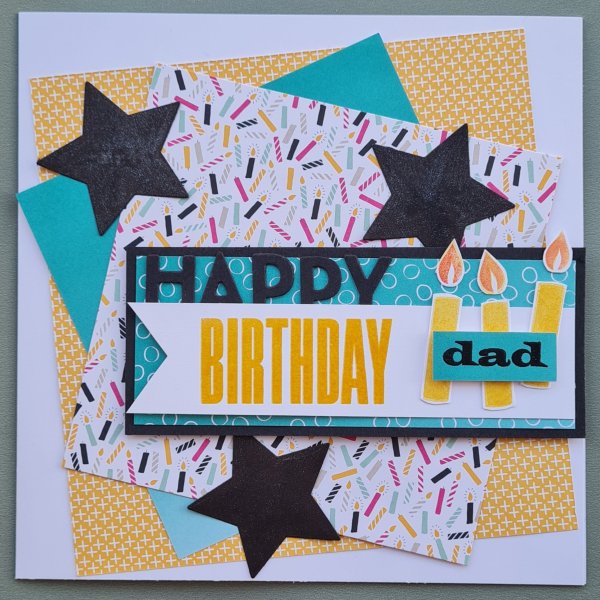
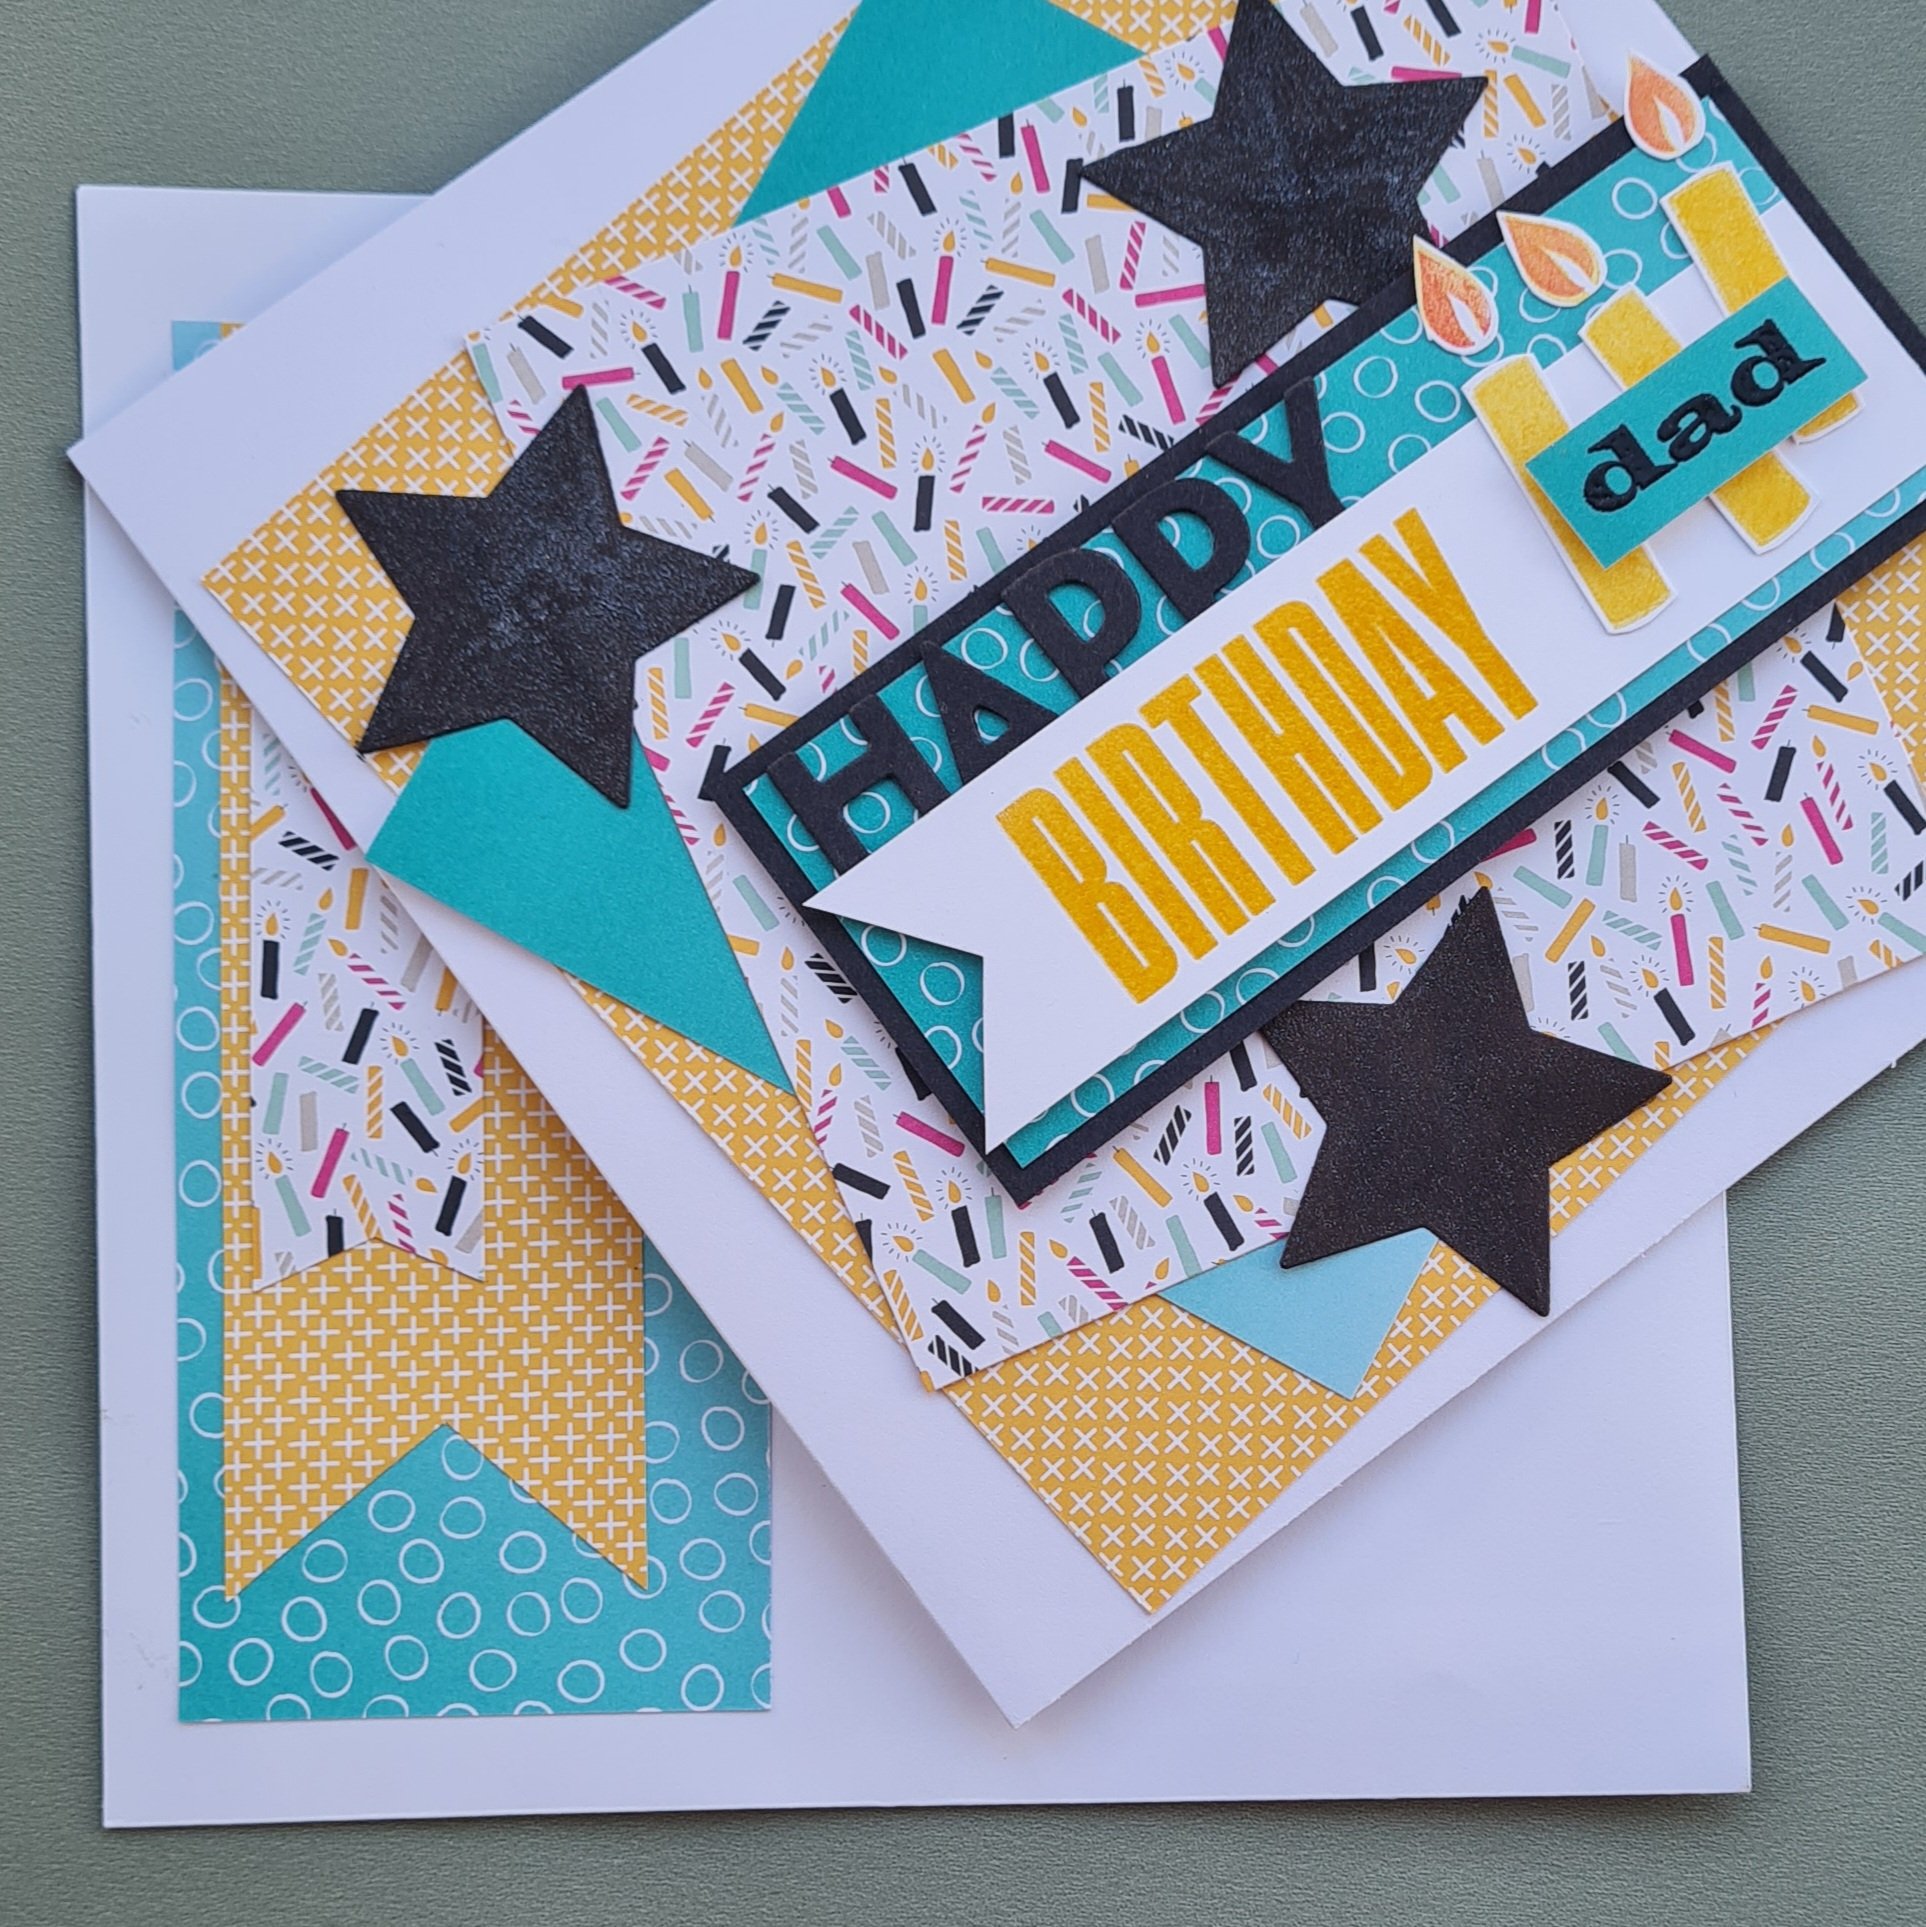
Frustratingly my Dad’s birthday is always very close to Fathers Day and so I always try to make a completely different style of card for his birthday than I made for Fathers Day. Fathers day this year was all wood and brown elements… so for his birthday I went bright and colourful with dramatic black elements instead!
I found this very old dsp lurking in my box of papers and I am trying really hard to use up old stash when I find it… so the paper with candles and the yellow is from the same sheet of 12×12 (the joys of double sided dsp) but I had no other papers from whatever set it was from so decided to add in pieces of the 6×6 Oh So Ombre I had left in my stash too.
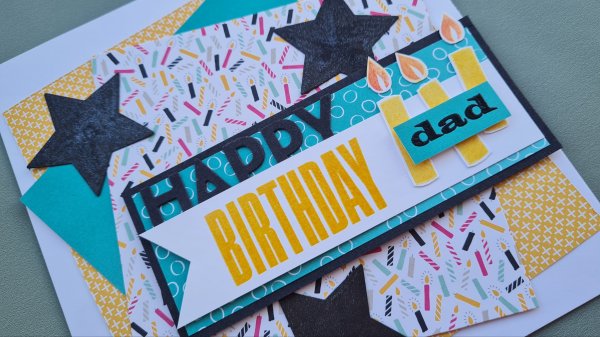
I decided to pick up on the black in the candle paper to add some black elements… the stamped Dad, the die cut stars and the die cut Happy.
The Birthday and the candles though I wanted bright and cheery so did those in Daffodil yellow… in fact I also heat embossed in clear over the yellow for the birthday so it also had some shine!
I cut panels of the paper, mounted the main central panel and then stuck everything down, raising the central panel a little for dimension.
The stars I added wink of Stella to so they had lots of shimmer.
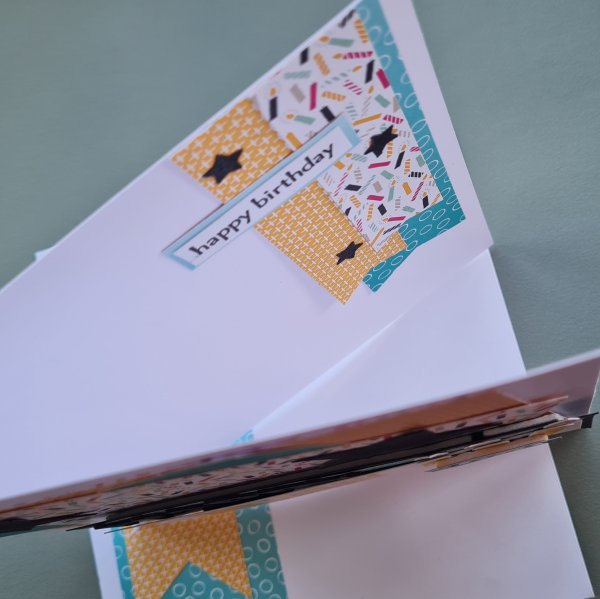
Inside the card I cut some banners and added more die cut stars but smaller this time and then added the sentiment with heat embossing.
The envelope I used up some of the pieces of paper I had left to layer some banners and that was my card finished!
Definitely a very different style to his fathers day card… and very cheerful for his birthday!
Now having a contrasting card became even more important as I’ve not been able to give him either card yet and will be giving them both on Sunday as a result of delaying our plans thanks to C19. Ah well at least we are all on the mend now and just me to get a negative test result… Fingers crossed for tomorrow!
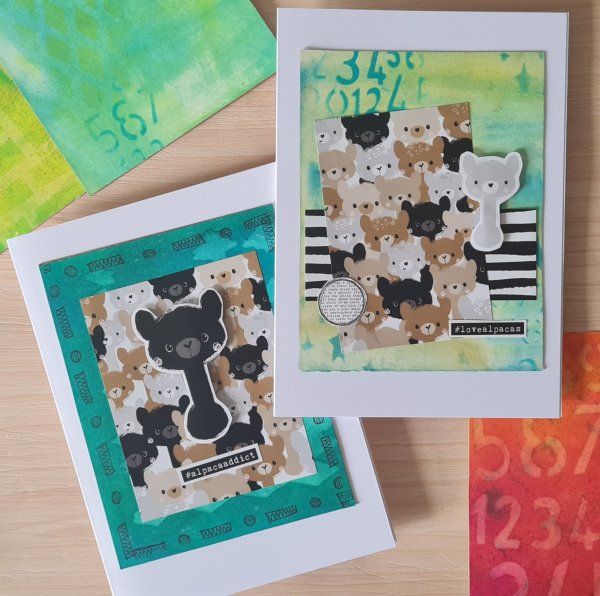
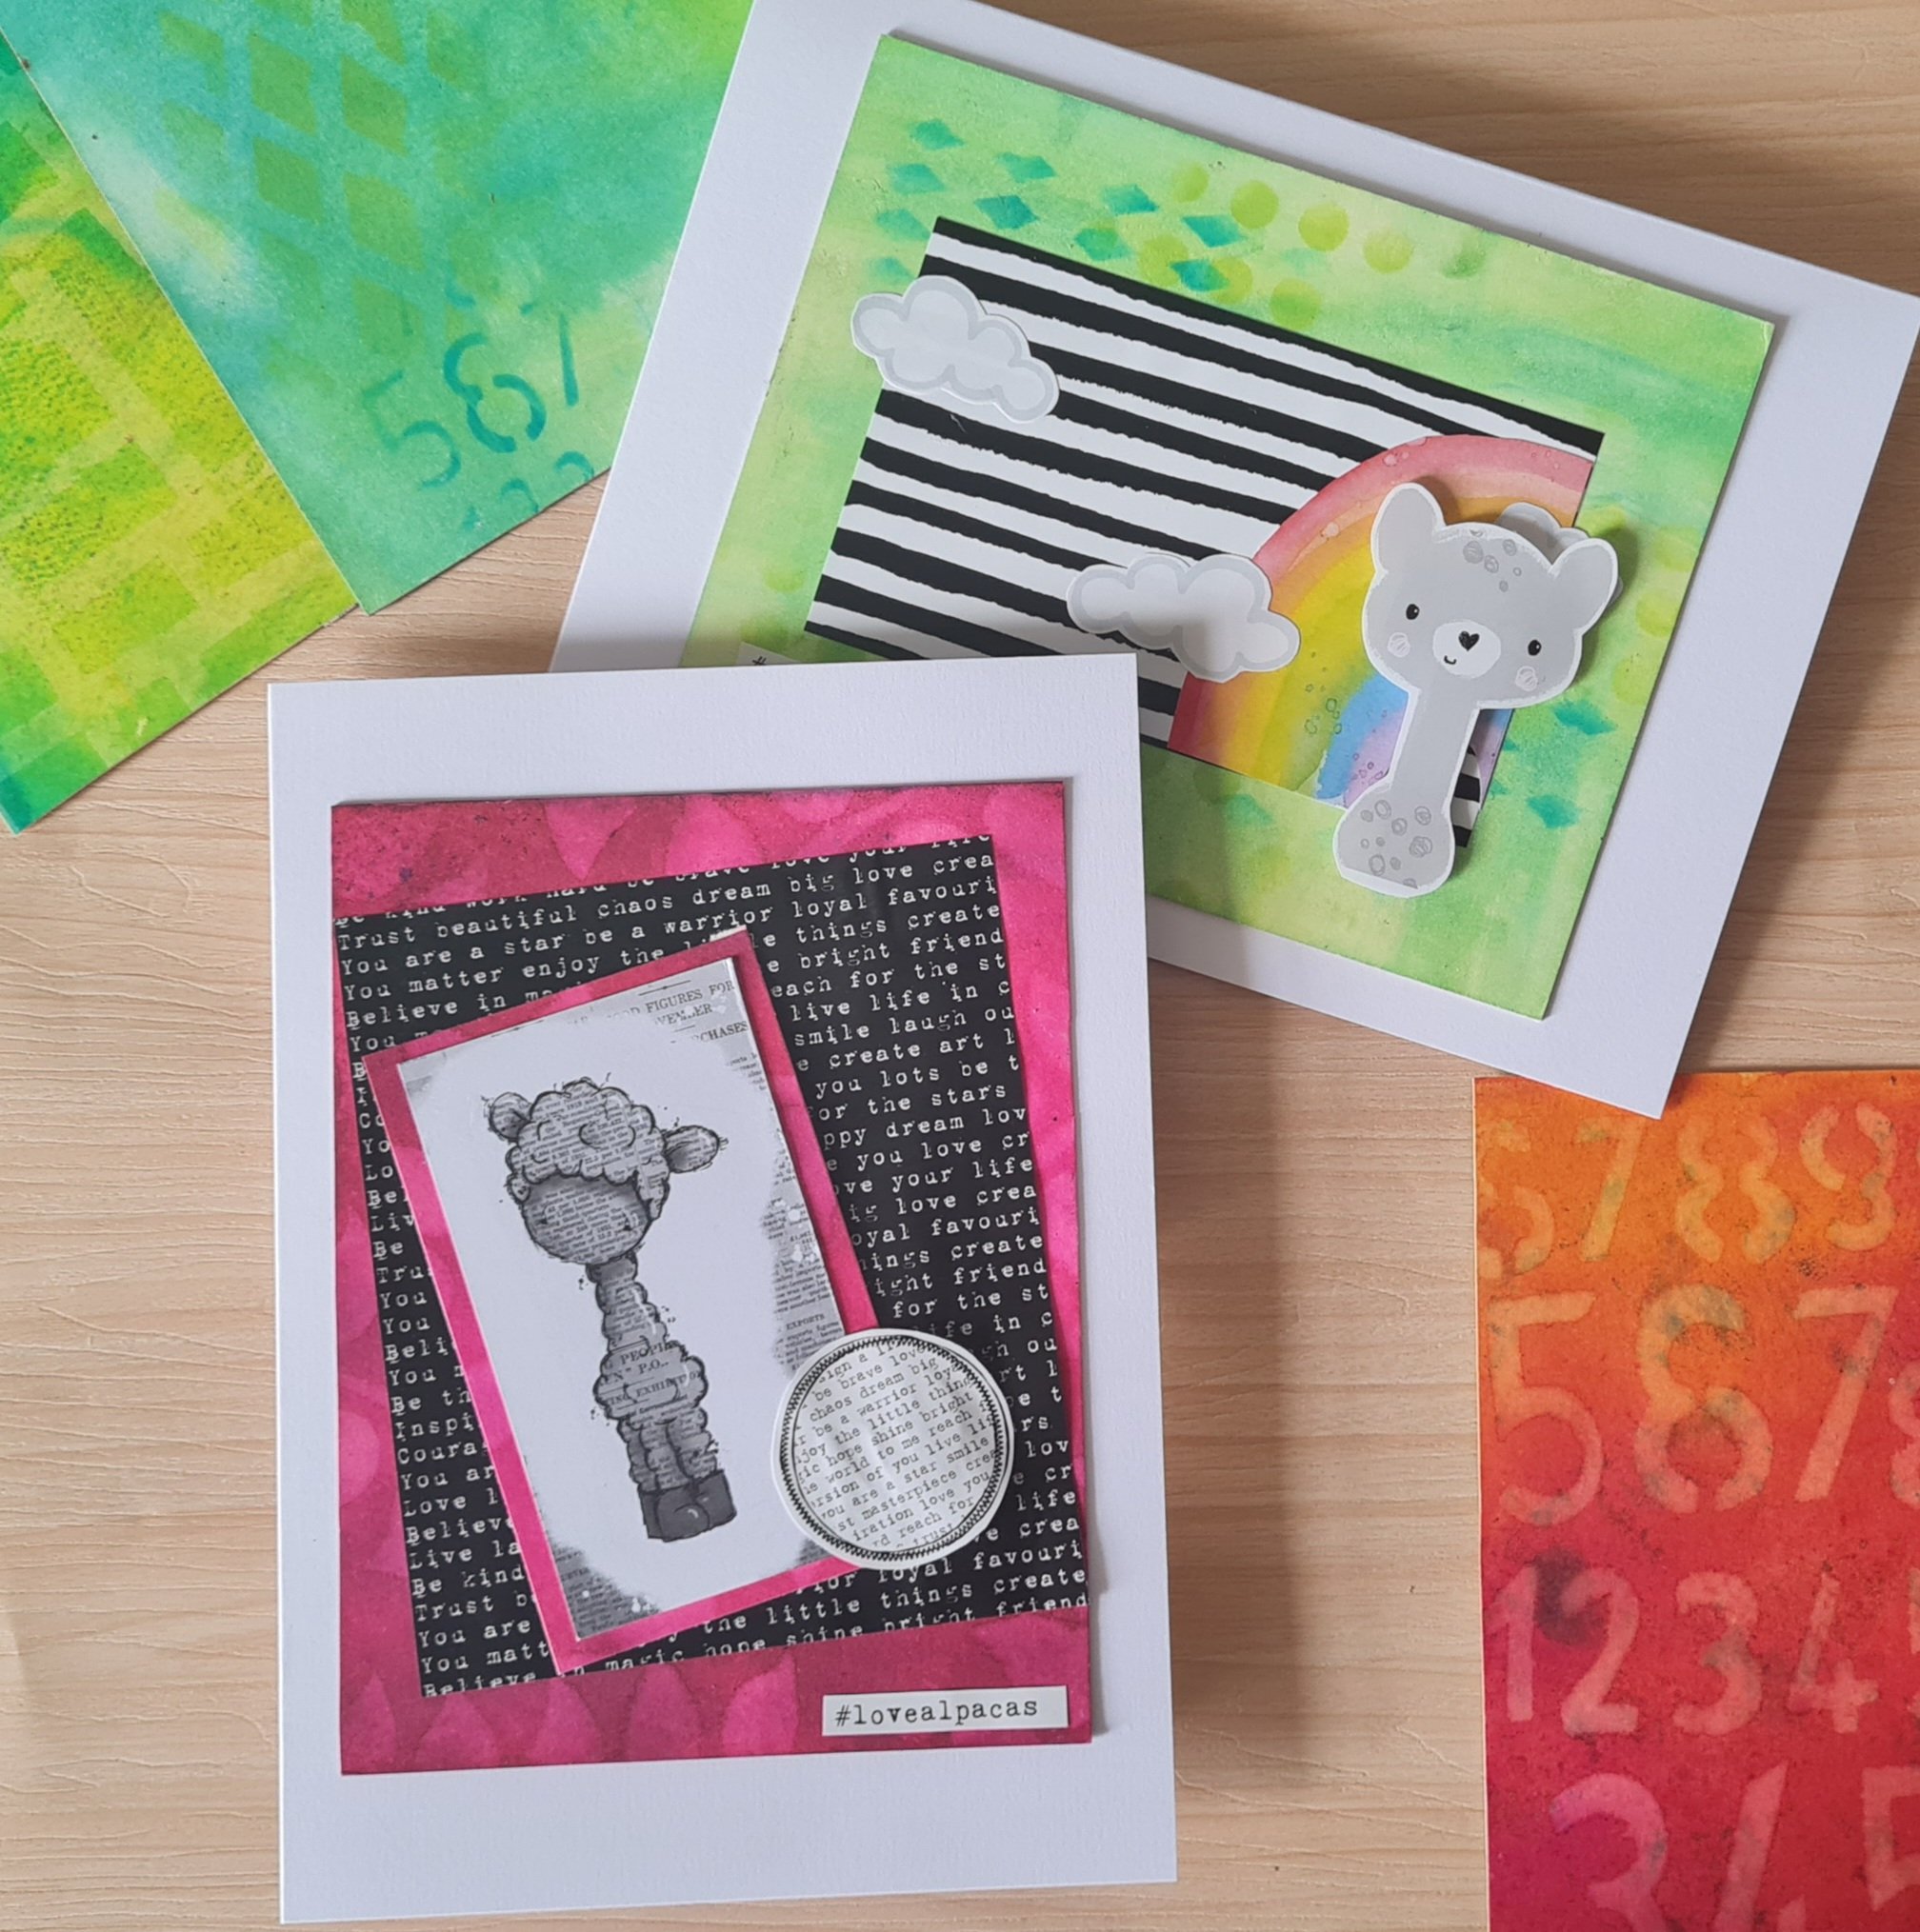
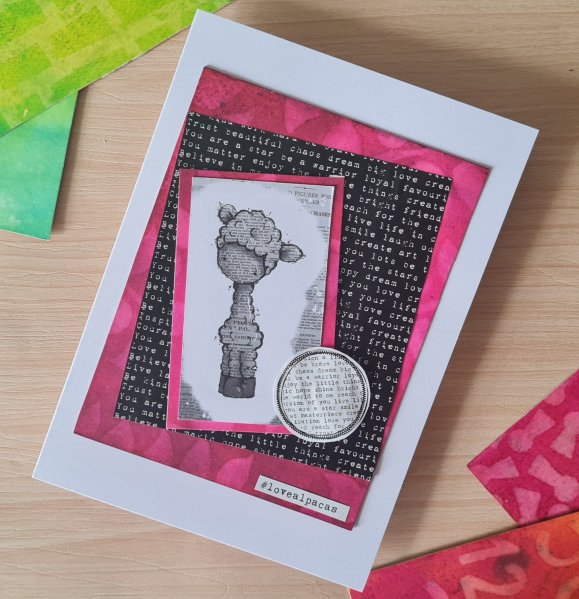
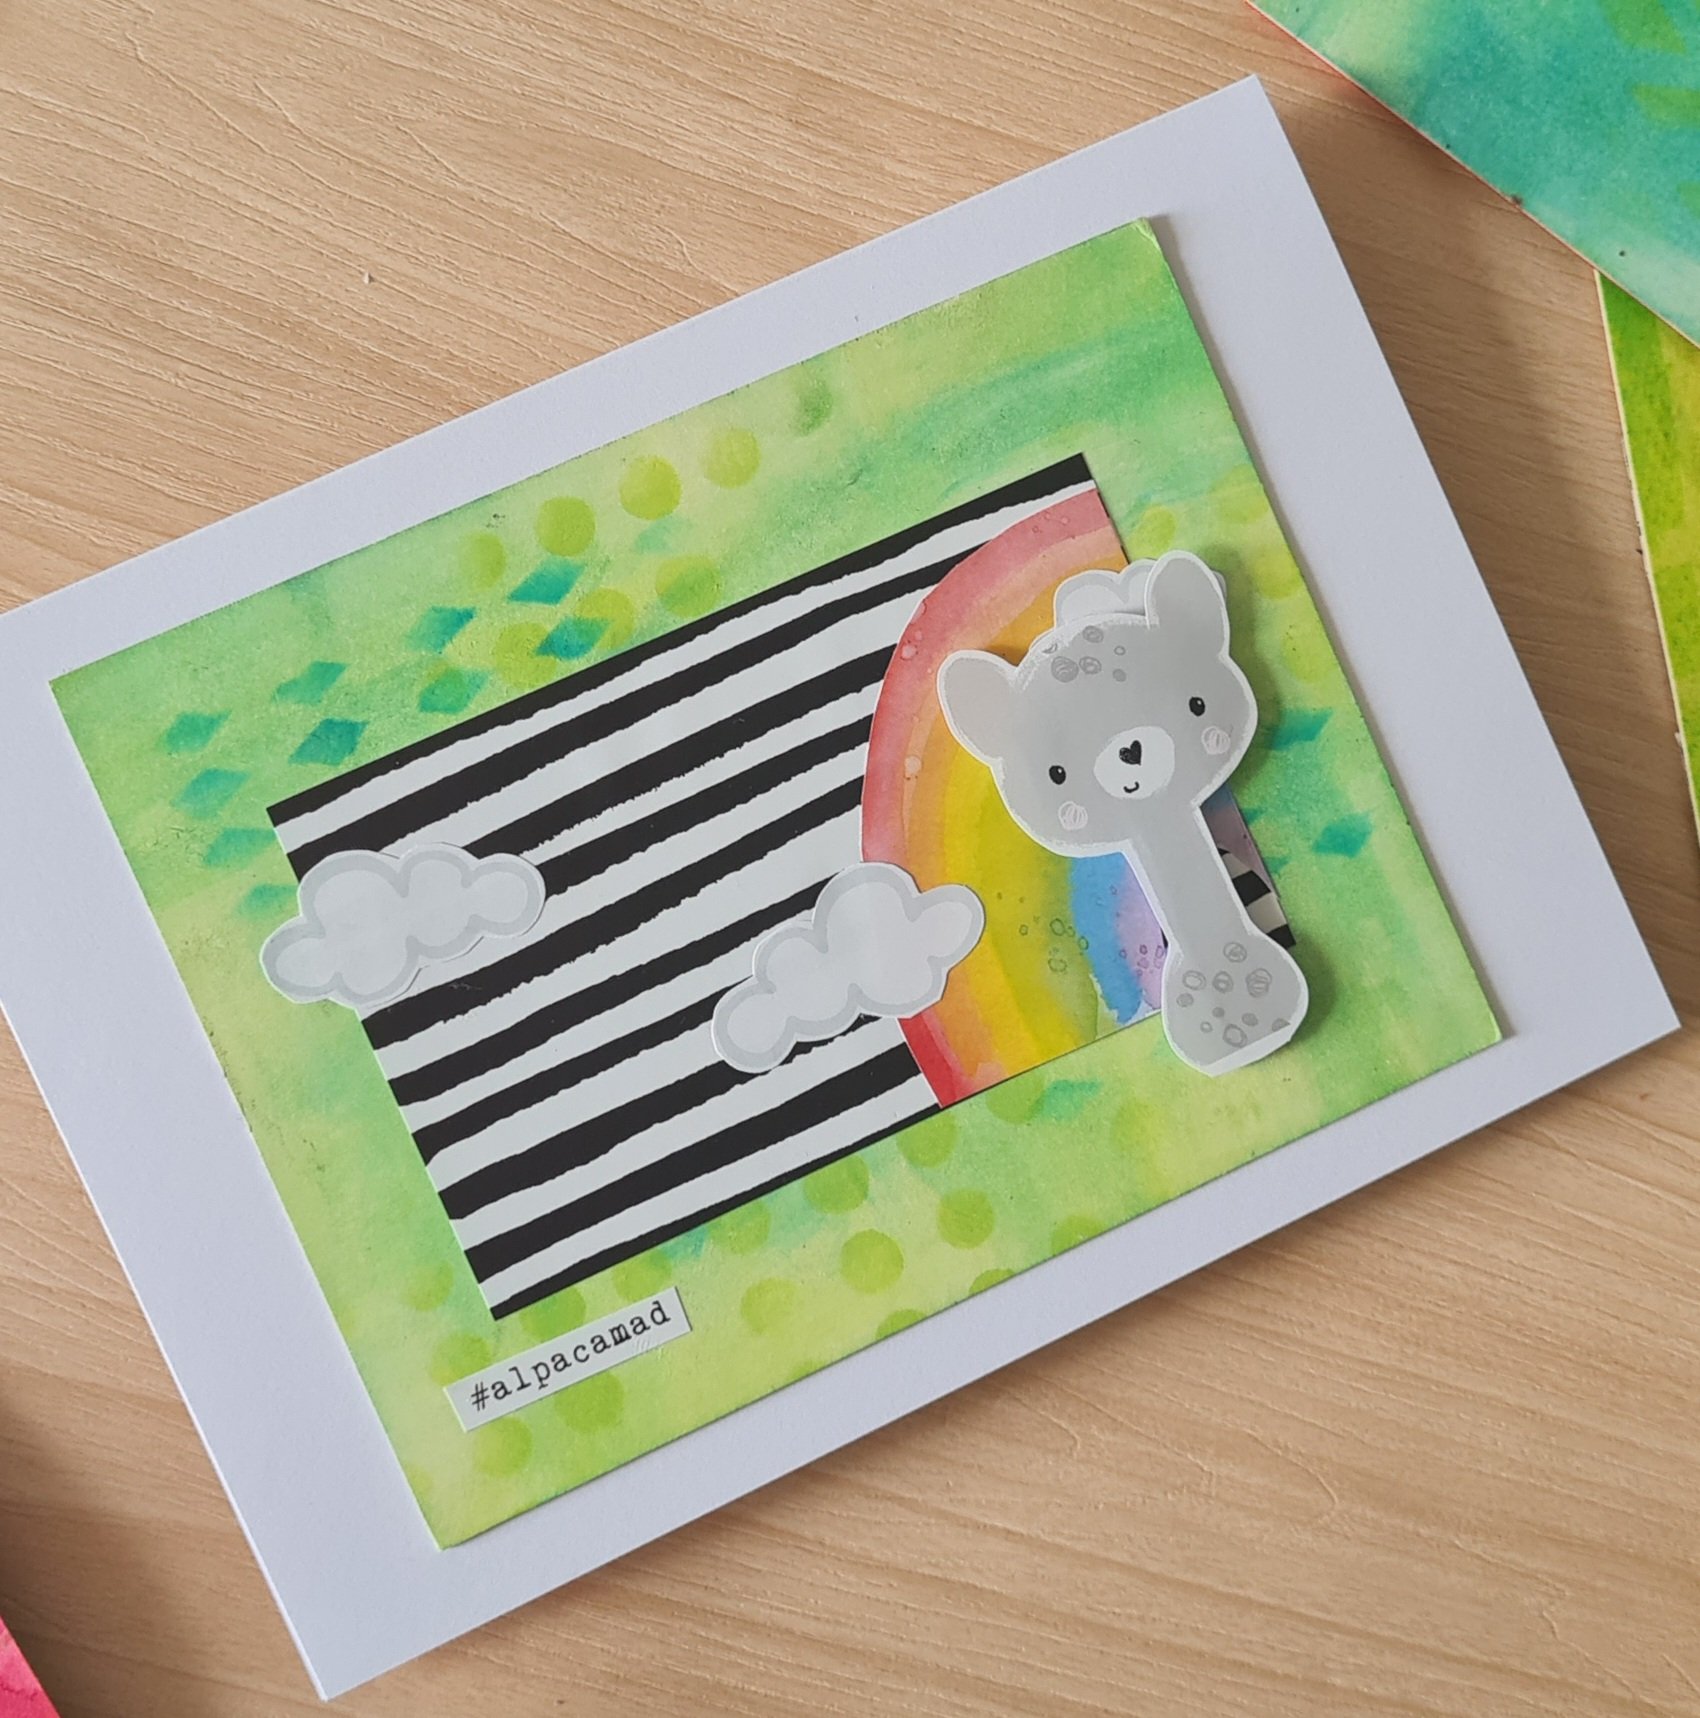
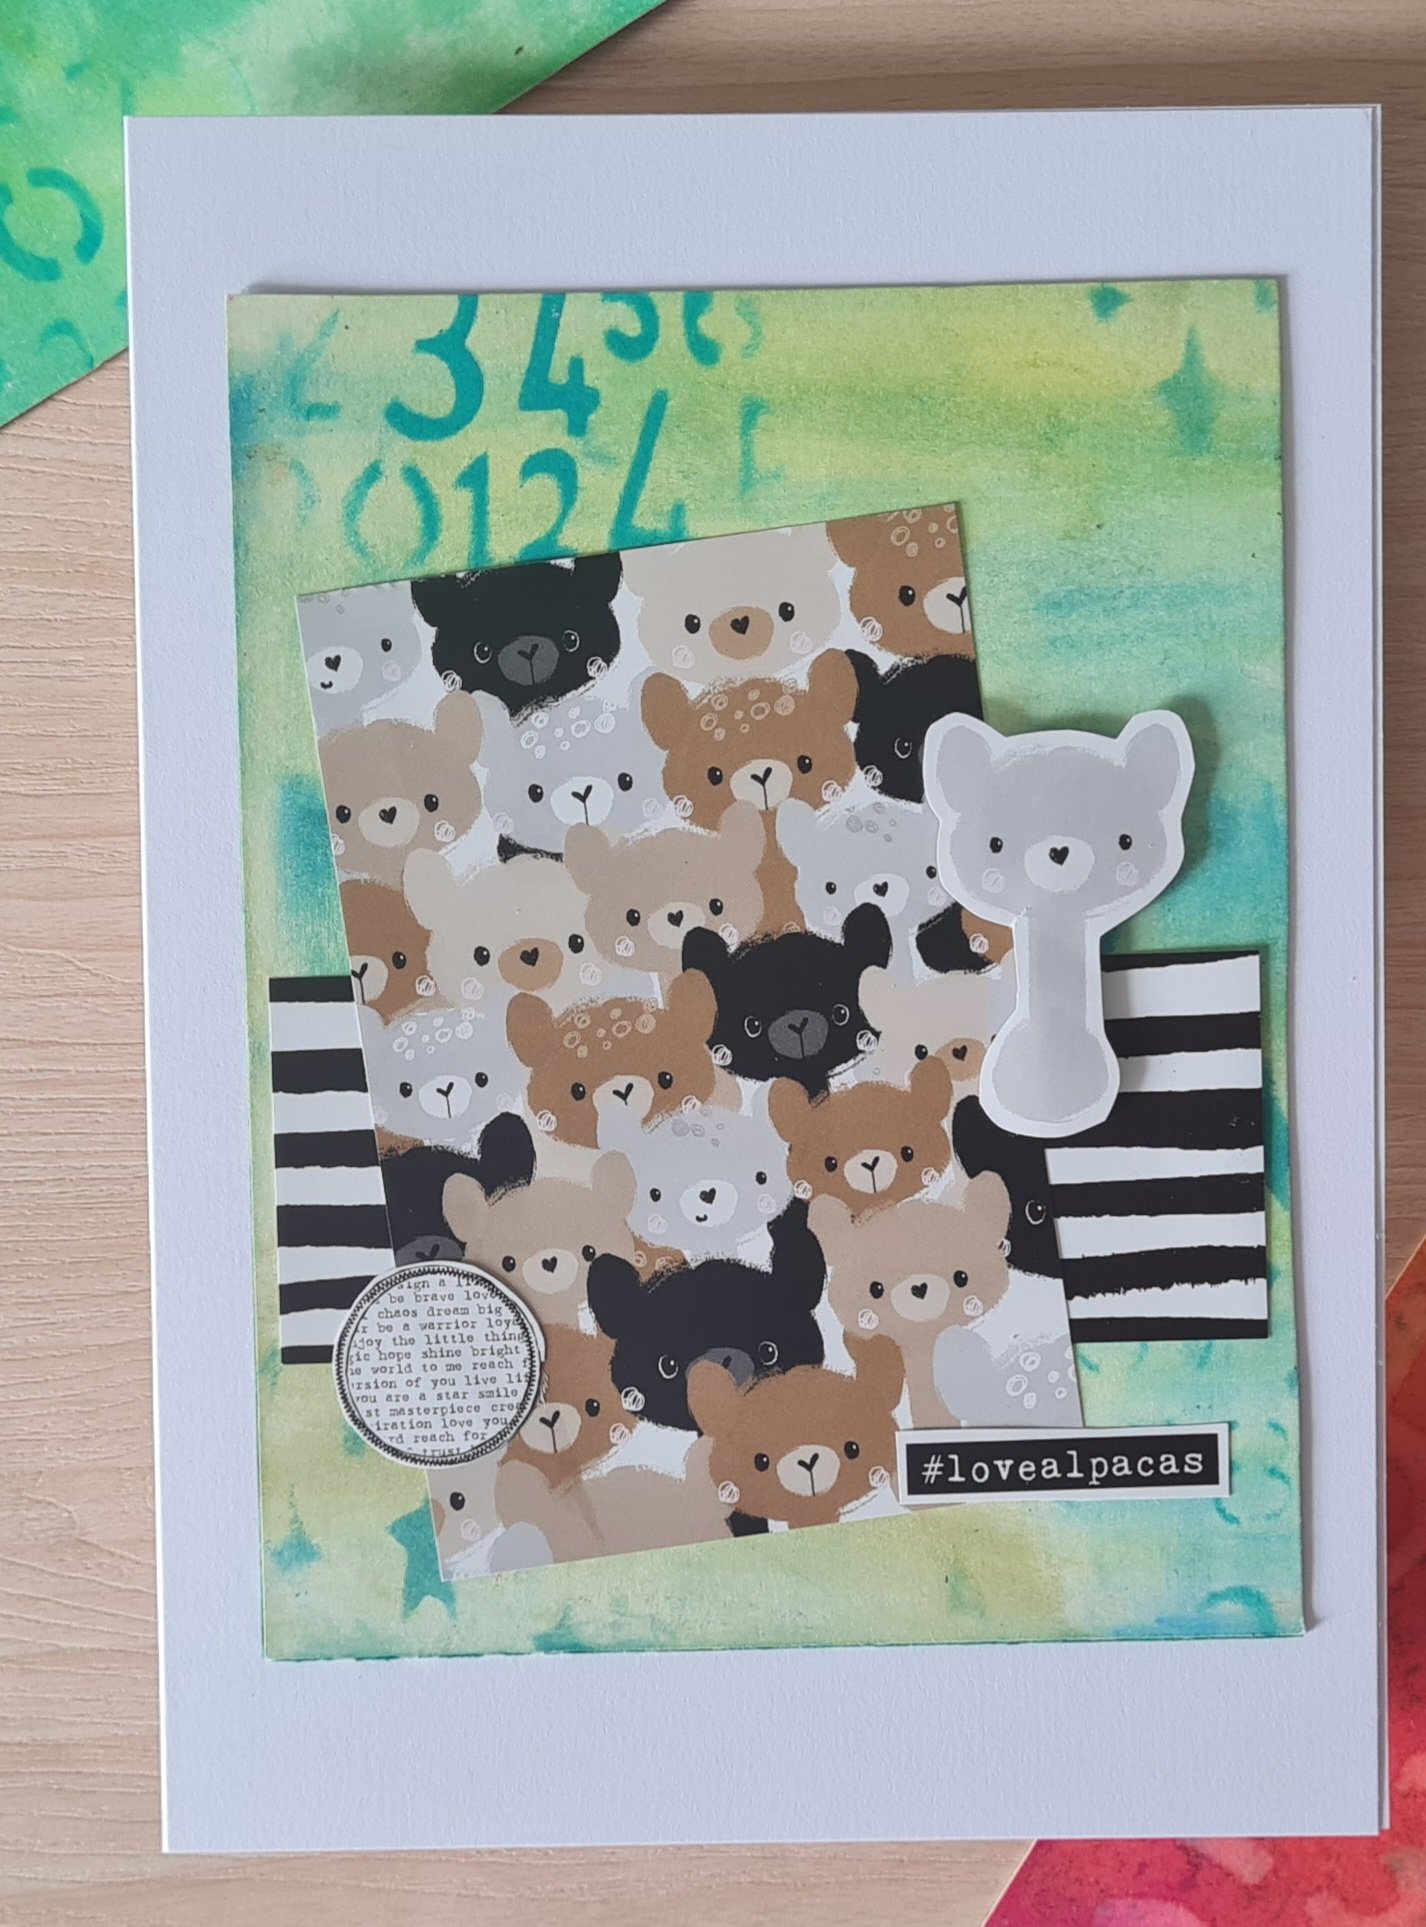
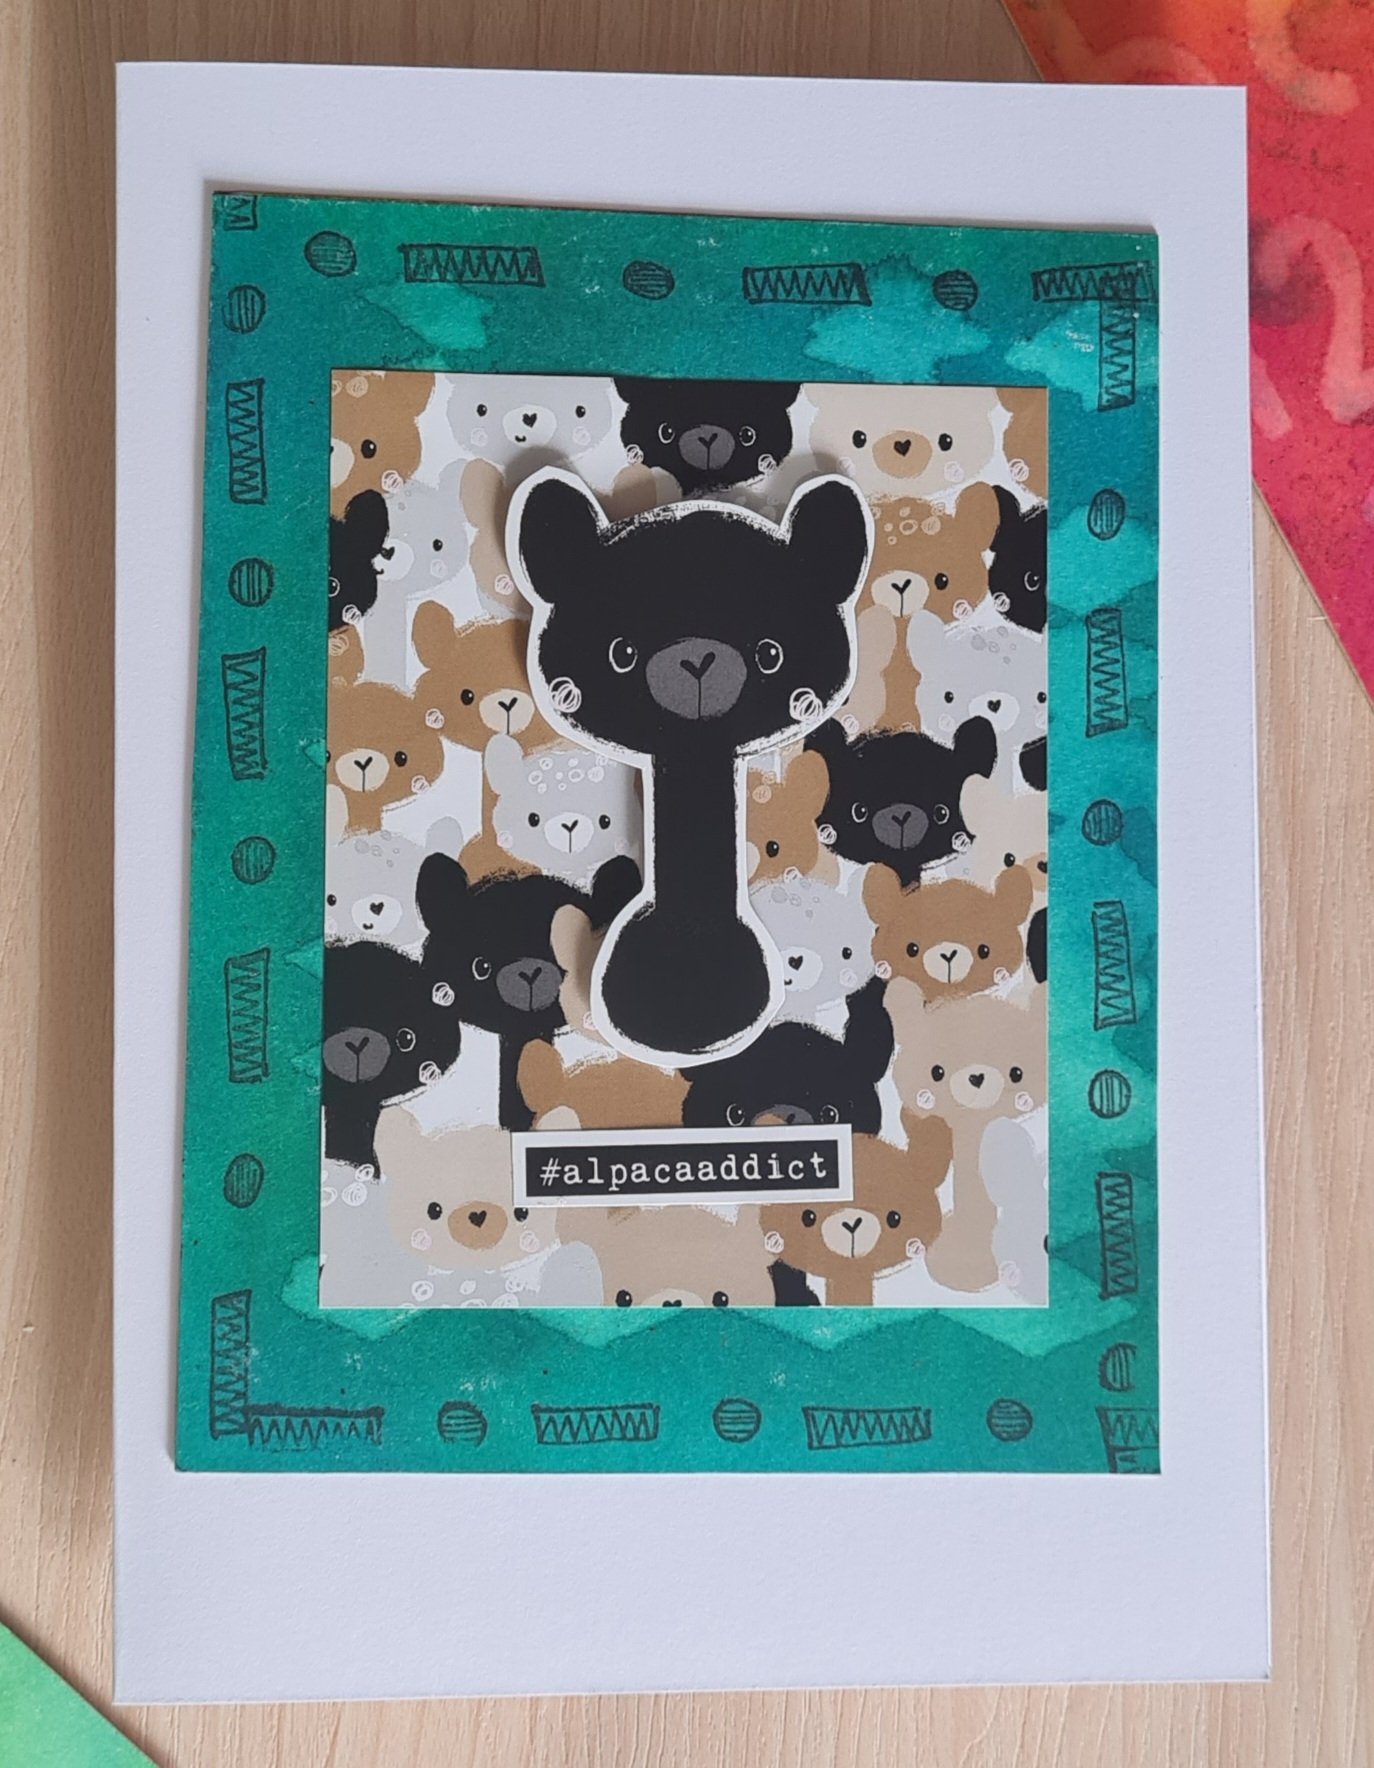
Again some more ‘found’ treasures on my clearing up mission… some backgrounds I made many years ago at a Dylusions class at Art from the Heart with Dyan. The class was half making these cards and then half decorating them with magazine images. Well the magazine image journal type thing isn’t my style of cardmakind and I’ve fallen out of love with journal pages at the moment so decided to repurpose some of these left unfinished cards into backgrounds for some cards.
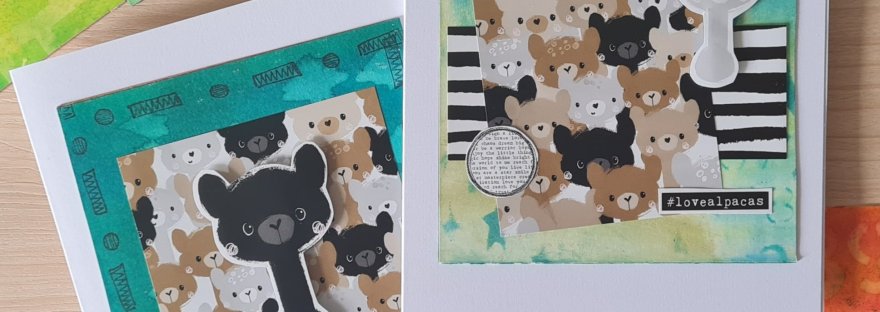
Then I stumbled across a part used Alpaca Pals paper kit I’ve had for years … so made these cute cards just because I could and I fancied using these things I had found, knowing if I put them away they would never get used!
I chose backgrounds that were not too heavily decorated … they were mainly the bright colours that I thought were fine with the papers from the Alpaca Pals kit.
I imagine that only some of my friends would really appreciate these … mainly my Alpaca obsessed friends (several have been on take an Alpaca for a walk days out!) … so will send them to those people as little RAK.
Entering these into the cute animals challenge at DLart blog
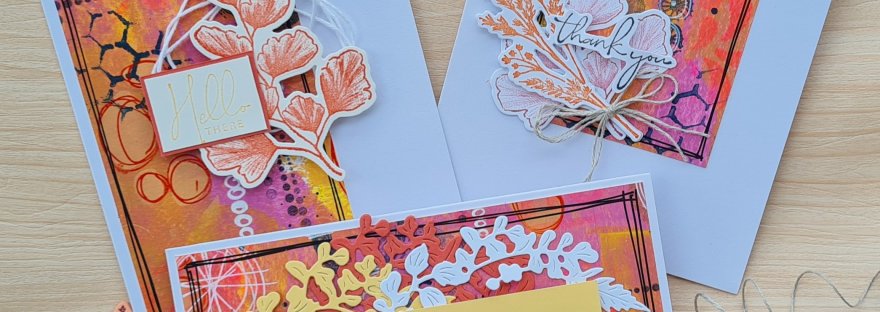
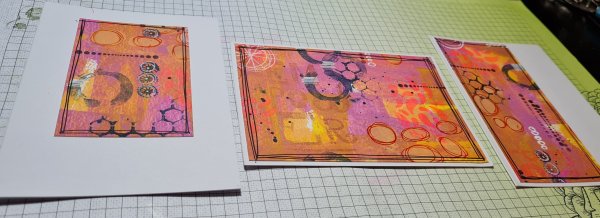
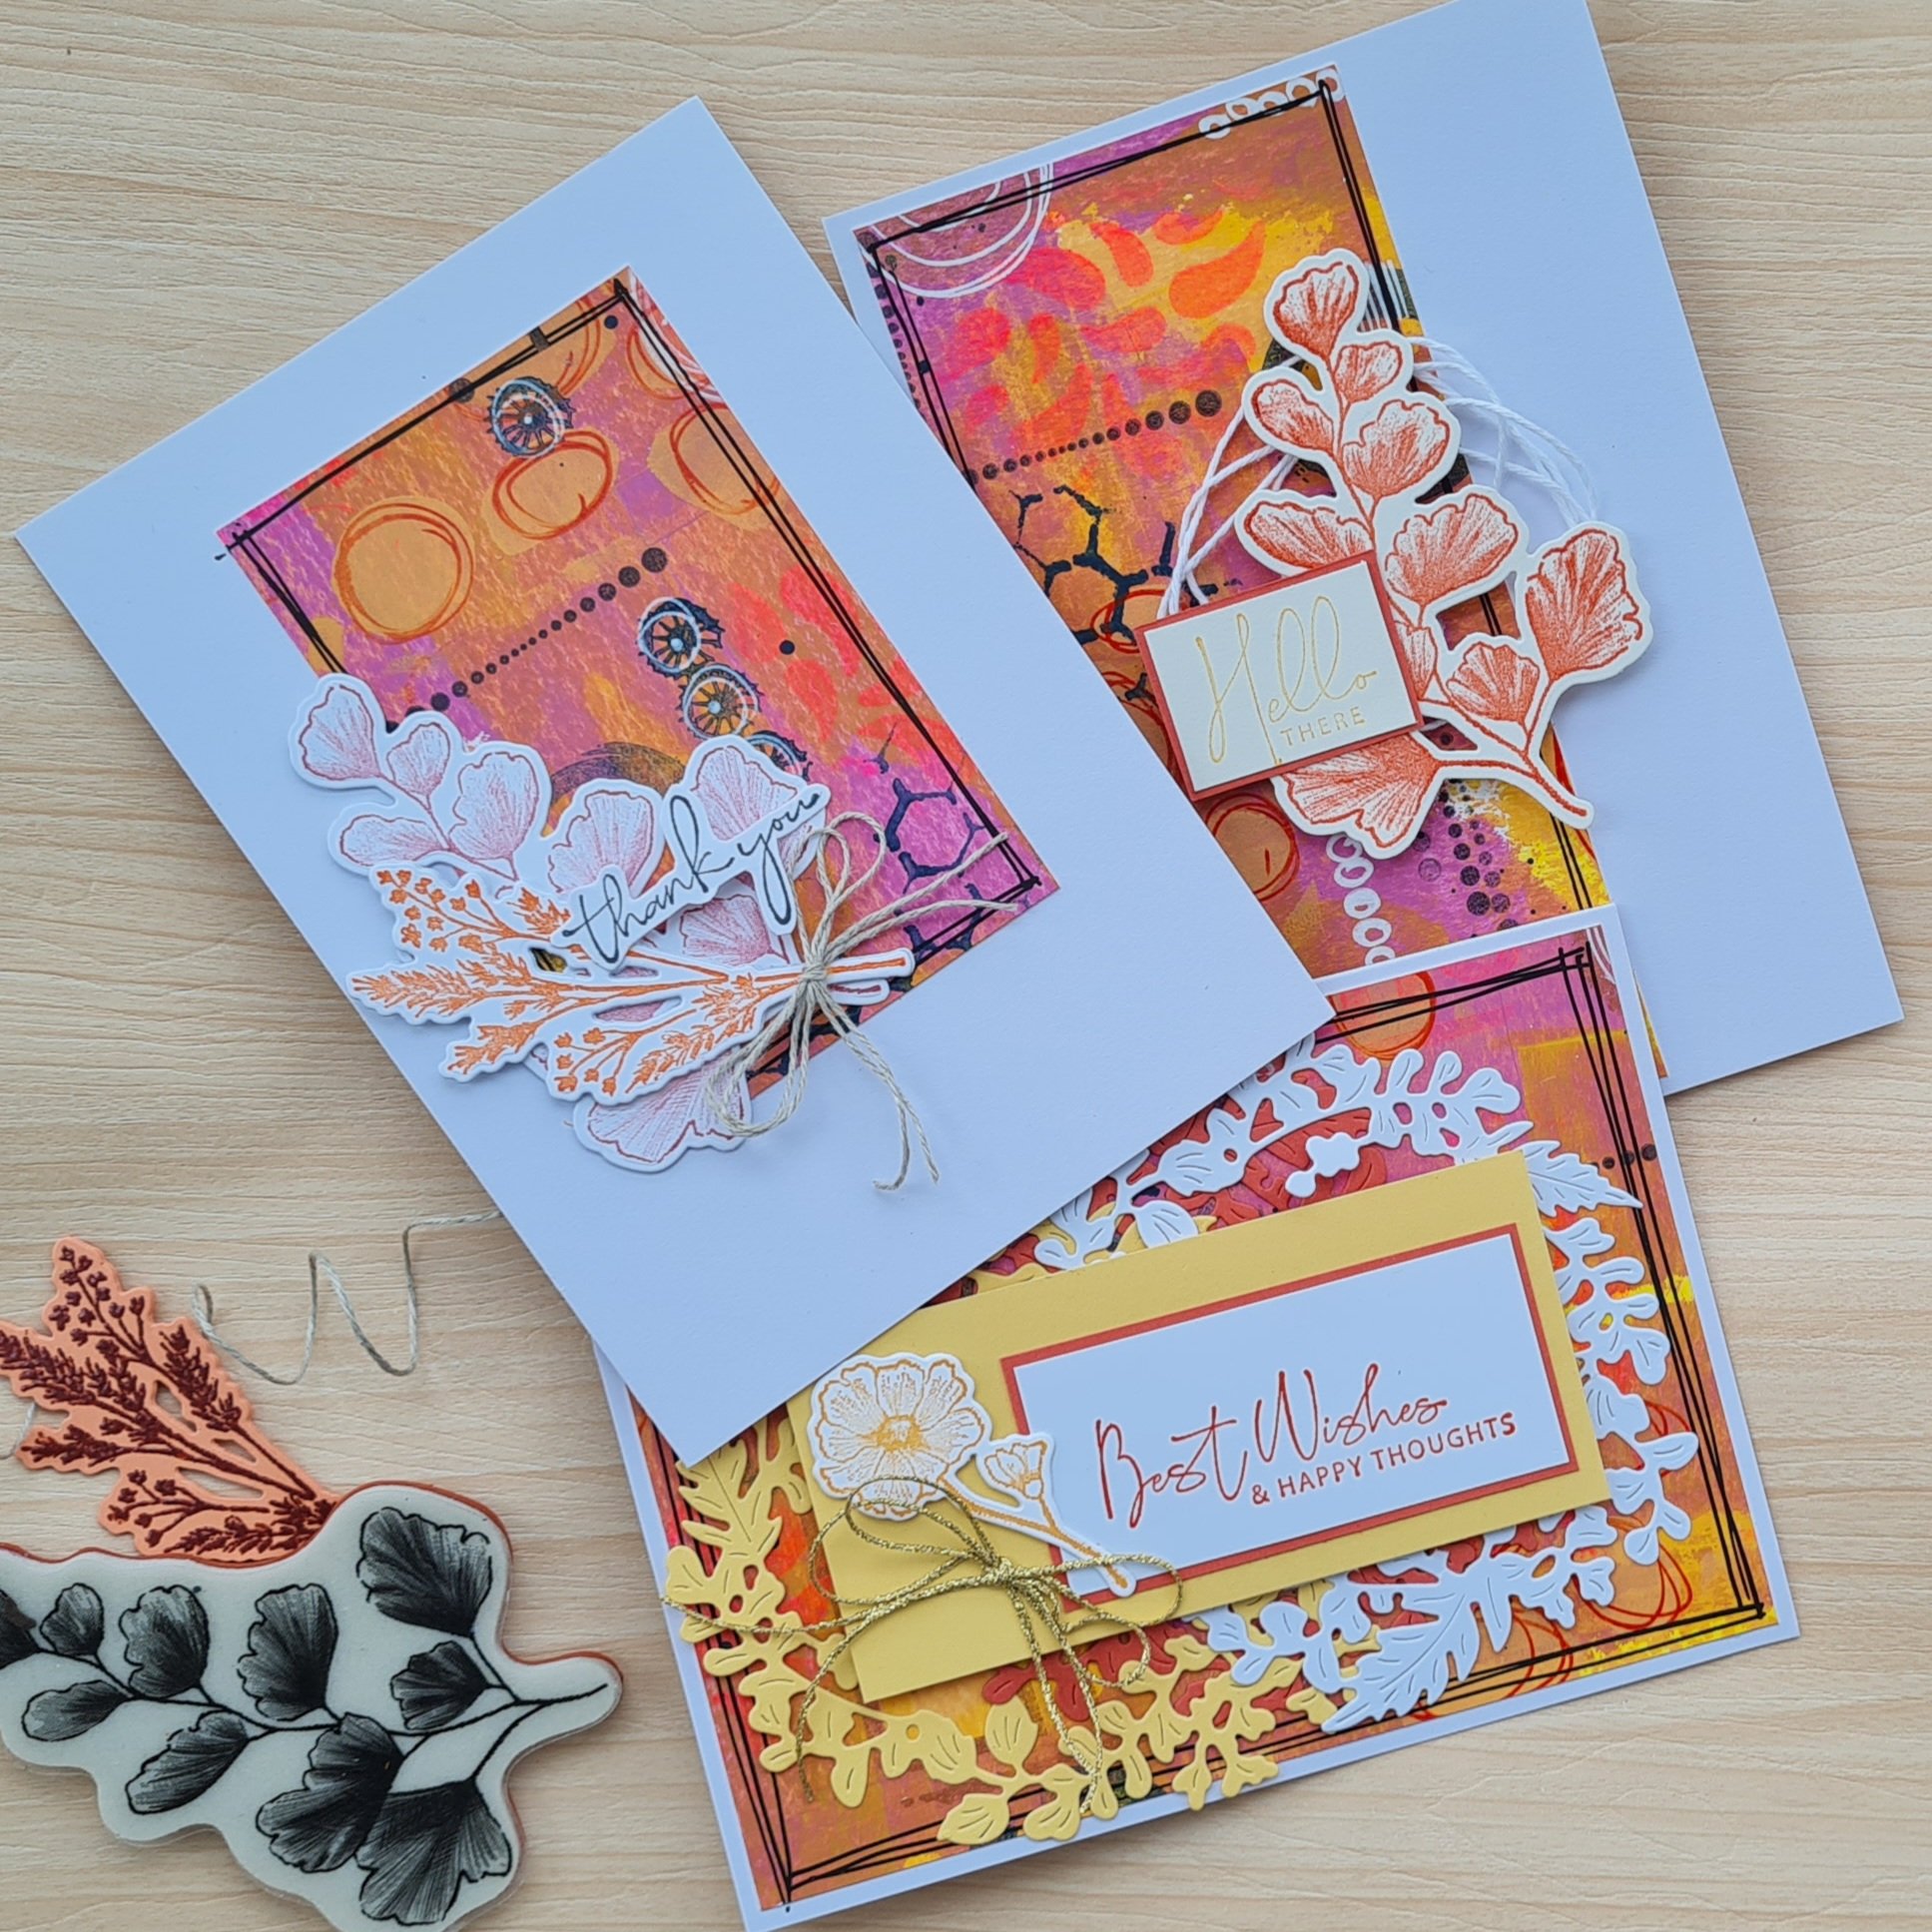
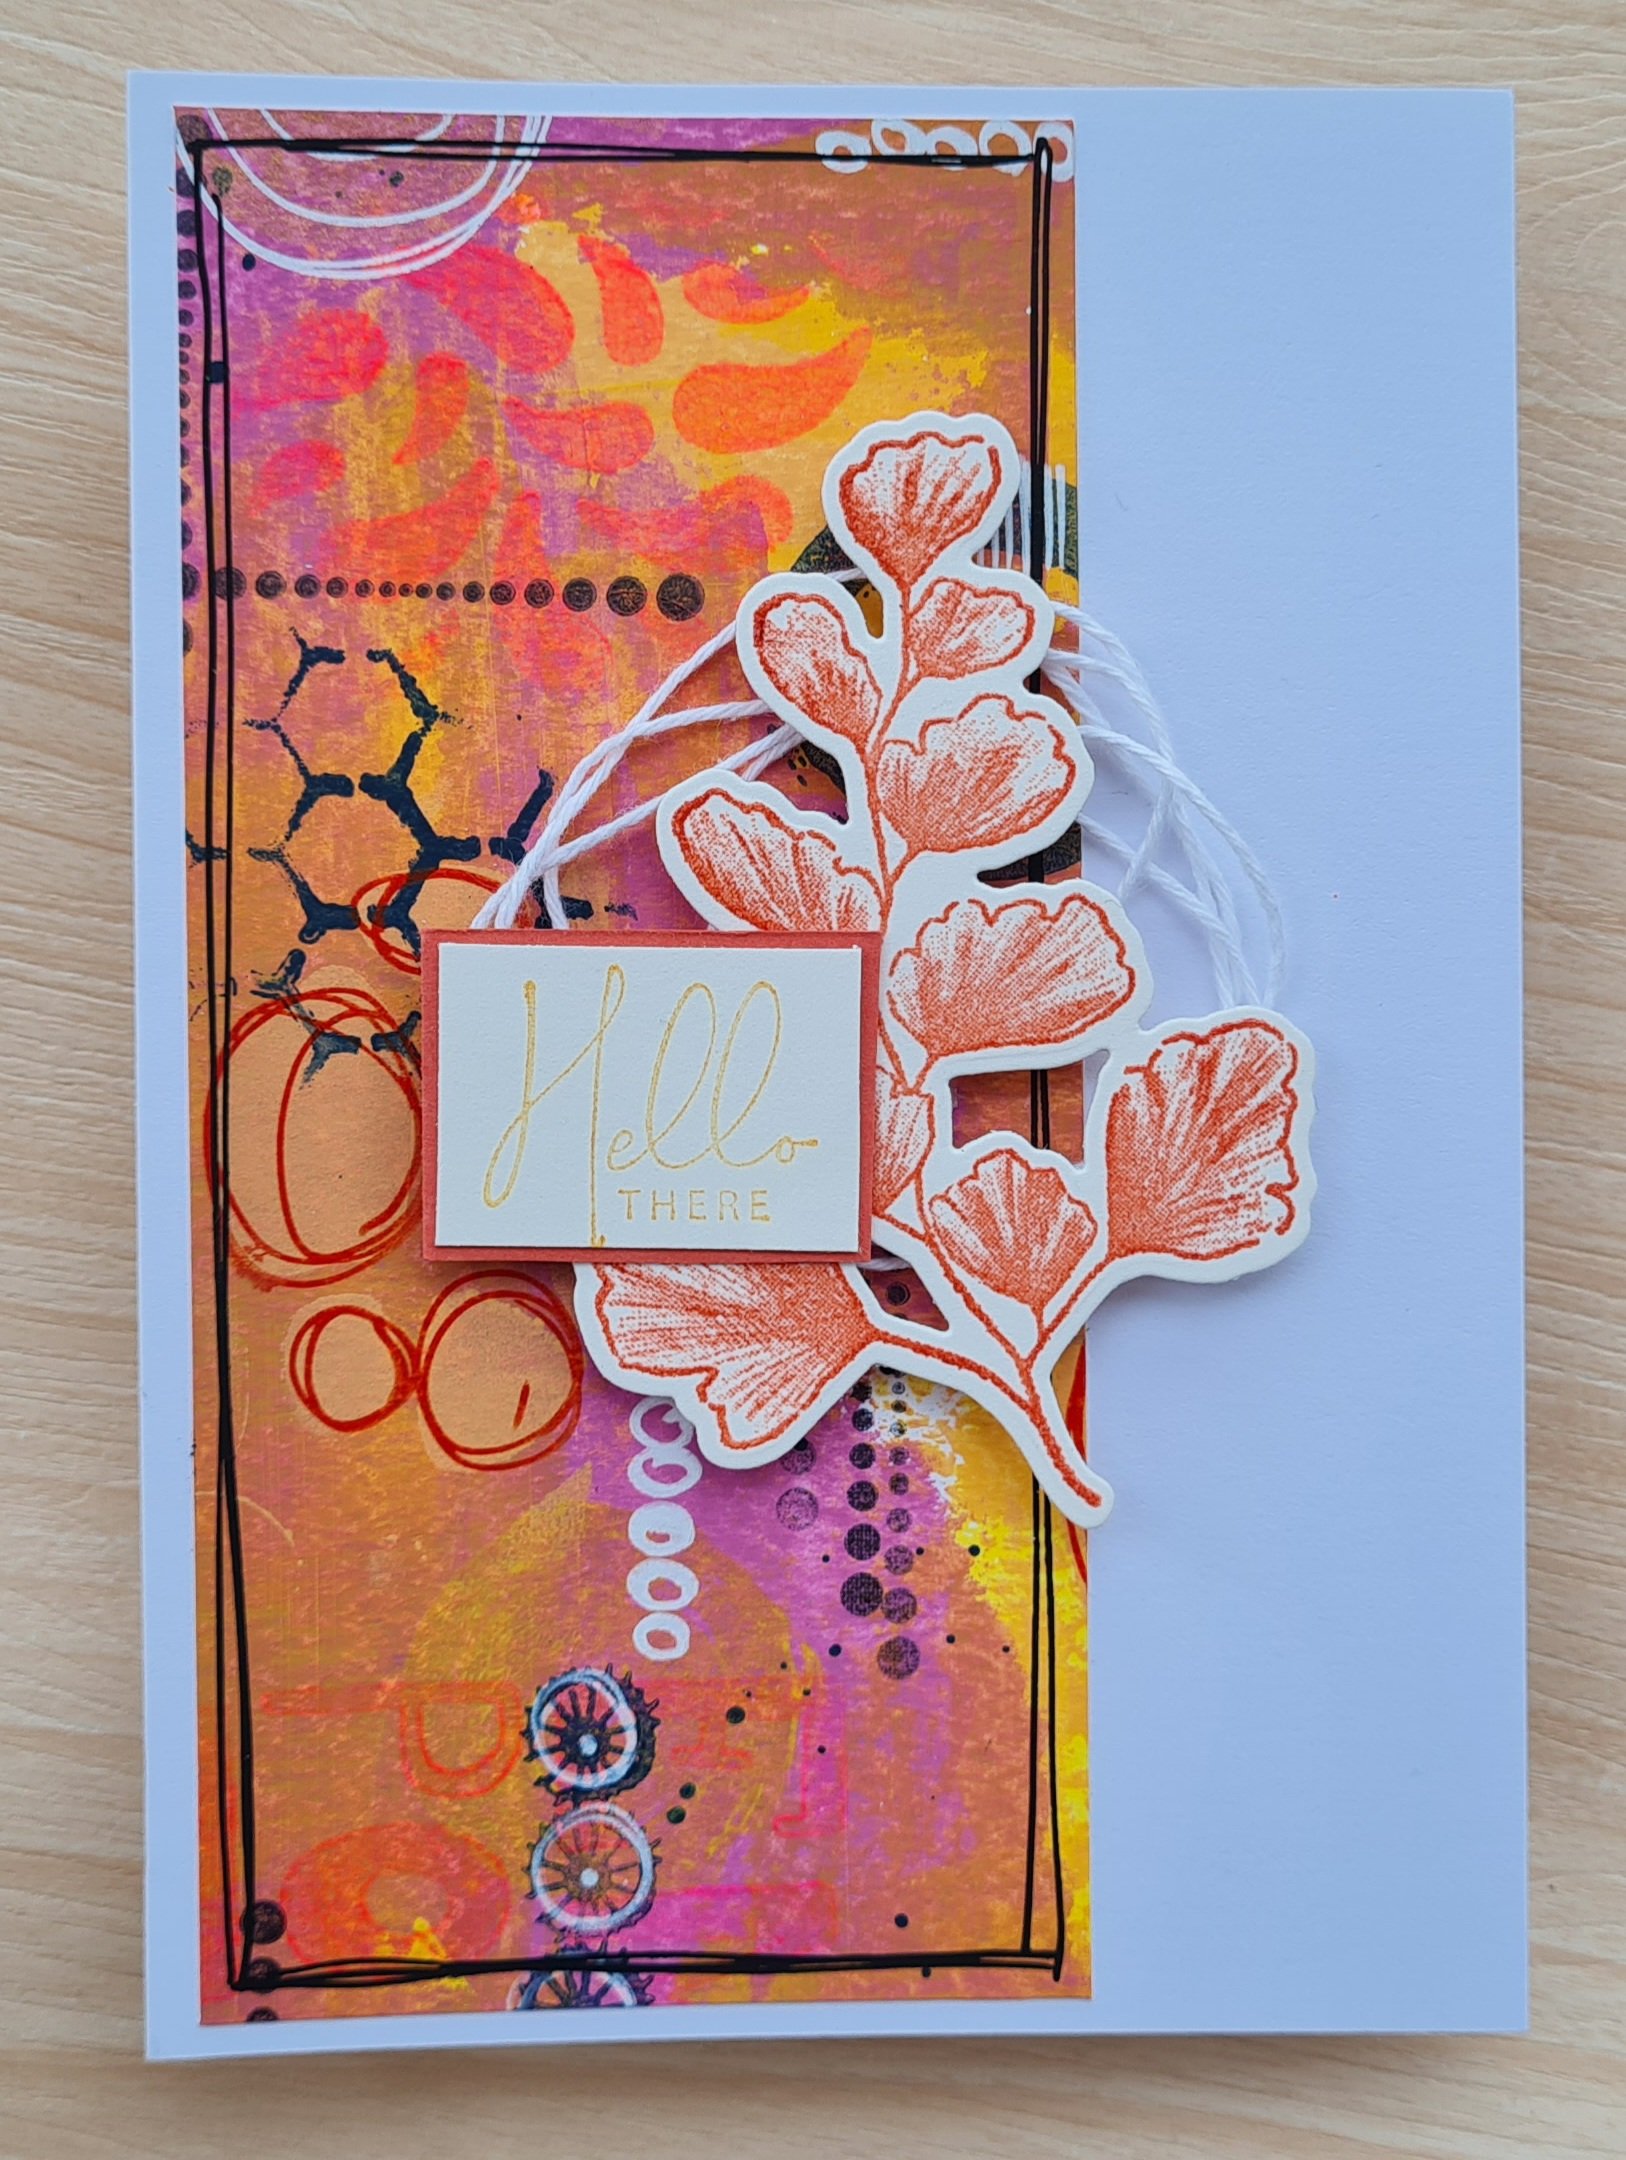
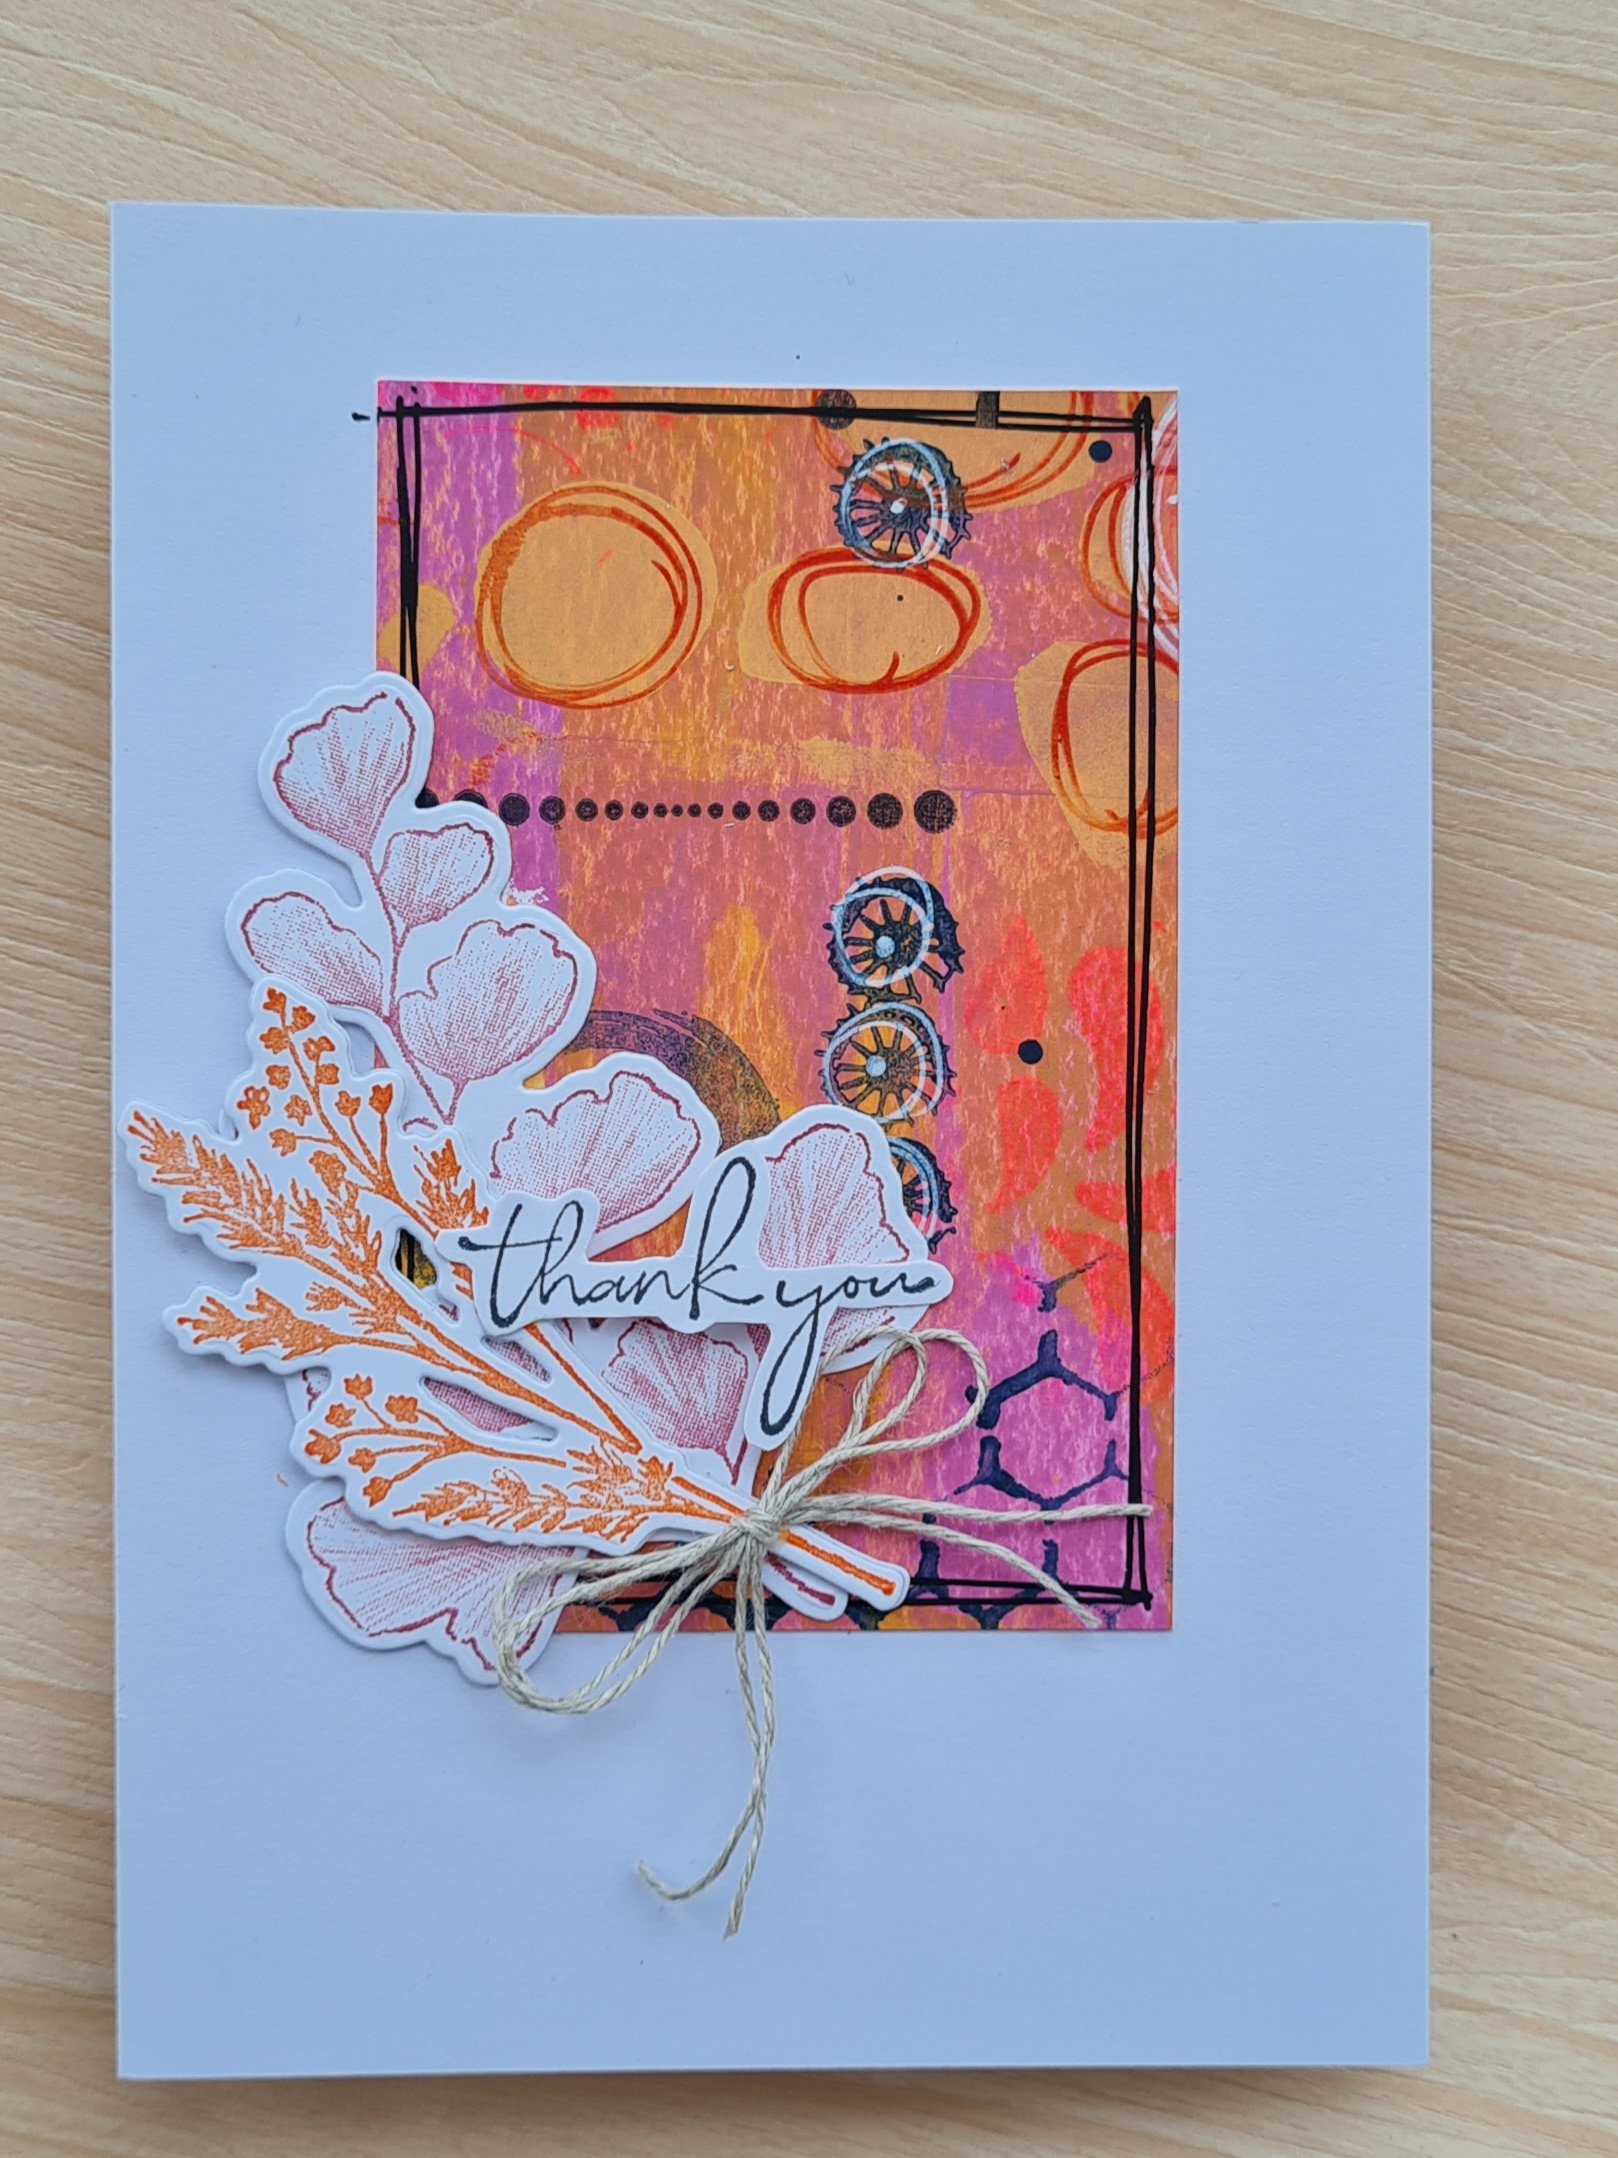
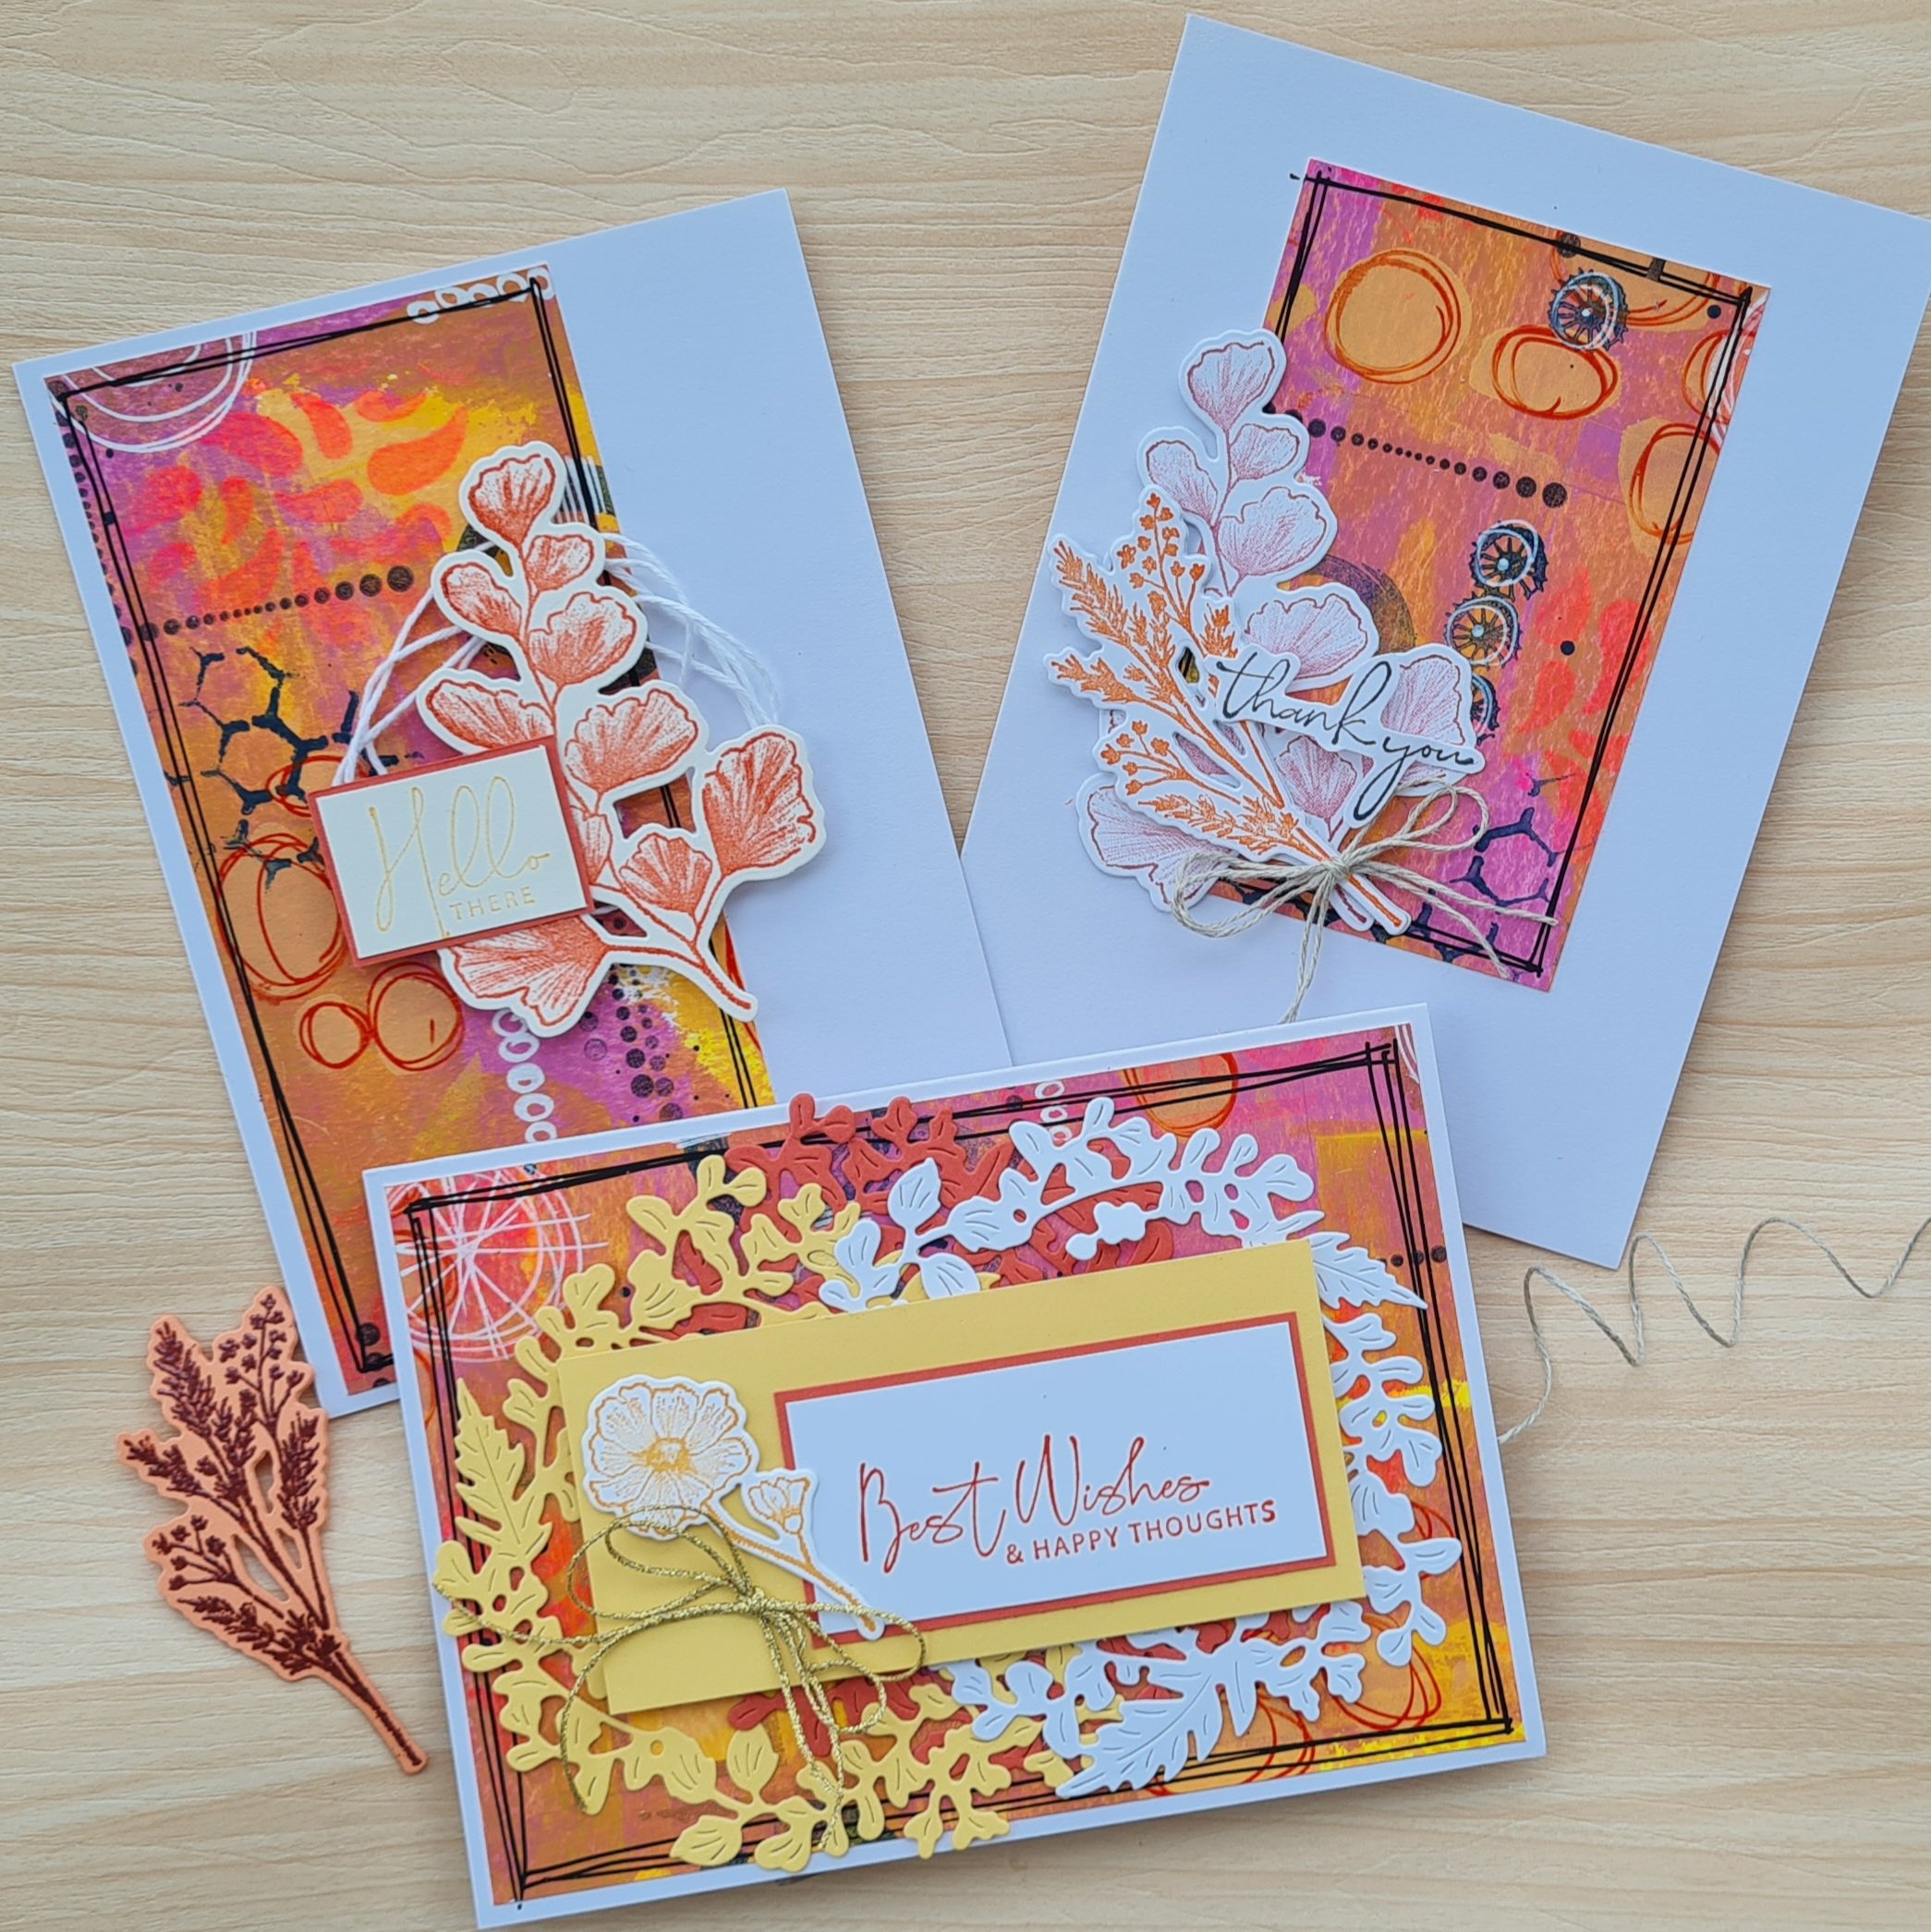
Over the weekend I found three more cards with panels of masterboard on them ready for me to finish … I must have been in a masterboard mood but zero inspiration to turn them into finished projects … or maybe it was because they needed new stash for me to play with to finish them off? In this case … Nature’s Prints.
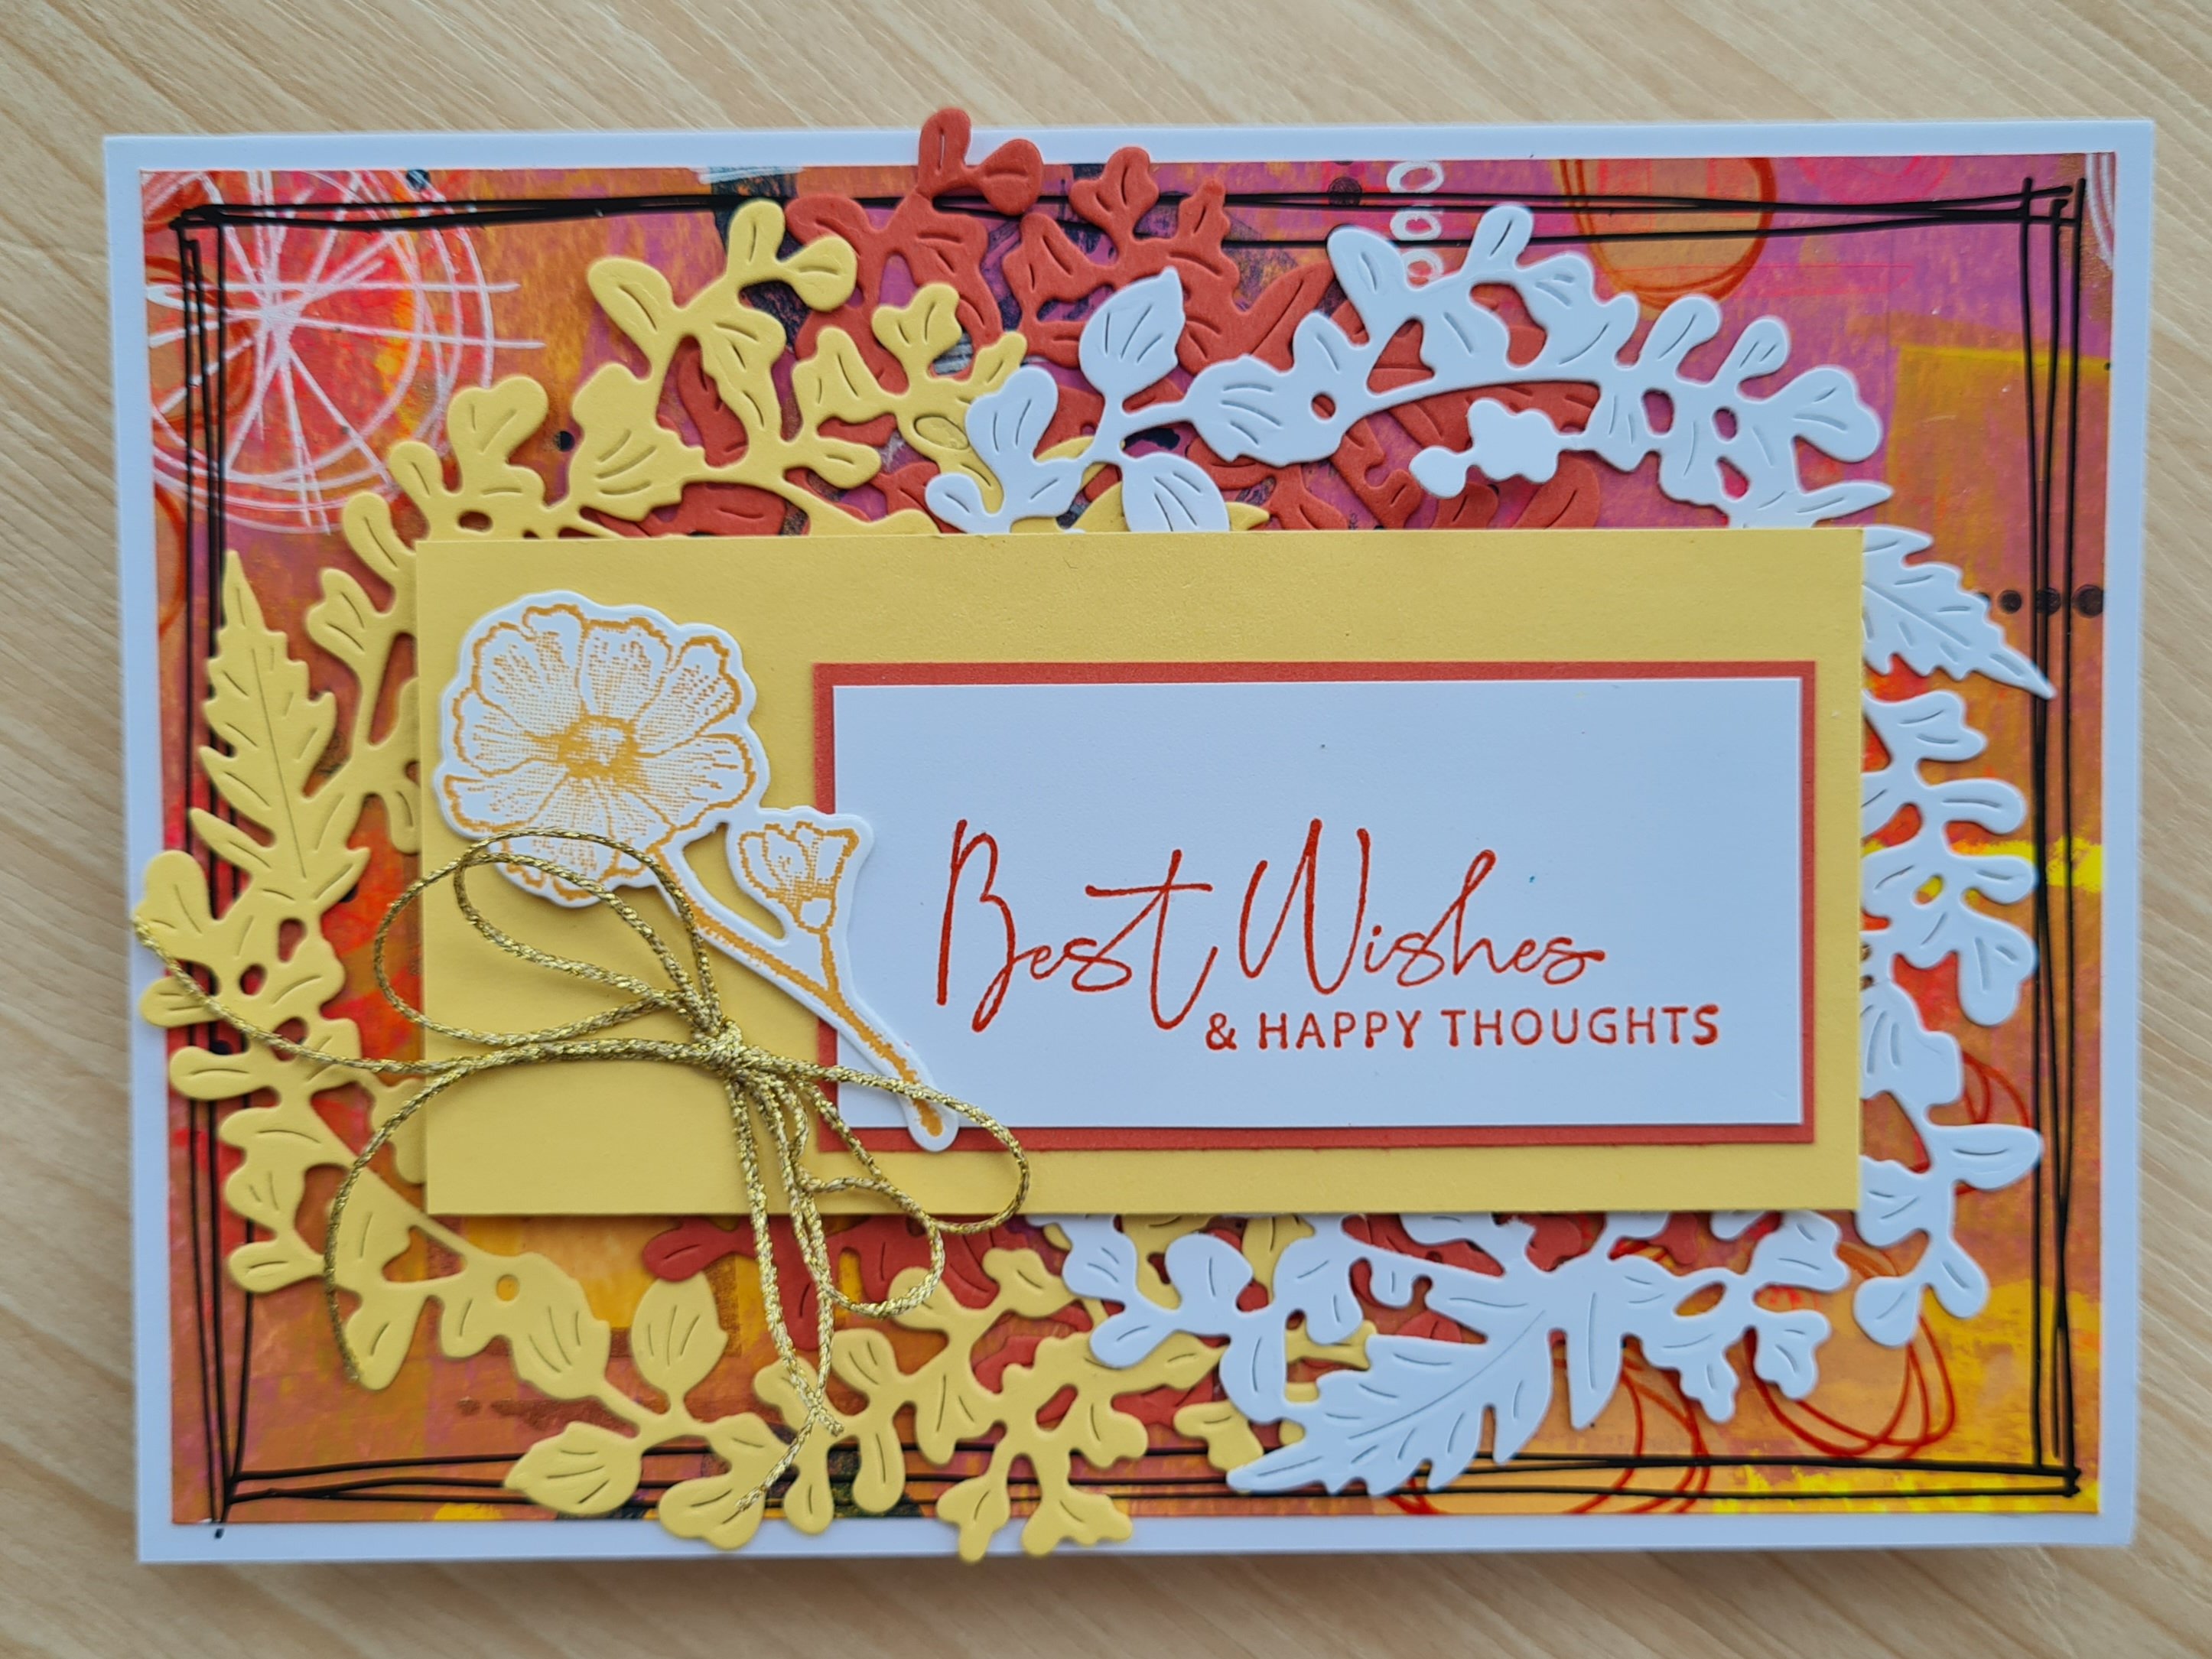
The colour scheme of the painty background made with Paperartsy fresco finish paints was bright but earthy pinks, oranges and yellows so I grabbed some scraps of cardstock that went with the background and of course white. I ended up with Cinnamon Cider, Calypso Coral, So Saffron. I decided the first one was the large panel that was too busy for me to put something simple on it … so instead I went mad and added three of the wreaths to almost completely cover it up!
I then added a panel of the So Saffron and a smaller layered sentiment and one of the simple daisy type flowers which I stacked to give it some dimension. Handily the gold twine was on the desk as a scrap from something else so that became the embellishment. I stamped the sentiment in Calypso Coral and then again in Versamark and added clear emboss to make it stand out a little more and give it some shine. Entering this into the flowers challenge at Daisy Chain Challenge
The next one I kept simple… one image stamped (and clear embossed over the top) and then die cut. Added with lots of dimensionals and some white twine behind it. Sentiment stamped and layered up from the scraps of cardstock.
The final one I stamped and die cut the two images, but the smaller one I stacked with some more layers of cardstock underneath to give it some dimension.
I decided I just wanted thr thank you part of the sentiment so I cut that out and added some tiny strips of foam underneath it to raise it up in the middle. Then my trusty linen thread for a bow. Kicking myself as have very little left and forgot to order on the latest order so may well run out (disaster looming!).
So pleased with how these turned out … and feel such a sense of achievement to finish off projects that I started so many years ago… I am finding so many treasures in thus much needed clear out and tidy up… I am finding plenty of rubbish too but clearly not going to blog about full bin bags! 🤣
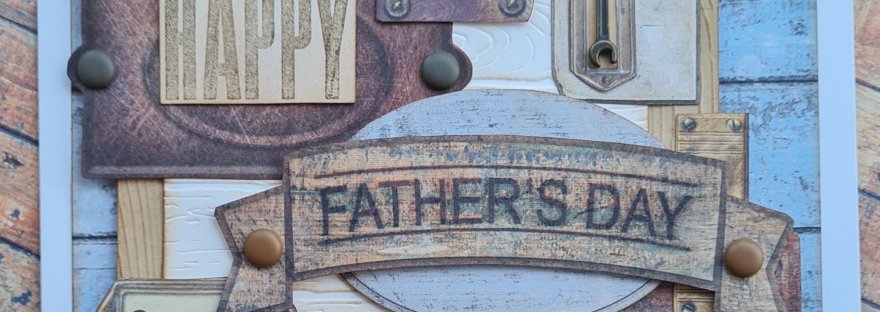
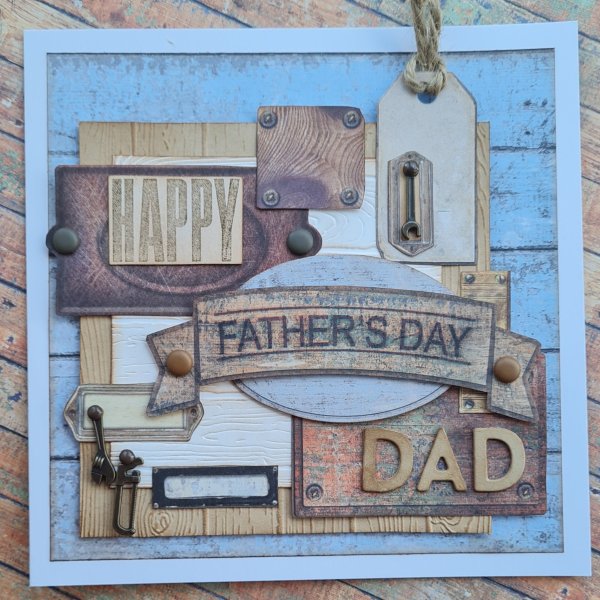
Today I am sharing the card I made for my Dad for Father’s day even though I’ve not been able to give it to him as a result of our Covid filled household.
I made the card a few weeks ago, and would have posted it if i had known we wouldnt be soending the day together, but that wasnt the plan!
Anyways … I was hunting through my stash for the components for this card as I knew I had bought a Papermania kit many moons ago that was for Fathers Day and had barely used it. For some reason it felt like 2022 was the year to use some of it!
So the kit included 12×12 papers and some of those papers had sentiments and words on and some had various elements like tags and frames. So I decided to collage them together and also add in some textures and die cuts and stamping. The kit had also included the metal tool charms so I also added those.
I set to on fussy cutting everything out and then when I had enough elements I decided to add panels of cardstock I had embossed. I love the effect of embossing so much and rarely remember to use my folders.
Once everything was cut out (including the die cut letters for Dad which I had stacked 3 deep) I inked all the edges and the embossed panels using Vintage Photo.
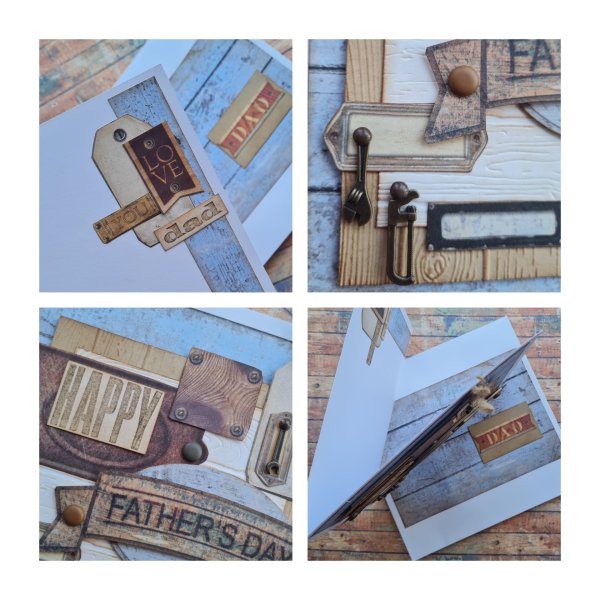
Then I started sticking things down, adding foam layers to sime parts for dimension. I then took some brads and attached the charms and then added some larger brads as ‘nail heads’ on two of the frames.
I added a tiny scrap of string to the tag too.
I decided rather than use the Happy that was in the patterned paper to go with a stamped one from the Biggest Wish set.
Inside the card I created a little cluster of the paper and cut out elements with a stamped Dad. I also added some of the paper and a little panel with a cut out element to the envelope too!
Love how this came out. Lots and lots of fussy cutting and inking … but my Dad is definitely worth the effort!
Happy fathers day to my Dad, to my hubby and to all the Dad’s out there!
Wishing I was spending today with my Dad but as a result of our little run in with Covid this past week we have postponed our plans for another week to be on the safe side!
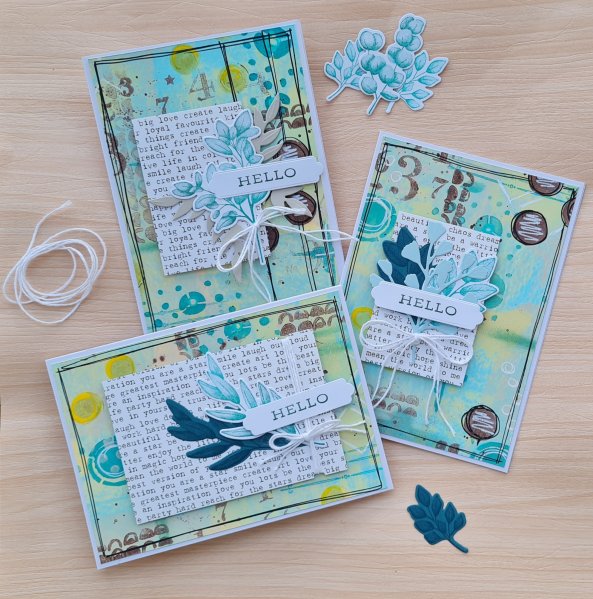
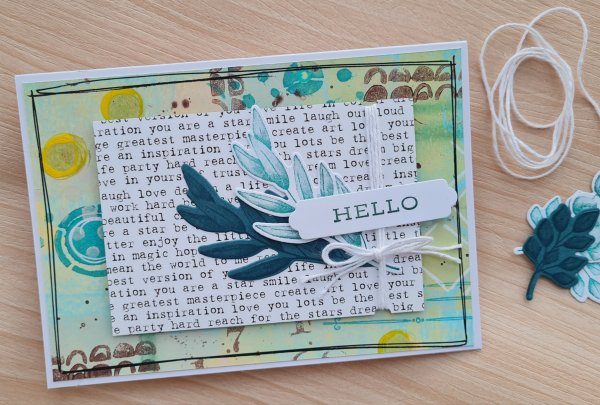
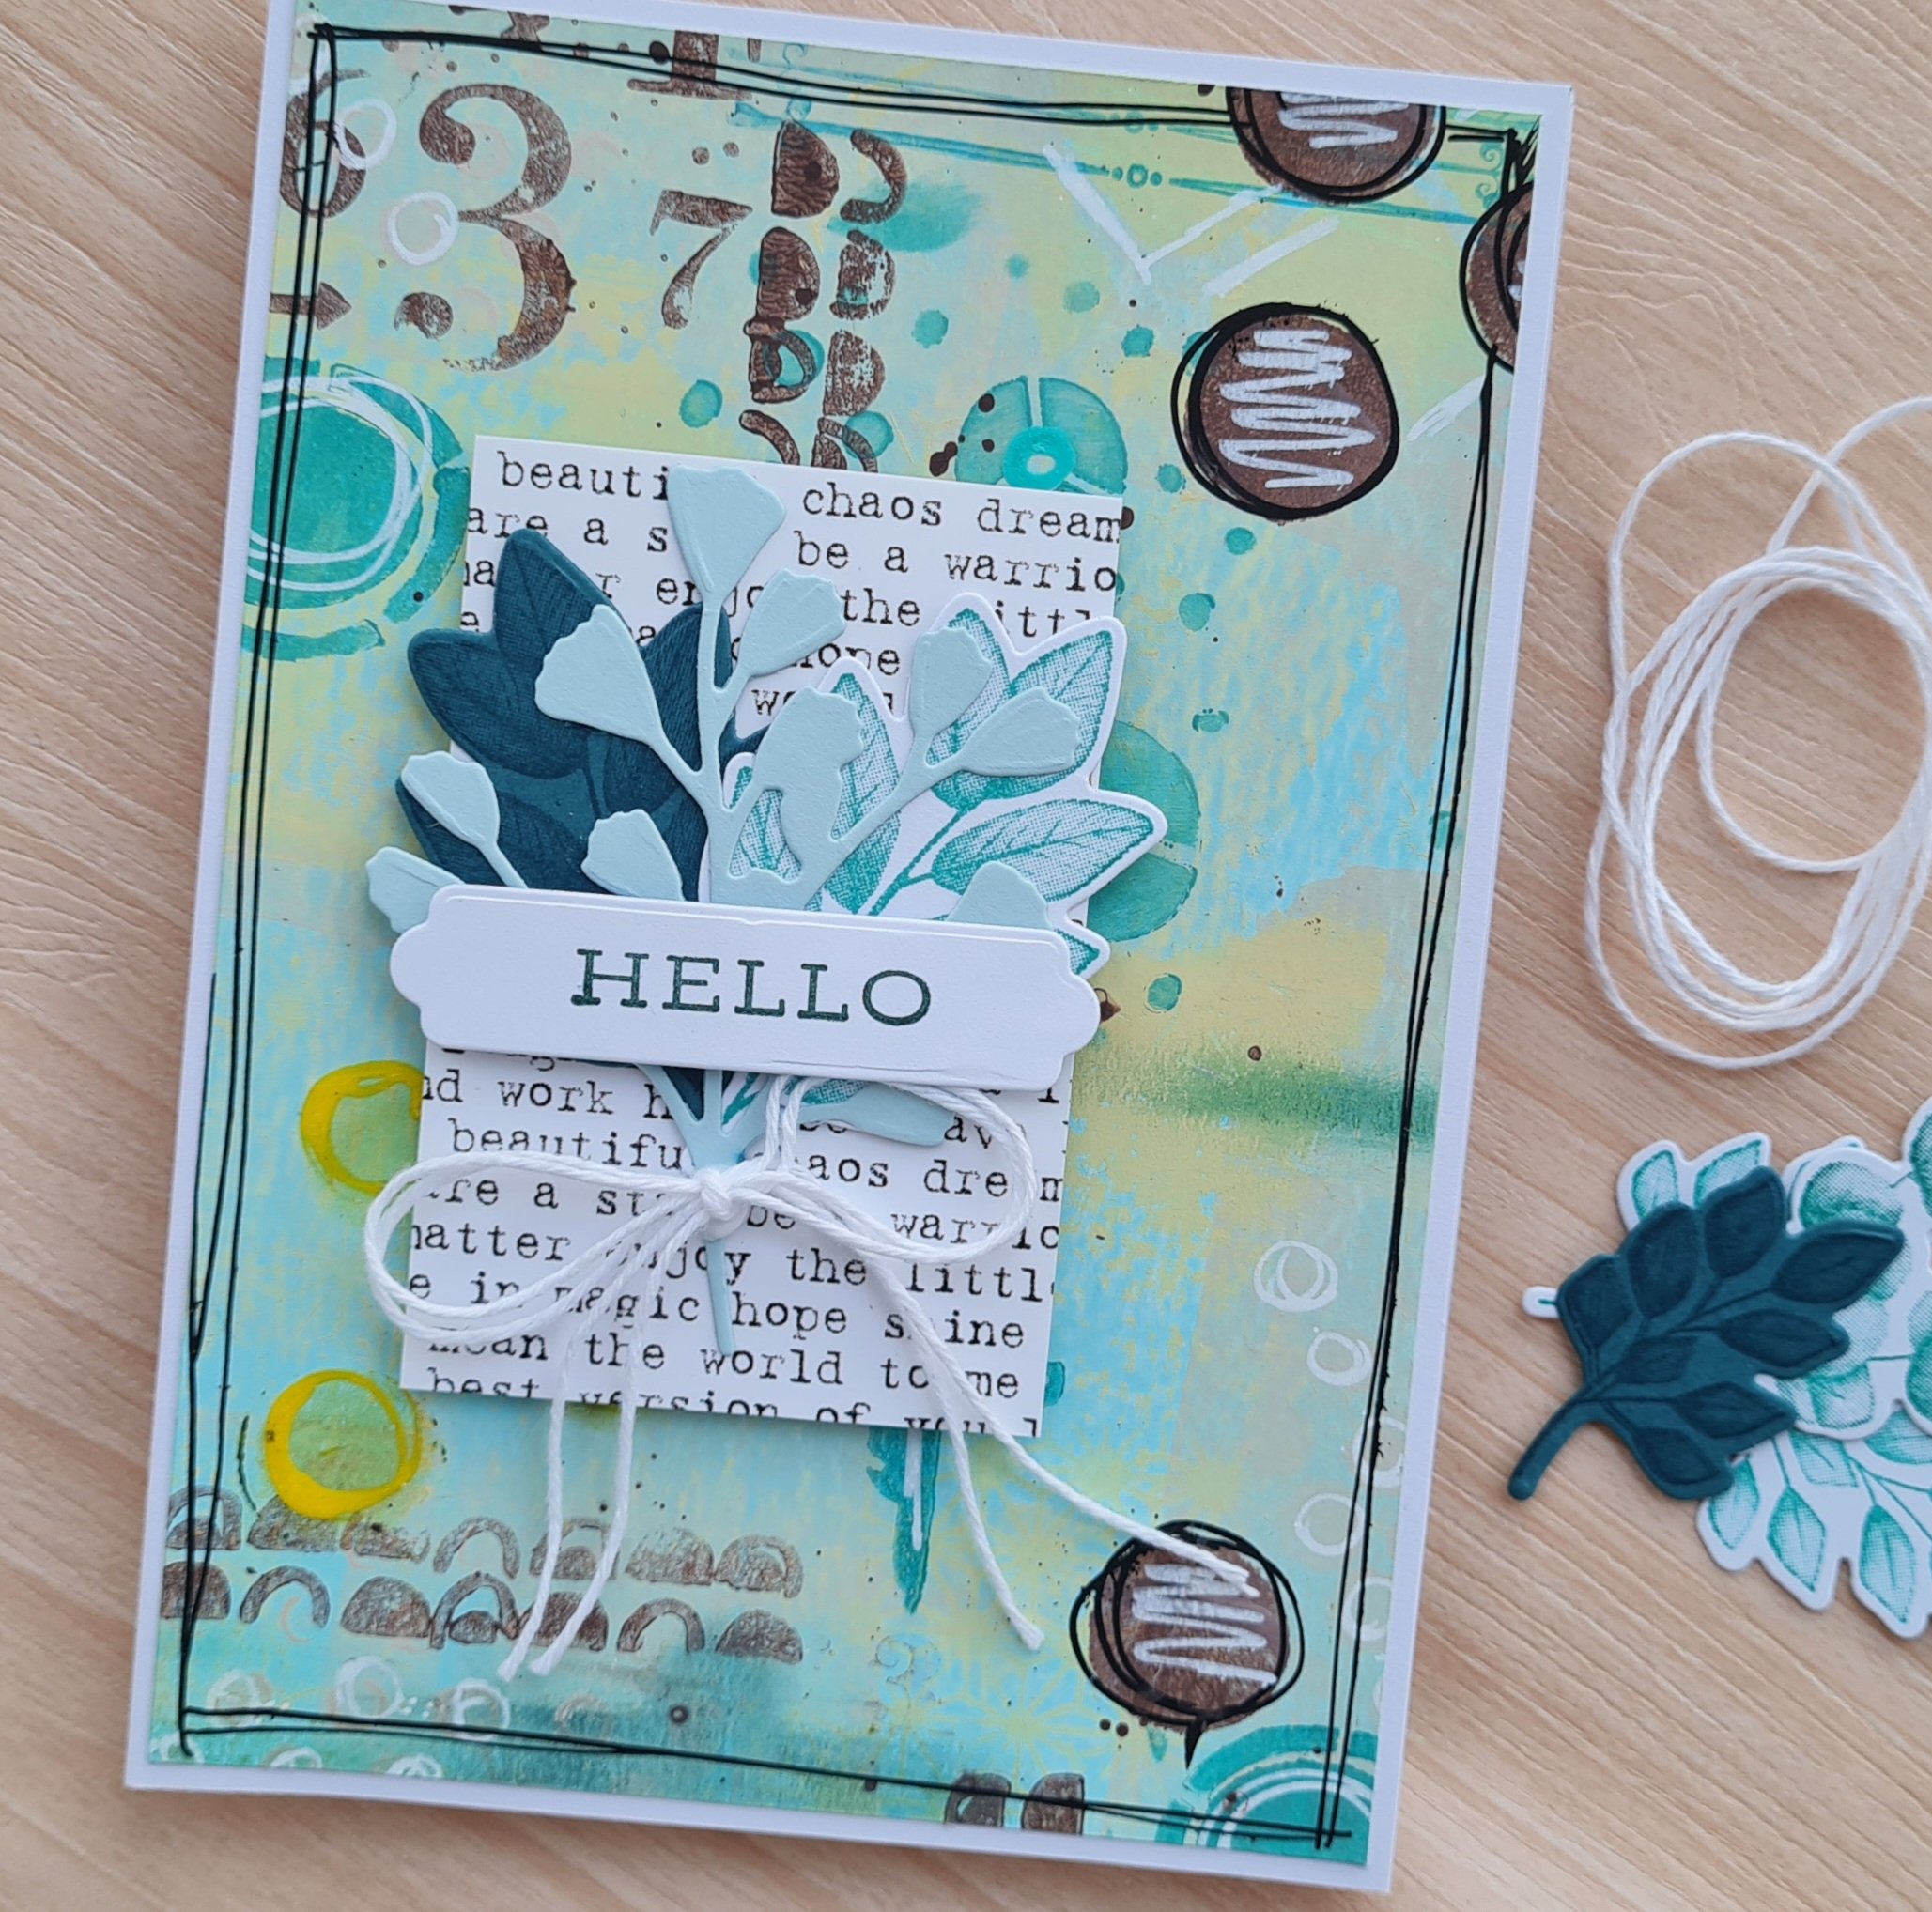
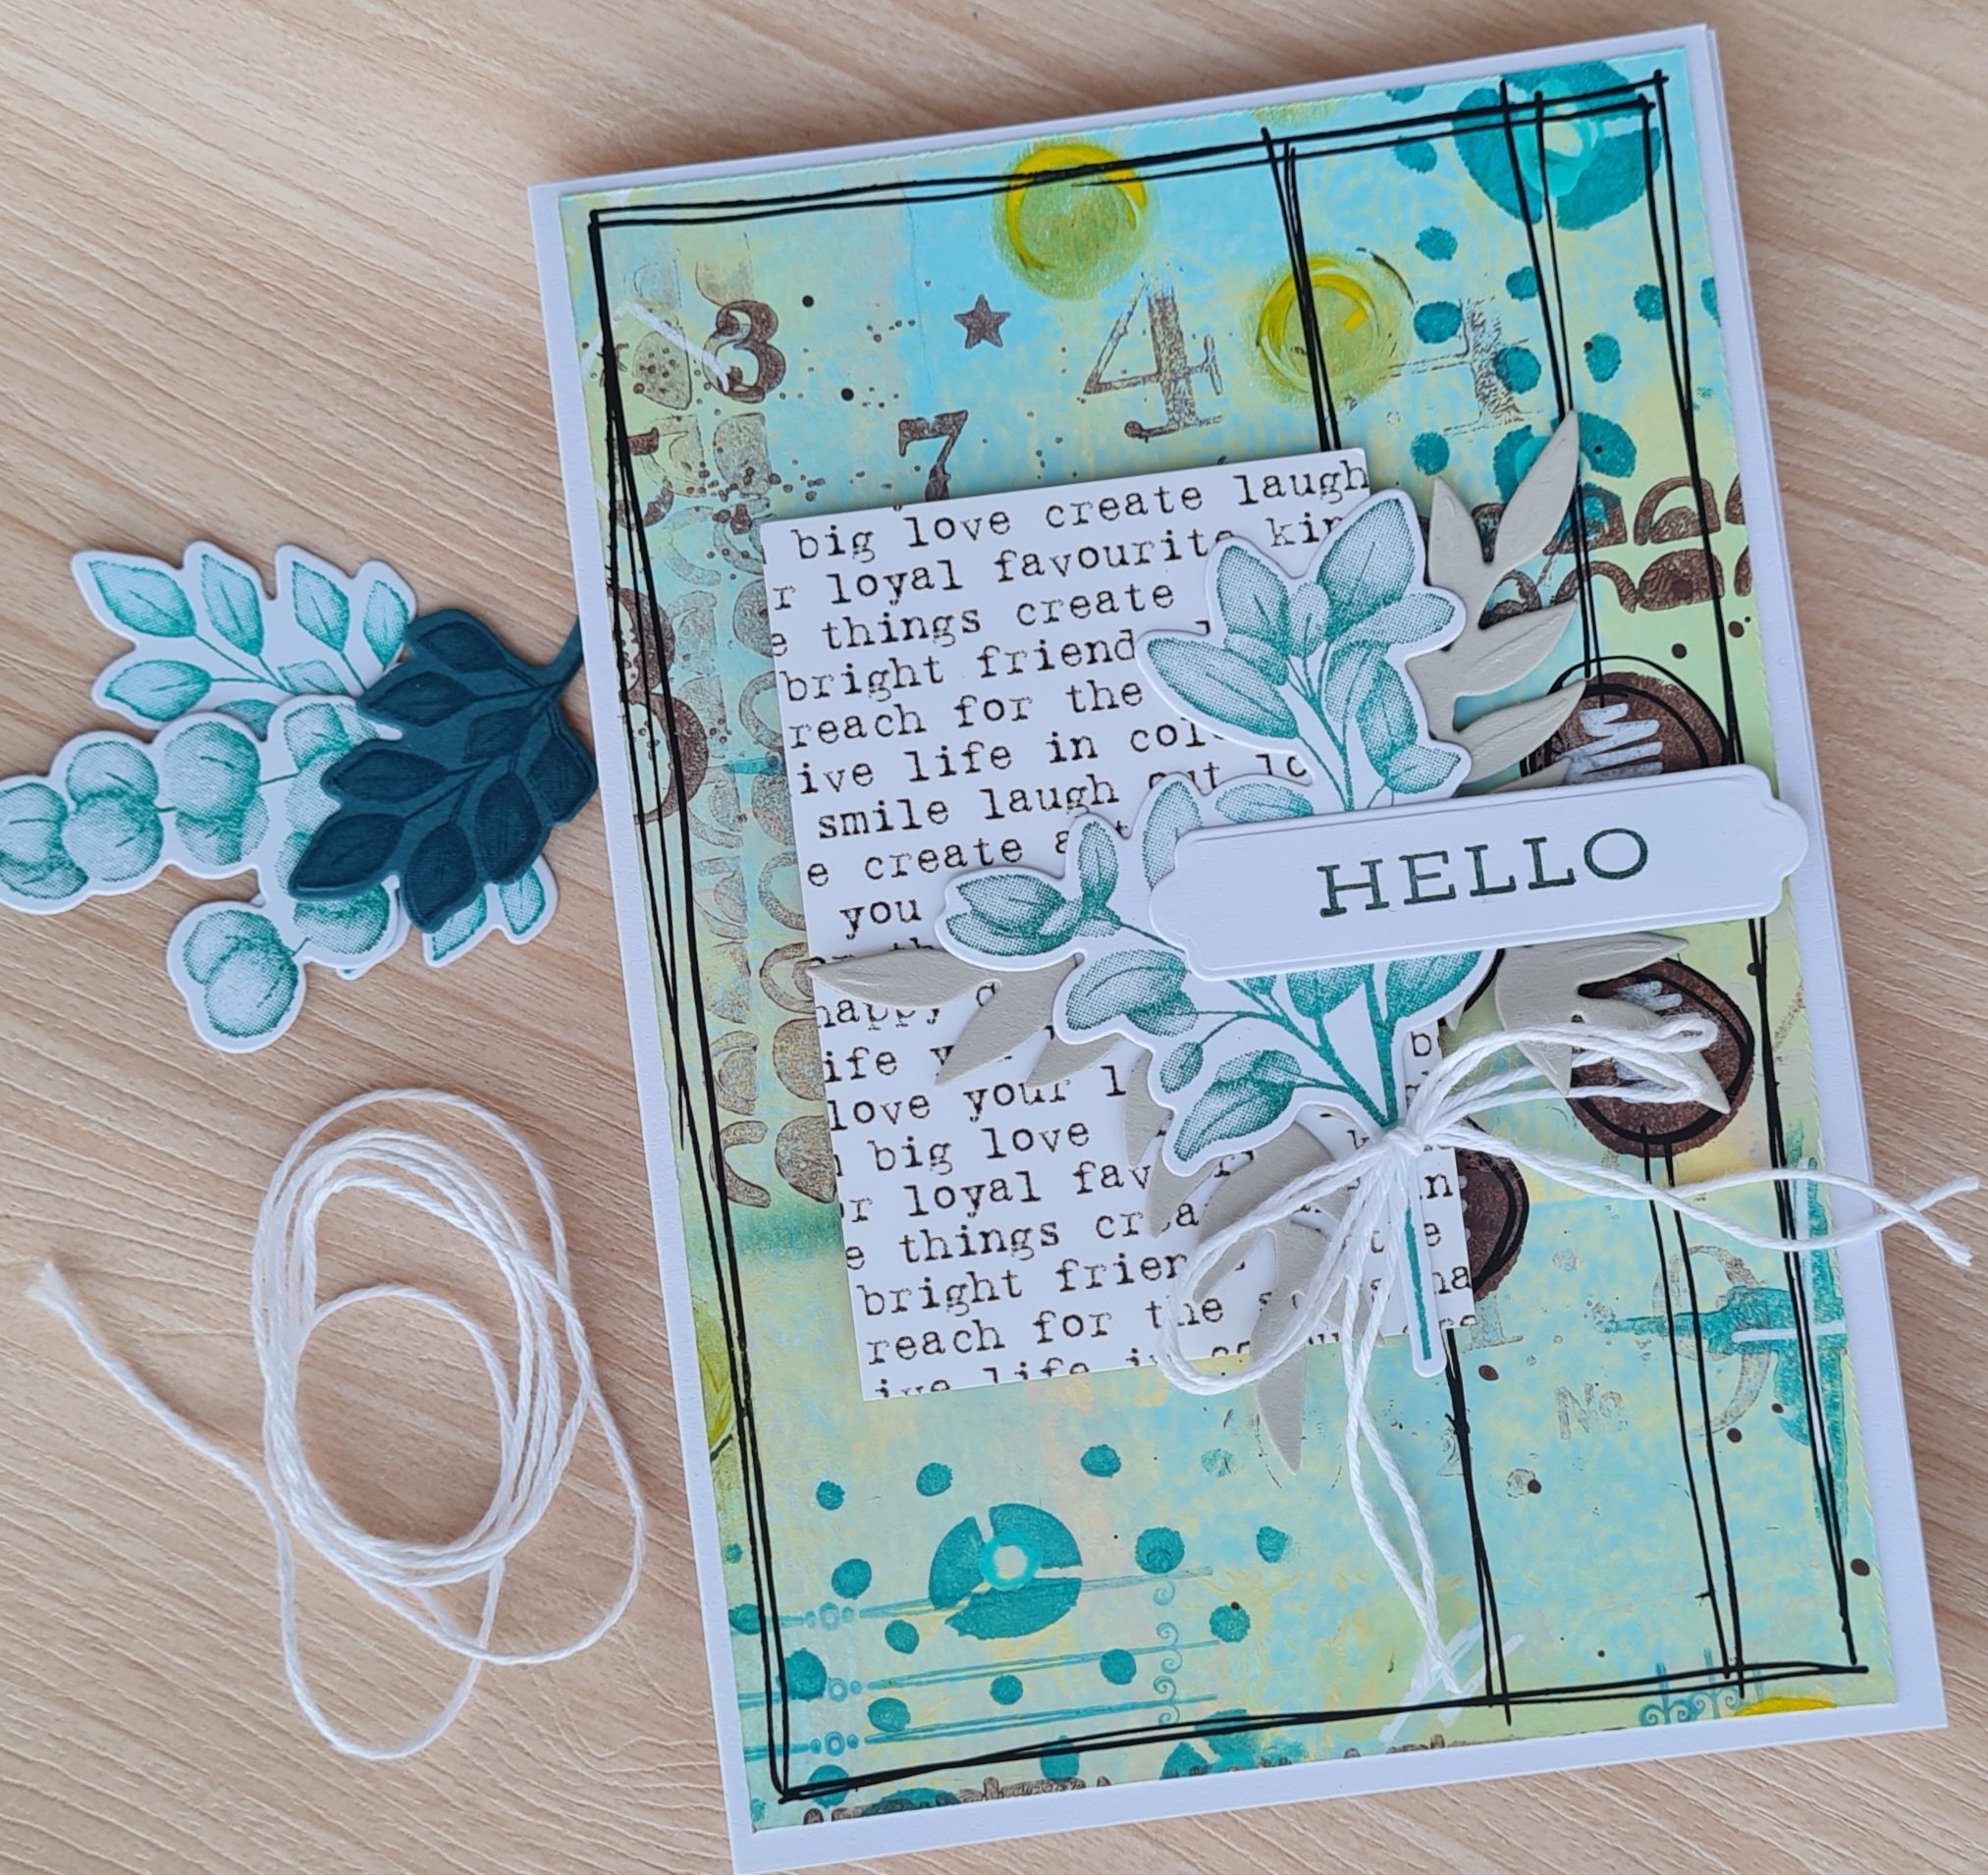
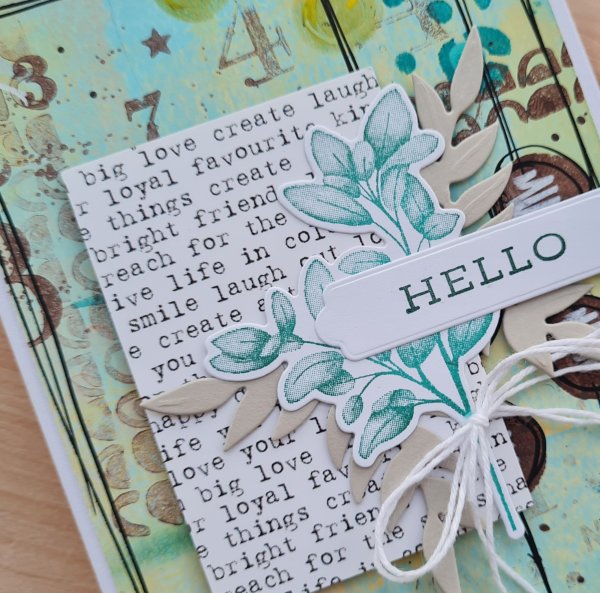
This tiding up and clearing out is definitely leading to finding some rubbish … but also some really cool things … and todays three cards were as a result of such a find! Some time ago (maybe 2 years?) I made a masterboard using Paperartsy fresco finish paint and stencils and stamping and doodling and cut it into three panels for cards, stuck them onto card blanks, added a doddled edge and then did nothing with them! I found them and decided now was the time to finish them off!
I also had found some papers from Alpaca Pals including this cool text paper and figured that would work well with this graphic background. I then decided that some Bermuda Bay themed leaves from Forever Fern would also be perfect embellishments/focal images … so I set tp and started stamping and die cutting … only using scraps from the scrap folder as I didn’t want to start cutting into anything new.
I added some white twine from the stash and die cut the banners for the sentiment using the Christmas Greetings dies. All of the word paper was raised on foam to give some dimension. And then I called these done.
To say I am happy with how this turned out is an understatement… firstly I forgot how much I love these Forever Fern images and the die cuts… secondly that masterboard has me wanting to play with paint and make more things like this!
I have recently sold some of the stamps that I know I used in this particular masterboard so it was nice to see them in use here. (small amounts of sellers regret but know I have plenty of other stamps that will work similarly so pushing that regret away!)


 Inkyfingeredcat