I am an on-the-side and increasingly up front papercrafter who loves nothing more than getting inky and creating pretty things with paper and stamps!
I am also a wife to lovely hubby and mummy to a wonderful 14yr old princess.
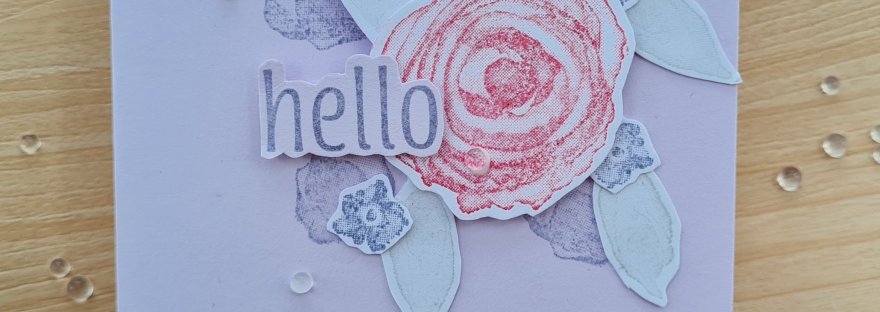
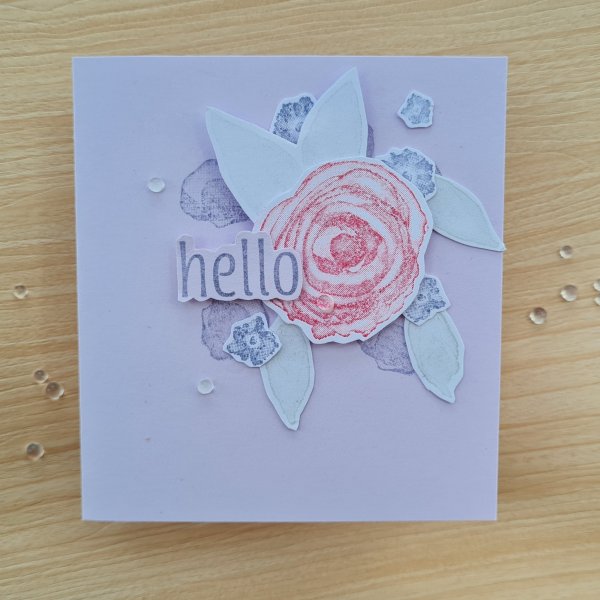
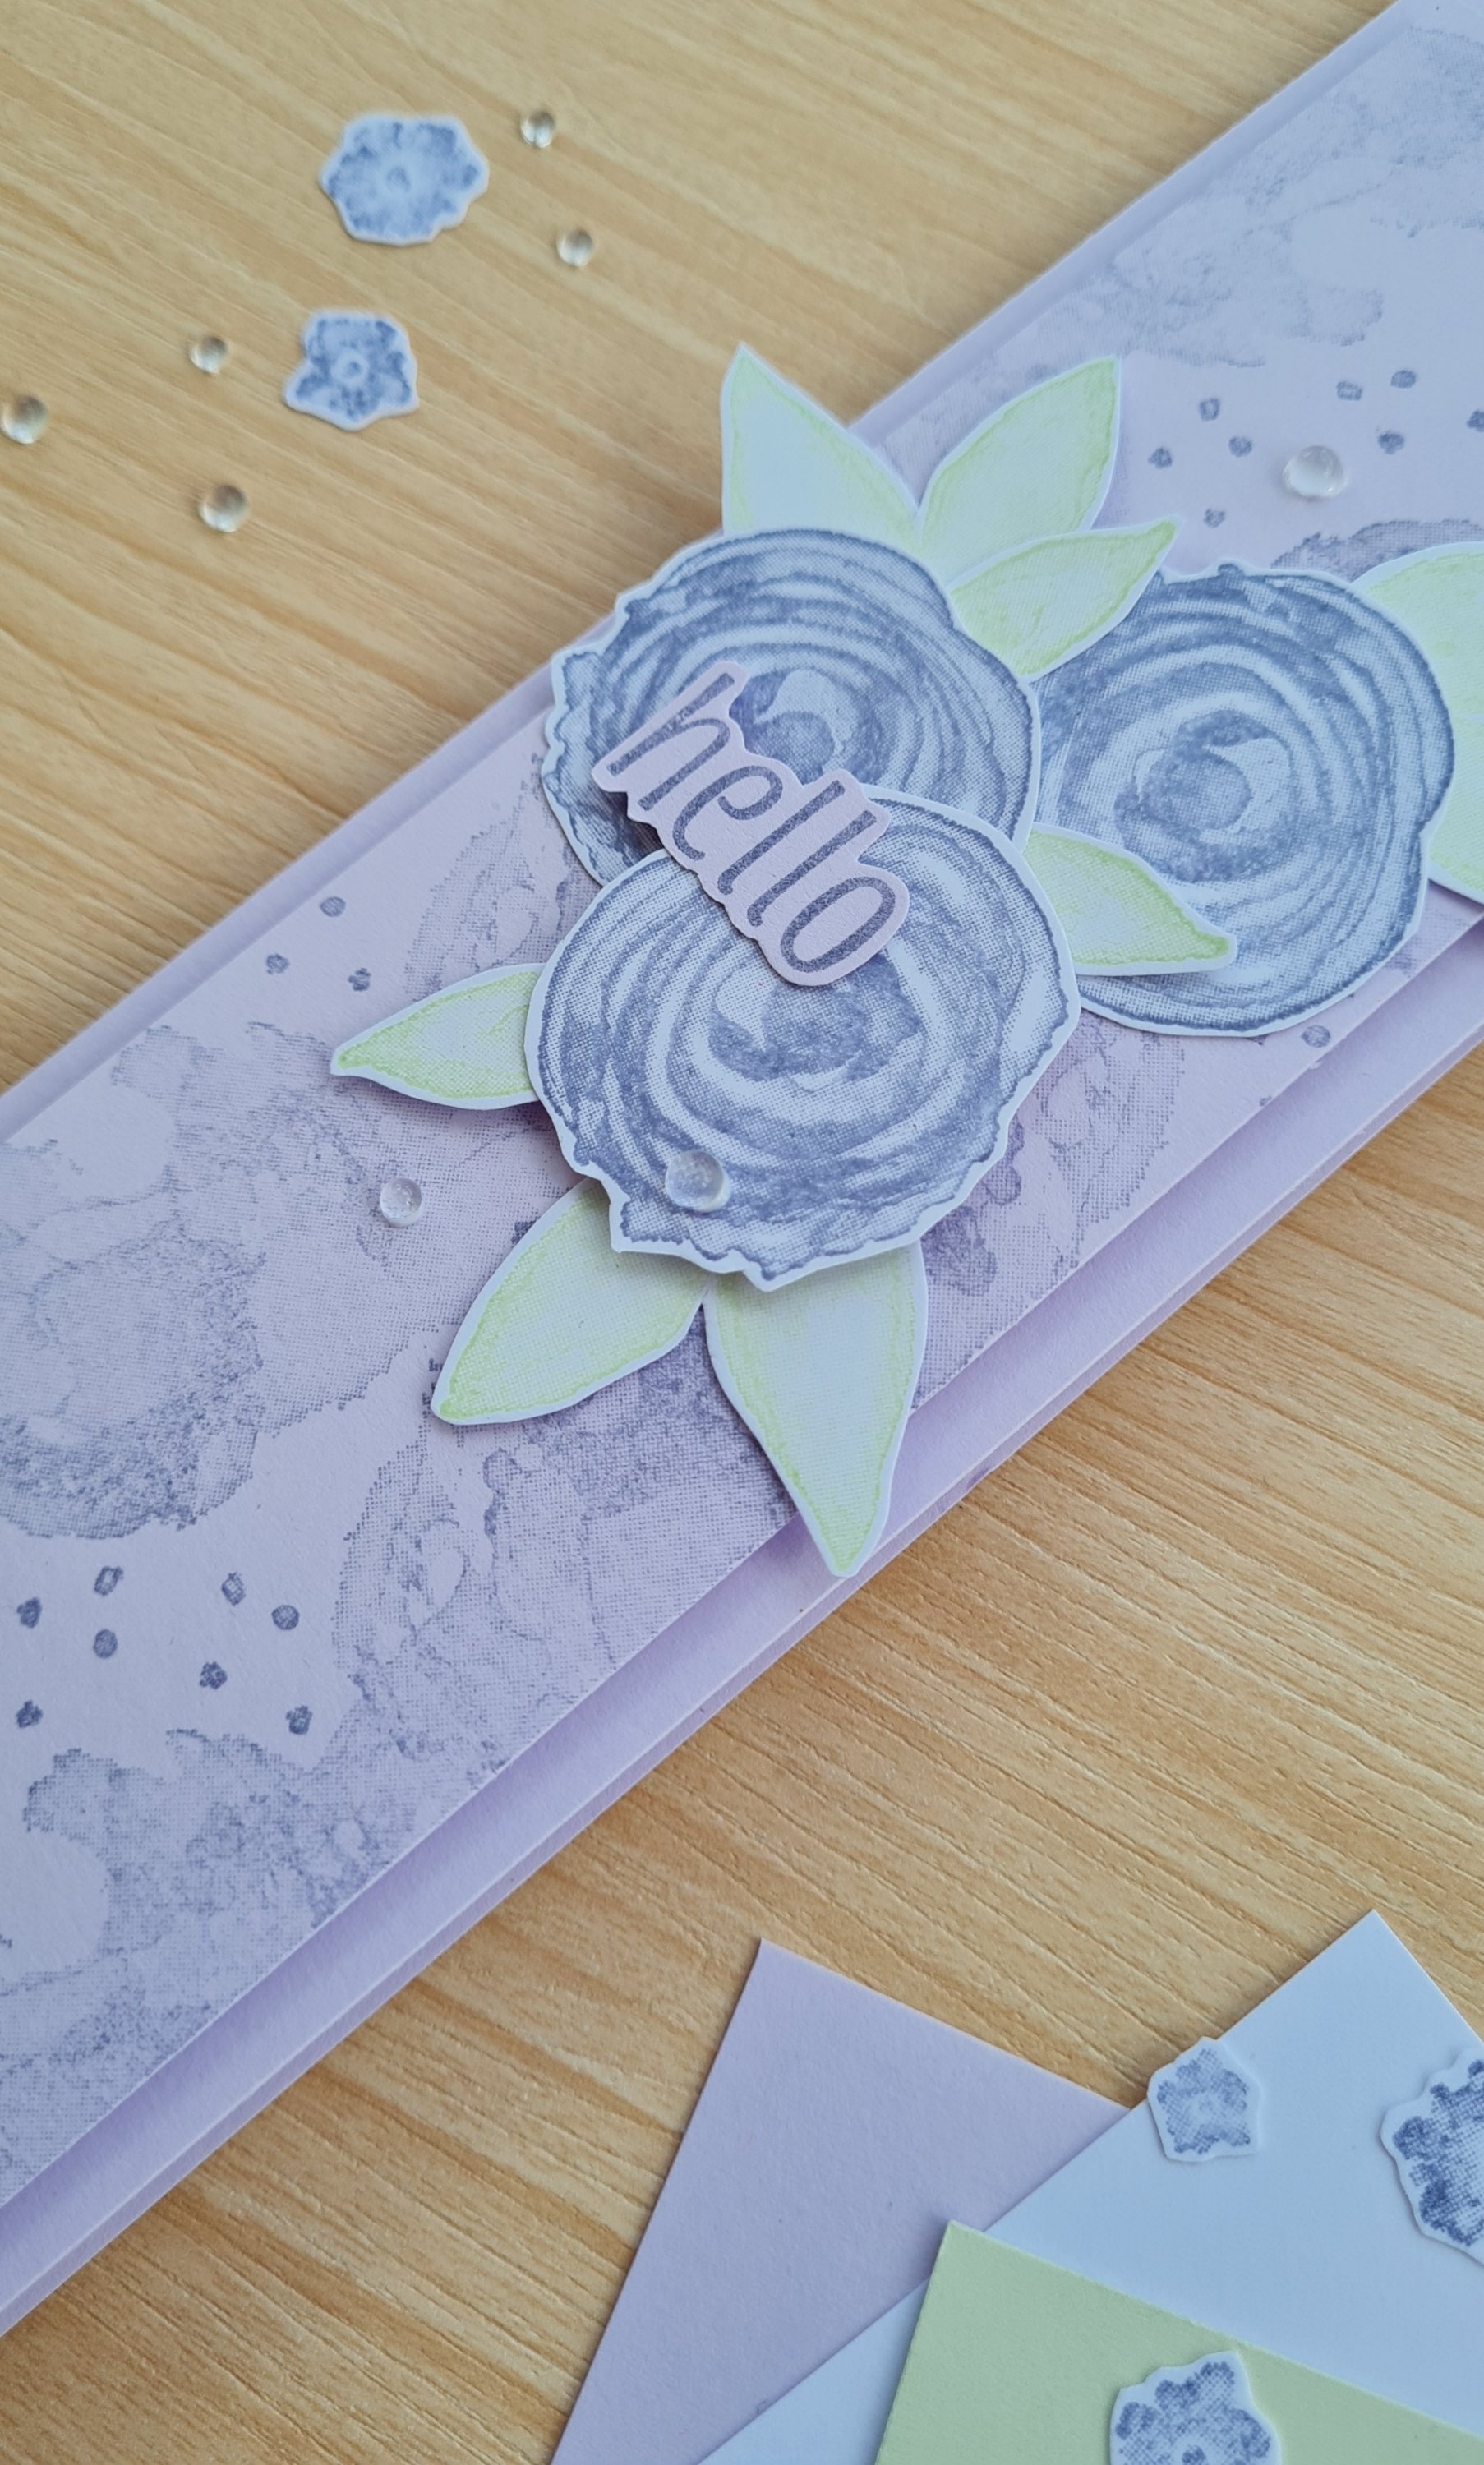
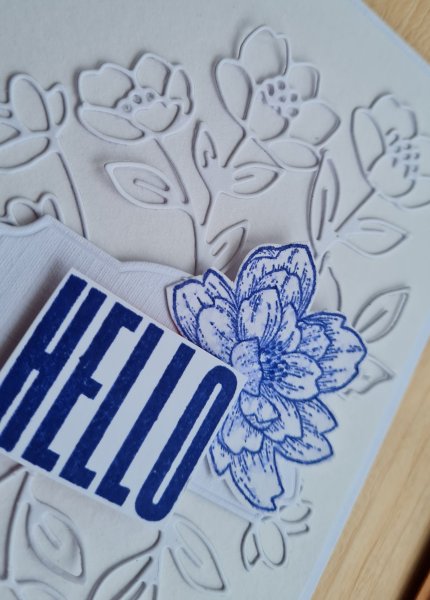
Decided to use up the bits on the desk from yesterday’s slimline card and made this cute little note card.
I did have to stamp one more larger flower and one of the double leaves and fussy cut them out… otherwise this is everything I had already got out and already cut ready for yesterday’s card. The card base itself is also leftover cardstock from the slimline card.
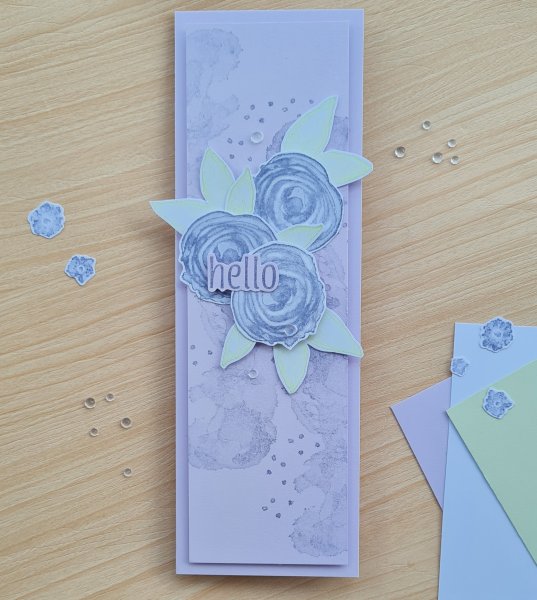
Decided to have a little playtime with the Artistically Inked stamps and made a slimline card.
Chose the gorgeous (now retired) Purple posy cardstock and Wisteria Wonder ink along with Soft Sea Foam for my colours. Then started stamping.
I decided to make a slimline card … 7cm x 21cm and the top panel is 1 cm smaller to give a nice border as these seem to be very popular at the moment and not something I often make.
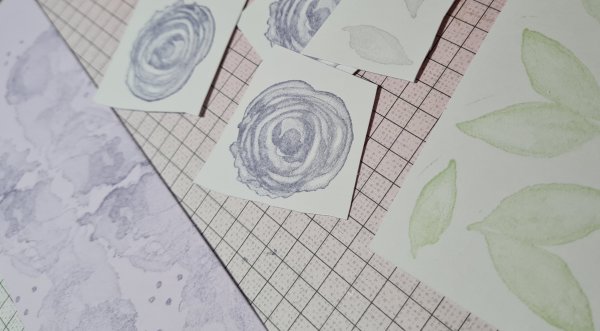
I stamped the alcohol ink like background 4 times on the panel and then stamped the more circular flower three times onto white cardstock. I also stamped the leaves a few times using soft sea foam.
I decided rather than using the dies to have a bit of chill out time and did fussy cutting instead.
I then layered up the flowers and the sentiment with foam between the top flower and the bottom flowers for dimension. I then added the little dew drop style embellishments for some shine.
Styled the photograph as professionals like Martin Stone do … lots of work but it looks good as a result.
Love the final card. A nice and simple card. I did think when I saw this in the catalogue when it first came out, that I would use this stamp set lots but to be honest I’ve not used it as much as I thought. It is gorgeous though so maybe should make more of an effort to use it.
Hello! Thanks for popping along to my blog to visit.
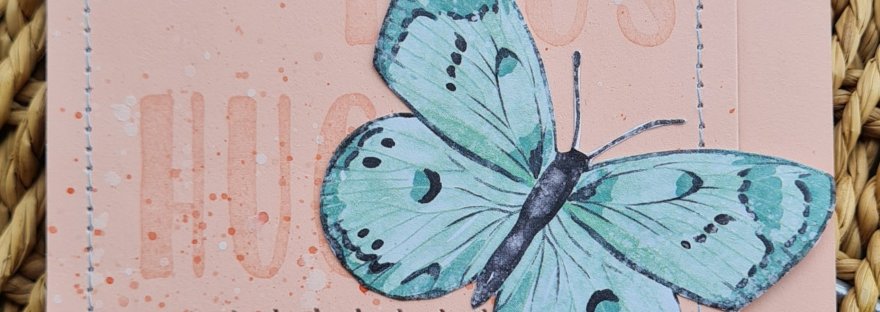
Today I have a design team contribution for Happy Little Stampers CAS challenge and the theme for this month is …. HUGS!
So before I set off down the route of showing you what I made let’s quickly revisit the rules for the CAS challenge…
Clean and Simple design with one focal point, lots of white (or open) space and minimal layers and embellishments
Now I do this partly because I have recently been a more is more kind of cardmaker rather than CAS so I love this challenge and the fact it makes me reign it in a little even if it is only for one project a month!
I did take inspiration from Martin at Martin’s Mayhem mainly because I happened to have been binge watching his videos on YouTube recently, I love his style. So this was probably mainly inspired by this video. But I used the Butterfly papers that came with Butterfly Brilliance and then the Oh So Lovely stamps for the hugs.
So a few extra details like the sewing and the splatters to make it special but don’t think I went too over the top on this one.
Inside the card, more paper and another stamped Hugs!
So what do you think? CAS enough? I love these butterflies and it was nice to find I still had a little bit of the paper left in my stash!
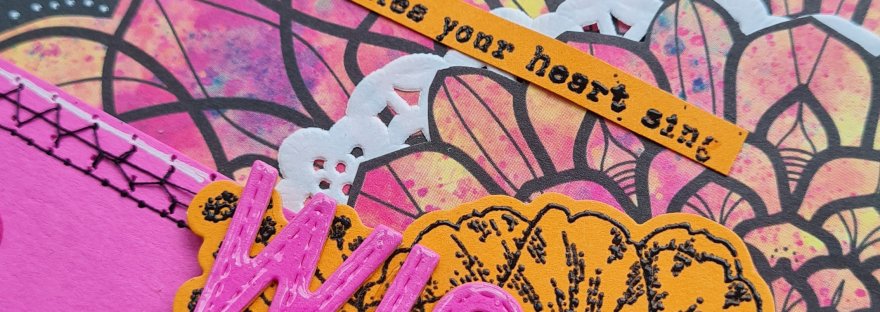
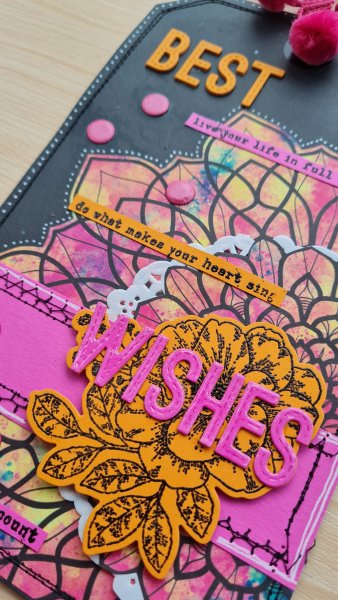
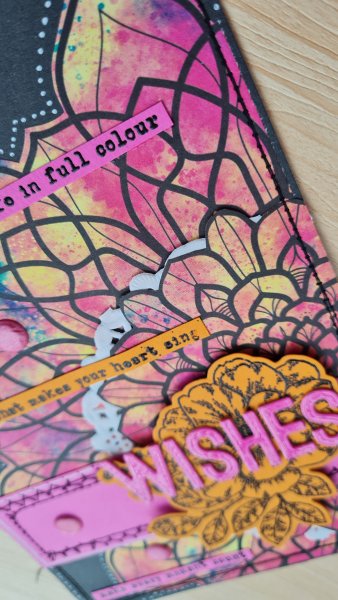
When I was messing around with (attempting to tidy up but failing!) old papers I found some gorgeous mandala papers from Making Cards magazine and decided to use one of the pages of the kit to make a tag. In my drawer I then found a large Art by Marlene tag and it seemed perfect for the job!
I cut the mandala out and then also cut the second one, but only the central part. I sandwiched a doily between the two layers for some added texture and then went to town with the sewing machine.
I decided to use some bright orange and pink cardstock to then create some fun elements and of course it needed some stamping for the UK stampers forum swap so I stamped and embossed Cottage Rose onto the orange, and then stamped and embossed the sentiment strips. These sentiment strips are so cute from a set by Funky Fossil.
I decided to die cut the letters (heffy doodle dies) for the best wishes and stack them to give more dimension. I also added foam under the flower to lift that up. On the wishes letters I added glossy accents to give it more shine.
I added some white posca paint pen dots for the edge and round the mandala element and then some card candi to embellish. The pom pom trim went perfectly with the tag so had to staple that onto the top.
Don’t think I’ve ever done this big a tag for UK stampers forum swap before… probably won’t again because I know this will cost more to post, but on this occasion I think it is worth it!
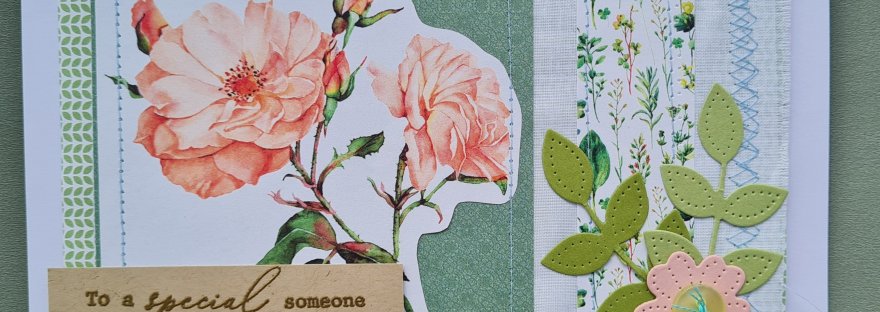
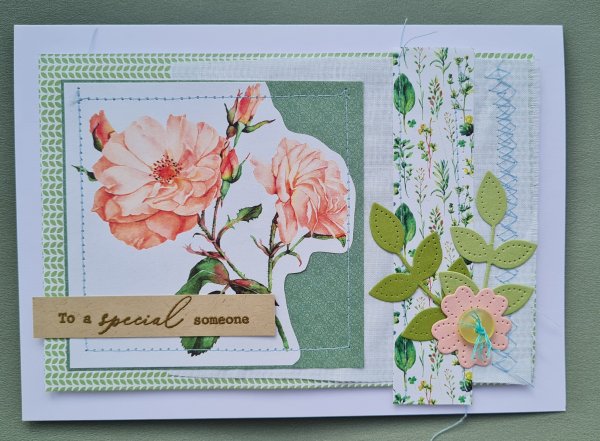
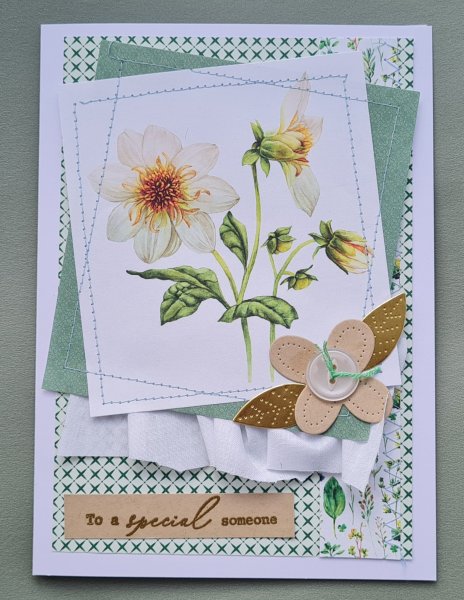
Once again I played with patterned paper for the design team for Craftyhazelnuts patterned paper challenge blog using old Making Cards magazine stash. I decided to use some pretty greens and florals and also got the sewing machine out to add some sewn and fabric elements too.
I played with layers and sewing machine stitches and generally had fun making these. I decided to use die cuts from Pierced Blooms as embellishments and a button too.
The sentiments came from an old Creative Stamping magazine set and decided to add them on kraft in gold embossing. That was mainly inspired by the gold leaves on the second card.
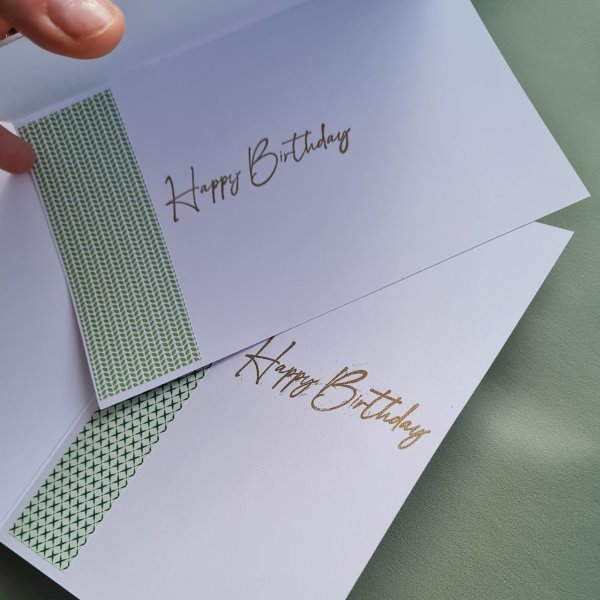
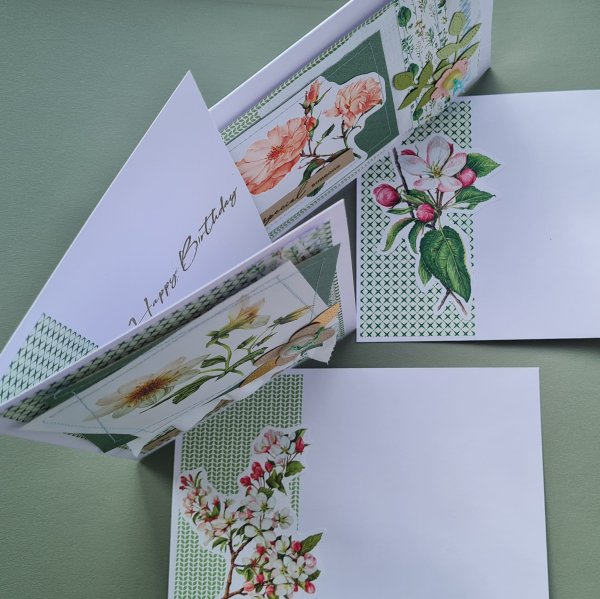
Inside the cards I went for another gold sentiment and a strip of the paper.
And the envelopes, more paper and one of the other images from the kit that I fussy cut.
Very pretty, and textured cards … and with the pops of gold I think they turned into pretty special birthday cards too.
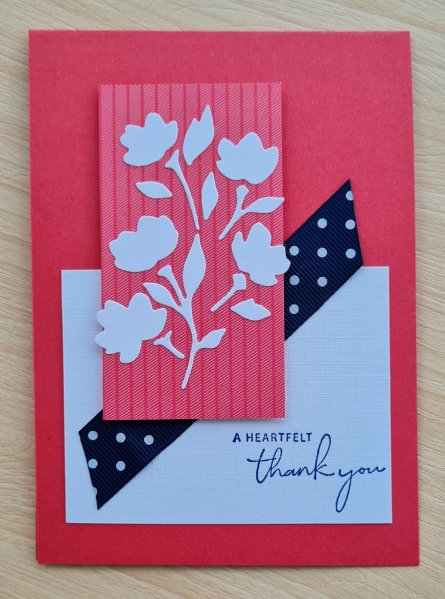
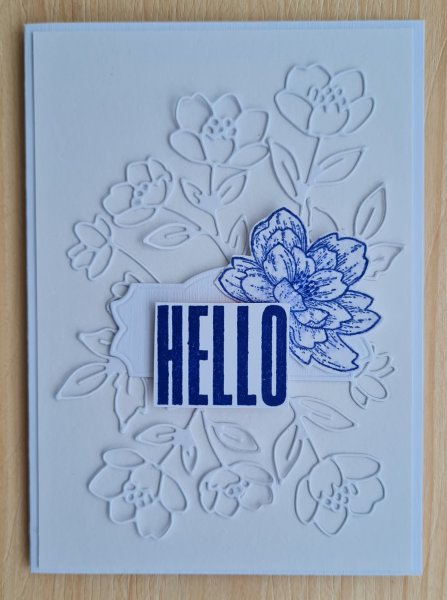
So today’s card was made with scraps that were just sitting on my desk.
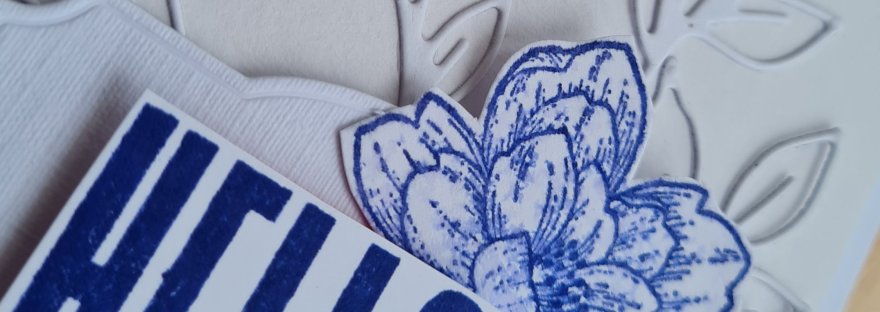
If you recall I made a card using the larger die from the Cottage Flowers dies and I wasn’t entirely sure how useful this die would be if you didn’t get the dsp from the Abigail Rose suite. Well I had some bits from that project still sitting on my desk and I realised I could just use the bits that don’t coordinate with stamps to create my own little cute spray of flowers and leaves…
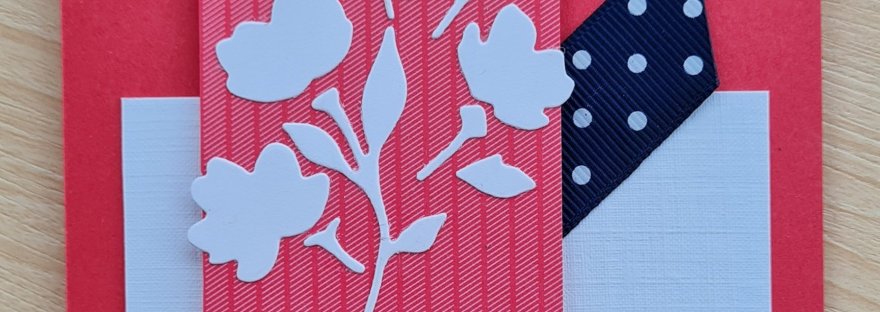
I stuck them onto a piece of dsp that wasn’t on the desk … then stamped the sentiment onto a scrap of white. Decided to use foam to lift the Sweet Sorbet panel up and used a scrap of navy ribbon to sit behind it.
I decided I might as well use the leftover Sweet Sorbet cardstock to create the cardblank…. jobs a good’un!
So maybe this die might get used again after all! Still looking for other ways of using it as although the dsp on super pretty I just don’t need it so trying not resist buying it.
Entering this into the die cuts/stencils challenge at ADDICTED TO STAMPS
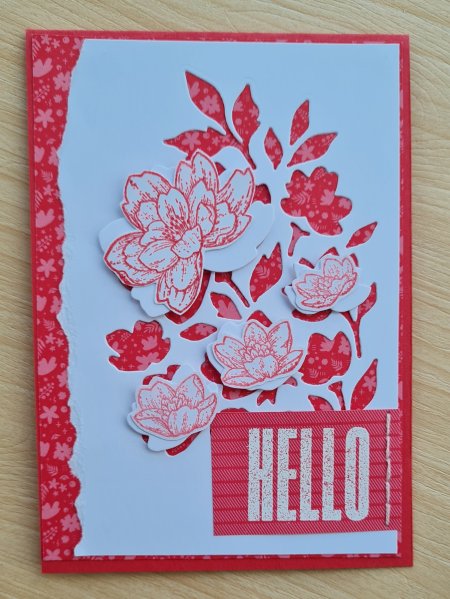
When I get new stash I like to play with it before I search for how others have used it. Clearly I’ve seen pictures initially that prompt me to buy it in the first place but I’ve usually forgotten by the time I actually get to play.
This Cottage Rose bundle has a large die that cuts out bits of a floral arrangement… four parts of which coordinate with stamps but the rest don’t so it had me stumped. So I decided to create a background panel, put dsp behind it and then add the stamped elements on foam at slight angles so it still exposed the dsp…
I tore the edge of the white panel to expose the dsp and sewed the sentiment into place (always my go to sentiment stamp set … Biggest Wish)
I then went and looked at the catalogue to see how it is meant to work and it looks like it cuts dsp, but of course I hadn’t bought that!
Ah well… I like how I’ve used it. To be honest I ended up fussy cutting the flowers out as they were so easy so can’t imagine using the die for those bits so it is likely not to get used too much unless I go and get the dsp (and seriously I am not a person who needs more dsp in her life right now!)
Any other ideas on how to use it greatly appreciated.
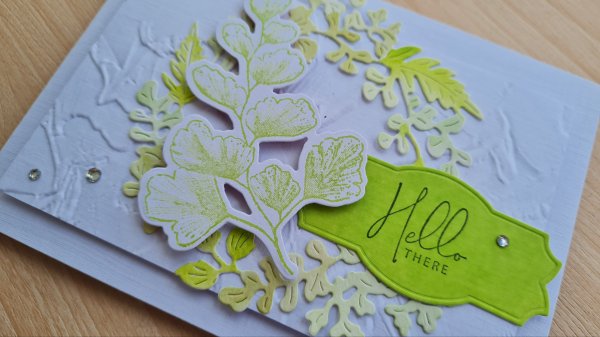
I have another stamp and die bundle that I’ve just bought … Nature’s Prints … and I couldn’t wait to try it out… especially that gorgeous wreath die.
I also love love love the Parakeet Party colour… it is so zingy and fresh.
So I die cut the wreath from white and then added water and the ink in Parakeet Party, Mint Macaron and Old Olive.
I then stamped the main image in Parakeet Party and die cut that. I decided I wanted a textural background so cut a panel of the white and embossed it with the Painted Texture.
I then wanted more of the zing of the Parakeet Party so swiped the ink across the cardstock, dried it and die cut the label panel. I then stamped the sentiment using Mossy Meadow to keep to the green theme!
I raised both the textured panel and the main image up on foam and then added rhinestones for some bling!
Love this and I can image using that wreath a lot. Wondering whether it would work with the retired Arrange a Wreath dies too or not… or maybe the Merriest Moments embossing folder? More experiments required! Lol!
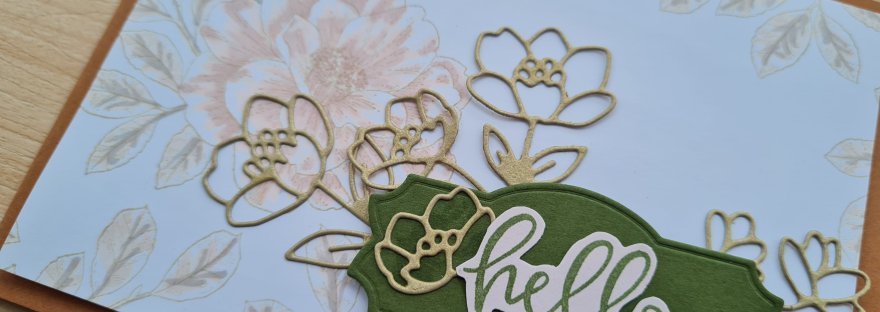
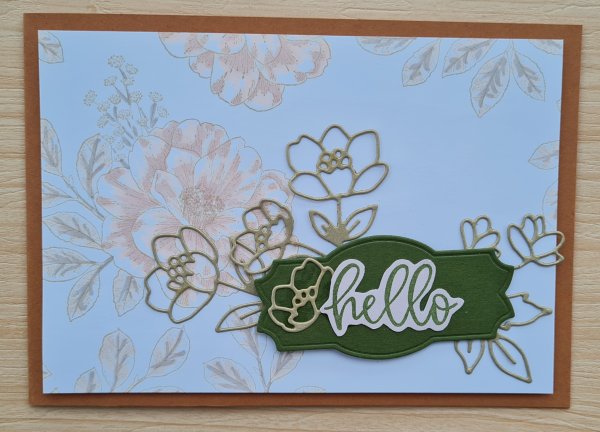
Went for some gentle colouring using soft colours for this card by doing lots of stamping around the edges of the white panel using Sahara Sand.
Used promarkers to then add the colour but kept the tones soft.
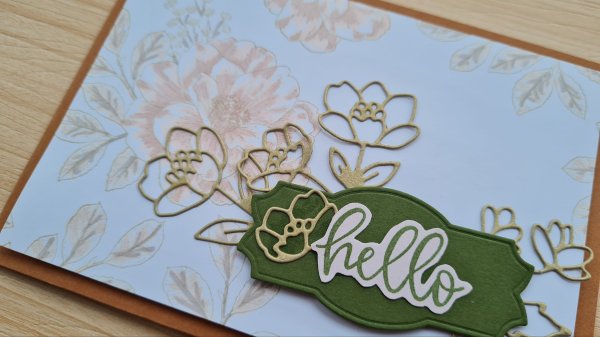
I mounted the panel onto foam and then onto Cinnamon Sugar cardstock and then die cut the lab from Mossy Meadow and the pretty die cuts from some random brushed gold cardstock I had in the scraps folder. I then decided to add the Biggest Wish script sentiment which I stamped onto cardstock I had coloured with the promarkers used in the background colouring. Very much an experiment card playing with the promarkers and the scraps to hand.
I did add wink of Stella to the backgrounds but as usual the camera doesn’t pick them up!
A lovely little hello card … Happy with how it turned out.








 Inkyfingeredcat