Happy New Year! DT: Craftyhazelnuts patterned paper challenge 

First let me wish you a happy new year! I can’t believe it is 2018… It sounds so futuristic! Hope you had a safe passage into the new year and wishing you a happy, healthy and creative new year! 

Now my first post of the year is a design team contribution for Craftyhazelnuts patterned paper challenge. I chose to make a batch of cards using the pack from Making Cards magazine. Now I know it was Augusts magazine but I’ve just had it sitting there waiting for me to use it so I decided now is the time! 

I made six cards in total, layering the papers and images with cardstock from the off cuts pile and added simple sentiments from my Emma Godfrey Paperartsy set. I use these so often as I love the font. 

And this is my favourite (it reminds me of my princess!) … 

On all of them I chose to add wink of Stella to the flower embellishments and the butterflies/ flowers on the main images. It’s difficult to see on the photos but here are some close ups. 

Love how these turned out. Really pretty and tropical Zen cards! 

Now please do pop over to the Craftyhazelnuts Patterned Paper Challenge Blog to see what everyone else has been making with their stash of patterned paper and why not join in with us? 

Happy crafting!

Catherine 

Playing with paint cards

I really needed some painty time last week so I took some spare cardstock and started playing. 

I mainly used decoarts fluid acrylic and Americana paints. I added the paint with sponges and a gelli plate and then a paint brush. I then used a stencil too. 

I love all of the different layers I created. I also added some stamping with Postscript background stamp.

Next I added some sparkle using the Art Alchemy sparks paint.  Then I cut it into two panels for card topper backgrounds.


I then decided that I would raid the Artful Days goodie box and assemble some cards. 

The first one I used a metal embellishment and a paper flower and leaf.  Then some stickers and a heat embossed stamped sentiment.

The second one I added a wooden circle and some flowers and sequins.  I also added the heat embossed sentiment too. 

Love how these came out. 

Happy crafting! 

Catherine 

Making up Christmas cards… Countdown to Christmas finale 

So it’s time to wrap up the Countdown to Christmas series… 

… and actually make some cards! 

I took this pile of ATCs… 

… and some card blanks and made a massive amount of cards! 

Some are mounted onto the 4×4 card blanks, some onto C6 cards and others onto 6×6 card blanks. Some got doodled borders and others an embossed mount piece of card. 

I have to say it gave me great delight going through the ones I had made and seeing them become something and then choosing each of them to write and send.  I know there were other card a I’ve also made which don’t feature here … but as per usual I made more than I needed so some will become gifts for my aunties and others will remain until next year! 

I haven’t actually finished Christmas crafting just yet either… So fear not … more inspiration to come. 

I recommend using ATCs as card toppers though if, like me, you want to create a unique piece each time. Perfect to make little works of art and then simply adhere them to a card blank at the end. 

Such a joy! 

Happy crafting! 

Catherine 

Claire’s Patwits circle journal page

Hello! 

Today some art journaling to share… this time in Claire’s Patwits circle journal which has safely arrived with the next recipient! 

She provided a piece of watercolour card and an envelope for us to decorate as we please but to include typography somewhere! 

Well I add book pages and some stamping which should meet the criteria! 

I started with a distress oxide background and chose yellows and browns for the main colours as I fancied doing a vintage style page.  I added lots of hot picks stamping in the background and then layered a few pieces of bookprint I had also added distress oxides to. 

The main feature I chose a Hot Picks hot air balloon and stamped it using archival onto bookprint and then added versamark and embossing powder all over to give it a waxy appearance and a glossy finish. 

I layered it up with some Angel hair to add texture. 

I added the whole panel to a piece of patterned paper that I added the embossing powder border to. I love the texture and colour this added. 

Finally I added Inktense pencil shading round the edge of the layers and the title stickers and some doodling. Oh and some added sparkle with some shimmer ink splats.

The envelope I went for a more organic finish. I added gesso and modelling paste with a palette knife and then stamped some Lin Brown stamps and used the fresco finish paints to add colour. I mainly painted with my fingers to blend it nicely.

I also added some of the Sparks paint and then the feature of the mini stamp which I stamped and then added the top layer by stamping onto a piece of cardstock I had painted the Sparks paint onto and then cut out the hand and pen image and layered it up.  I love how this came out. Simple but effective.

Happy crafting!

Catherine 

Remembrance ATC swap with Lindsay Mason

Today I have another video (3 in a row) to share with you and three ATCs I made for a swap Lindsay Mason organised where the theme was I Remember.

I chose to go for a poppy and Remembrance Sunday interpretation and here is what I made. 

I used distress oxides to create the background and then an old stamp from Stampin Up to heat emboss the poppy image. 

Love how these came out and really enjoyed creating them. 

Happy crafting! 

Catherine 

DT Craftyhazelnuts patterned paper challenge 

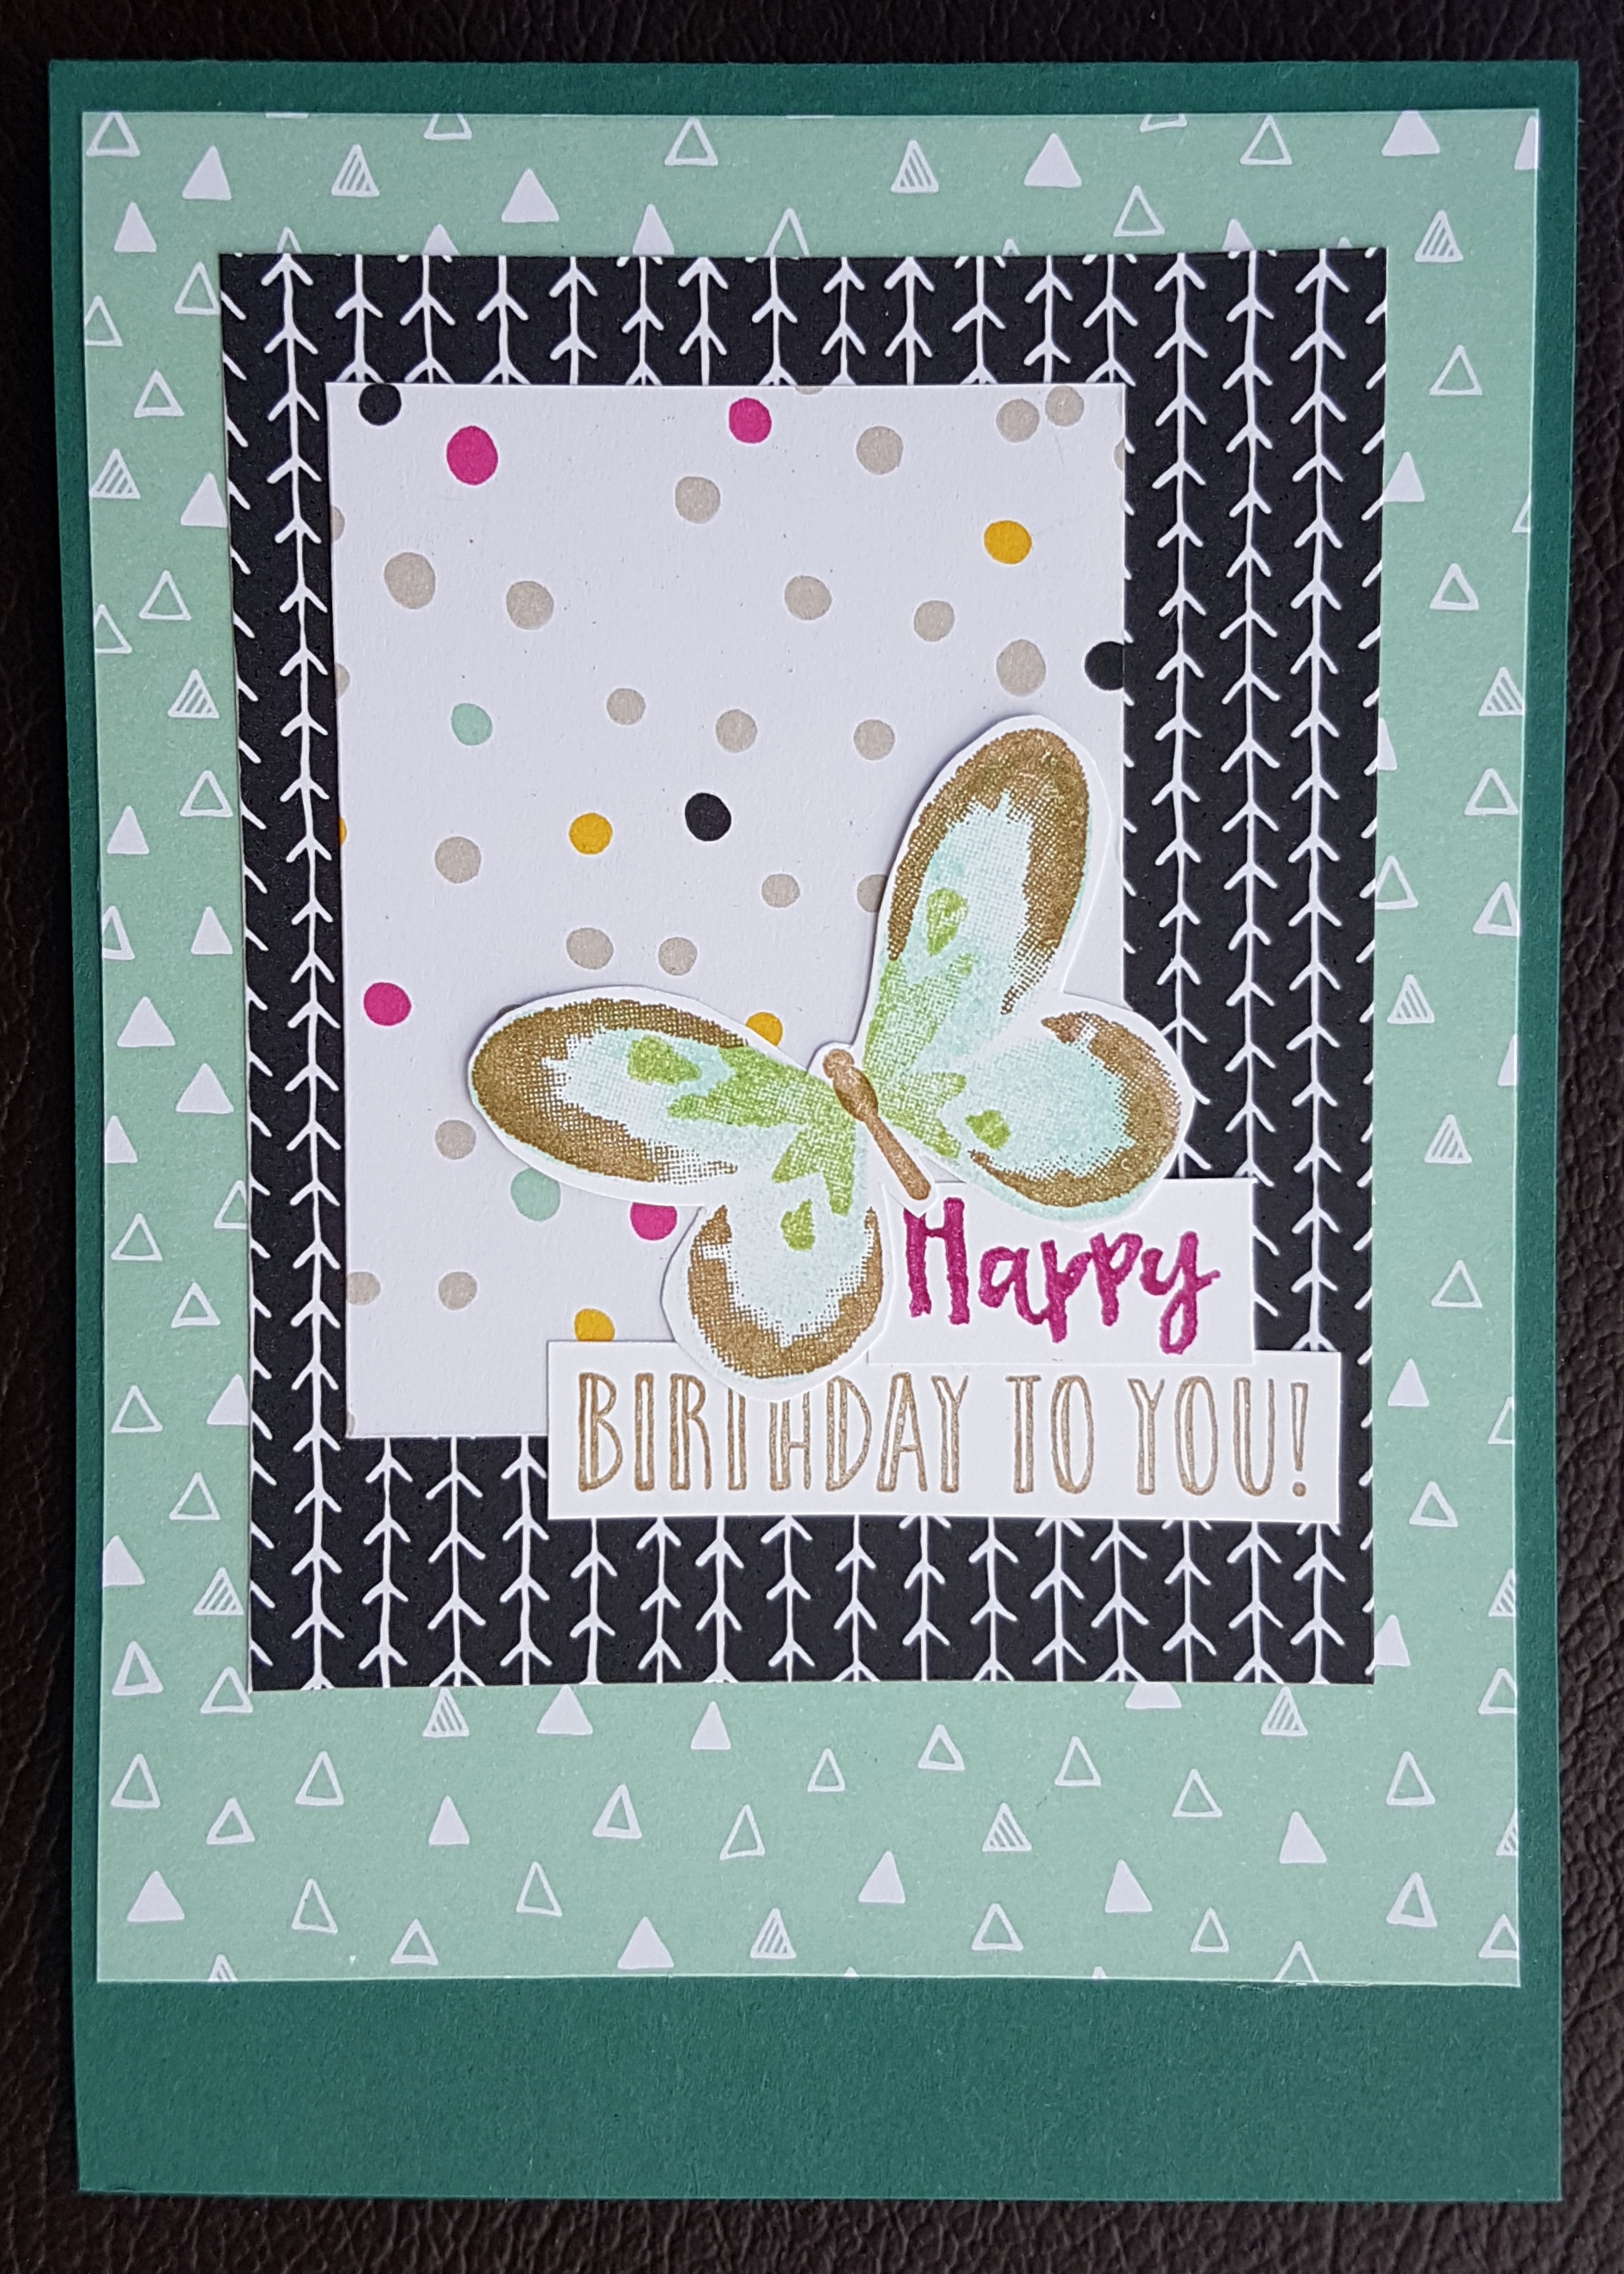
Well hello! And happy start of advent. I have a very non-christmas card to share today that I made for my contribution to Craftyhazelnuts patterned paper challenge. I actually stuck the video on to record the process… you can check this out here

And here is the card I made… 

I love these funky papers and the contrast with the delicate butterfly from Watercolour wings. Adorable. 

So now off to see what others have got up to with their stash of patterned paper over on the blog

Happy crafting! 

Catherine 

Countdown to Christmas ATCs pt 15

Today I have some different types of ATCs for my Christmas card topper challenge.

I wanted to create some full on textural 3d ATCs. I started with a sheet of cardstock and created a fun background using some rich coloured fresco finish paints… mahogany, chocolate pudding, Bourganvillia and guacamole. I also added some of the Art Alchemy Sparks paint which is a green gold colour (fairy wings).

With layers of colour down I added some stencilling and some doodling and plenty of splats of the Sparks paint and some gesso too to add some more white.

I just love all the details…

Then it was time to cut it up into the ATC panels…. it’s always a breath holding moment when I do this to a piece of background I love so much.

But now there are six beautiful bits of art to play with! Although I ended up only making 5!

I had a rummage through my Artful Days Goodie box supplies and hunted out a few things to play with… starting with the frames.

But although there are clearly two different types of frame going on I still wanted them all to look different so chose different ways of finishing them off.

1. Frantage frame and Angel

I used lots of layers on the frame of frantage. I find it so annoying to use this stuff as it tends to blow away with the heat tool so creates a lot of mess on my desk… but I love the result. I added the gold Angel hair and then the Tim Holtz die cut (from a piece of card I wiped off the paints on whilst working on the background).  I added some gesso to the resin angel and then sprinkled some of the frantage on that too.  Finished off with edging it with brown ink.


2. Feathers and gems

The next one I wanted add a soft feather. I decided to jazz the circle frame up a little and added gold embossing to the dictionary print I had stamped on it once the initial coat of mahogany paint was dry. Then I added the feather and gems and the little Tim Holtz sticker to finish.

3. Tree and glitz

For this frame I added lots and lots of the Sparks paint on top of a coat of mahogany and it is super sparkly. As a result I kept the rest of it fairly simple. I painted the tree die cut with a mix of the green patina paint, guacamole and the Sparks paint to provide a fun finish.  I edged the Tim Holtz sticker with Inktense pencil to add depth too.

4. Winter Friends squirrel

I had to dig out my favourite stamps of the year and add in a squirrel for this one.

I rotated the ATC to make it landscape and added the angel hair along one edge and added the frame at an angle. The frame I added lots of layers of paint and sanded it back. This created a really mottled distressed finish. I coloured my squirrel with promarkers and gave him a generous coat of wink of Stella to finish.  Again I used Inktense to add depth and shadow round the sentiment sticker.

5. No frame star

For the last one I decided against using the last circle frame and instead chose to use a wooden star as the main element. I painted it with chalk paint and then lightly added the Sparks paint and stamped a timeless textures stamp in mahogany lightly. I then also embossed some tiny gold dots onto it. I layered it up with some Angel hair.

Then I decided to die cut some holly leaves from a scrap of card I had painted with the green patina and the Sparks paint. These worked perfectly to surround the sentiment. Again Inktense pencil added some shading.

Super happy with these very 3d ATCs. These are not likely to get posted but instead made into cards for people I can hand them to.

Happy crafting!

Catherine

Gelli plate ATC christmas card class

Tonight its playtime with friends and we are making Christmas ATCs which we will turn into cards… and we are making 6 of them! Yes it sounds like a challenge but sure we can pull it off! I actually made 8 as samples but I think thay might be a bit much with only one mini gelli plate between us! 

I used distress inks in a range of colours that I thought worked as Christmas colours. 

I love how these all came out… such beautiful panels to work with… and each one is it’s own work of art.  So then I pulled out a few sets of stamps and made the panels into the individual toppers. 

So there are my 8 works of art… next step to cut them out and mount them before adding them to a card blank… Will update later with the final samples and of course pics of what we end up with tonight! 

Happy crafting!

Catherine 

Later edit… here are the samples… I added a few simple embellishments and mounted them all onto the dark green ATCs I had die cut. Then added them all onto C6 card blanks… one with an additional piece of patterned paper as I wanted to show that they work with the patterned paper too!  I doodles round some and on others raised them up on foam tape to add dimension.  I also added wink of stella to a few elements to give some shimmer.  (The other two did get made into cards too but didn’t provide them as samples for the class!)

And a much later edit… here is what I made tonight… I only managed to make three cards but I made lots and lots of backgrounds to make into something another day!

Inchies … UK stampers forum  

Today I have the six inchies I made for a swap to share. I used fresco finish paints to create the background and then the ArtJourney stamps for the images. 

I then grabbed some sentiments from a printed collage sheet that worked for me with the inages and added them.  I then finished them off with some wink of Stella on the buildings. 

Happy crafting! 

Catherine