Countdown to Christmas ATCs pt 14

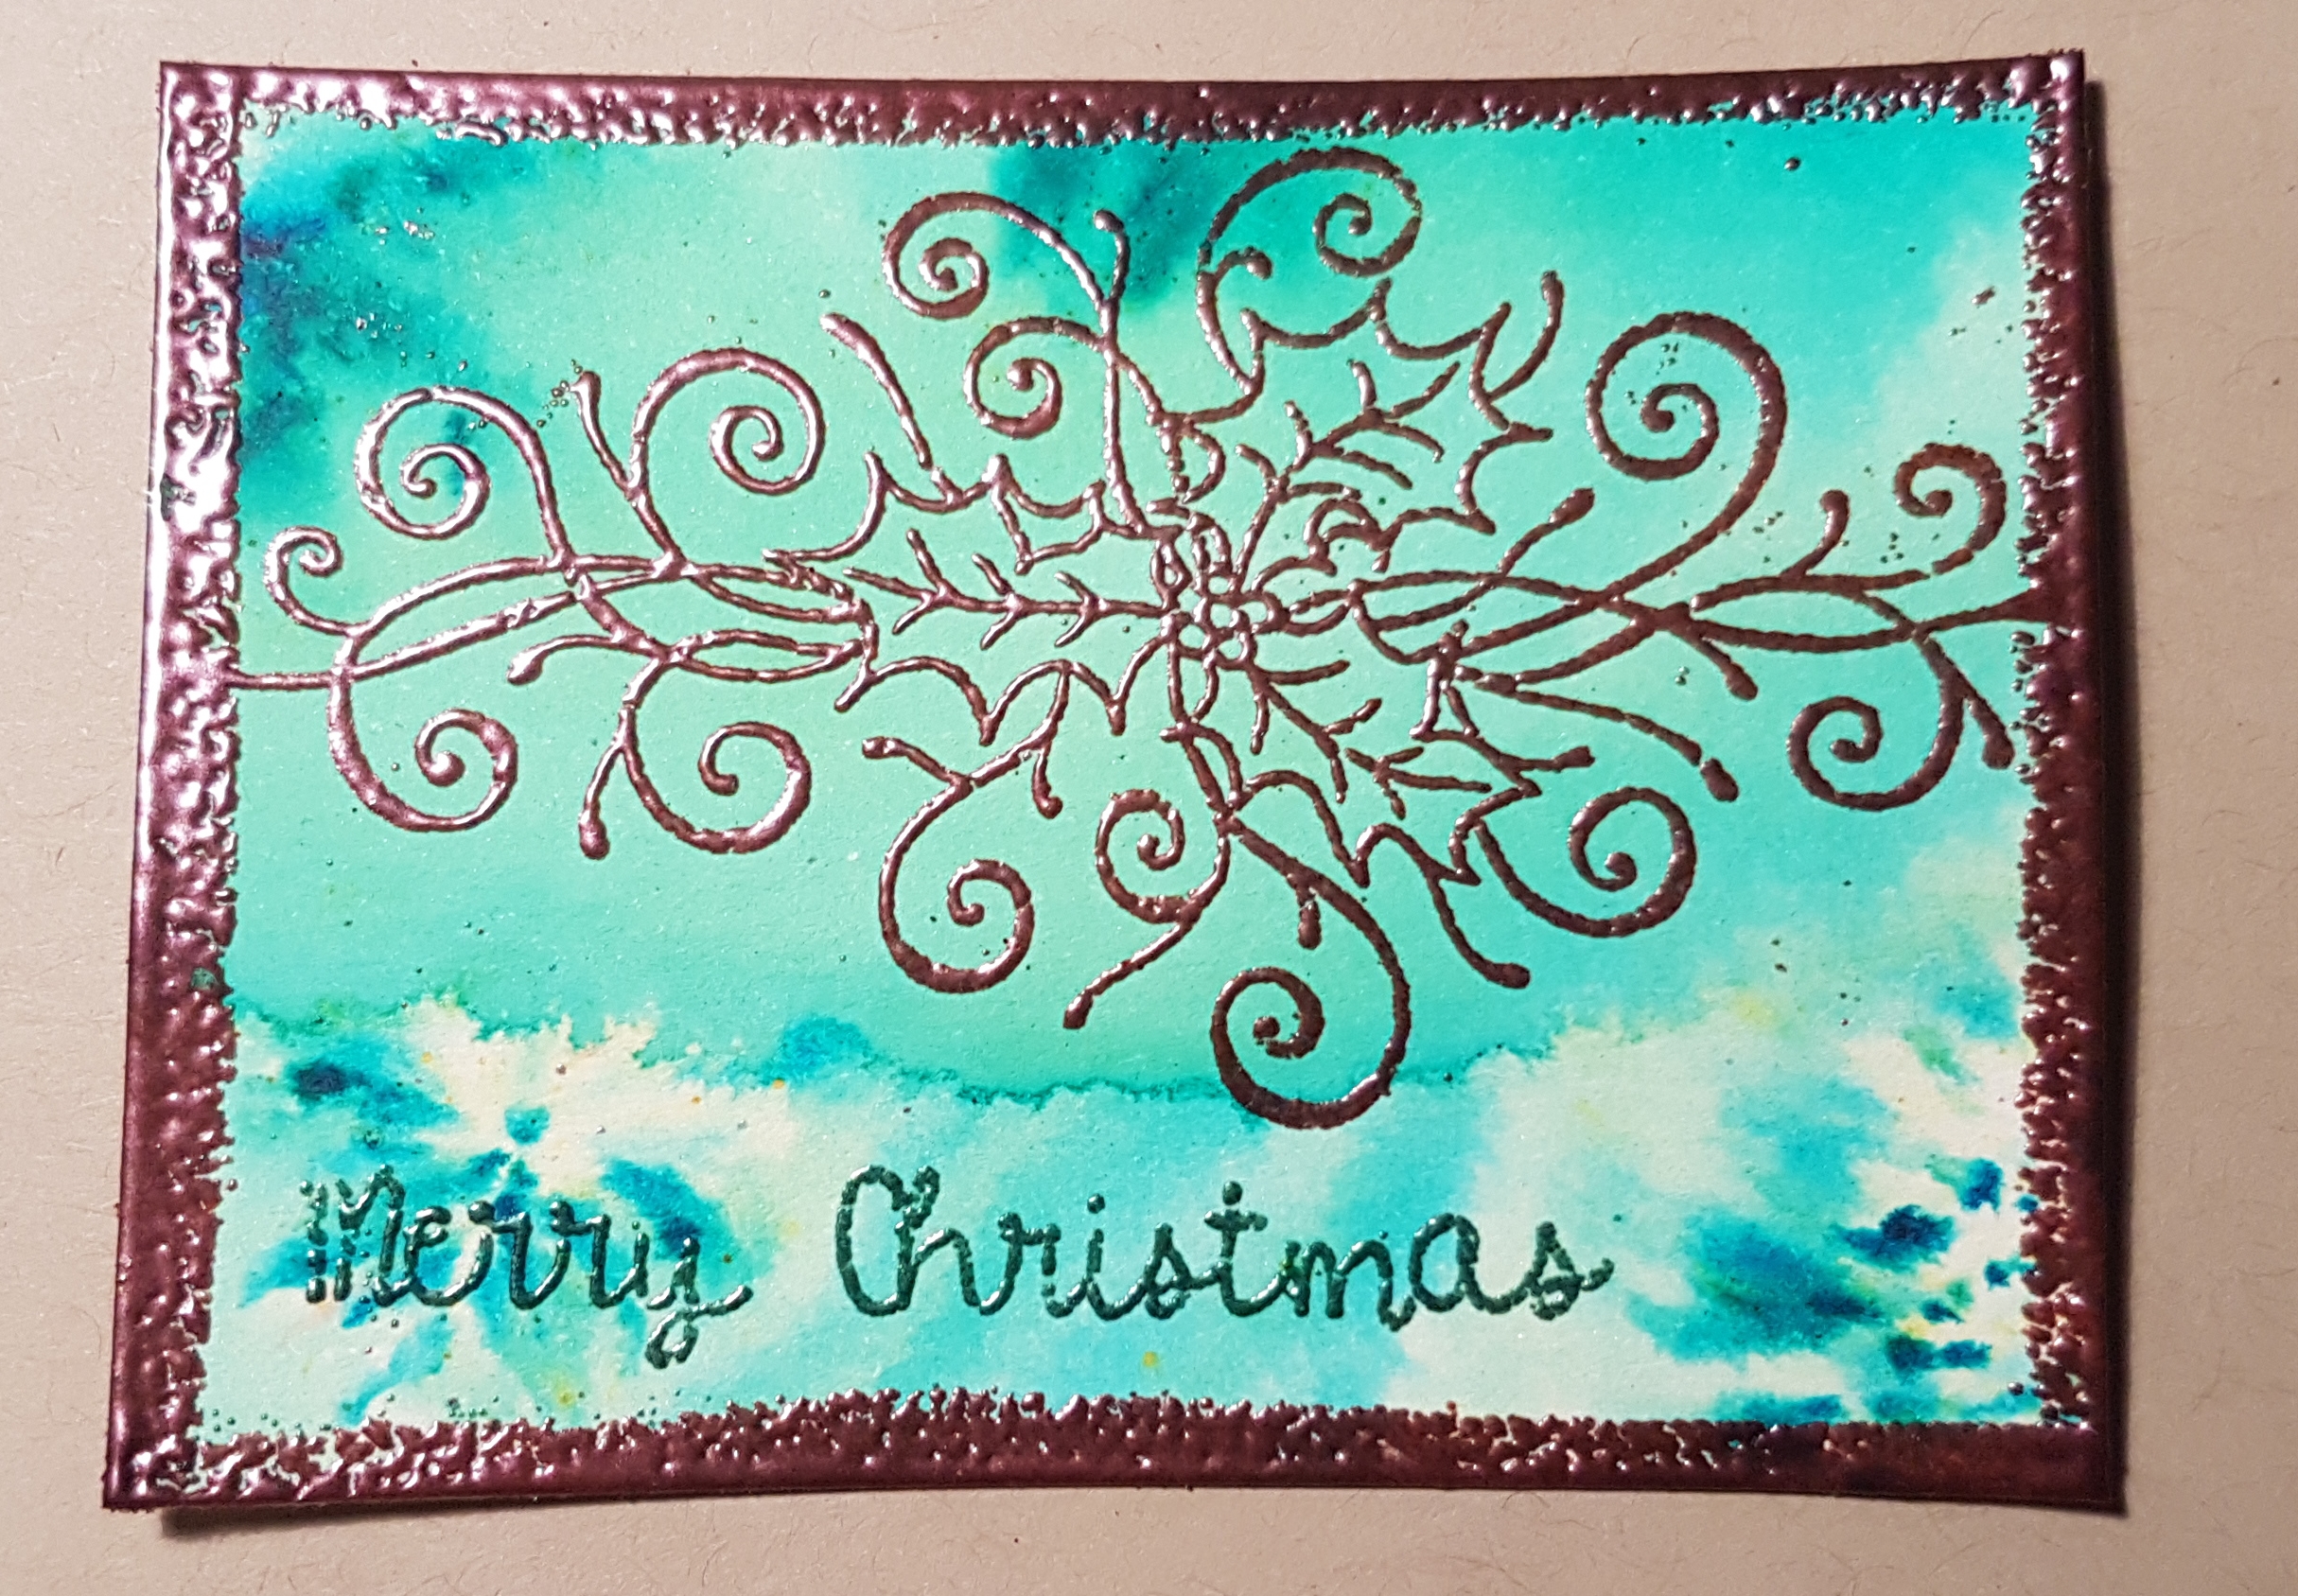
One more Brusho play atc to share with you today.  I chose some cheap watercolour paper to work on and created this vibrant blue background. 
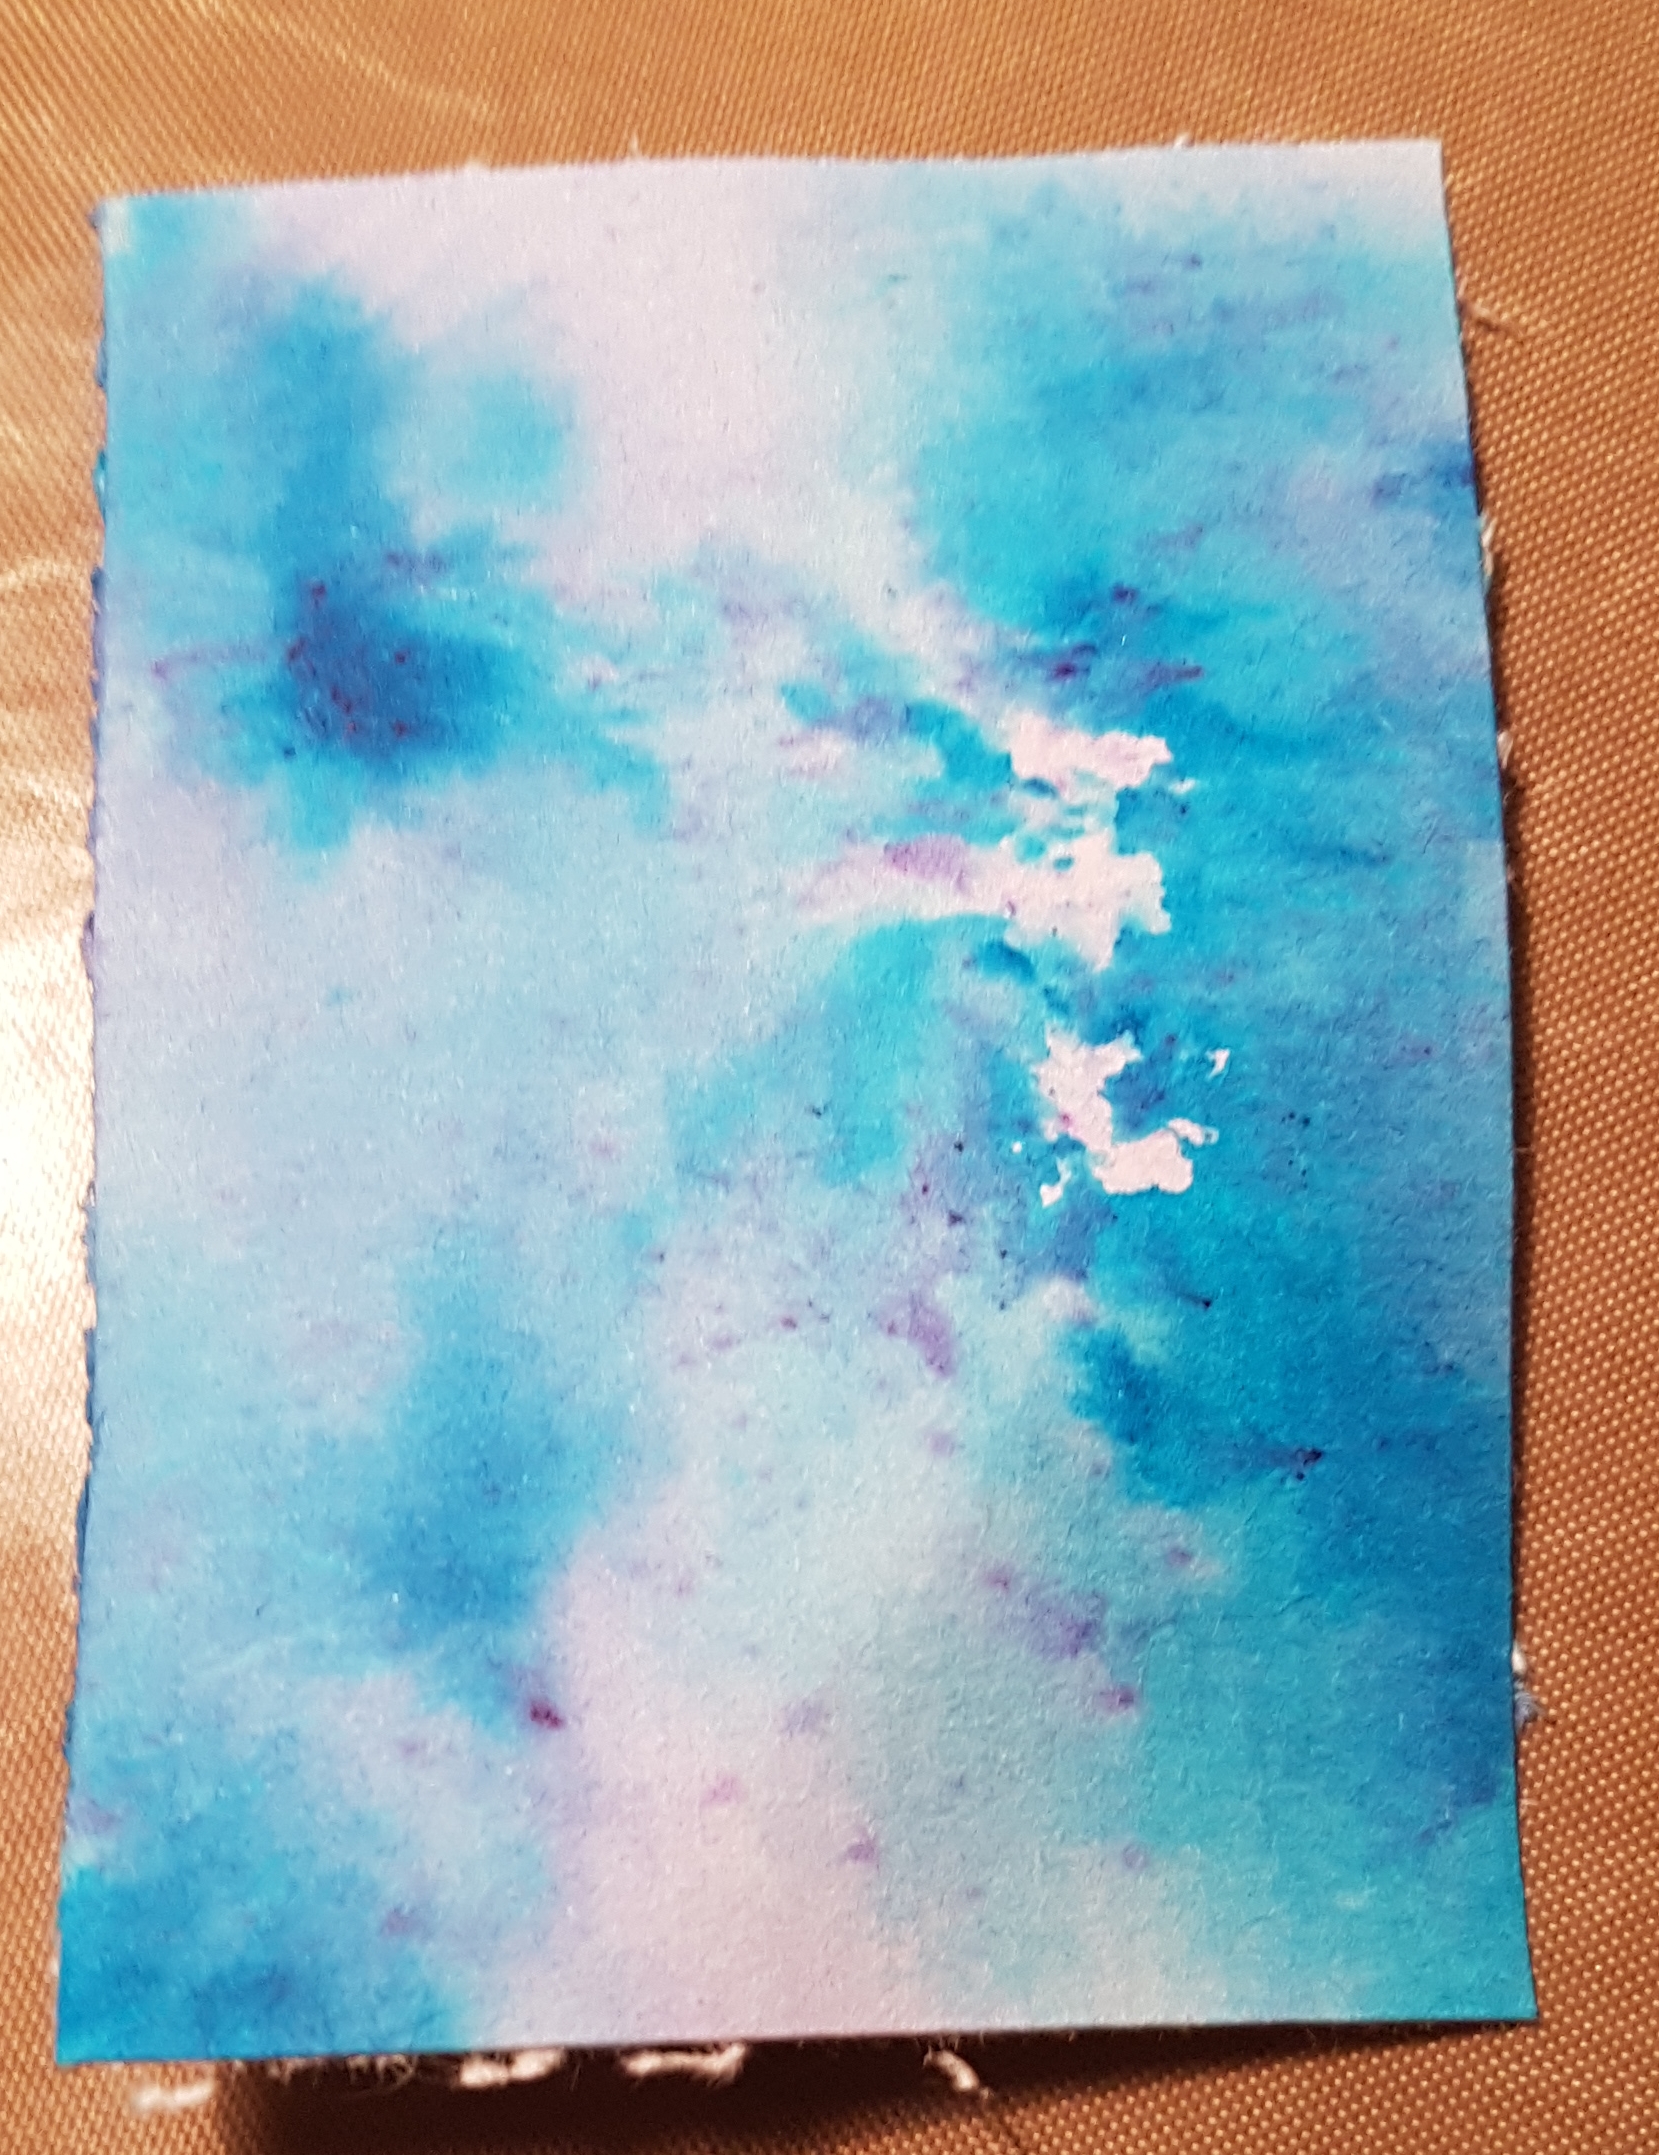
I love the specks of purple in it too so decided to add purple embossing for the main feature and then created a base on which I added lots of rich purple embossing!
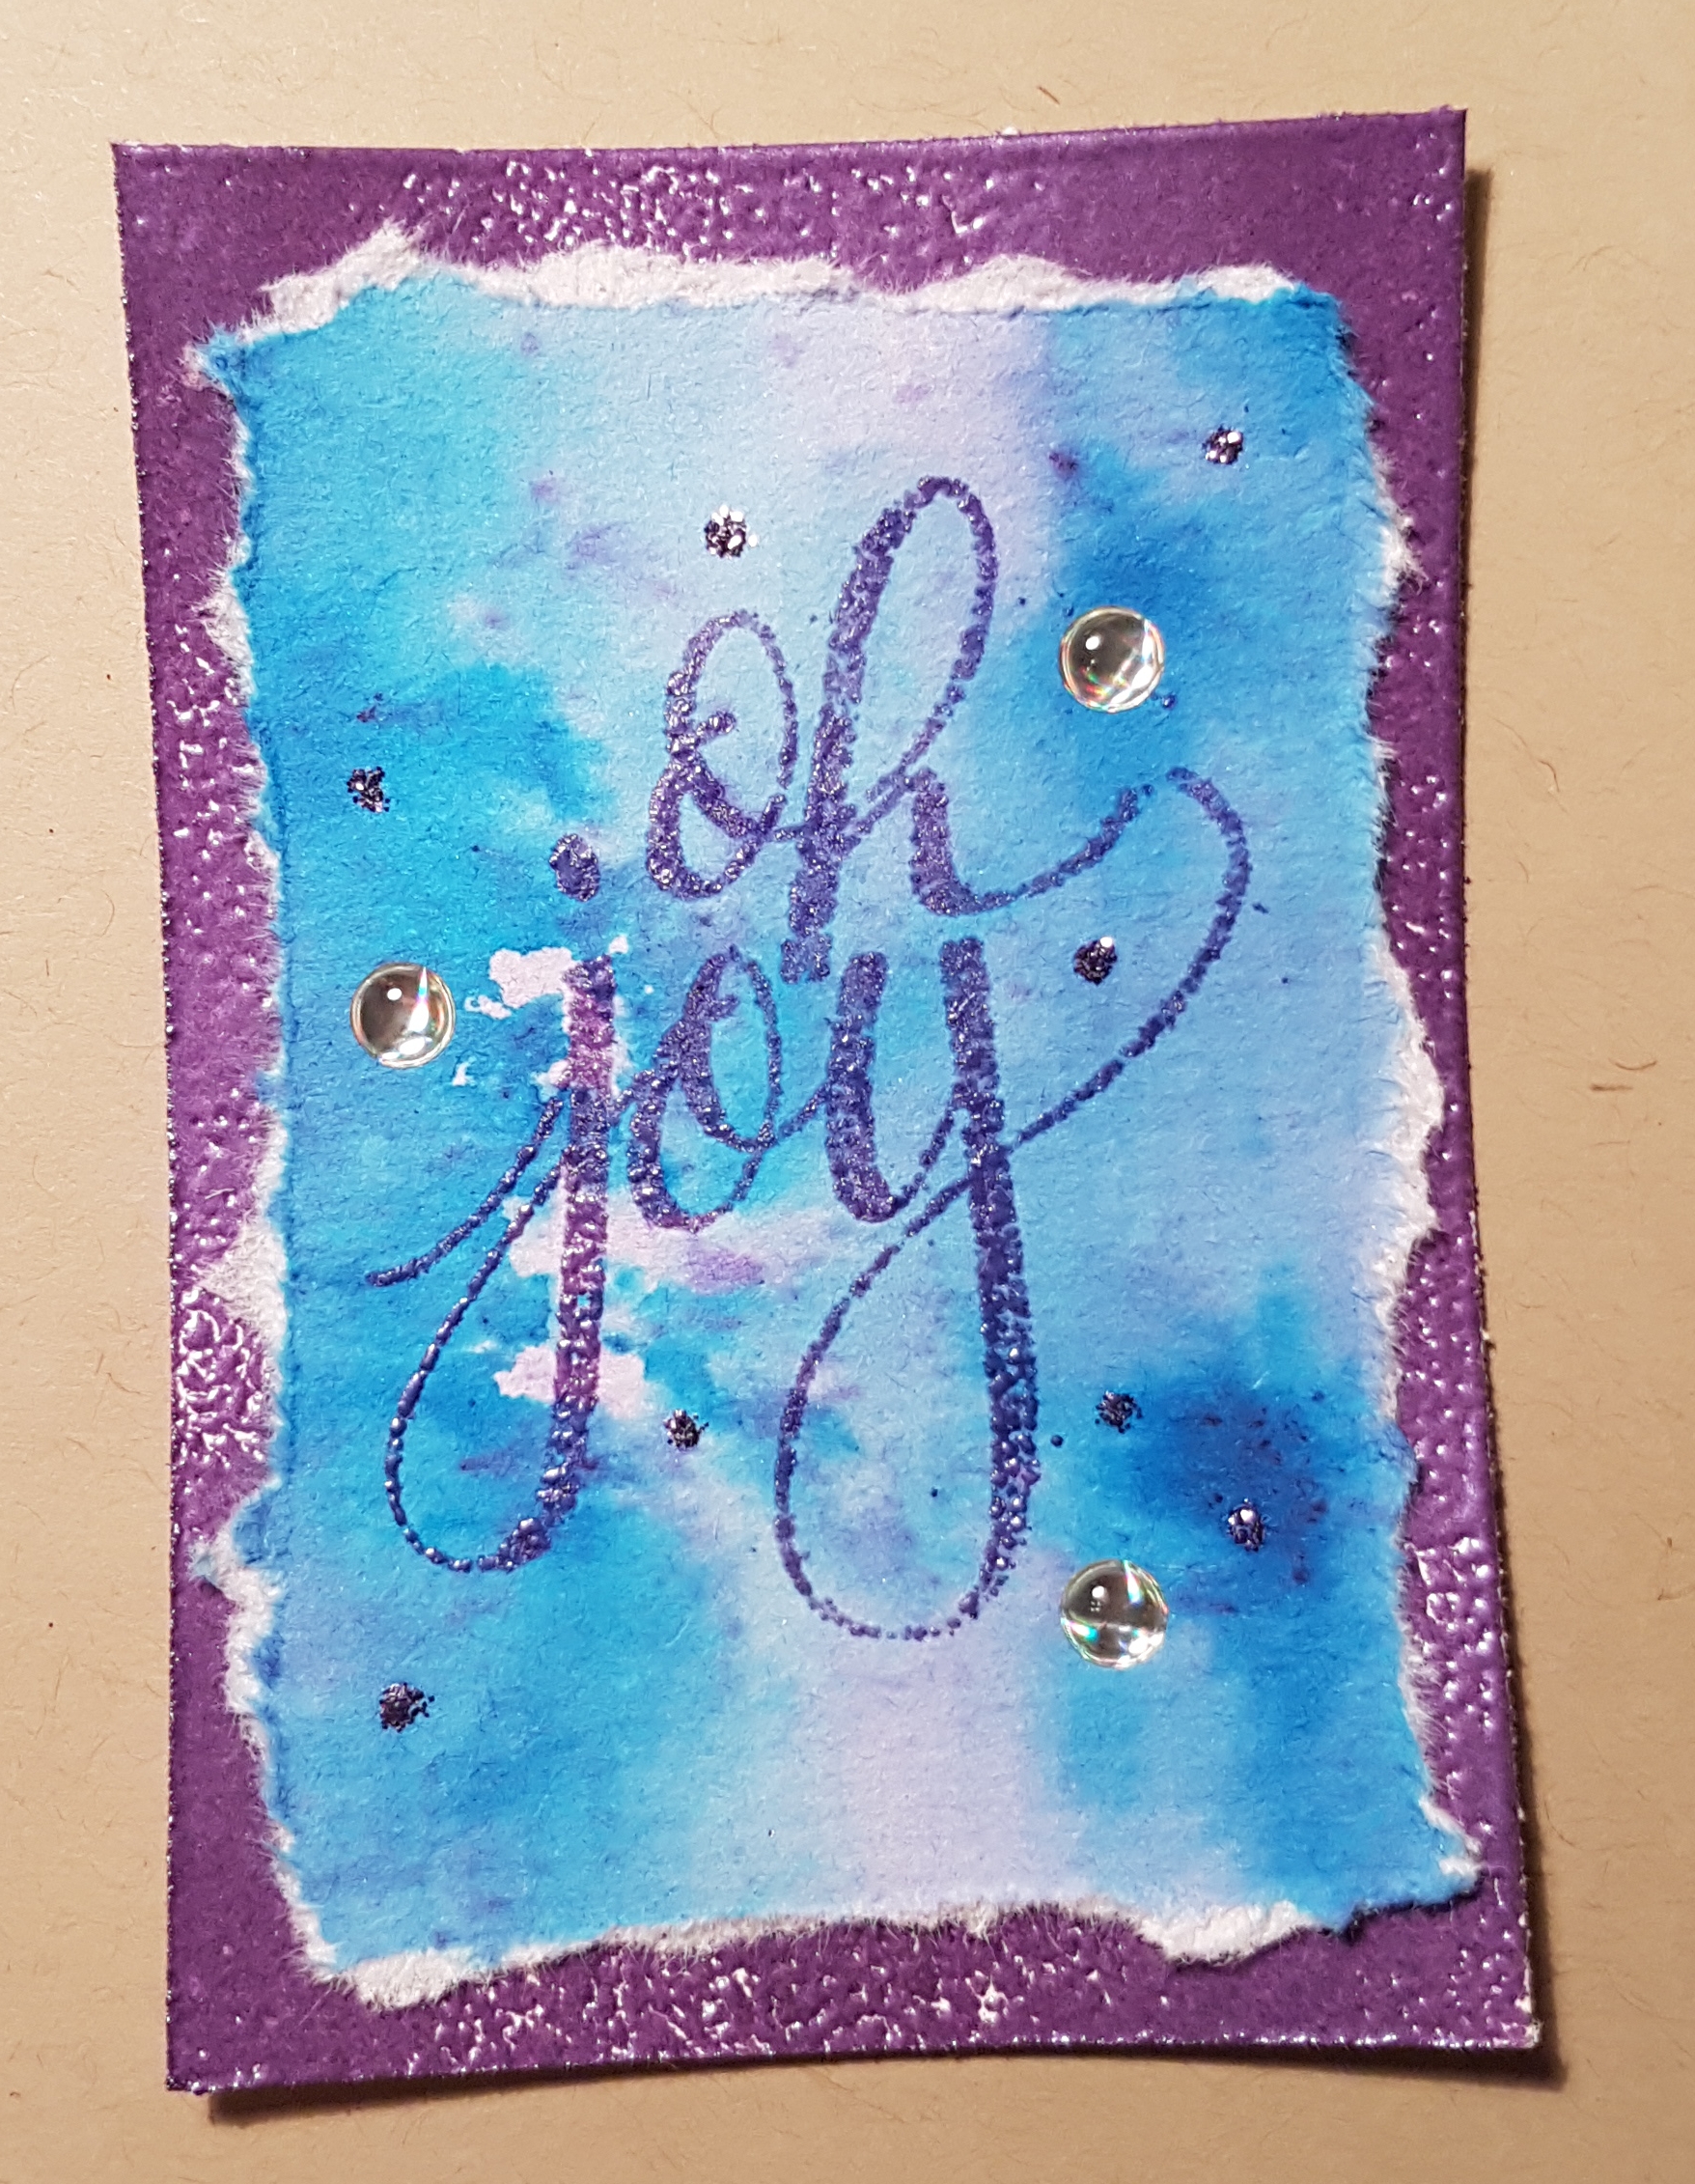
Love how rich this looks and the combination of the watercolour with the shiny texture of the embossing. 

Happy crafting!

Catherine 

Countdown to Christmas ATCs pt 13

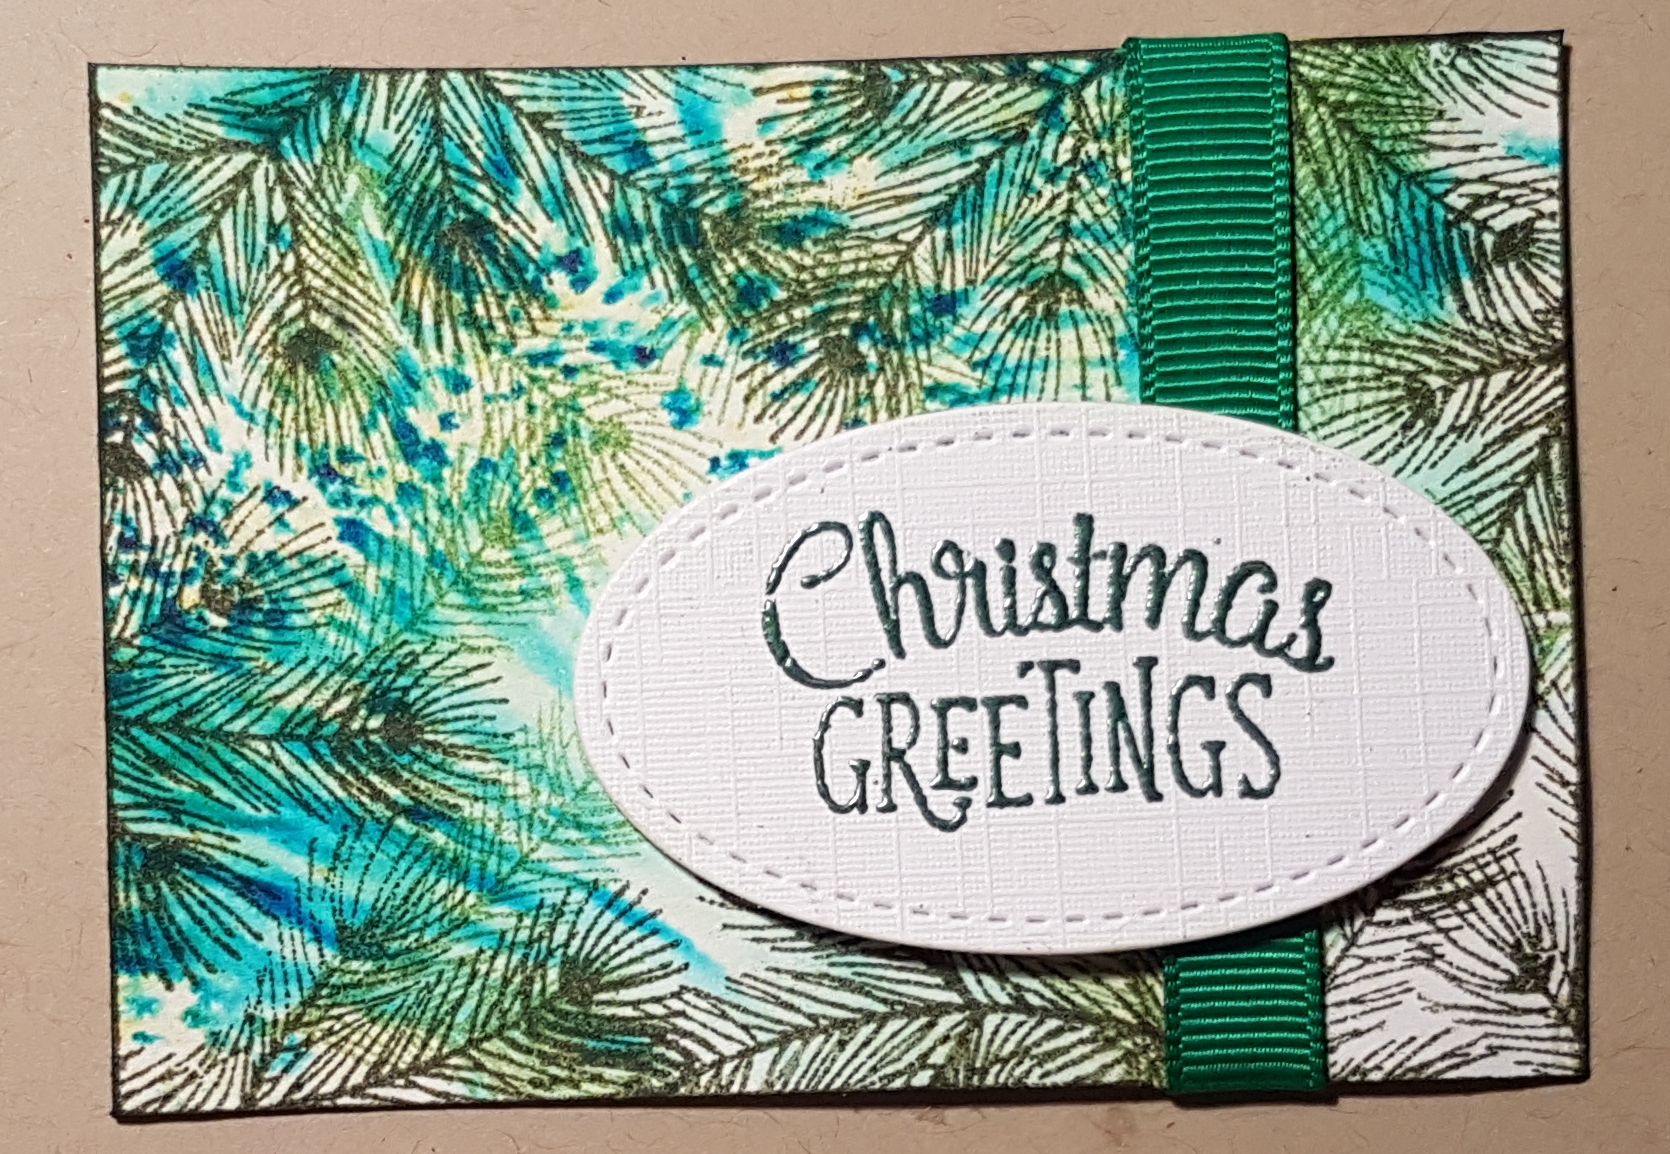
Today I have quite a few atc to share with you for my Countdown to Christmas series… 

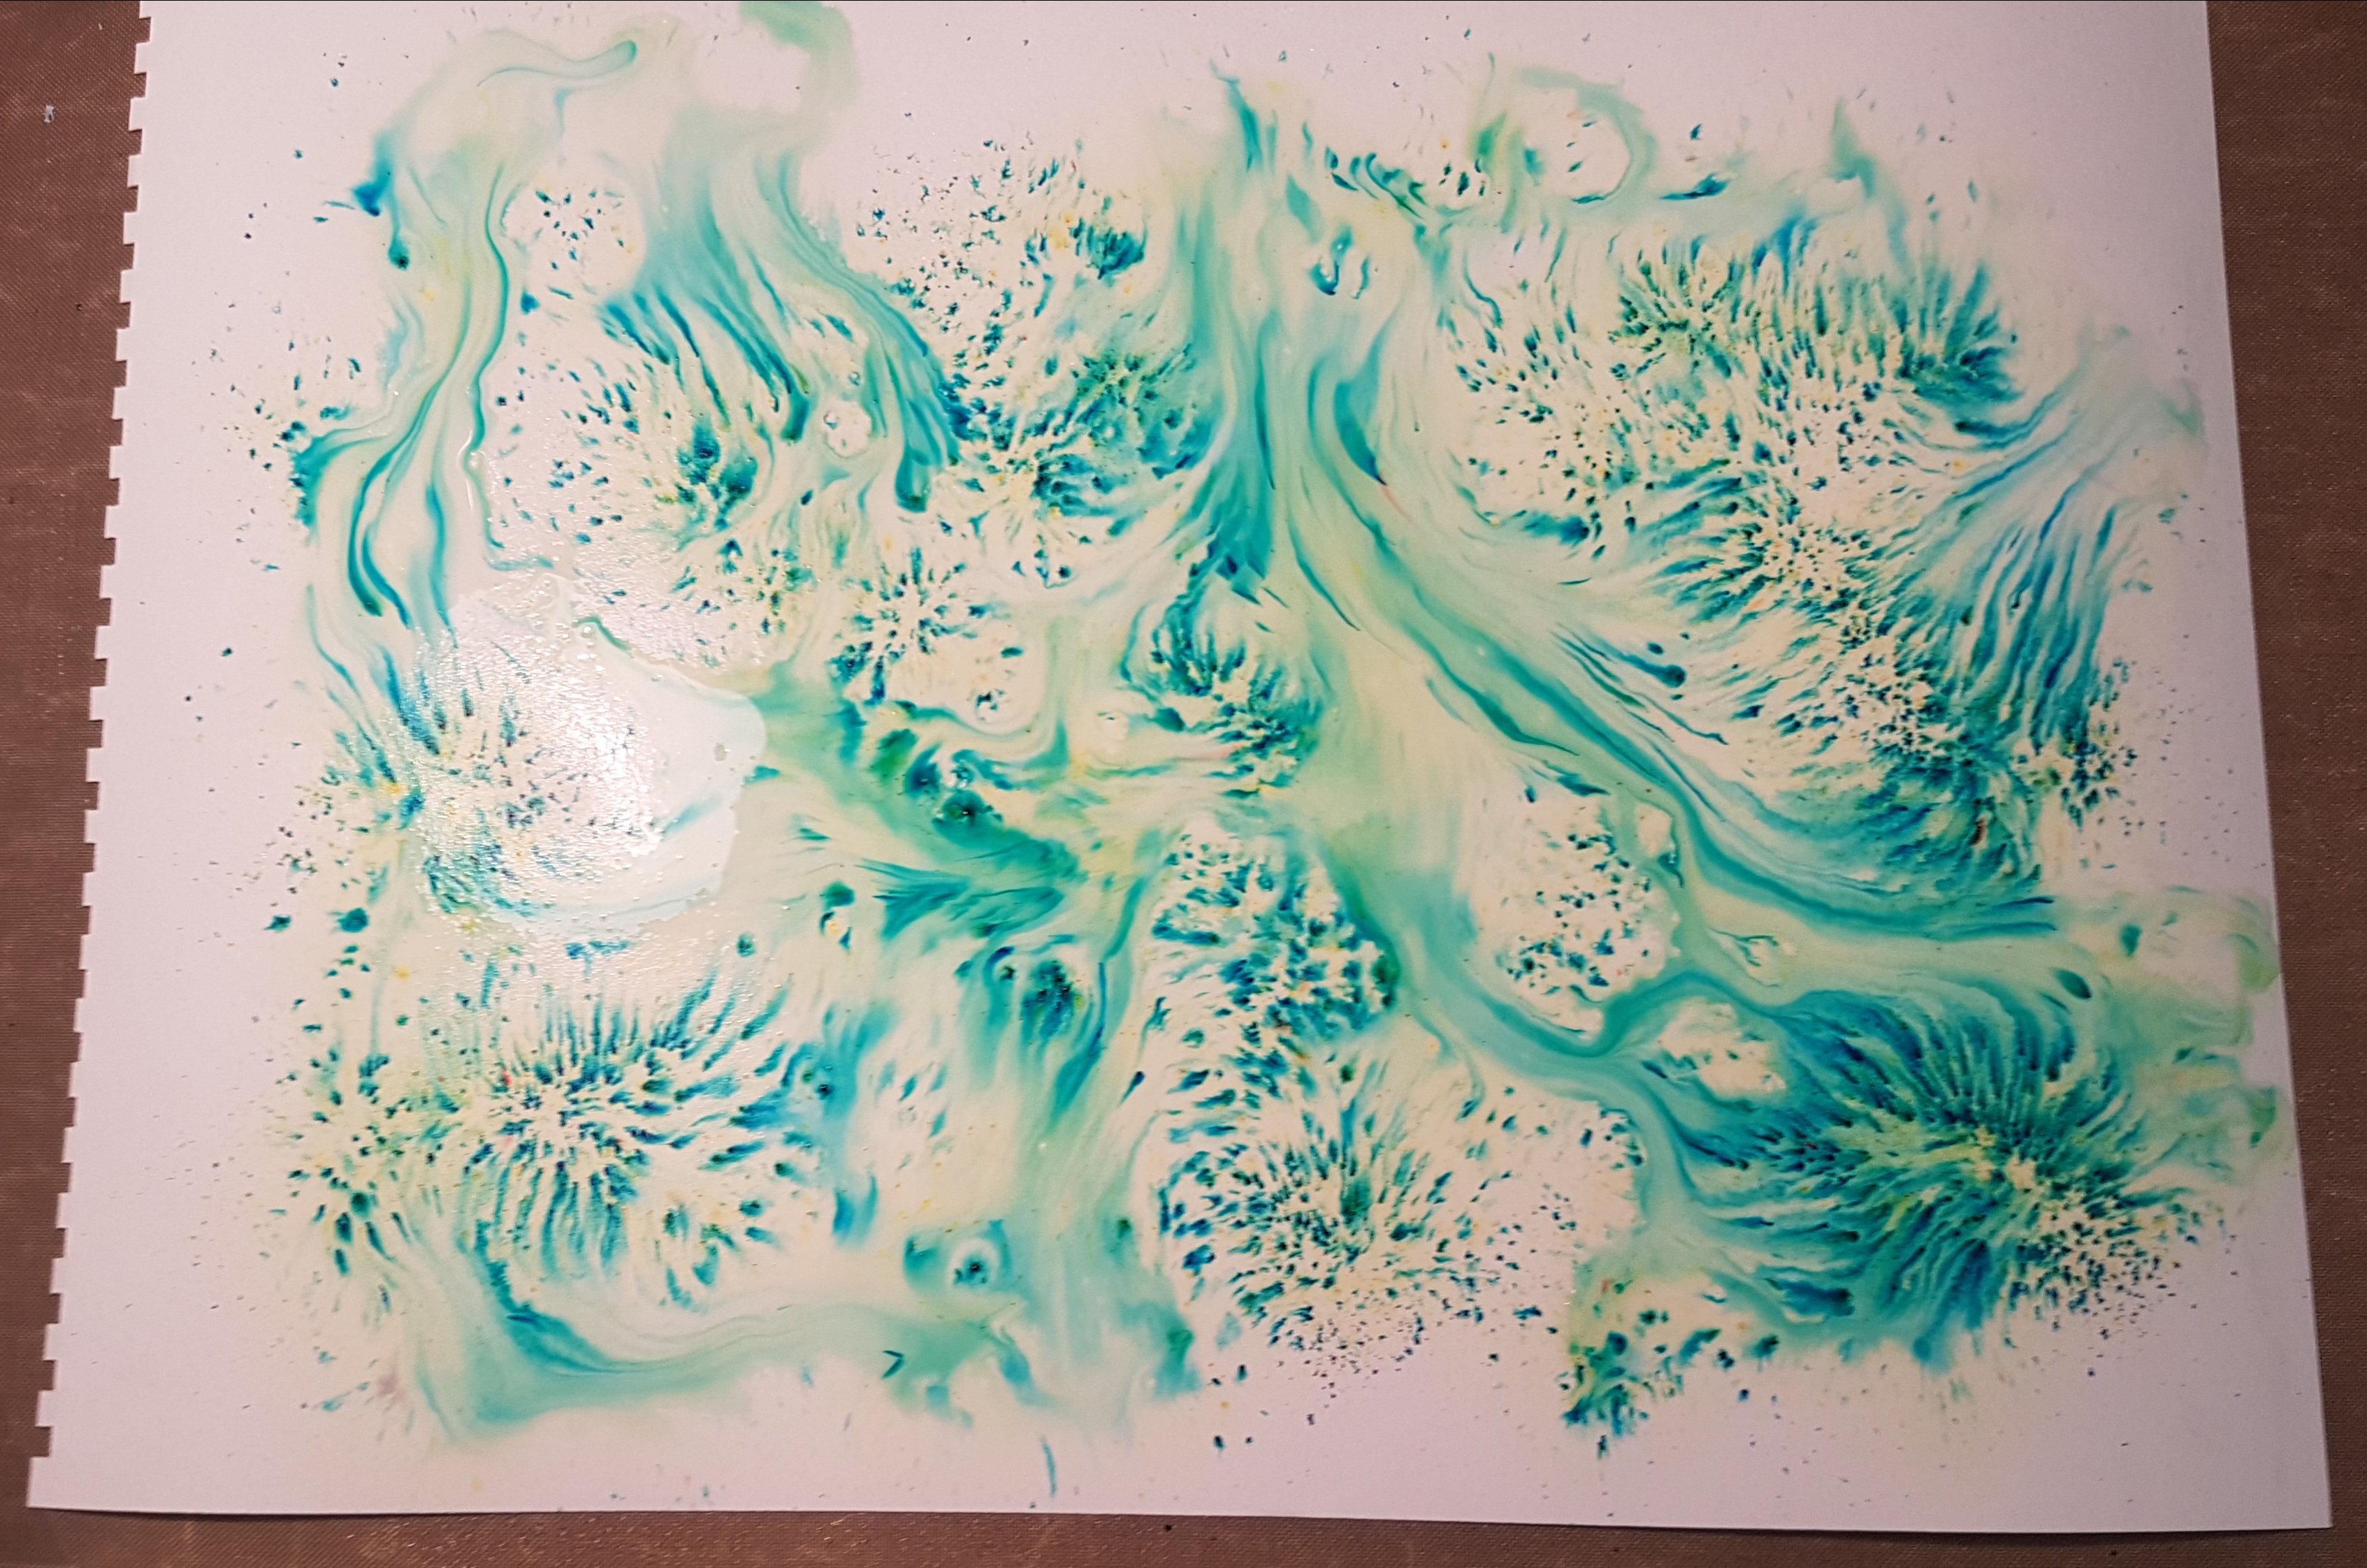
All of these started life as one Brusho sprinkled piece of mixed media cardstock that I sprayed with water and left to dry… and then I went to town with stamping and embossing… most of the images came from magazine freebie sets.
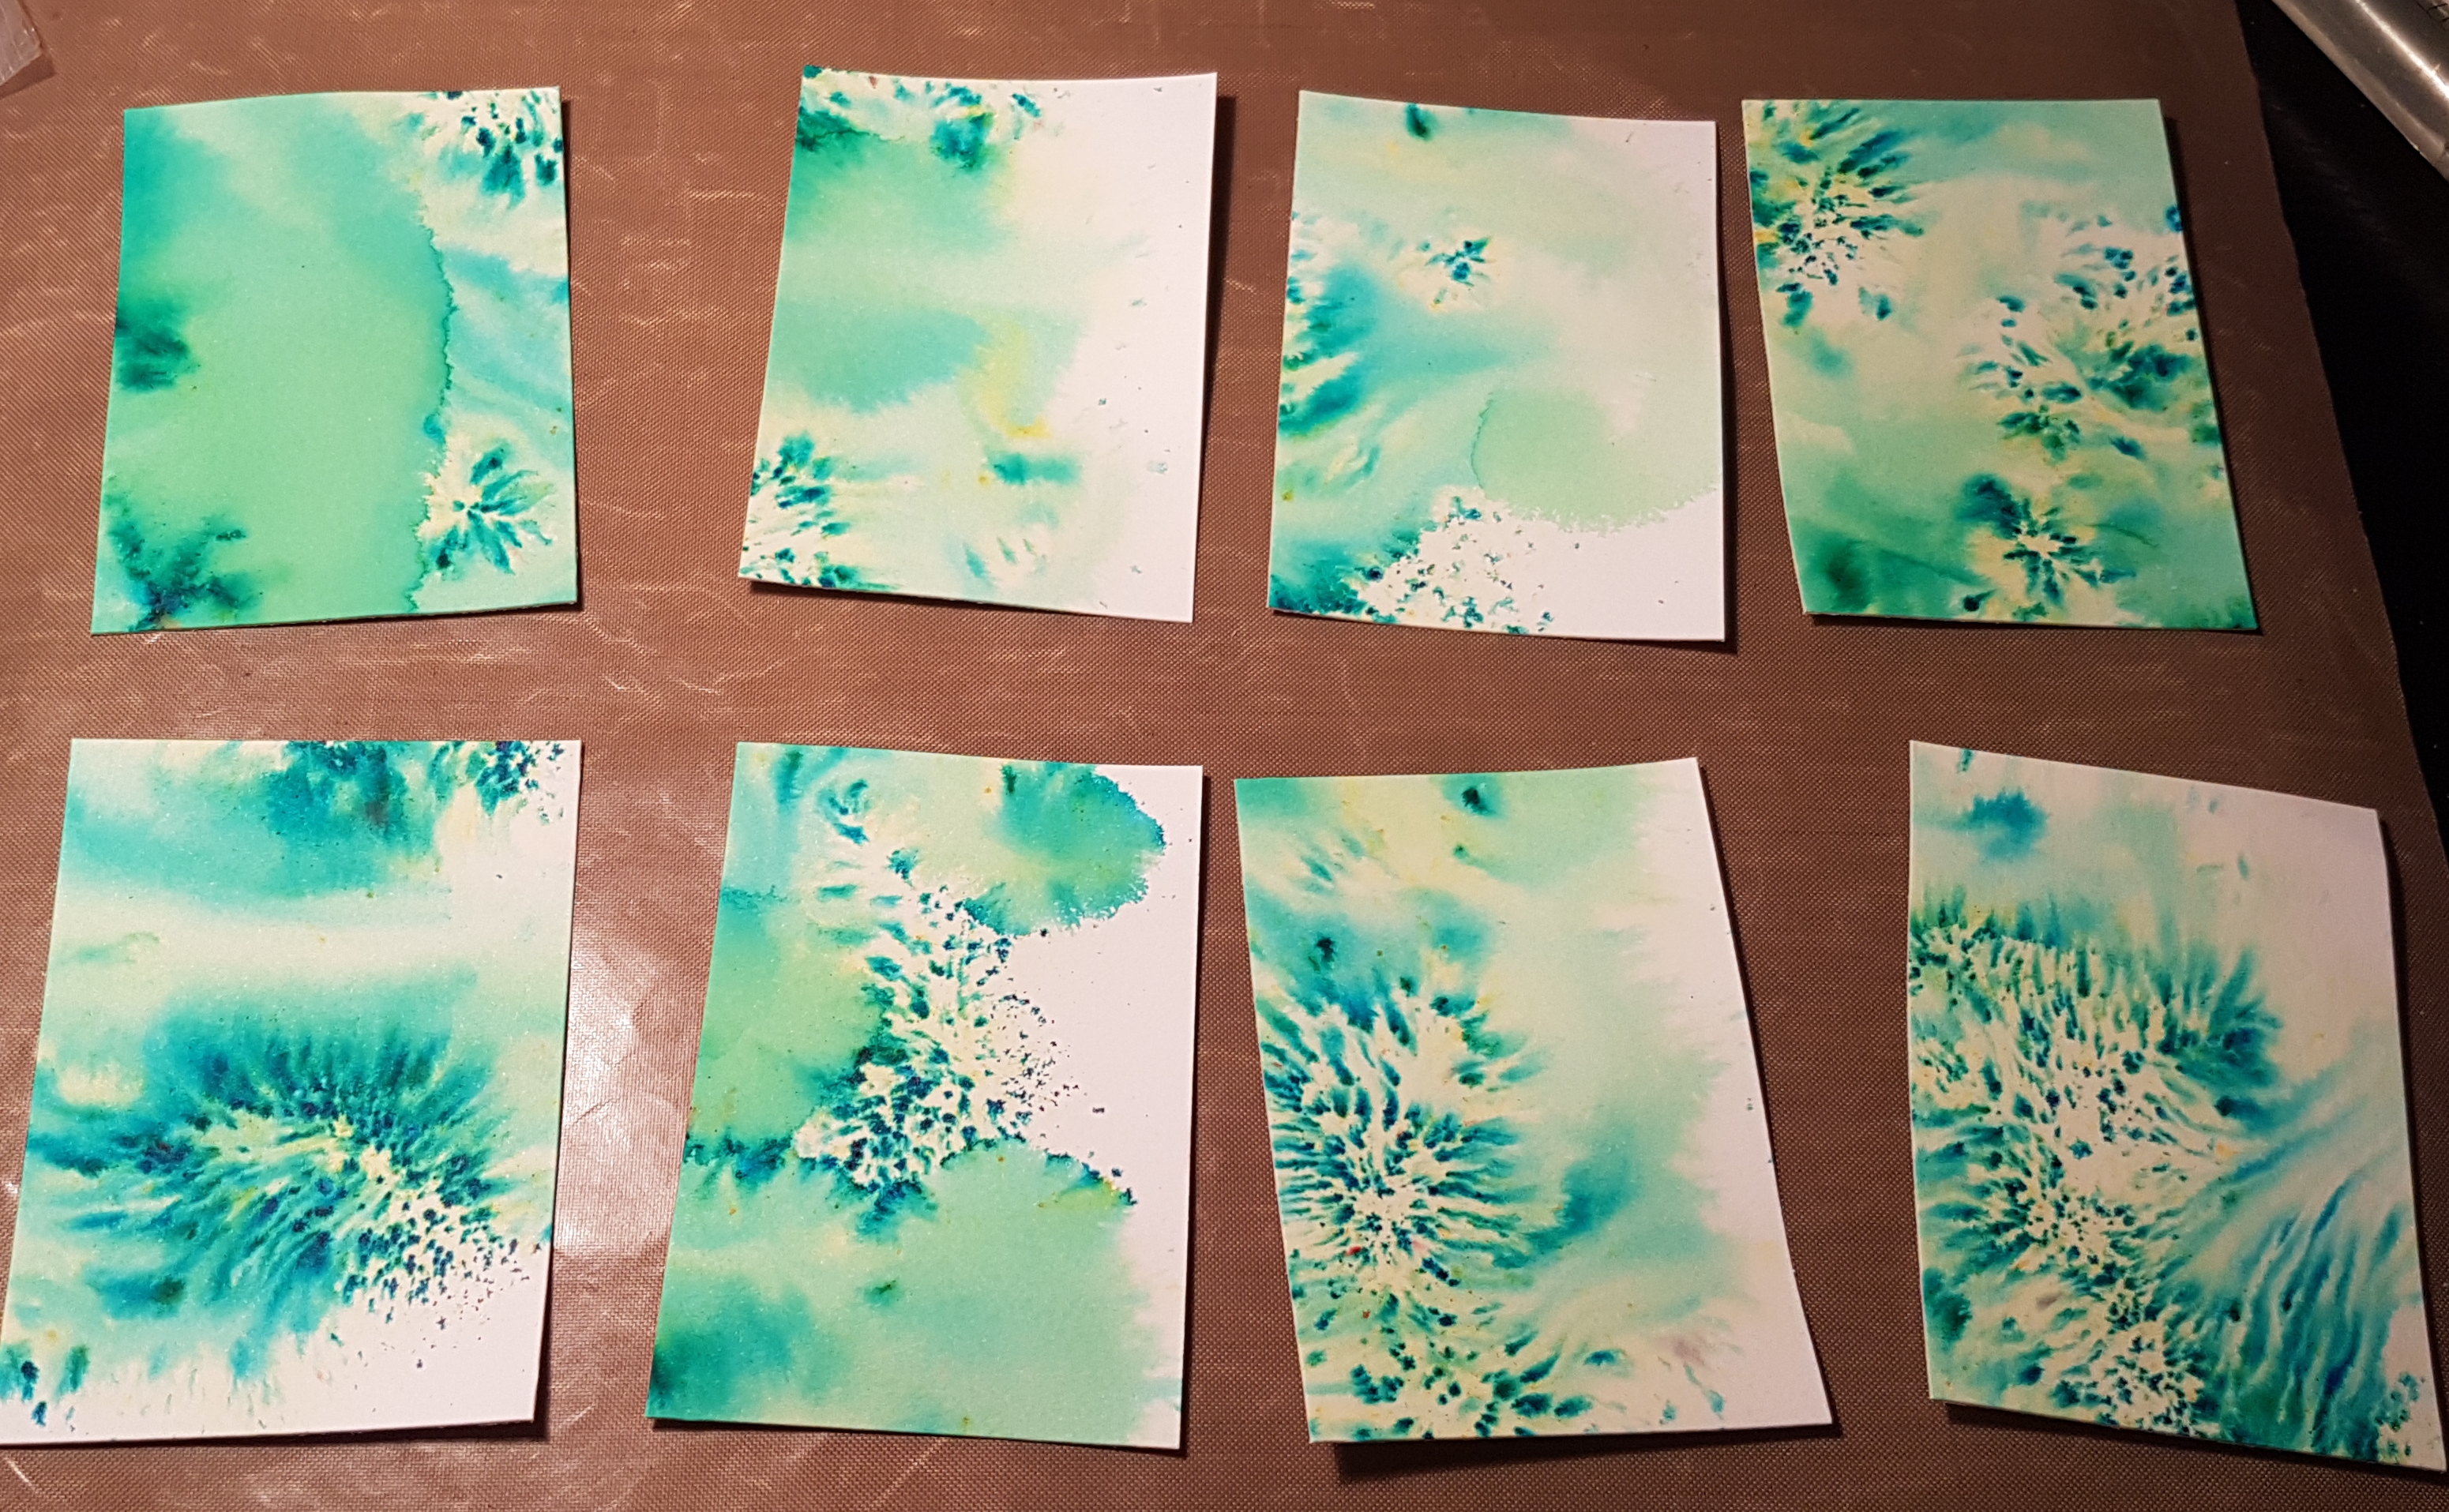
Enjoy!!! I know I enjoyed making them! 

So quite a bundle of brusho background ATCs there ready to add to the stash of card toppers. Probably about time I made them into cards for real but that can wait till another day! 

Happy crafting! 

Catherine 

Distress oxide zinski fun! 

I wanted to play with my Paperartsy stamps and distress oxides and so I grabbed some linen cardstock, black cardstock and the inks and started playing. 

This is what I made… I used Emma Godfrey stamps for the background and then used glimmer paste through a stencil to add sparkle. 

Next on a separate piece of card I stamped and embossed the sentiment and added a lot of the distress oxide in a wetter format. This provided a lovely vibrant colour. I did the same for the flower and fussy cut that out. 

I then added the sentiment on a strip of white that I edged with black and layered it all up onto a card blank. 

Love the cute flower and the font for the sentiment.

Happy crafting!

Catherine 

Landscape themed ATCs

Hi

Today a quick post sharing the ATCs I made for a swap with the theme of Landscape! 

I decided for both to use distress oxides to lay down some colour on the mixed media cardstock. Then on one I used my sewing machine to create some texture and show the landscape. I also added some shading with an Inktense pencil. 

For the second one I chose to add some stamping using the Wonderland trees and then coated the whole piece with versamark and embossing powder to give it a nice shiny finish. 

I then mounted both onto some card cut to the right size. 

Happy crafting! 

Catherine 

Countdown to Christmas ATCs pt 12

Playing with Brushos time! And some more Christmas card ATC toppers.

You may be forgiven for thinking that I only play with Distress Oxides but today I was determined to play with another much loved medium… brushos! 

I mean just look at this… simple background made with water and sprinkling the black brusho onto it. I just adore it! 

I chose to tear my backgrounds into two panels to work on top of another ATC card.  Then layered them up with the images.

I coloured in the Rudolph using inks and a waterbrush and gave him a red stickles nose. I also added the gold Angel hair to add texture.

This cute fox I had coloured with promarkers and I added the stamping in the background as well as for the top sentinent. Then added the glittery gems to finish off. 

Love love love brusho backgrounds they always make me happy when I watch them develop. 

Happy crafting!

Catherine 

Paperartsy playing

I decided after the Lynne Perella play I shared the other day to make some more Paperartsy themed birthday cards.

This time I chose to play with Distress Oxides and the fun Ellen Vargo carved flowers.  I love the linocut appearance of these. 

I started with making two backgrounds… both different to each other but both fun to make. Then on a separate panel of cardstock I made the tags. The top one was a scrap of cardstock I had already painted with a layer of fresco finish paints and I decided to heat emboss the tag and the flower. The bottom one I did a watery layer of distress oxide using the same colours as the background.

I raised the tags on foam tape to give dimension and added some scraps of ribbon to the tags. 

Both sentiment and the tag shape are Emma Godfrey stamps. 

Happy crafting!

Catherine 

Countdown to Christmas ATCs pt 10

Another post in my Christmas card topper stack of ATCs….

Today I have two bright pink and purple ones to contrast the last couple of posts where it has been more vintage in cokour and style.

Plenty of yummy distress oxides, stencilling and the cute Winter Friends stamps coloured with promarkers.  I also added some punchinella with a couple of coloured staples. 

I love that the sentiment I chose from the Emma Godfrey Paperartsy set fits in the word window punch too!

Happy crafting! 

Catherine 

Countdown to Christmas ATCs pt 9

Some more for my Christmas card topper stack… 

Just like yesterday I wanted a more vintage feel… but a different colour scheme today…

I went for peeled paint with frayed burlap and walnut stain.

I did two different pieces of cardstock as I went along so I could make three in total! 

I decided to go for a ripped panel and heat embossed the fabulous Dasher stamp in a dark emerald green.

I also added heat embossing round the edge before adding all the layers. I added some copper thread to one of them.

The other one I added the heat embossed trim stamp across the panel and then added the cute Winter friend fox and a sentiment.

Love how these came out. 

Happy crafting!

Catherine 

Postcard swap… Happy halloween

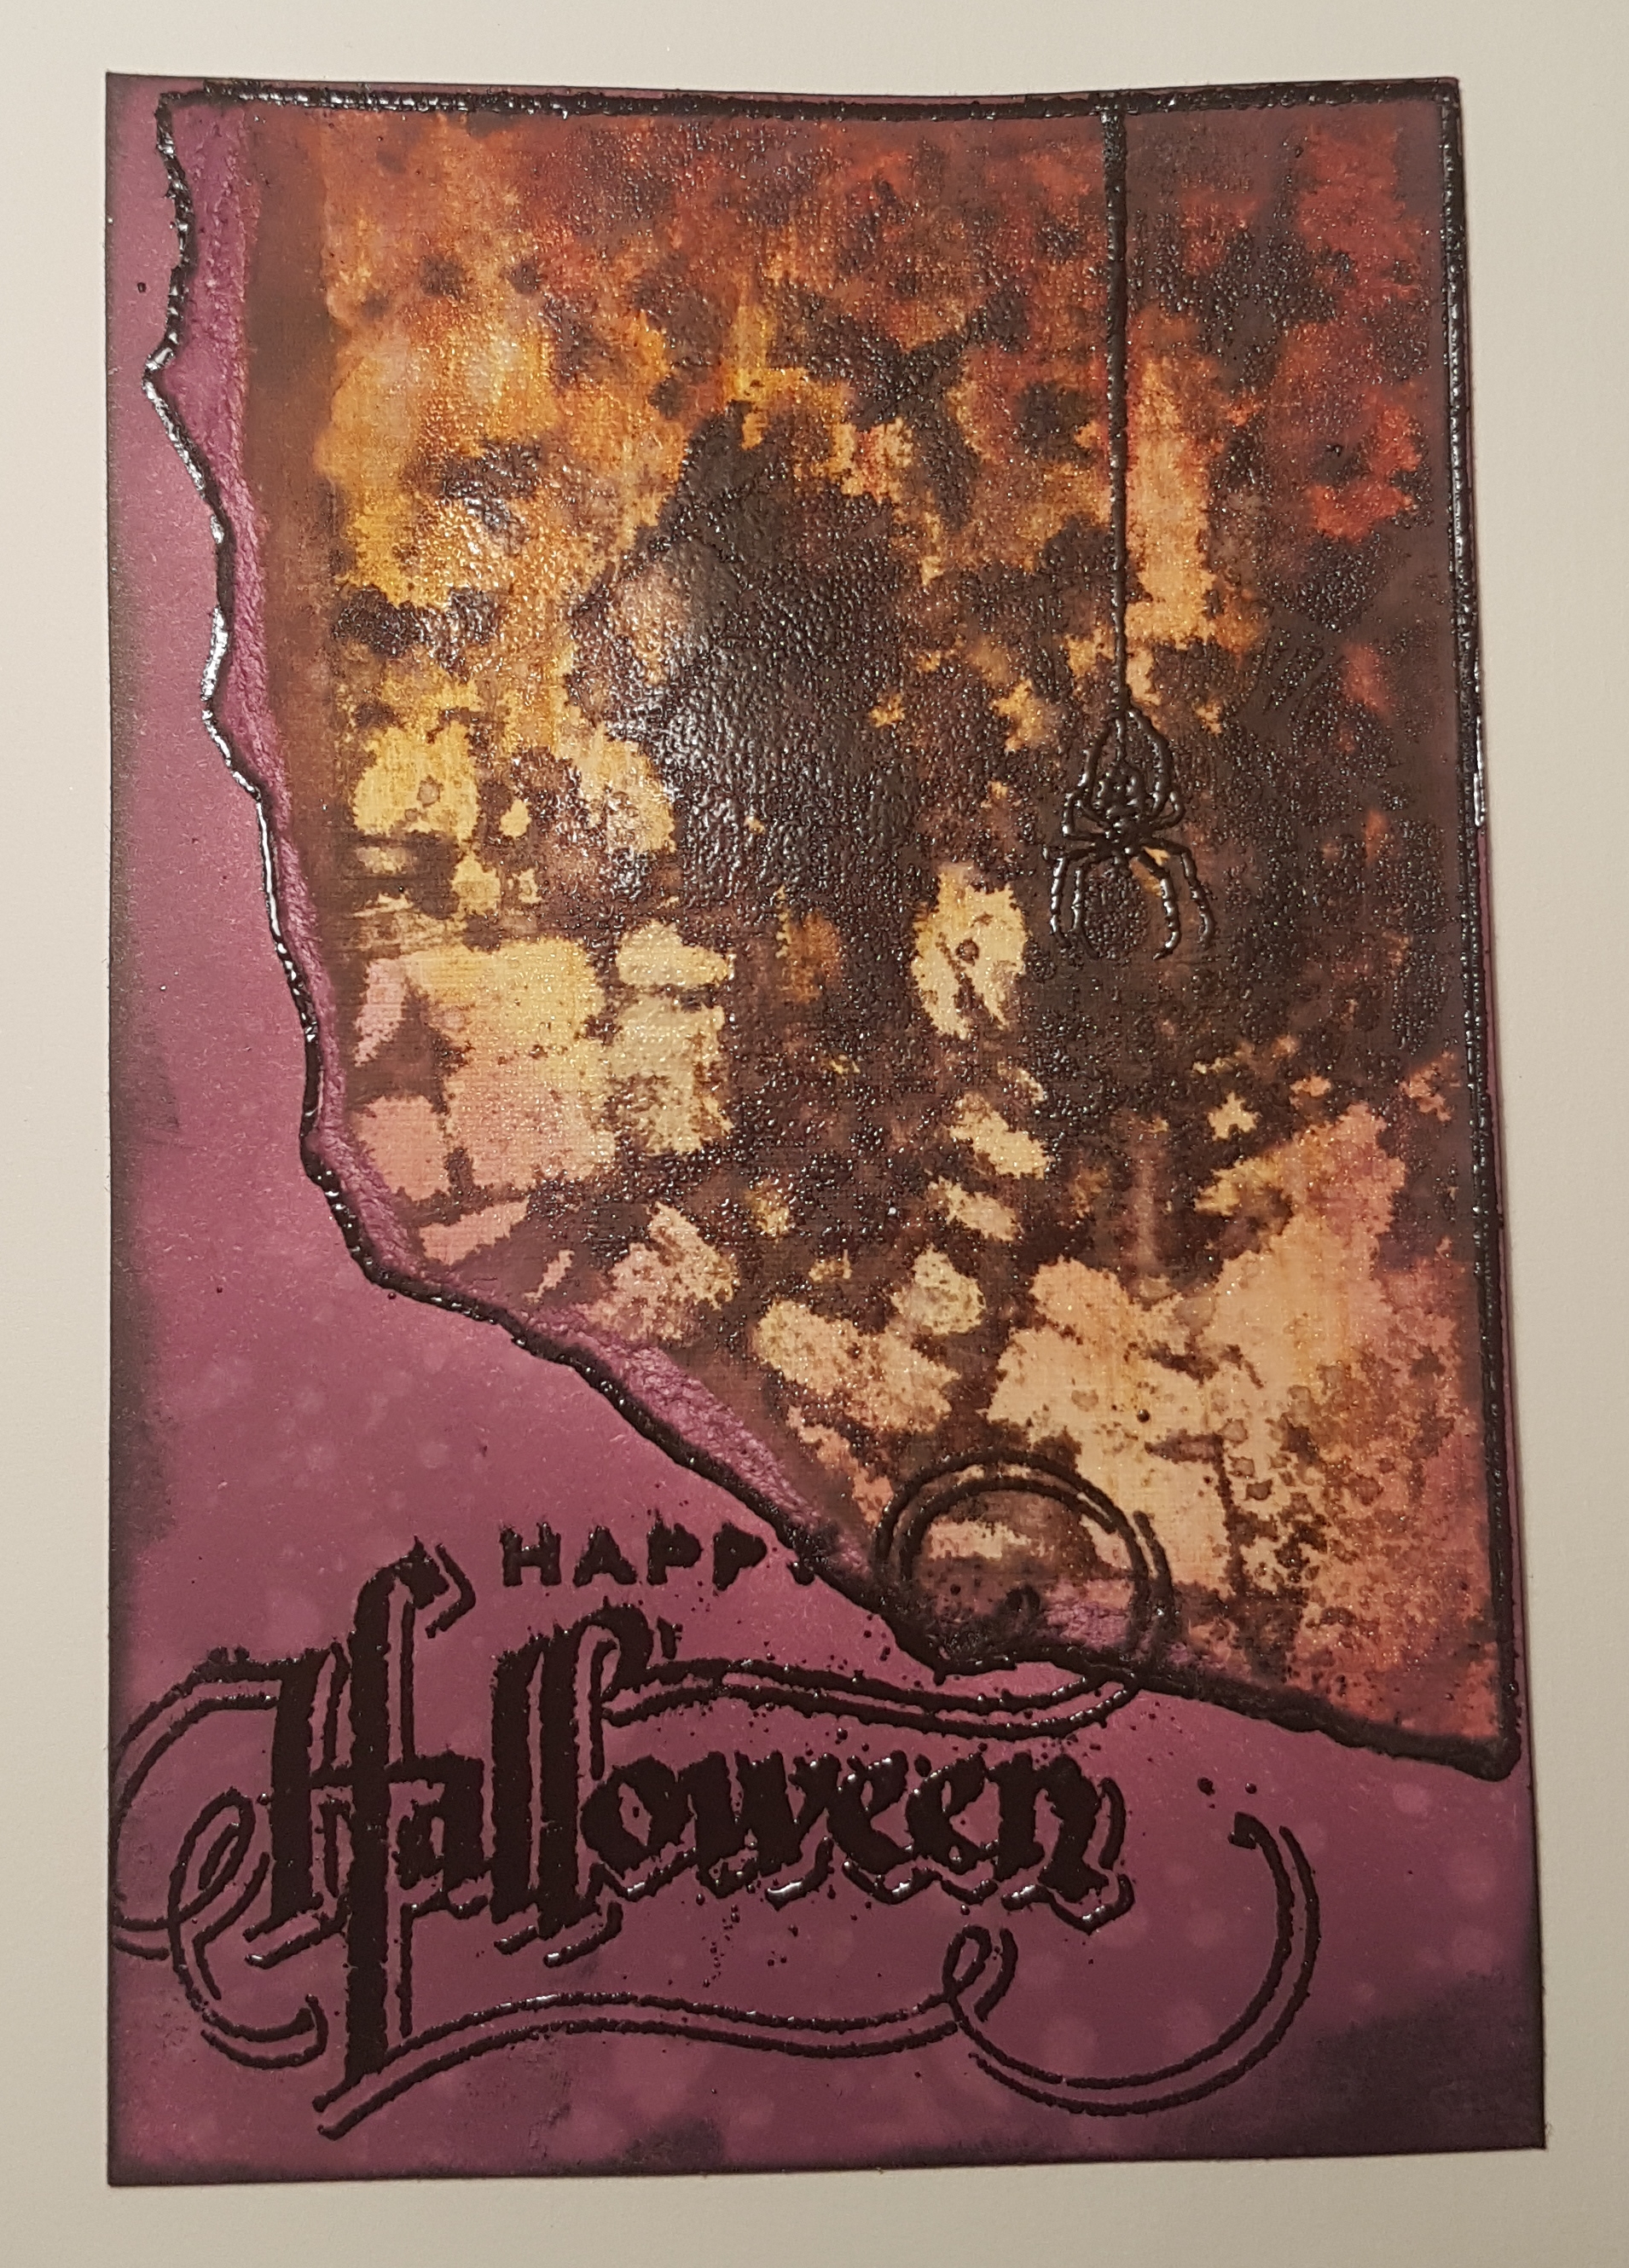
So today’s post is a about a postcard I made several weeks ago for a swap for halloween…

I started with a base on which I added lots of the seedless preserves distress ink.  Then I took another piece of cardstock and added lots of orange and yellows.  Then I added distress glaze through a stencil and then added the ground espresso distress stain over the top. The distress glaze provided some resist but it wasn’t very precise.  But I didn’t mind I still like the effect. 

Next I tore the piece to add onto the top of the seedless preserves piece and glued it down. 

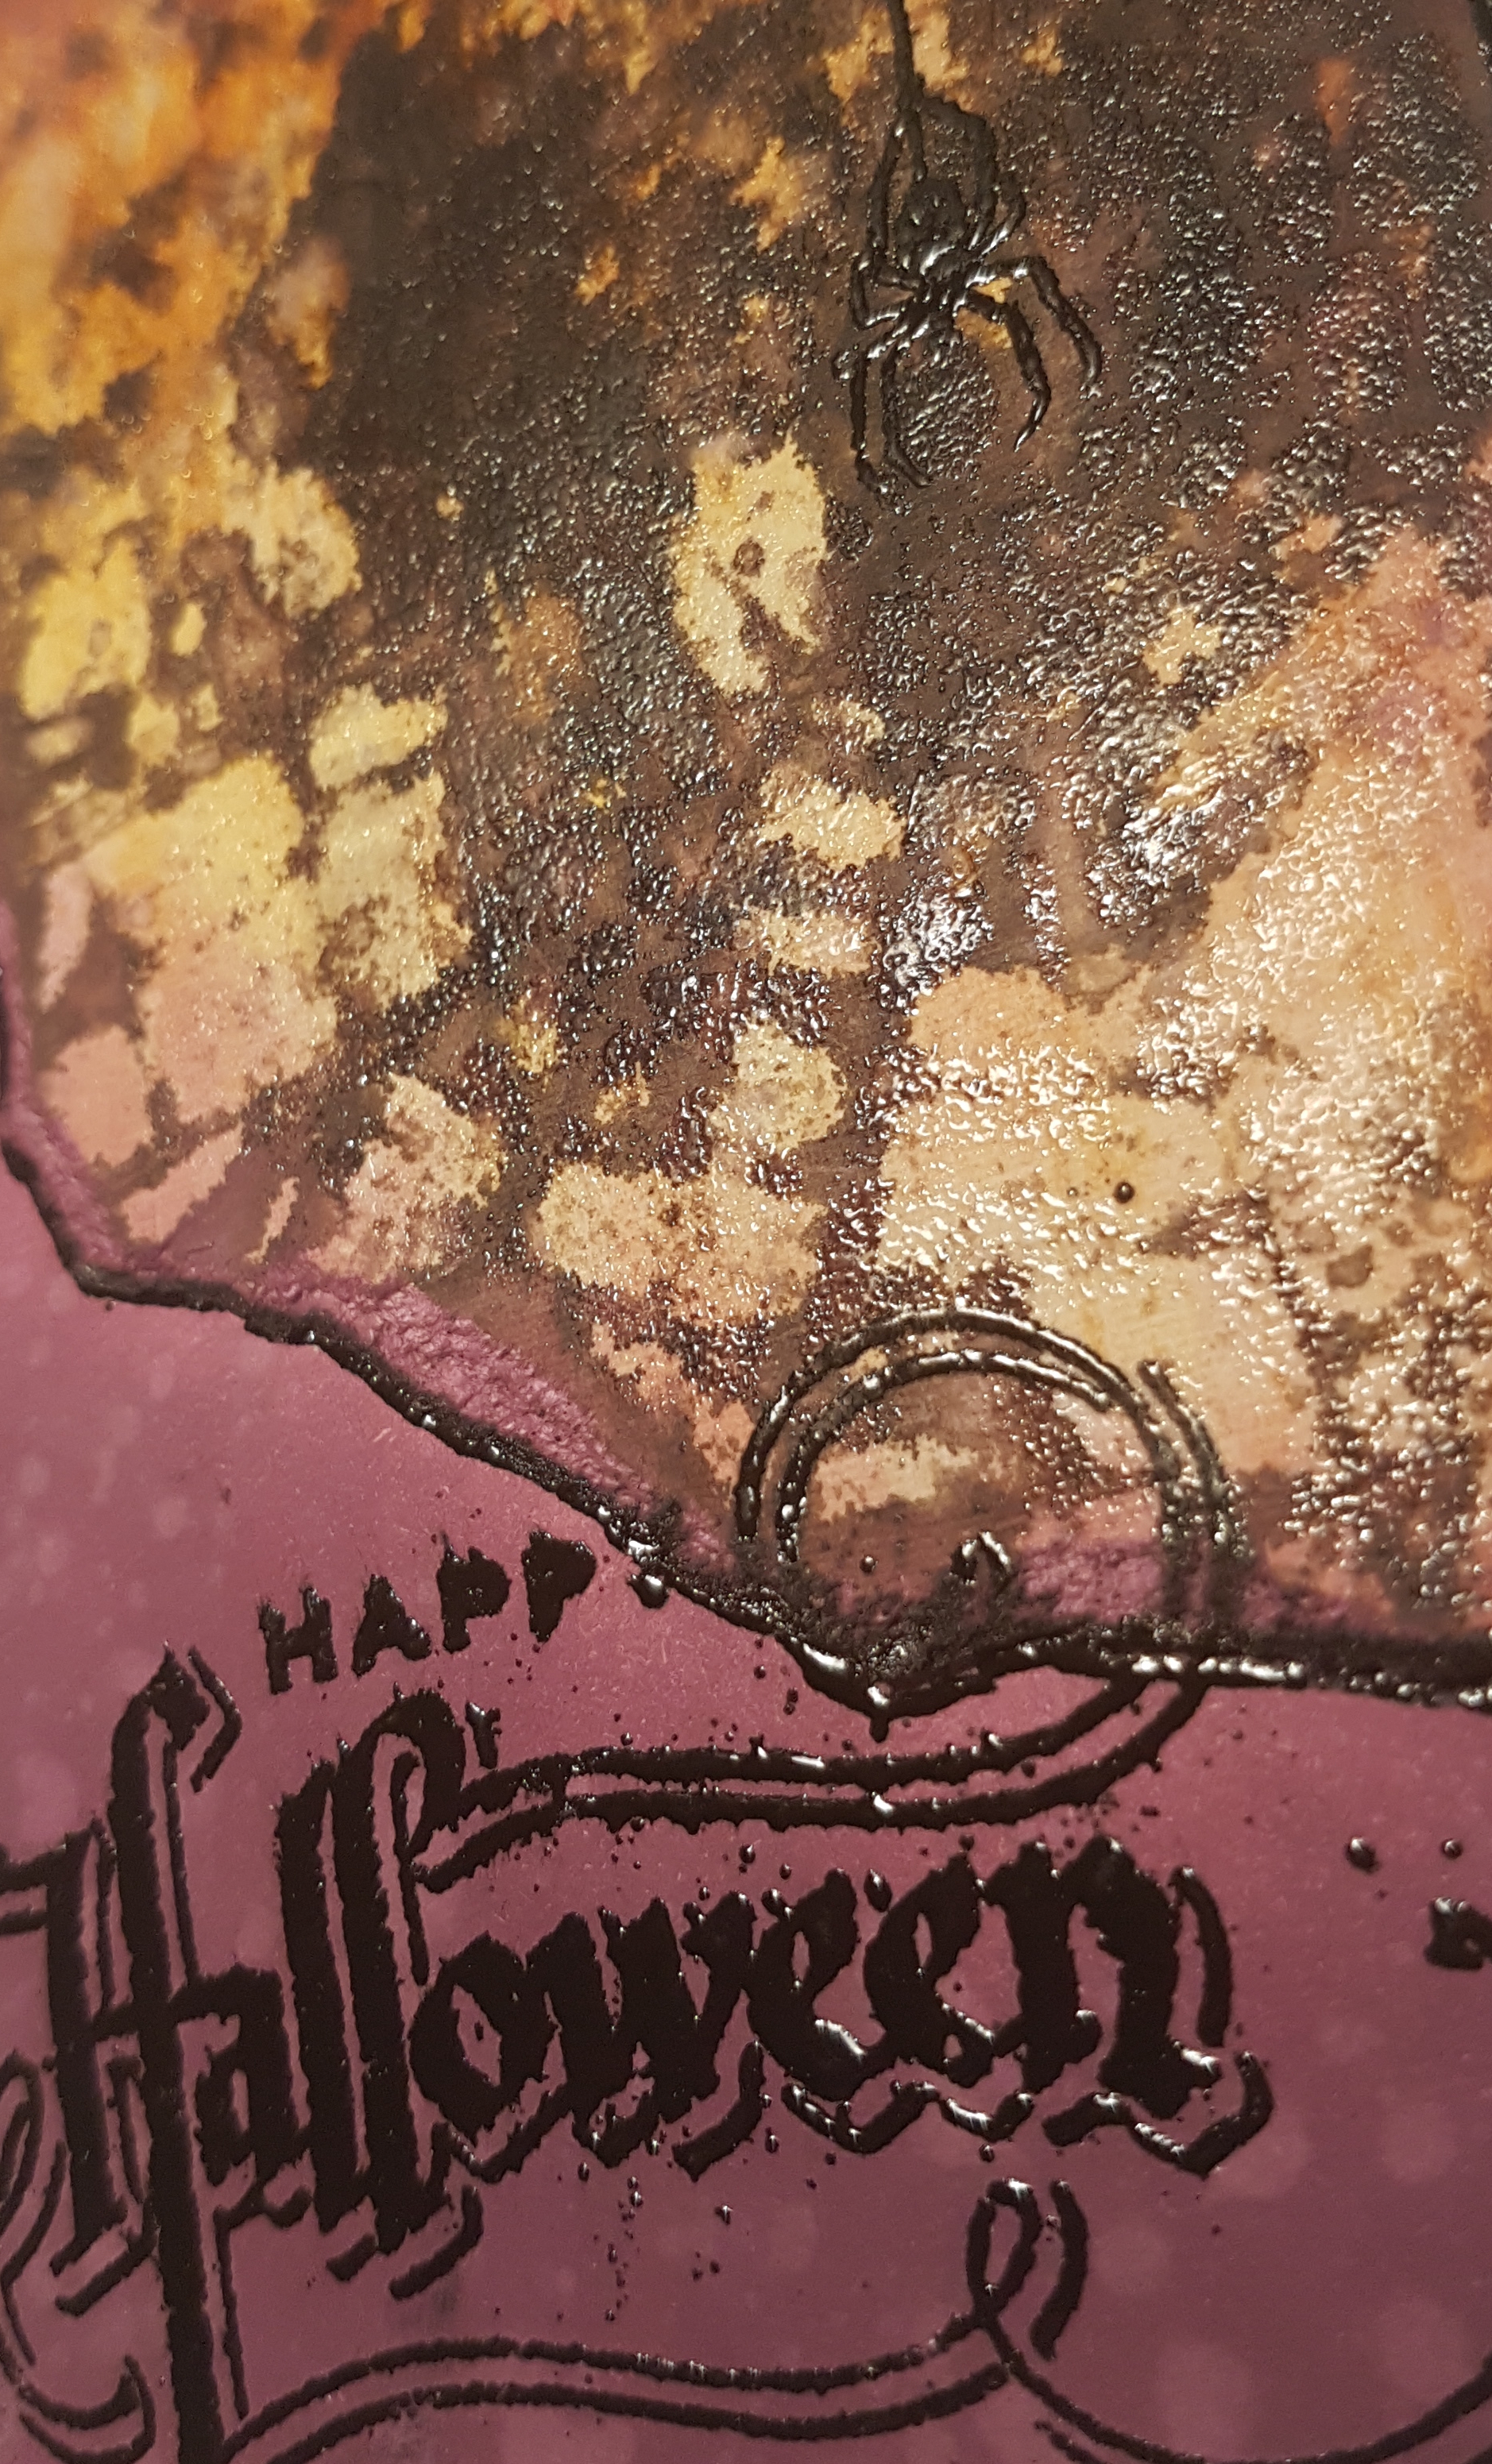
Then I started heat embossing… first the sentiment and spider in Black powder. Then I added the outline to the torn piece using the embossing pen and black powder. Then I added the stenxil back over the top and pressed versamark through and clear embossed… this provided some fab texture.  I think you can see it best on this closeup.

So I loved creating this spooky postcard and I hope the recipient enjoyed it too! 

Happy crafting!!!

Catherine