My first YouTube video… unwrapping Feb Artful Days goodie box 

Yes… my first YouTube video was filmed and uploaded this morning. Nothing made just unwrapping Artful Days goodie box…. prepare for lots of oohs! 

Mainly done to test out desk set up for recording… some more experiments to be made to get that right before I create and film. Plus no snazzy stuff going on with captions etc… just a plain upload of the film as is! 

Exciting… and equally aware of how incredibly weird it is to talk to myself whilst doing something. Lol. 

Not sure how to add the video here other than as a link so will add the link for now and then work out the video when I get home tonight.  

Link to YouTube

Enjoy… or not as you wish! 

Happy crafting! 

Catherine  

For ATC’S sake … 71 & 72

Another couple of ATC’S to share today. The base for these was some packaging from some embellishments I bought. It’s quite sturdy board but I still managed to cut it with my rotary trimmer. It’s also quite glossy cardstock so needed gesso to give it some tooth!

I decided to grab my Distress crayons to create the background and keep to the blues and greens colour scheme. using gesso as the base is definitely the answer for this as it helps them to blend together.  This is how I scribbled them on but once blended with my finger and a little water they are more of a green all over! 

I wanted to have a floral look to the background so grabbed a Clarity stencil and a baby wipe and removed colour through the stencil aperture. In one I went for a focal image and the other just went for the overall background of flowers.

I edged both of them with black gesso to start the process of ‘framing the artwork’.

Decided to do some doodling on them both… ithe was a bit of a random decision to do this… as wasn’t entirely sure where to go with them. So pleased I did! I loved both the process and how they then looked! 

I am particularly pleased with the bottom one… but the top one is also really cute.  I then added some colour to the flowers and leaves in the first one, and just a tiny bit of colour to the centre of the flowers for the second one.  the colour is ink added with a water brush.

Didn’t want to add much else, so will probably add a word to these and consider them done. 

In other news I’ve filmed and uploaded my first YouTube video! Not making anything but instead unwrapping my latest Artful Days goodie box! 

link to the video on YouTube
Happy crafting! 

Catherine 

Masked heart

Today I have a project to share that I started at the weekend inspired by the project that Ingrid Vichova shared on the Paperartsy blog.  Such a lot of details and beautiful layers. And of course because it’s valentines day… it had to have a heart! 

So although my heart is nowhere near as beautiful or amazing as Ingrid’s journal page it was inspired by her work and is my entry for the mask challenge. 

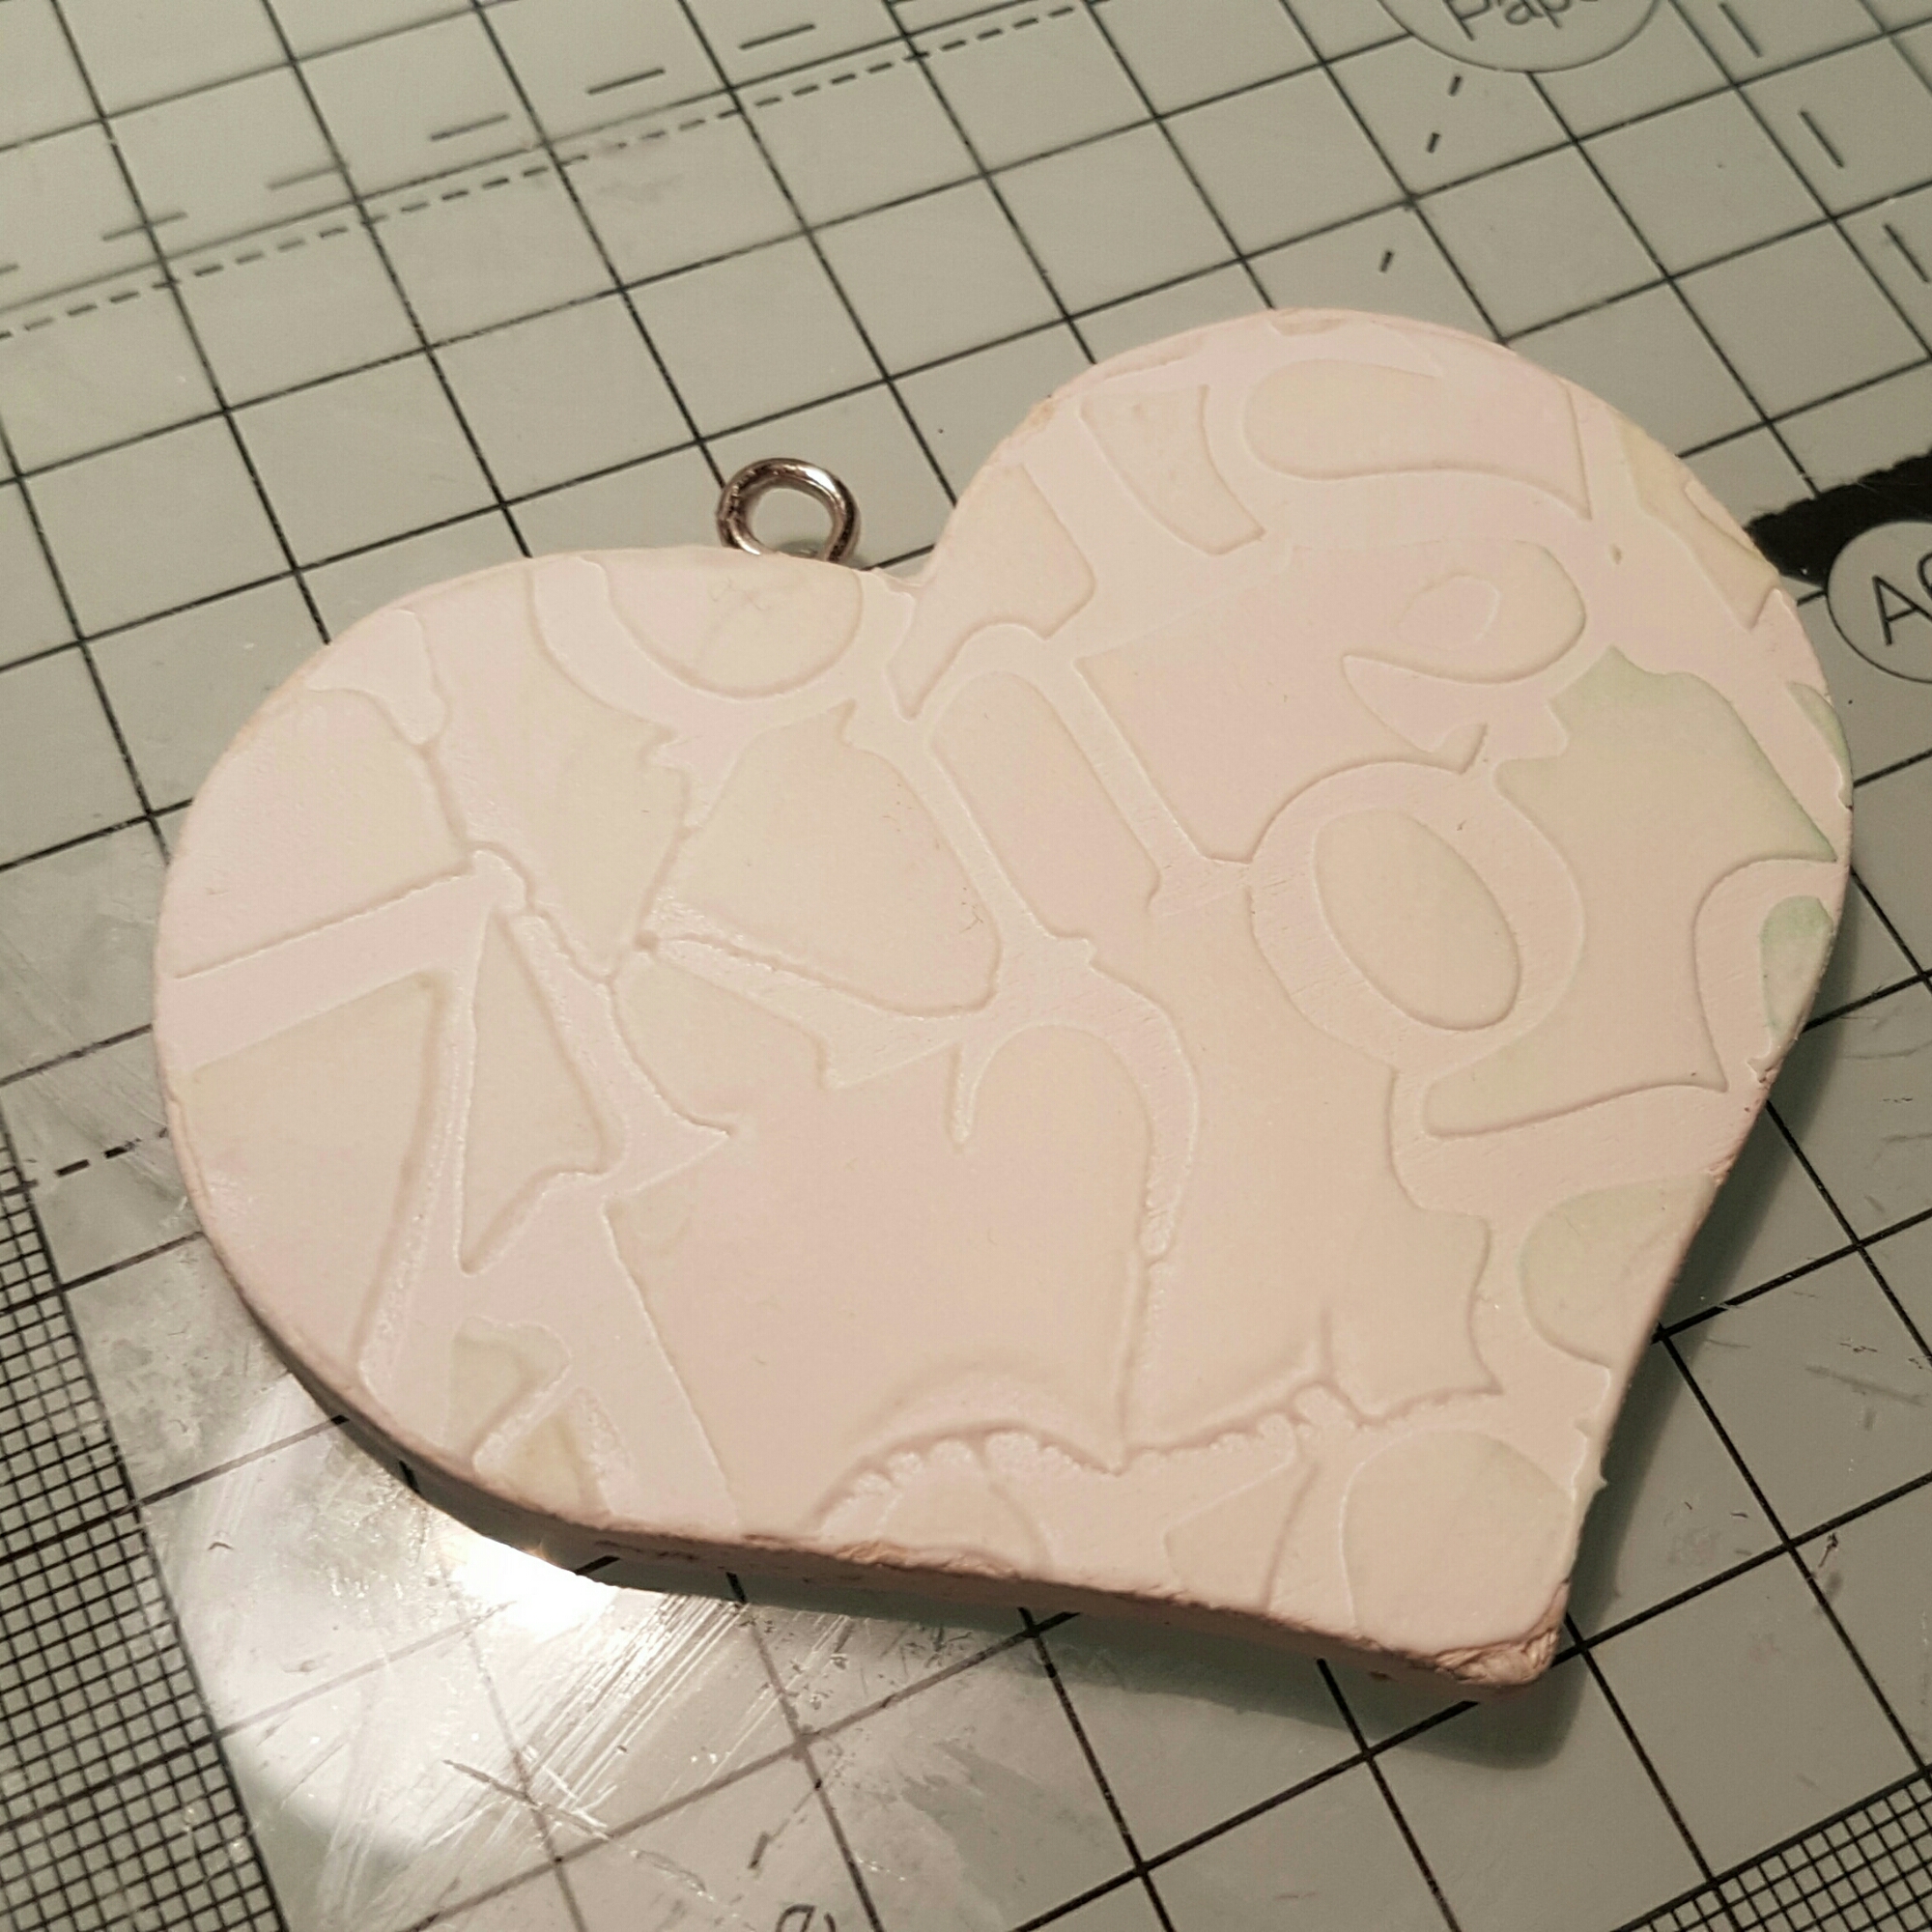
I started with a wooden heart that I’ve had in my stash for quite some time. I put some modelling paste through a stencil … which provided some masked letter shapes  

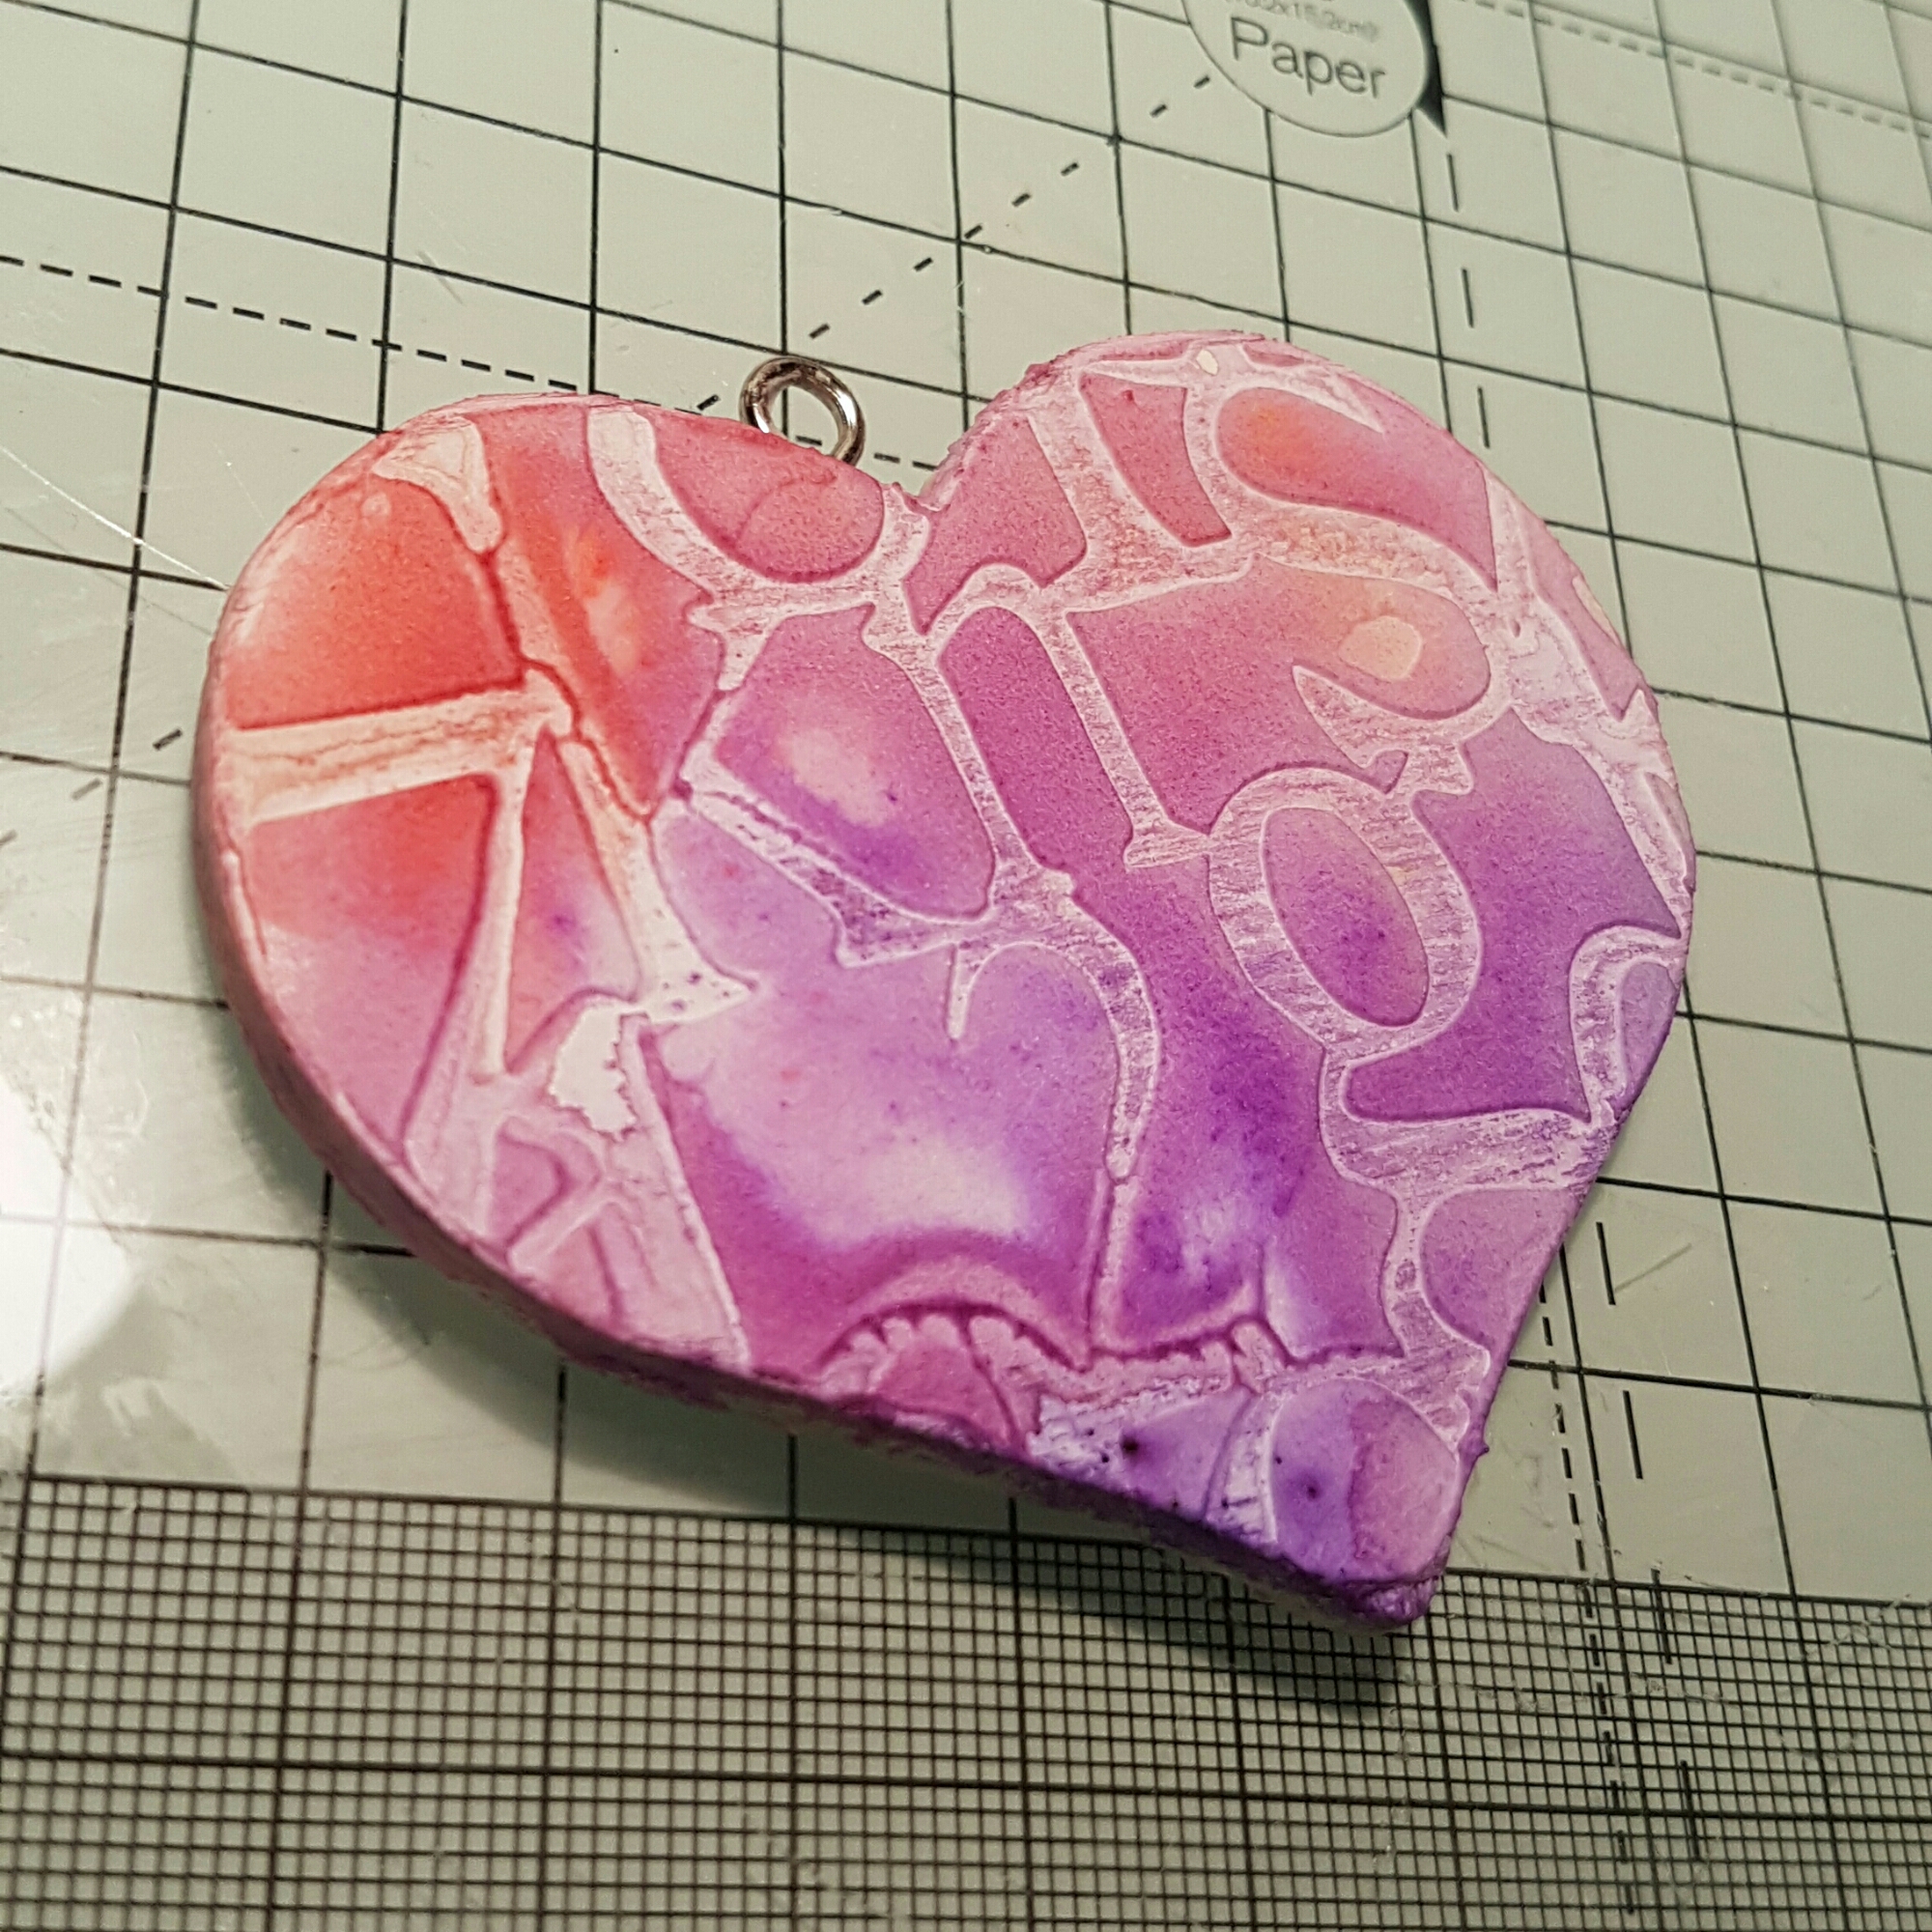
Once it was dry I then added Brushos to the heart (scarlet and violet) and some water. 

The colours blended beautifully and after drying with a heat tool the pigment settled into the texture really nicely. 

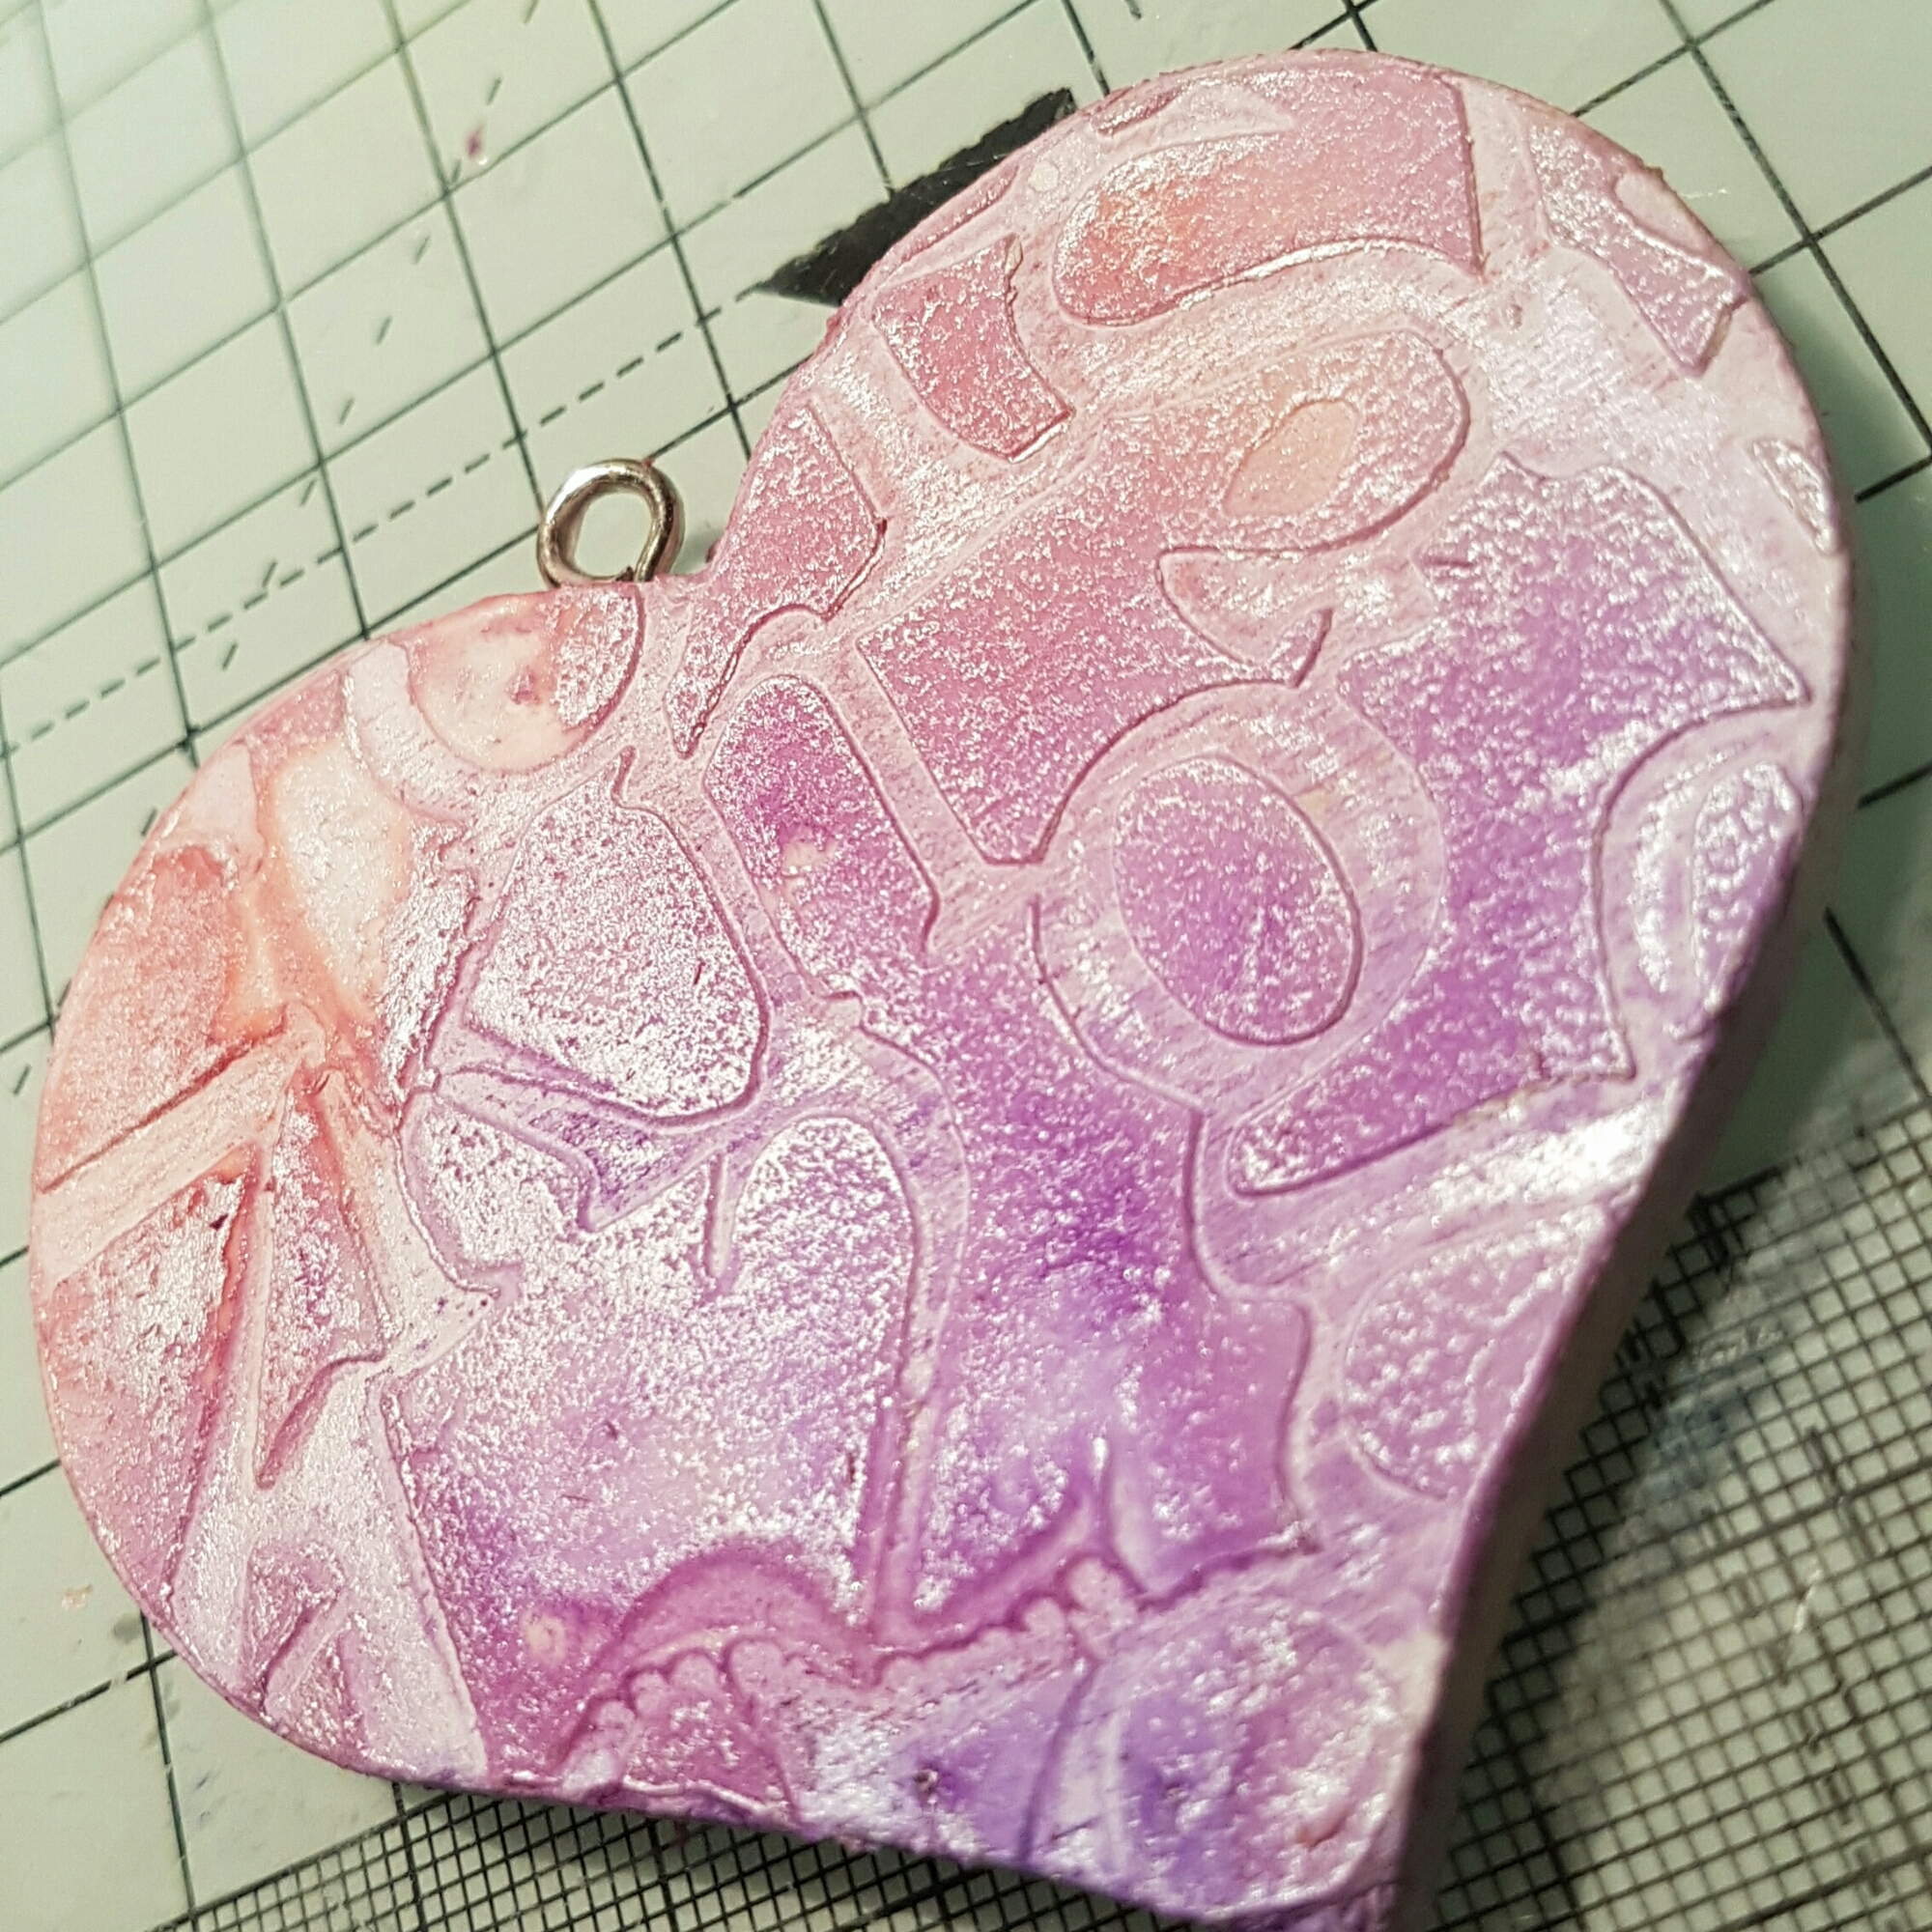
I decided I wanted some shine so grabbed some treasure gold and added that with my finger. 

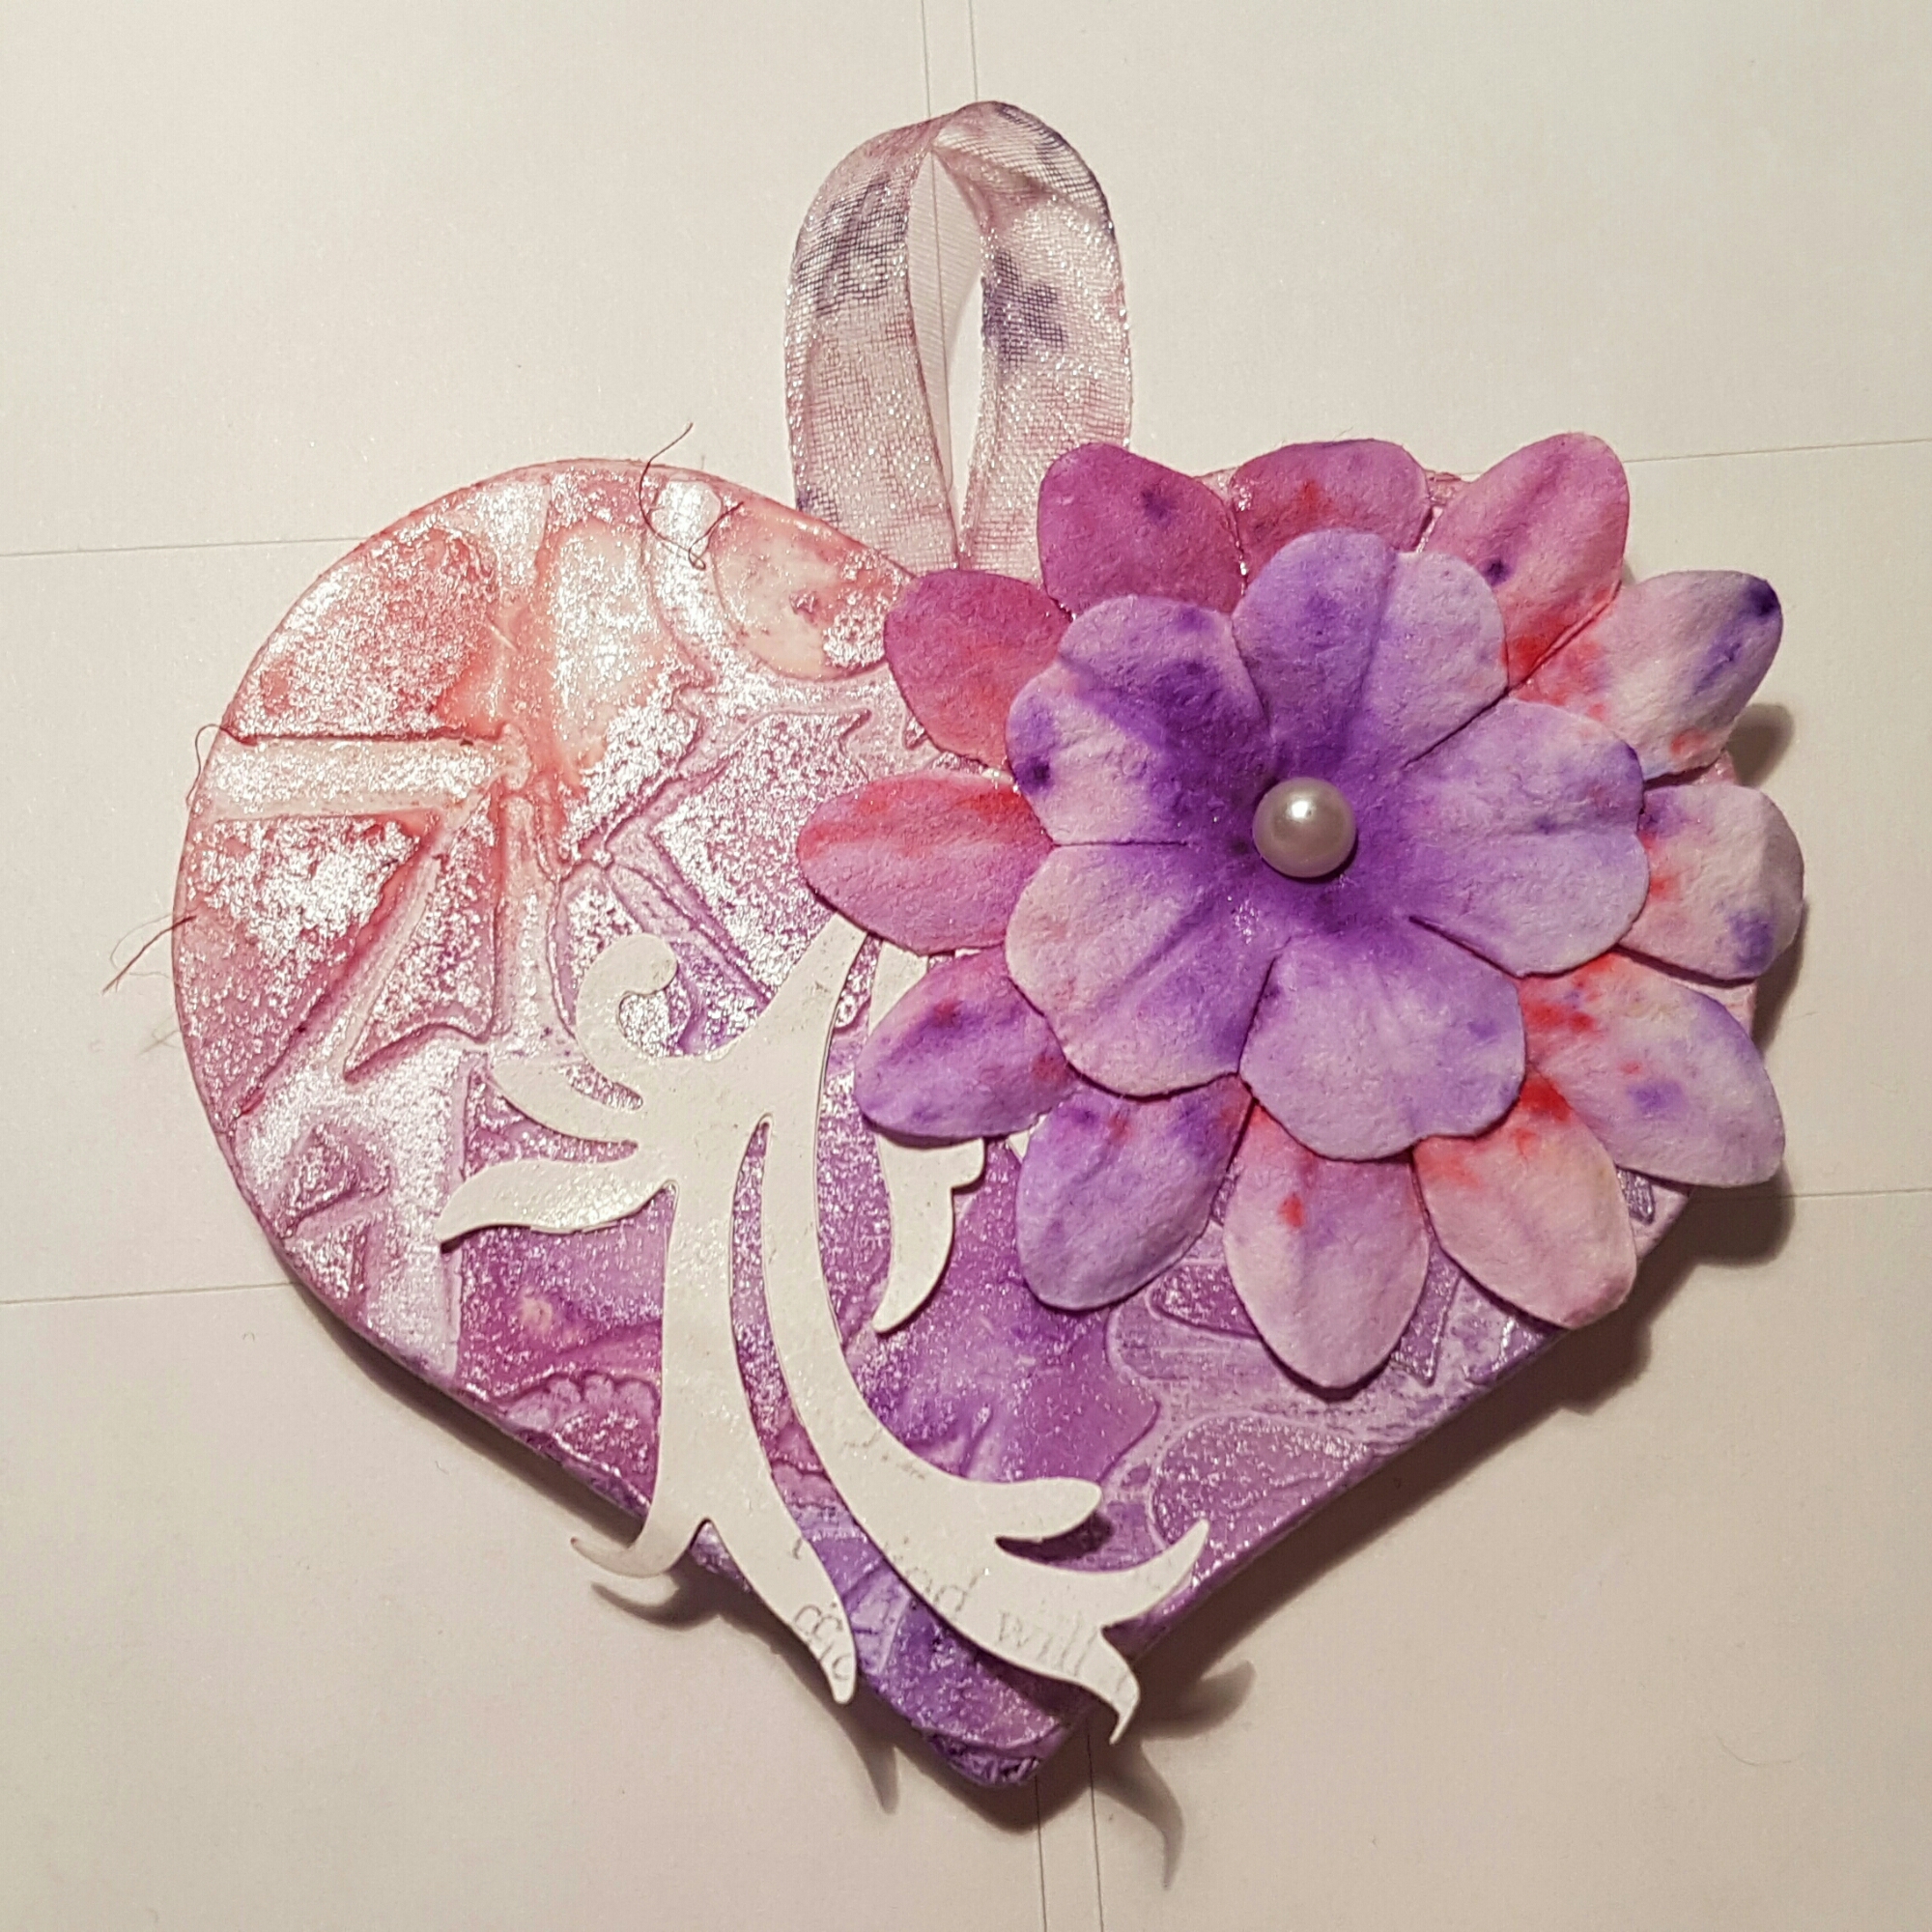
Next I added Brushos (the same colours) to some flowers and die cut a flourish from a piece of painted paper. I layered them up onto the right hand side of the heart.  Then I removed the ring from the top as it was wonky and added some sheer ribbon to the back and then added some paper to cover the ribbon fastening. 

And so this is the finished little decoration. Unsure that it needs anything else… but maybe a word to finish off? What do you think? 

I loved making this and it really just came together quite naturally. 

Off to see what others have been up to for this challenge. I know I have another entry to make … just need someone to receive the card I made before I can blog it! Lol. 

Happy crafting!

Catherine 
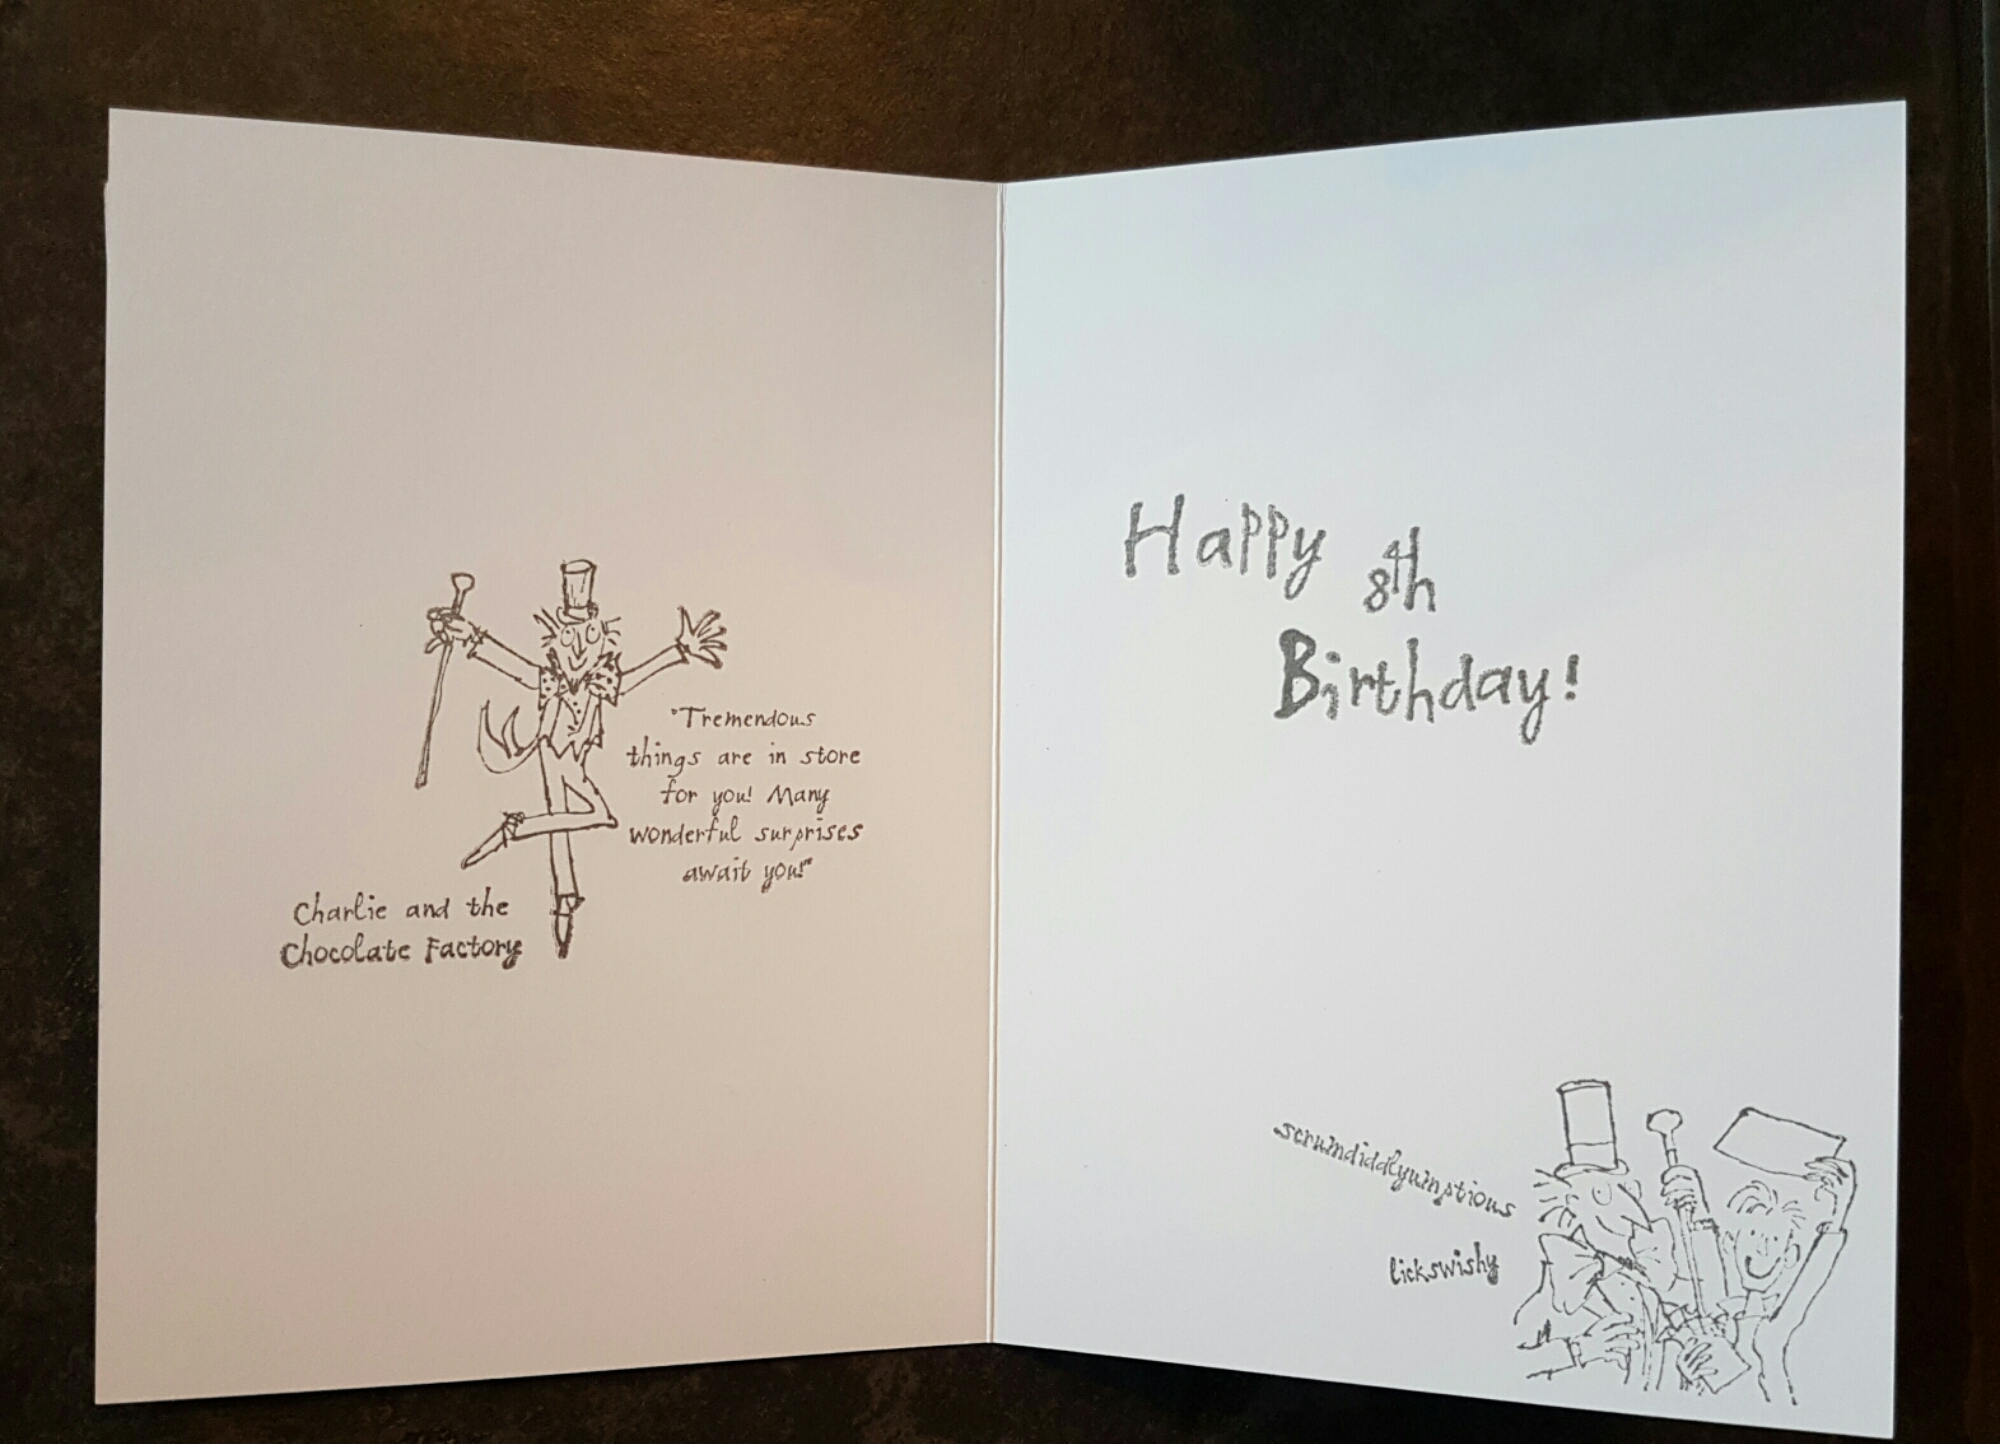
Happy birthday James!

My cousins son turns 8 today… doesn’t seem that long since early he was born. Where does the time go? 

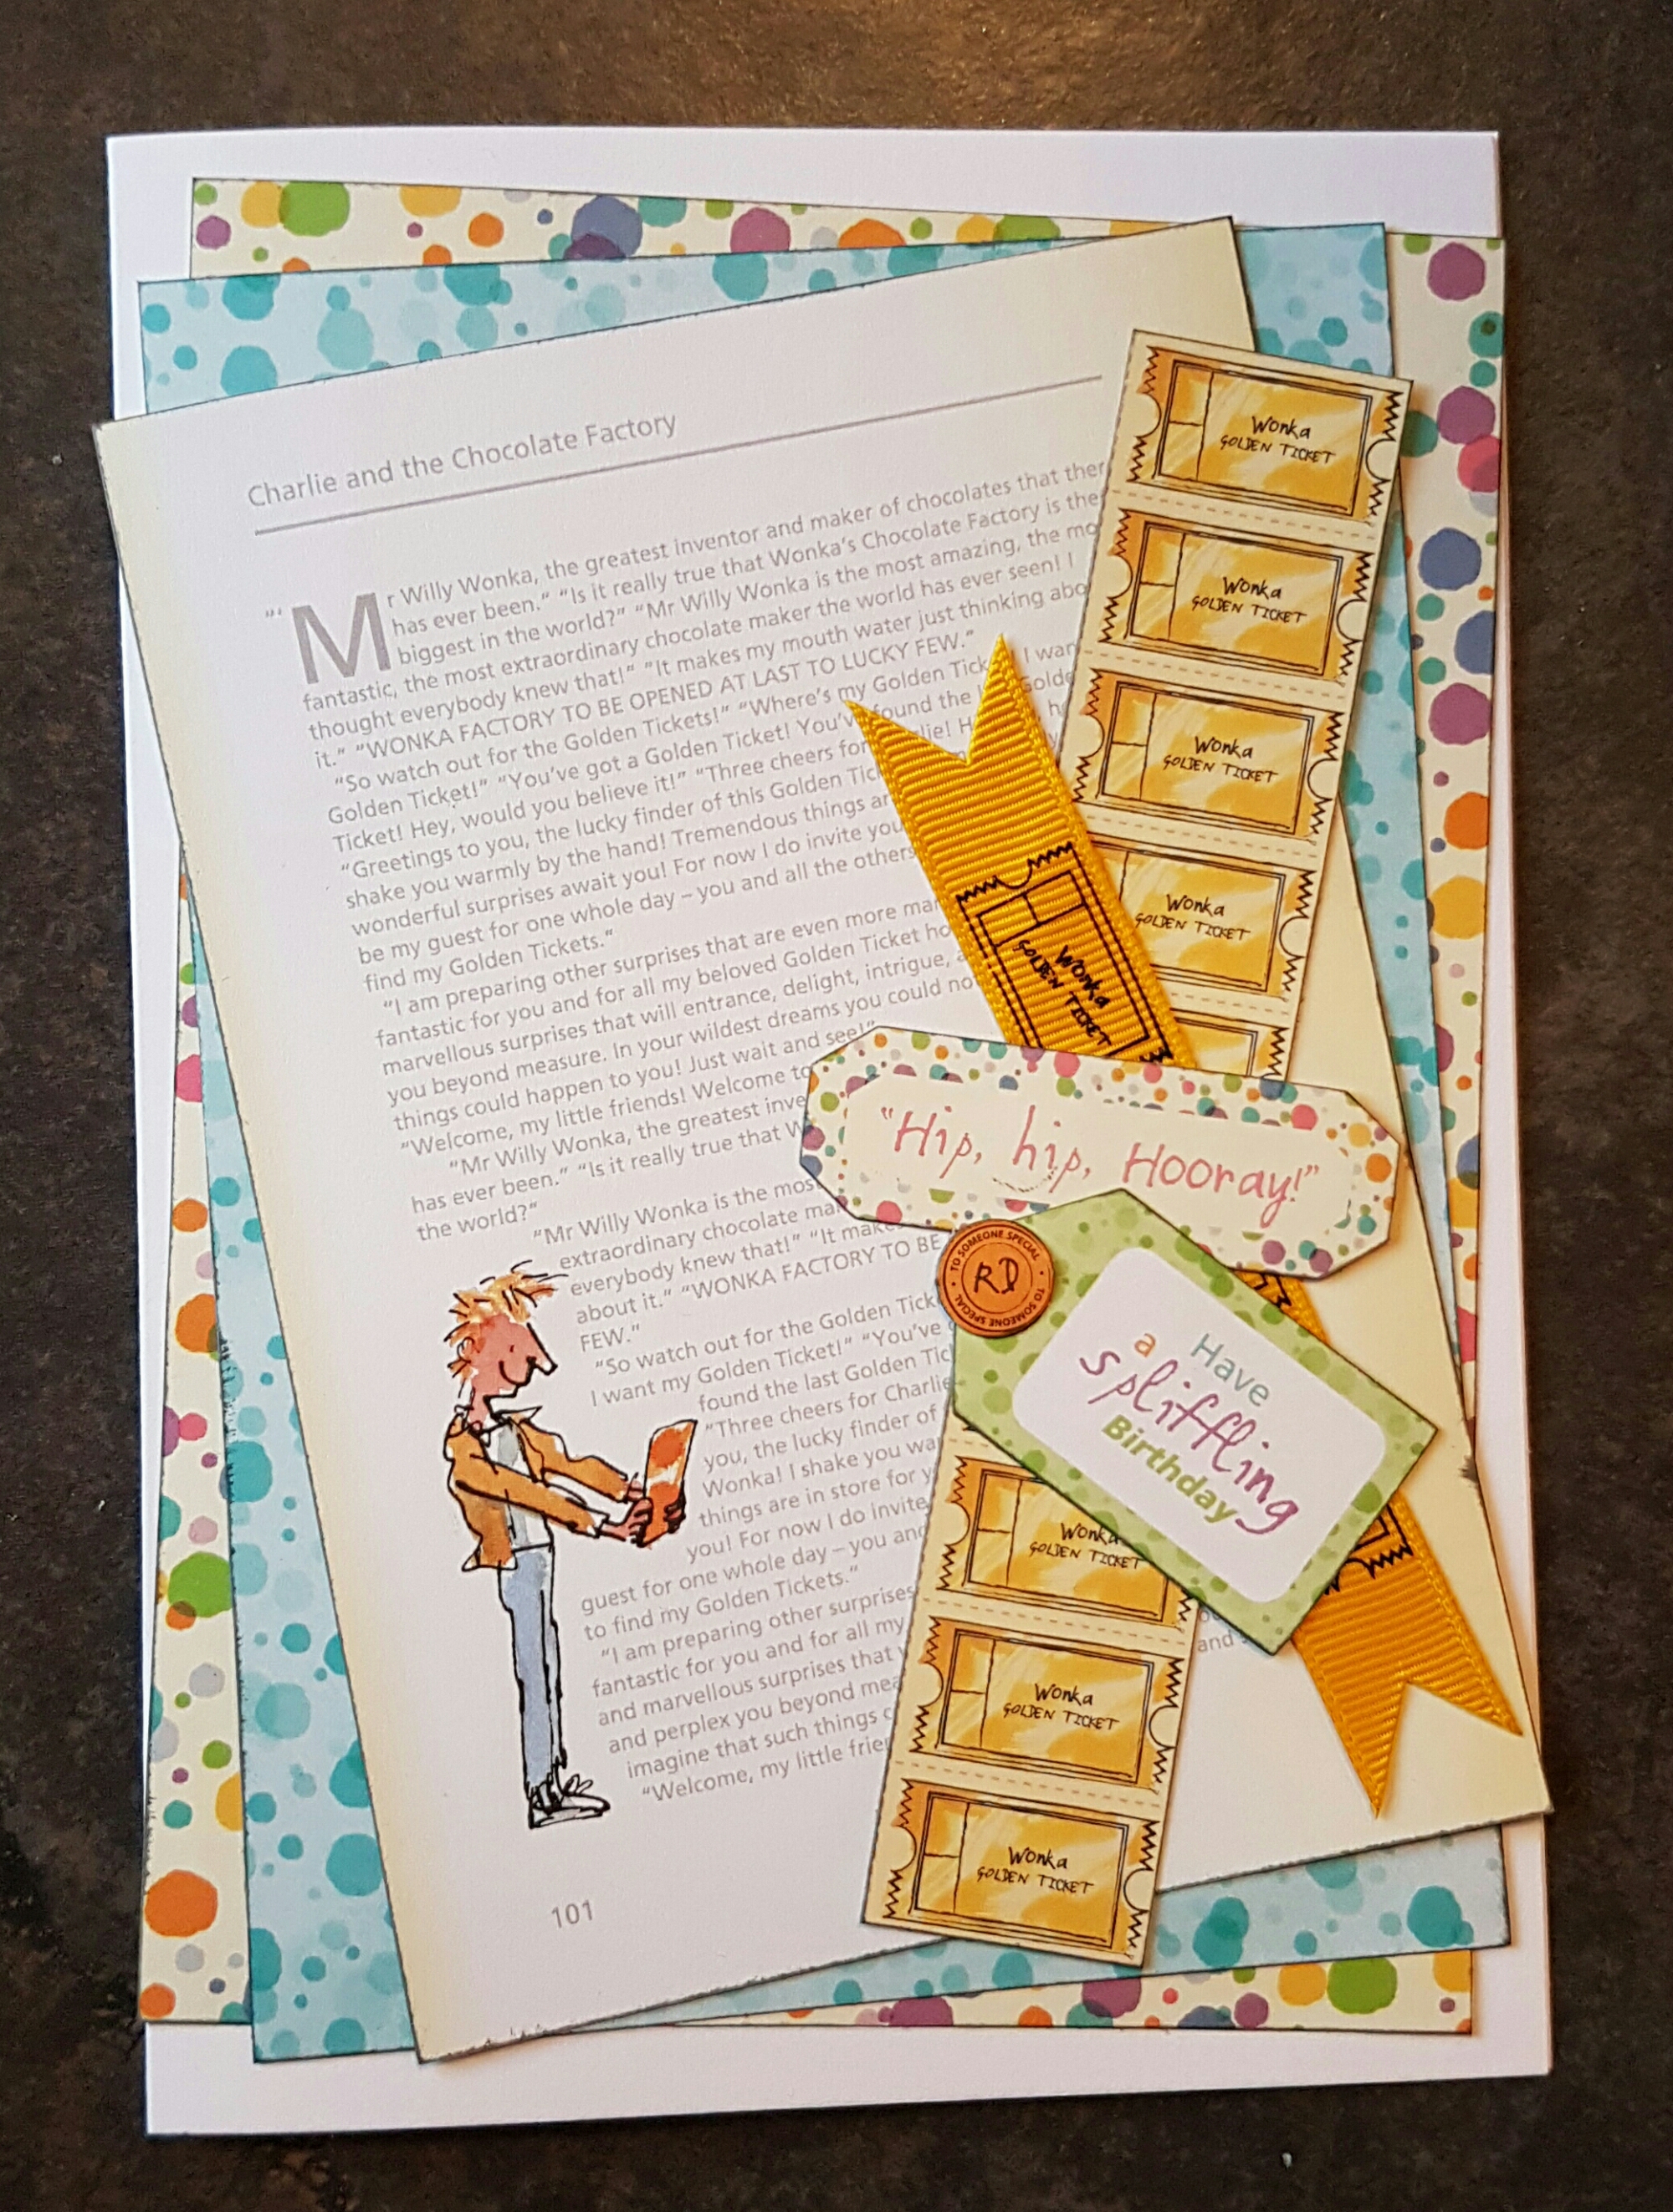
I have two cards to share today…. first the one I made from my parents…. 

I used the Roald Dahl kit that I hardly ever use to layer up papers on the front of the card. Then inside the card (& on the envelope) I added stamping.

So a nice Roald Dahl card from my parents.    Of course once I’ve sorted them out I’m wondering what I should do from me? 

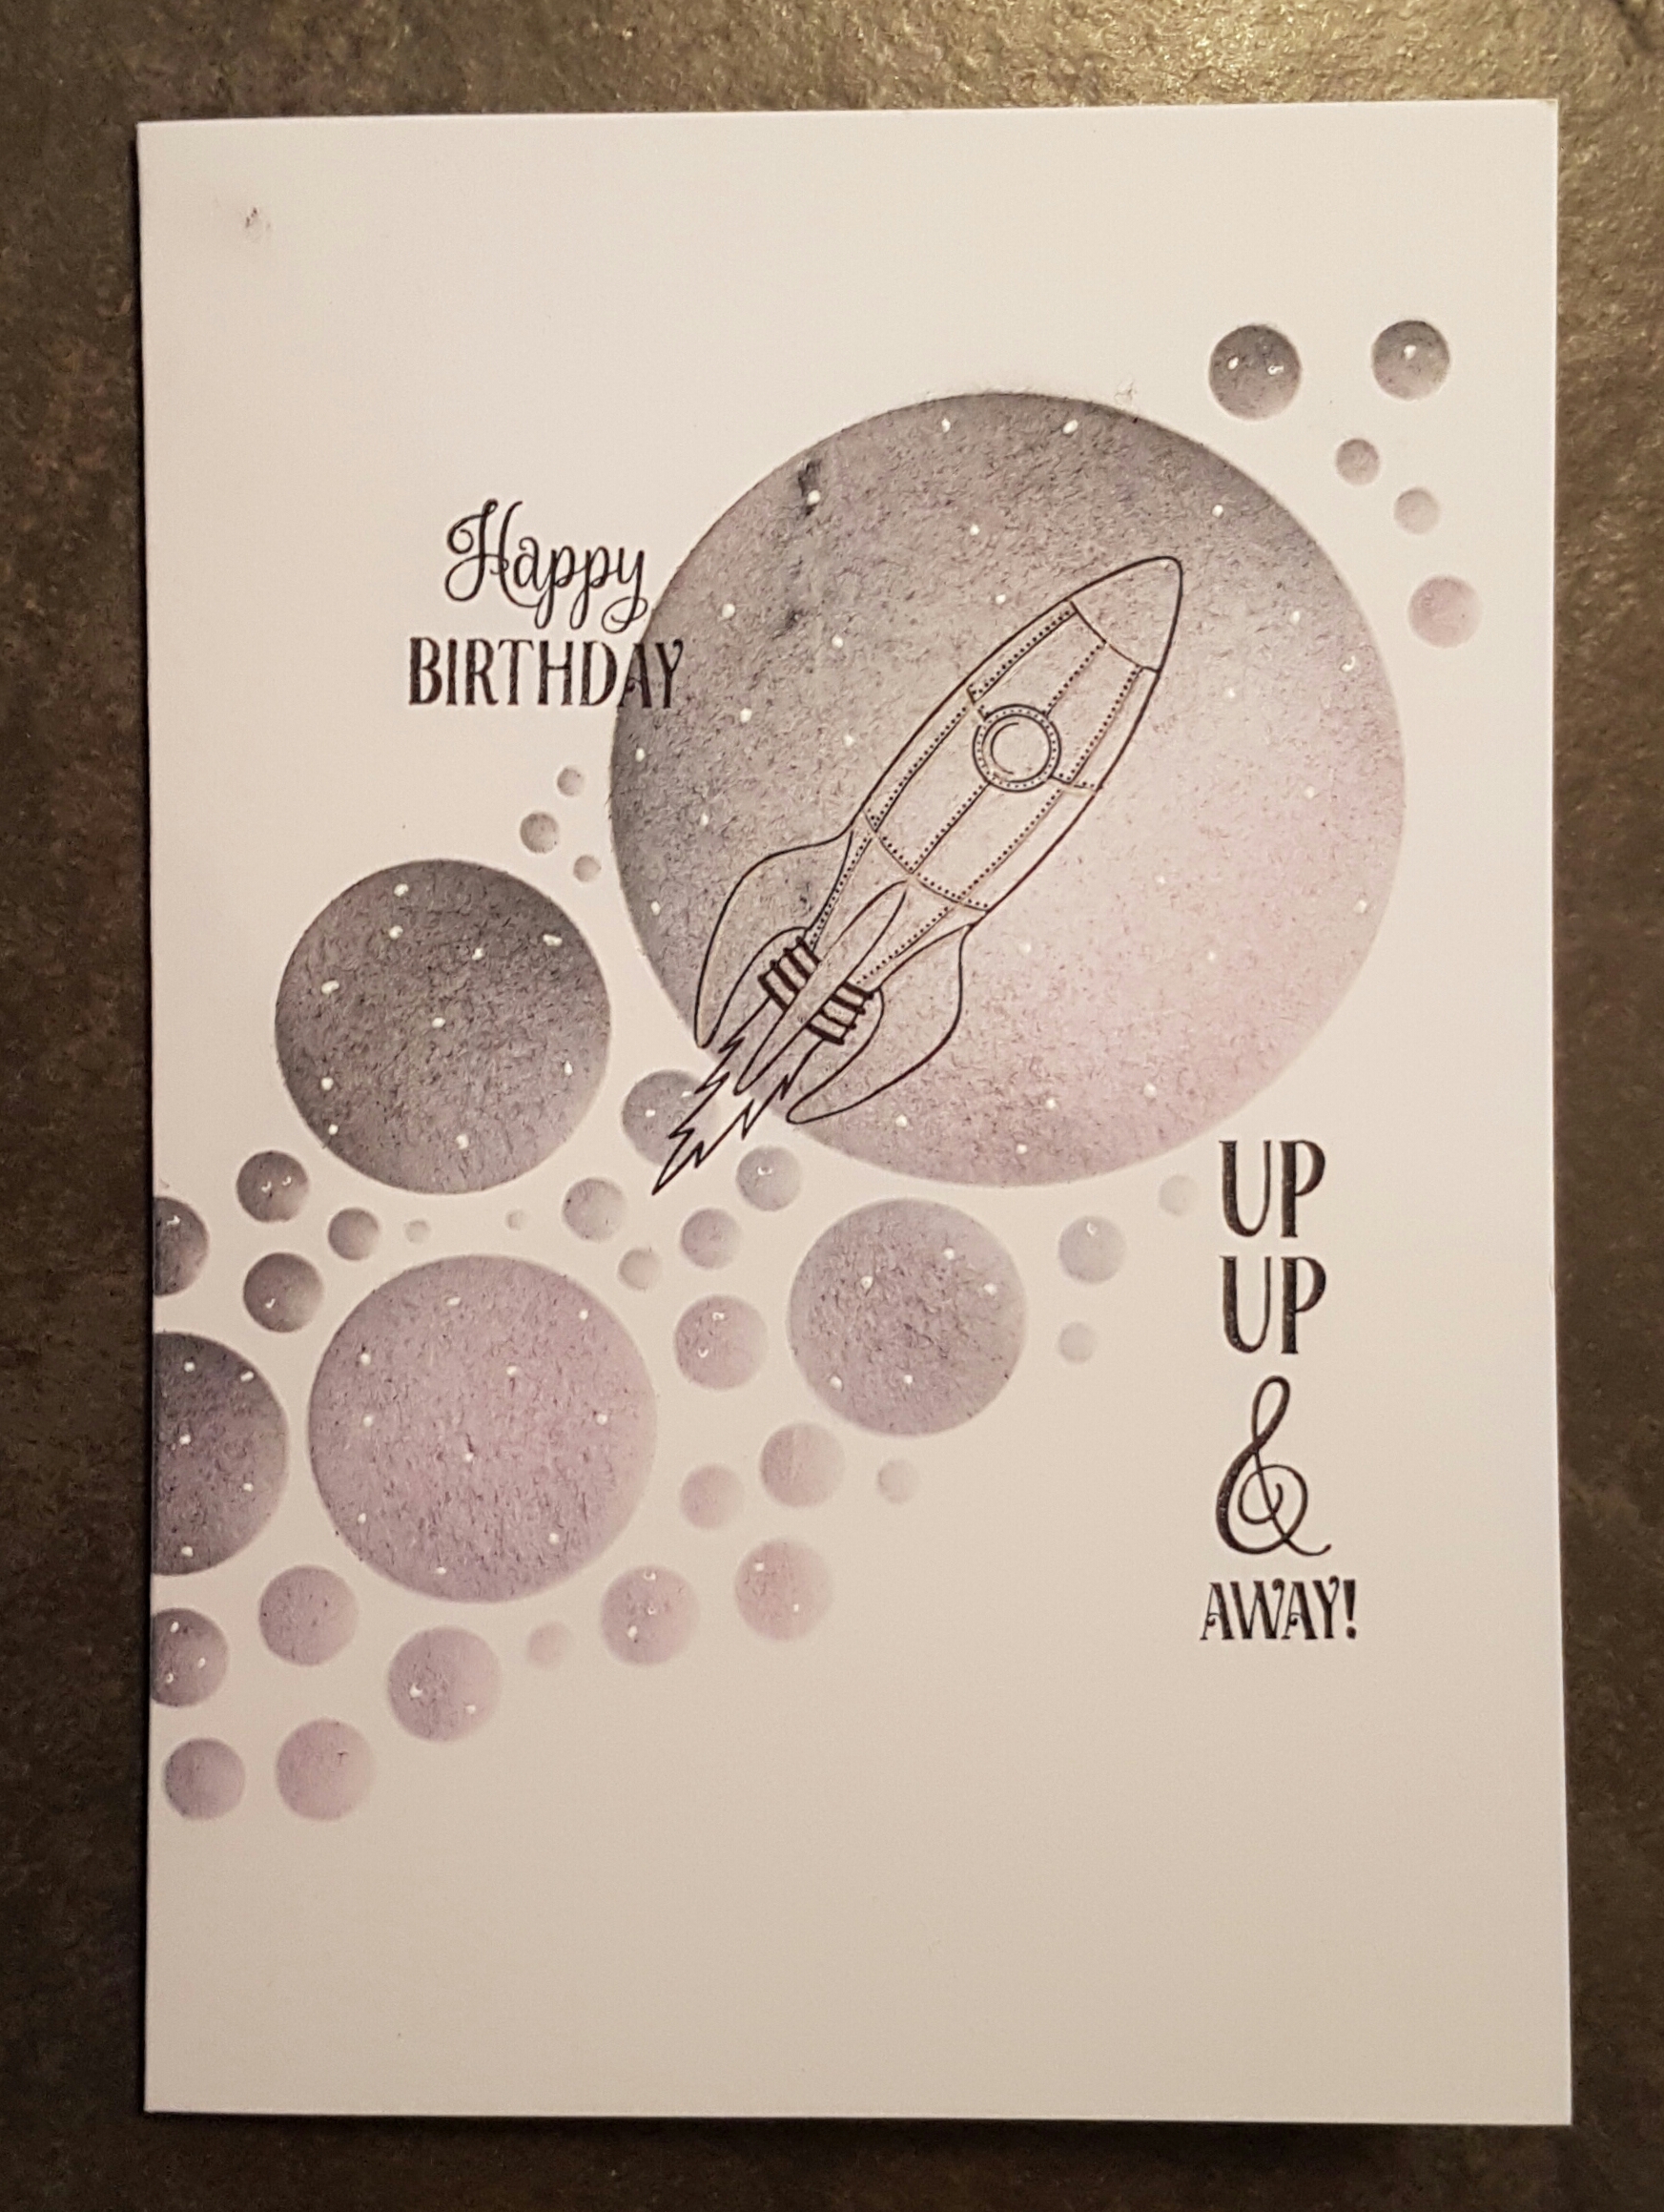
So I plumped for the spaceship stamp I got with a magazine a couple of months ago and a Clarity stencil. 

Some distress inks and stencil brushes, some white gel pen dots and simple stamping. Lovely. 

Hoping that James has a wonderful birthday and gets over the shock that auntie Catherine actually was prepared and made his card and got his present well ahead of time so he could receive them on his actual birthday! 

Happy crafting! 

Catherine 
For ATC’S sake… 69 & 70

Another two ATC’S in my 365 cards in a year challenge… this time as part of the purple one purple event in a swap group I am part of.

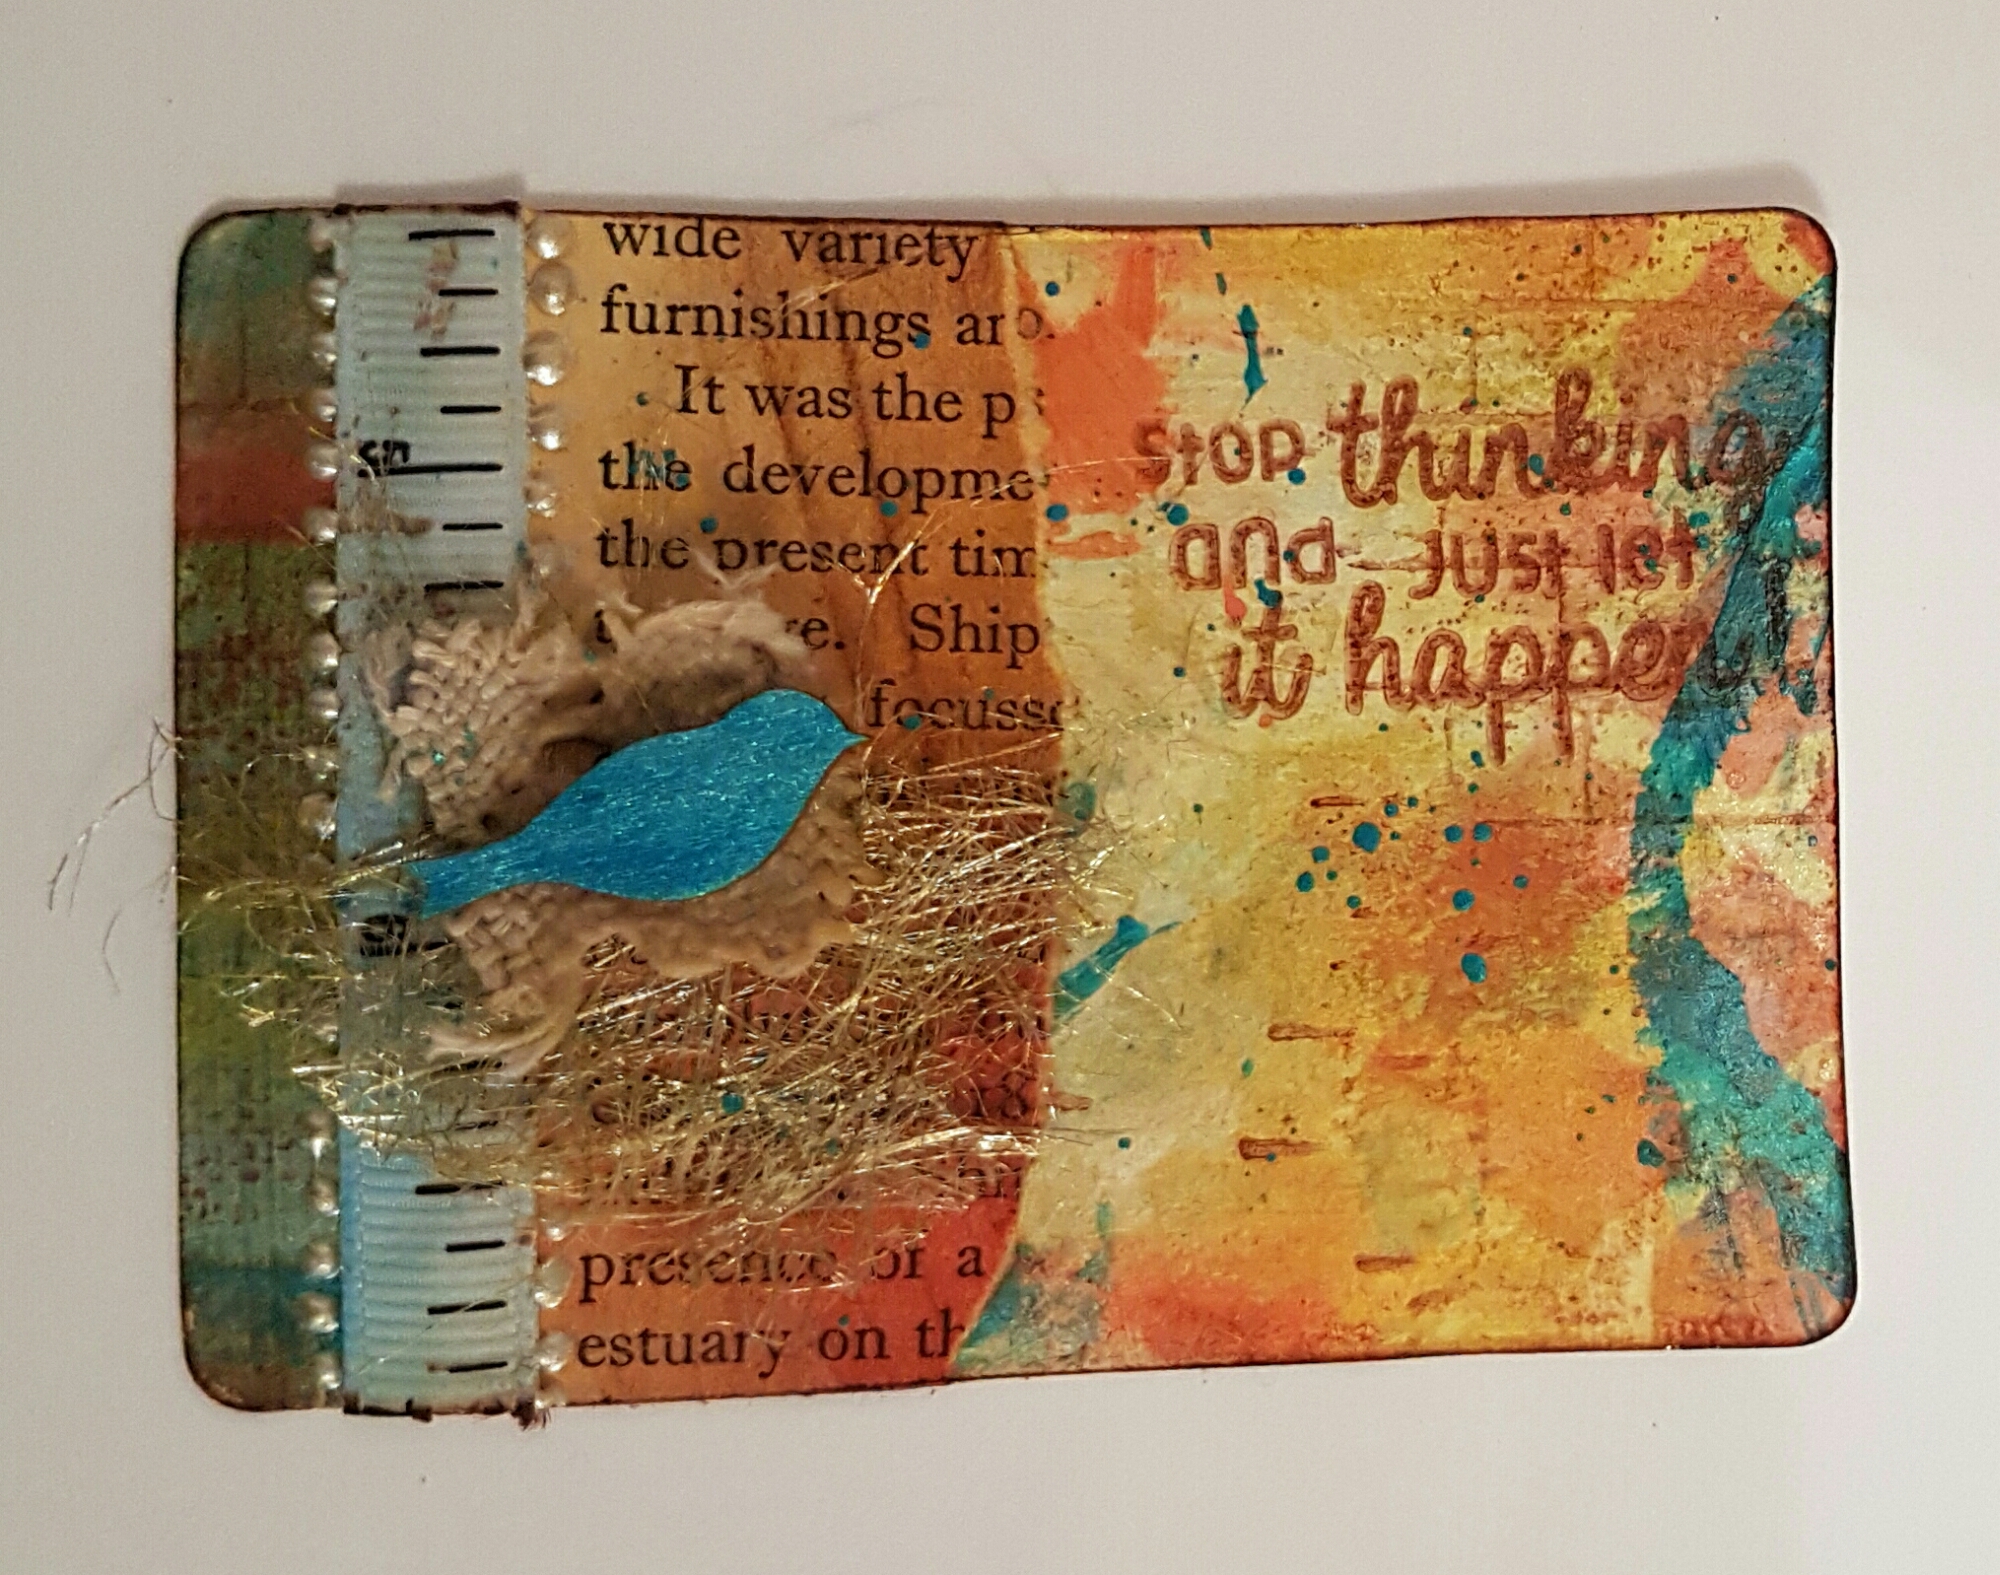
These started life as Gelli prints on some random paper.  I added some sequin waste and on one some muslin and on the other some tissue paper and then embellished with the bird stamped image I found in my stash which I must have stamped several years ago..  Finally I have found a use for them! 

Finished with some gems and word stickers and mounted them onto cardstock.  

Happy crafting ! 

Catherine 

For ATC’S sake … 65, 66 and 67

There are three more ATC’S I’ve got to share with you today using the above pieces of scratch paper I cut using the Tim Holtz atc bigz die.

I started with some gelatos to add some colour and blended with water and my finger. I love how the distress stain stayed in patches and then some of the iridescent medium which also shone through the gelatos. 

Next I used a baby wipe and took some of the colour away through a stencil. I love this technique and the subtle finish it provides.

Another stencil and then added ink through it. I also decided to rip one of the pieces a little to create a smaller topper.

I mounted that smaller piece onto a piece of patterned paper which has some gold inlaid. Then I added washi tape to two of them and some wax paper to the middle one.  The final one on the right I stamped the lady image to add the focal point.

Finishing touches time…

Some embellishments layered with cotton thread and some neon pink gems. Then some words chosen and then some inking round the edges. 

Another quote and a bit of outlining and then a pink heart brad. Plenty of inking too. Love this mix of grunge and prettiness.

The final one is the one with the stamped lady. 

I added twine and a charm and a couple of the chit chat words. And of course some inking round the edges.  Love the vintage feel to this one. 

So there we have it … three more for the challenge total… 324 to go! ahem… that seems like rather a lot… ah well wouldn’t be a challenge if it wasn’t challenging!

Happy crafting!

Catherine 

For ATC’S sake … 64 (who can’t see that number without singing?)

I have a single ATC to share today. 

I grabbed a piece of paper that had some brayered paint on it and cut it down to a little smaller than ATC size as I wanted to mount it onto some silvered cardstock I had found. For once I had a bit of a plan before I started on this one! 

I stamped some silhouette flowers and leaves onto the pink and blue background using black gesso.  As you can see I made a bit of a stamping faux pas and also caught the edge of the rubber in one impression but I knew it wouldn’t matter as the quote would go over the top of that and cover it up! 

I also edged the piece with the black gesso.

Next I used a Seth Apter stamp and cut out the quote I wanted. I then positioned and added the quote with Matt medium.

Then I flicked silver paint over it.

I love that this worked out like it had in my head. Unusual for that to happen for me as I usually just go with the flow and rarely plan.  

Another one in this challenge of 365 in 2017! 352 to go!

Happy crafting !

Catherine 

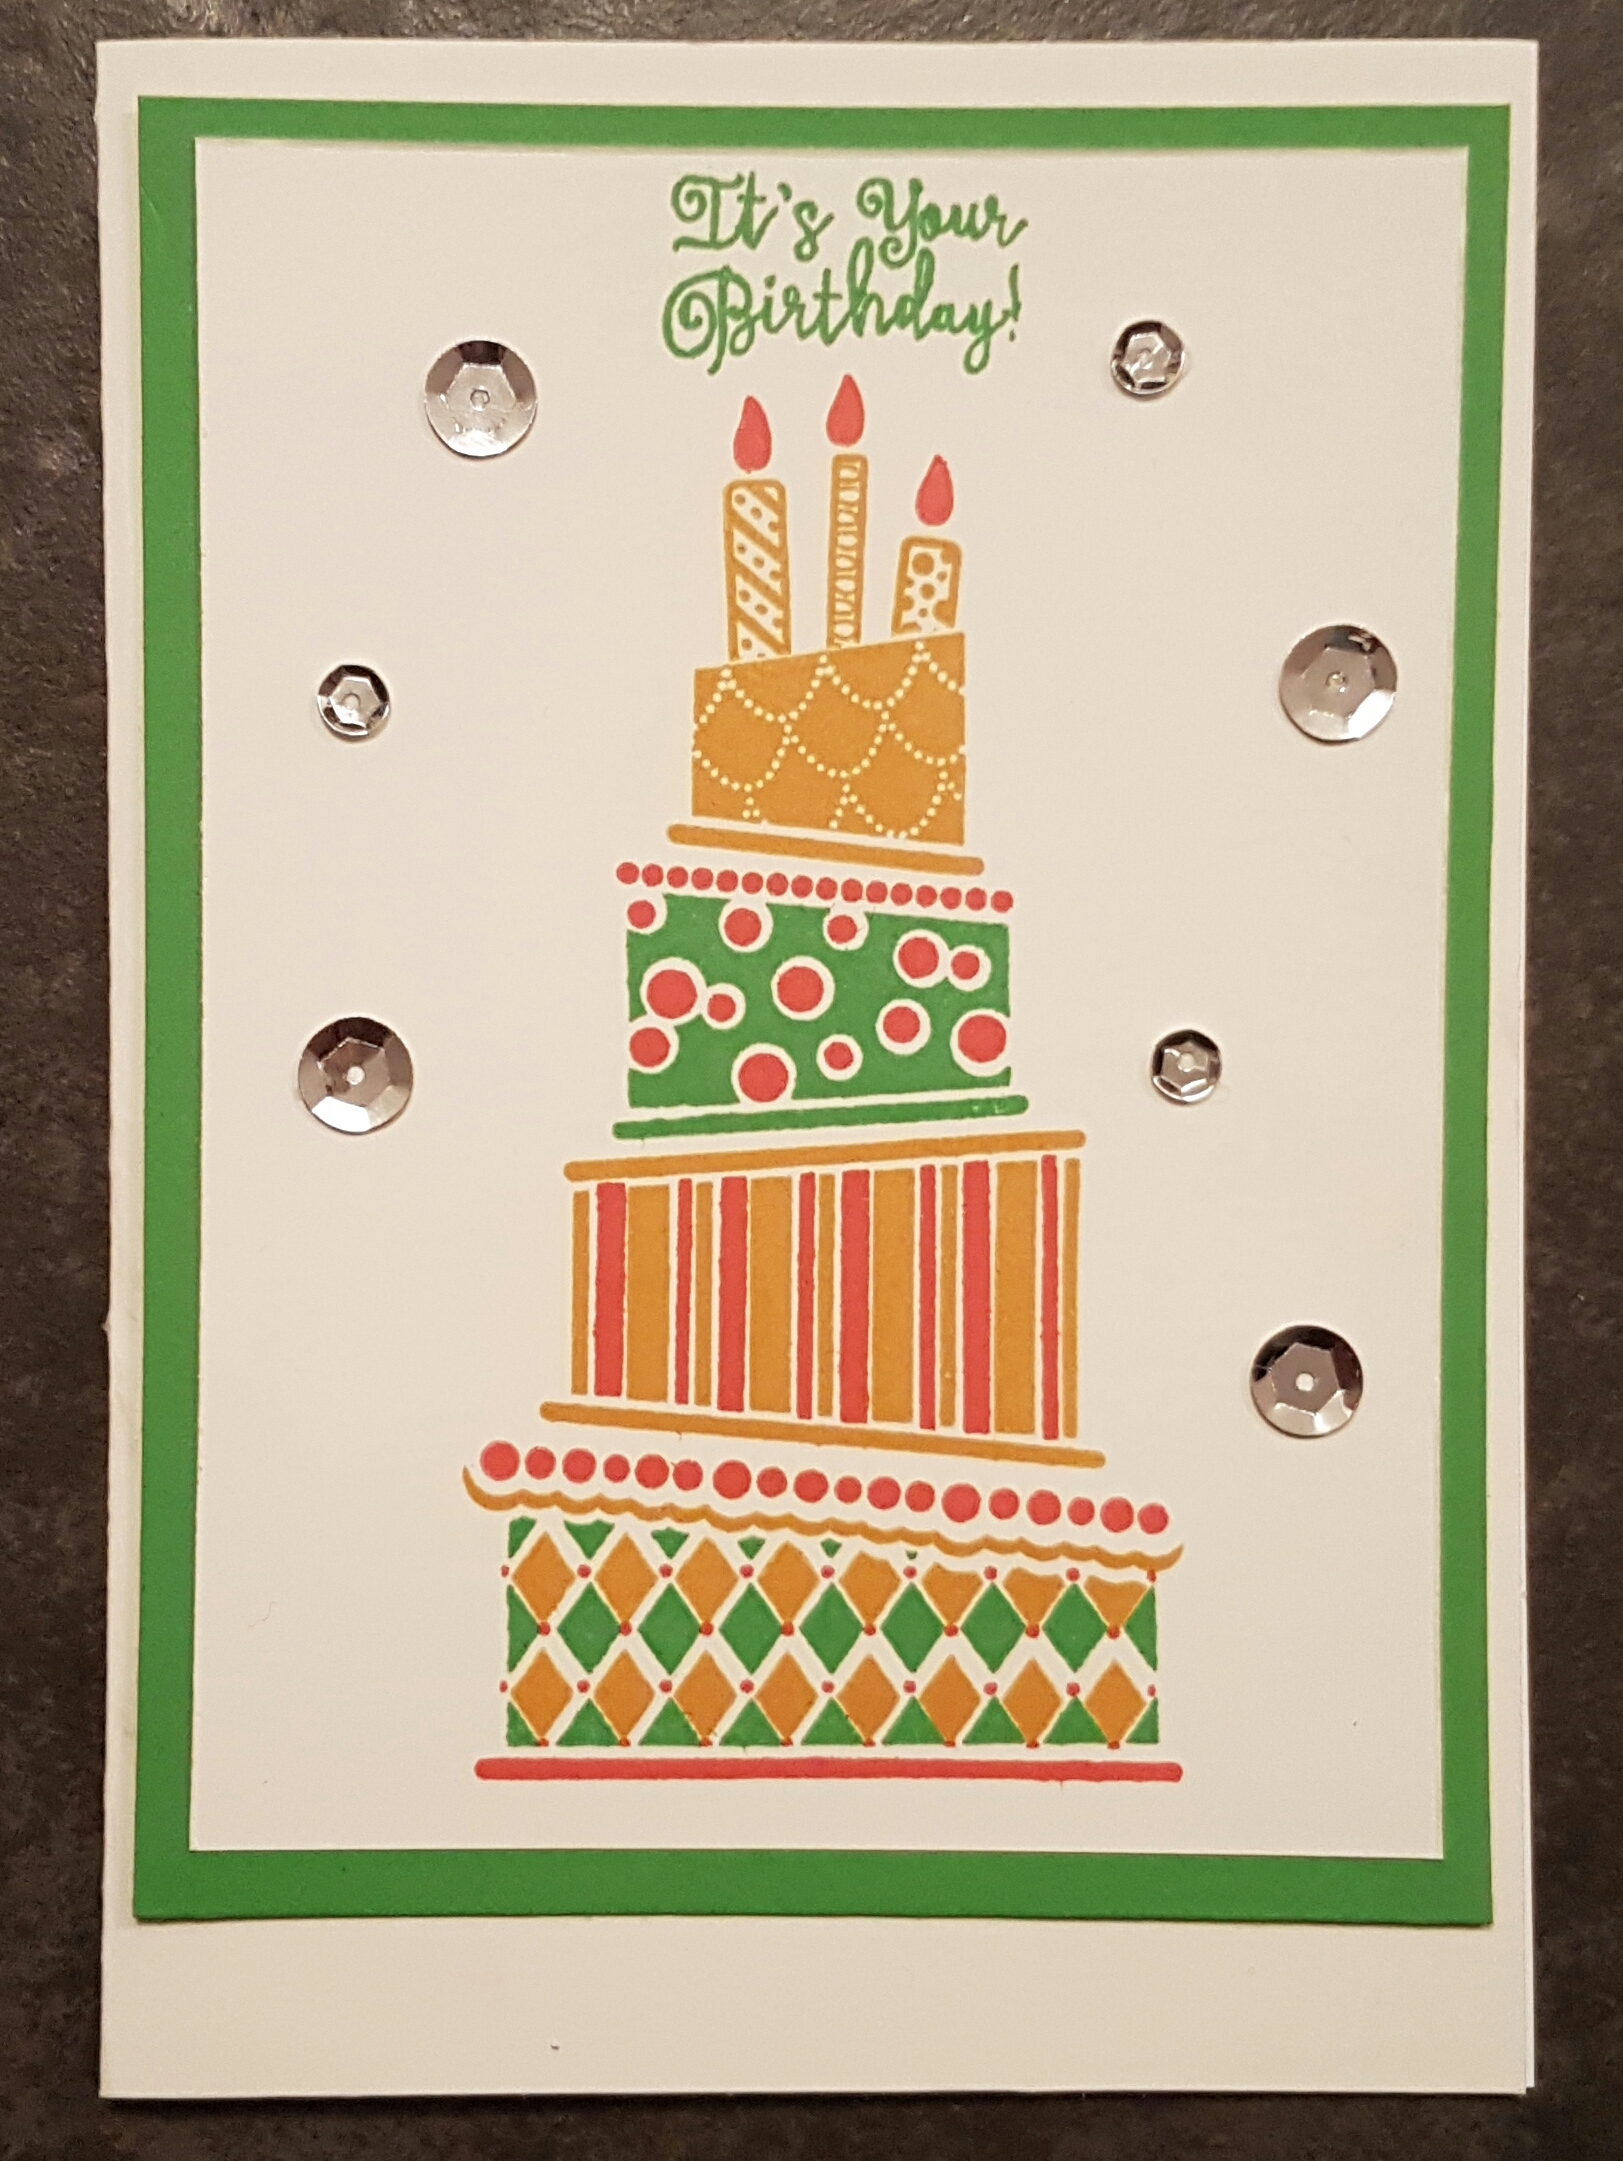
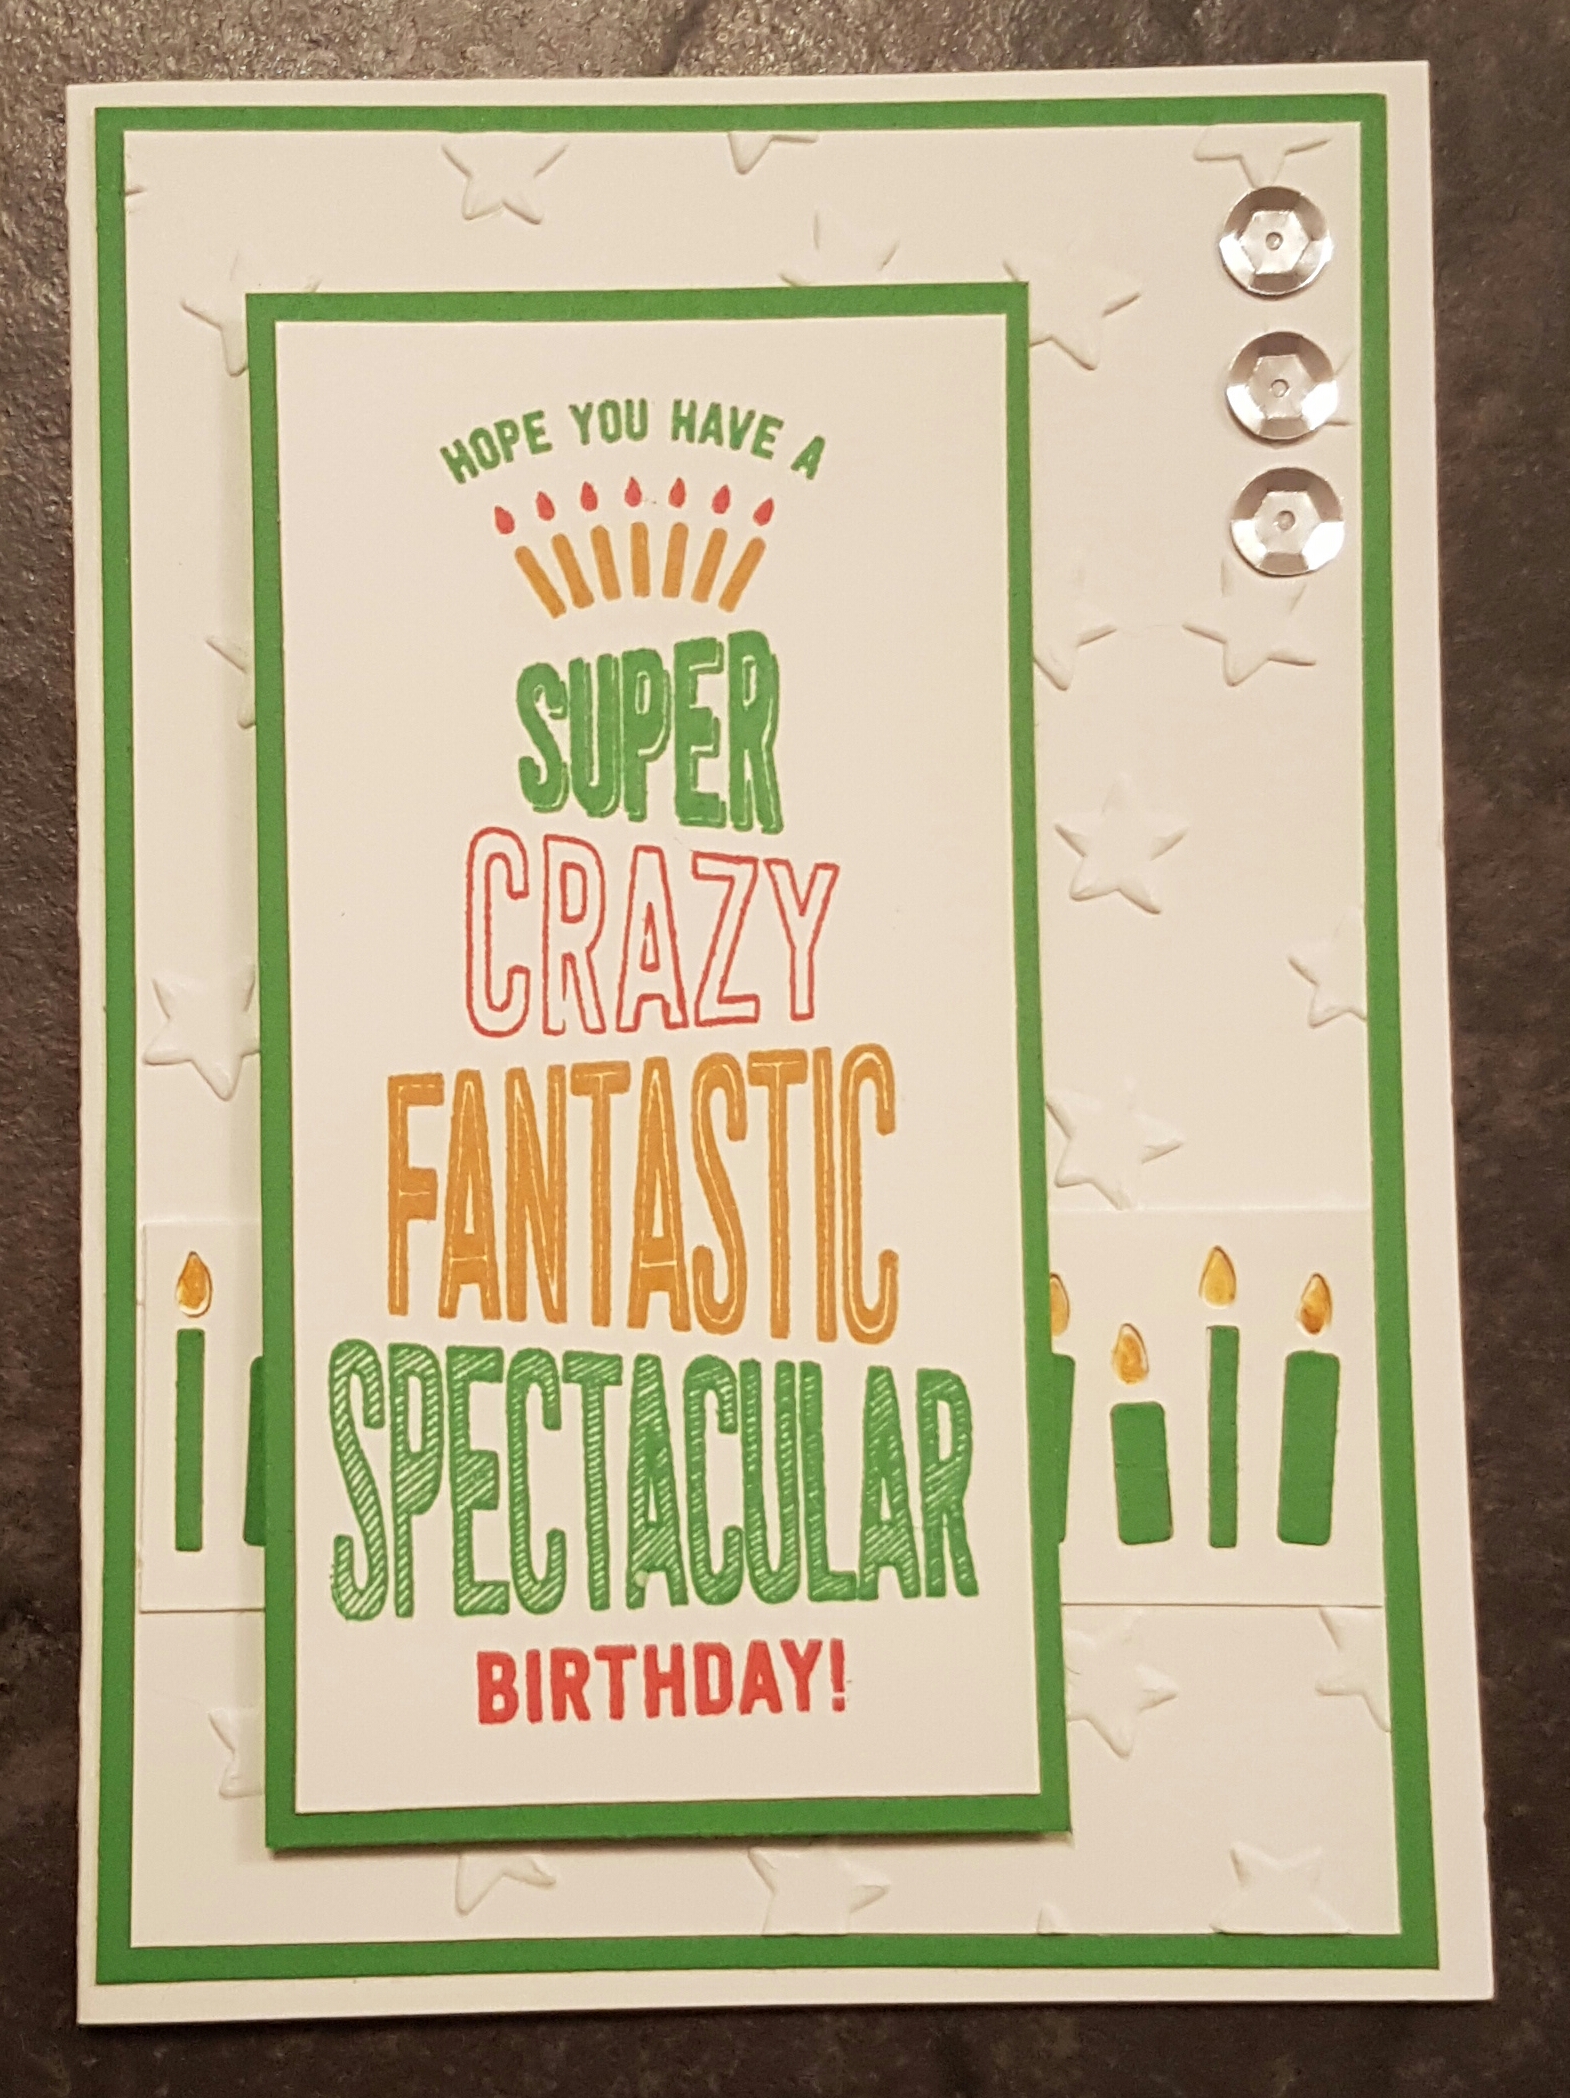
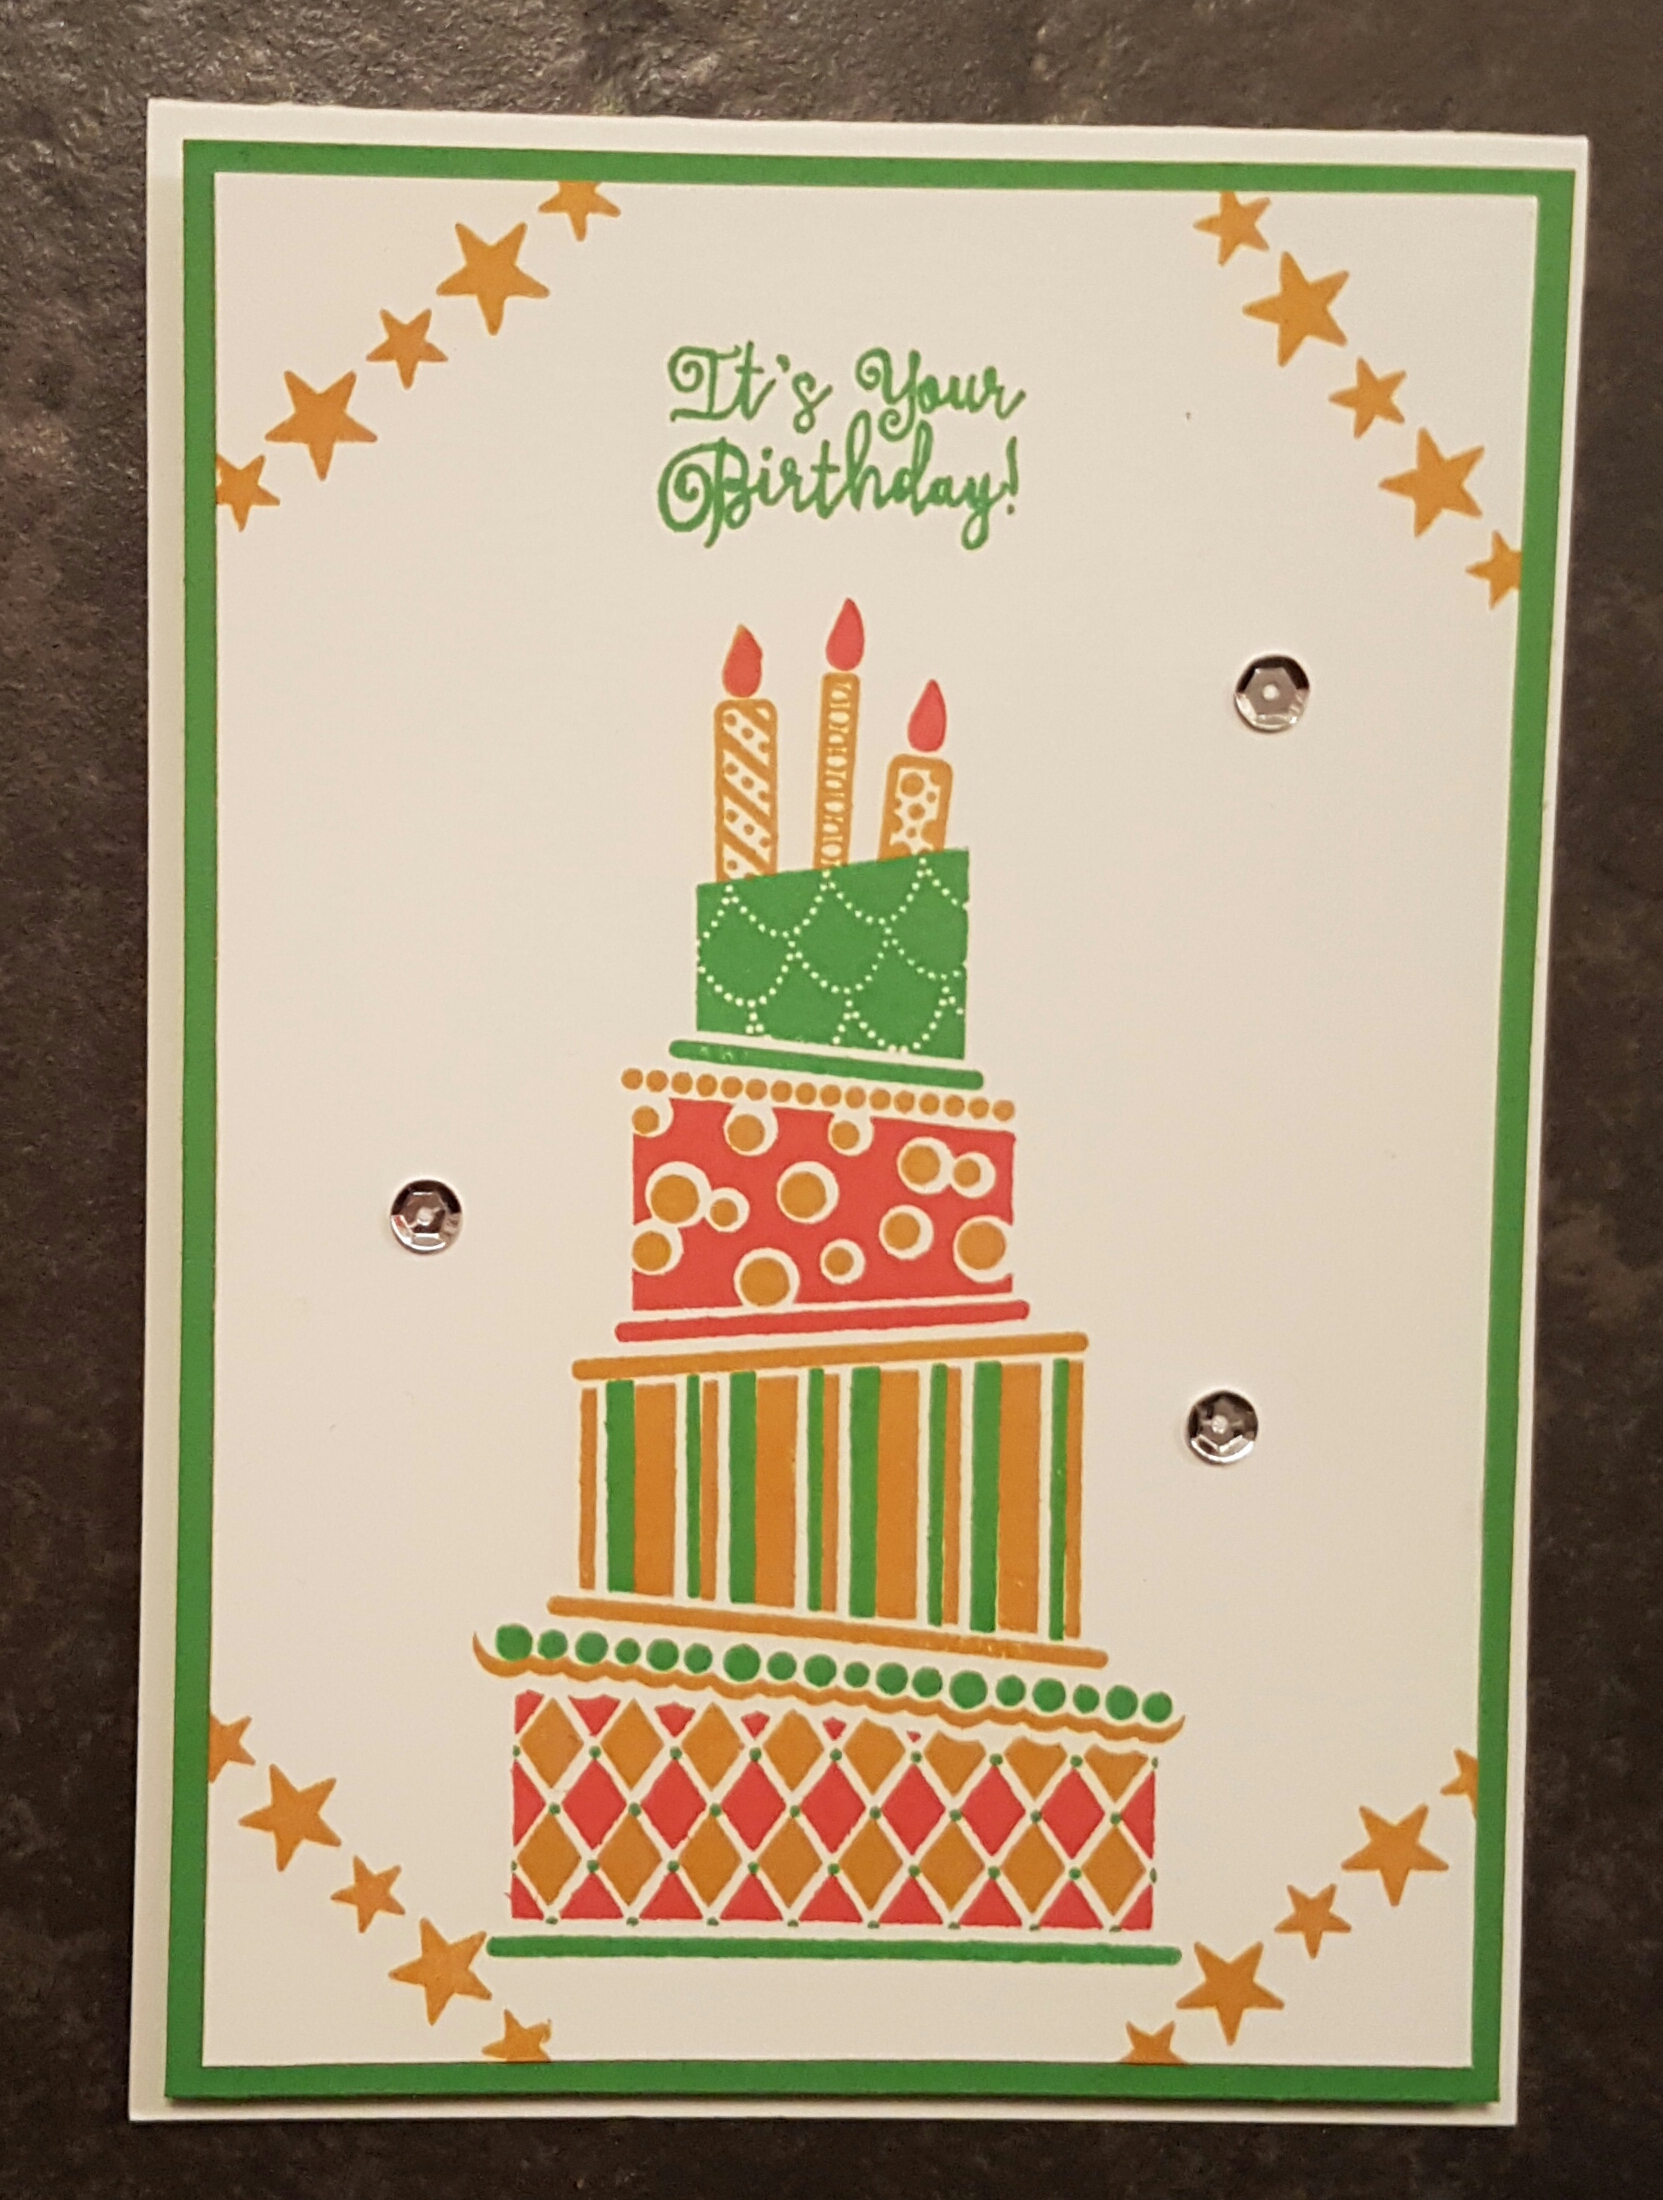
Bright birthday cards with Helen

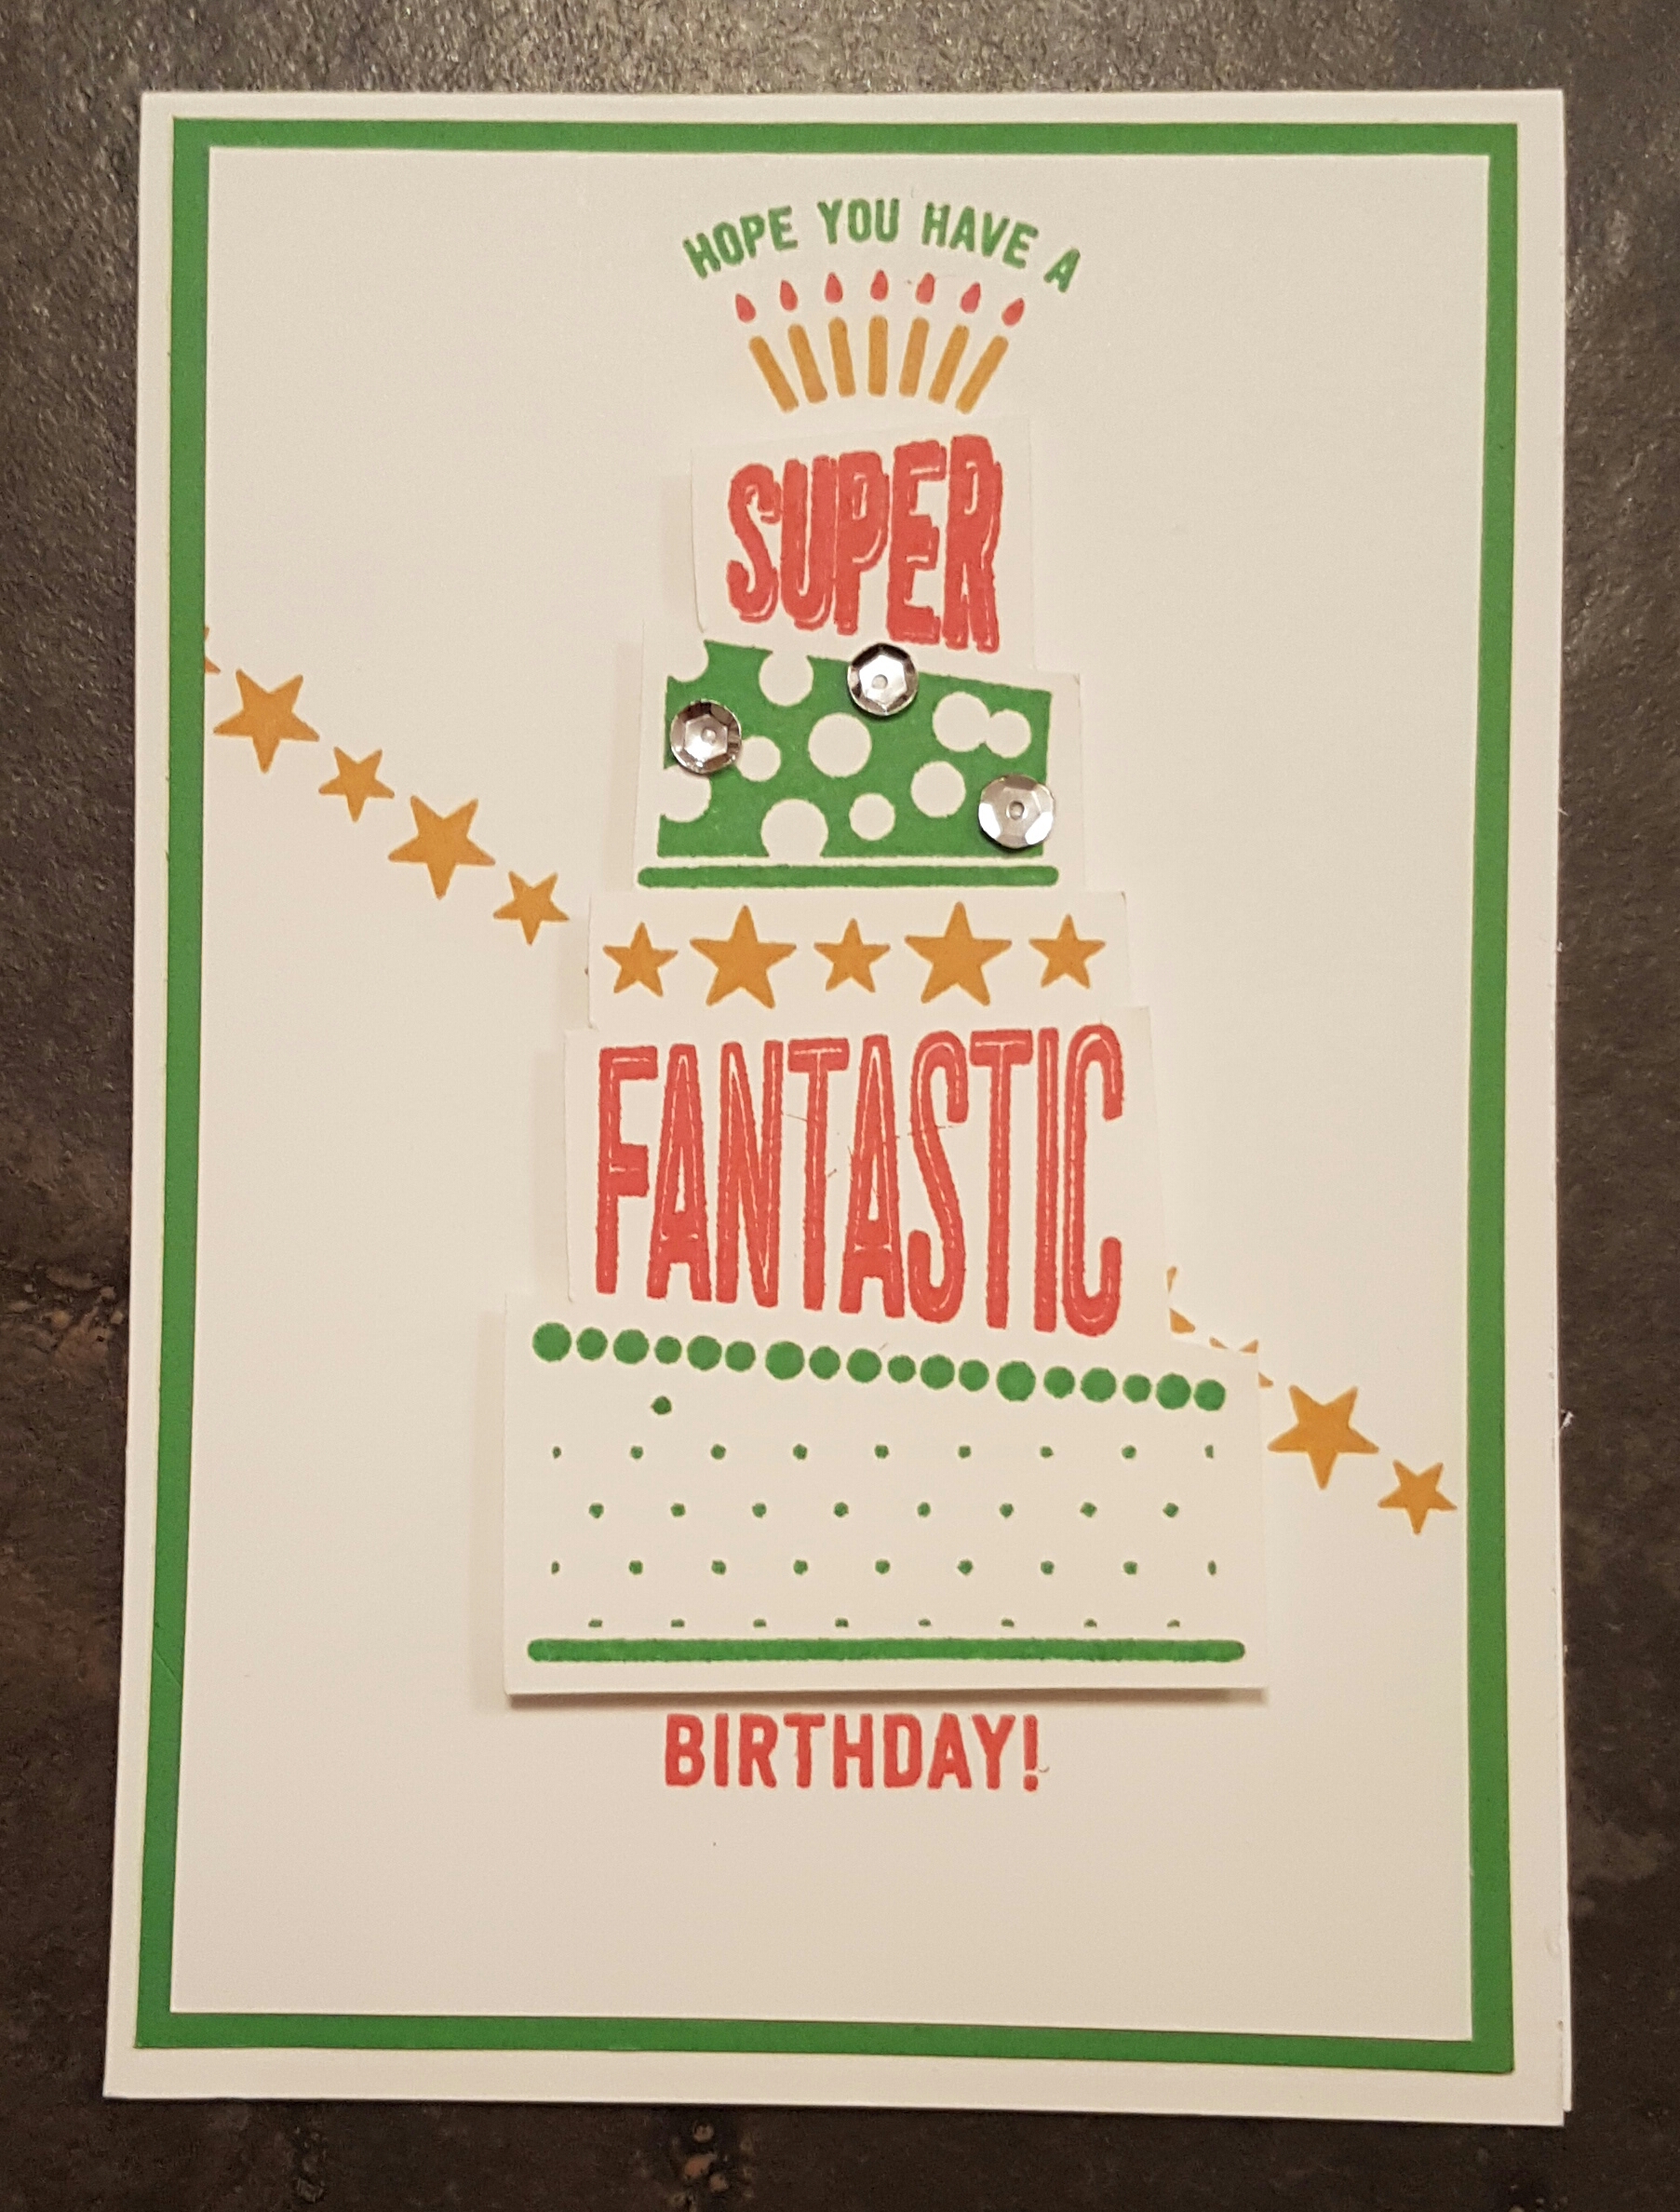
My lovely friend Helen held a technique based class tonight using 2 step stamping… and I made 4 fab cards. 

This top one was my own design made at the end of the class when we had a little time and so I could use up some bits and pieces of the kit. 

The others below were following Helen’s instructions (I may have done a couple slightly different!). 

I love these bright and zingy cards and although the stamp set is not one I would have thought of buying I can see how cool it can be to make these fab cards… so it’s tempting as I don’t really have anything else similar! 

Anyway… a lovely night crafting with Helen, Emma and Amanda. So pleased my headache had gone so I could play out after having to cancel last night’s class. 

Happy crafting! 

Catherine 
Lindsay Mason ATC swap (For ATC’S sake… 61, 62 and 63)

Hi

Tonight I should have been hosting Gelli plate play but having come home with a terrible headache I am instead about to get into a lovely bath and then have an early night.  So instead of sharing that I am instead sharing three ATC’S I made a few weeks ago for Lindsay Mason’s ATC swap in January.  
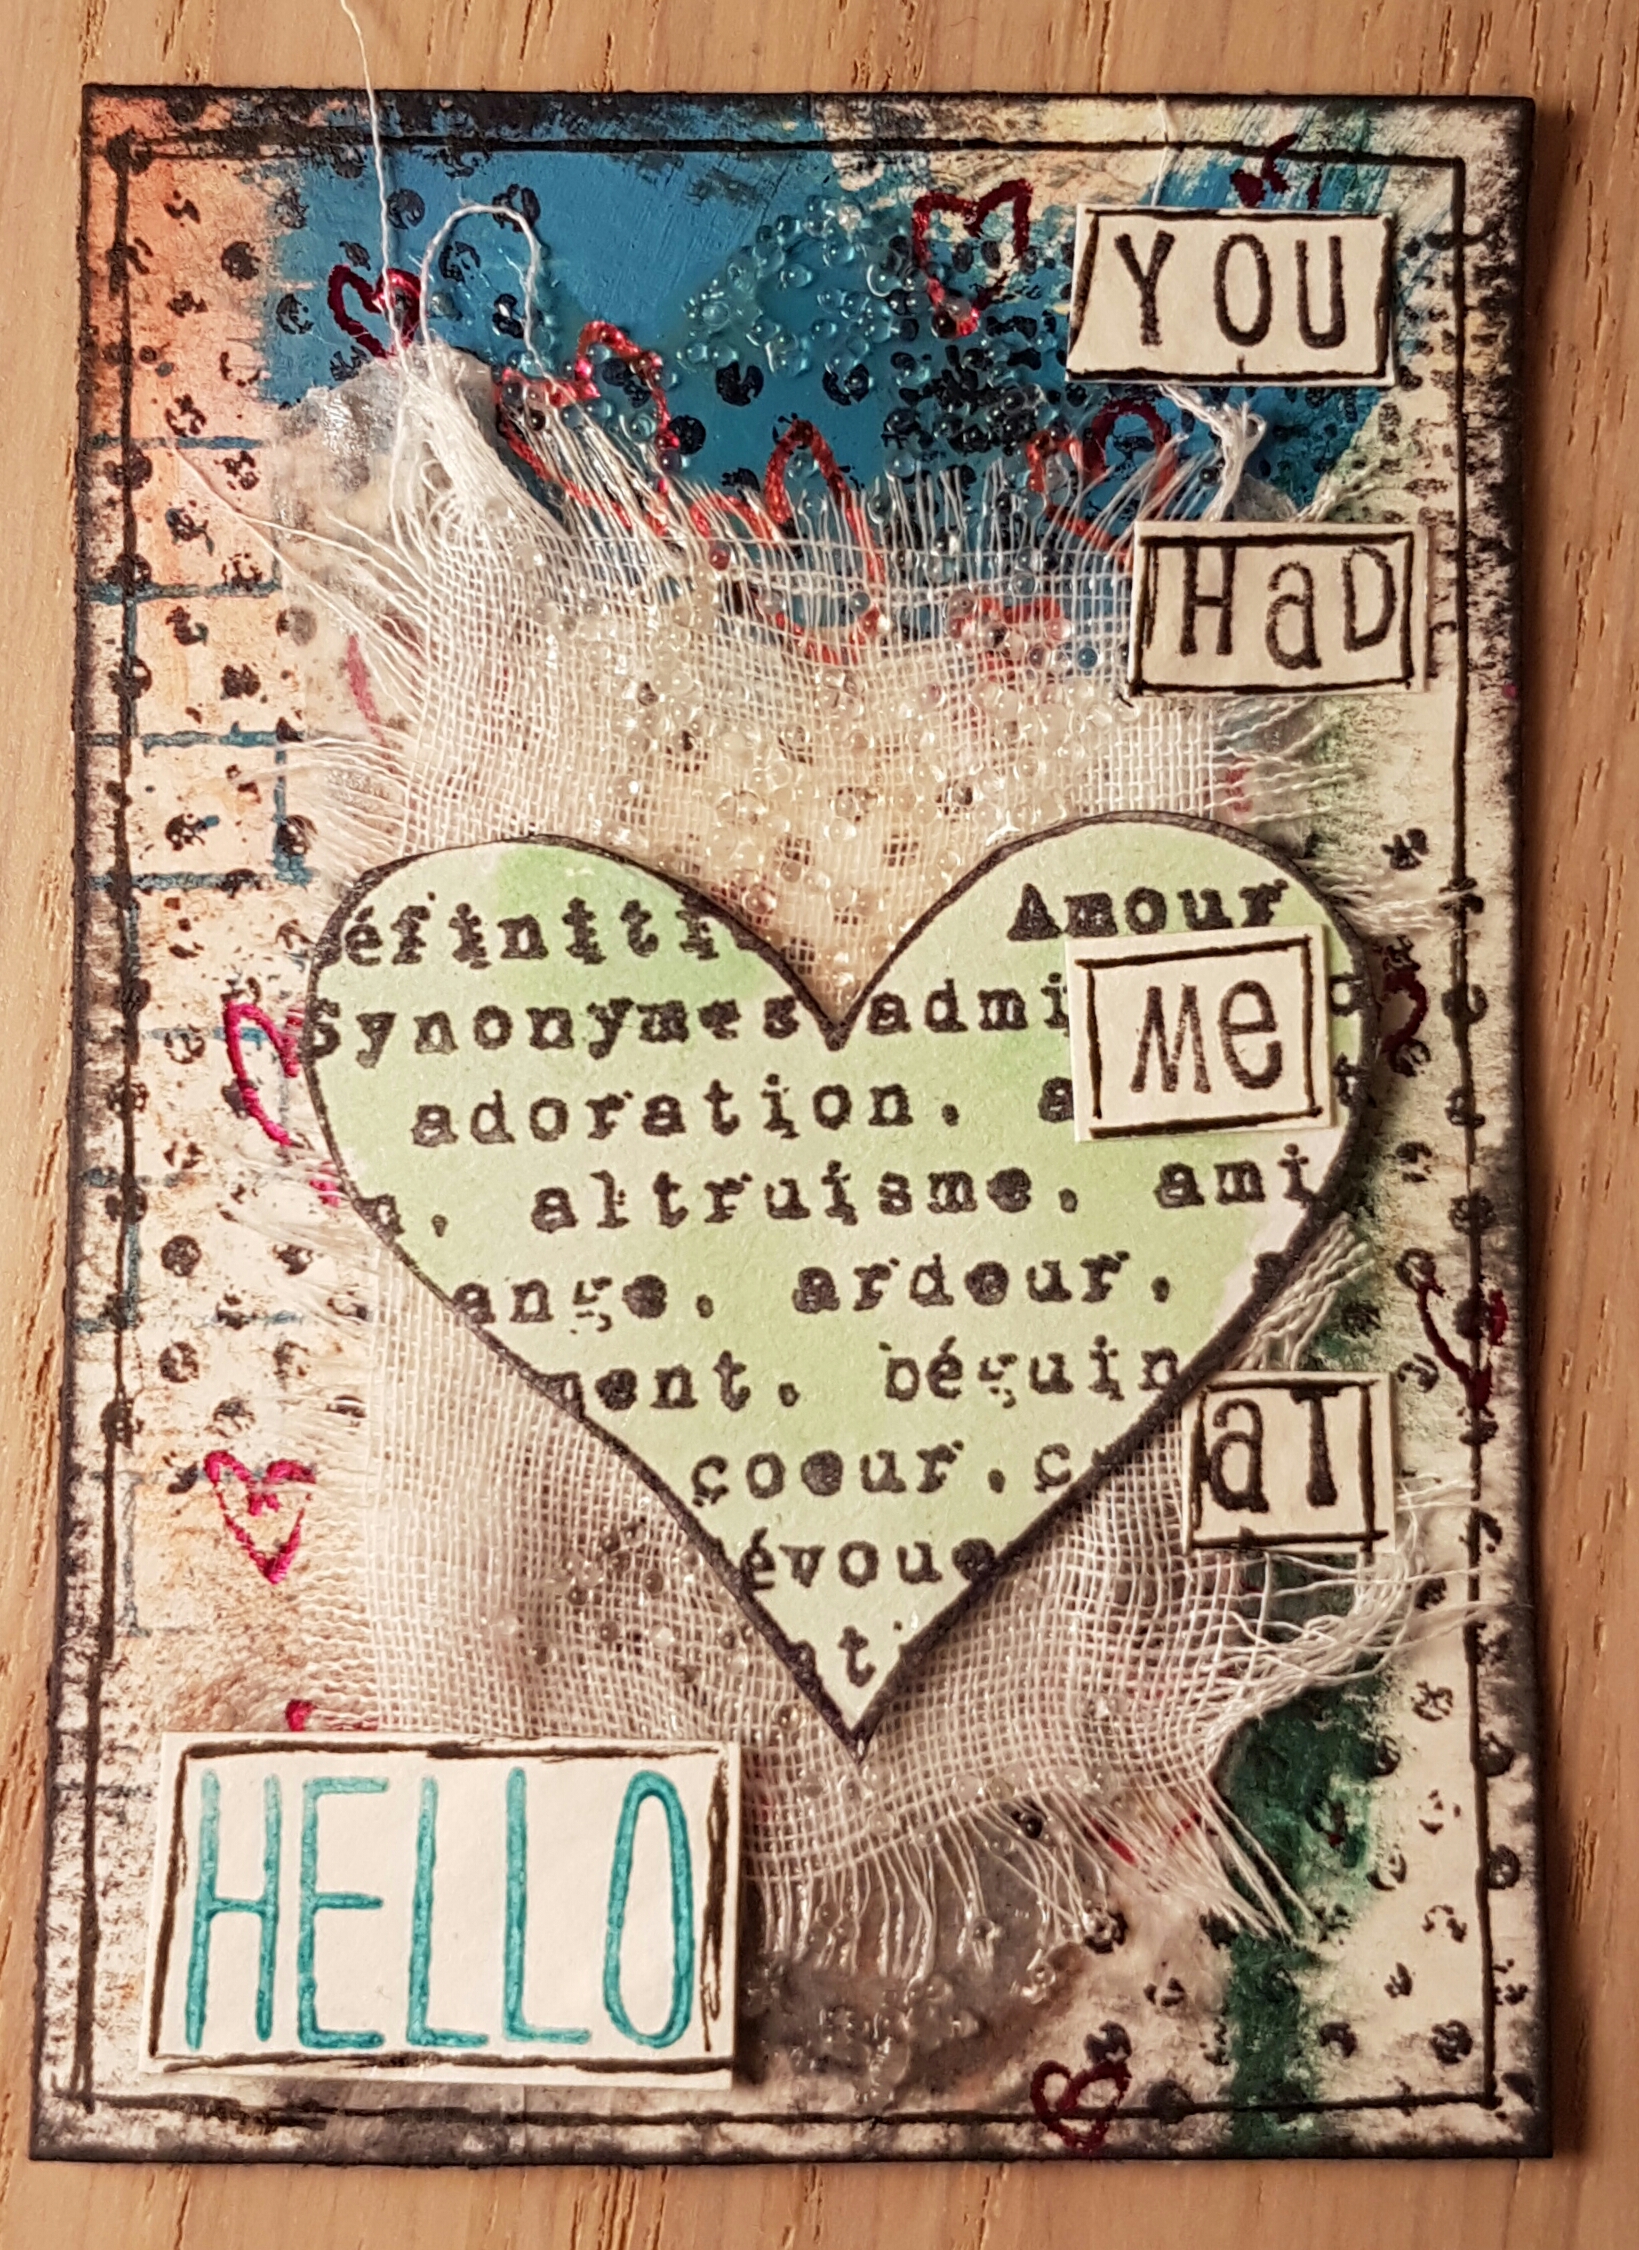
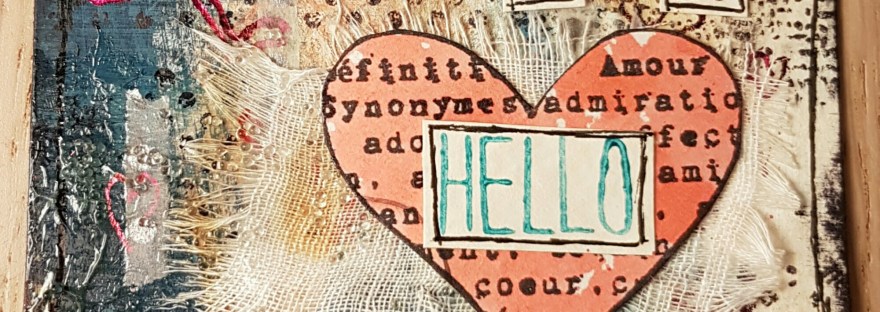
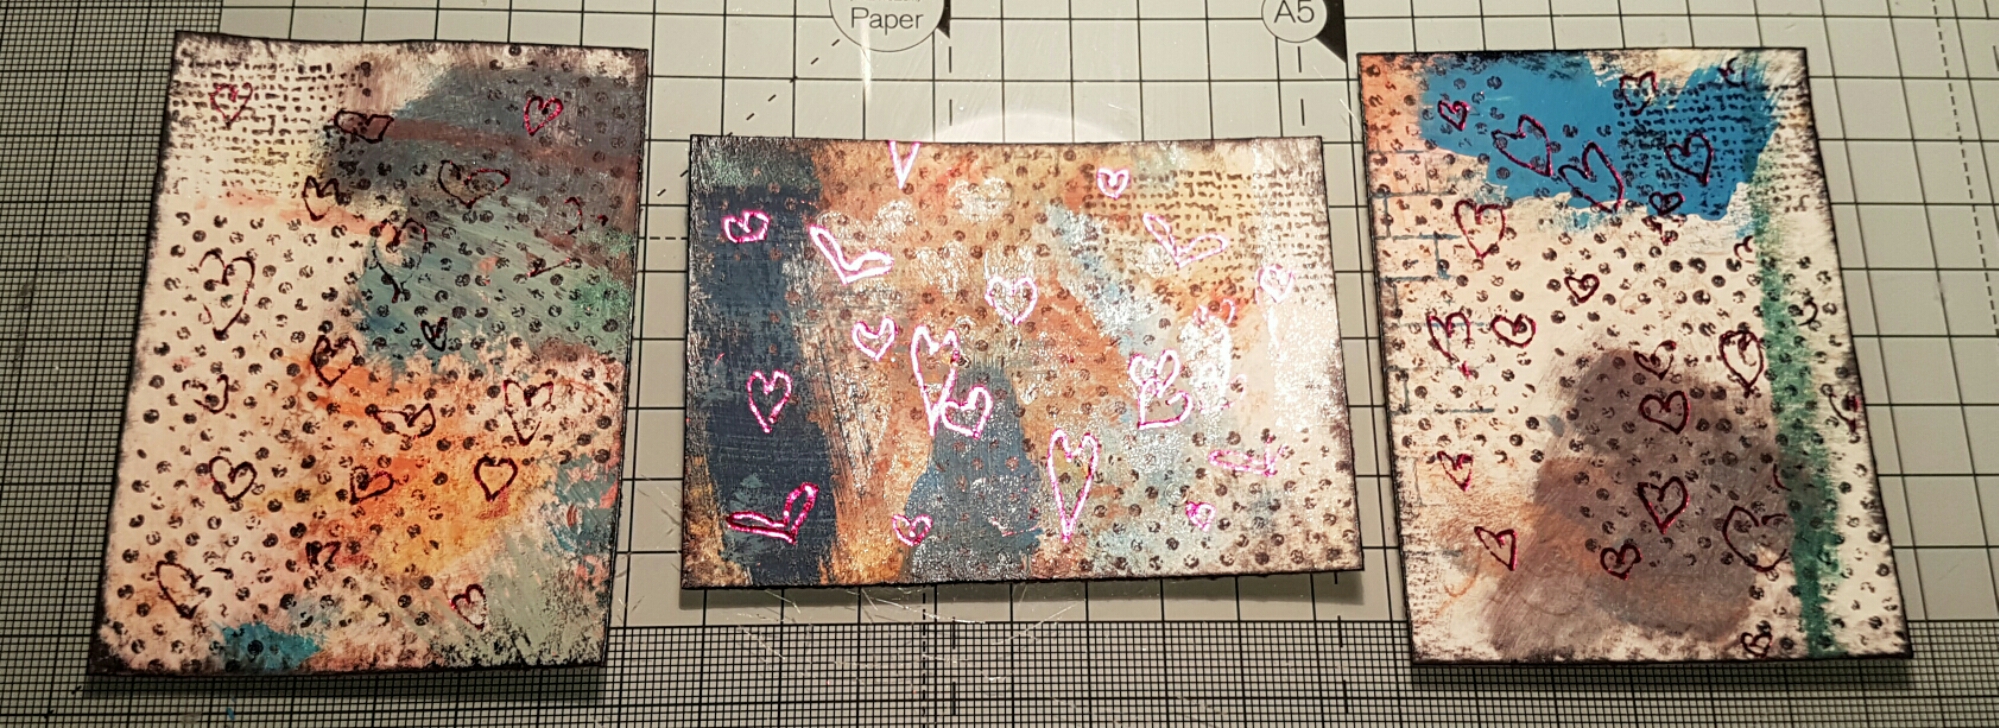
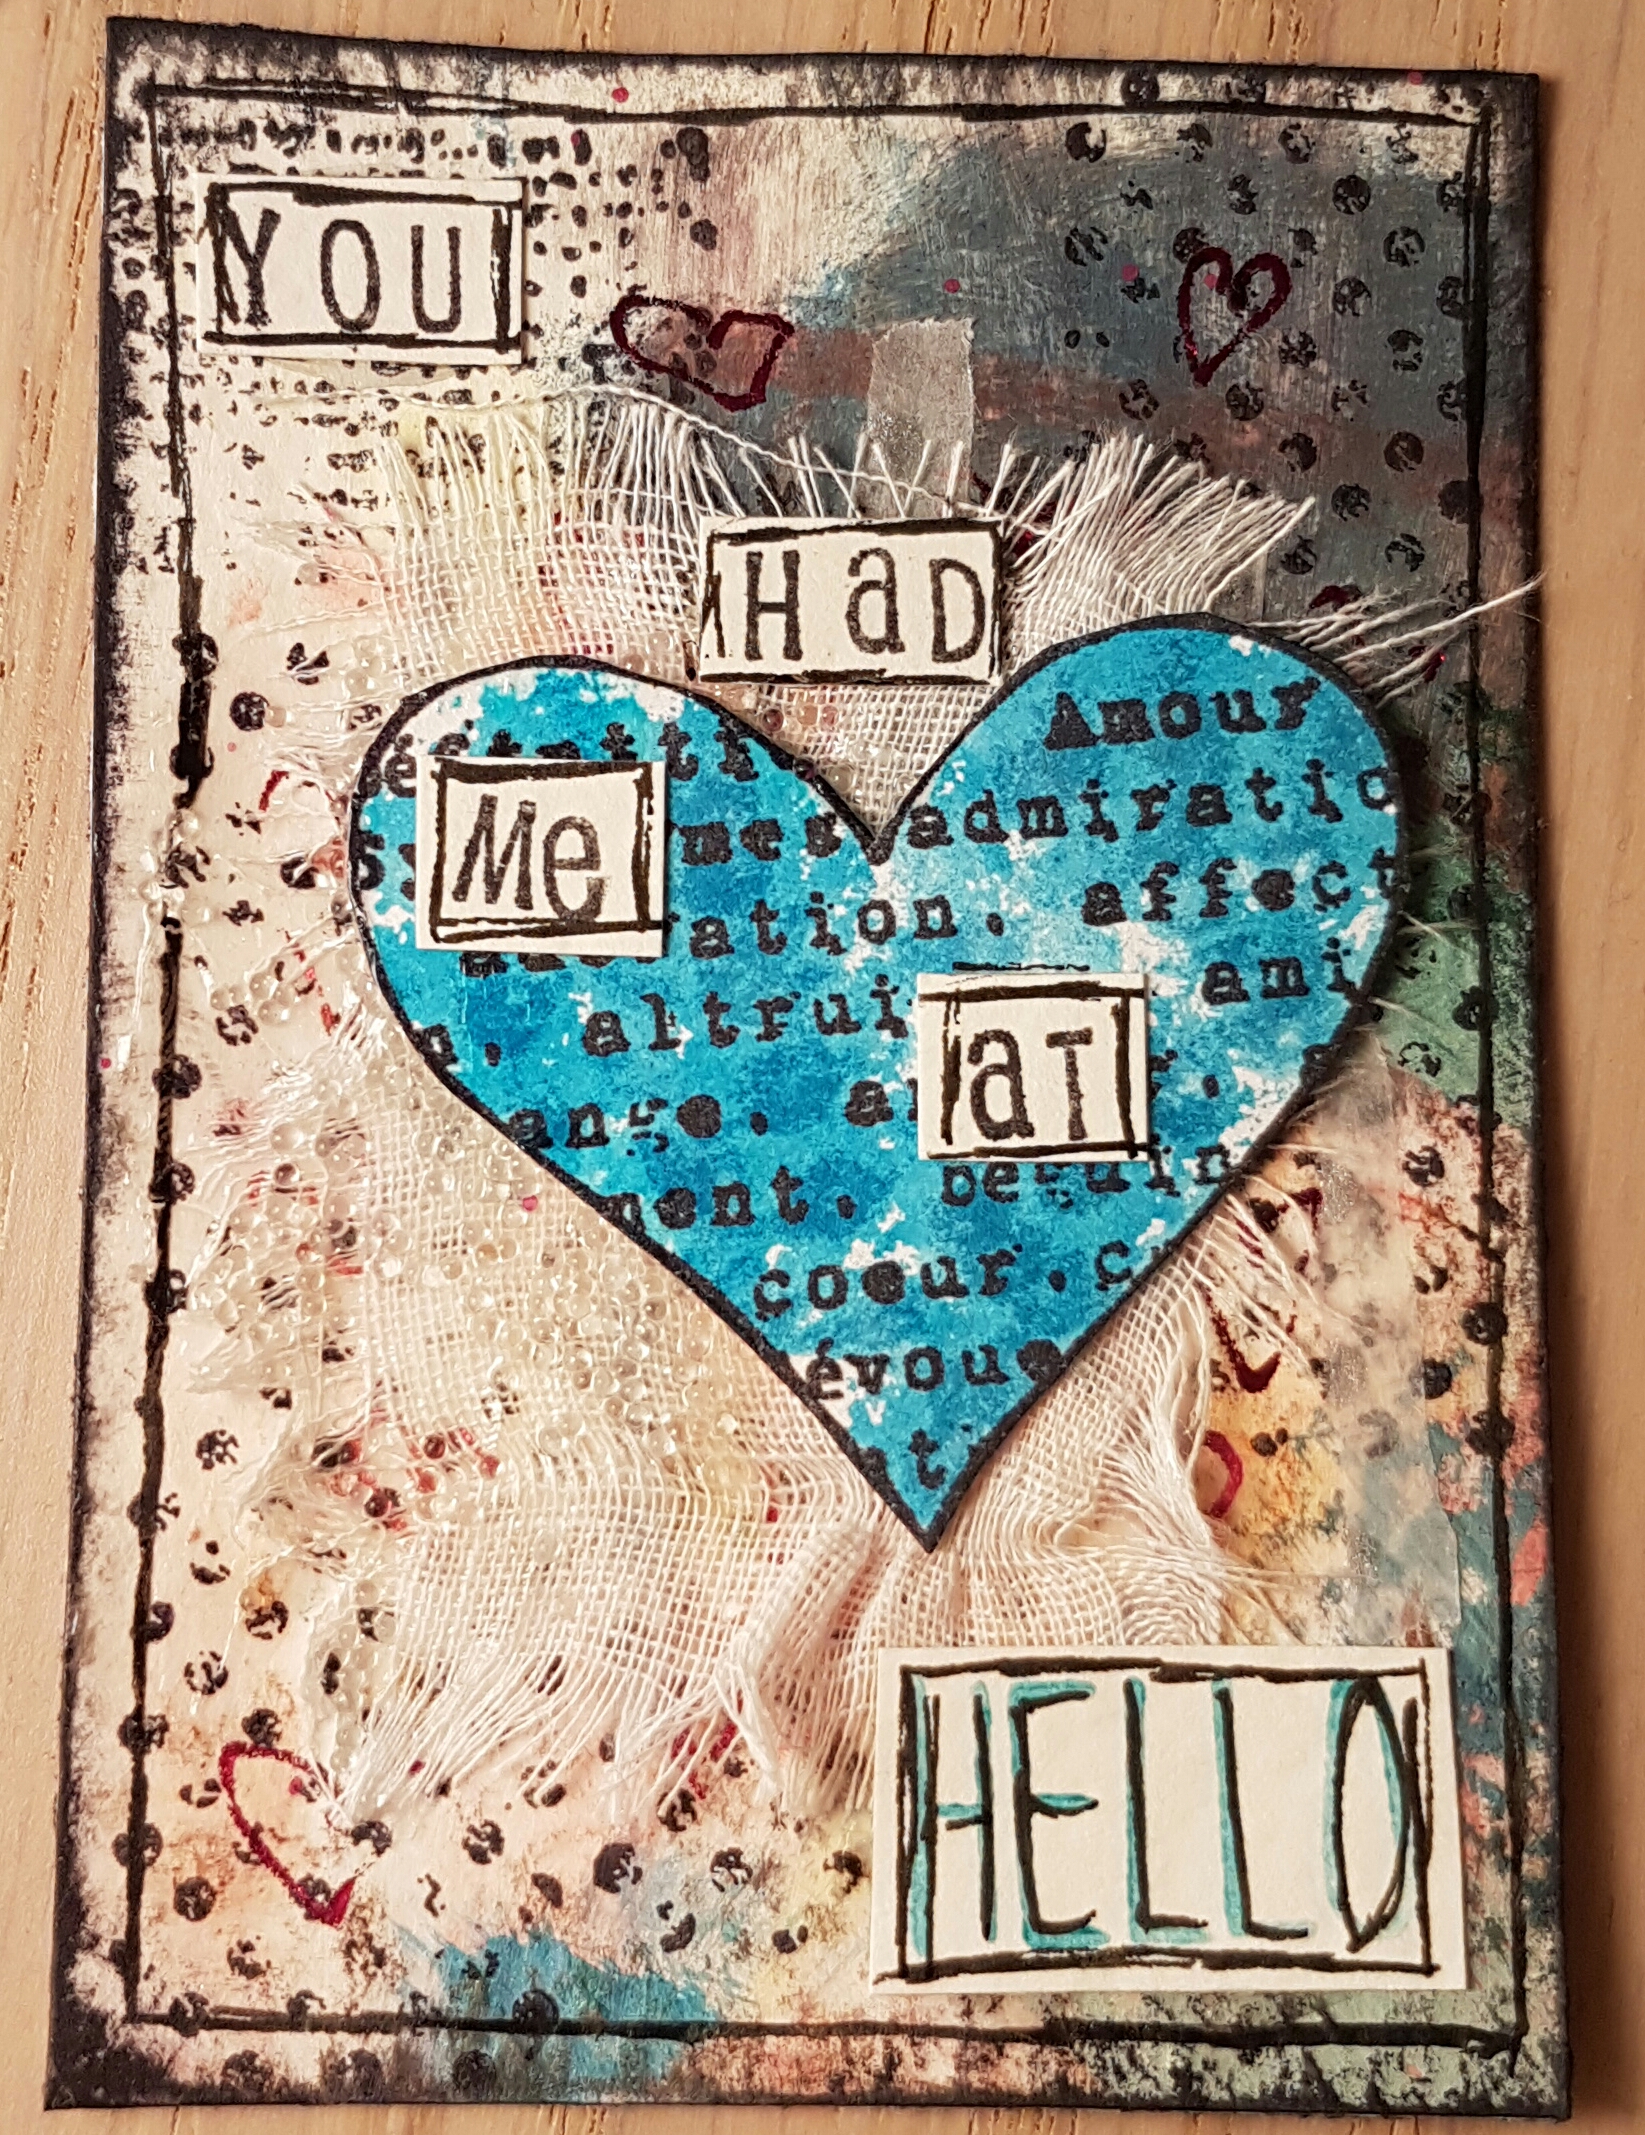
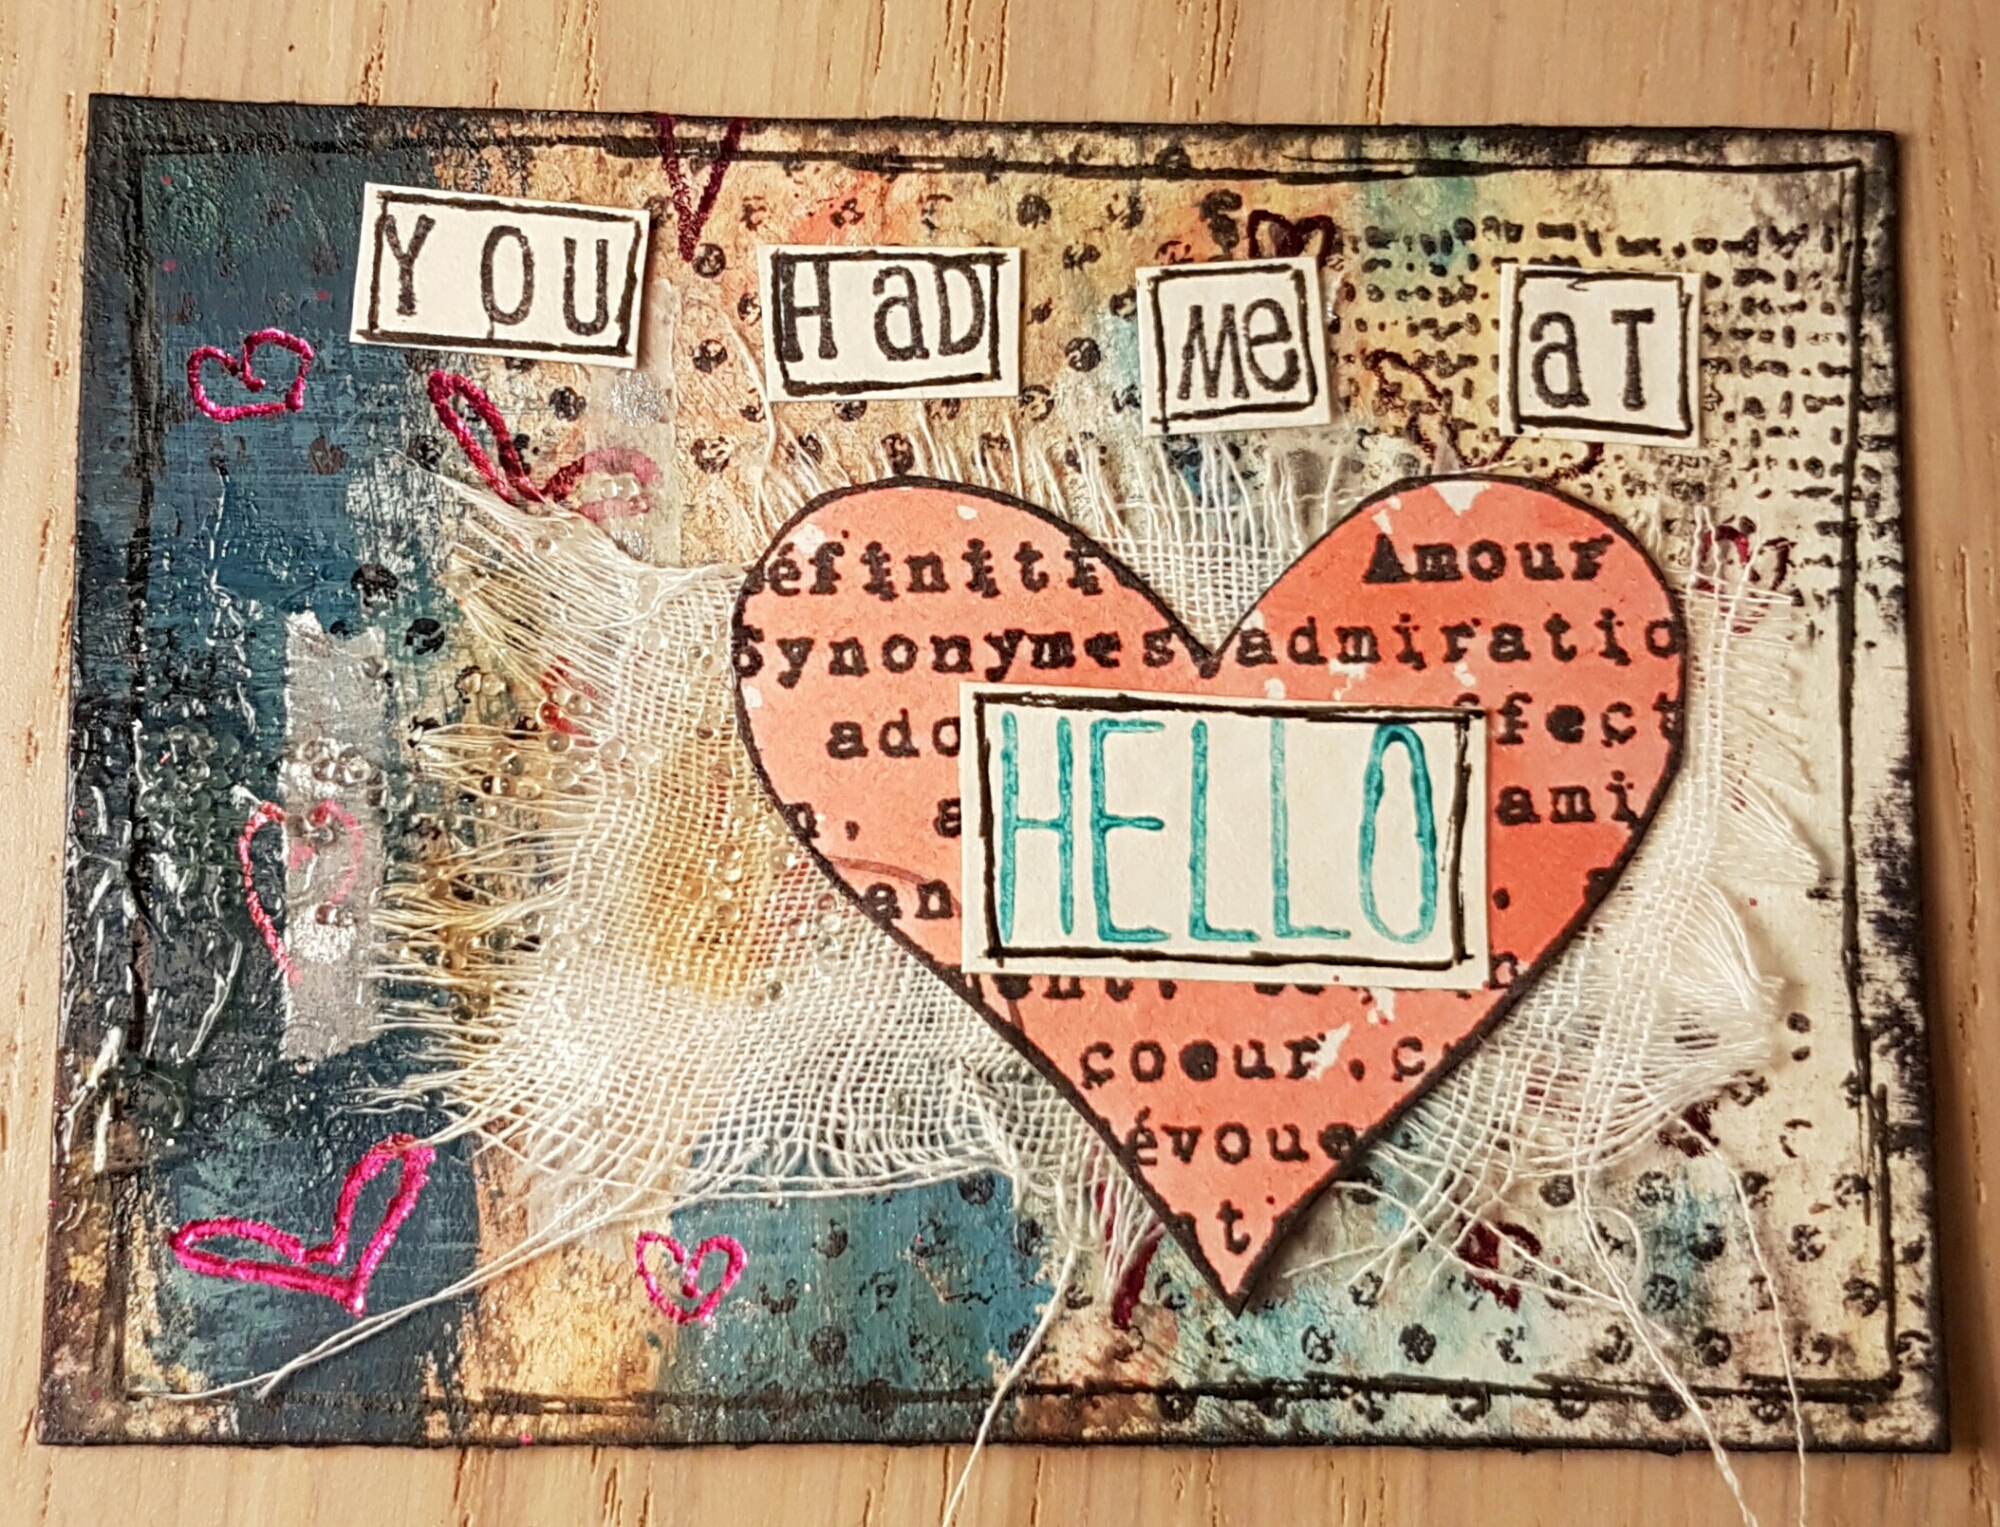
The swap theme is a memorable movie quote. I couldn’t get the “you had me at hello” from jerry maguire so decided to create three love themed ATC’S that are similar but not the same. 

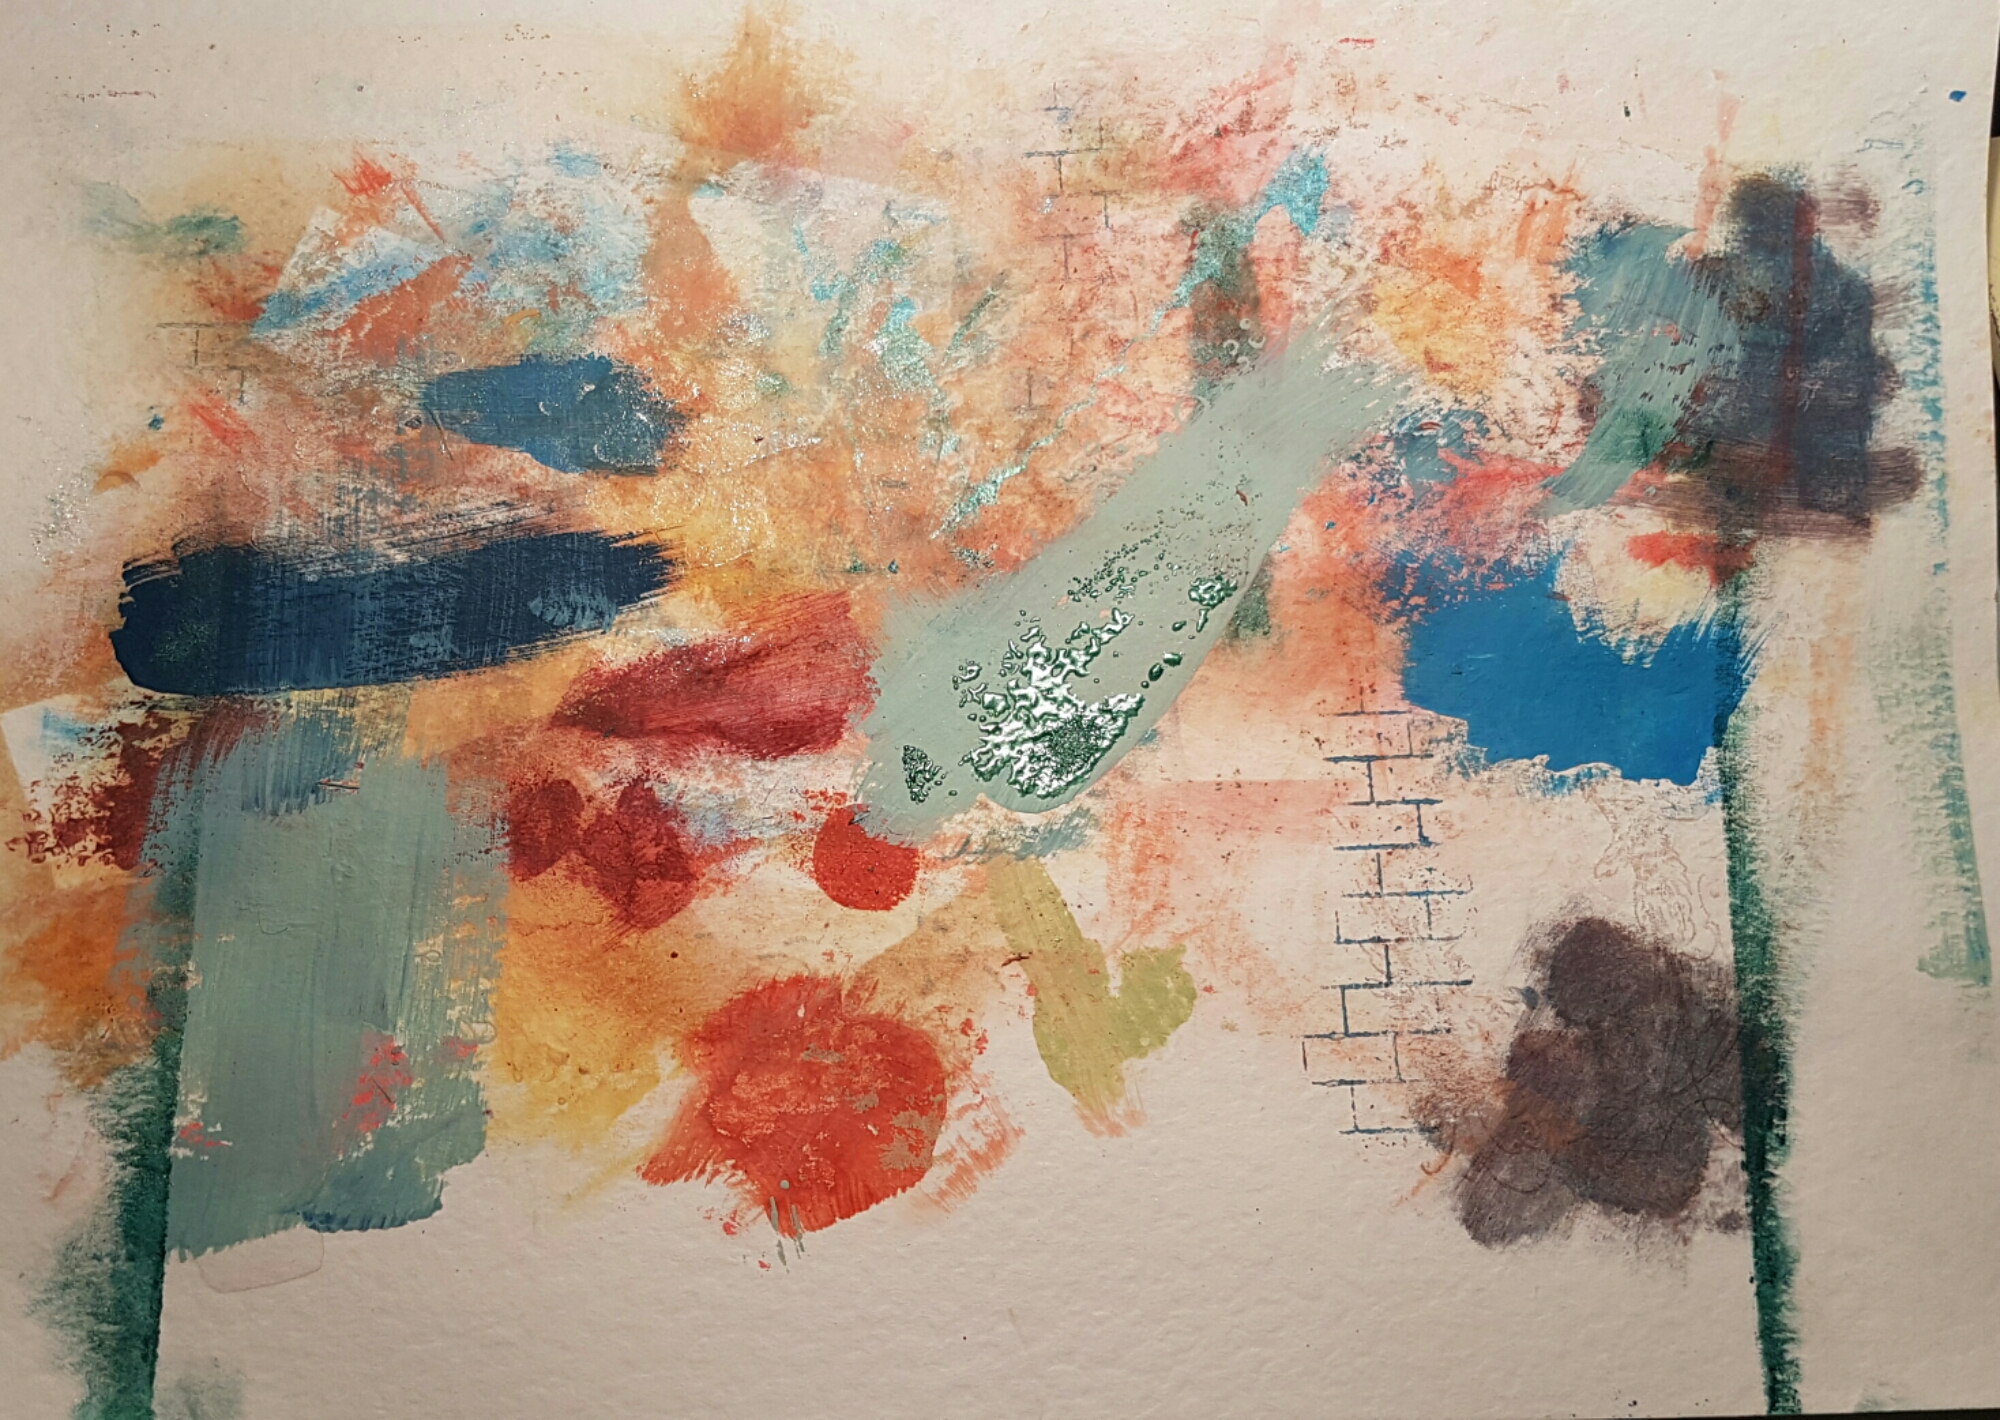
My starting point was this piece of cardstock I had been using as my scratch paper for another couple of projects. 

I love the way that the cardstock transforms and the colours work so well together. 

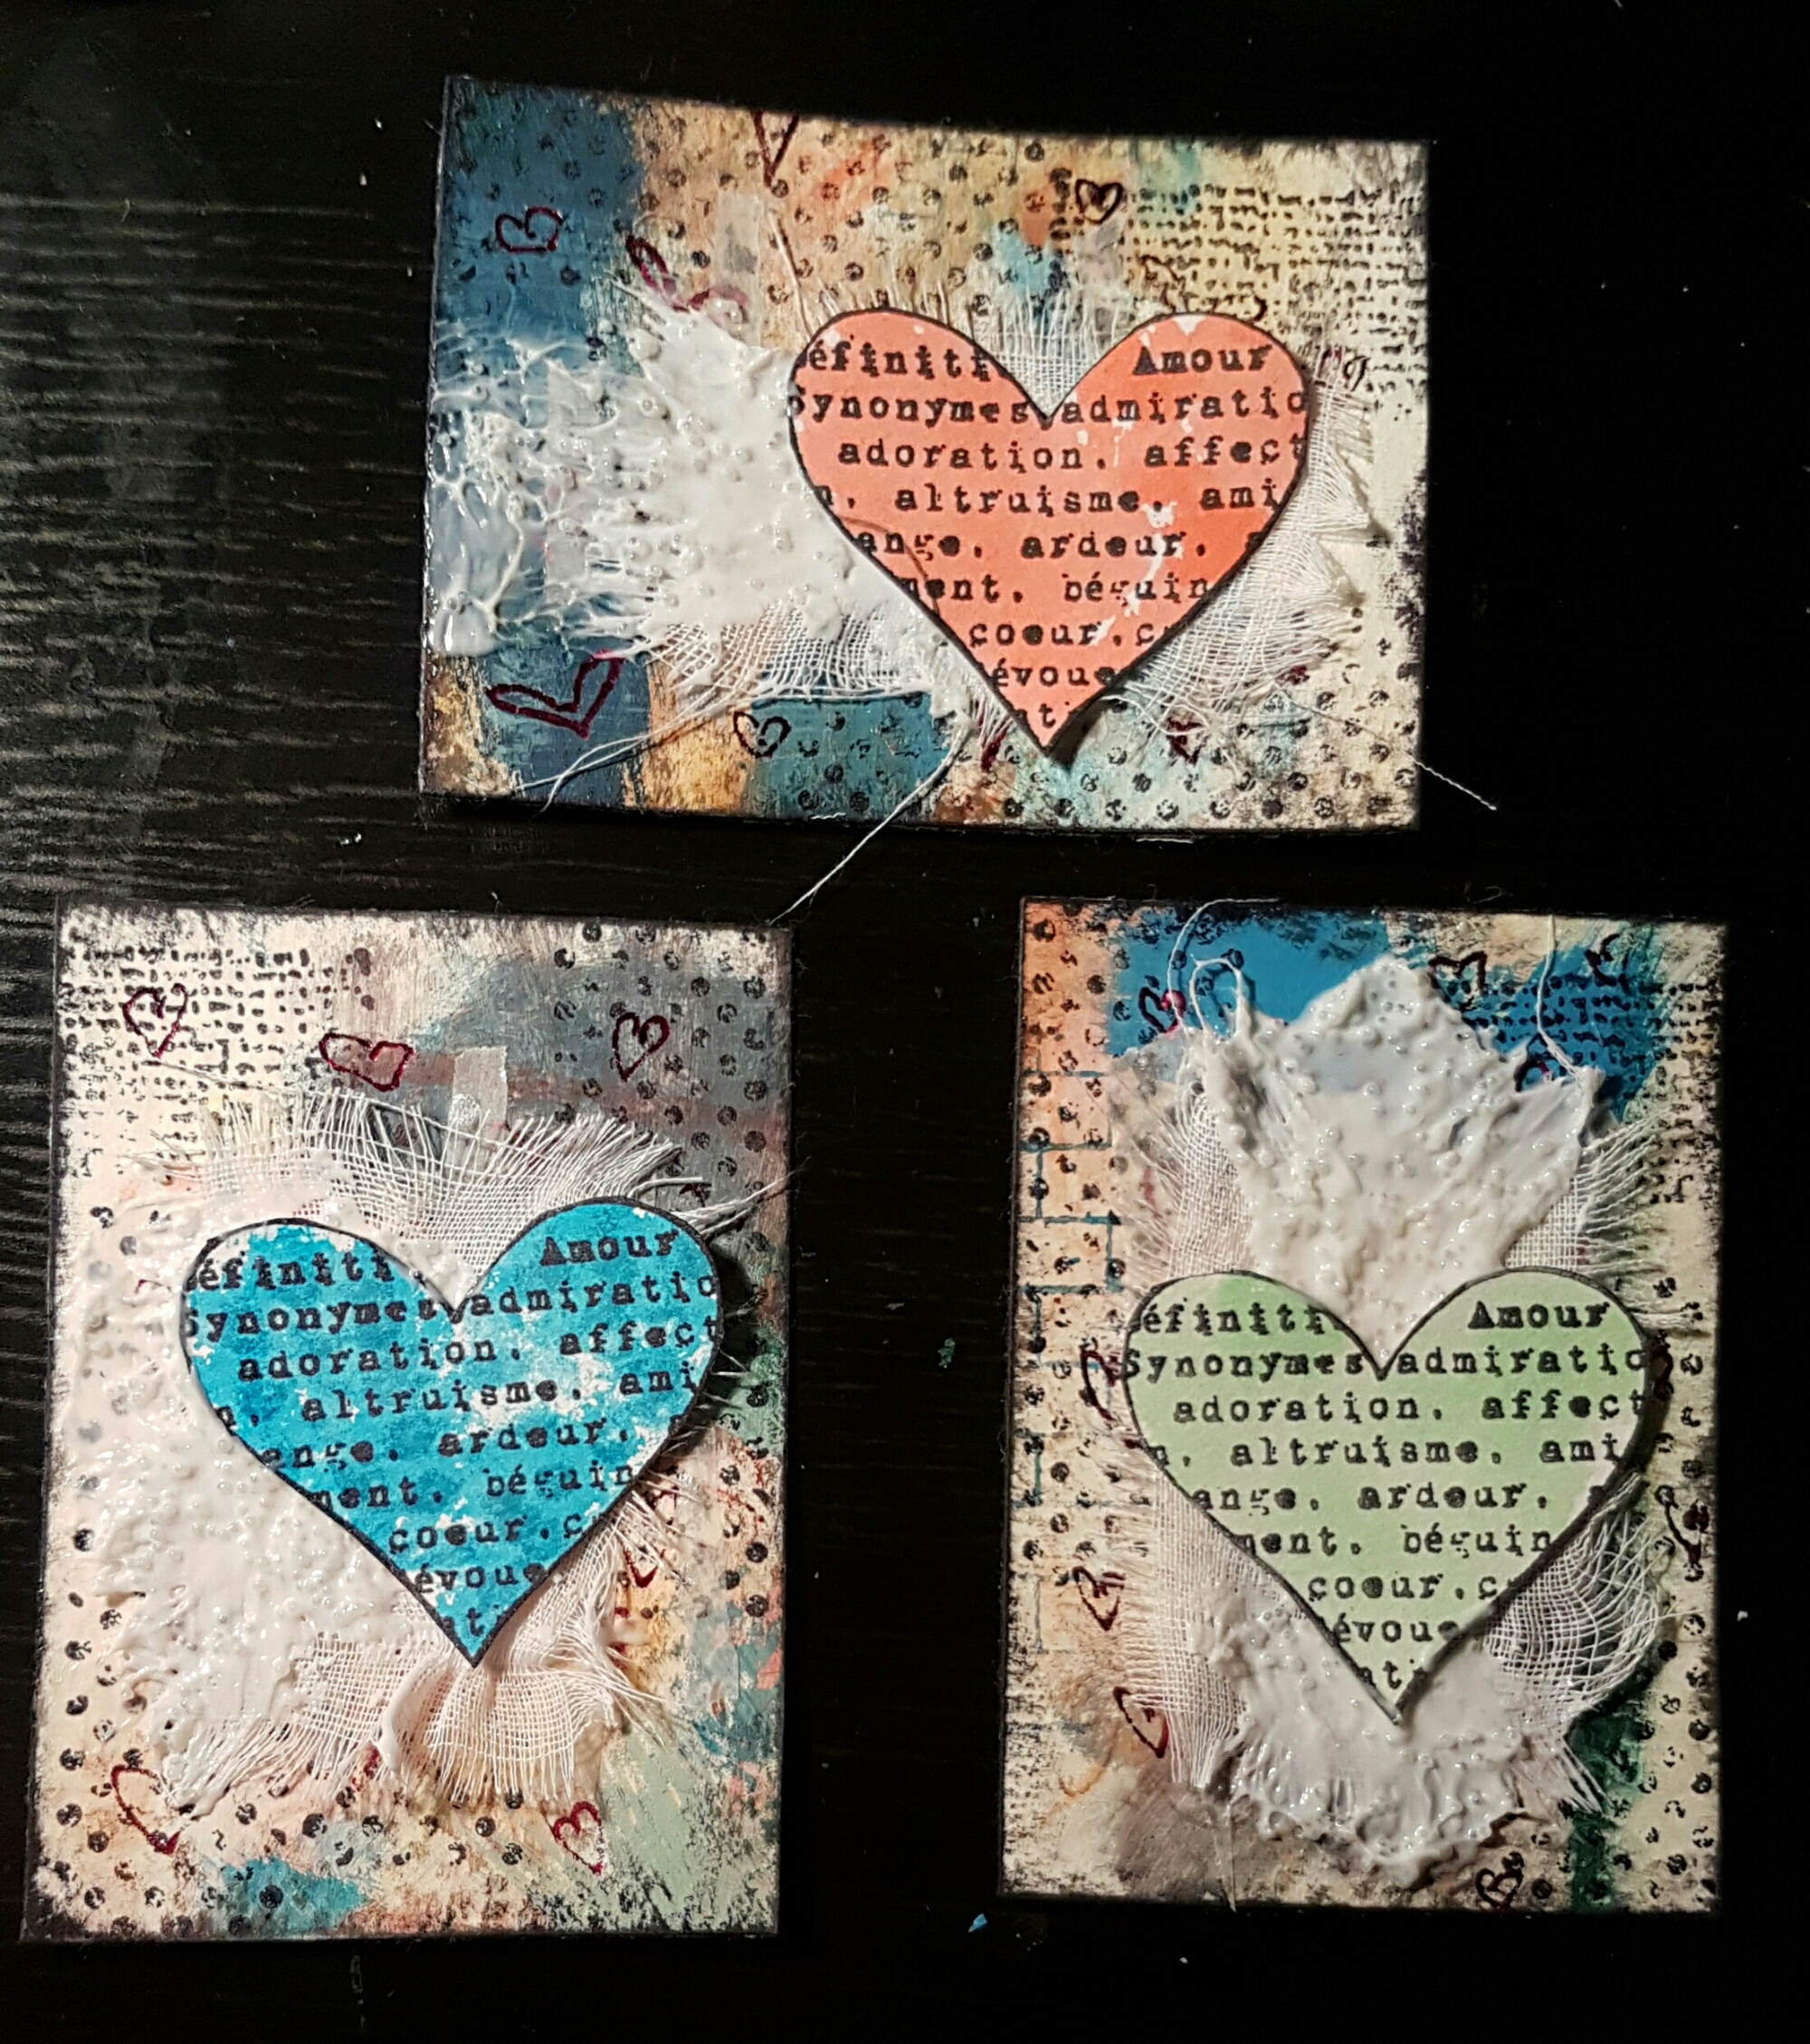
So I chose three parts of the cardstock and cut out the necessary 2.5 x 3.5 atcs and started adding pattern and texture.  I started with some foiling and drawing little hearts all over the cards I then added some texture stamps and inked the edges.

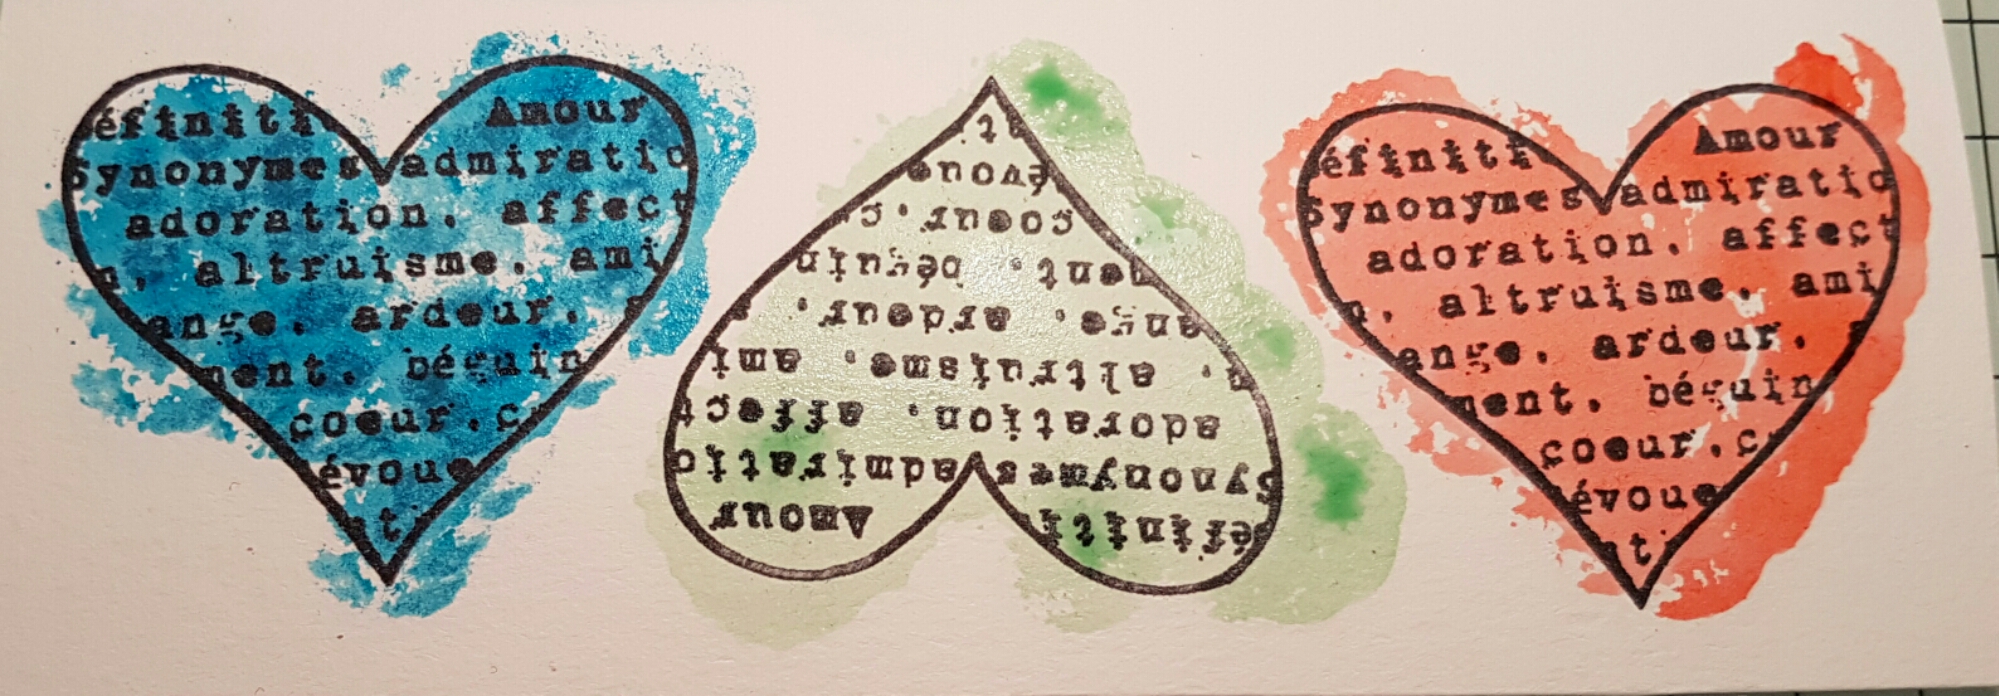
Now to chose the focal image.  I decided to use my favourite Darcy heart stamps. I coloured each of them differently using distress stains.

I added some layers of muslin and glass bead gel before adding the hearts and letting it dry. 

Next it was time to add the quote… and add a little bit of doodling etc.  

Love how these all came out. Hopefully the recipients also like them too! I got a fab selection in response. 

As this project features hearts… I am entering it into the Wicked Wednesday challenge.

Happy crafting!

Catherine