Last weekend I went to the Warrington crop hosted by Hey Little Magpie and having bought three page kits designed by Sarah I mainly worked on them and then created a couple of pages using the scraps from the kits with two sheets of 12×12 added plus embellishments I took with me! The lovely Gwen is our official photographer on the crop days and I love this one she captured of me showing off my productivity!

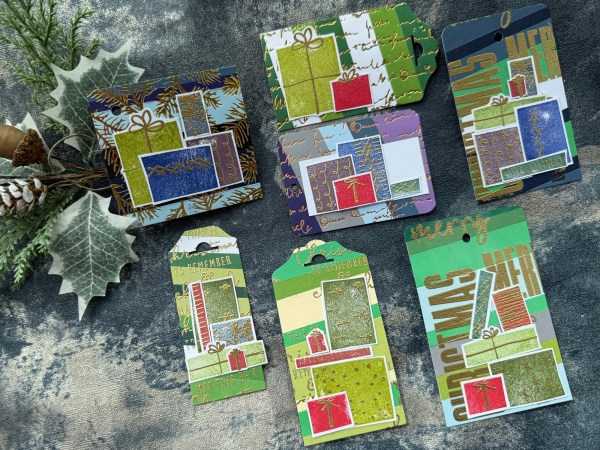
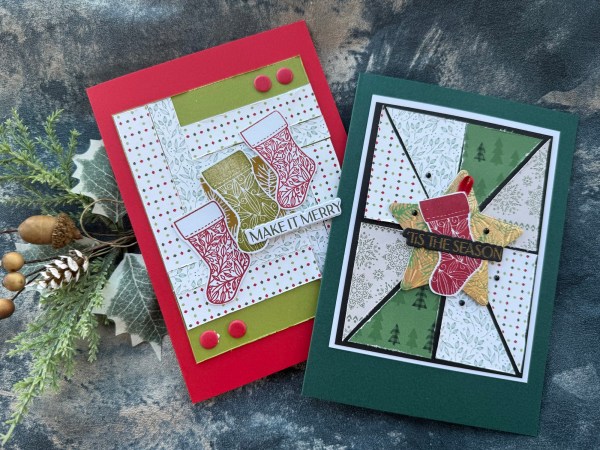
Here are the three page kits I made for today’s Scrappin Saturday post!
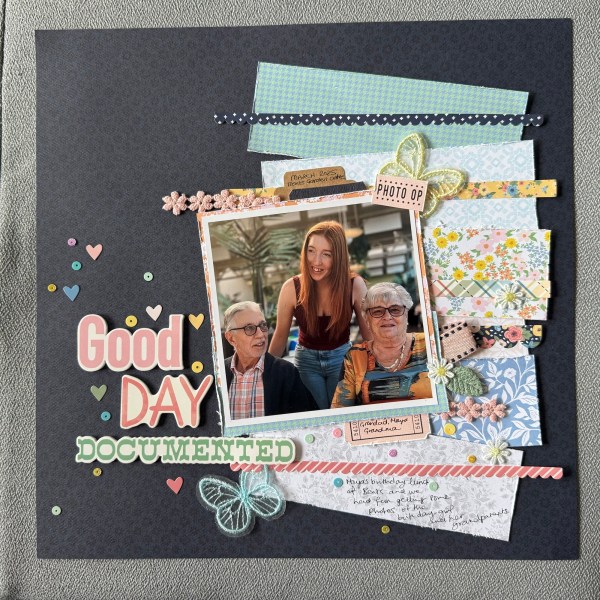
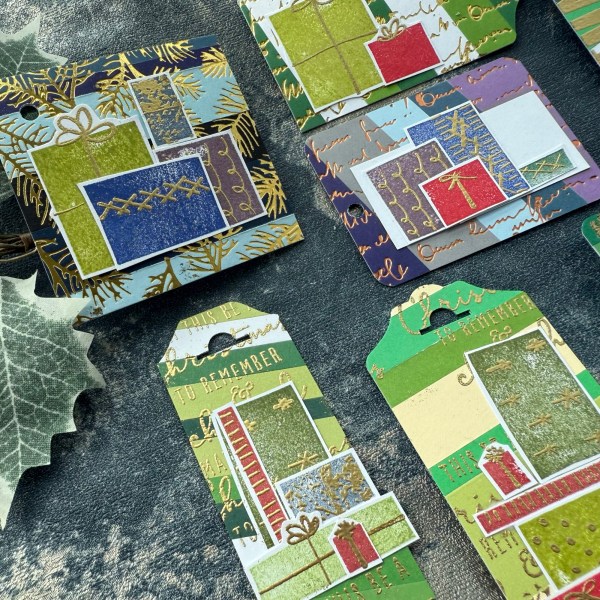
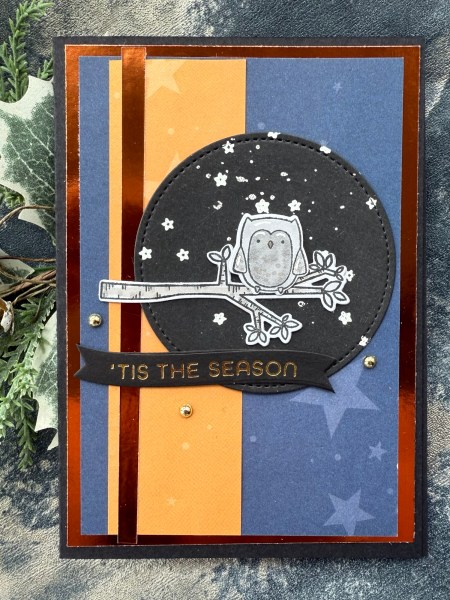
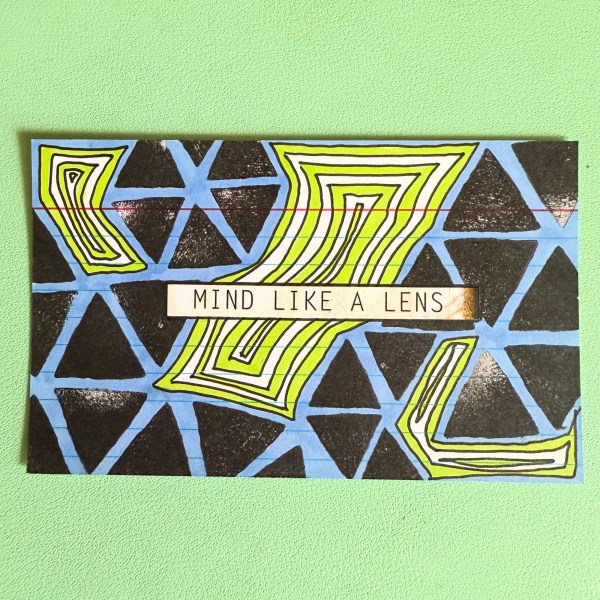
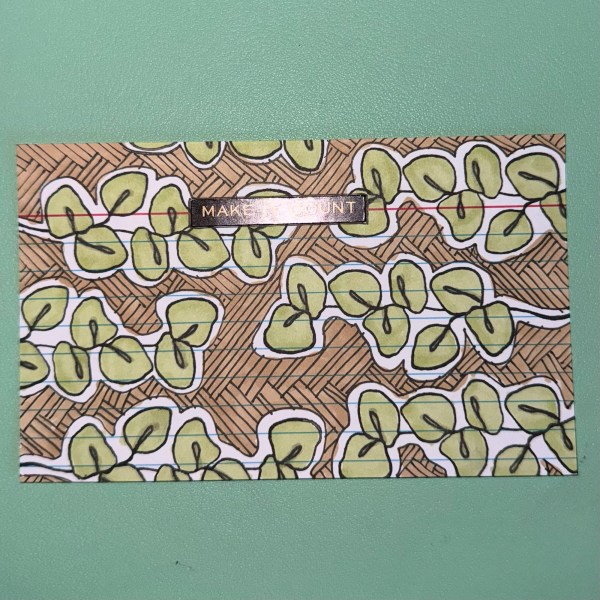
I started with this one … I changed the title up a little and also added in sequins and some extra embellishments from my stash (pretty sure they were Hey Little Magpie embellishment kits).
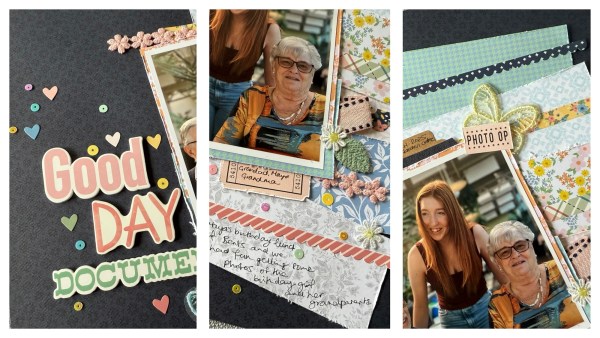
Love the dark navy background and the pretty pastels – such a gorgeous page to put together.
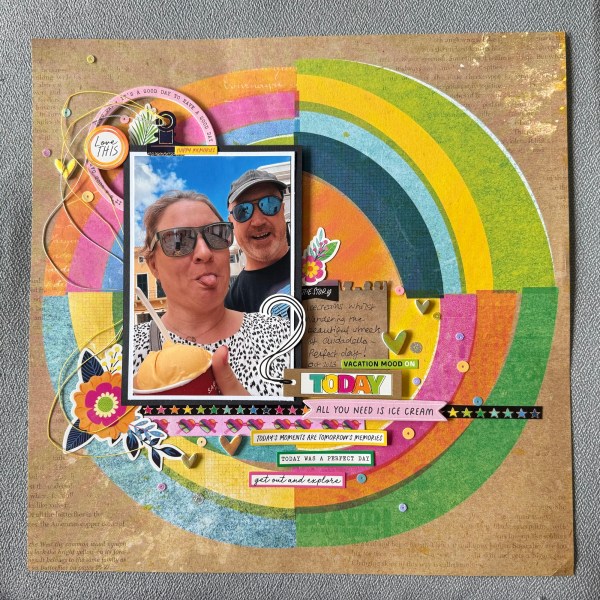
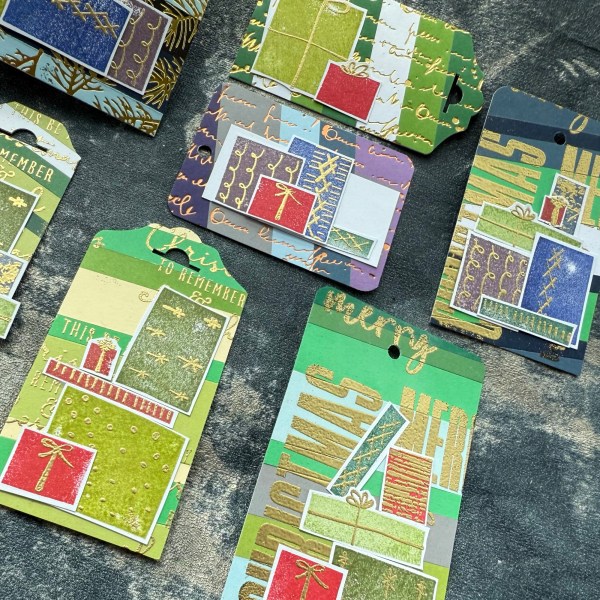
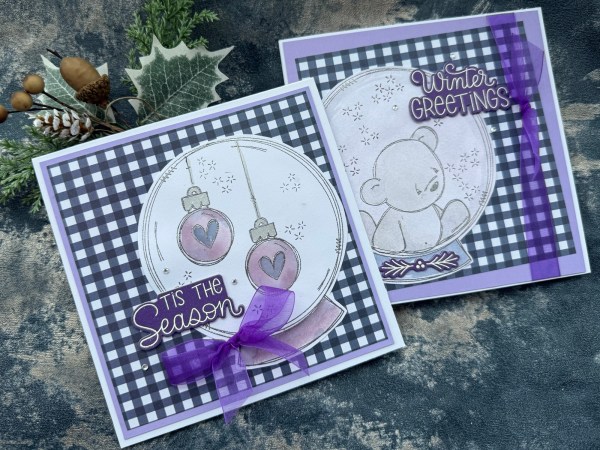
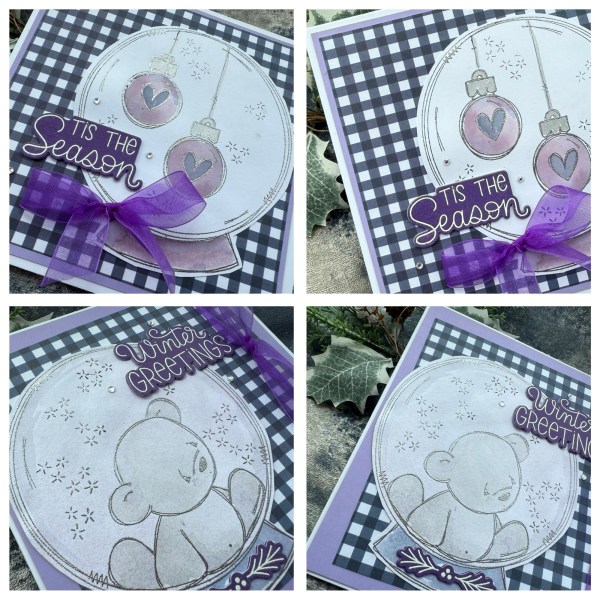
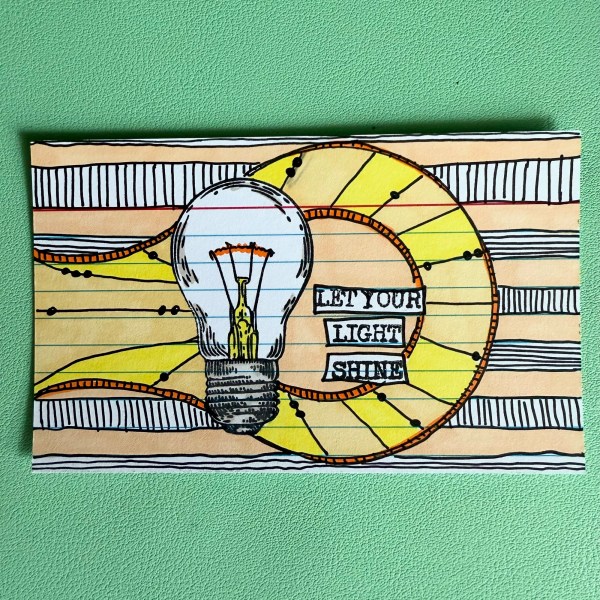
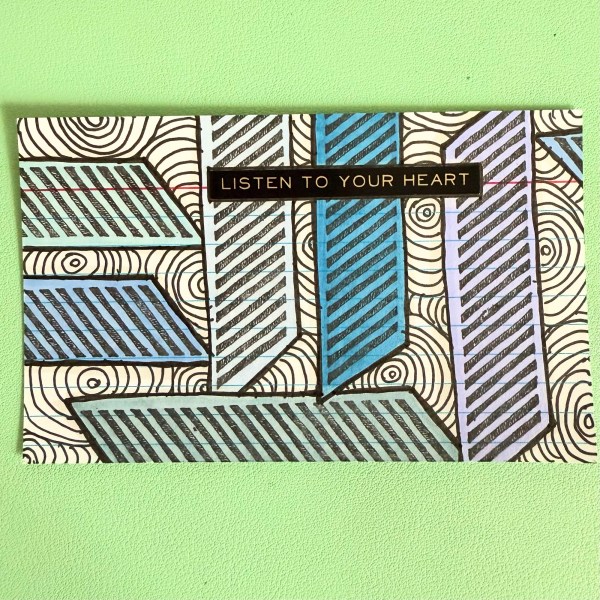
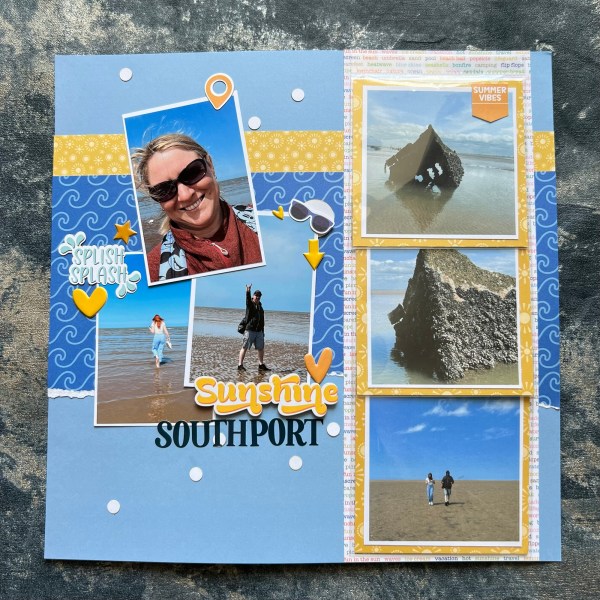
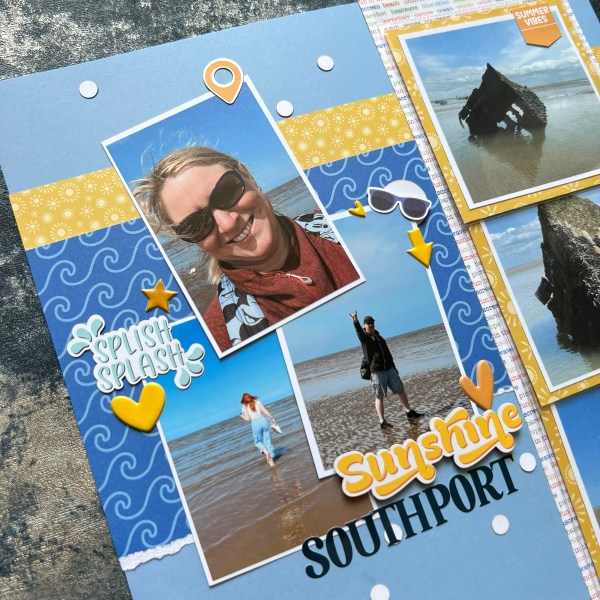
Next up was this super bright page and again I added some sequins and some stickers from the stash along with some extra twine to add to the sticker bulldog clip.
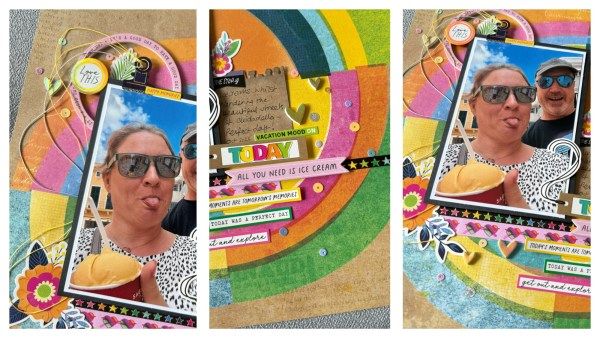
Love the background paper on this – so cool! Makes for a fun modern page.
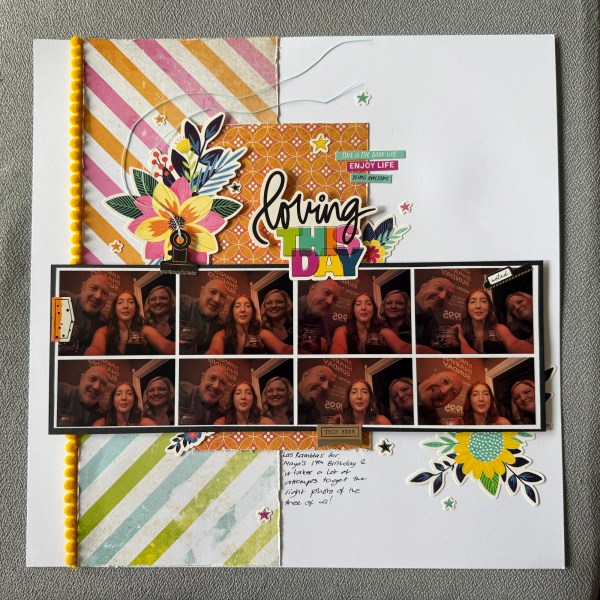
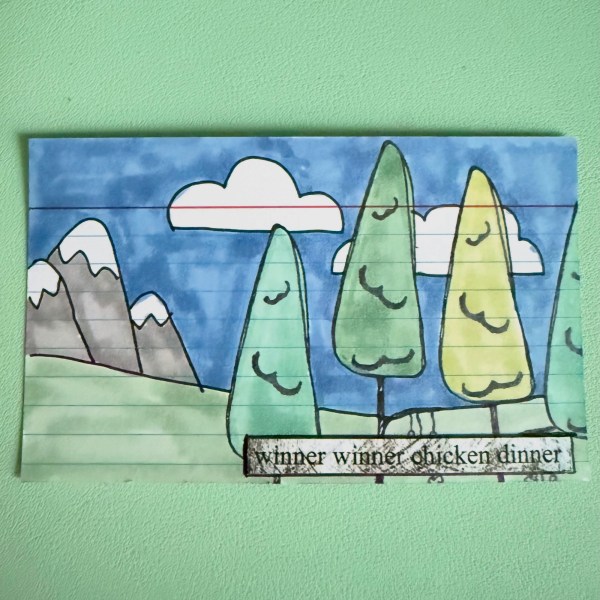
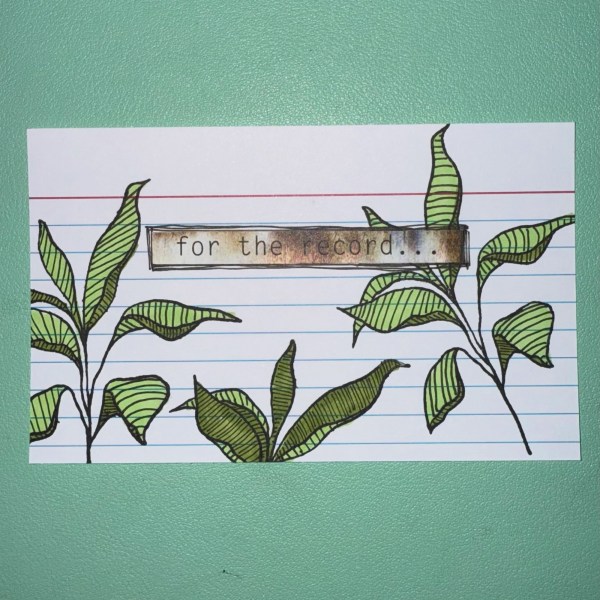
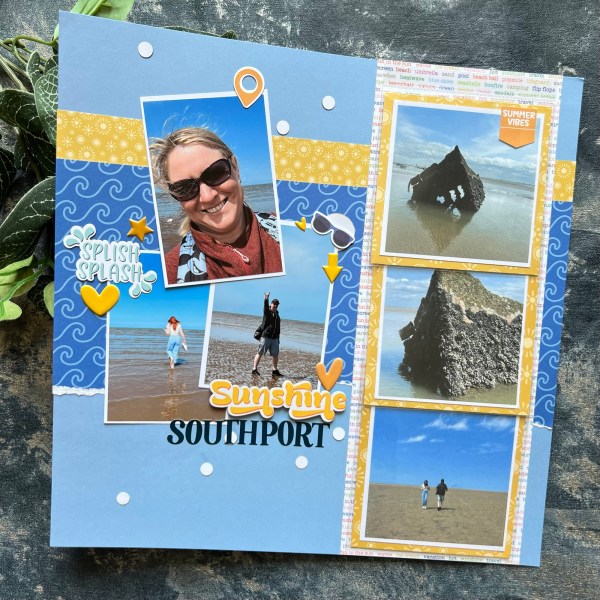
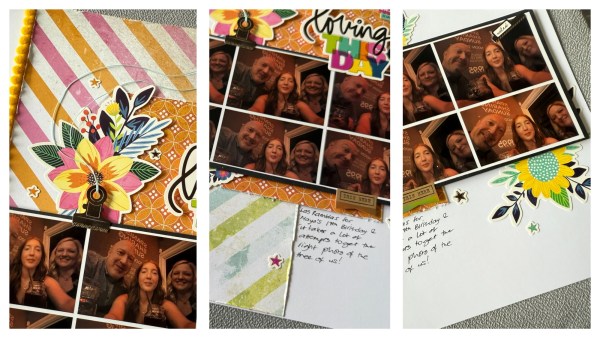
This third one is a really unusual one for me as rarely include more than one or two photos and instead managed 8! Albeit it is the same scene but all different poses/expressions – there were at least another four photos I could have added because we really did take a lot!
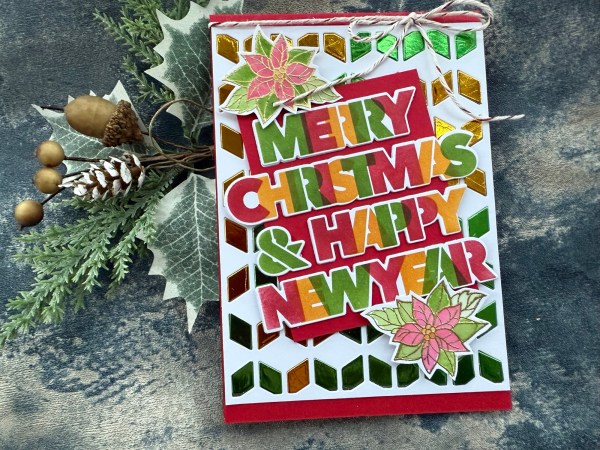
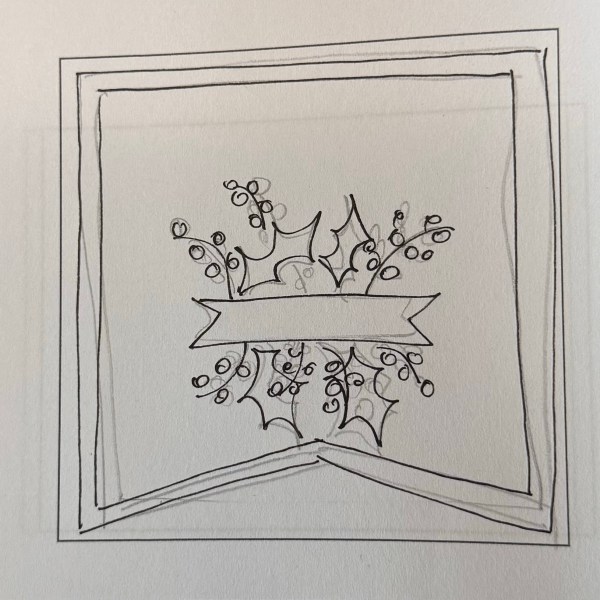
I had to slightly amend the sketch as my panel of photos was so wide but love the bright colours of the panel and those lovely modern floral cluster stickers.
I added more twine to this but otherwise kept to the kit I was given a little better!
Will share the two ‘’made from scraps’ pages sometime soon – but have to say a big thank you to Sarah at Hey Little Magpie for designing such gorgeous pages once again – it makes it so easy to be productive with very little effort when I go to crops!
Happy crafting!
Catherine