Well I survived the shorter week at work but will admit I finished early today as was really flagging! But definitely a lot better than I was and hoping next week I will be back to full strength and energy levels!
Having said that I’ve had zero energy to craft or do anything after work each night so been pretty much going straight to bed after tea – so glad I had some projects still to blog that meant I wasn’t worrying about missing my challenges – talking of which – it’s time for Festive Friday!
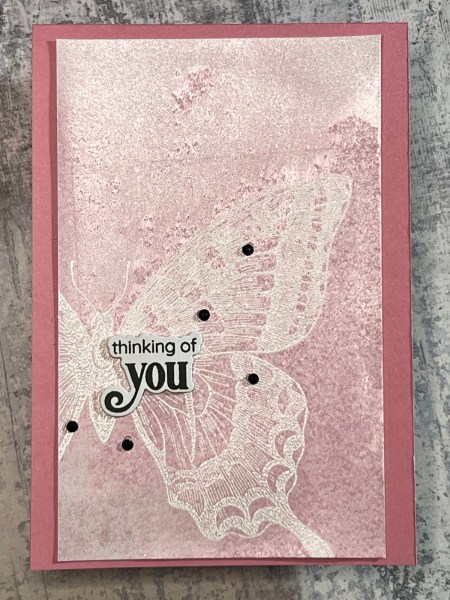
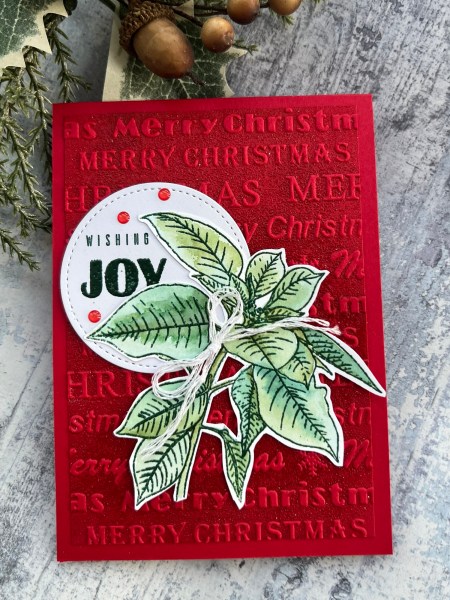
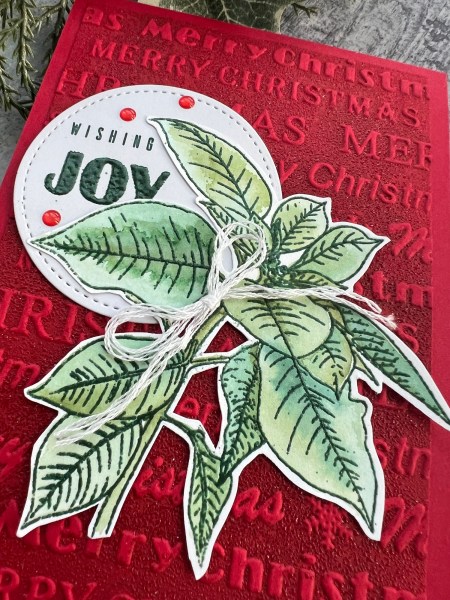
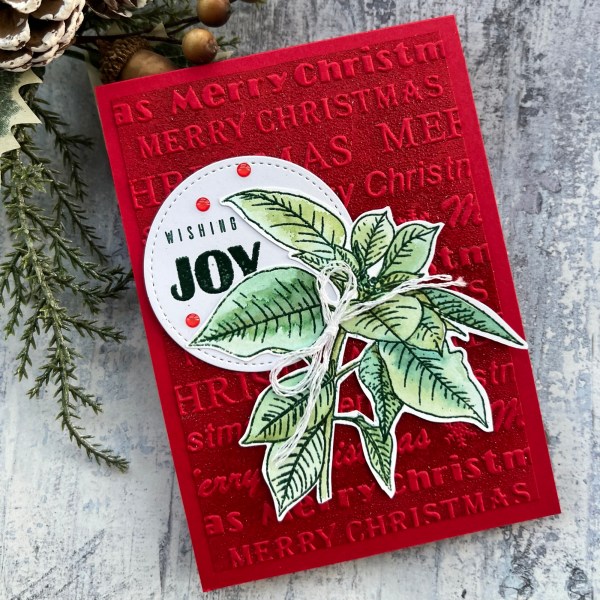
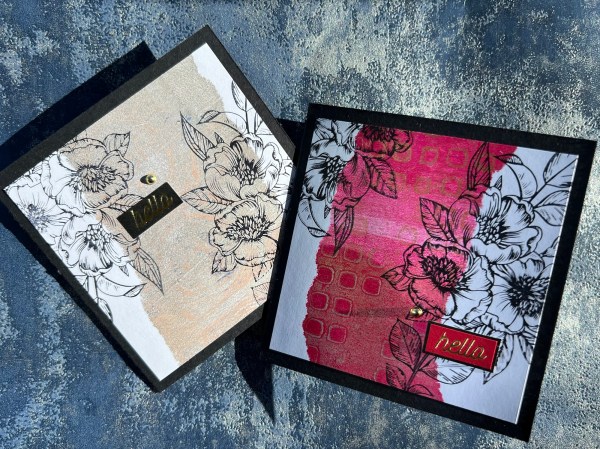
I wanted to play with the shimmer spray onto black cardstock as the mica still adds shine and a tiny amount of colour even on the black cardstock – so of course I chose to go with one of my favourite Christmas themed stamps! I didn’t end up including this in the samples I did for the DT though as I made too many and decided this time of year most people aren’t doing Christmas even though I do it all year round!
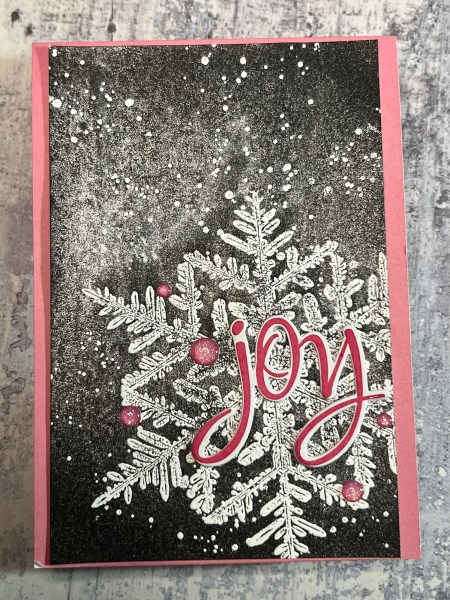
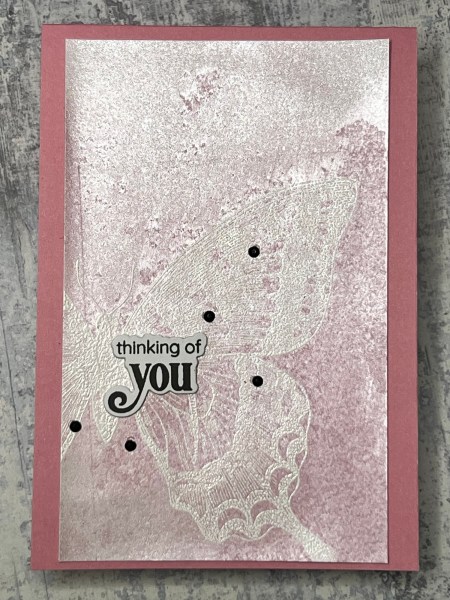
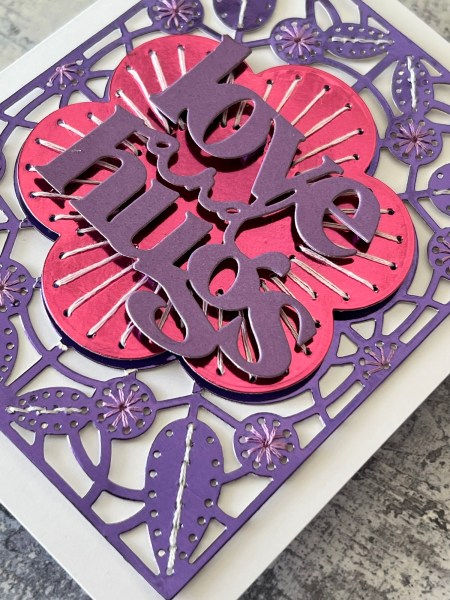
I heat embossed in white the Snow Crystal stamp and the gorgeous grunge splatter over the black cardstock. Then I sprayed it with lots of the lilac coloured rainbow shimmer spray.
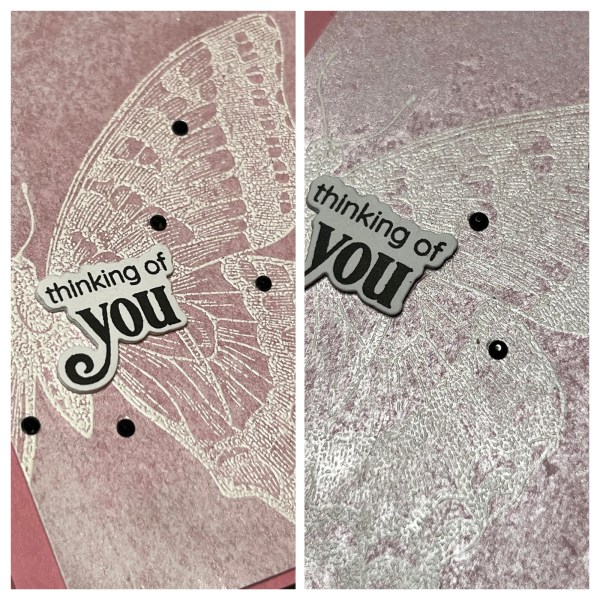
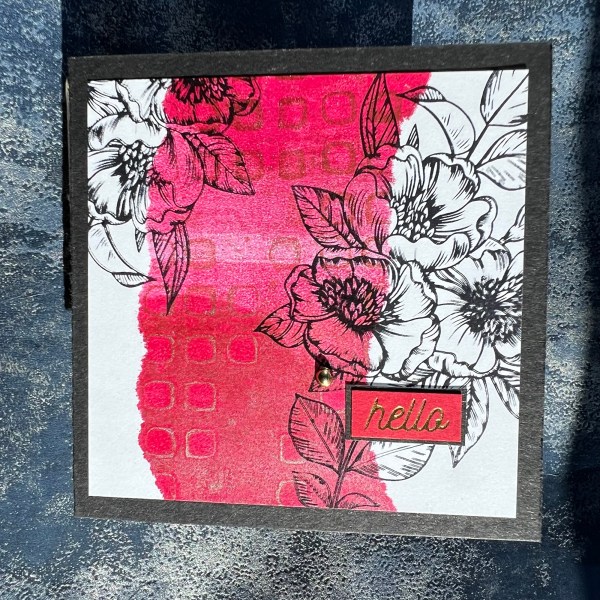
I added the stamped and die cut sentiment and the pink gems and then added it to a pink card base – this helps to bring out the colour in the shimmer.
I know the colour and shine never looks as impressive in the photos but I love how special this makes a piece of black cardstock.
I am off to a crop tomorrow so hopefully will get a few projects done so I have blog posts prepped ahead of time again as running out of them now after so long of not being my usual self – onwards and upwards now though! That’s the plan!
Happy crafting!
Catherine