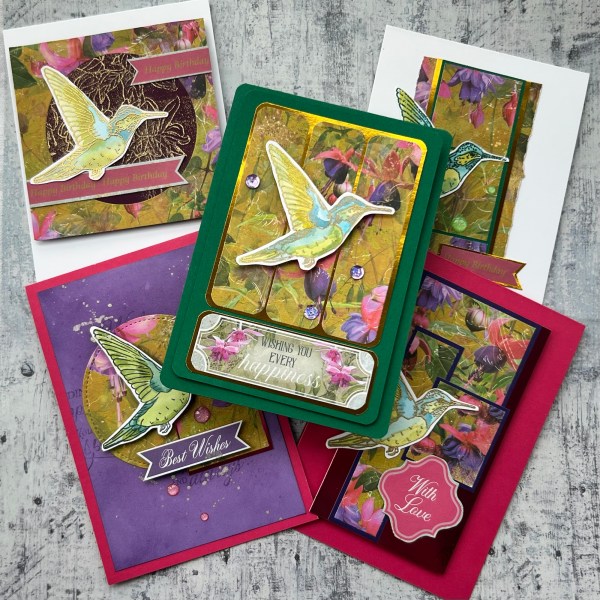
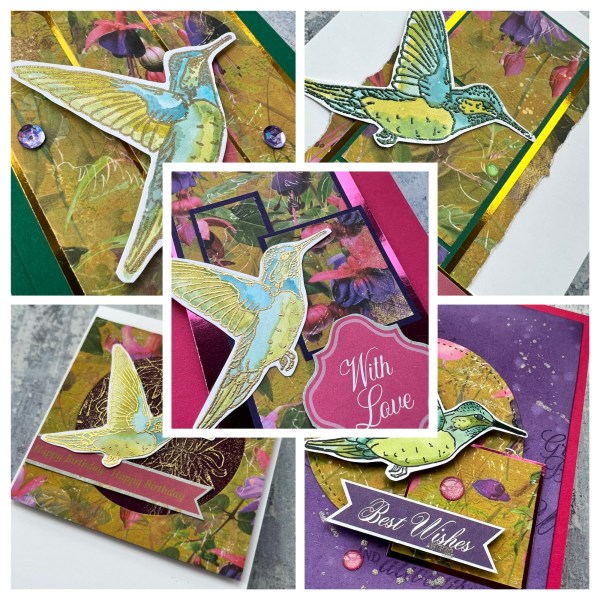
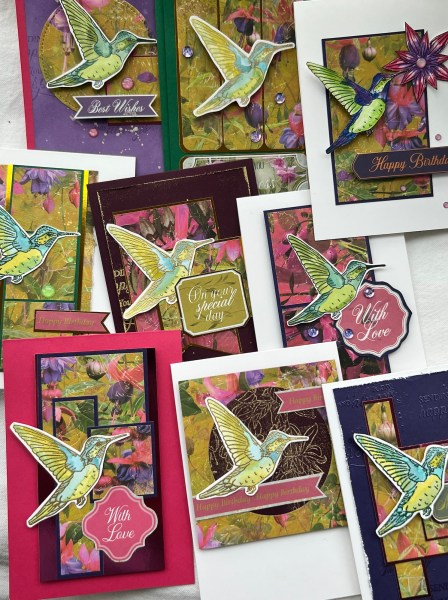
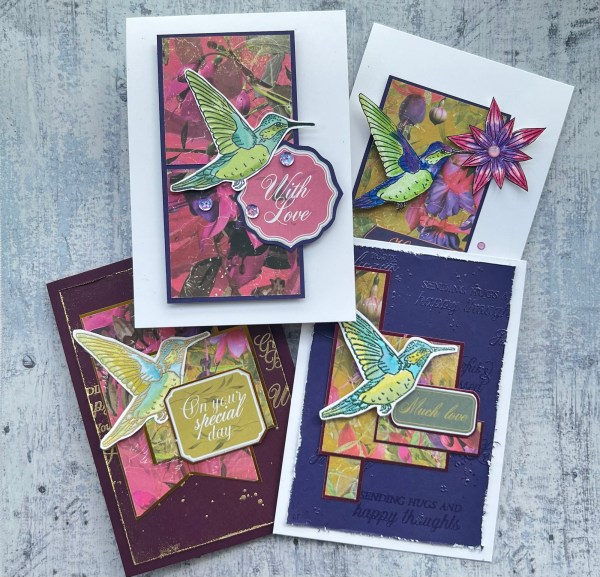
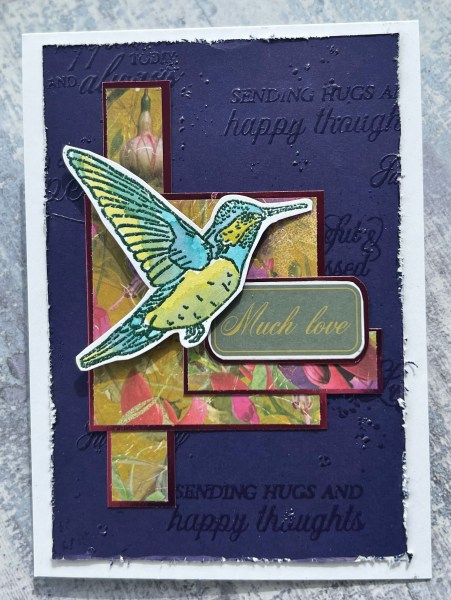
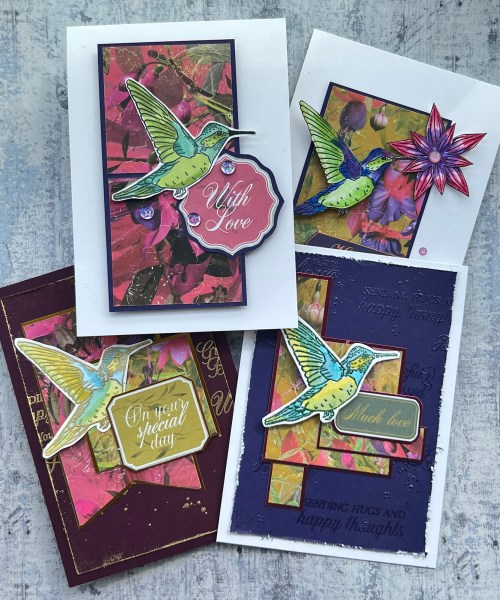
Today I am back with my design team projects for Kingston Crafts using the rainbow shimmer sprays and this time I made a little set of notecards.

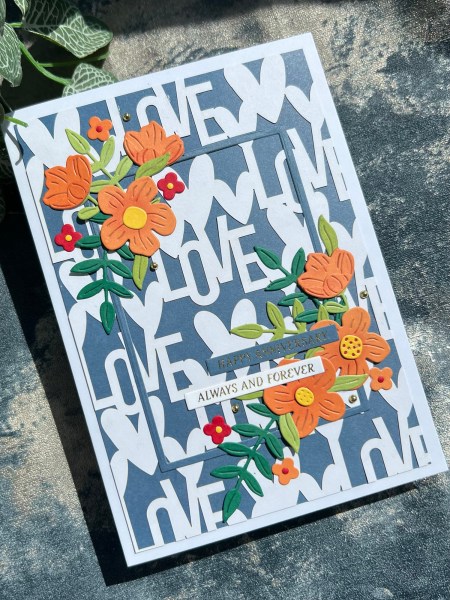
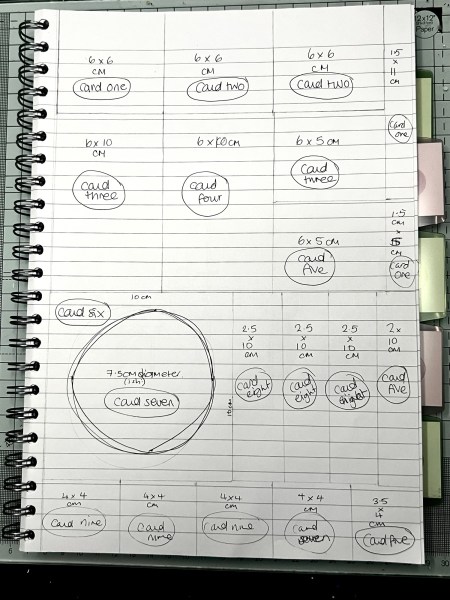
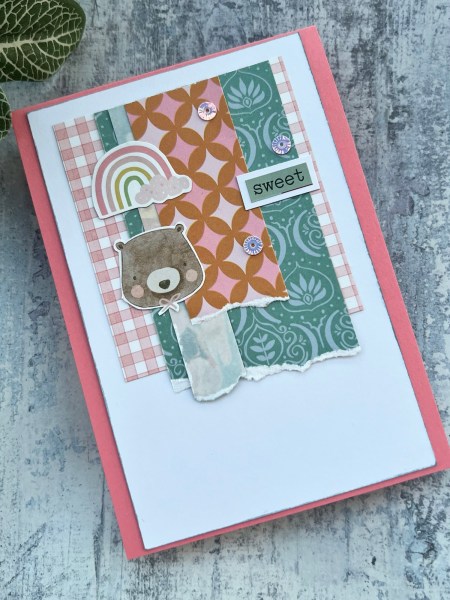
I die cut some simple shapes and use them as masks on the coloured cardstock before I sprayed the shimmer sprays through.
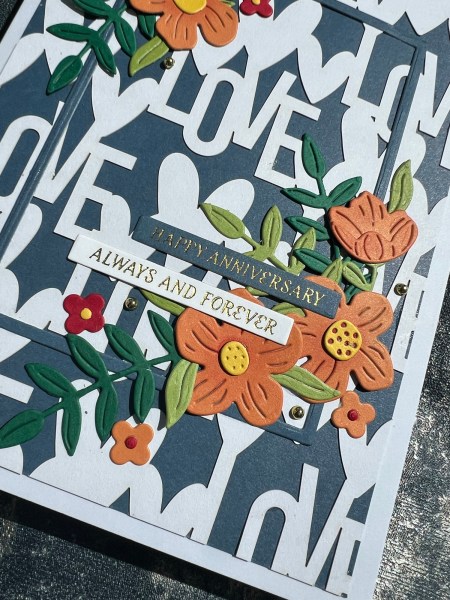
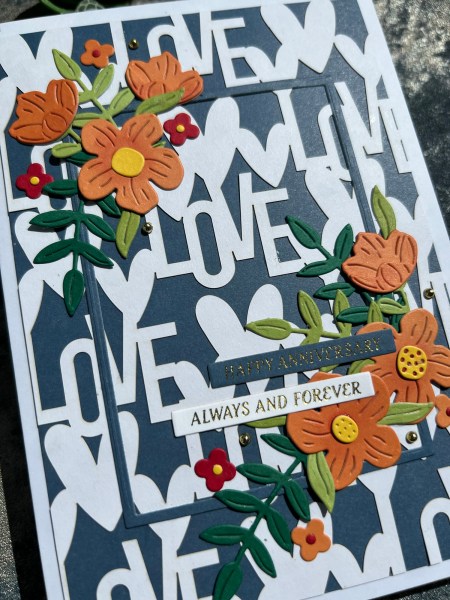
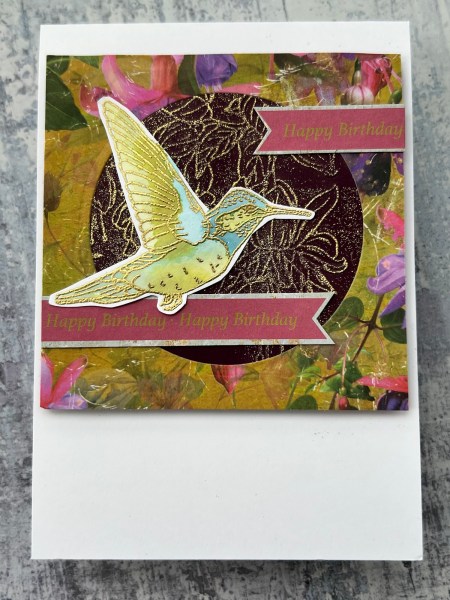
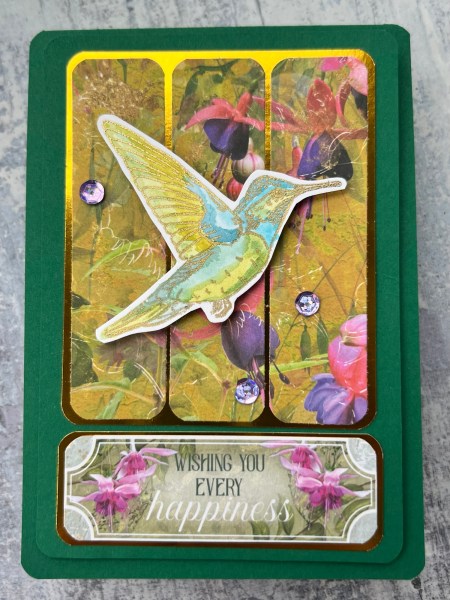
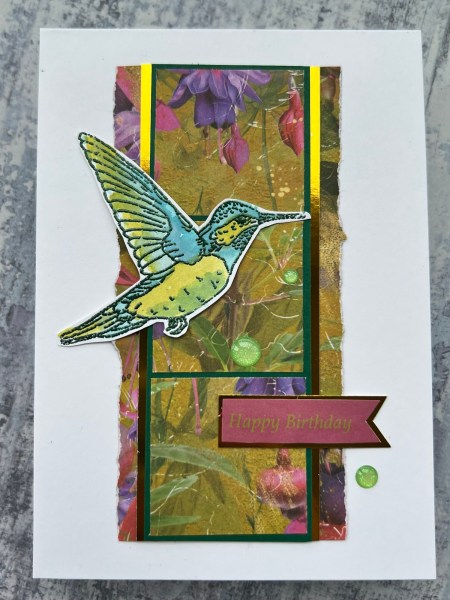
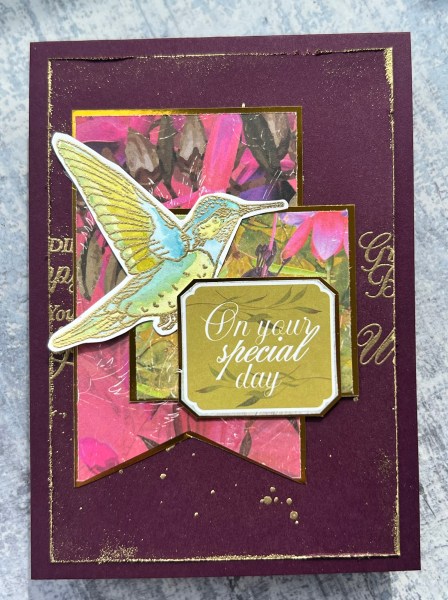
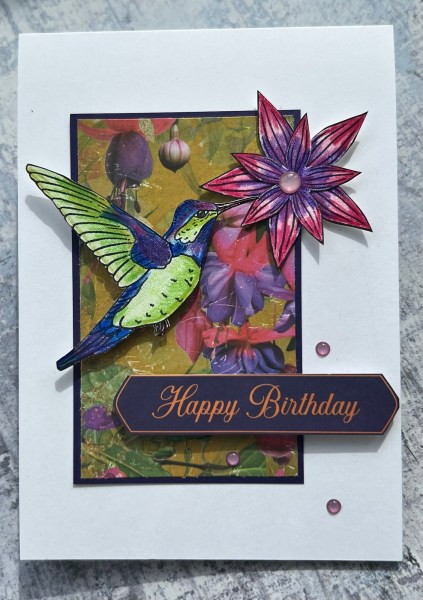
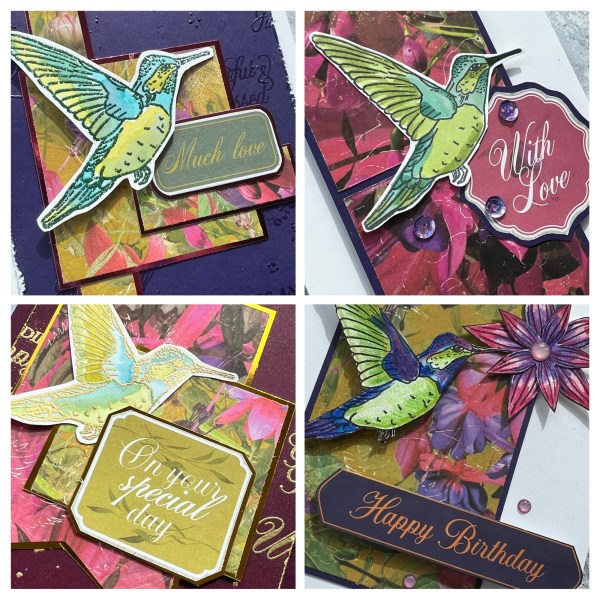
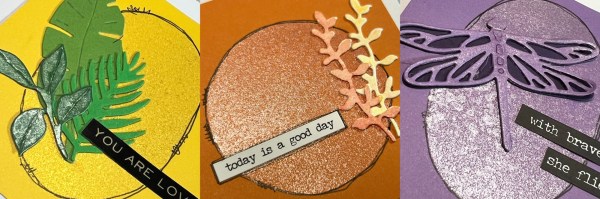
This gave me some shiny shapes on the coloured panels which I could then use as a base for some little die cuts and the Tim Holtz sticker sentiments.
I made three … a dragonfly, some tropical leaves and the pretty sprig leaves.

I added some doodled borders and then added the labels to some 4×4 notecards.

I also painted some of the shimmer sprays on the die cuts to add that little more colour and shine!

These sprays add so much shine – and although subtle on the coloured cardstock it adds such a fun effect.
All three of the notecards were shown on tv over the two shows that Martin did last month so I can say … ‘as seen on tv’ once again! It never gets old! 🤣
I am so grateful I still have DT projects to share and things I made a while ago as I’m still fairly bed bound with what we’ve decided must be Covid – it’s been a really horrible few weeks – in fact it will have been three weeks this coming Thursday of feeling generally rotten and zero energy. By lunchtime today I’ve managed to do 90 mins of being upright which is progress compared to yesterday when I slept for most of the day and was only fit for a bit of reading and scrolling on my phone for the rest of it. I feel so guilty for missing work as I know how much work there is at the moment but I can’t get back to work until I can at least get through more than two hours of being awake and functional at a time. feeling thoroughly fed up. At least some of these cheery projects can make me smile whilst I build up my health again.
Happy crafting!
Catherine