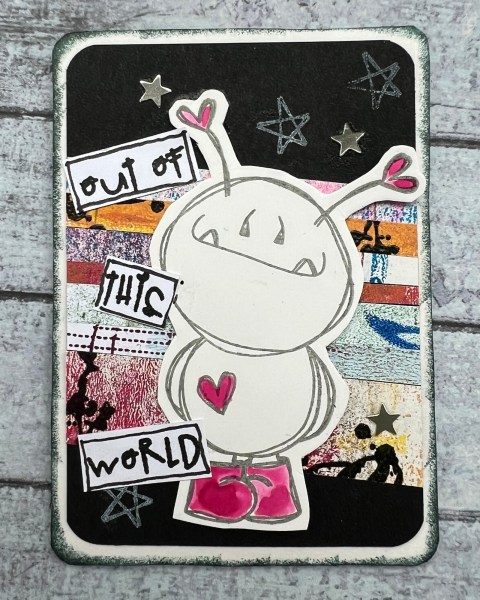
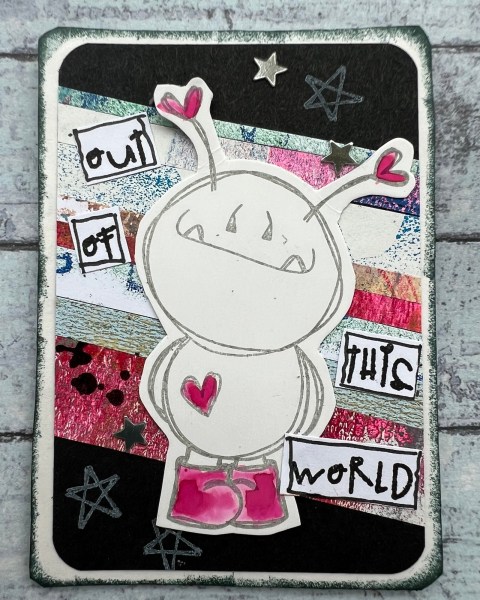
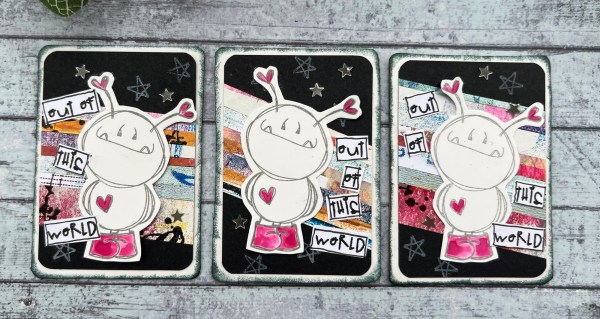
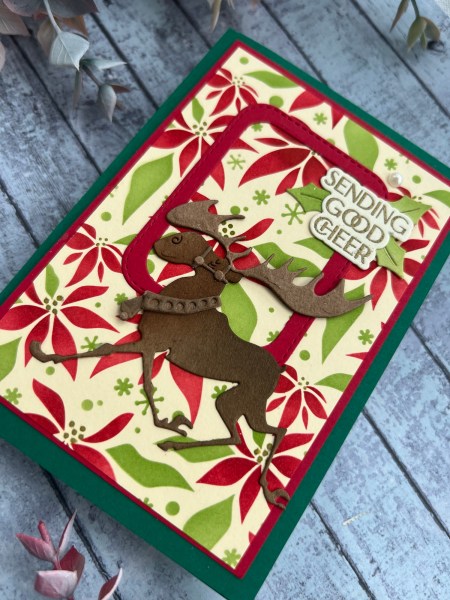
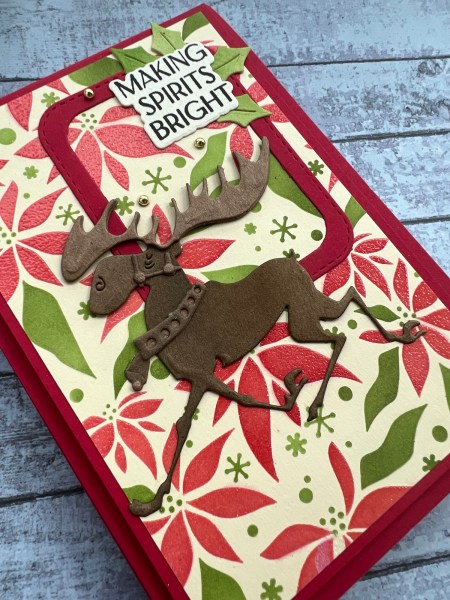
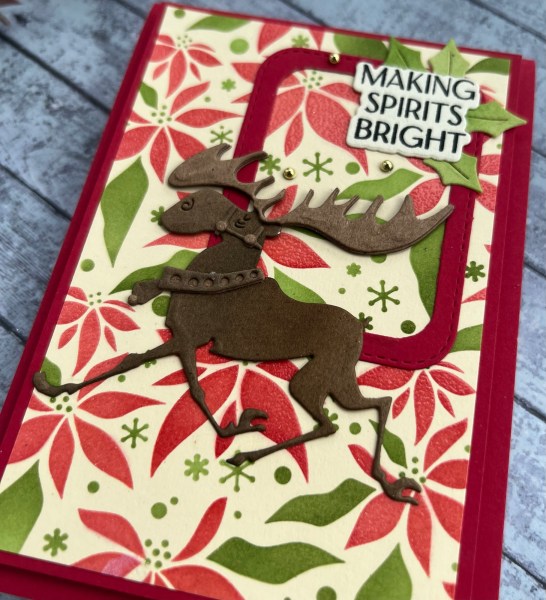
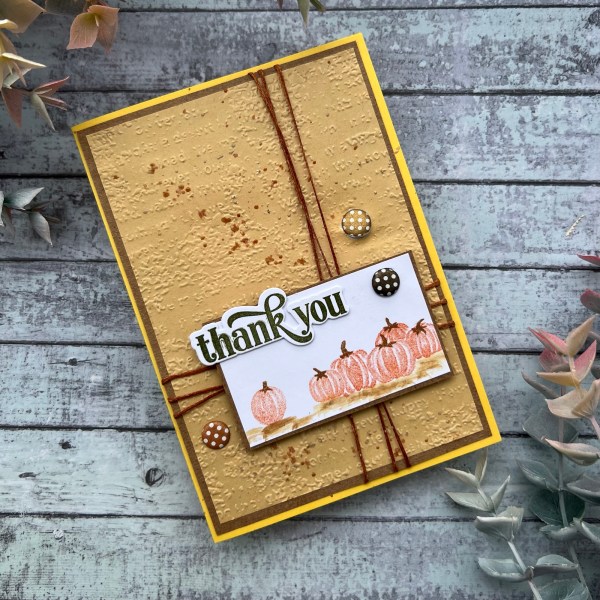
This was a really simple card to put together and I can’t believe I have not used this stamp set before as it’s gorgeous!

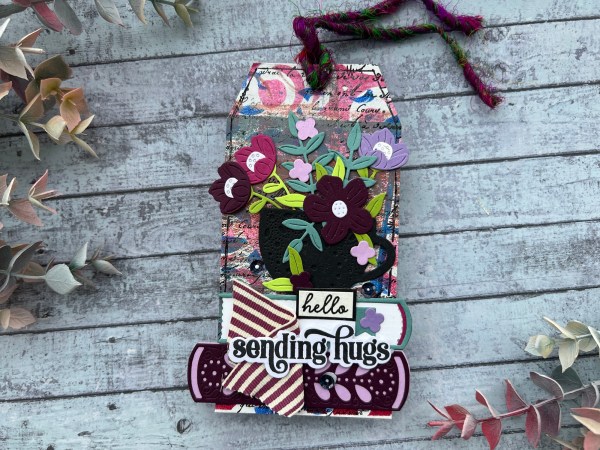
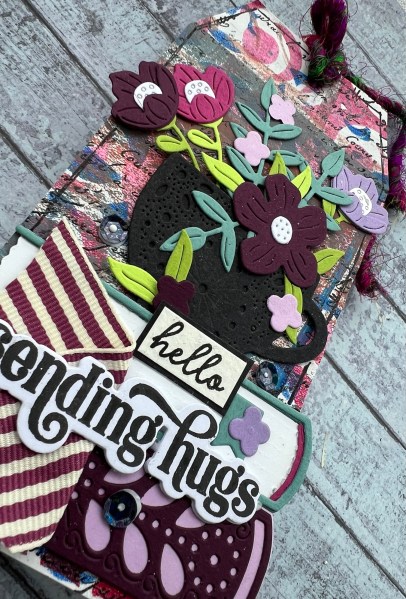
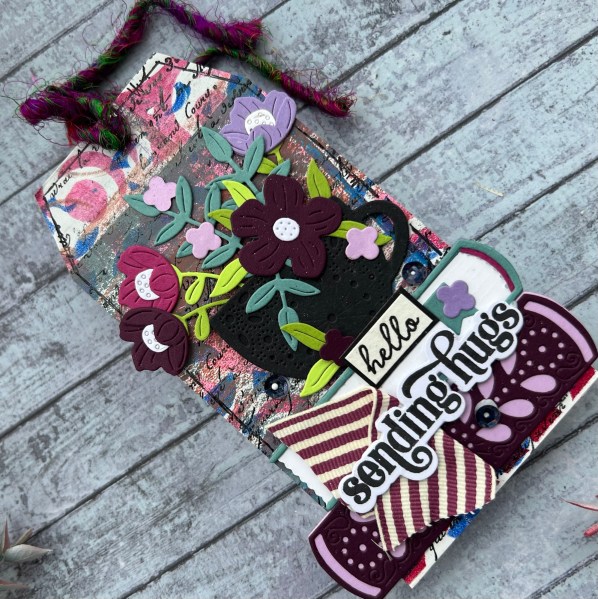
I took one of the gelli prints in the stash and embossed the image using black versafine and clear embossing powder.
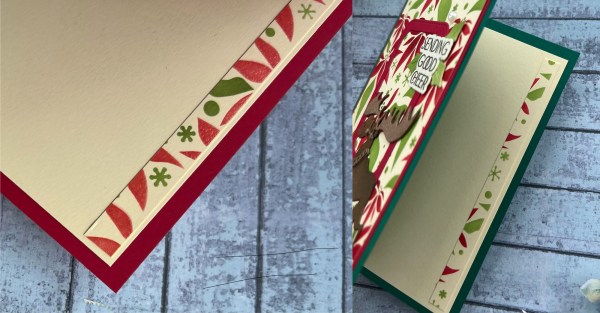
Then I added the little circles and line stamp to the edges and then trimmed the panel down. I added the sentiment onto white and hand cut to follow the wonky lines.

I mat the panel with white and then black to keep it classy and then added to a white card blank.

I used white card Candi to embellish and called it done!
Just love the pattern and texture of the background with the artsy image and how simple this was!

Hope you like it. I did video the process of putting this together for those who prefer a visual explanation!
And let this be a reminder to you to look through old stash to see if there is something in there you’ve not used yet or used in a while – it might spark your mojo!
Linking to the anything mixed media challenge at We love 2 create
Happy crafting!
Catherine