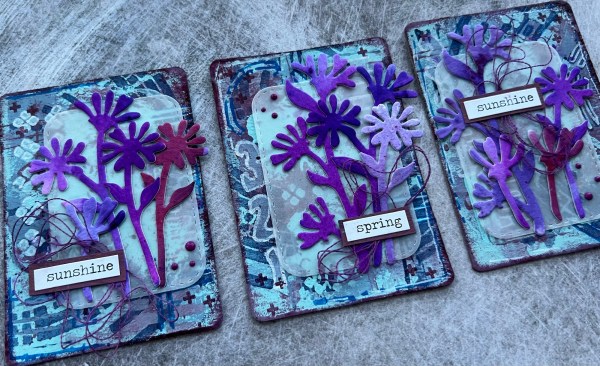
Today’s card is one where I was just playing with a few bits and pieces but ended up with what I think is quite a cool card.
Let’s start with the background.
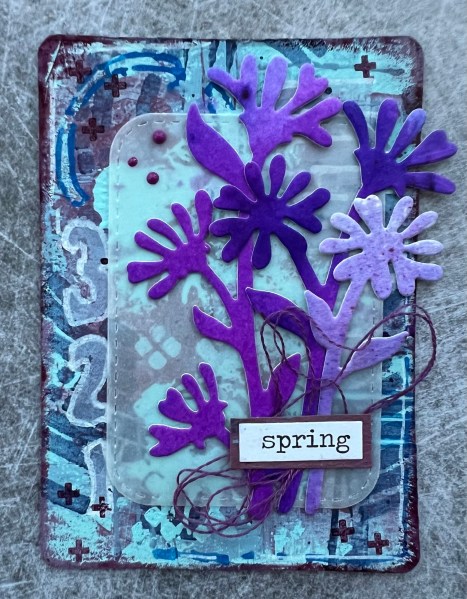
About a year and a half ago my daughter did a photo shoot for her AS Level photography using my art supplies and made some spray backgrounds and I kept them and have gradually been using them up on cards. Well this is how this started … with yellow and blue dylusion sprays!
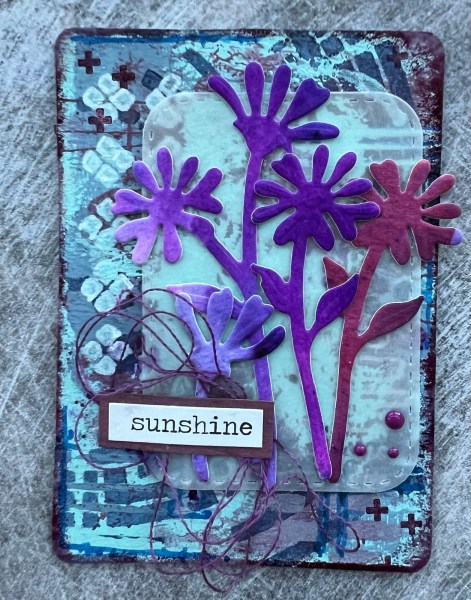
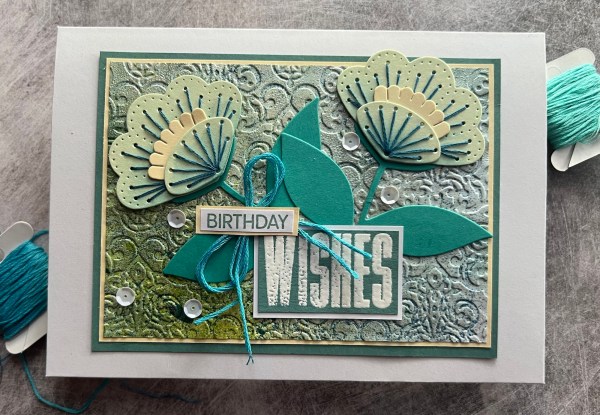
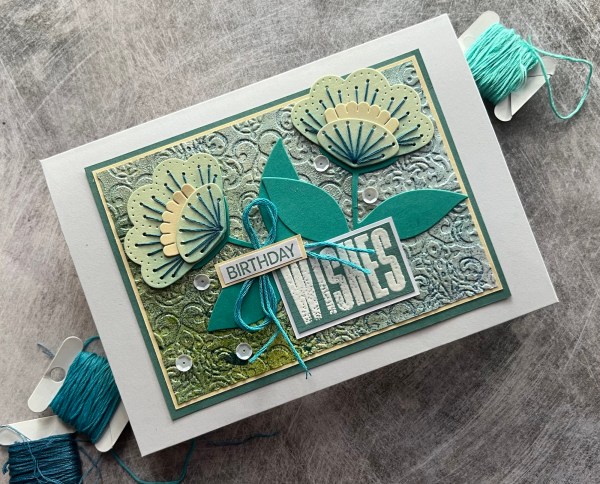
I inked over it lightly with Lost Lagoon ink and then decided to emboss the background but added some versamark onto the debossing part of the folder so I could emboss into the impression. Well it didn’t work very well but it did add some blue embossing in some places. So I then decided to ink some of the rest of the panel with versamark and add pearl embossing powder to that. This created this cool textural and shiny panel. It’s difficult to photograph but I think you can see the texture and shine on this angle…
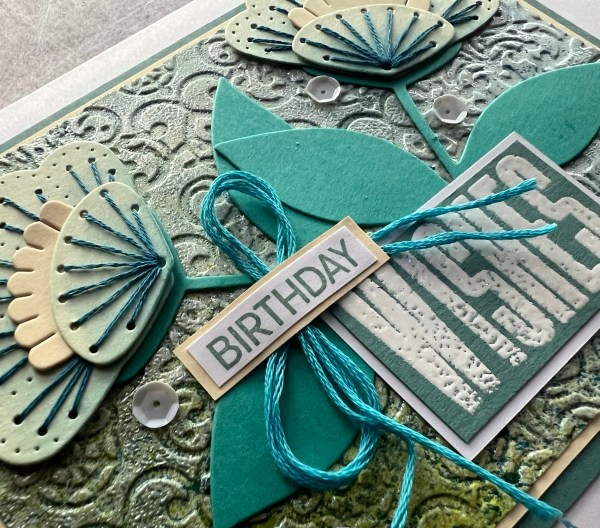
Once I had that I decided some flowers would be good so I grabbed them from the pouch of stitched flowers I already had and two of them I had stitched in the blue and added blue ink to them too! Perfect for the colour scheme of the background!
I kept the leaves flat but added the flowers using pinflair glue gel to raise them slightly.
After adhering the flowers and leaves I decided to pull together the sentiment.
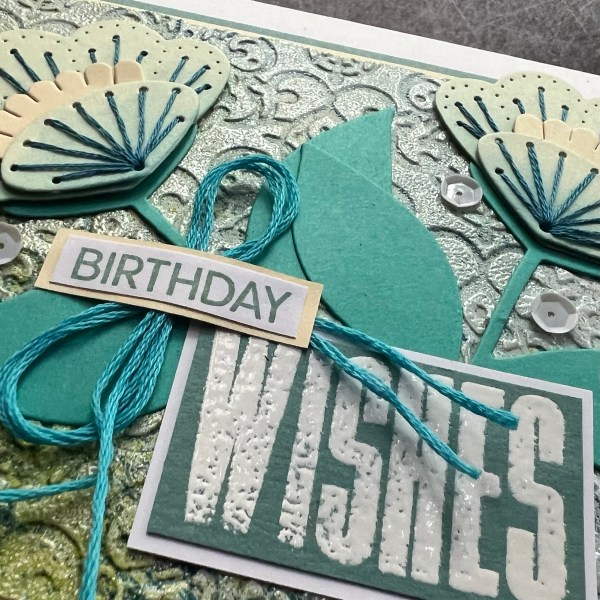
I chose the big wishes from the More Wishes sentiment set and then birthday from a waffle flower set. I decided at this point to add in some white as I knew I would be using a white card blank so needed to add white in alongside the cream used for the flowers and the mat of the background.
I stamped wishes onto the lost lagoon cardstock with versamark and white embossed it. I matted the sentiment in white. Then for the birthday I stamped in lost lagoon and matted it with the same colour card stock … this way they coordinated with each other.
I also then added the mat of the lost lagoon to the full panel.
I also added in a bow using the lighter teal coloured thread to go under the sentiment.
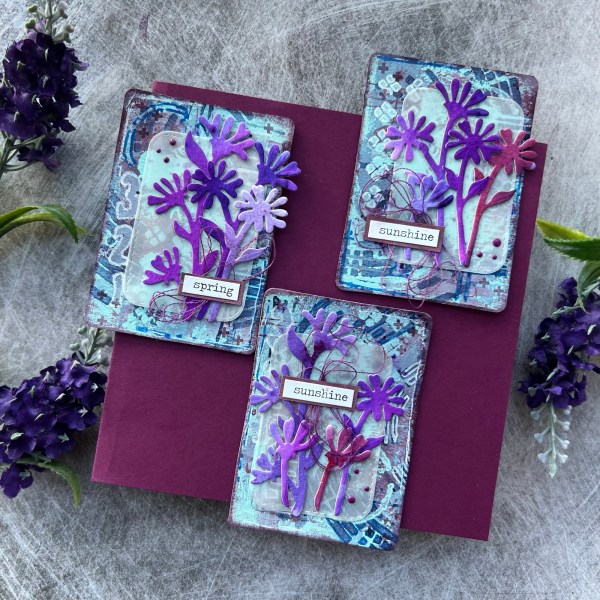
Finally I added some white sequins for a little extra sparkle!
Happy crafting!
Catherine