Gifting back a gift!

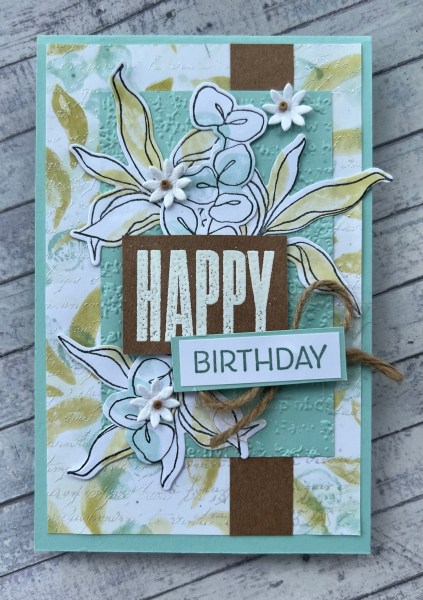
Ok the title of this blog seems weird … and almost like I make an error (gifting back the gift you didn’t like to the person who gave it to you – major faux pas!) but it isn’t … my lovely friend gifted me a pack of 12×12 papers that are gorgeous and so I made her some cards she can use and also I decorated her a little notebook using the supplies.

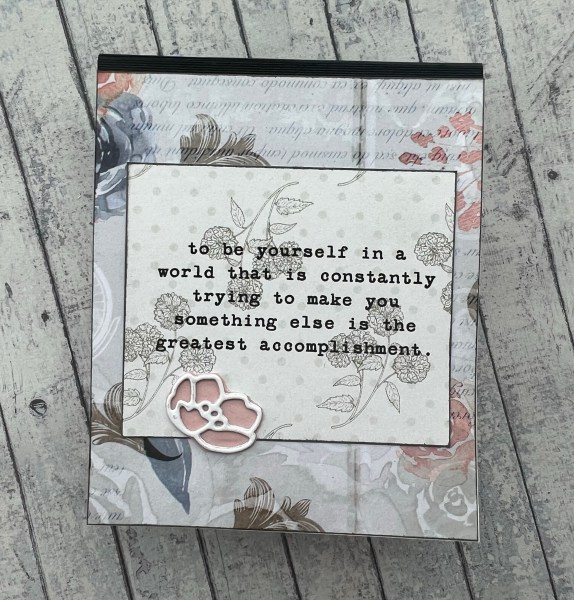
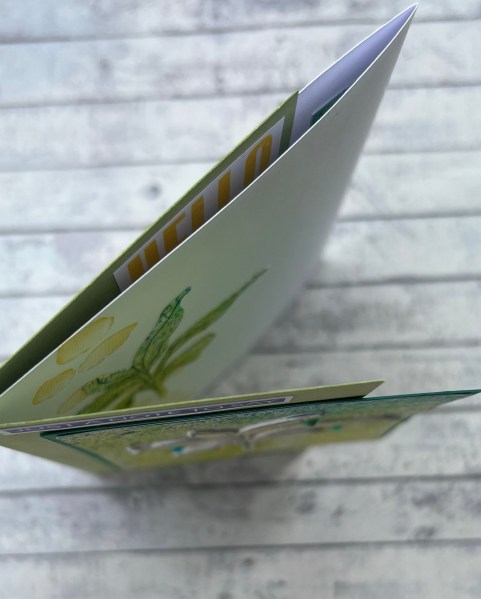
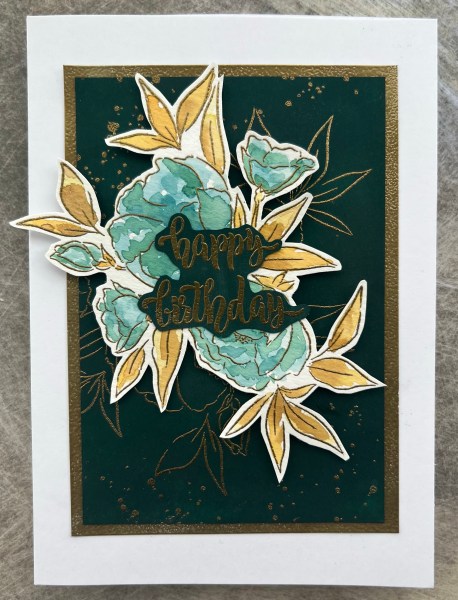
Dead simple this one … a little piece of the paper, a topper I was gifted in a different swap package and then the diecut flower from cottage flowers that I think works perfectly with this paper and the little notebook.

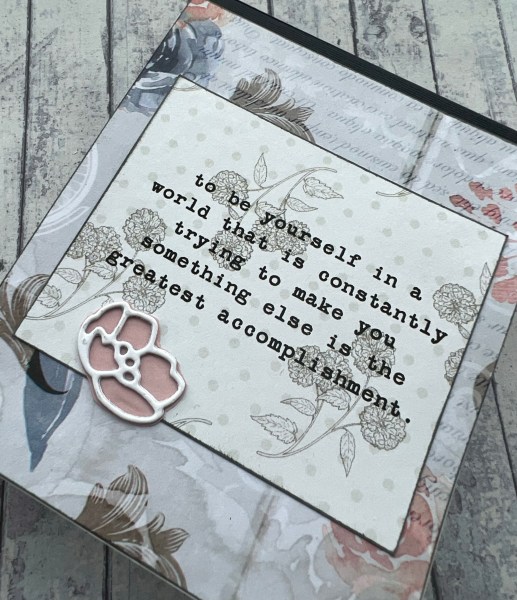
Very important when doing this is making sure the adhesive you use is strong.

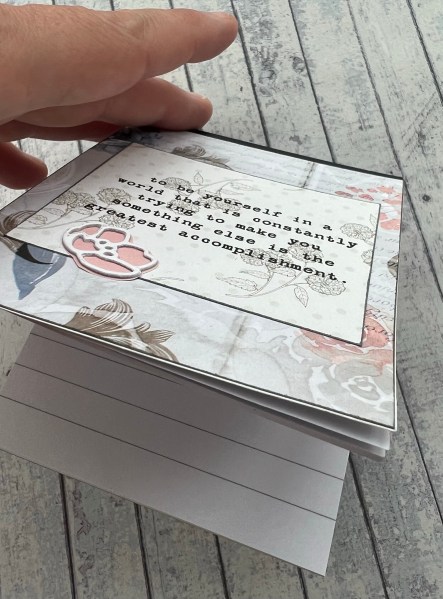
A simple little gift… I think having a tiny notebook for in your handbag is essential and why have a full one when you could have a very cute one like this?

So a good way of saying thank you to my friend for gifting me the paper. Will share the cards I made in other blog posts as they deserve their own little spots on the blog!

Happy crafting!

Catherine

One more inspired by Liane

I made one more card based on the one that Liane (@lilly7h) shared on instagram that so inspired me… this time I changed up the stamps I used as well as the colours!

And it is safe to say I am in love with this … both the inspiration and the way this particular card ended up!

This time the cardstock is BlackBerry Bliss and the stamps are a magazine set I have been using for years as I love the line art.

I had to put both the focal image stamp and another leaf stamp together for the background and gold embossed that.

I then stamped and watercoloured the image … like last time it looked a right old mess until I then heat embossed the gold over the top!

With the gold embossing on the top it really does make the paint work much better!

I then fussy cut the image out (you can imagine I have wished for a die for this image many times as I’ve had to fussy cut this out lots of times over the years!) and added it to the card front.

I then stamped the sentiment using blackberry bliss ink and clear embossed over the top so that it became shiny and a little darker before cutting it out.

I then added some pink pearls to the card as embellishment.

As this is a dark cardstock I made an insert and added the image again using Sahara Sand ink so that it can be written over when adding the message to the inside.

I will absolutely be making more of these cards as Christmas cards but maybe with dark red as the colour or more shaded spruce ones? They are so elegant and I really love that gold embossing on the background! Makes it so special.

I know Liane has enjoyed the fact that I had been inspired by her card and I love the fact that the crafting community is so friendly. I’ve been following lots of new people on instagram recently so imagine there will be lots of new inspired by posts to come!

Happy crafting!

Catherine

DT: Happy Little Stampers Anything goes with Dies

Hello hello hello!

Today I have another design team contribution using dies for the Happy Little Stampers Blog.

I actually made a fun fold card with some lovely sprayed backgrounds that have been in the stash since the beginning of the year when my daughter made them during the photo shoot she did with my craft supplies for her photography AS Level.

So there are several layers to the card and the main part of it on the front the image was die cut from two pieces of the sprayed paper and one was layered up three times with cardstock to make it more dimensional before inlaying it into the original background.

This pic probably best shows the dimension.

I then just added elements of stamping and blocks of colour and patterned cardstock to create the different parts of the card.

Finished with some gems and simple sentiments.

Happy crafting!

Catherine

Continuing the inspiration

When a card inspires me or I particularly enjoy making it and am pleased with the restyle, I like to try it again but with different colours or different stamps that are similar. Well todays card is this! Yesterday I shared the card I made using Liane’s card as my inspiration.

As soon as I had finished making that card I took another piece of cardstock and immediately made another one … but different colours!

This time the cardstock was the Shaded Spruce… this is how yesterdays card started but I inked the cardstock to make it more of a dark teal.

I didn’t ink this one and kept it at the same colour as the original. Then for the focal point I used coral and yellow inks for the flowers and greens for the leaves.

This time I changed up the sentiment as that was something I was not as keen on for the last card and I added lots of pearls scattered round the image. I also decided against the extra layer of gold although I think I did prefer that for the last one.

Really love this design and the idea of the gold embossing over the watercolour it really does make the watercolour I do look so much better!

Hope you’ve enjoyed this and the card I shared yesterday … thank you of course goes to Liane so please do go give her card some love on instagram.

Happy crafting!

Catherine

Inspired by Insta… @lilly7h

I spotted a card on instagram made by the super talented Liane and I immediately wanted to play with teal, mustard and gold.

I grabbed my cardstock and then realised I had no teal… so I instead used shaded spruce and added lots and lots of Island Indigo ink to it to make it more of a dark blue green … it then took ages to dry as a result of all the ink I had added!

However I needed it to totally dry so I could heat emboss the image onto it.

I also added some splatters using the Gorgeous Grunge stamp and heat embossed them too.

Next I stamped the image onto mixed media cardstock using Sahara sand as a light ink that wouldn’t show through on the final piece… then I watercoloured it in using the tranquil tide and island indigo inks for the flowers and more mustard and soft suede for the leaves and stems.

This was messy … but I had left the stamp in the stamp platform and then popped it back in so I could stamp with versamark and gold emboss and hey presto it looks so much better!

I fussy cut this out ready to add as a layer onto the top then decided I wanted to heat emboss the sentiment onto the same base cardstock colour … so more inking and more waiting for it to dry out enough to heat emboss… note to self … buy more teal coloured cardstock so I don’t have to do this again!

I layered everything up and then decided it needed a gold edge to the card topper… white cardstock edged with versamark and then gold embossing came to the rescue as I wanted the gold to match throughout.

I adore how this looks … and this style of card with the watercolour and embossing and the gold in the background will absolutely be happening again!

I also love this colour combo even if it is not quite the original idea and is more green than teal… but I thank Liane so much for the inspiration both the card design and the colour … never would have chosen those colours for the flowers and leaves for example but it works perfectly in my opinion!

Happy crafting!

Catherine

DT: Addicted to stamps and more #454

Hello! How quickly did that two weeks fly past? Now time for another ATSM challenge and this week it is any occasion.

Once again I delved into the pouch of preprepared backgrounds made on previous playtimes… and went really simple to allow that cool background to do all the work!

I had created the background way back … when I made this card and then set this one aside. All I did was trim the background and heat emboss the sentiment from Stampendous in a rich emerald green powder and then add some gems. Mounted it onto a cream blank and jobs a good’un!!!

I actually did two layers of the embossing to make sure it had lots of shine and dimension. Not sure the photos show it off well… promise it is lush in real life!

Happy crafting!

Catherine

Playing with a mop up background

I grabbed one of the mop up backgrounds I had got and decided to run it through an embossing folder with a bit of brown ink on it … and this then became a card!

I decided to mount it on some dark coral cardstock and then onto the cream card blank base. I added a die cut circle which was on the desk from another project. The paper it is cut from is a speciality rose gold paper so that brings shine and sparkle to the project.

I added a scrap of ribbon in a dark chocolate colour and then grabbed a cute little Altenew stamp and stamped and coloured it loosely with ink and water.

I heat embossed the sentiment onto Kraft with a pearl embossing powder and then added the sequins as embellishments.

Lovely and simple as most of this was to hand … but also nice to use this Rennie Mackintosh style stamp.

Happy crafting!

Catherine

Cutting up an old canvas

Many years ago I made a few ‘she art’ girls based on Christy Tomlinson classes and I had them hung up around the room. Well gradually they’ve been taken down and replaced for various reasons … mainly because they had faded but also I sort of fell out of love with some I made and this was one of the ones I fell out of love with. I’ve had it stored under my desk with the intention of painting over and doing something else with it … but then I have stopped doing that kind of art and I have lots of canvas under the desk so decided to do something radical…

… I cut it up!

I took my scalpel and cut out the central part of the canvas and threw away the frame. I then chose this section (ignoring the girl I didn’t like anymore) and made it into a card for a friend!

I love all the texture and pattern and the details within this and the wording is perfect for the friend I am giving this to. I added ink around the edge to frame it and then the flowers were added to finish off the card.

So lesson to me and anyone else who needs to hear it … just cut it up when you no longer love it … then you can turn it into something you do love!

Also stop hoarding and have a clear out occasionally … you never know what you will find!

Happy crafting!

Catherine

DT: Happy Little Stampers anything goes Birthday challenge

Hi there … my design team contribution for Happy Little Stampers to share with you today … for the anything goes birthday challenge.

I made this card using distress crayons and the Splendid stems stamps and dies.

I teamed the stamped background with Kraft and the Pool Party cardstock.

The background after I stamped the more solid images with the distress crayons I then embossed using a pearlescent powder a script stamp from the stash. I also splattered with some of the crayon I had left on the glass mat.

I then took some plain white and added some more of the solid stamping and then overlapped with the outline stamps before diecutting them.

I used a panel of the pool party cardstock and the old paper embossing folder and then on top of that I created a cluster of the die cut images.

I embossed the happy into craft and cut it out then took a different stamp set for the birthday and stamped that too. I added a twine bow and the strip of the Kraft beneath the cluster and the embossed panel to break it up a little.

Inside the card I took a strip of the paper I had stamped and embossed to edge and finish the inside.

The front I finished with the little flower and bead embellishments.

Delighted with how this ended up. A really pretty card.

Dimension is slightly narrower than a standard card to make the panel sit centrally but have the card still fit in a standard envelope as there is a bit overhanging the right hand side.

Happy crafting!

Catherine

Playing with purples

I grabbed the lovely Altenew stencil to create a background … I used pinks and purples for the flowers and then navy and teal for the leaves. I decided to keep the over stamping light with a light grey.

I also decided to overstamp the full panel with a script stamp. I then cut the panel into two pieces and put one to one side. This one I had dropped a little water onto and so decided to cut a section out.

I kept the distance between the two panels the same as if the other section was still there so that the pattern was continuous. It was layered onto the darker purple cardstock.

I added some ribbon and then added a separate floral sprig which I fussy cut onto this.

I added a few layers of coordinated colour cardstock and then stamped and embossed the sentiment before fussy cutting it out and adding it on top.

I added pearls that were lilac and purple and that made it feel finished.

Happy crafting!

Catherine