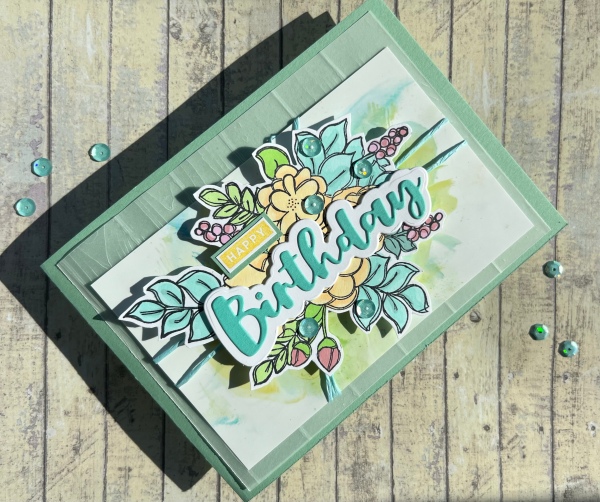
Hello! 1st of June which means another of my patterned paper playtime sessions. As with the other ones this year I took a piece of patterned paper and went to town with my scissors to cut elements out that I could use on the card.
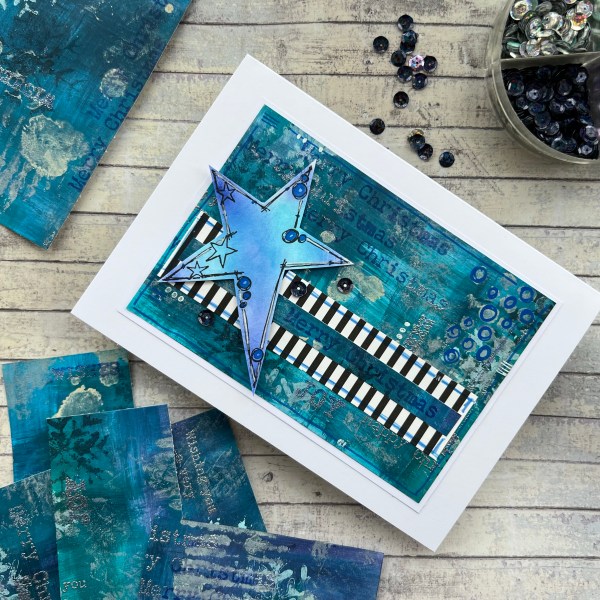
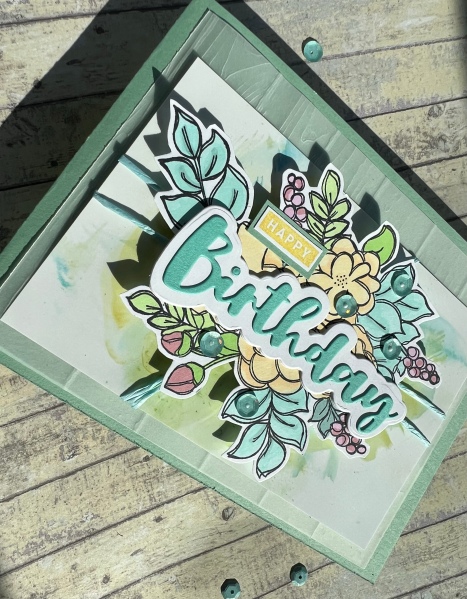
This one was a pale blue background but still looks lovely fussy cut… and created a lot of pieces for me to play with and very little waste.
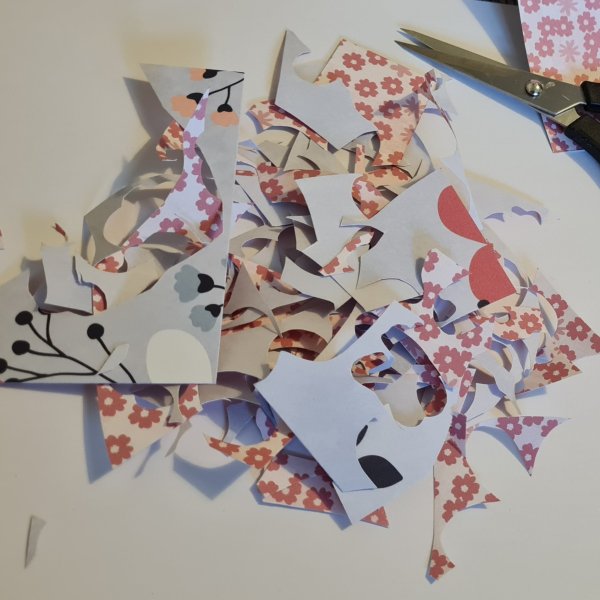
I left a few pieces of the paper intact so I could have elements of a the reverse pattern too and I used that in my card too.
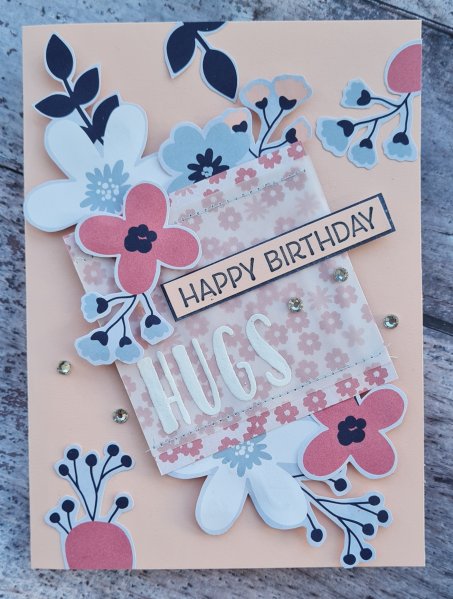
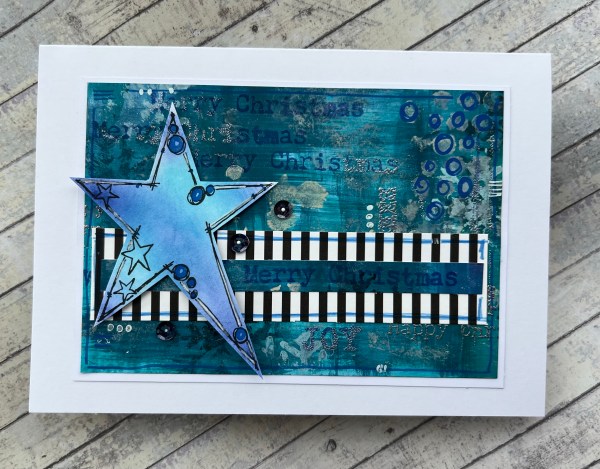
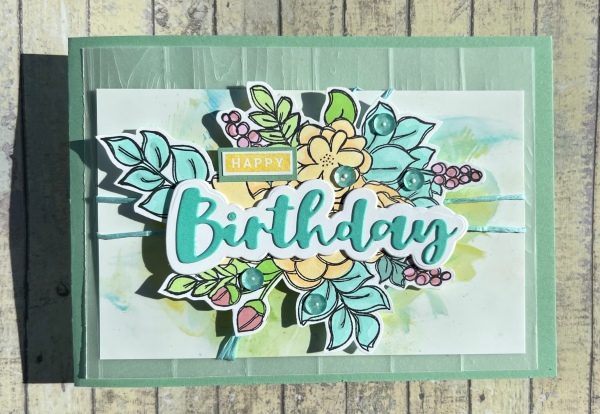
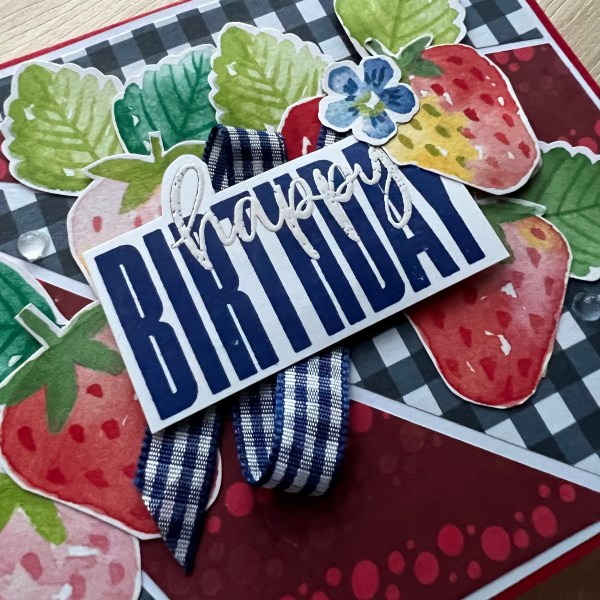
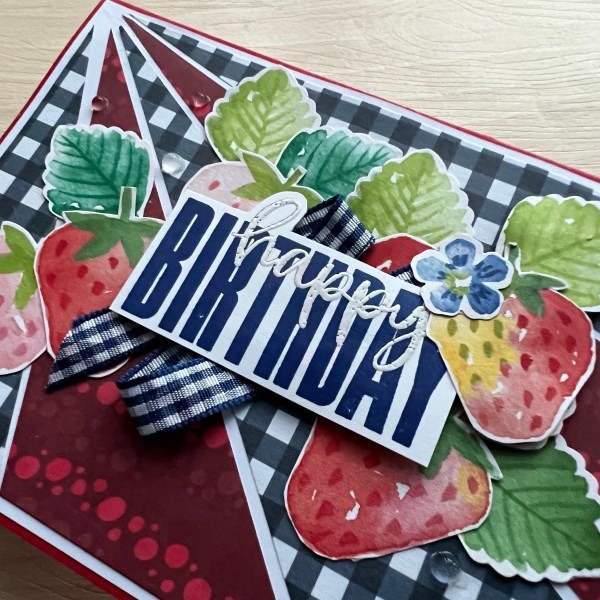
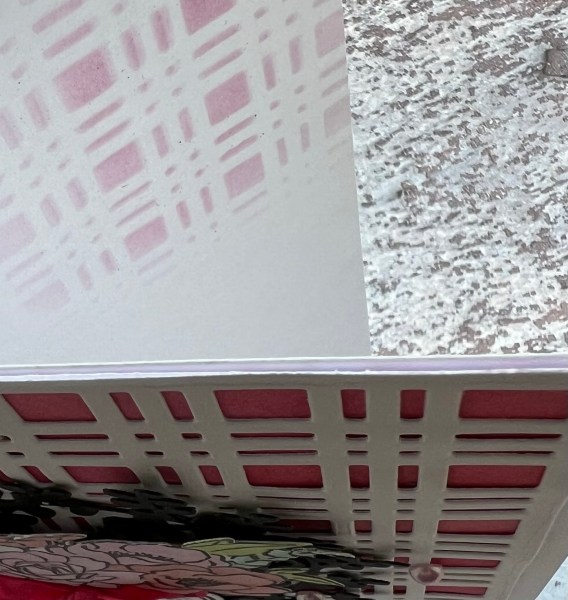
I ended up making a 5×7 card as the floral images are quite large. I used Petal Pink for the base as I know that was one of the flower colours. Also night of Navy for the sentiment and the mat for the sentiment.
I raised the main panel up onto foam but the elements off the sides are flat onto the card base.
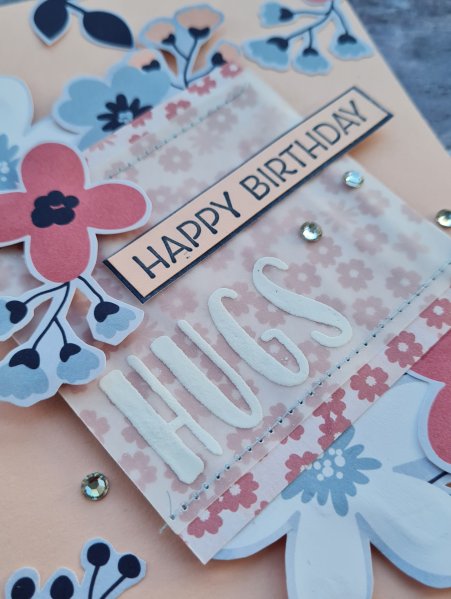
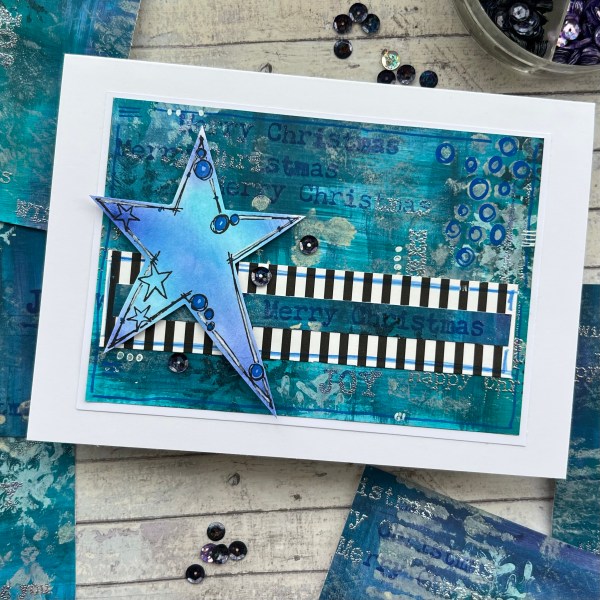
For the sentiment I embossed some vellum with the word hugs and then sewed it onto the patterned panel. Love how this looks and love the Pale blue sewing to pick out the blue in the paper pieces.

Finished off with some gems for some sparkle.
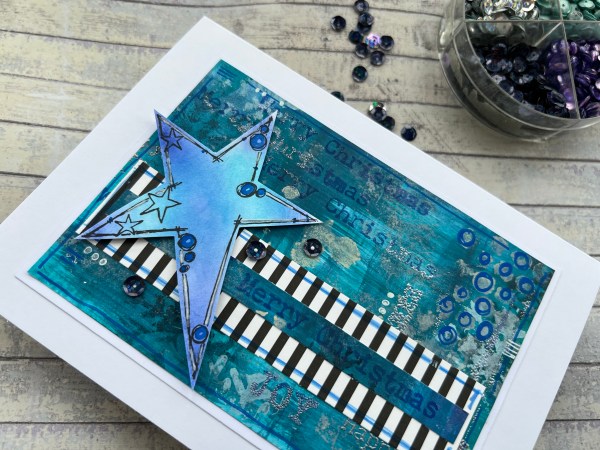
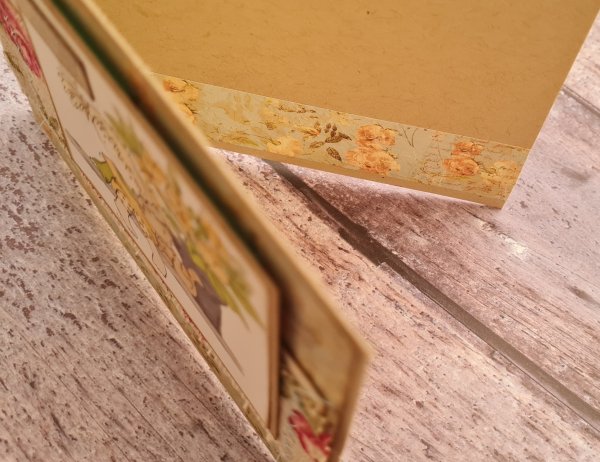
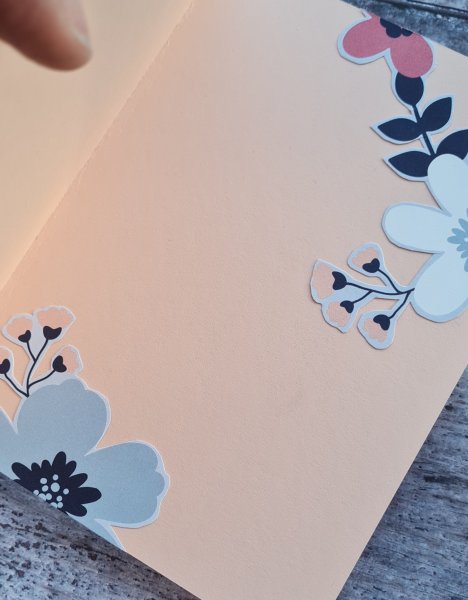
Inside the card I added a few more cut out pieces to decorate too.
Loved this very girly but quite modern feeling card.
Happy crafting!
Catherine