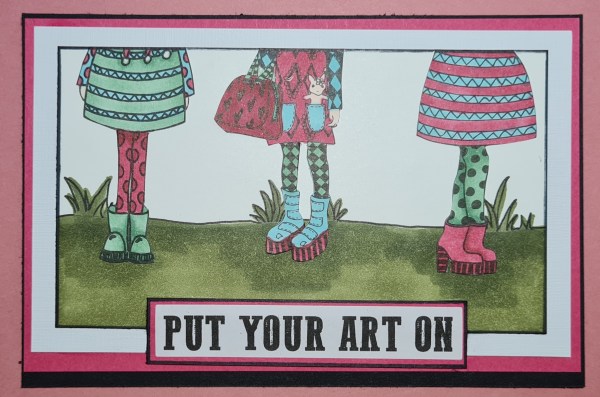
The theme for this months postcard art swap was boots and shoes so I went a bit crazy with three Dylusions dies cuts, promarkers and Stampin Blends to create mine.
I decided to create a scene but focus on the lower halves of the diecuts … I chose the stampin blends in Cherry Cobbler and Just Jade, which I added the promarkers for the blue and skin tones as I haven’t got the right colours in stampin blends.
After colouring in the girls, I created a scene for them to stand in…. sorry just realised I said girls but who knows what gender these characters are… afterall Johannes from strictly can walk better in heels than me!
Anyways back to the scene, I sketched a grassy scene and used the Mossy Meadow pair of stampin blends to colour it in. Then adhered the dies cuts, which I had actually fussy cut out to work better on the scene, and cut them off where the panel ended.
Next I edged the panel with black pen, and adhered it to a white panel, then the Magenta Madness.
I chose the sentiment from the Art By Marlene sticker book and mounted that on the magenta madness cardstock too and stuck that on.
Finally added it to a 6×4 postcard made from black to make the panel nice and strong for going through the post!
Last night I had fun crafting along with my friends using the True Love dsp.
The plan for this session was to enjoy colouring in some images and then assembling the cards around these images as the True Love dsp is perfect for fussy cutting and for colouring in with the black and white floral images. The plan was also for us to make six cards but we only managed 3 so will be having another session next Thursday to do the other three.
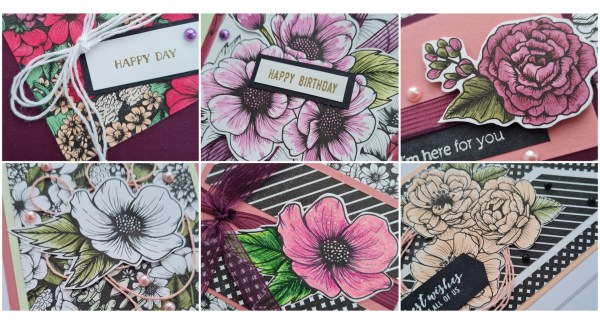
Here are the samples I made.
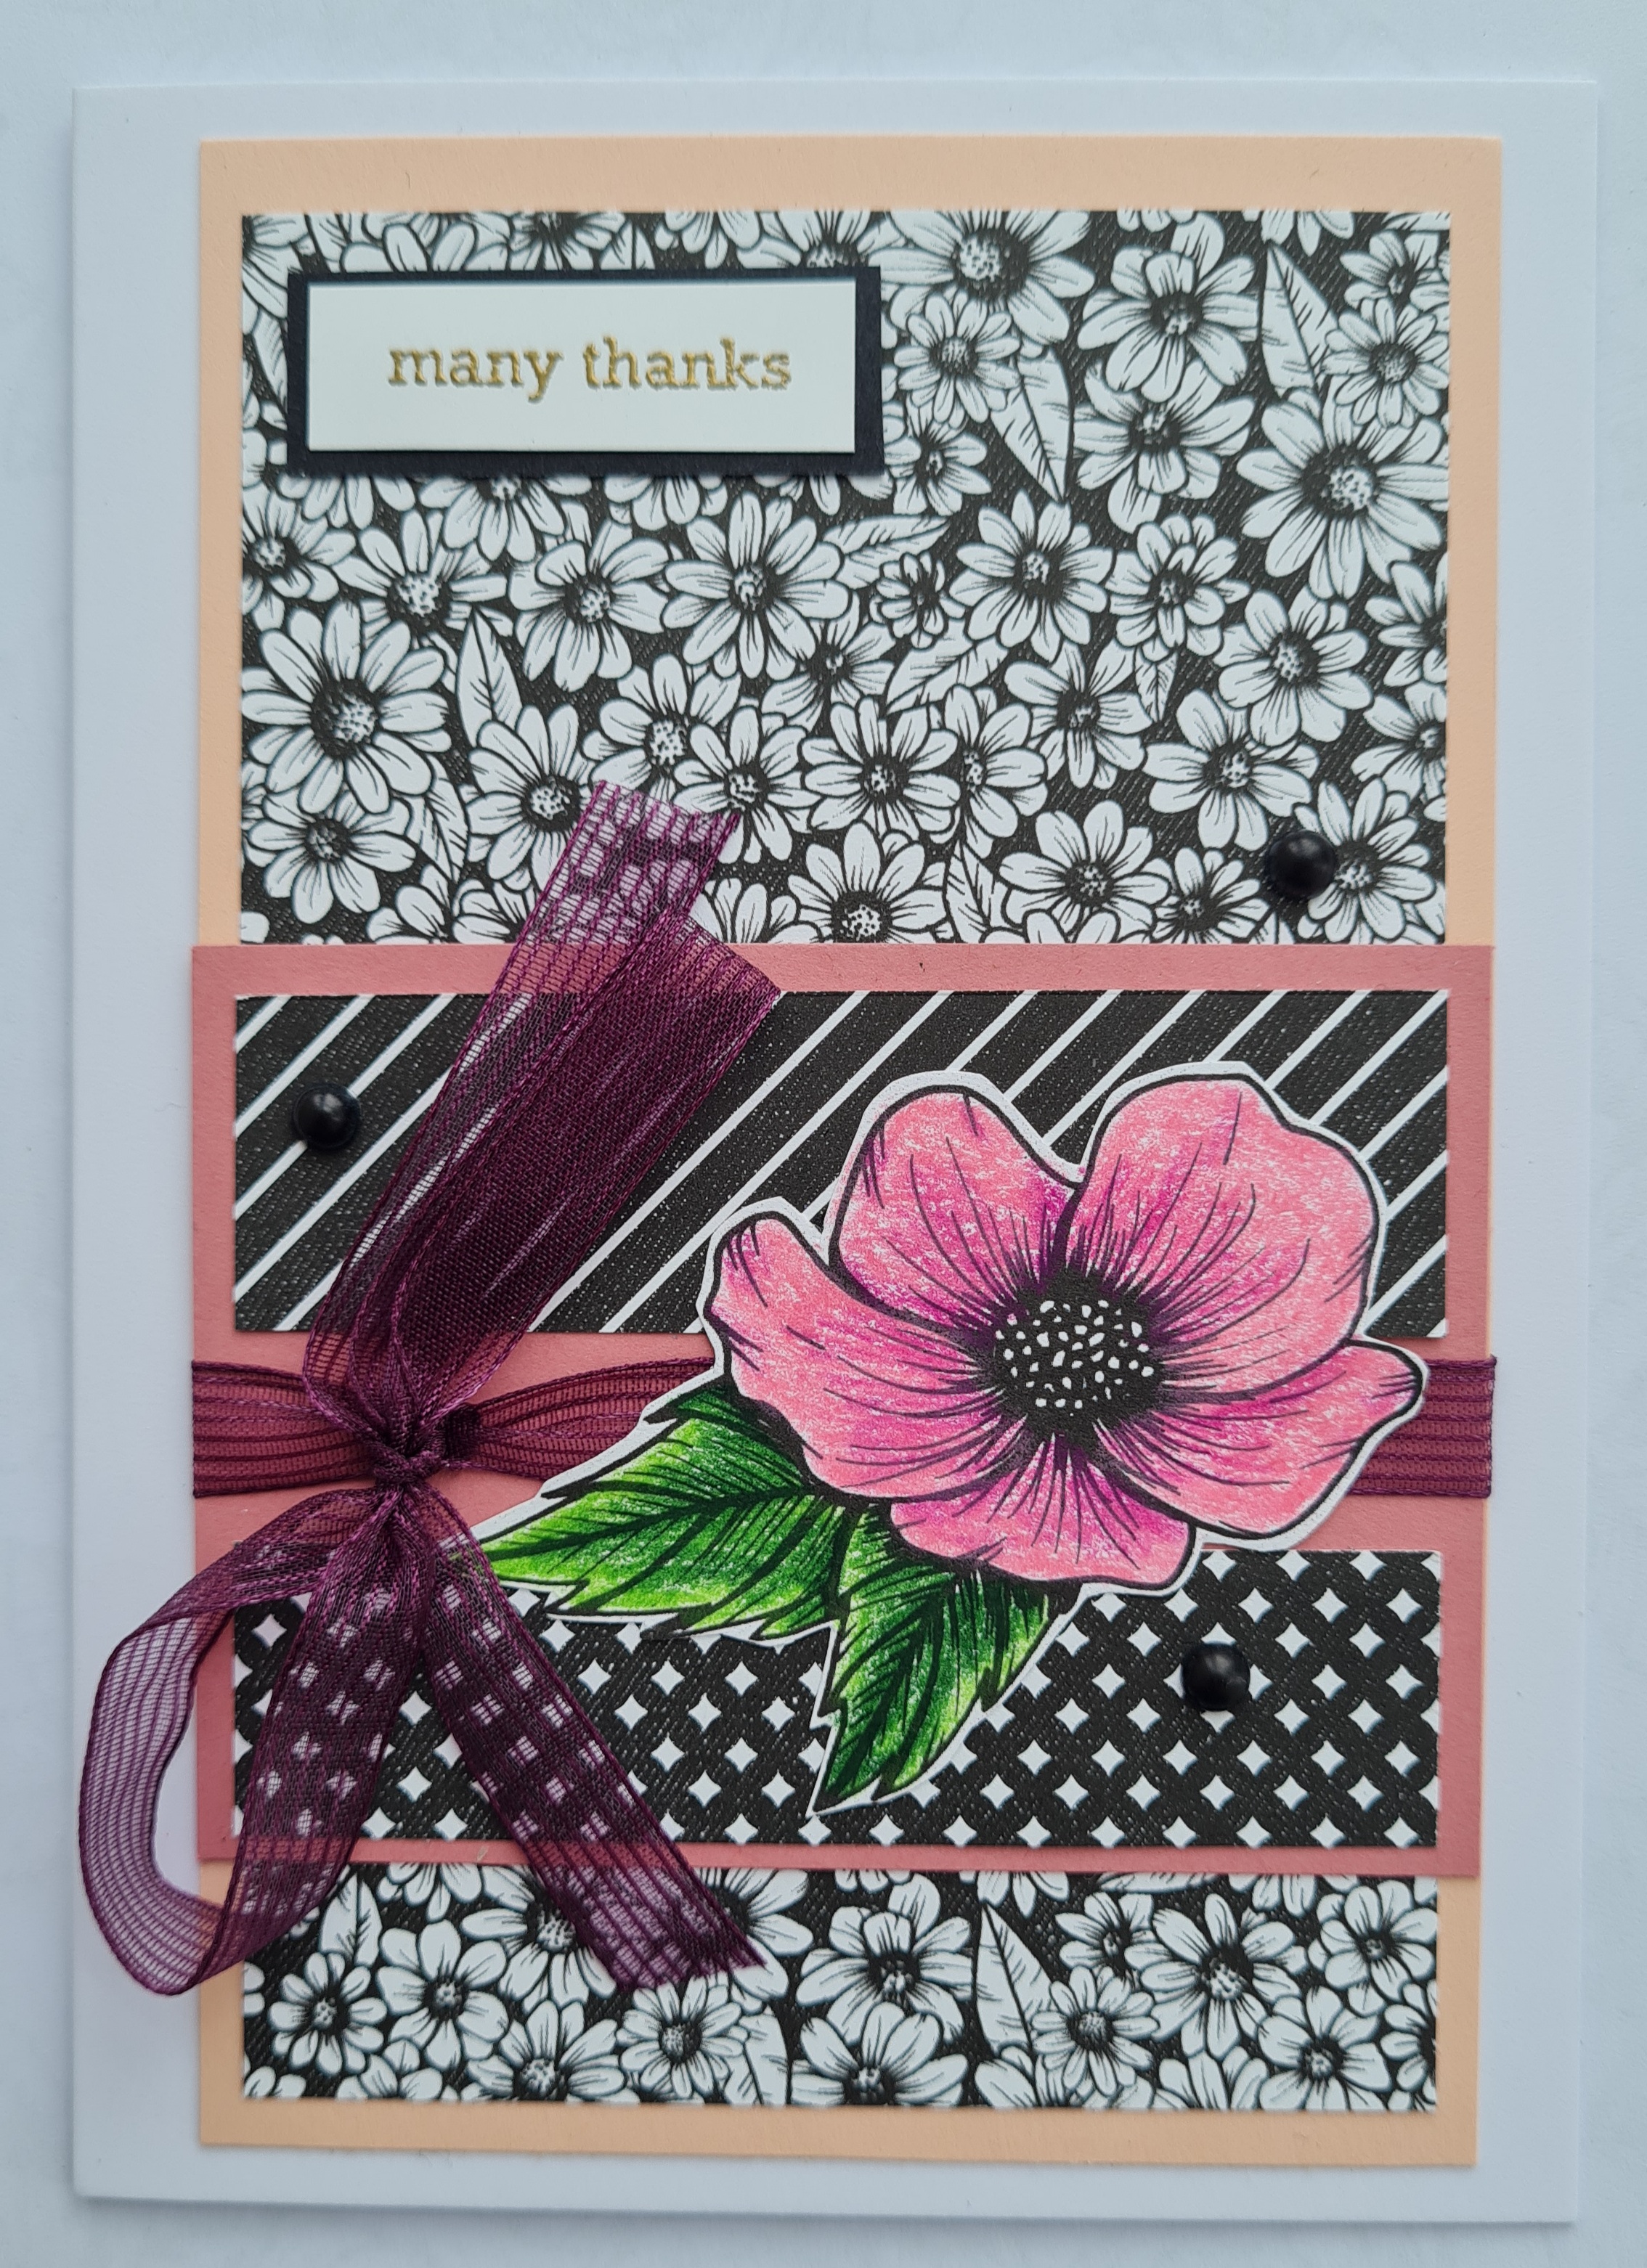
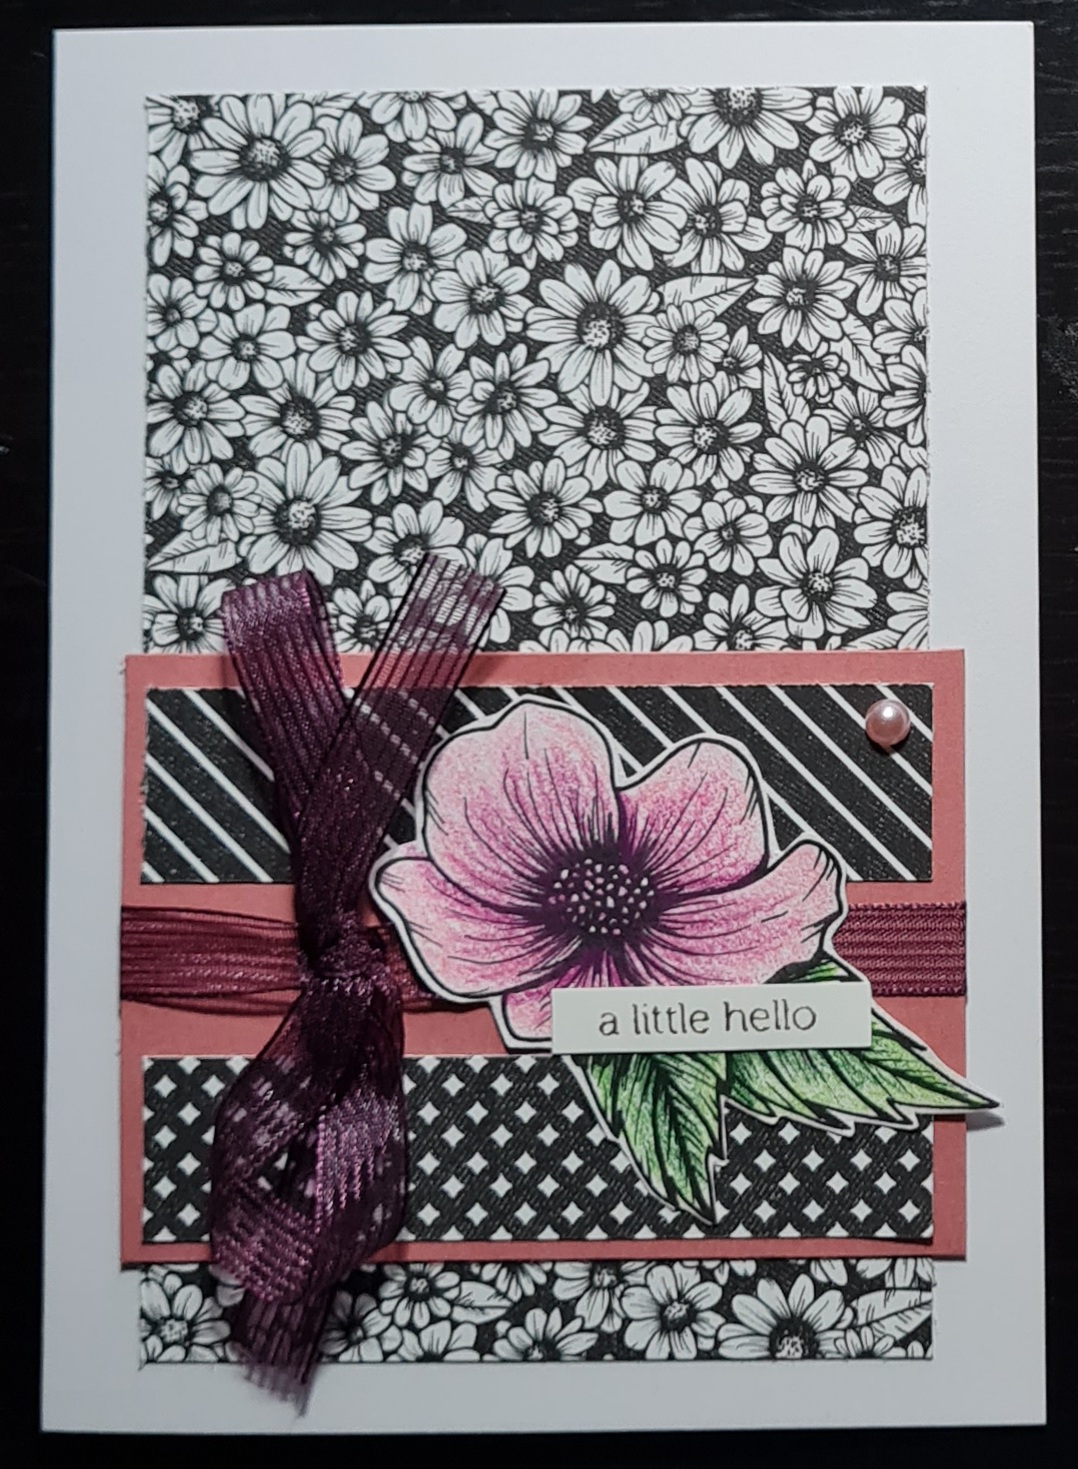
The first card is quite dramatic with the stripes and diamond patterned paper that is the reverse to the floral and is balanced by the large flower cluster. I chose the lovely Petal pink colour for colouring in and using as the accent colour with the twine and cardstock. I used Stampin Blends to colour this one. I chose to use Itty Bitty Greetings on all my cards as sentiments, either embossing in white on black or gold on white. I also embellished with black matt dots for this card.
Next card is a very busy daisy like background with little strips of the reverse patterns. This time I chose prismacolour pencils to colour in the image. I added the Blackberry Bliss ribbon and a nice bow to finish this one off. The colours on the pic have come out a little strange as the flower is less neon in real life but even so I love this card with the contrasts.
This one is more subtle than the previous that’s for certain… a small image from the same paper as the background fussy cut and coloured (Stampin Blends) makes a nice embellishment and I raised it on dimensional to sit above the ribbon that wraps the card. This time I chose the Pastel Pearl’s for embellishment.
Entering this in for the challenge at GET CREATIVE
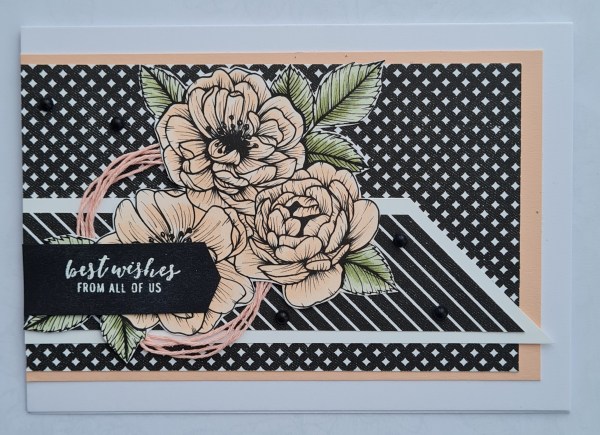
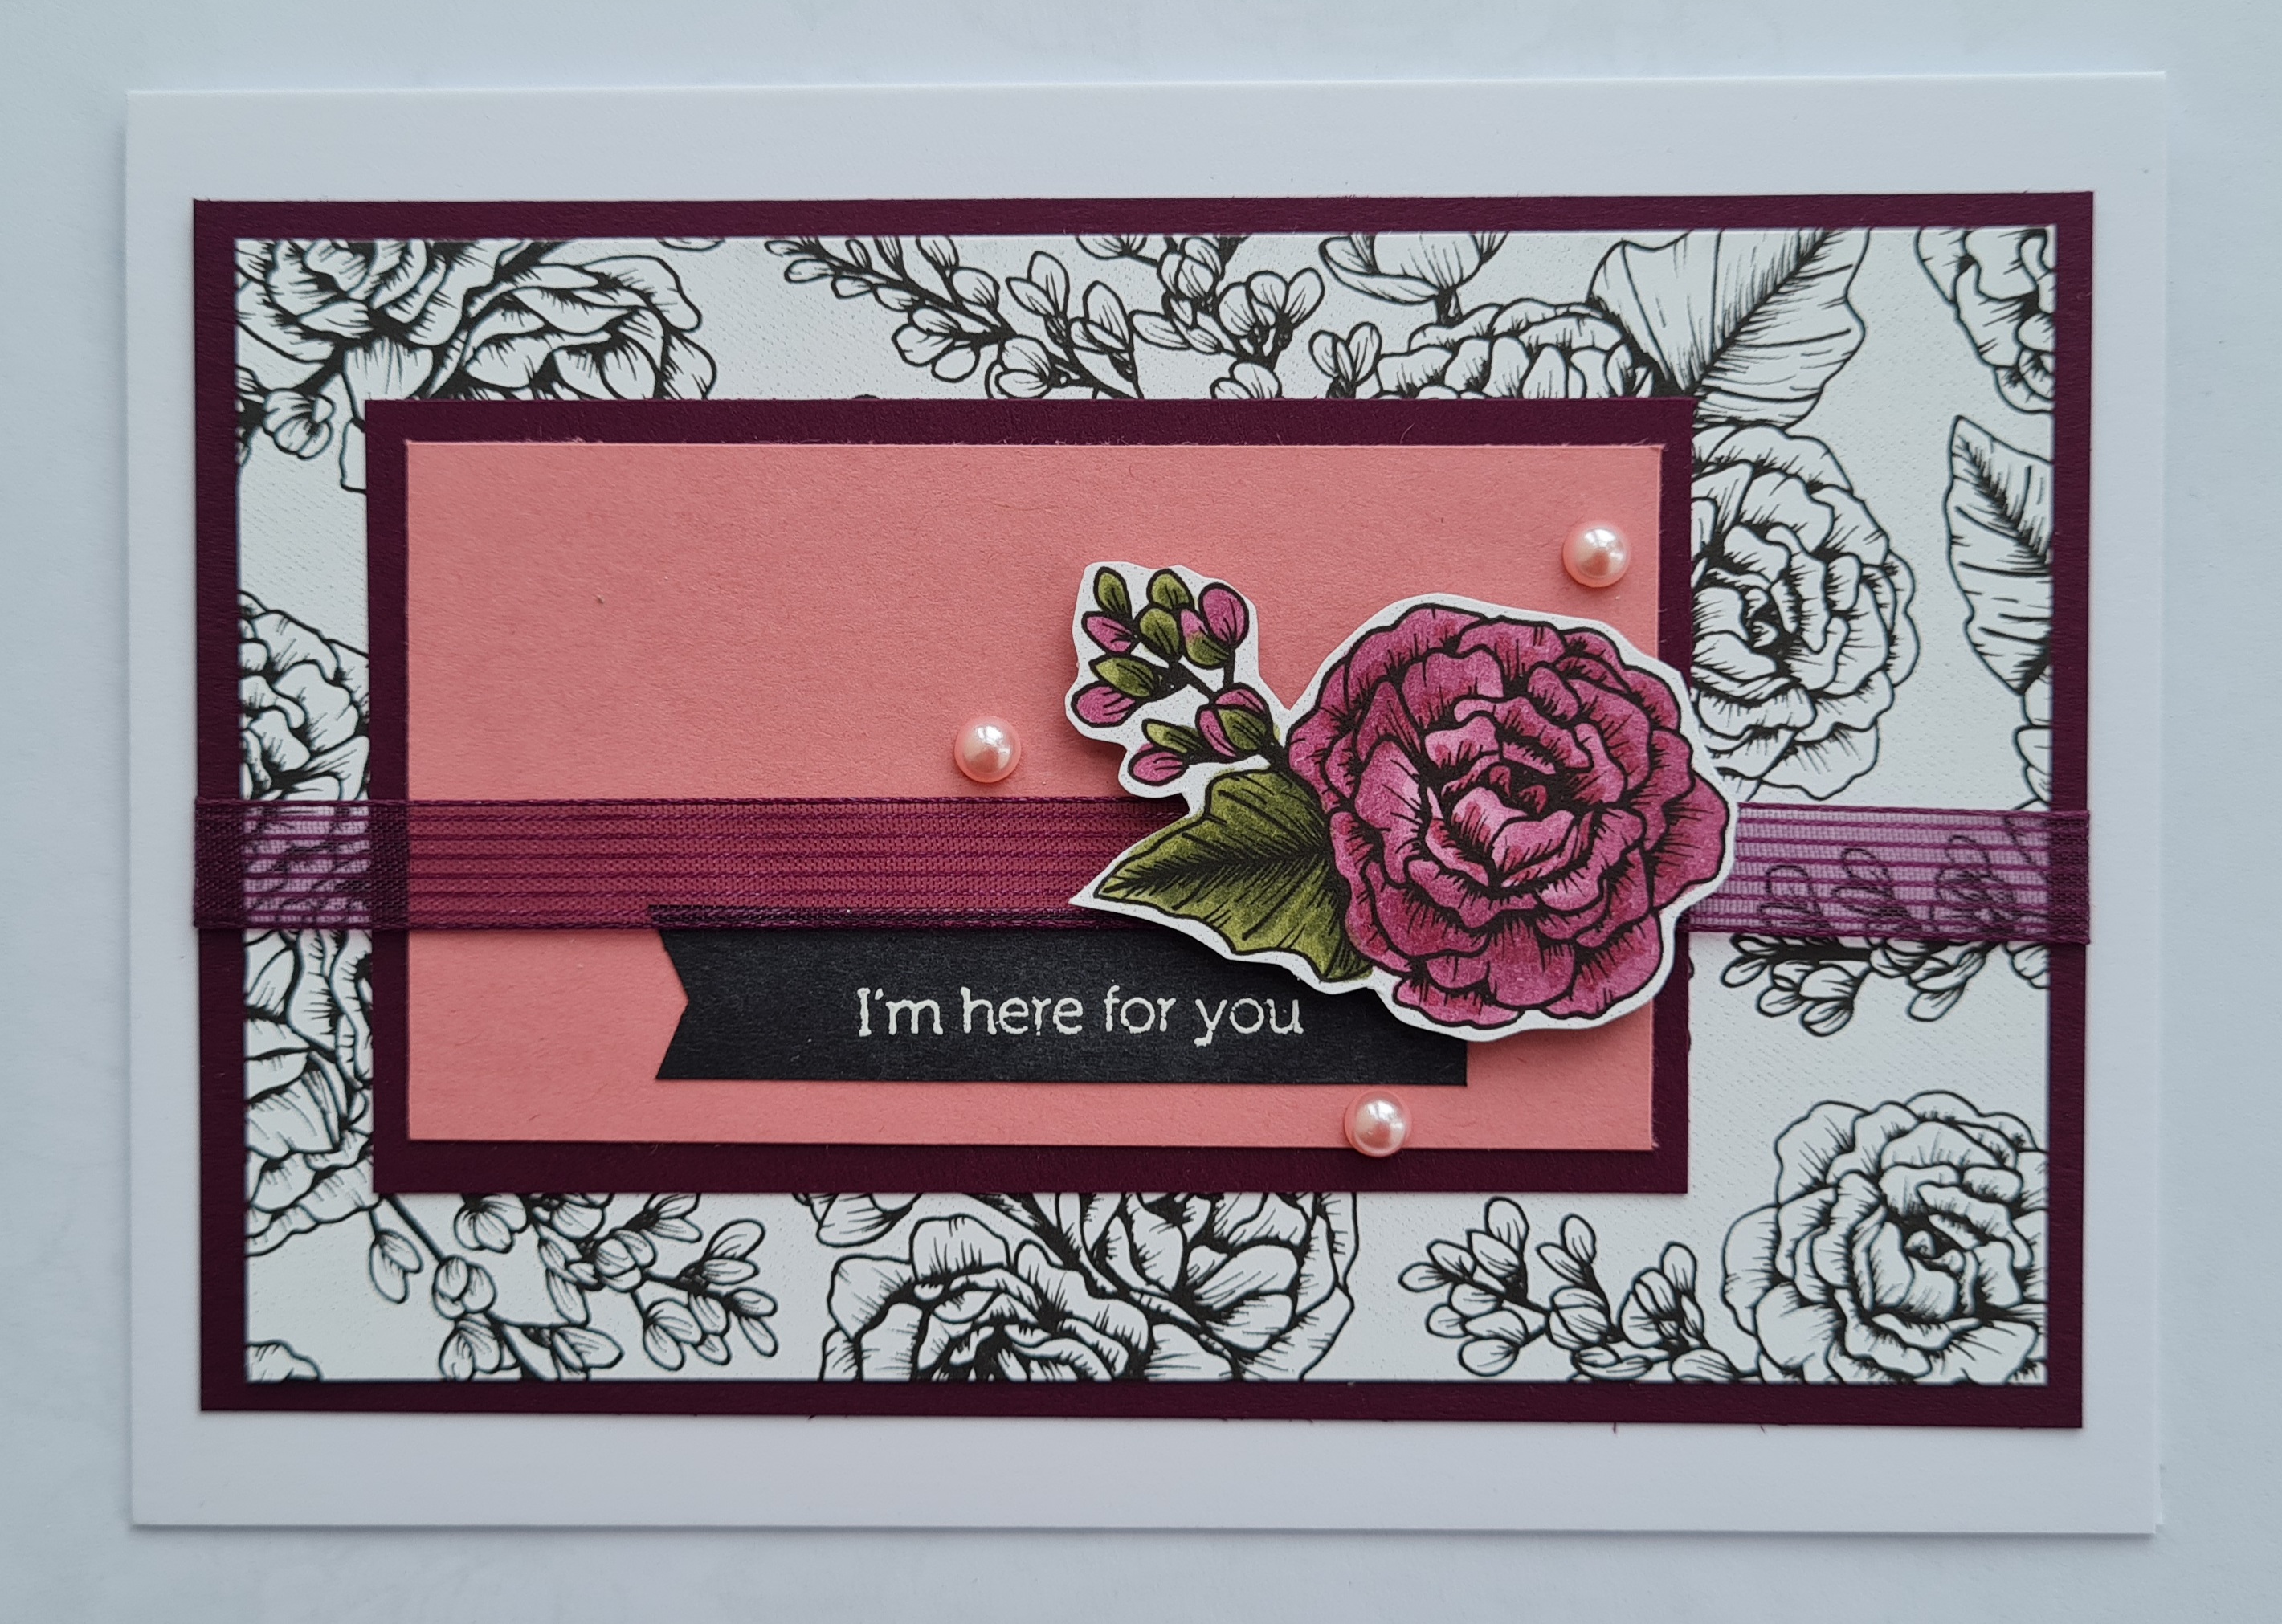
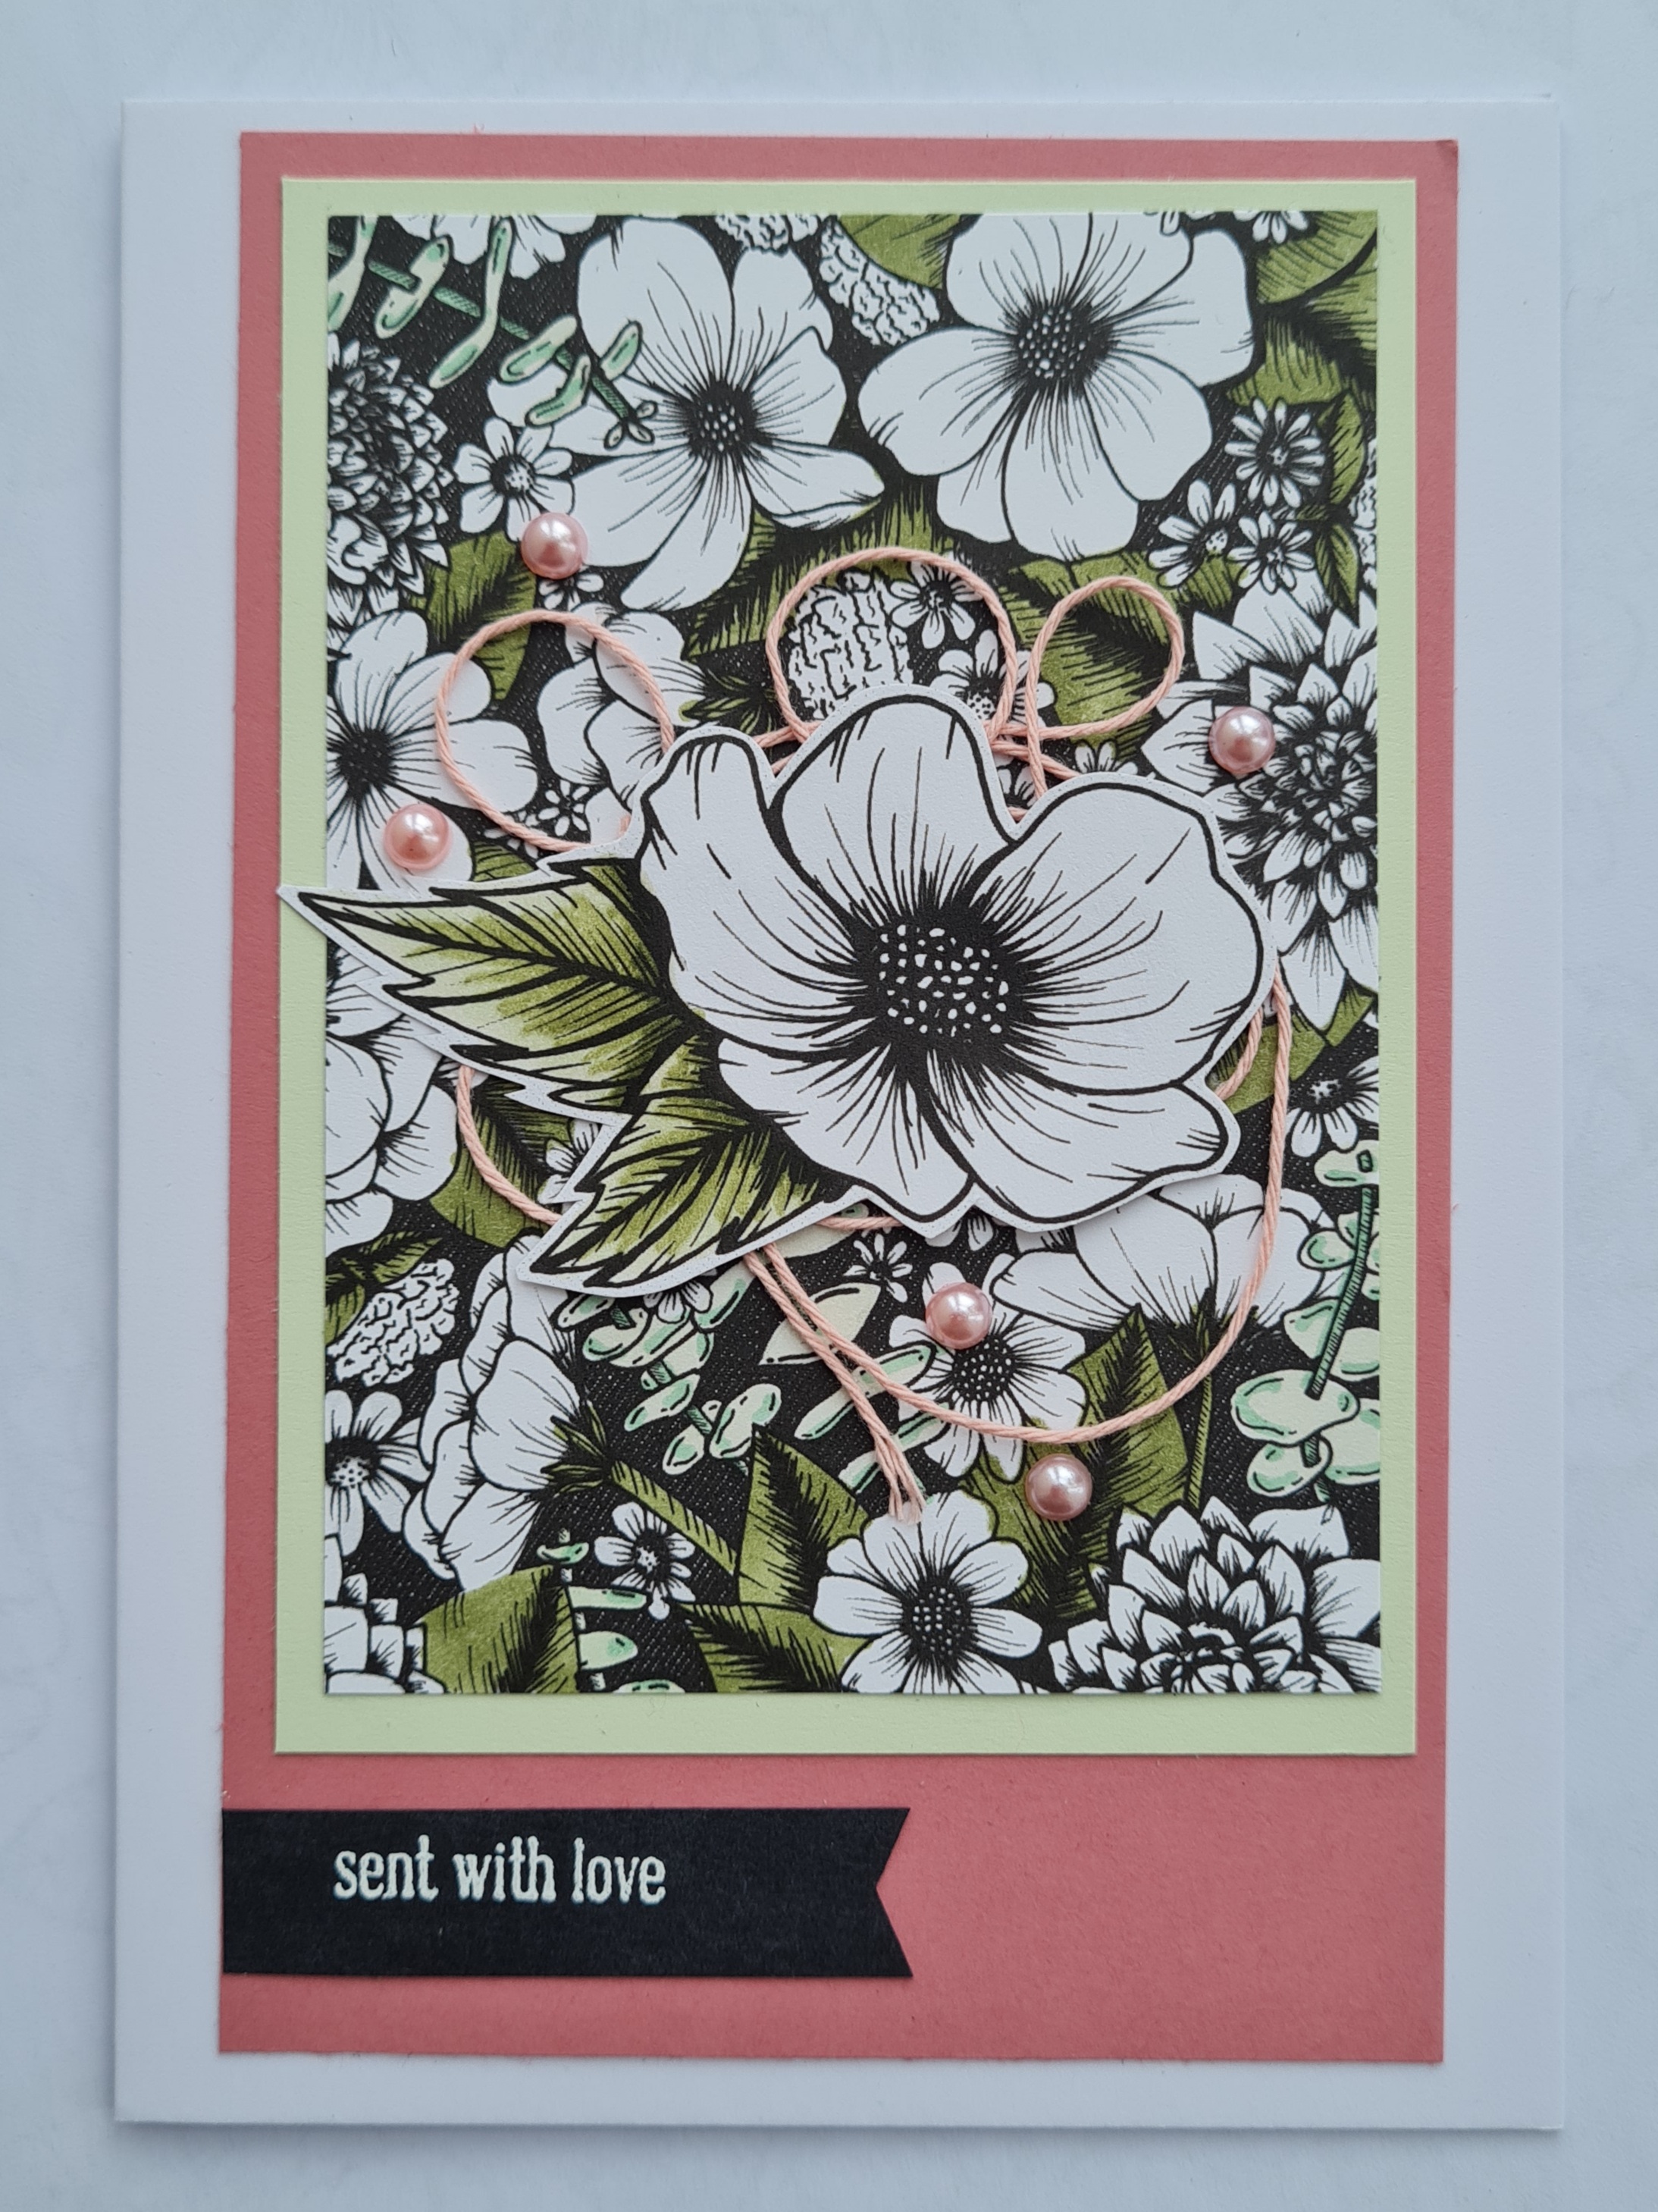
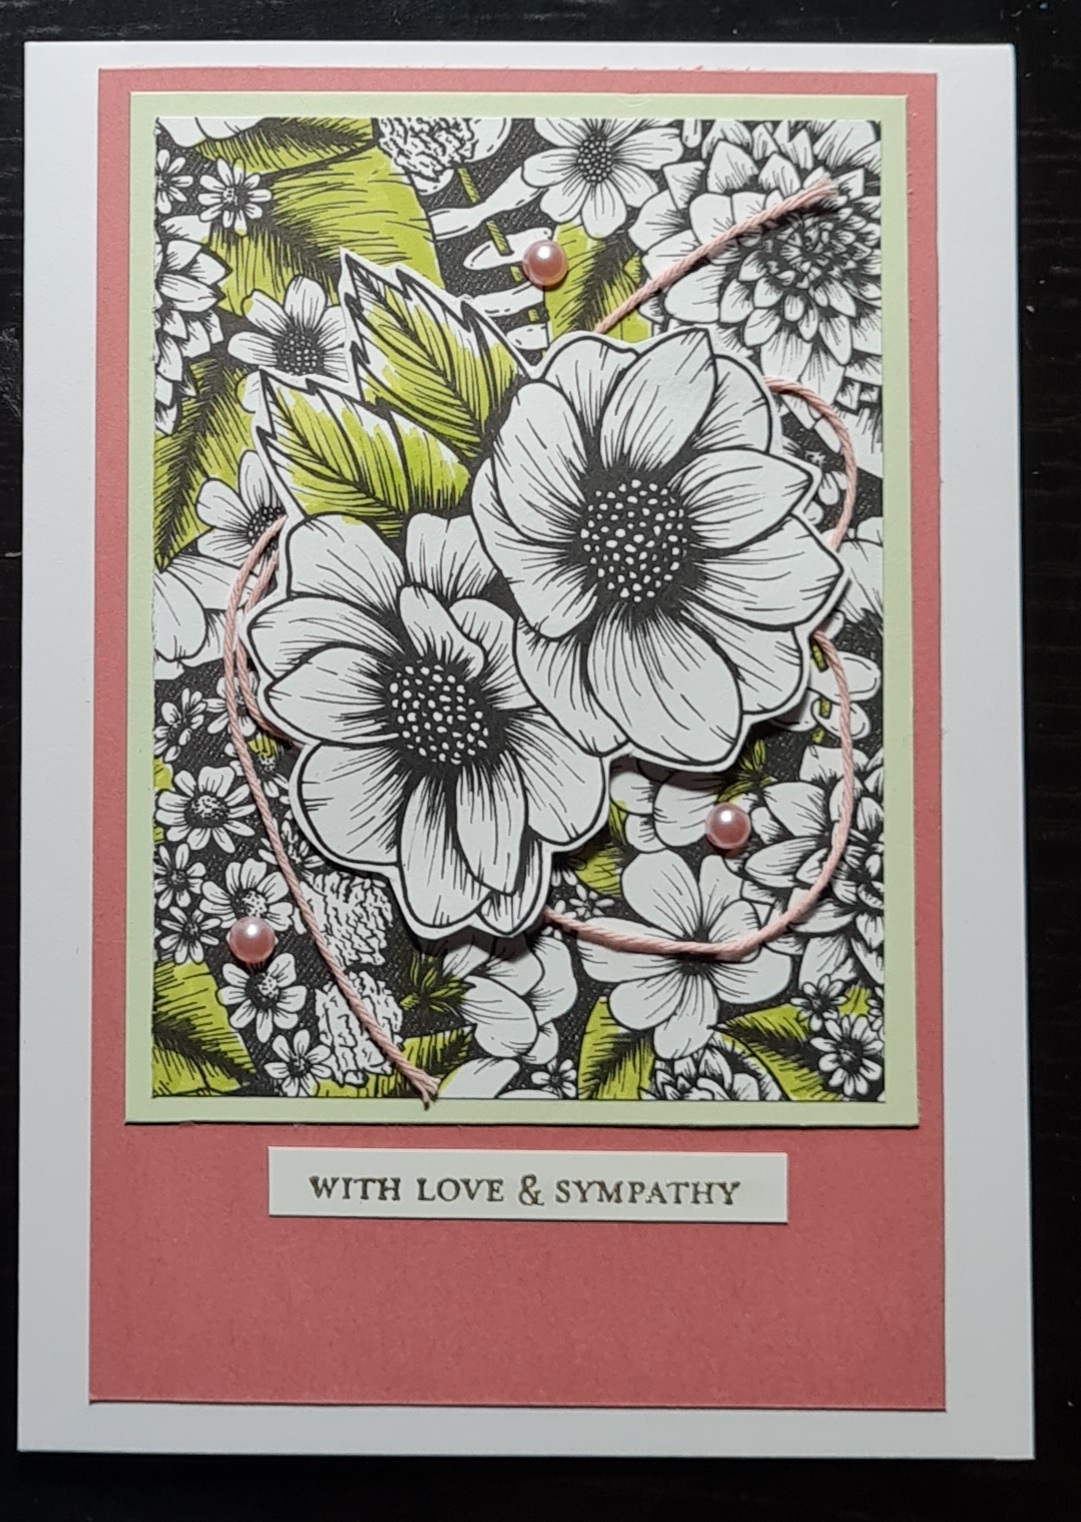
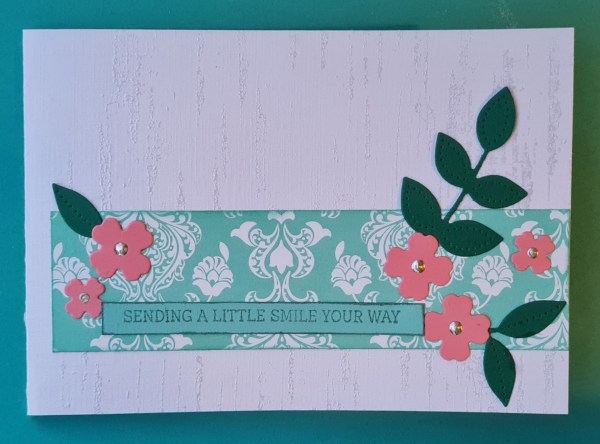
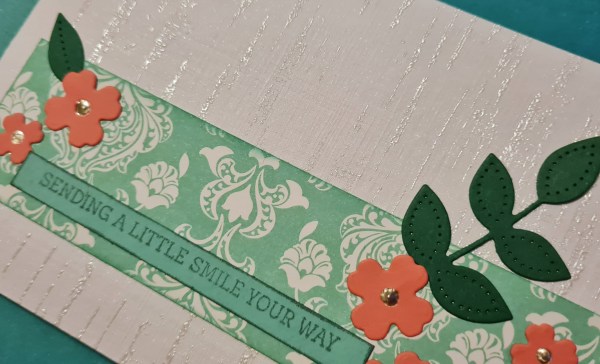
I love this next card… possibly one of my favourites from the set. This time I chose to only colour the green elements and leave the rest white and black. I then chose a similar looking flower from one of the papers and fussy cut that, again only colouring in the leaves. I added the twine for embellishment under the flower and mounted the panel on soft sea foam and then the Rococo Rose. I added the sentiment as a banner and the pastel pearls for further embellishment.
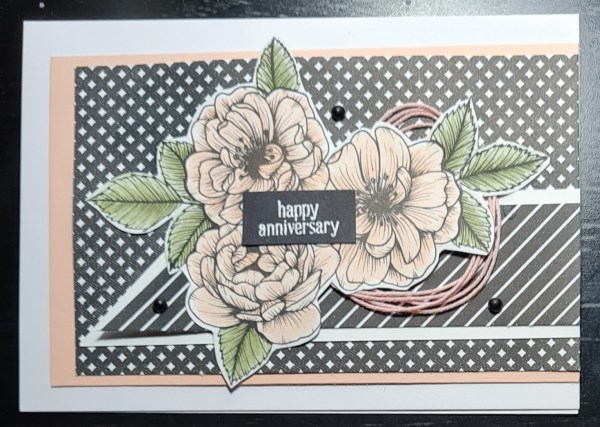
OK I know I said the one above was my favourite… but this is the one that it competes with as most favourite! Terrible English I know, sorry about that! This time I fussy cut the floral element I wanted to colour and used a waterbrush and the Blackberry Bliss ink pad to add some colour to the flowers in the centres and the Old Olive for the leaves/ stem.
I then chose the same paper as a panel but gave it a hand drawn border with with Stampin Blends and panel of soft seam foam for underneath. I laid them wonky and added a twist of the ribbon under the floral focal feature. I added the sentiment right in the middle and embellished with the pearls.
Really can’t decide which I prefer out of those two.
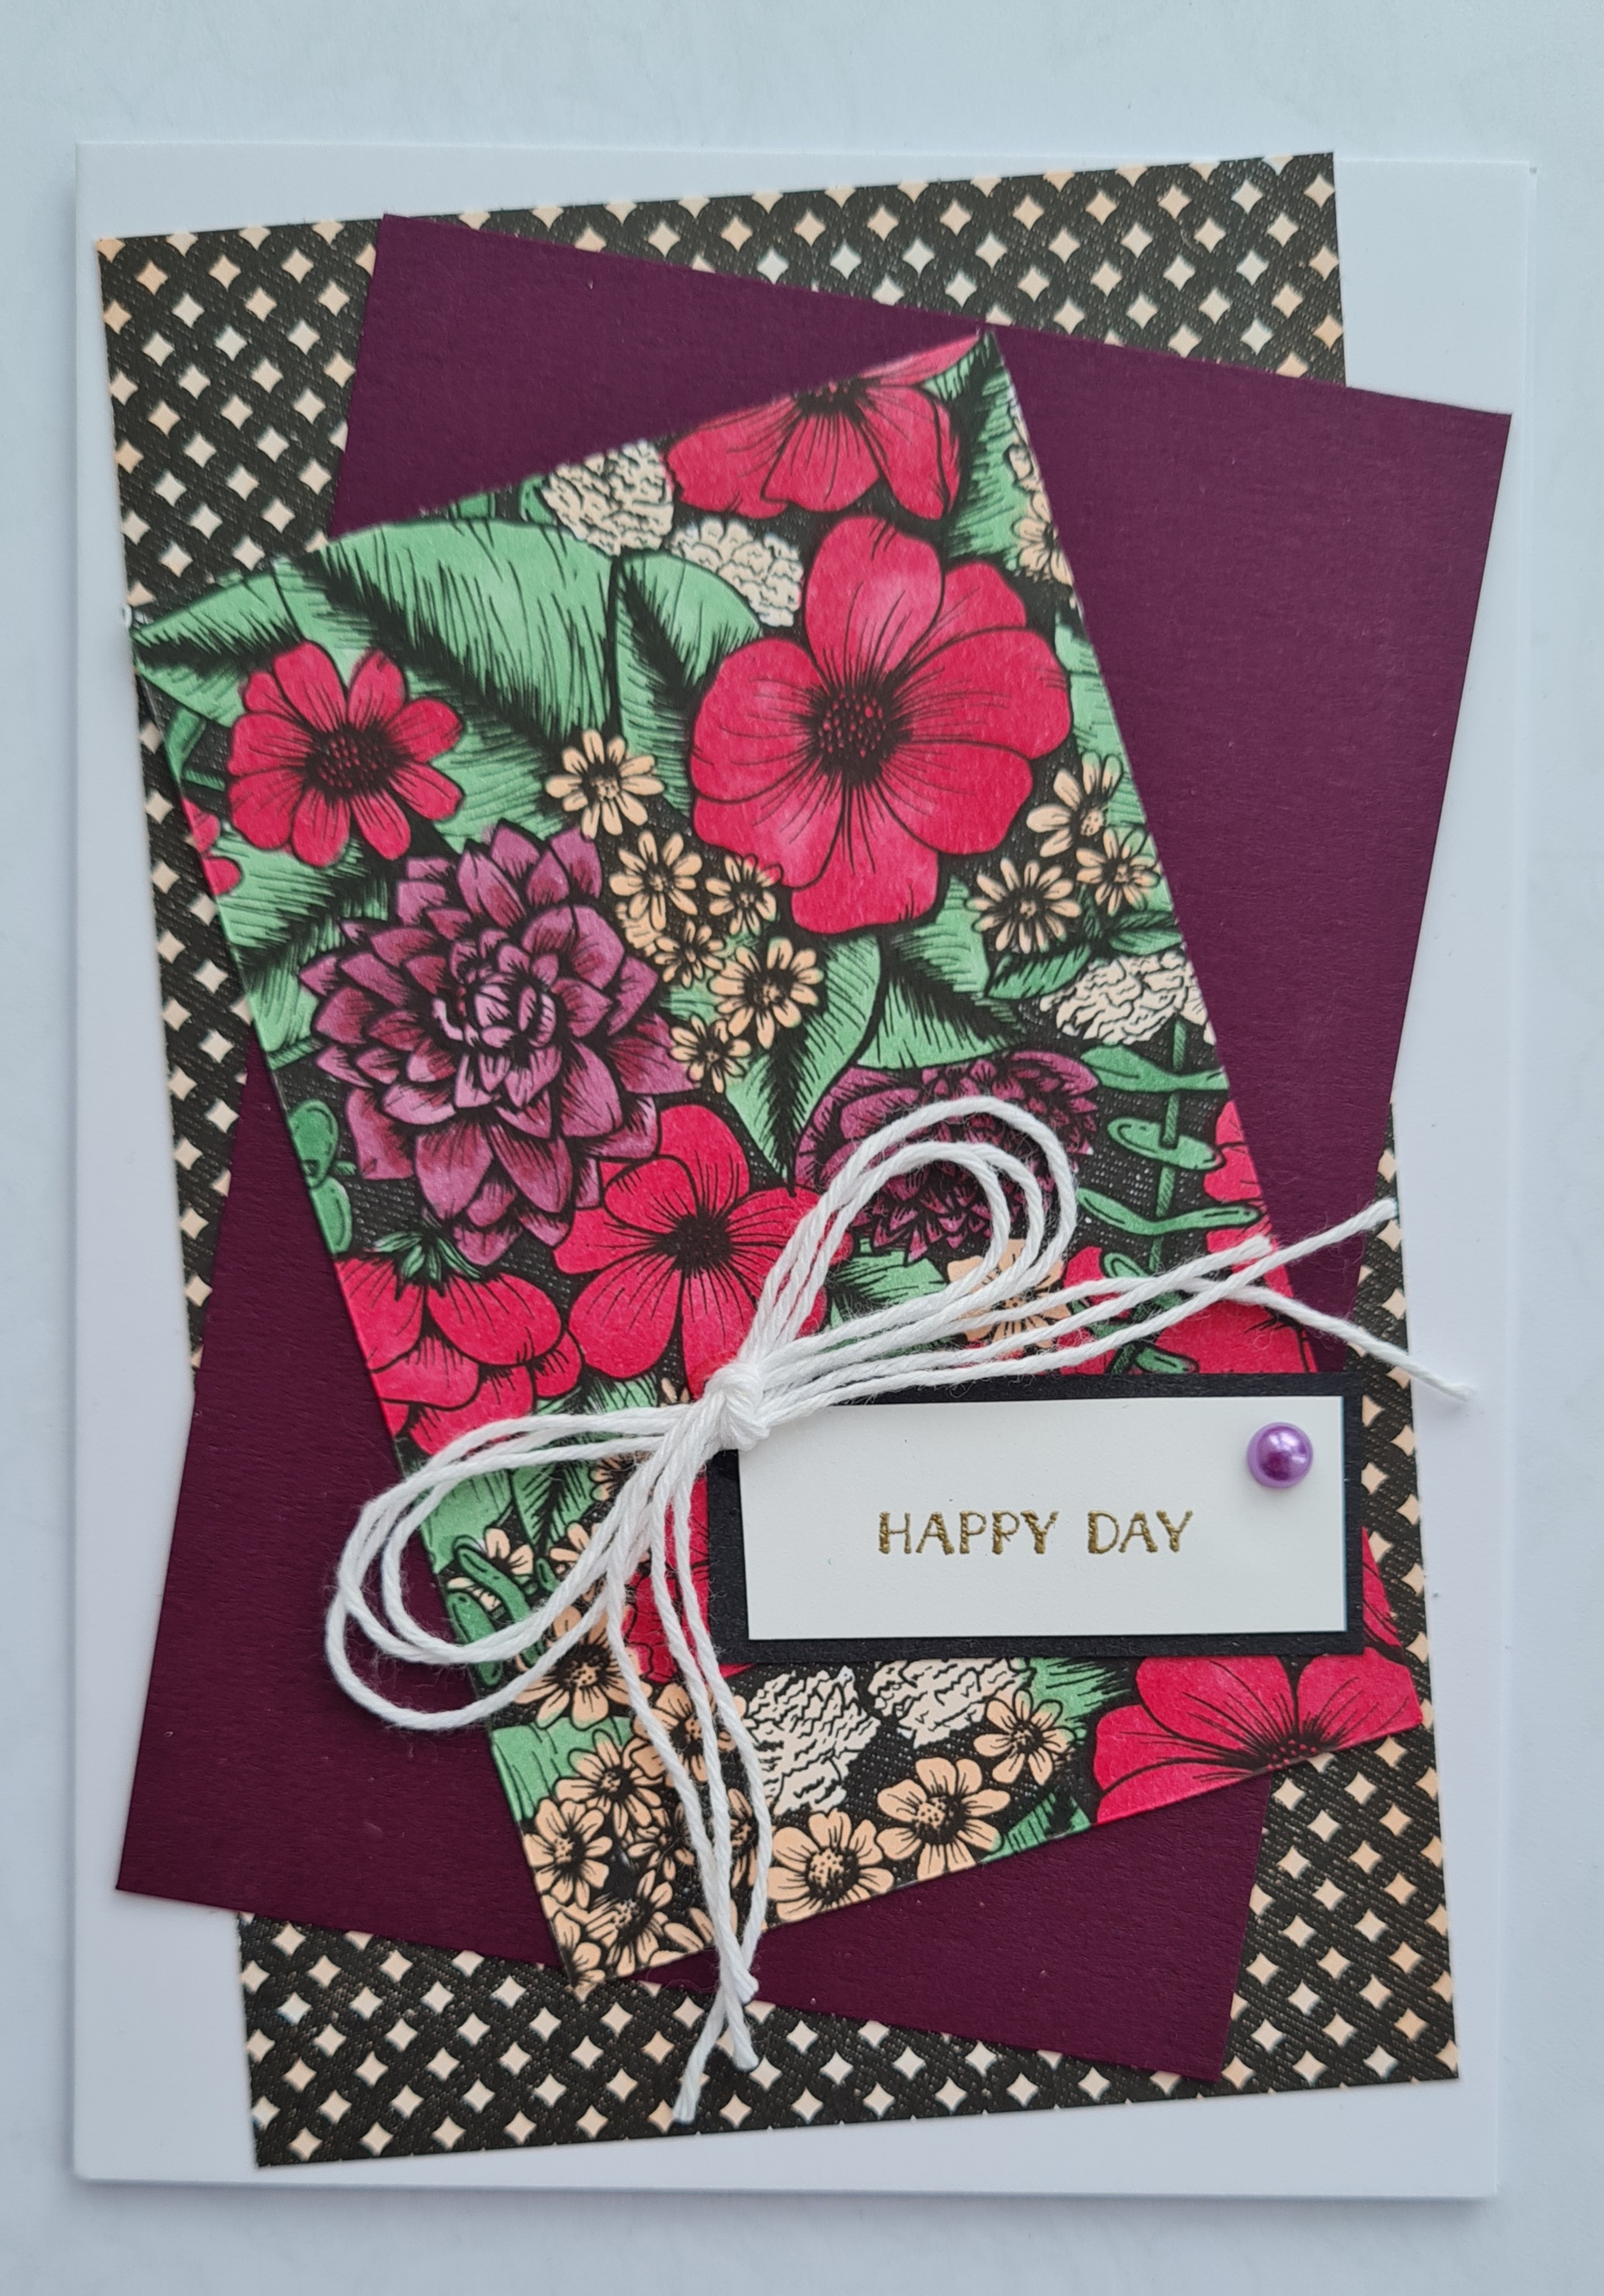
Finally this one I went mad with colouring in. This paper was so busy but I thought a small piece of it fully coloured in would be fun… I used stampin blends in cherry cobbler, blackberry bliss, petal pink and just jade to colour it in and it looks so rich… just love it.
The bottom piece of dsp I also added the petal pink colour … a reminder that all dsp can be coloured in not just the image based ones!
This time some simple white twine and a single pastel pearl did the job to finish off. This is a very different card… but fabulous in its own right!
Love this set of floral cards with the dramatic black and white and the beautiful colours of Petal Pink, Rococo Rose, Blackberry Bliss and Soft Sea Foam… a lovely combo.
Also really enjoyed the colouring in time… so relaxing!
The kit I put together had lots of leftovers after these projects… so look out for more projects using them up… not just the little tag I shared yesterday! Plus of course these are the samples I made… I did slightly change them on the evening for these three versions…
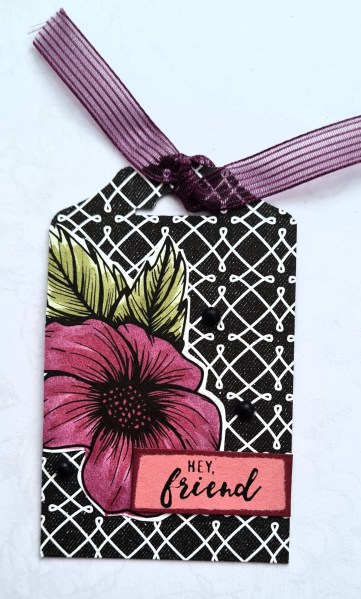
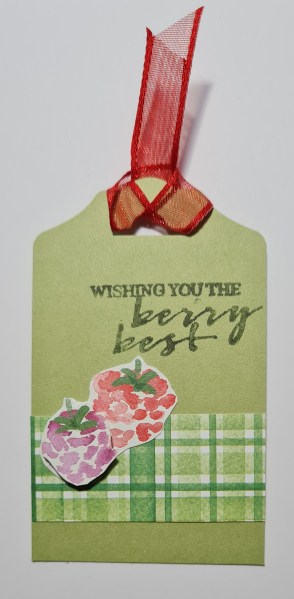
Today I have a quick tag I made using scraps leftover from the card making zoom session kit … what card making zoom session… well the one I am hosting tonight. When making up kits, I portion out the supplies for the attendees and myself as a sample kit, then make the cards and then play with the leftovers… I aways give enough supplies so there are leftovers to play with. Well this time there are a few projects I made with leftovers, but one was this cute little tag.
I backed the dsp with some card and then cut to size and punched it out. I find just punching dsp means the paper tears when you add the ribbon so like to back it in cardstock first
Then the flower was an edge piece from one of the pieces of dsp left over … perfect size for a little tag.
I coloured it in using my Stampin Blends.
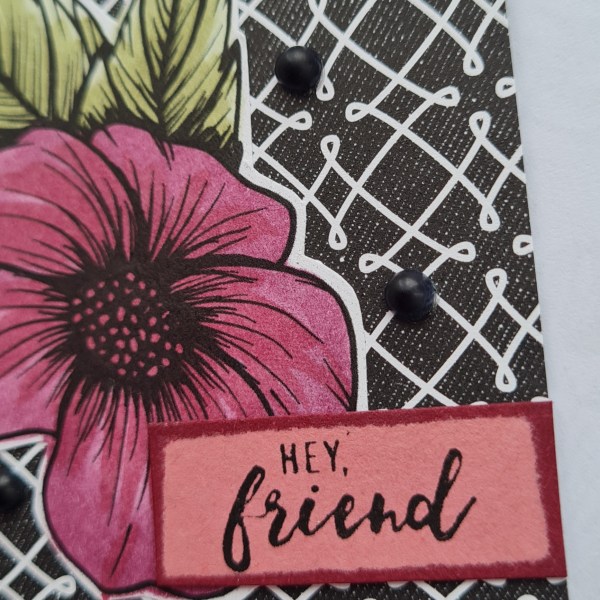
In real life the colour match on the flower and the Blackberry Bliss ribbon is much closer but for some reason the colour looks pink on the picture. I added the sentiment on a tiny scrap of cardstock and then the matt black dots and the scrap of ribbon to finish off!
Loved the cute tag and it will make a perfect added element when sending some Happy mail in the post.
Entering this in the pink/red challenge at Get creative
I don’t always join in with the ATC swap at UK stampers forum, but this month the challenge was hearts and I am still absolutely in love with this stamp Darcy designed for Paperartsy. It’s been one of my favourites for a long time.
I kept to the theme of using the same dsp on the ATCs as I did for the coins… the red gingham from Berry Delightful. Then I embossed the heart onto white and cut it out.
I decided that it needed something behind the heart so I added strips of black washi tape. Then I added the red heart punched shape and added stickles to it for some bling.
I outlined the cards in black pen and called it done. Super simple and super effective!
Entering these for the red/pink challenge at GET CREATIVE
OK confession time… I actually made these during the craftalong zoom session I had a few weeks ago and have saved them up for a Stampin Up Sunday blog.
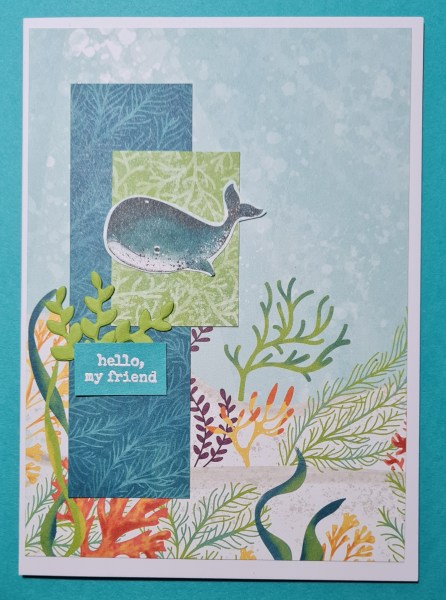
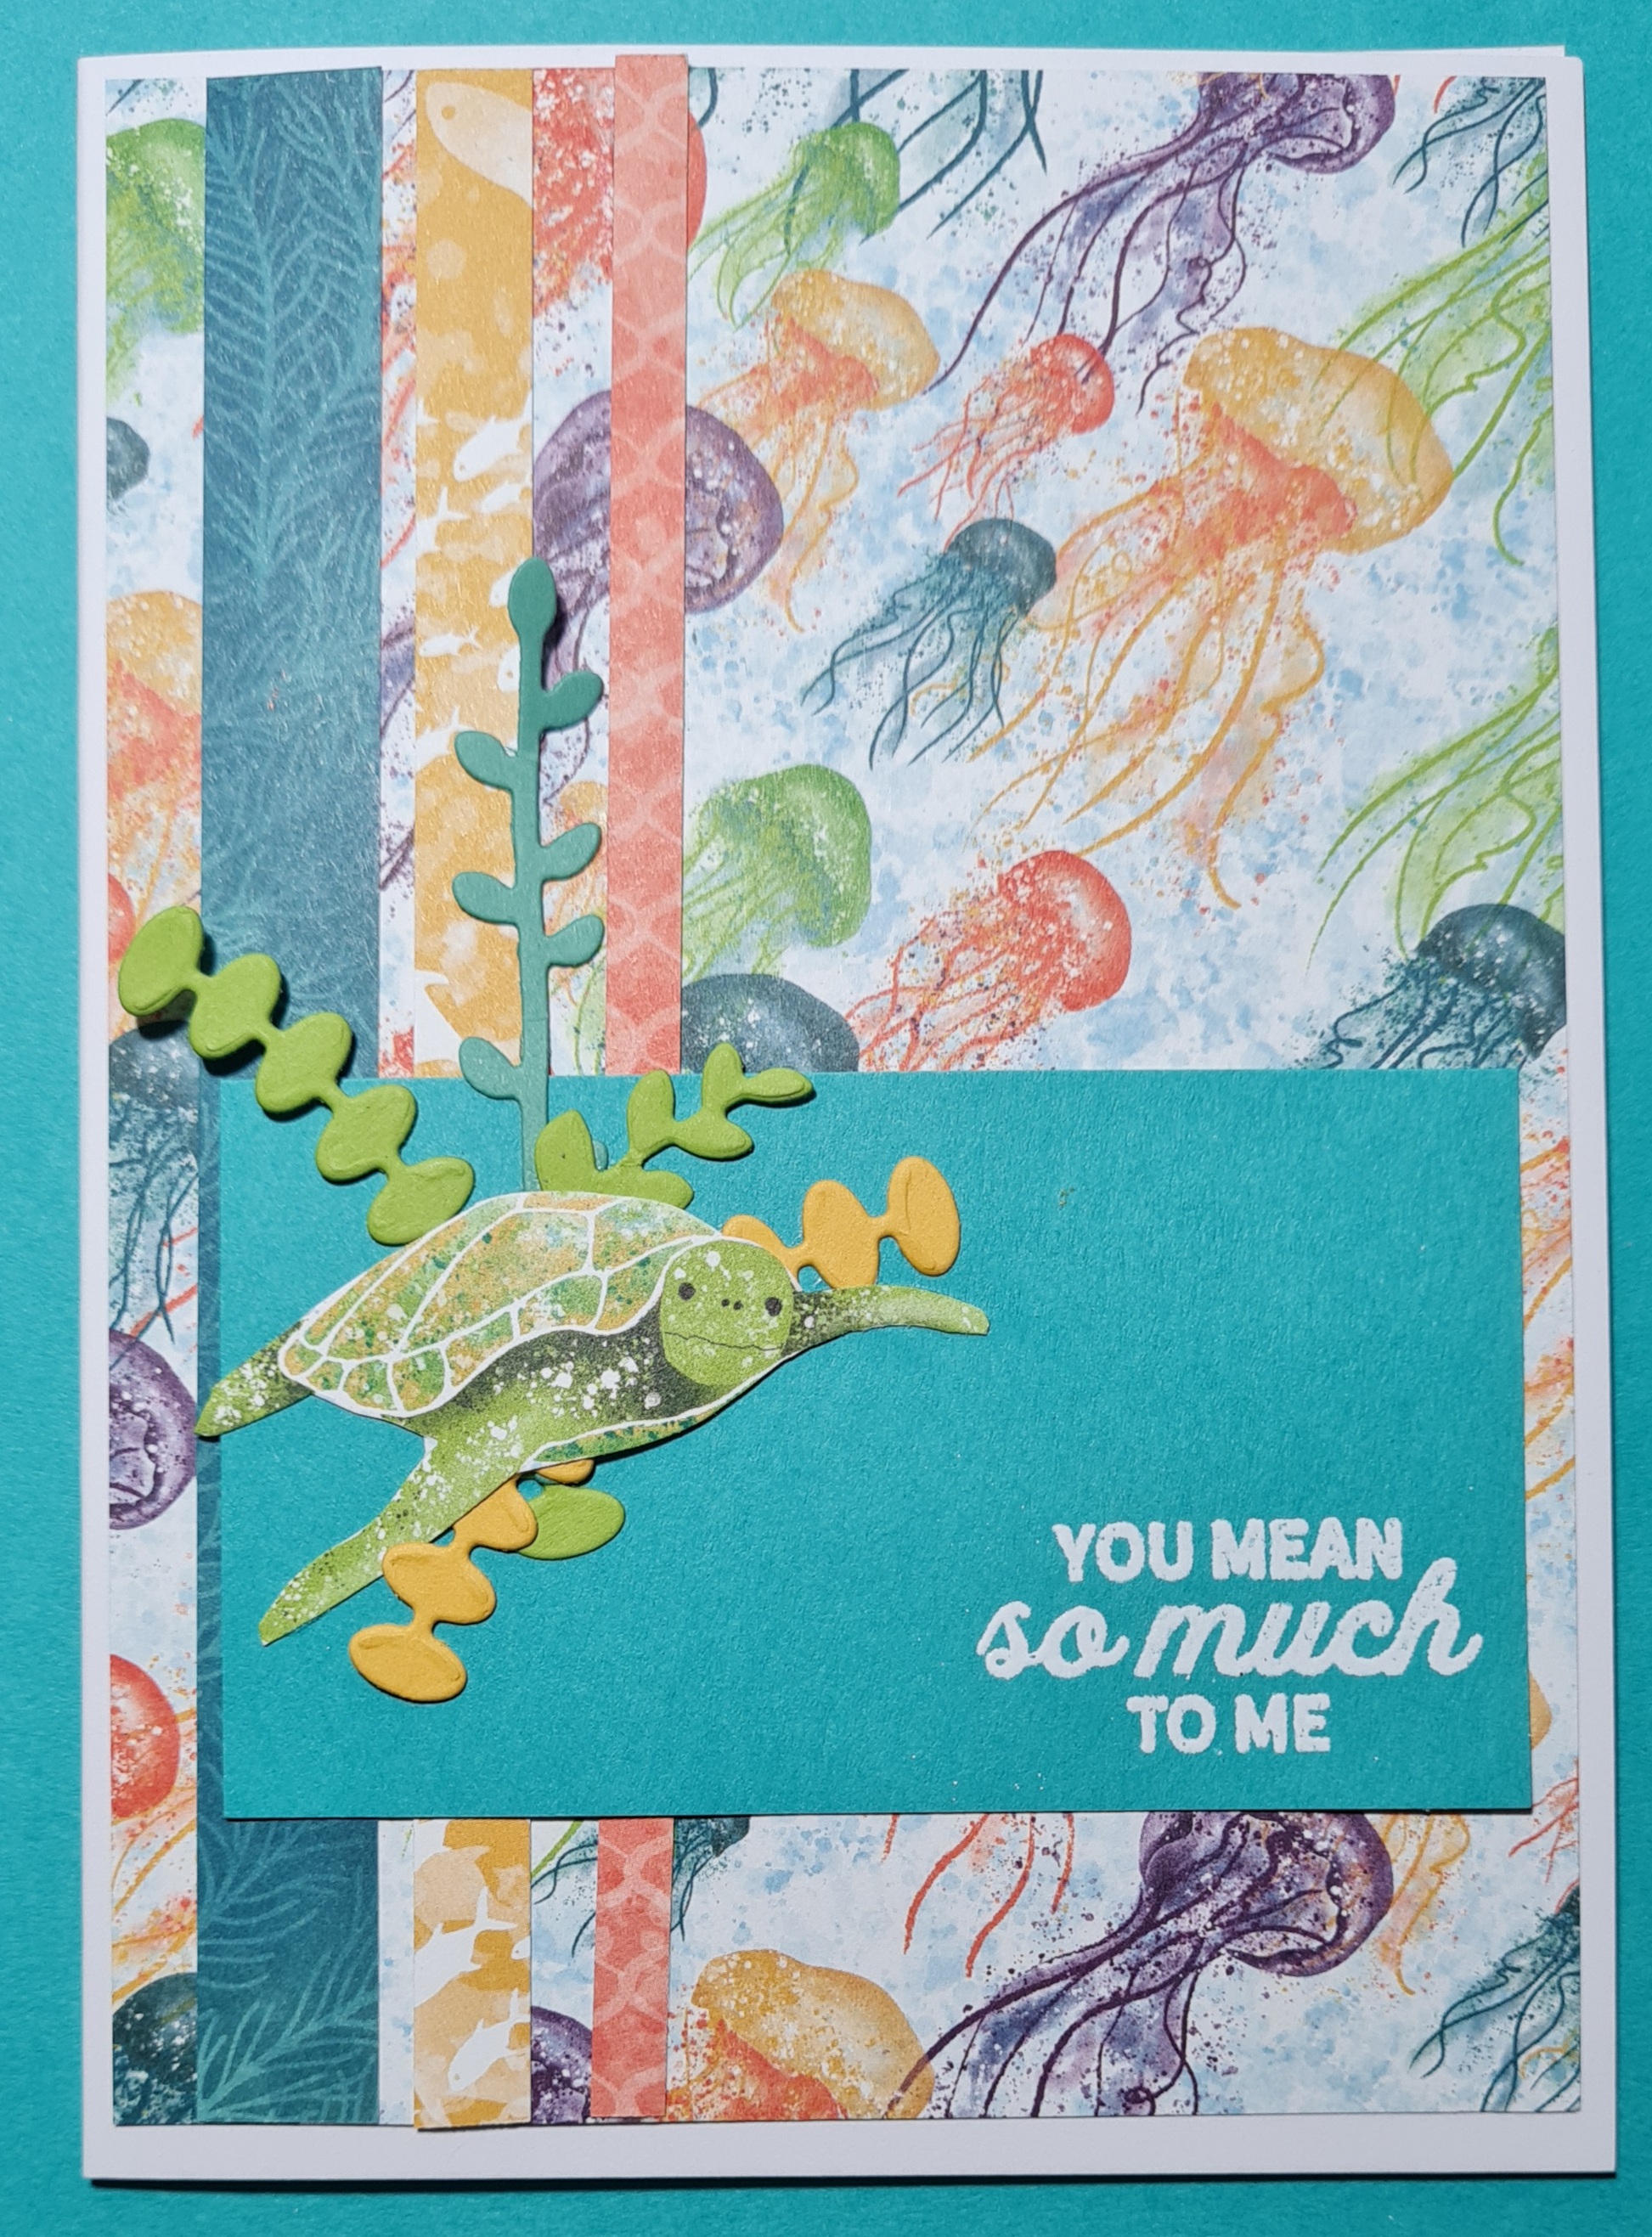
I was using the Whale of a Time dsp I had been given and I’ve nearly finished using it up… probably got enough for another 2 or 3 cards max.
I decided to fill the backgrounds on the cardblanks and then layer up panels before adding the fussy cut whales/ turtles and some dies cuts and a sentiment.
There are just so cute! Love how they all came out and they were super simple to make.
I have to admit I would never have bought this paper but it is gorgeous and fun to play with and because of the ones you can cut apart to create the focal points you don’t need to also have the coordinating stamps to work with it!
Entering this into the Anything Goes challenge at Crafty Creations
Well that was an odd 36 hours. Had my covid vaccine but the reaction to is was like a repeat of my covid experience in December on fast forward for 36 hours. No temperatures but instead a very painful arm and then all the other symptoms came and went over the time. Now, a couple of aches but otherwise back to how I was precovid vaccine… and hopefully full of lovely strong antibodies!
Thankful I had this post ready done as I didn’t manage to do anything at all yesterday.
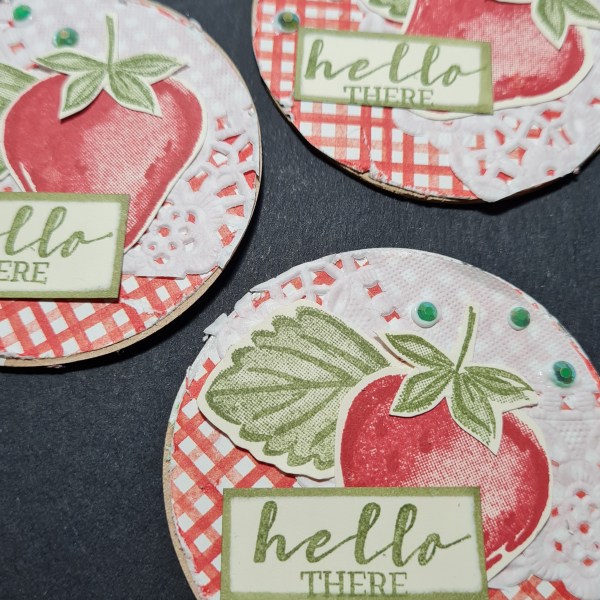
I have three more artist trading coins to share with you this time using the Sweet Strawberry stamps and the Berry Delightful dsp…
I made these for the UK Stampers Forum swap. I added a piece of doily underneath and then stamped and fussy cut the pieces… I would have used the punch but I hadn’t got a large enough piece of card to fit all three on at once so just went for fussy cutting!
I also added the sentiment and then the little gems to finish off.
I went for a theme of the red gingham paper for all three swaps I made for the UK stampers forum swap … I’ll share the other things I made in a few days.
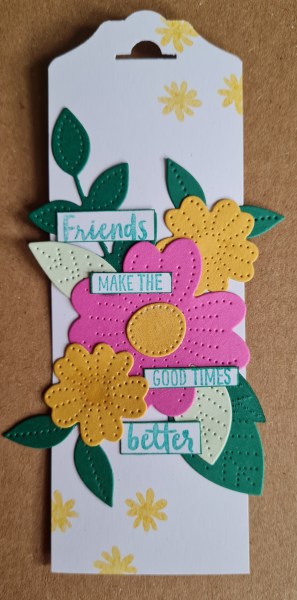
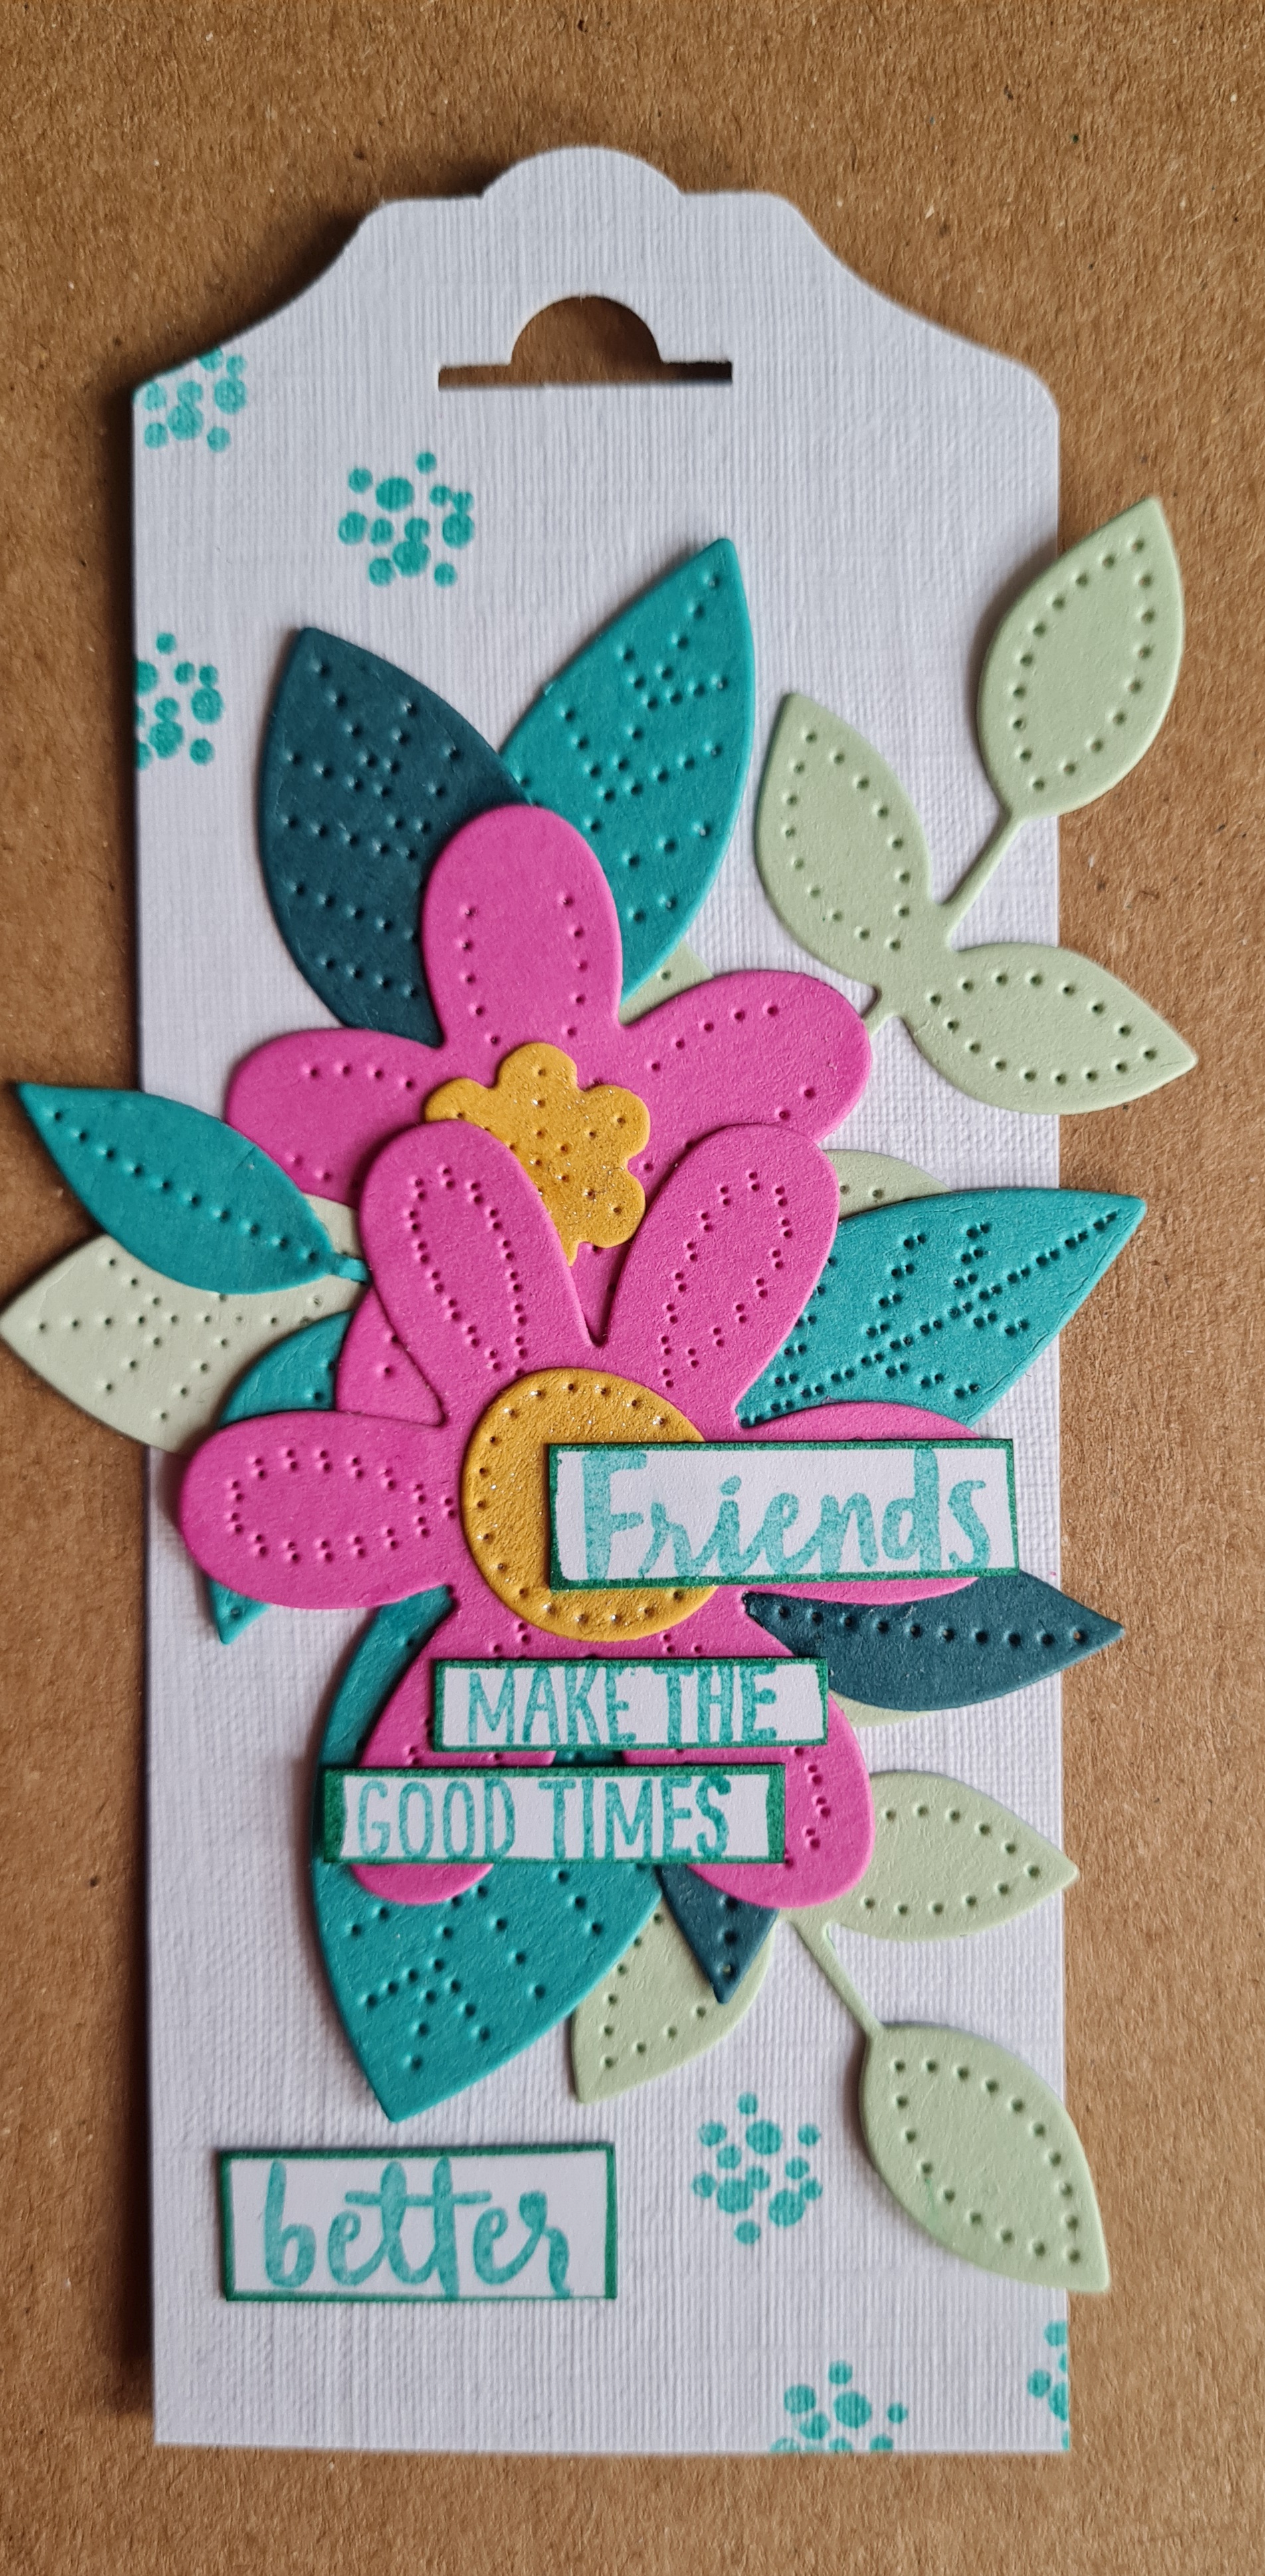
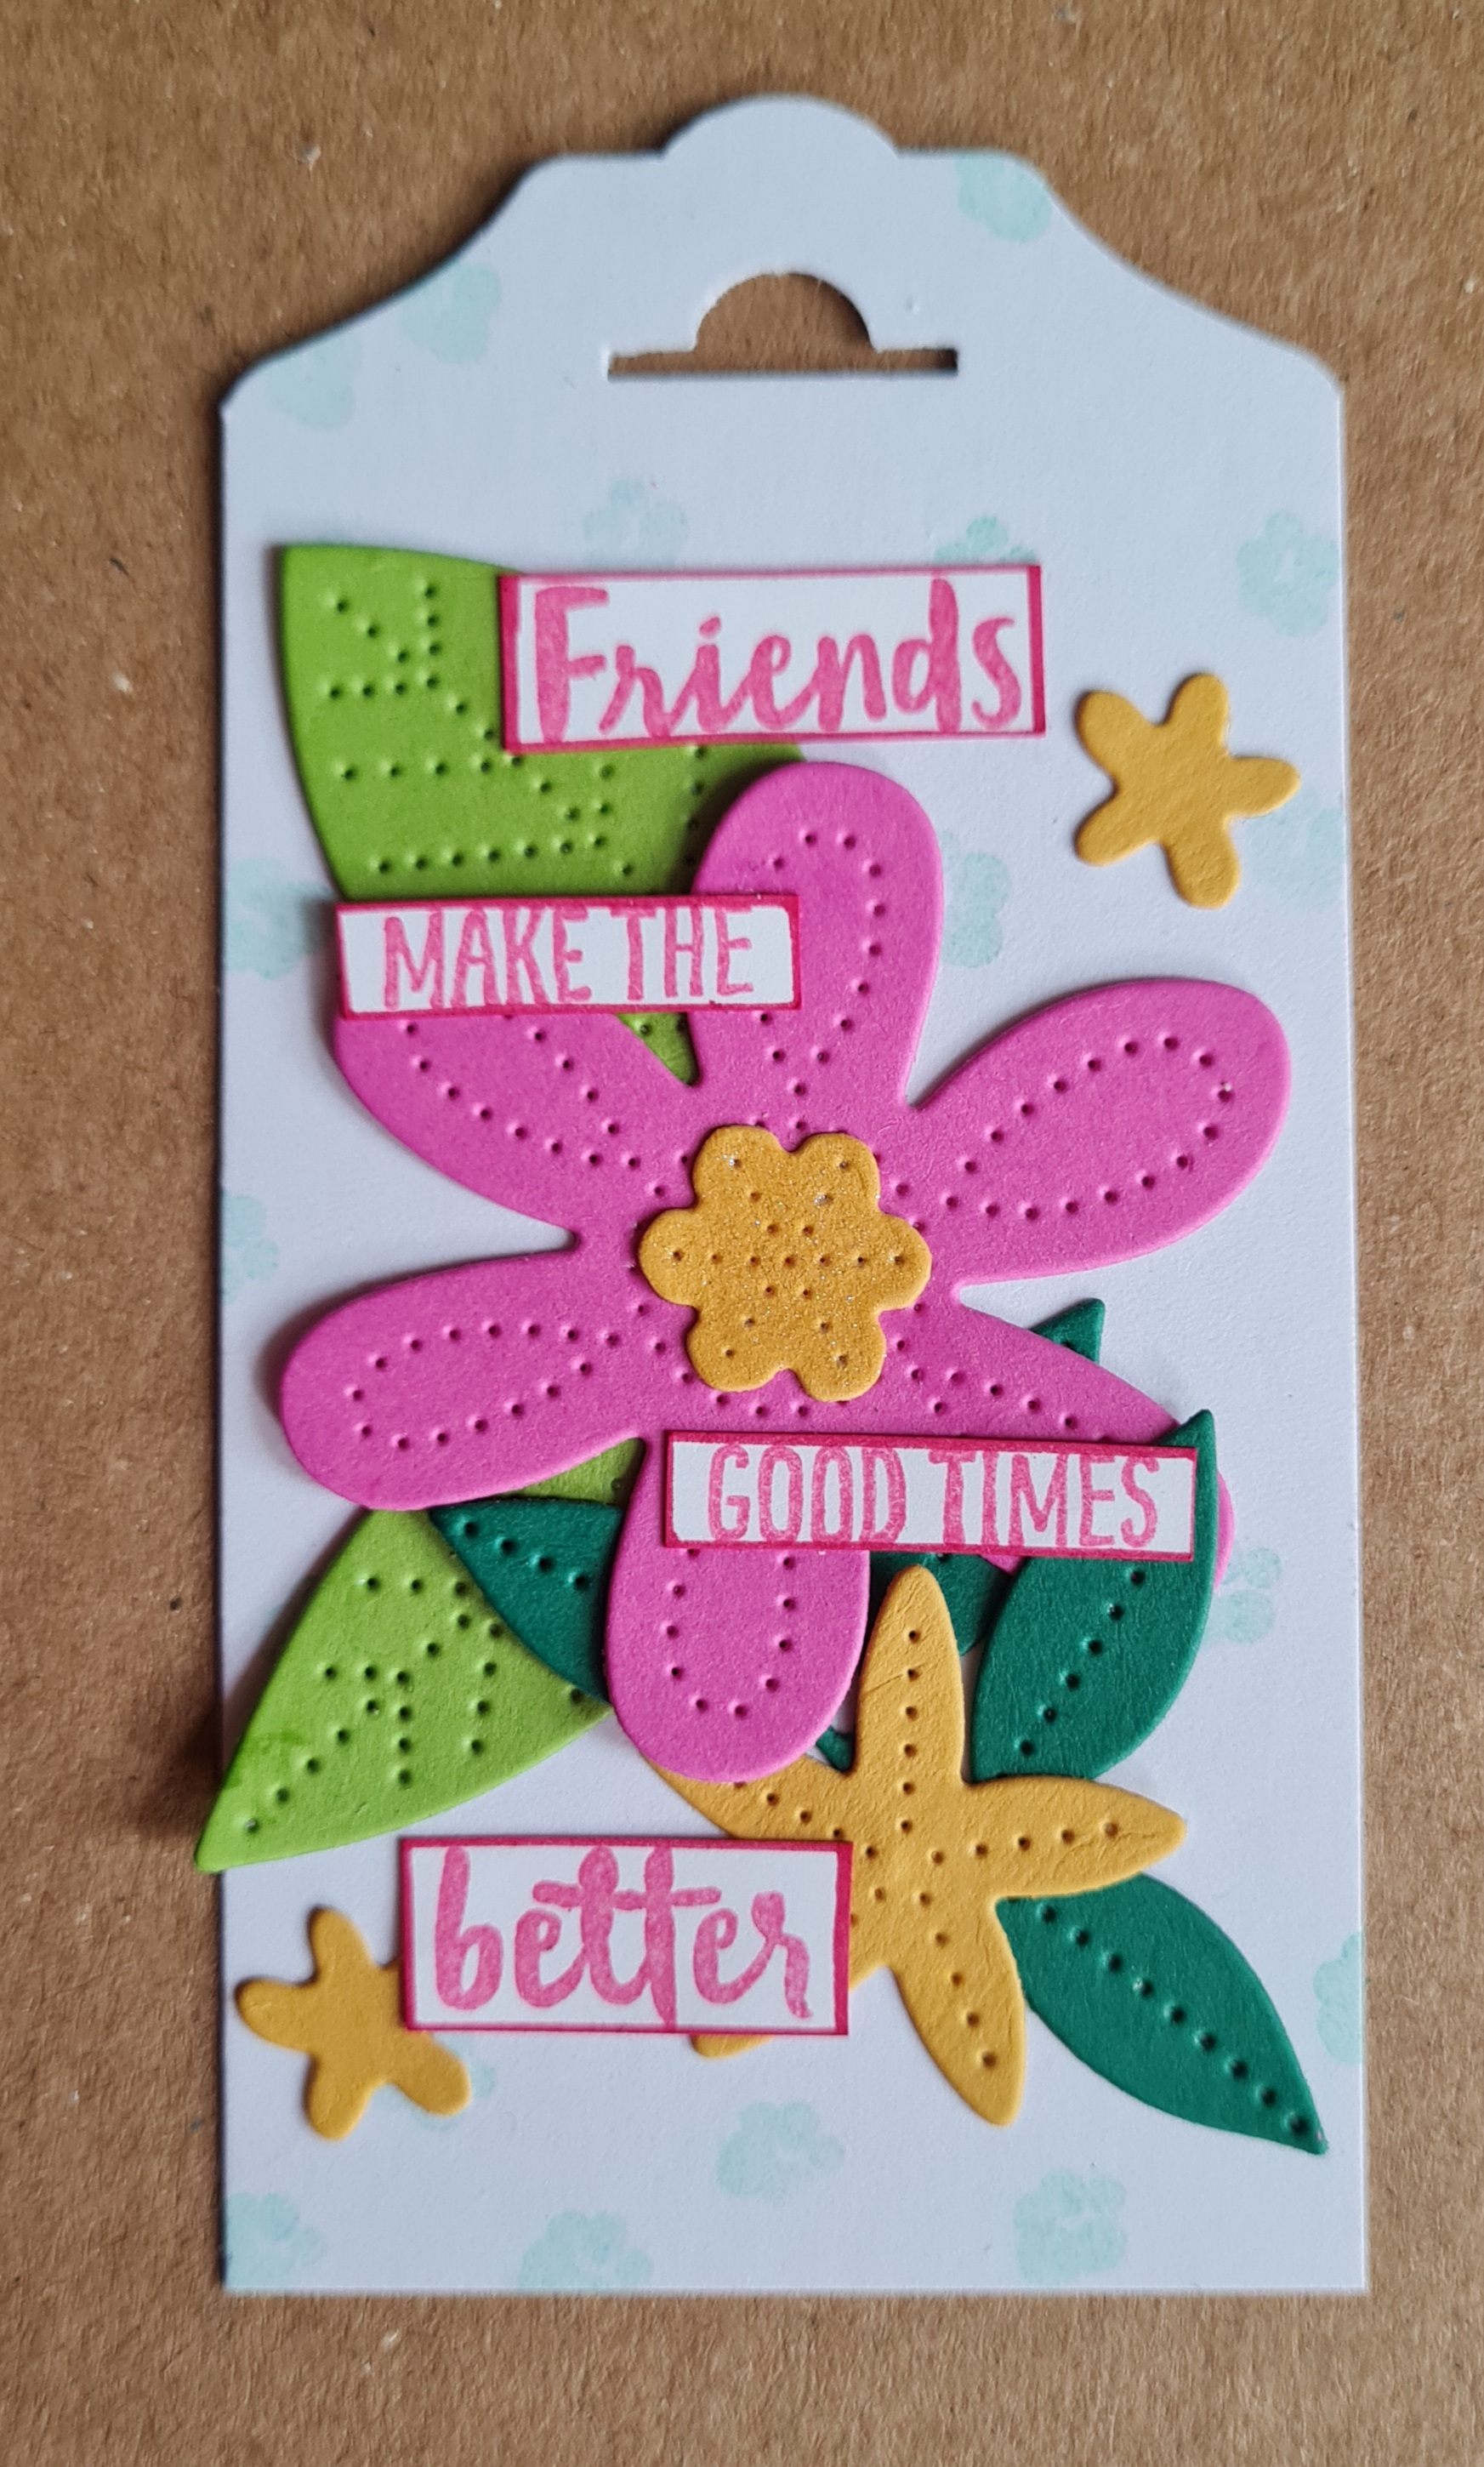
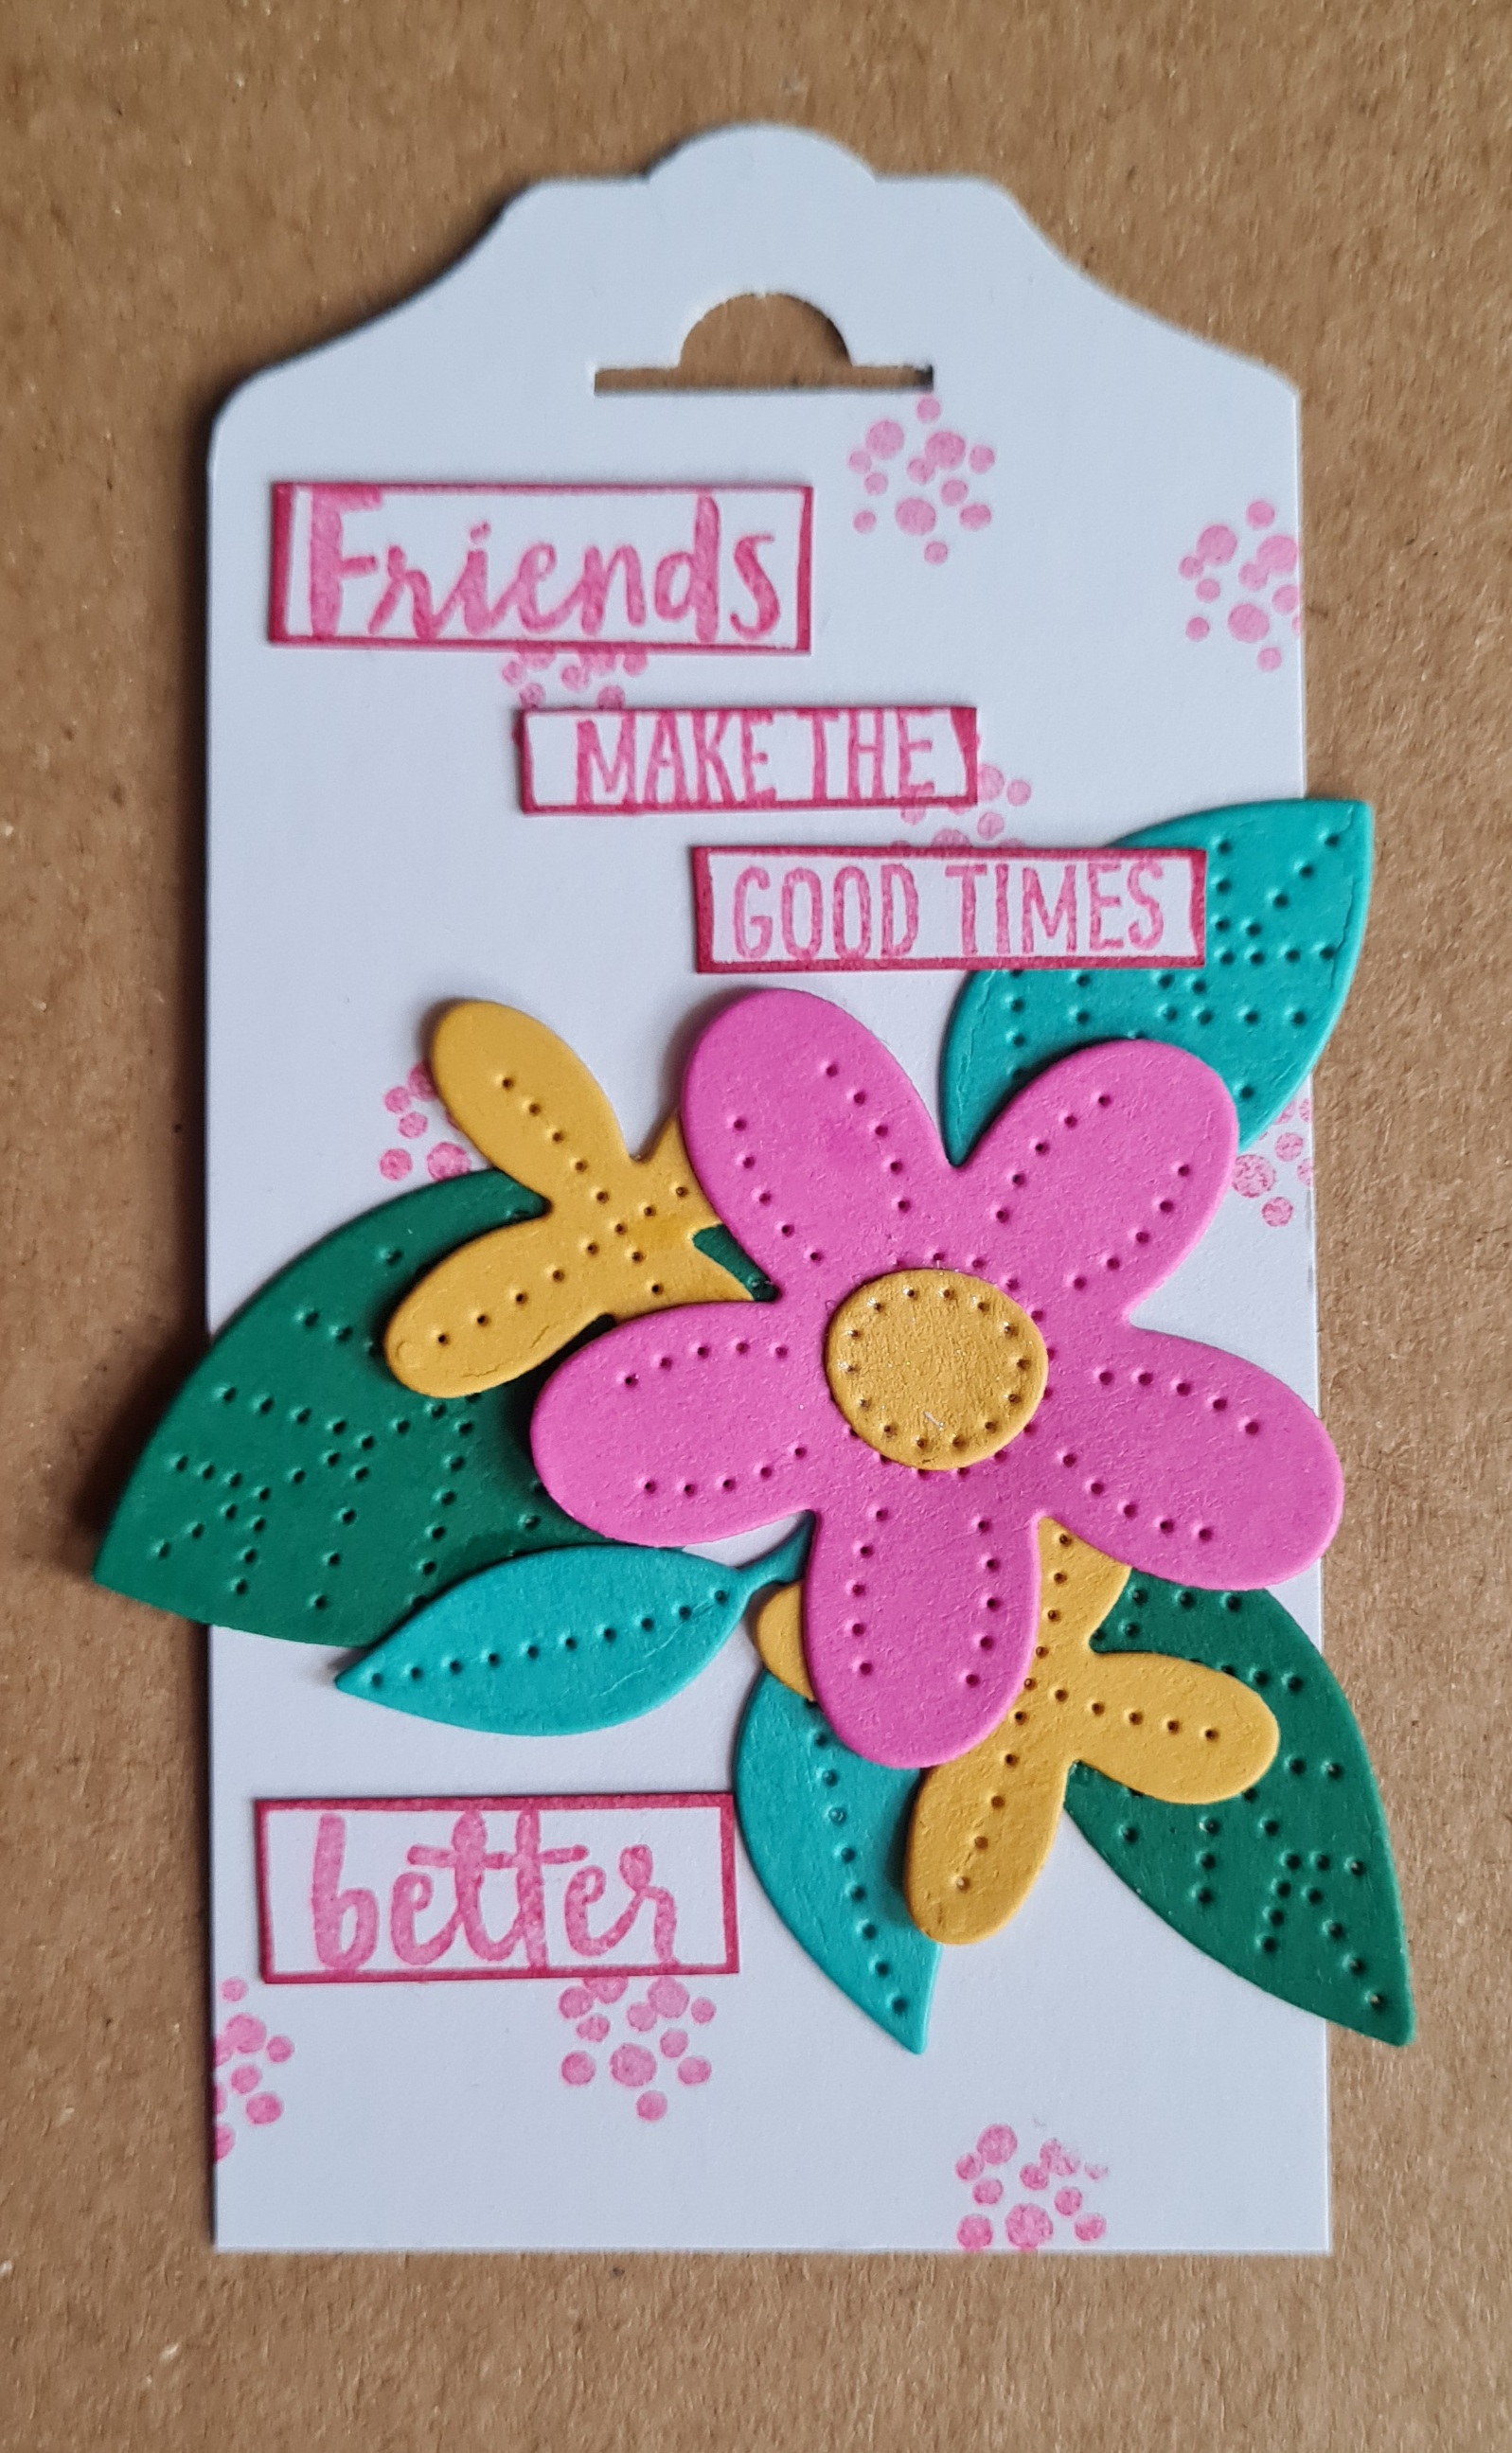
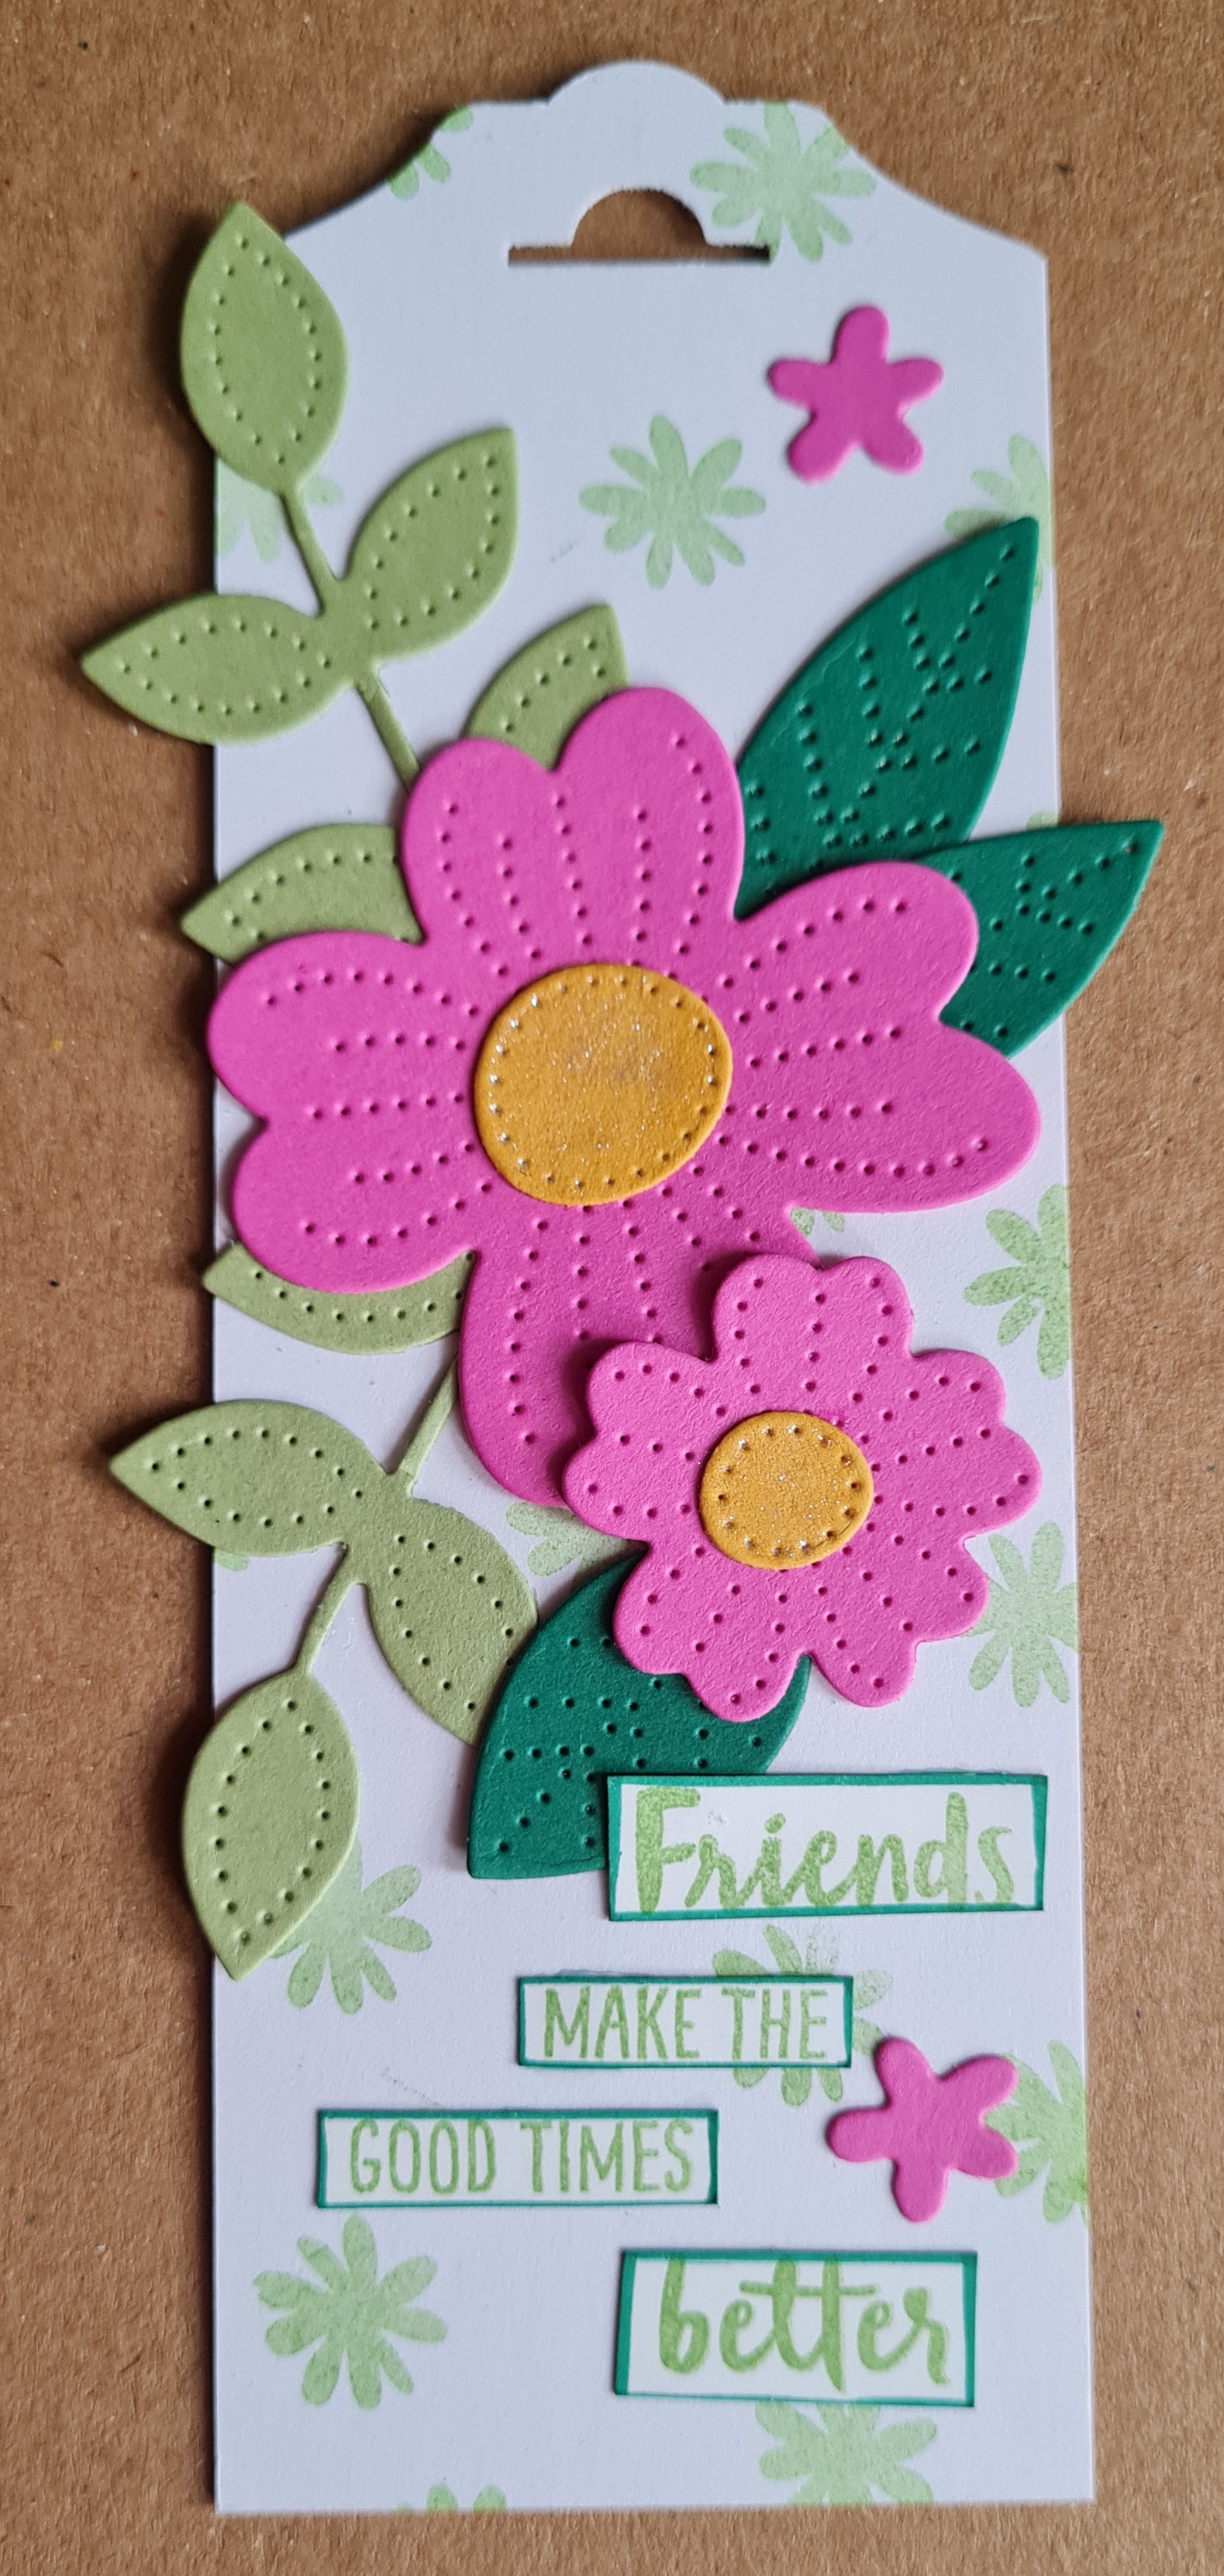
Hi… well these tags were actually my first play with both the Pierced Blooms dies and also the In Bloom stamps and I made them a few weeks ago, but they only went out of my house yesterday and wanted them to be received before I blogged about them.
I used some white card which I had on the desk from other projects to create the tags, hence the difference in sizes… it was just what was to hand! Of course I used the Scalloped Tag Topper punch to create them!
Then I went to town die cutting the flowers and leaves using all sorts of scraps from off the desk and the piles of bits and pieces I saved for die cutting tiny bits from!
Once I had a decent stash of bits to work with I chose some of the tiny stamps in the set to create backgrounds on the white tags using colours I thought would work with the colours in the die cuts.
Then I created the cluster of flowers and leaves and glued them into place.
Next I chose a sentiment (from the Waterfront stamp set) that worked for the reason I was making these (for my zoom crafting friends) and stamped that and then cut up the sentiment into little strips. I edged each strip and then adhered them down. I love doing this with stamps so I can place the sentiment in different places.
Finally I finished with wink of Stella which I added to each of the flower centres.
Love how they turned out… they did need some ribbon to finish them off but forgot to photograph them at this point so you are missing that on the pics!
Still not sure if Tag Thursday will be a weekly thing or just random throughout the year… we will have to see how I get on?
And now for a slice of life as its been a few days since I included one in a blog… well sleep has not been good the past week with two terrible nights of very little sleep, not good when it’s busy at work and I have to be alive and use my brain! I am also super obsessed still with journalling … a bit of bujo and a lot of making junk journal signatures and I’ve started filling my first one. I’m also currently obsessed with Ms. Paper Lover on You Tube and could watch her create all day!
In other news I’m trying my hardest to reduce calorie intake but still enjoy my food…. mixed results on how well I am doing with it to be honest, but happy that I am at least trying even if not always succeeding!
That’s it for now folks. Thanks for reading my blogs. I really appreciate it.
A quick one today, with more of that Venetian Romance paper I still haven’t finished with! This time just one little strip on the card I made… although it is super cute!
Another crazy week has passed, possibly one of the busiest I’ve had for a few months, so once again crafting had dried up… but then on Friday a SU order arrived. So a few YouTube videos were filmed … unboxing and then tidying up!
I did do plenty of crafting yesterday and today but for projects I can’t blog about yet so I had to make this quick card for today’s blog.
I am doing some sort of creative stuff daily that I started this week … journalling. I’m sort of mixing writing journalling with bullet journalling and junk journalling all in one… fancy seeing it? Well maybe I will share that when I have a decent number of spreads… although will need to cover a fair bit of the writing up for privacy.
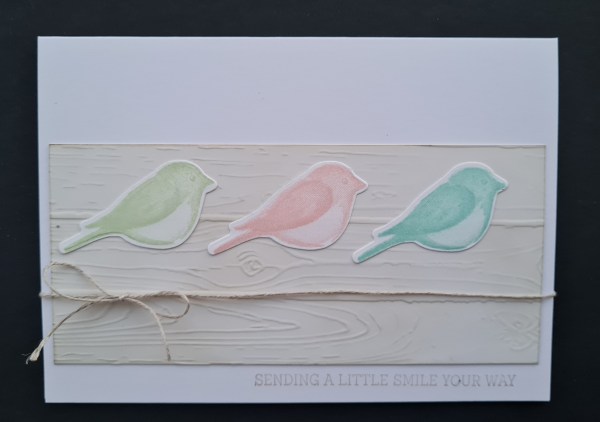
Anyways… as I said today I have a card I made using the Birds and Branches stamps and dies but I kept it all really simple.
First an embossed panel of some slightly shiny cardatock. I brought out the embossing by adding some Sahara sand ink and using the blending tool. So pretty and delicate.
Next I stamped and die cut three birds… Blushing Bride, Pool Party, Pistachio Pudding (I would use soft sea foam but don’t own the ink yet!).
Then stamped the sentiment along the bottom.
Finished off with a tied piece of linen thread across the whole front of the card and adhered on the inside with a piece of card.
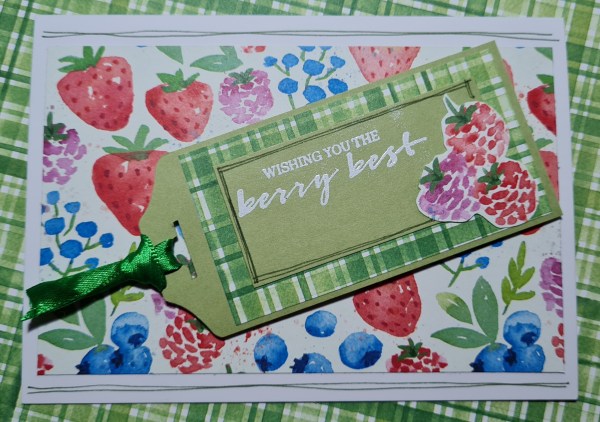
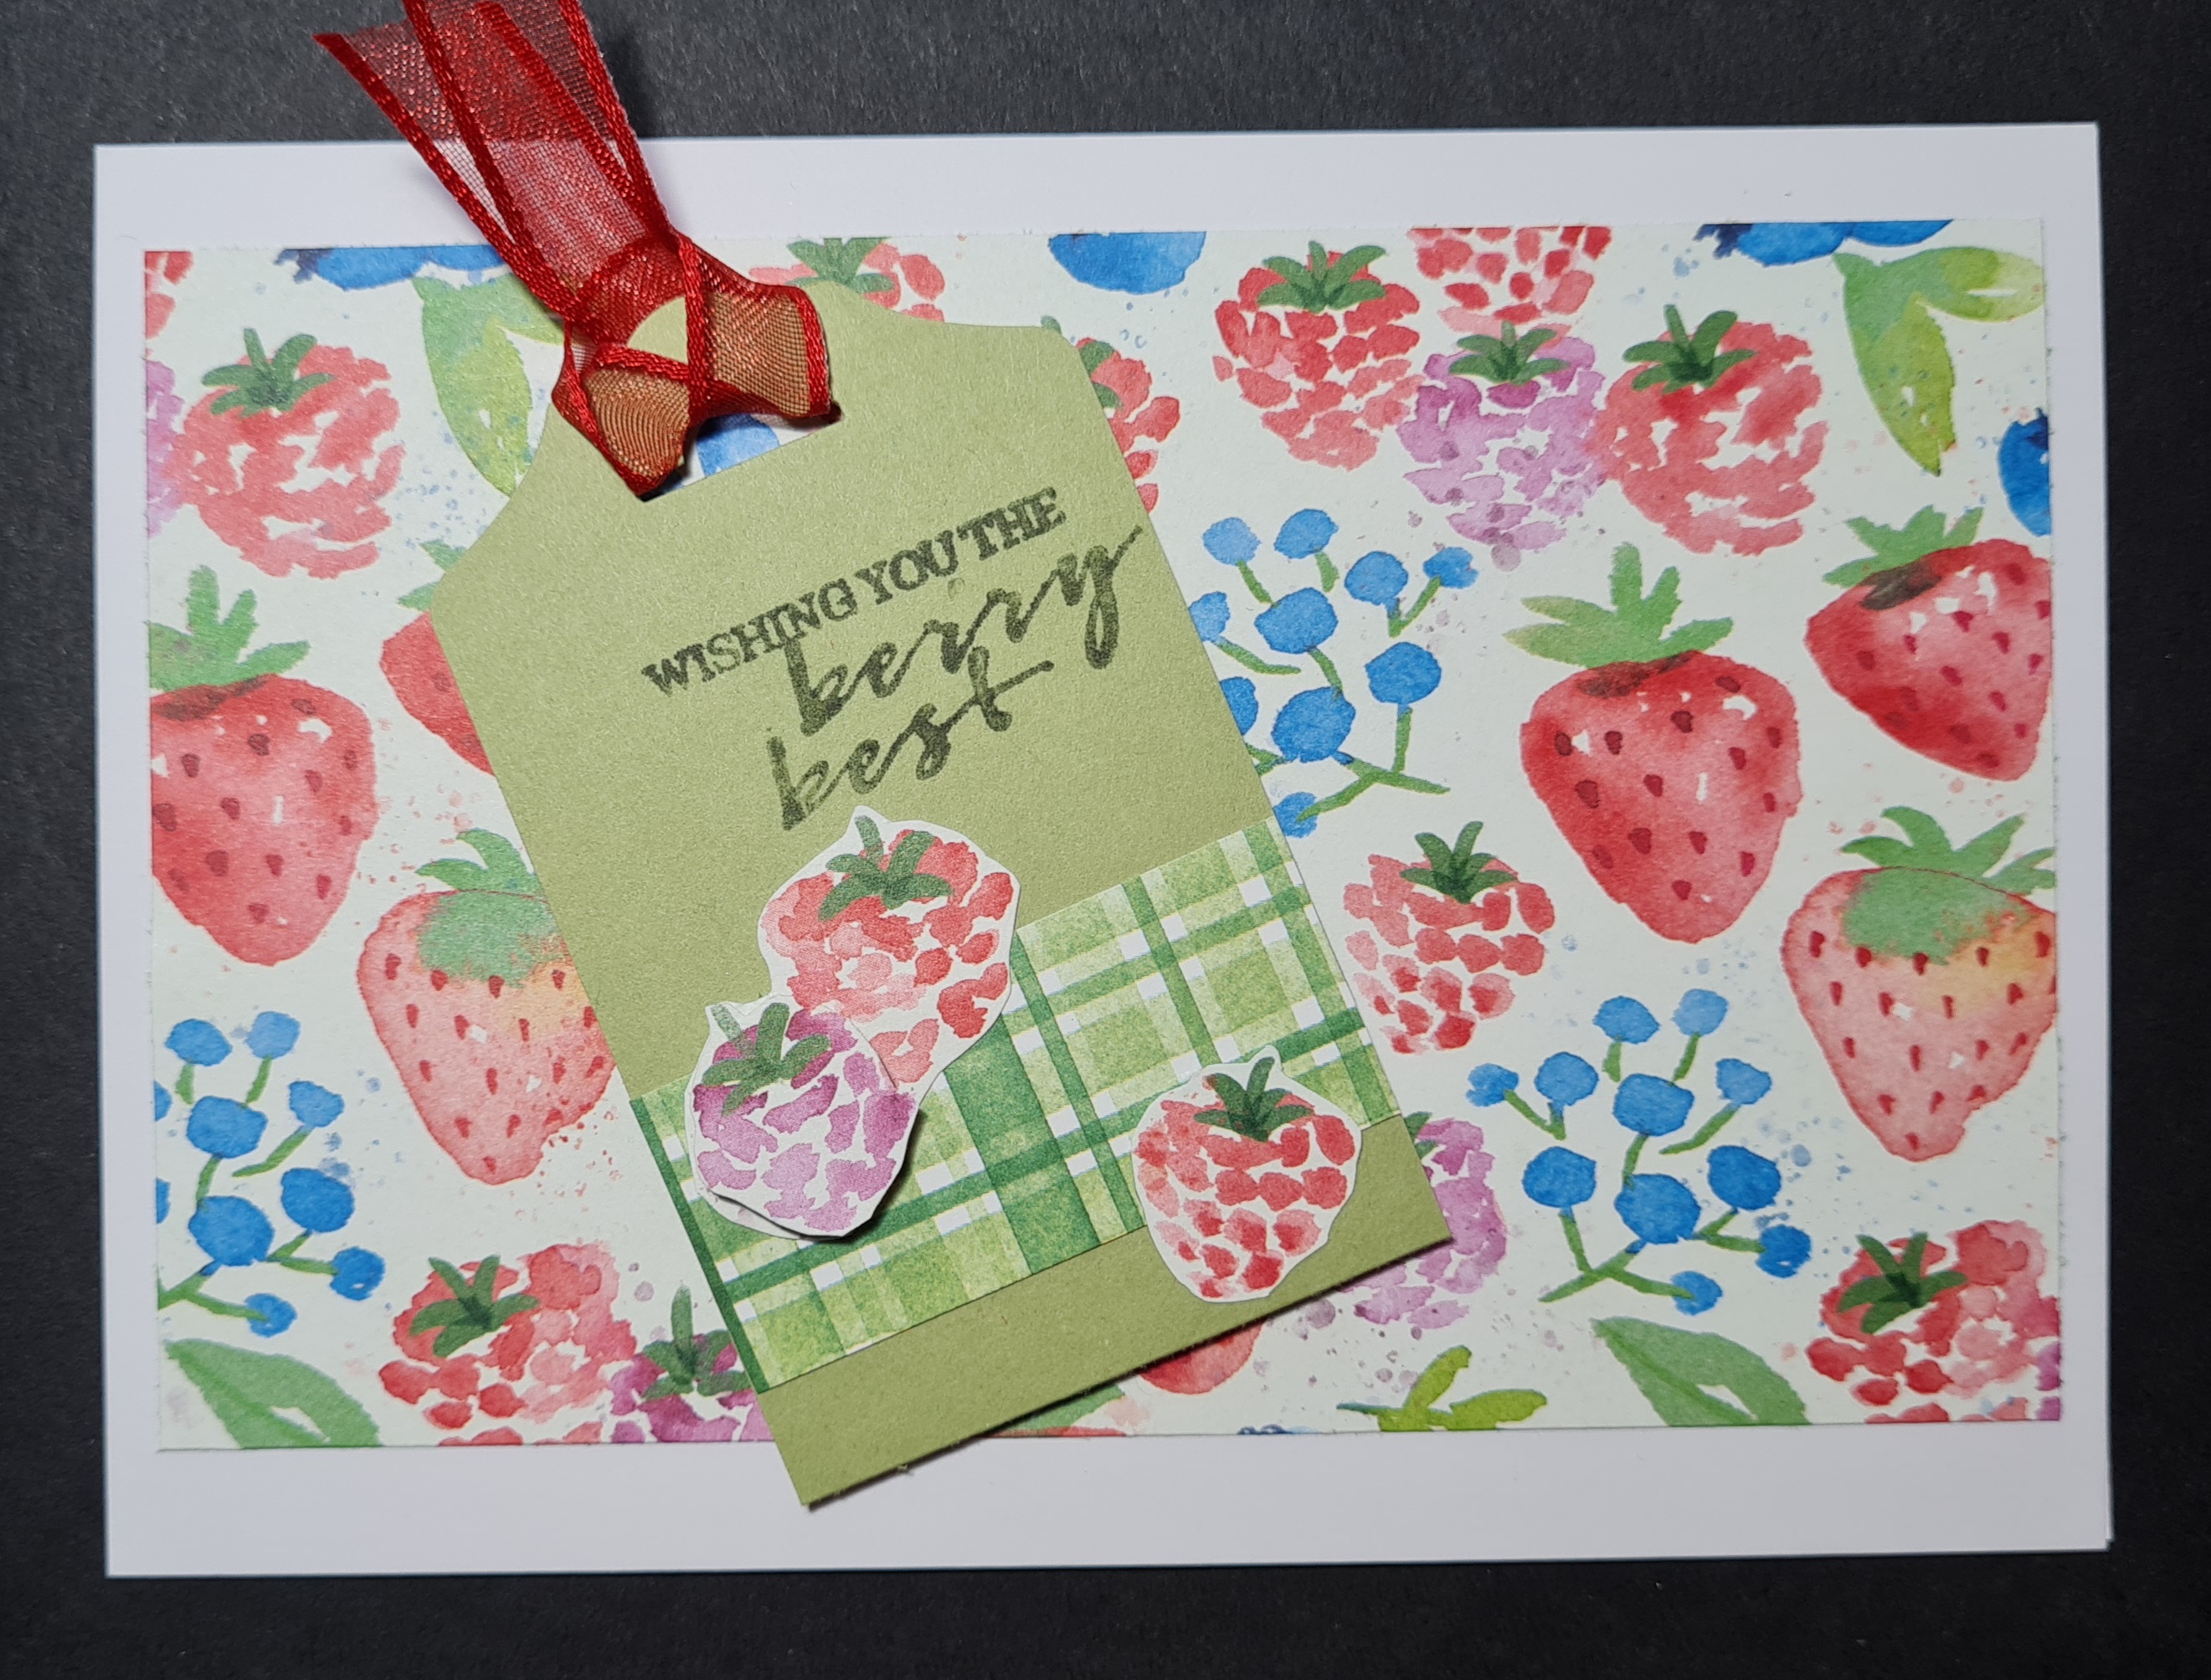
This week for Tag Thursday I actually turned the two tags I made into cards. I played with some dsp I had cut into for another project and left over Pear Pizazz card I had on the desk.
I started with this little tag and a scrap of the dsp with a bit of fussy cutting and layering (the bottom berry is layered up with a dimensional.
The sentiment I had to ink a bit at a time to get it to fit but I think it still looks great.
The second tag is a bit bigger and I went for a horizontal layout.
Again fussy cutting the berries and using the reverse for the main background panel.
I decided these would make great toppers for cards and that the reverse paper with all the berries would make a fun background.
The first one I added the doodle lines like on the tag, the second one I added one more berry as it needed it for balancing the layout.