For ATC’S sake … 55 and 56

A pair of ATC’S today… and the realisation my numbering of the atcs went awry a few days ago… so I’ve recounted again and these are 55 and 56.  

So this pair of atcs both use the same image and title but different colour schemes. 

I added this and some neon sparkle gems and then mounted it on the blue atc card to add contrast to the colour of the artwork.

The second one was a piece of scratch paper with lots of different bits of paint on it. I added distress stains and then added the house image coloured with pens and a little stamped title. 

A little bit of bling and some doodling to finish off.  Again a bit of contrasting cardstock for the base.

Happy crafting !

Catherine 

Five atcs… and another pink and orange creation (46 – 50)

Tonight I made another 5 atcs! These are actually for random act of kindness week which is in a couple of weeks… but as I grabbed pink and orange for the colour scheme… yes I am getting a little obsessed… I knew it worked with the Paperartsy challenge so I’m posting these here now! 

I created them all in the same way although each features a different tree. 

I started with the piece of black and white patterned paper and covered it with distress inks using the blending tools. I used wild honey, spiced marmalade, worn lipstick and Picked Raspberry. All such lovely colours. 

Then I cut these just slightly smaller than the base ATC’S which I’d cut from Orange cardstock and stuck them down.  

Then I took some tags and using the same colours I did the trick of smooshing the colour on the craft sheet adding water and then layering up the tags with colours.  

Once they were dry I added a little more ink to the edges. Then took the Totally Trees stamps and stamped each with a different tree. Then used the Kim Dellow stamp to stamp the word grow on each. 

I added some bakers twine to each tag and then added a piece of craft foam behind to increase the dimension a bit. 

I did get another piece of the paper ready for an ATC but ran out of tags so have put that aside in the stash to do something else with at some point. 

Love these & hoping they bring a smile to their recipients faces as my RAK! 

And these five atcs take me upto 50 … only 315 to go in my year long challenge… and I’m racing ahead at the moment with quite a few multiple atc projects a bit like this one! 

Happy crafting!

Catherine 

Artful ATC swap (For ATC’S sake… 44 and 45)

Hi

Here are the two ATC’S I made for the Artful ATC group swap with the theme of “Australia”. 

I happened to have some kangaroo stamps so knew they would get used.

I grabbed some scratch paper that had yellows and purples on it. I then added distress inks in yellows and reds to give the red desert I think of when I think of Australia.  

I then stamped the kangaroos in brown archival and tore the paper. I then created the bases using some packaging card and the ATC die.   Then I added ink round the edges and the piece of torn paper. I then chose a few stamps to frame the kangaroos.  

Finally I added a little extra colour to the bottom kangaroo using Inktense and took some away from the top one using water to remove the distress inks. 

I also added some of the Tim Holtz phrase stickers that I thought worked with the theme. 

Happy crafting! 

Catherine 

Paperartsy challenge orange and pink… valentines card… shhhh… don’t tell him! 

Yes I made my valentines for my lovely hubby and am sharing it before I give it to him because it meets the criteria for the Paperartsy challenge…. pink and orange! 

I also used plenty of goodies from the Steampunk Artful Days goodie box from a few months ago … because yes I still have stuff in the box because there really is heaps of stuff in the box! 

So… industrial patterned paper, wooden cogs, pink gems all from Artful Days goodie box …. heart stickers and pink and orange cardstock from the stash pile and then the steampunk Darcy heart stamped onto some hot pink metallic paint from Finnabair. The sentiment from the Tim Holtz stickers.

Love it, Love him, just don’t tell him yet! 

Happy crafting! 

Catherine 

DT: Craftyhazelnuts patterned paper challenge 

Wow didn’t January just fly by? I was caught on the hop and only just got this card finished last night for the challenge over at Craftyhazelnuts patterned paper challenge blog… where the only rule is to use patterned paper. Well I certainly did that! 

I had a delve in the box and came up with three pieces that went together reasonably well … all from different sources.  I then went for a delicate look to the card I made with white stamping and doodling. 

Hope you like it. 

Now pop over to the blog to check out how everyone else got on this month.

Happy crafting!

Catherine 

Quick atcs using my 52 week art challenge attempts (44 & 45)

I am not great at drawing at all but finding I am trying to do some of the challenges in a fb group I joined … 52 week art challenge. 

Here are the ones I made for …

Week 3 : superhero

For these I followed a tutorial video on you tube. My faces are far from accomplished … but it was an attempt and once put onto atcs (which were scratch paper die cut) and edged with pencil and the titles added I am quite happy with them.

Happy crafting! 

Catherine 

PATWITS circle journal… Deborah’s turn

Another PATWITS circle journal to share today. This time it is Deborah’s hand shaped journal. 

As per usual I adored all the artwork in the pages already completed and felt overwhelmed and nervous about whether I could come close to matching their beauty. But I quickly threw the doubts to one side as they wouldn’t achieve anything and set to with the medium I felt like using at the time… Brushos. 

I chose ultramarine, purple, pressman blue and tried to keep them quite light to make sure I kept the dispersal patterns. 

Already I loved this. Next I attacked the page with stencils… and gesso and texture paste and ink. Again I love how this was shaping up.

The hand shaped made me grab a Paperartsy mini stamp for the right hand side and the numbers stencil too. Then I started to focus on the title.  I also started adding depth to the framing of the pages with plenty of inking.

the next step was more stamping and then doodling and mark making round shapes. I also added some depth to shapes and spots of colour using Inktense pencils.

I finished it off with the quite stickers and the stamped title. I made this over the course of several days.and was very happy with it. Should have remembered to get a better picture than this but it’s already off with the next person so this is the best I can do. 

Looking forward to receiving one more journal and then mine will be coming back to me. Such a lovely project to have been involved in. 

Happy crafting!

Catherine 

For ATC’S sake … #46 and #47

Two fairly simple atcs this time… this was a stamped Swallowtail on a piece of copy paper I used to mop up a Brusho rainbow I had used for another project about 8 months ago. It then sat there getting crumpled and not being used… so here is the perfect way to use them. I cut them both to slightly smaller than ATC size and then edged them with black ink. Next I added a layer of versamark and clear embossing powder and then embossed them. 

I love the mottled shiny finish this gives them. I love the vibrancy of the colours that the layers of embossing gives them too.  I had forgotten how much I love brushos… think they may have to come out to play again very soon! 

I then mounted them onto some navy thin cardstock to frame them. 

A simple pair of ATC’S that would make very good card toppers too! 

Happy crafting! 

Catherine 

Crafting at Helen’s retreat … oh so succulent!

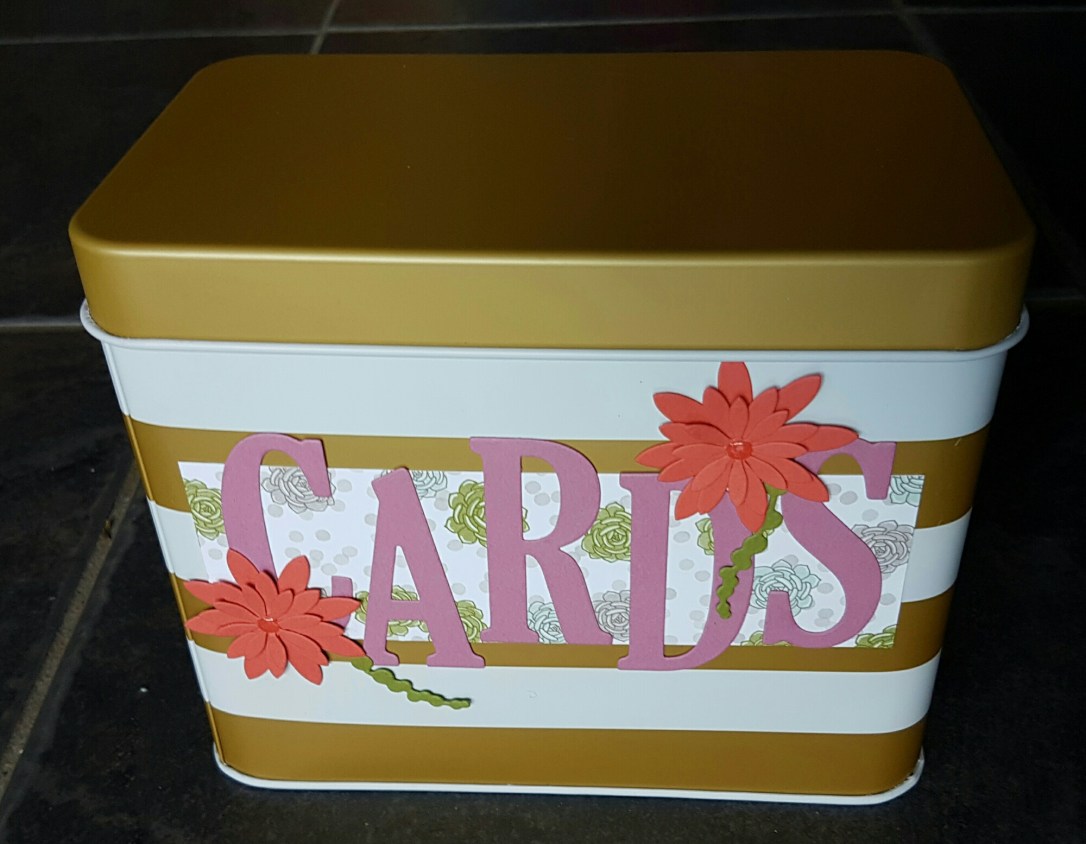
Yesterday I took myself out for the day to craft with my friend Helen who is a Stampin up demonstrator and great teacher. She had planned a one day class using some lovely products from the Oh so succulent range (Oh so succulent stamps and Succulent garden dsp) and we made cards to go in the tin that’s in the saleabration.  I had a lovely day following Helen’s instructions (sort of!) and managed to make 7 cards and have oodles of supplies left to make more to go in the card tin… which I’ve planned to give as a gift to my auntie. 
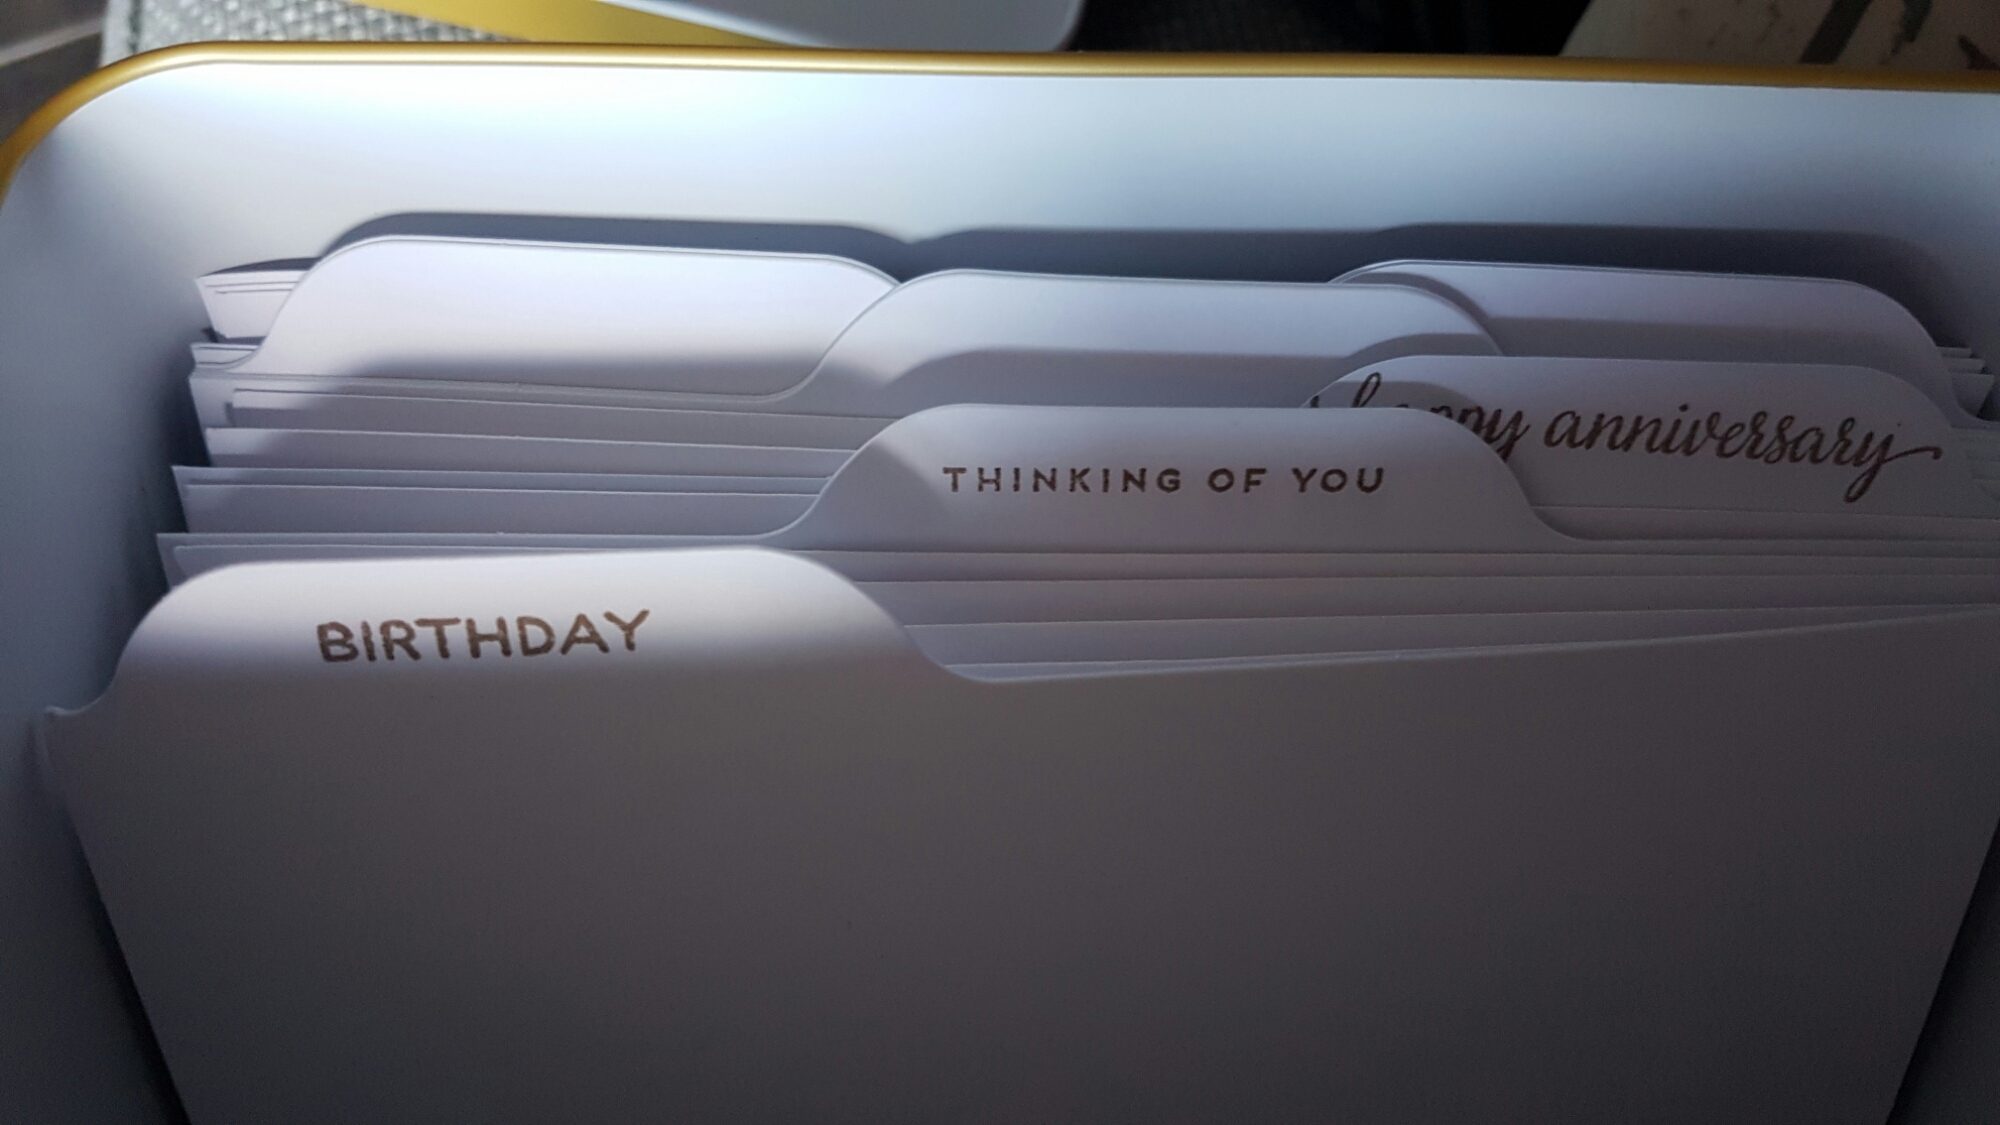
Here is the tin… 

Then the inserts which I’ve only done three types of card so far… so that’s all I’ve done for the categories… 

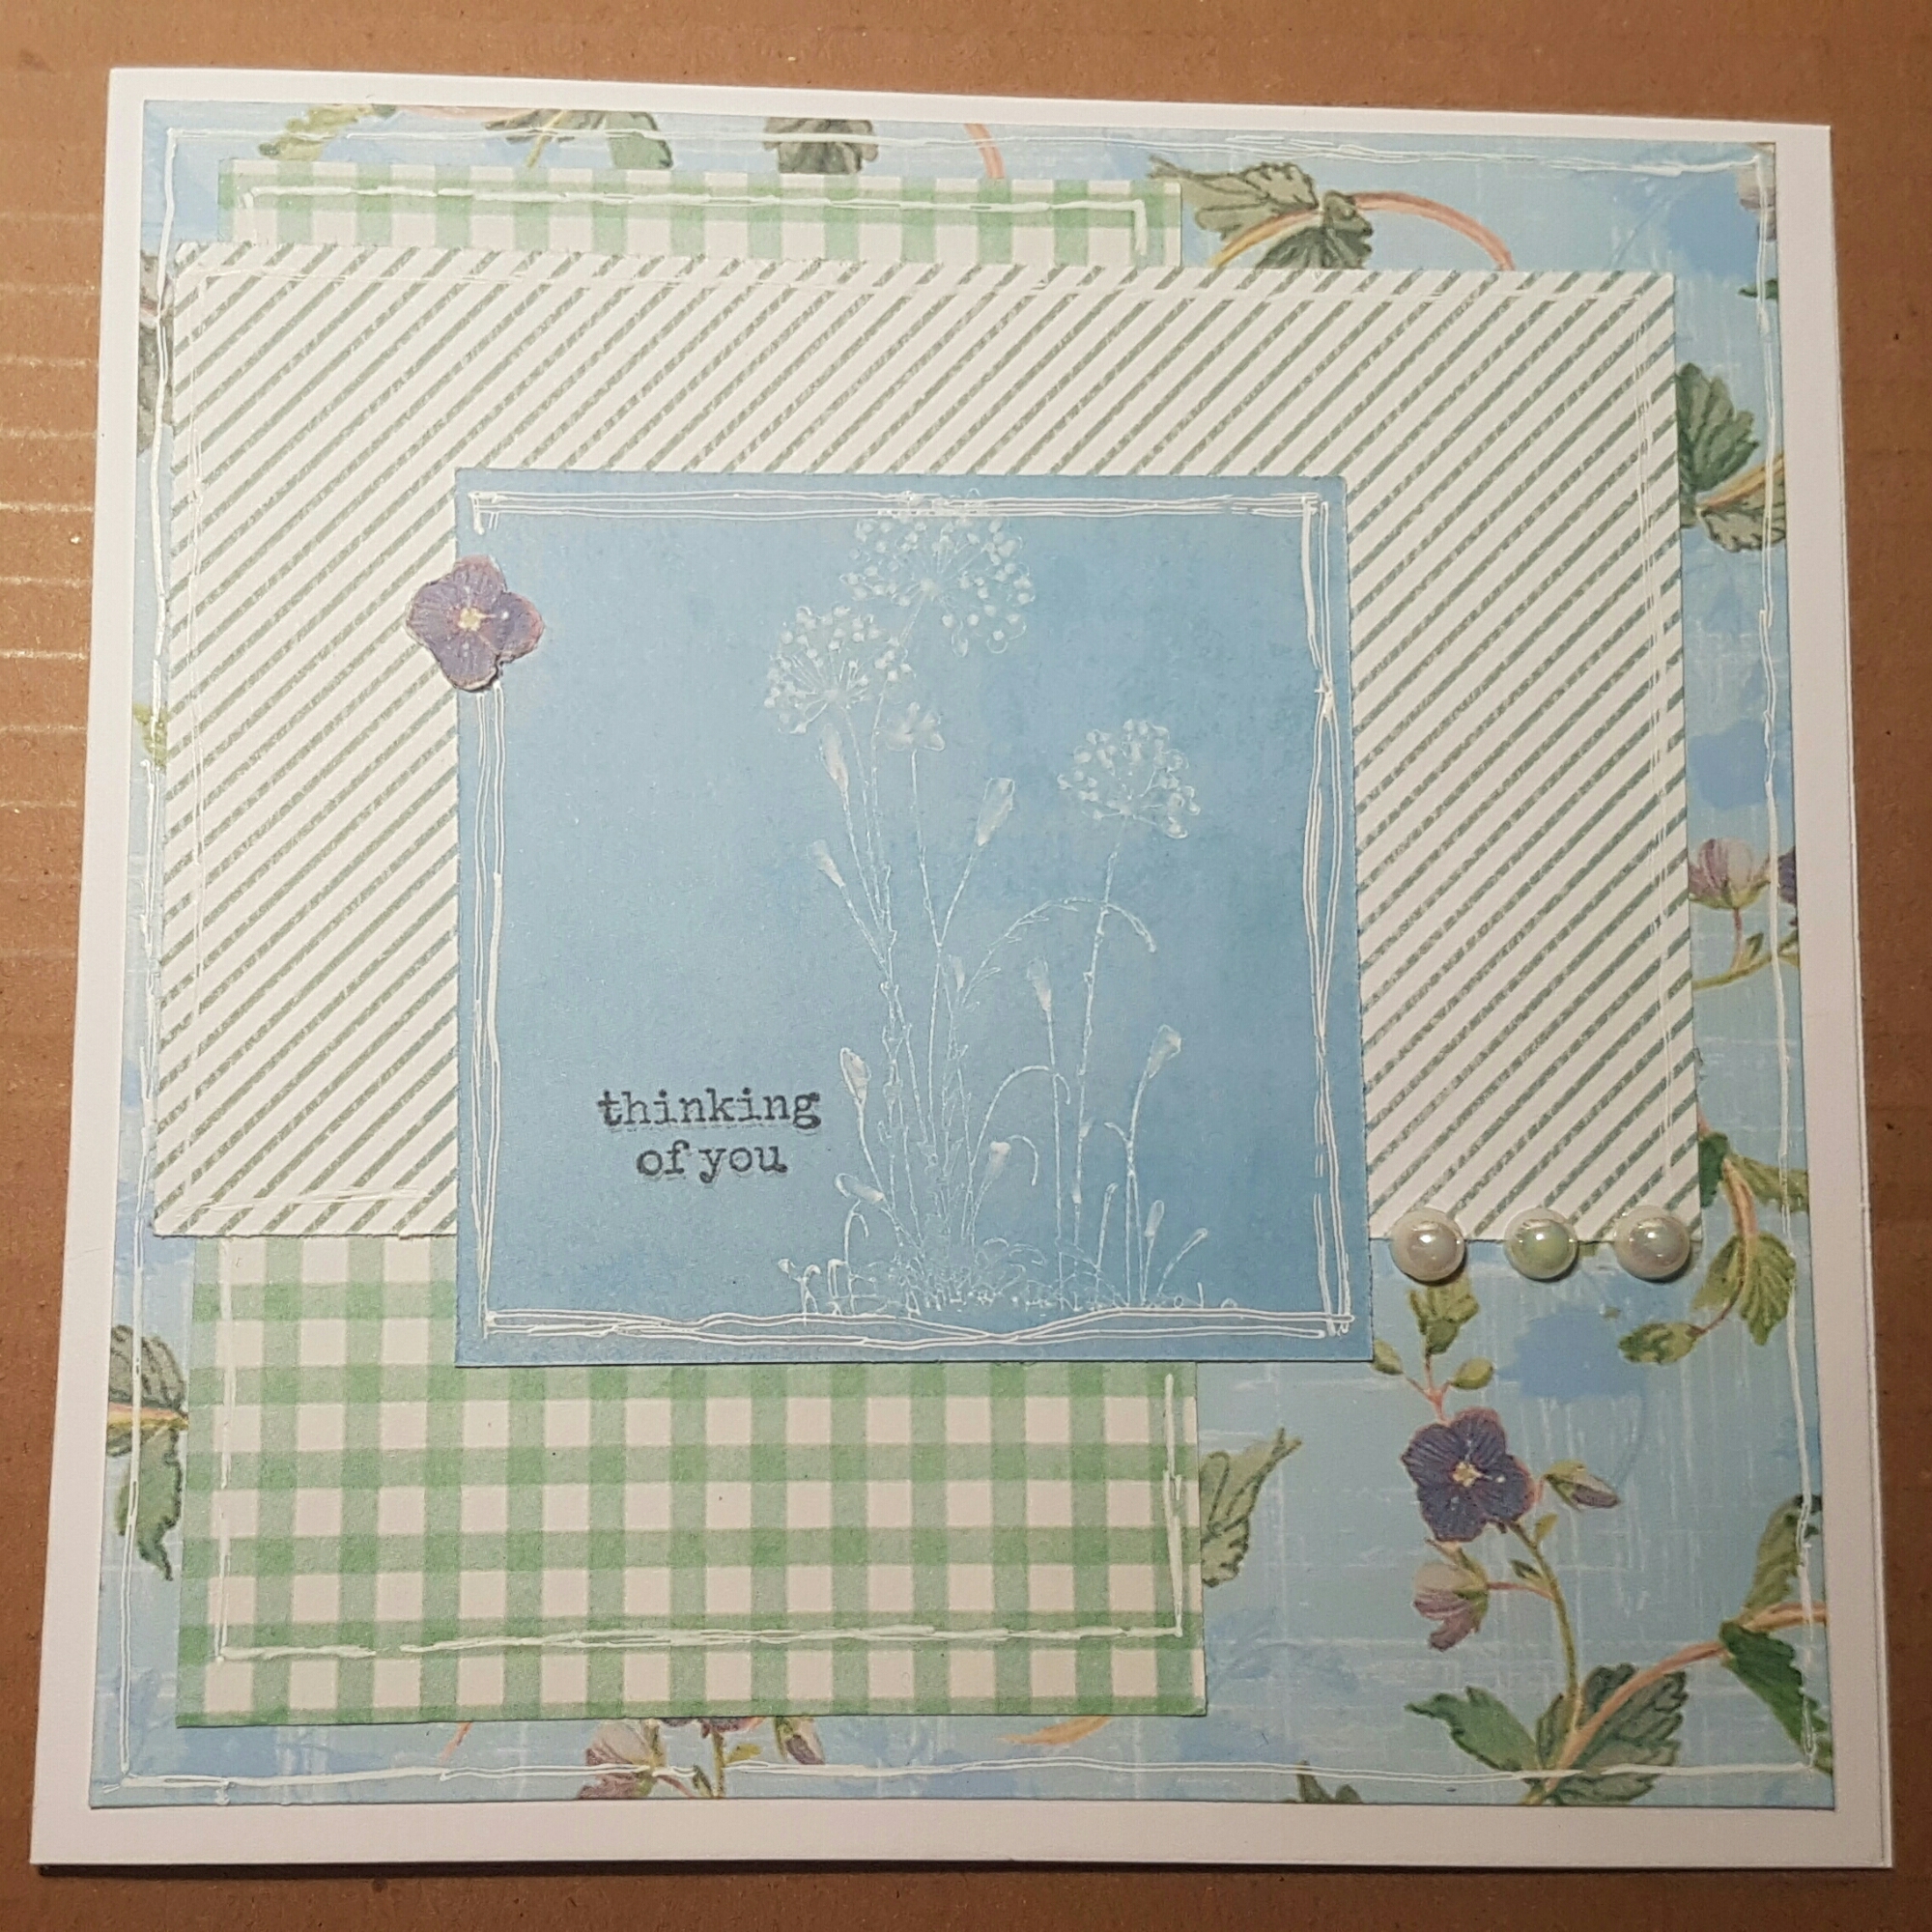
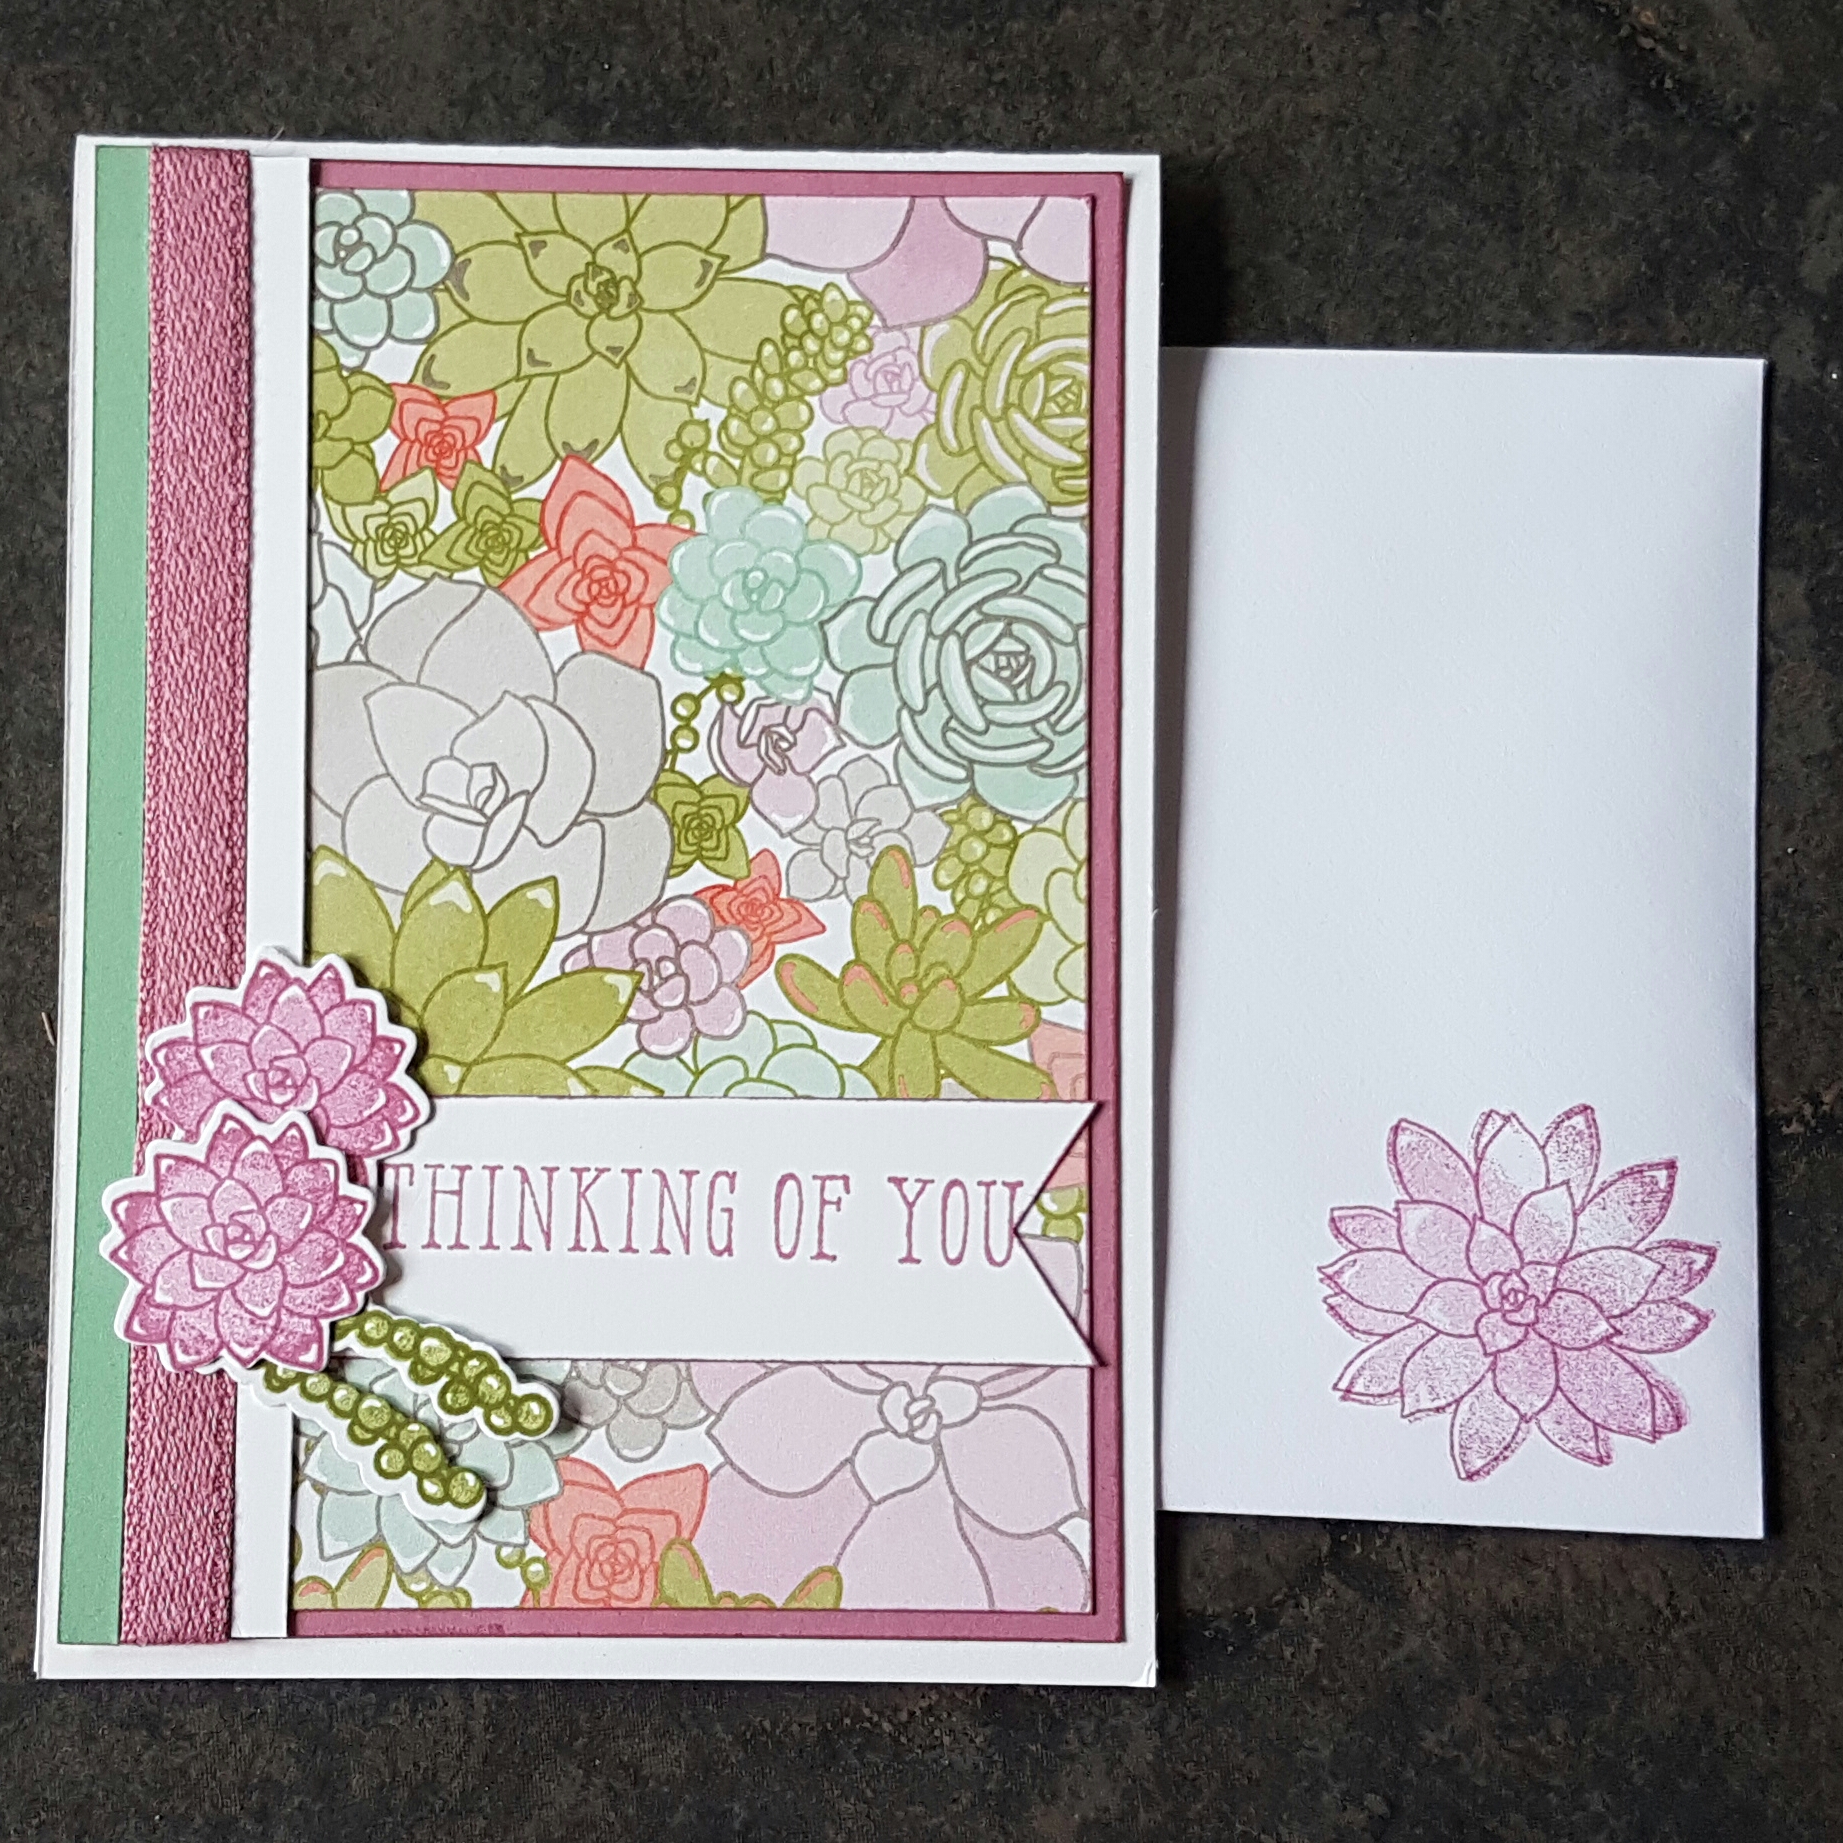
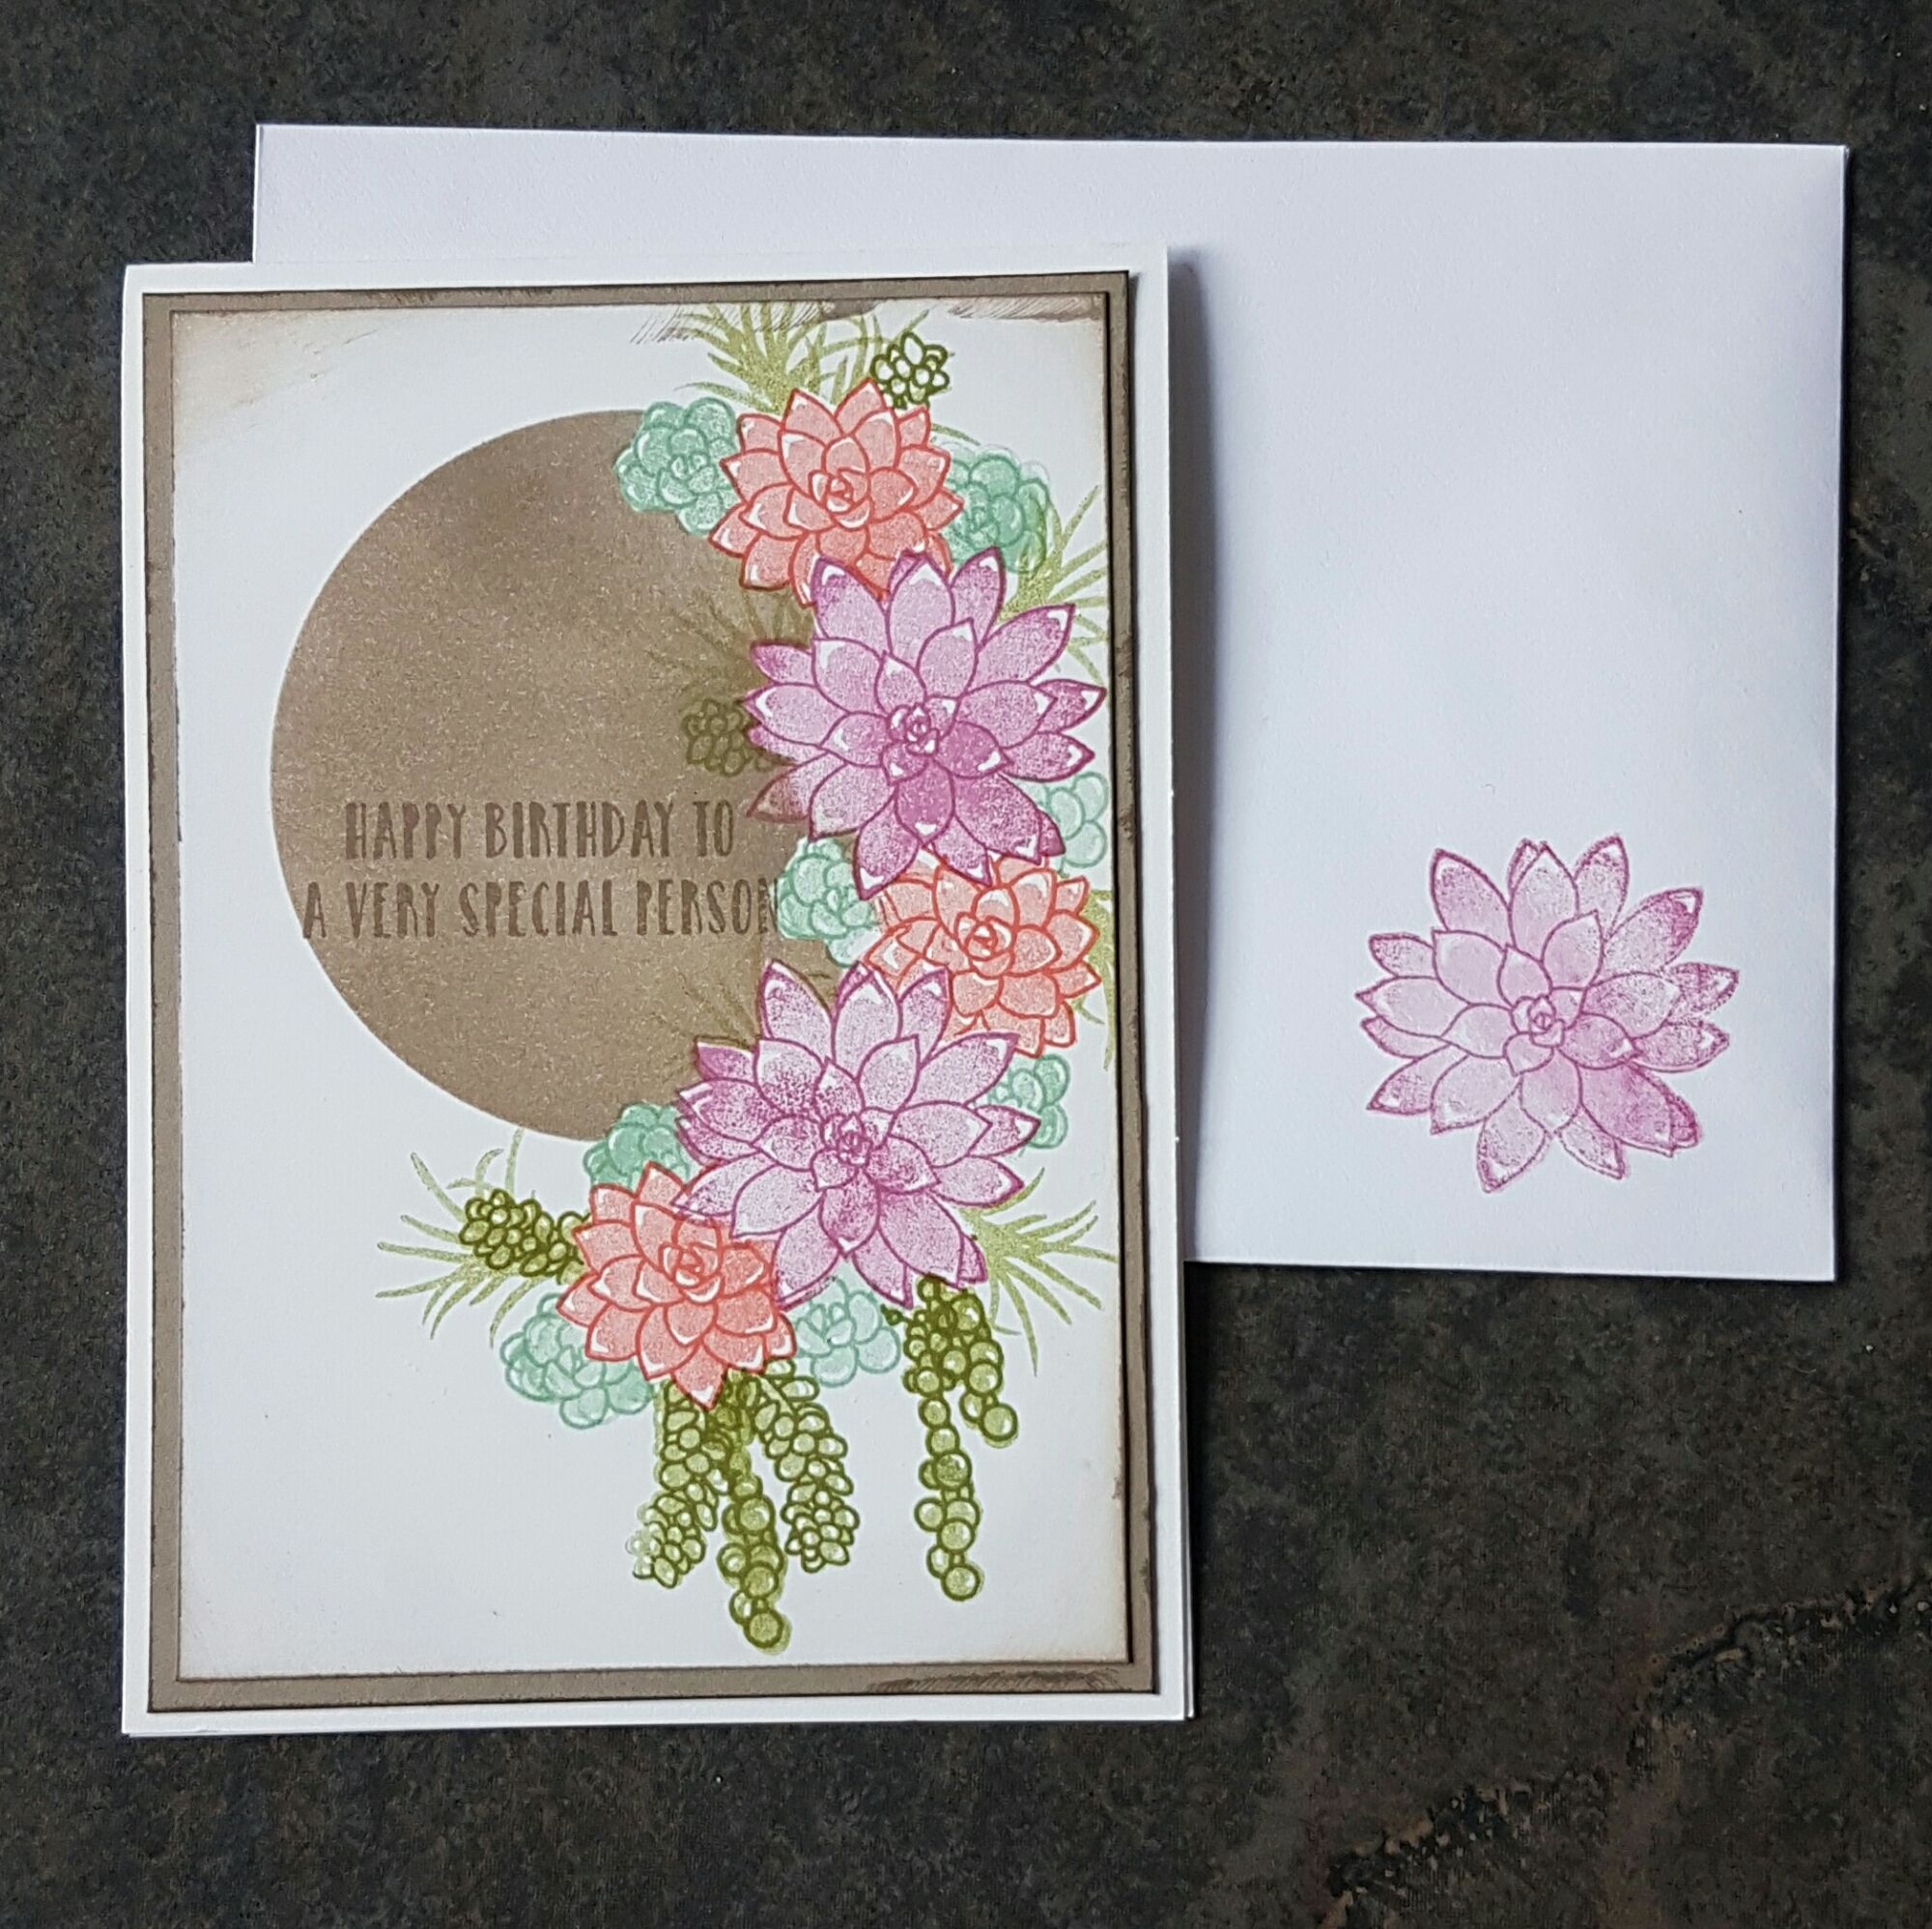
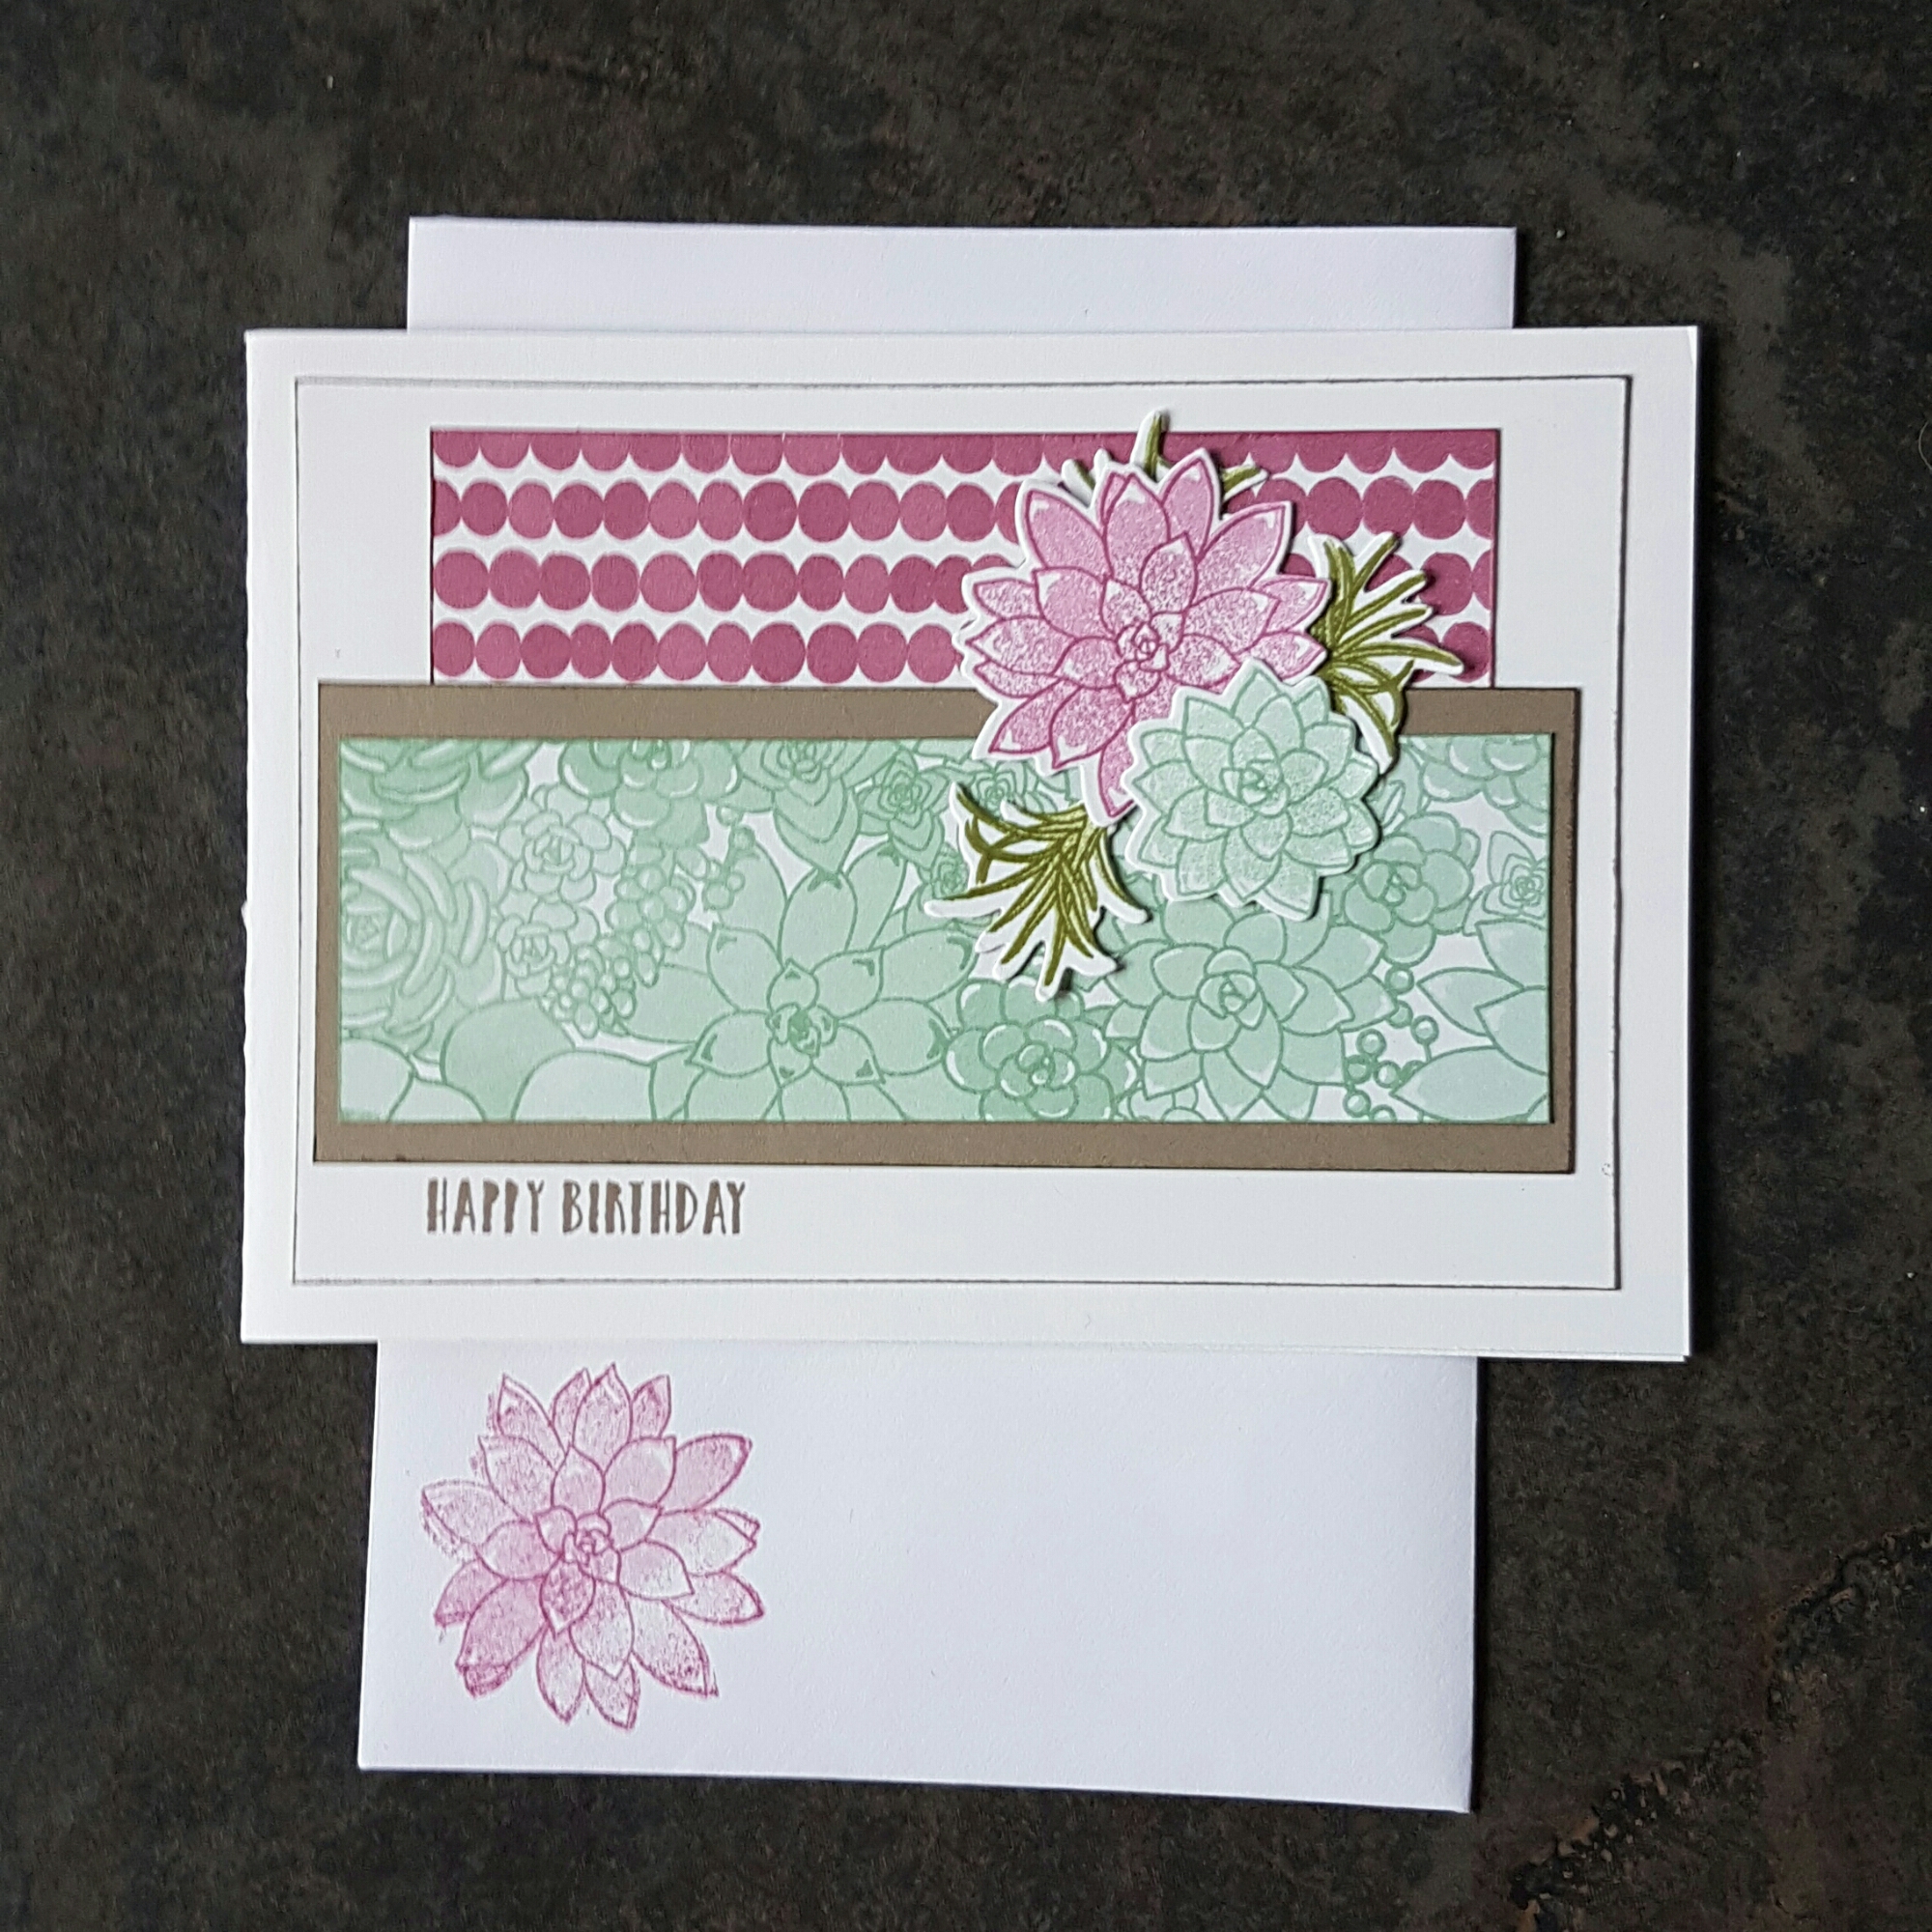
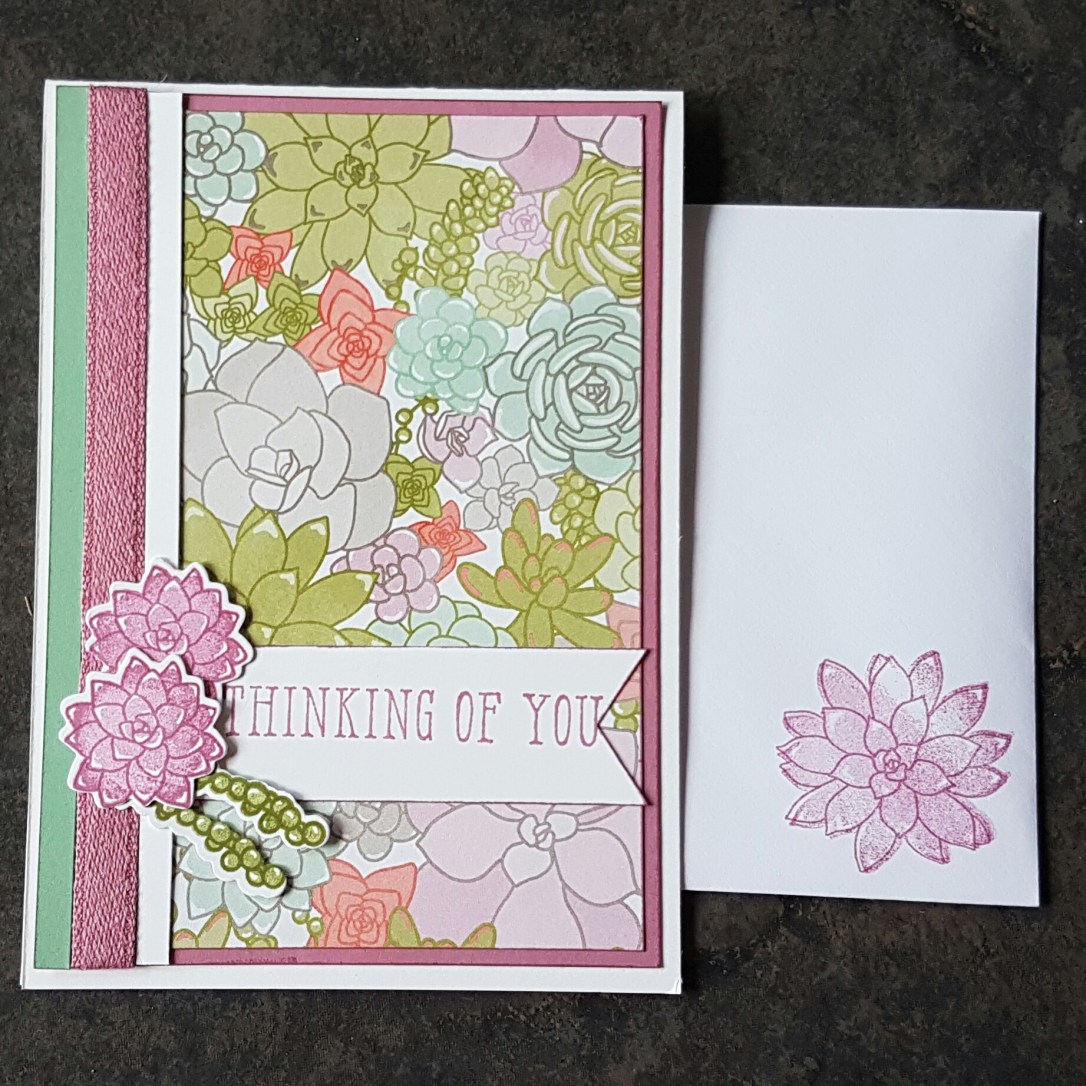
Right now here are the cards I made following Helen’s designs and instructions… on most of the cards I also decorated inside the cards… not something I often remember to do but thought it would be a nice touch for my auntie. I also did some simple stamping for the envelope too. 

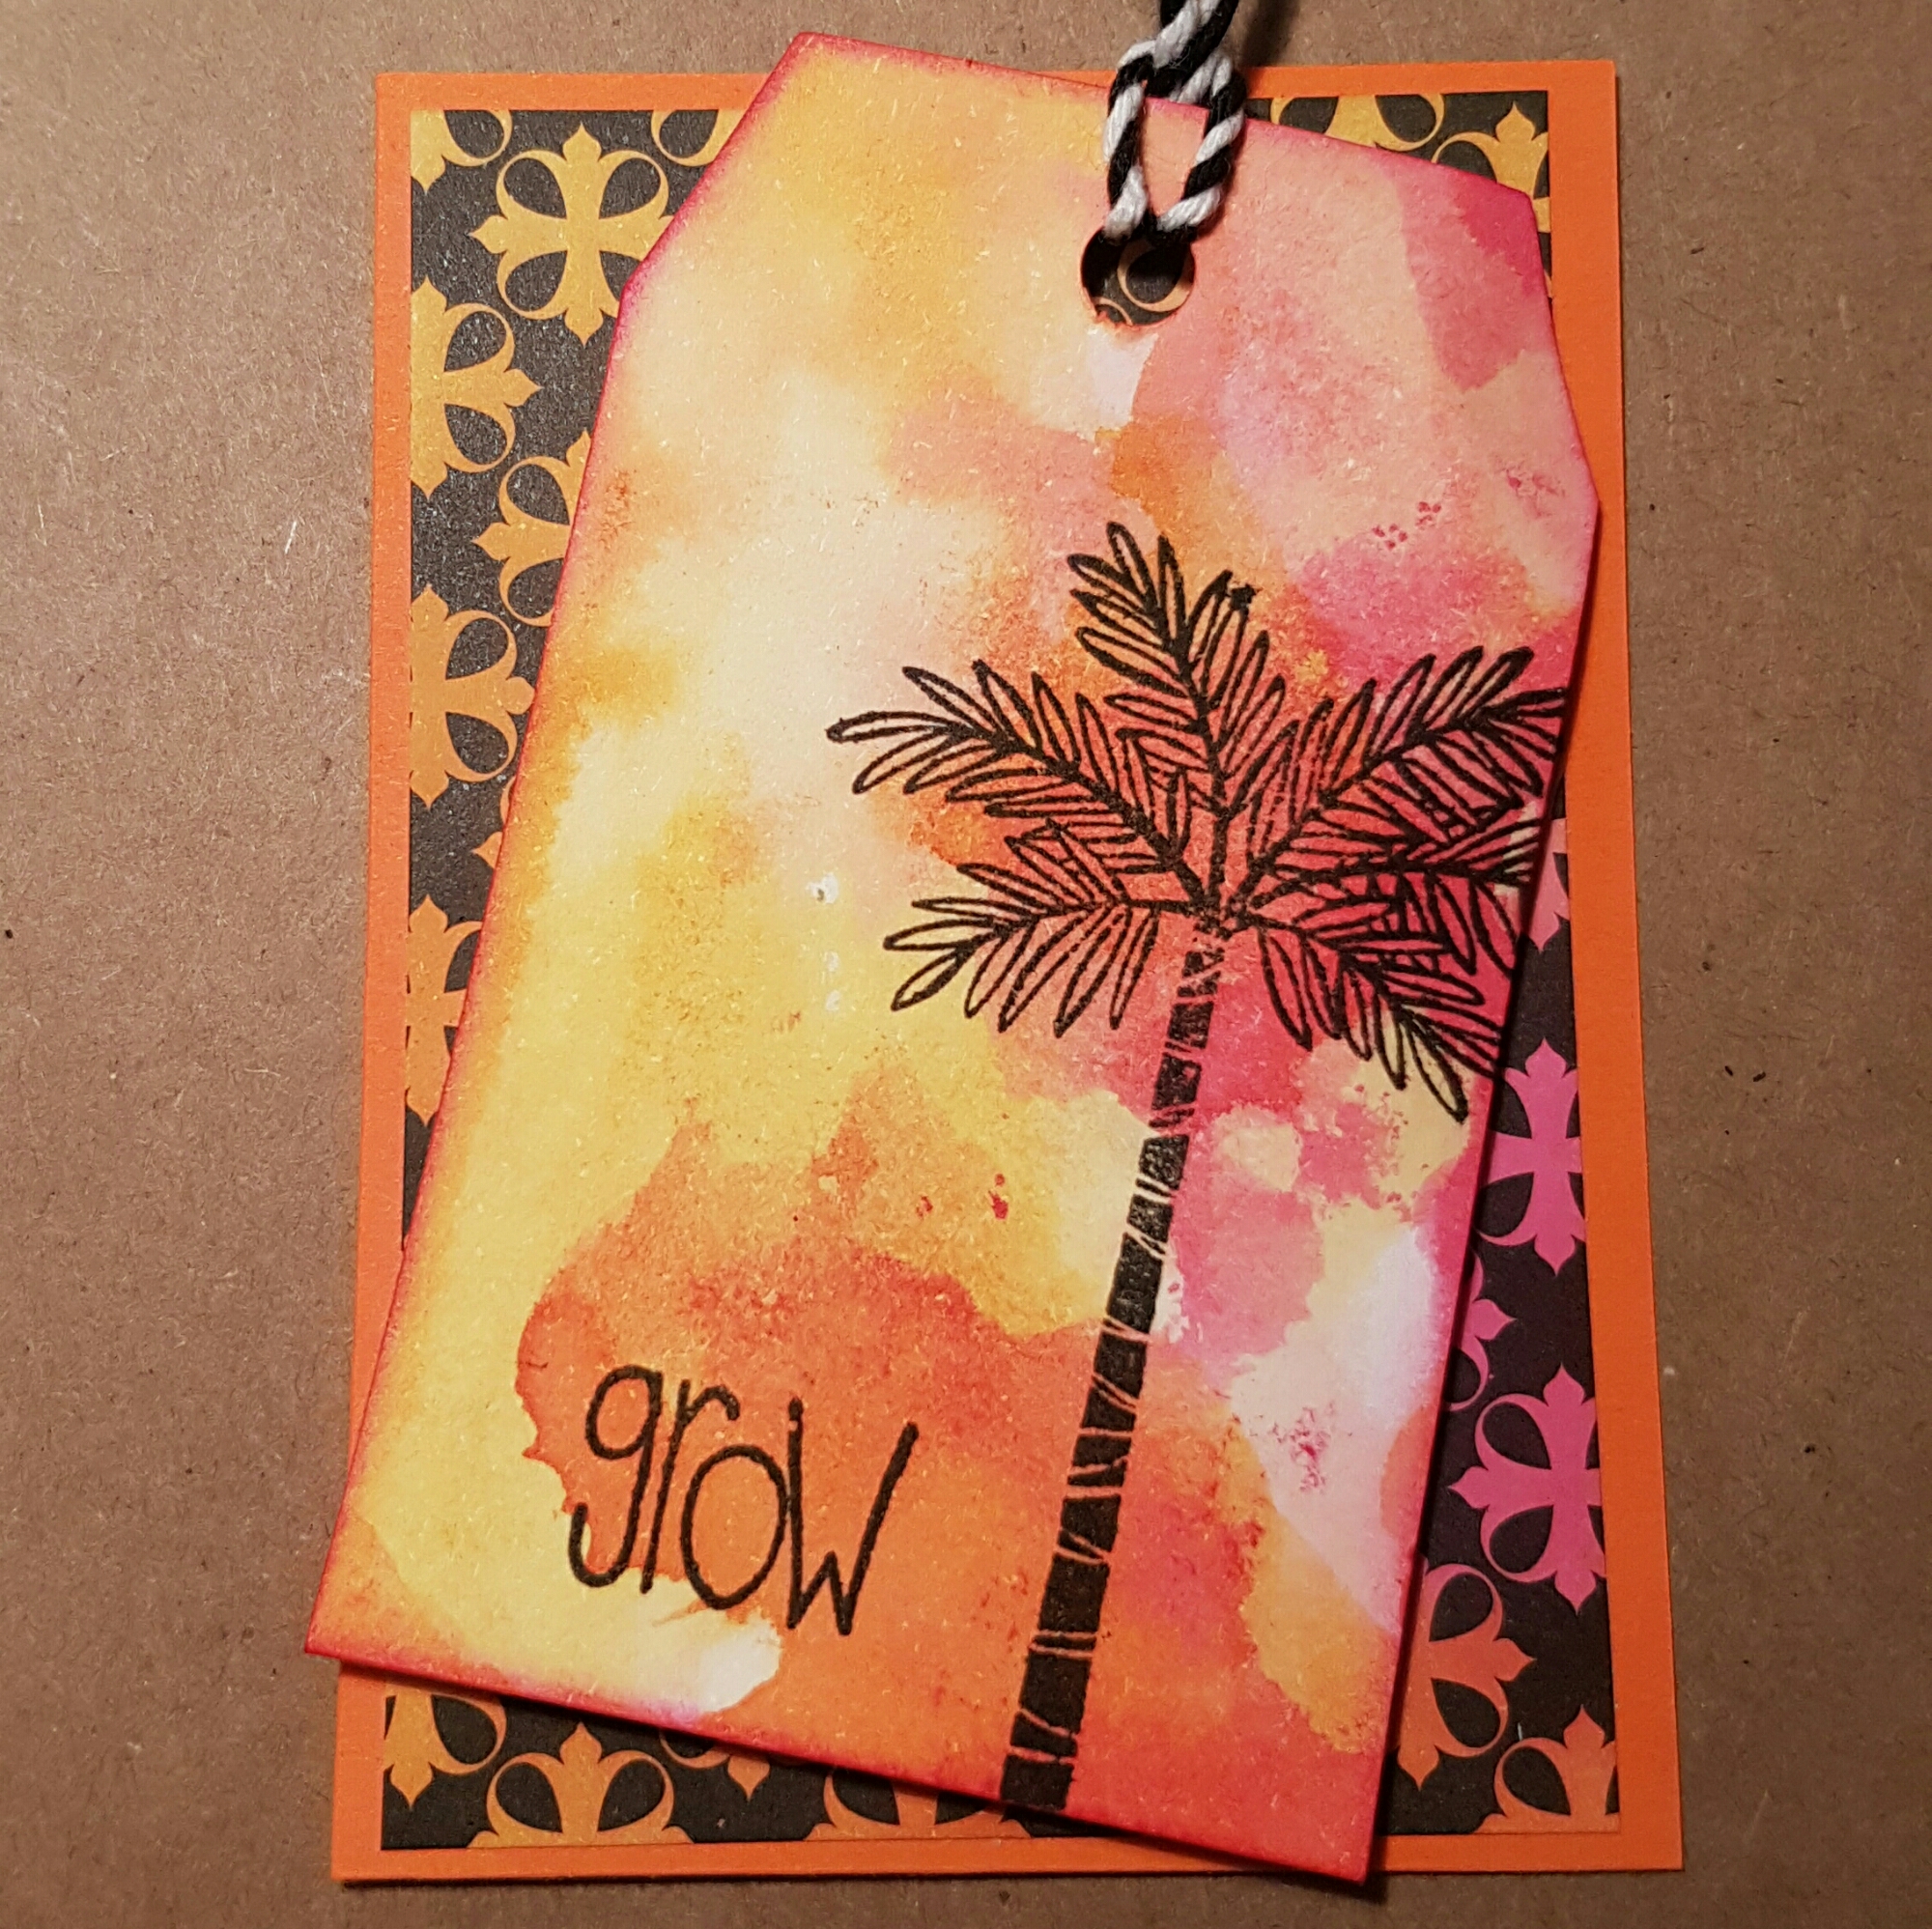
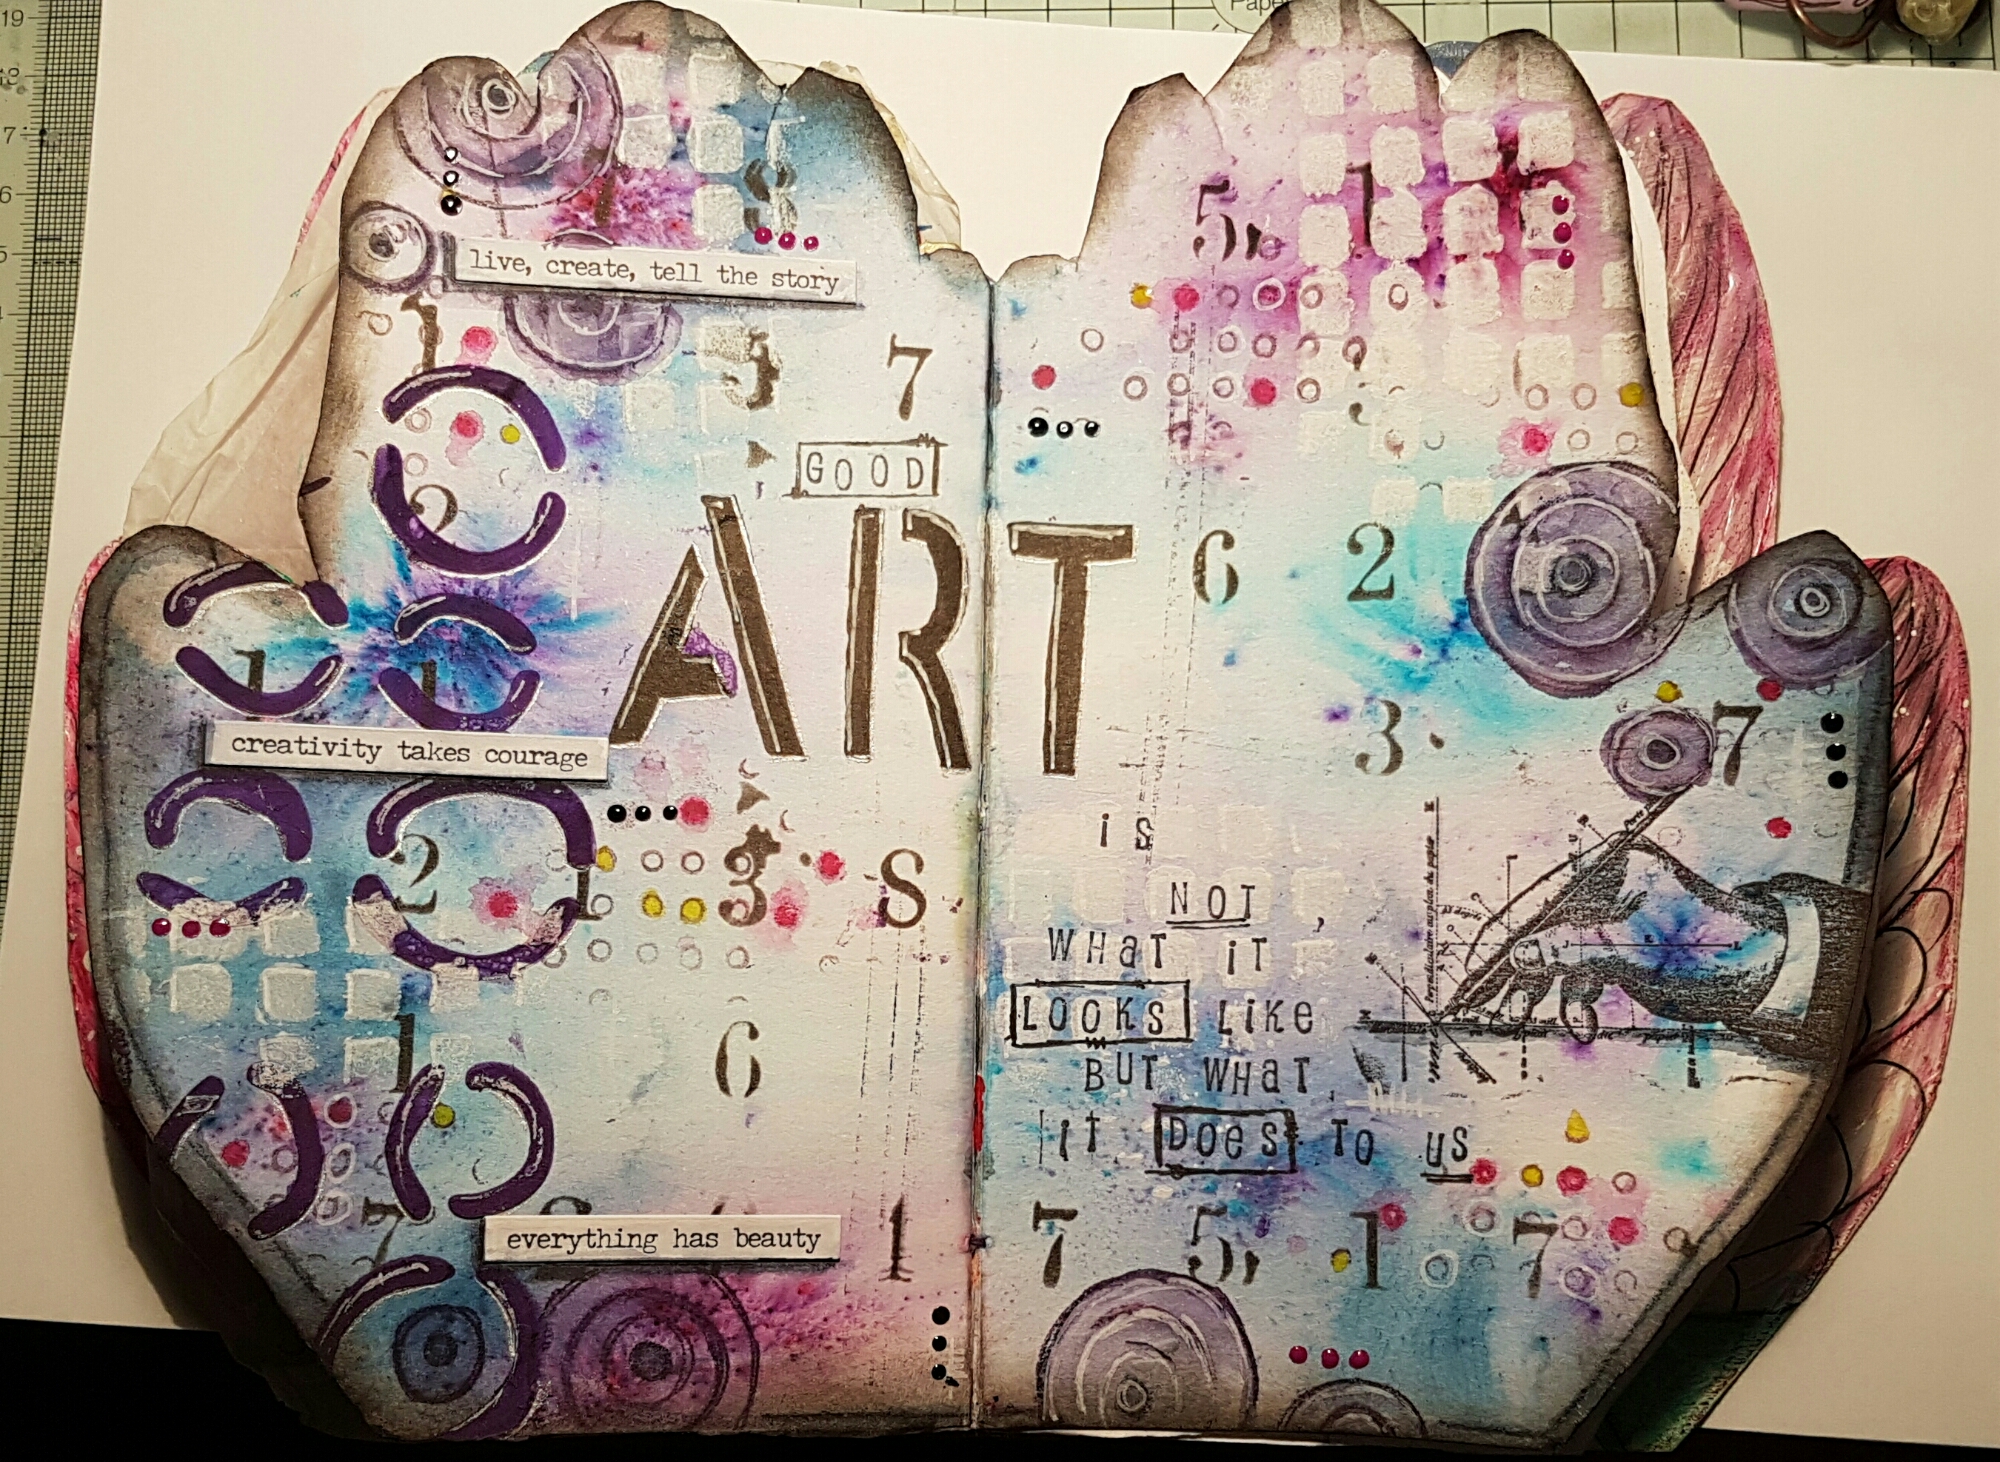
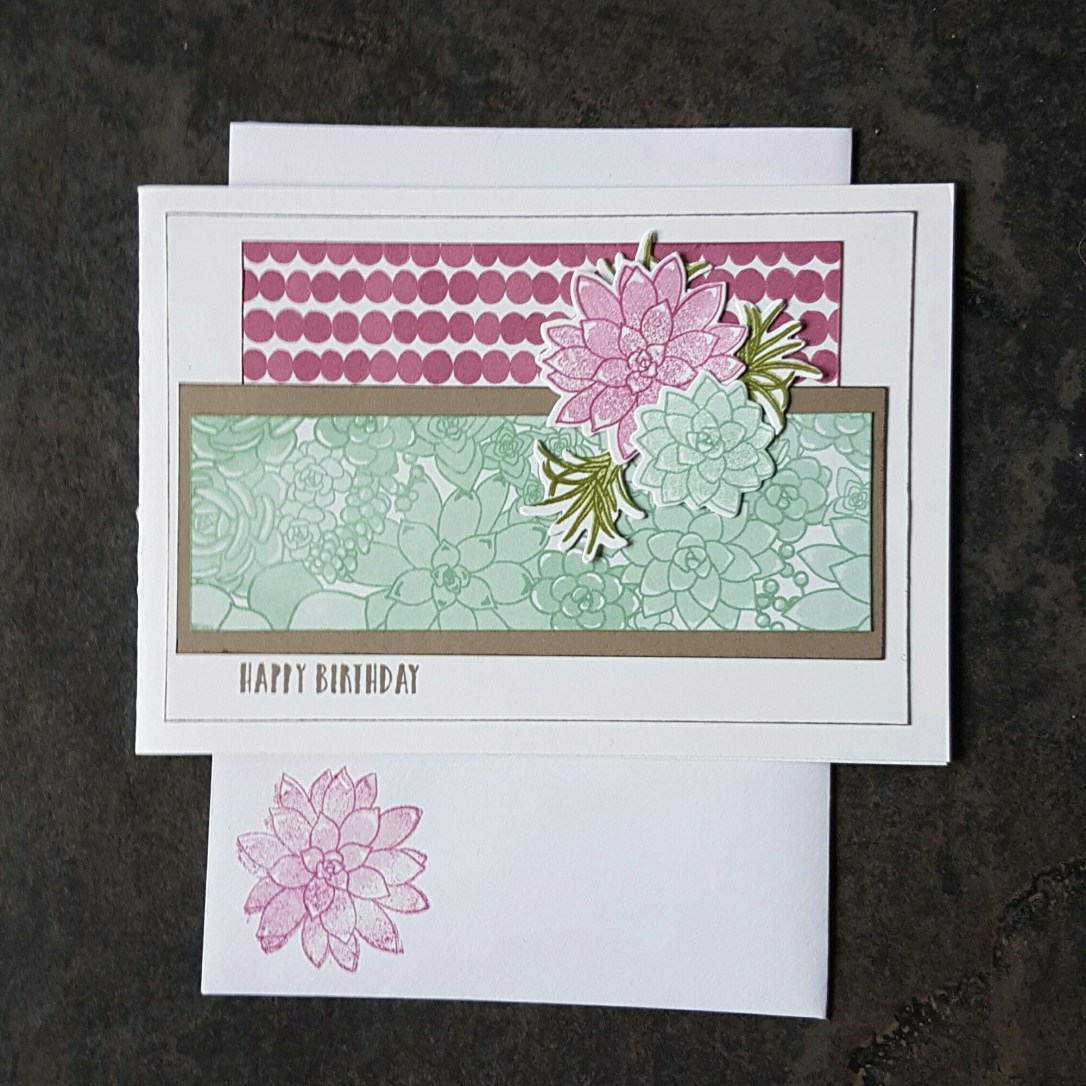
This was the most time consuming one I made as it involved lots and lots of masking but love the effect I got in the end. I did go a bit dark with the inking through the mask but still I love it. 

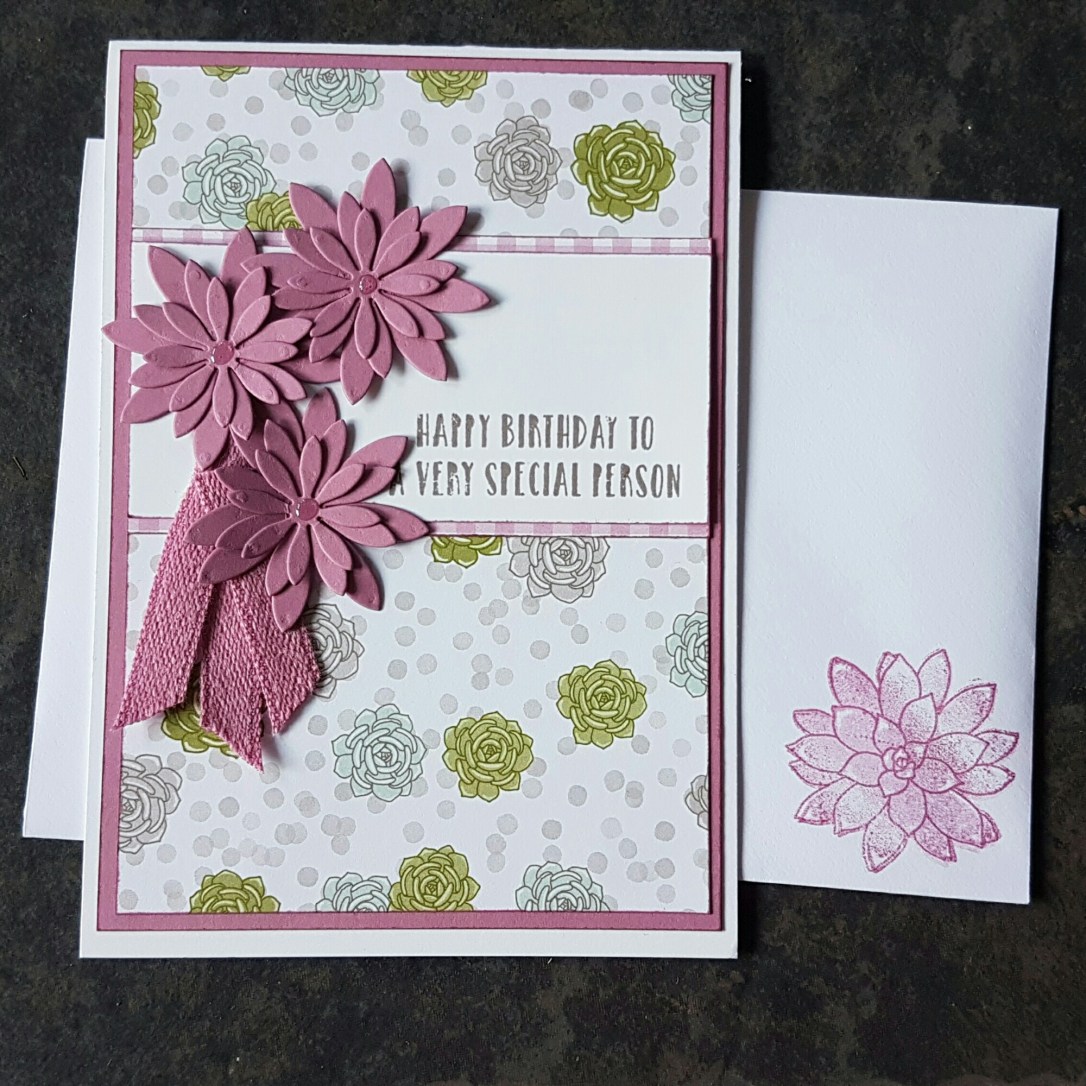
The colour scheme was so pretty for this project… I love the sugar Plum pink and the mint macaron in particular. So pretty. 

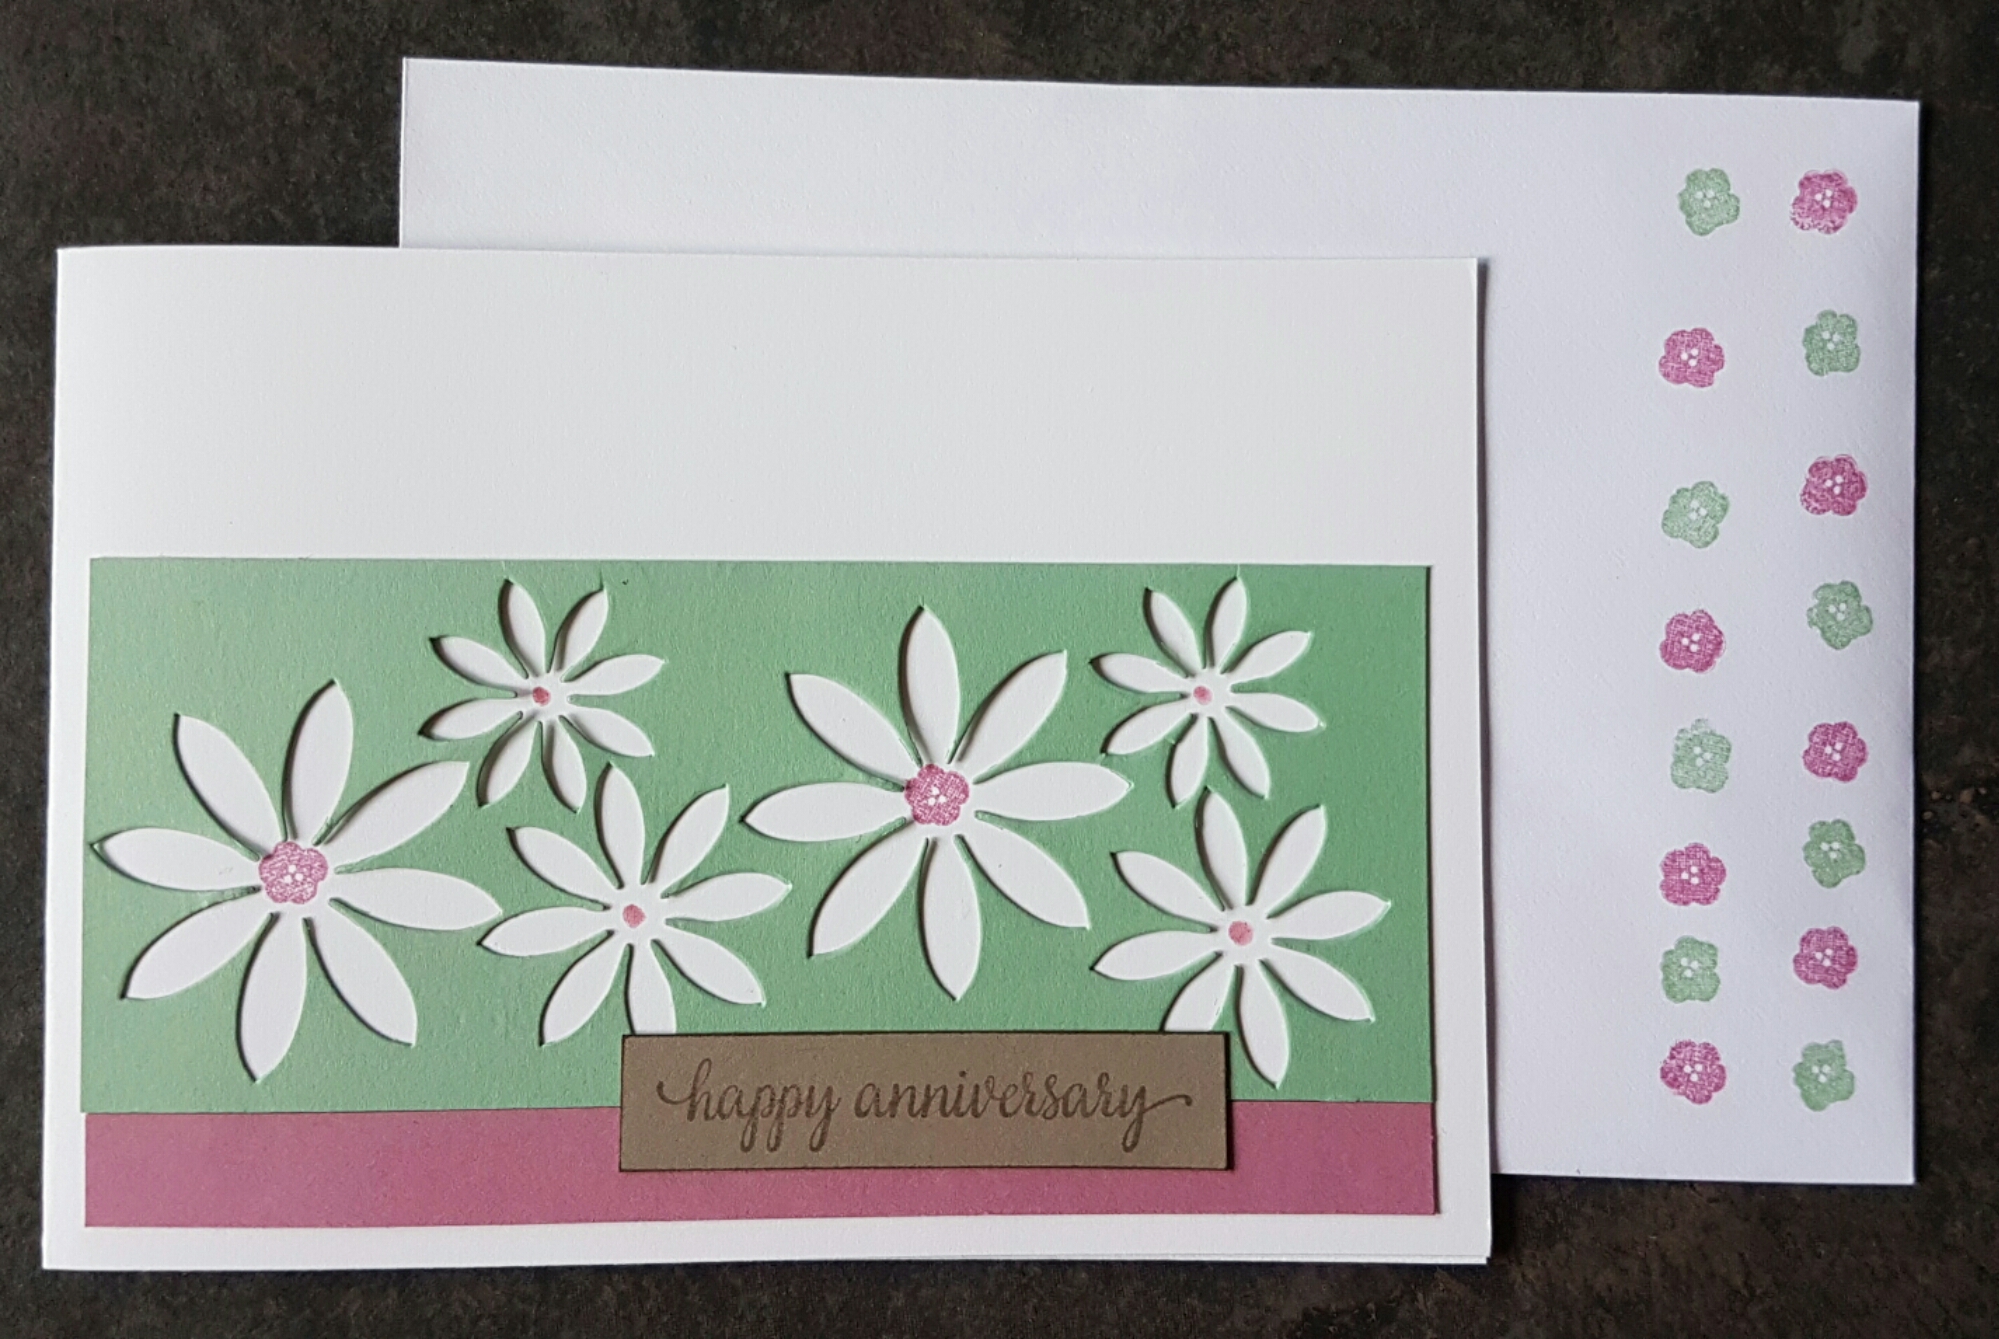
Helen had the matching framelits available for us to cut all the stamped images and Daisy flowers out. They did speed up the process a lot and I wouldn’t have wanted to fussy cut all the flowers out but I still am not a fan of framelits so I will have to use the good old fashioned scissors next time I use this set.

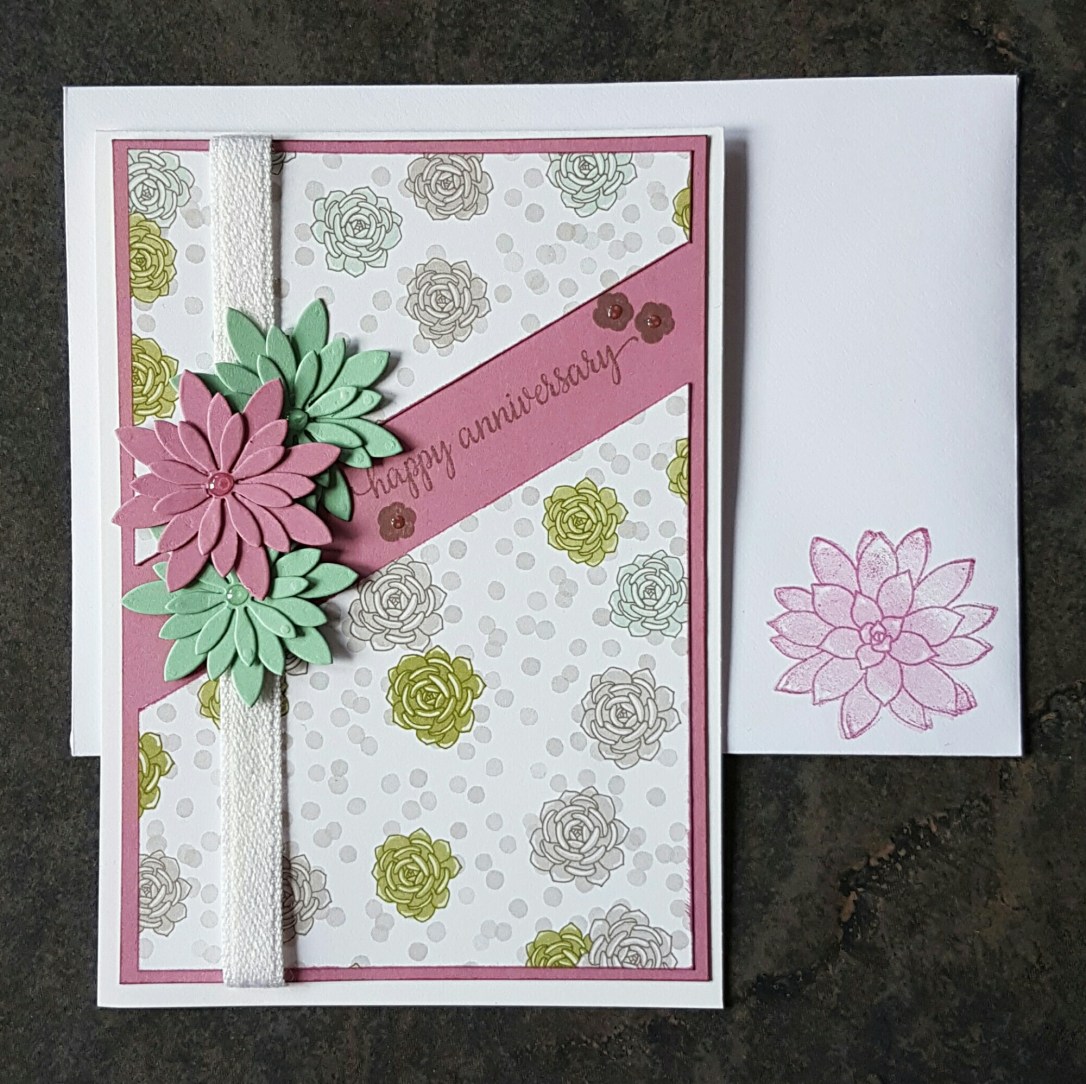
I do however love the Daisy flowers that are die cut from this set. They are super cute… and having seen what others have created using the larger succulent dies they are amazing. So I can see the value in getting them… even if it’s unlikely I would get them myself.

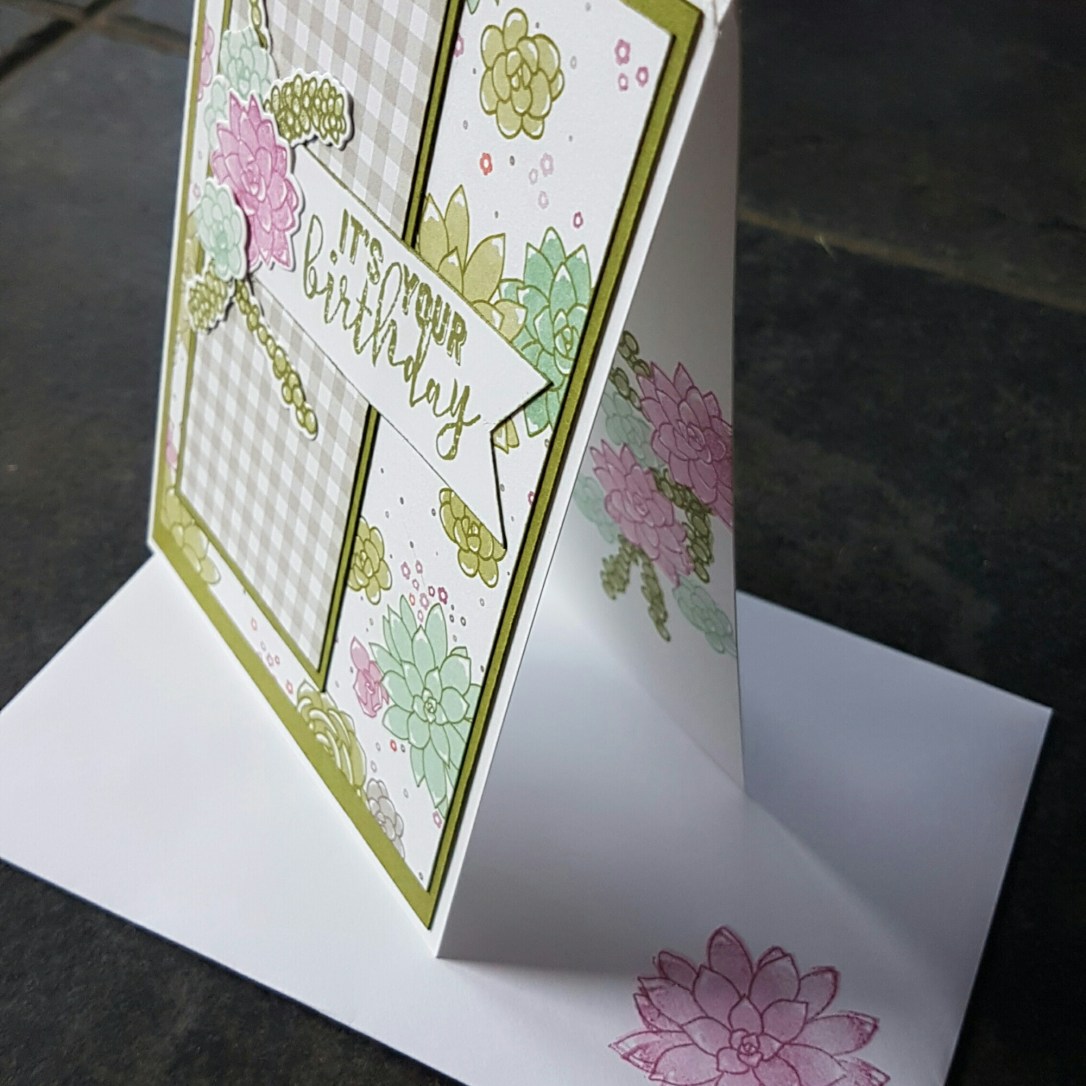
I chose, as Helen had, to make the cards tent fold. I much prefer this … or even to make them landscape … I think it’s a more unusual fold and makes the cards look elegant. Plus when cutting your own card blanks you have the freedom to do this and otherwise these are an expensive card blank type to buy.

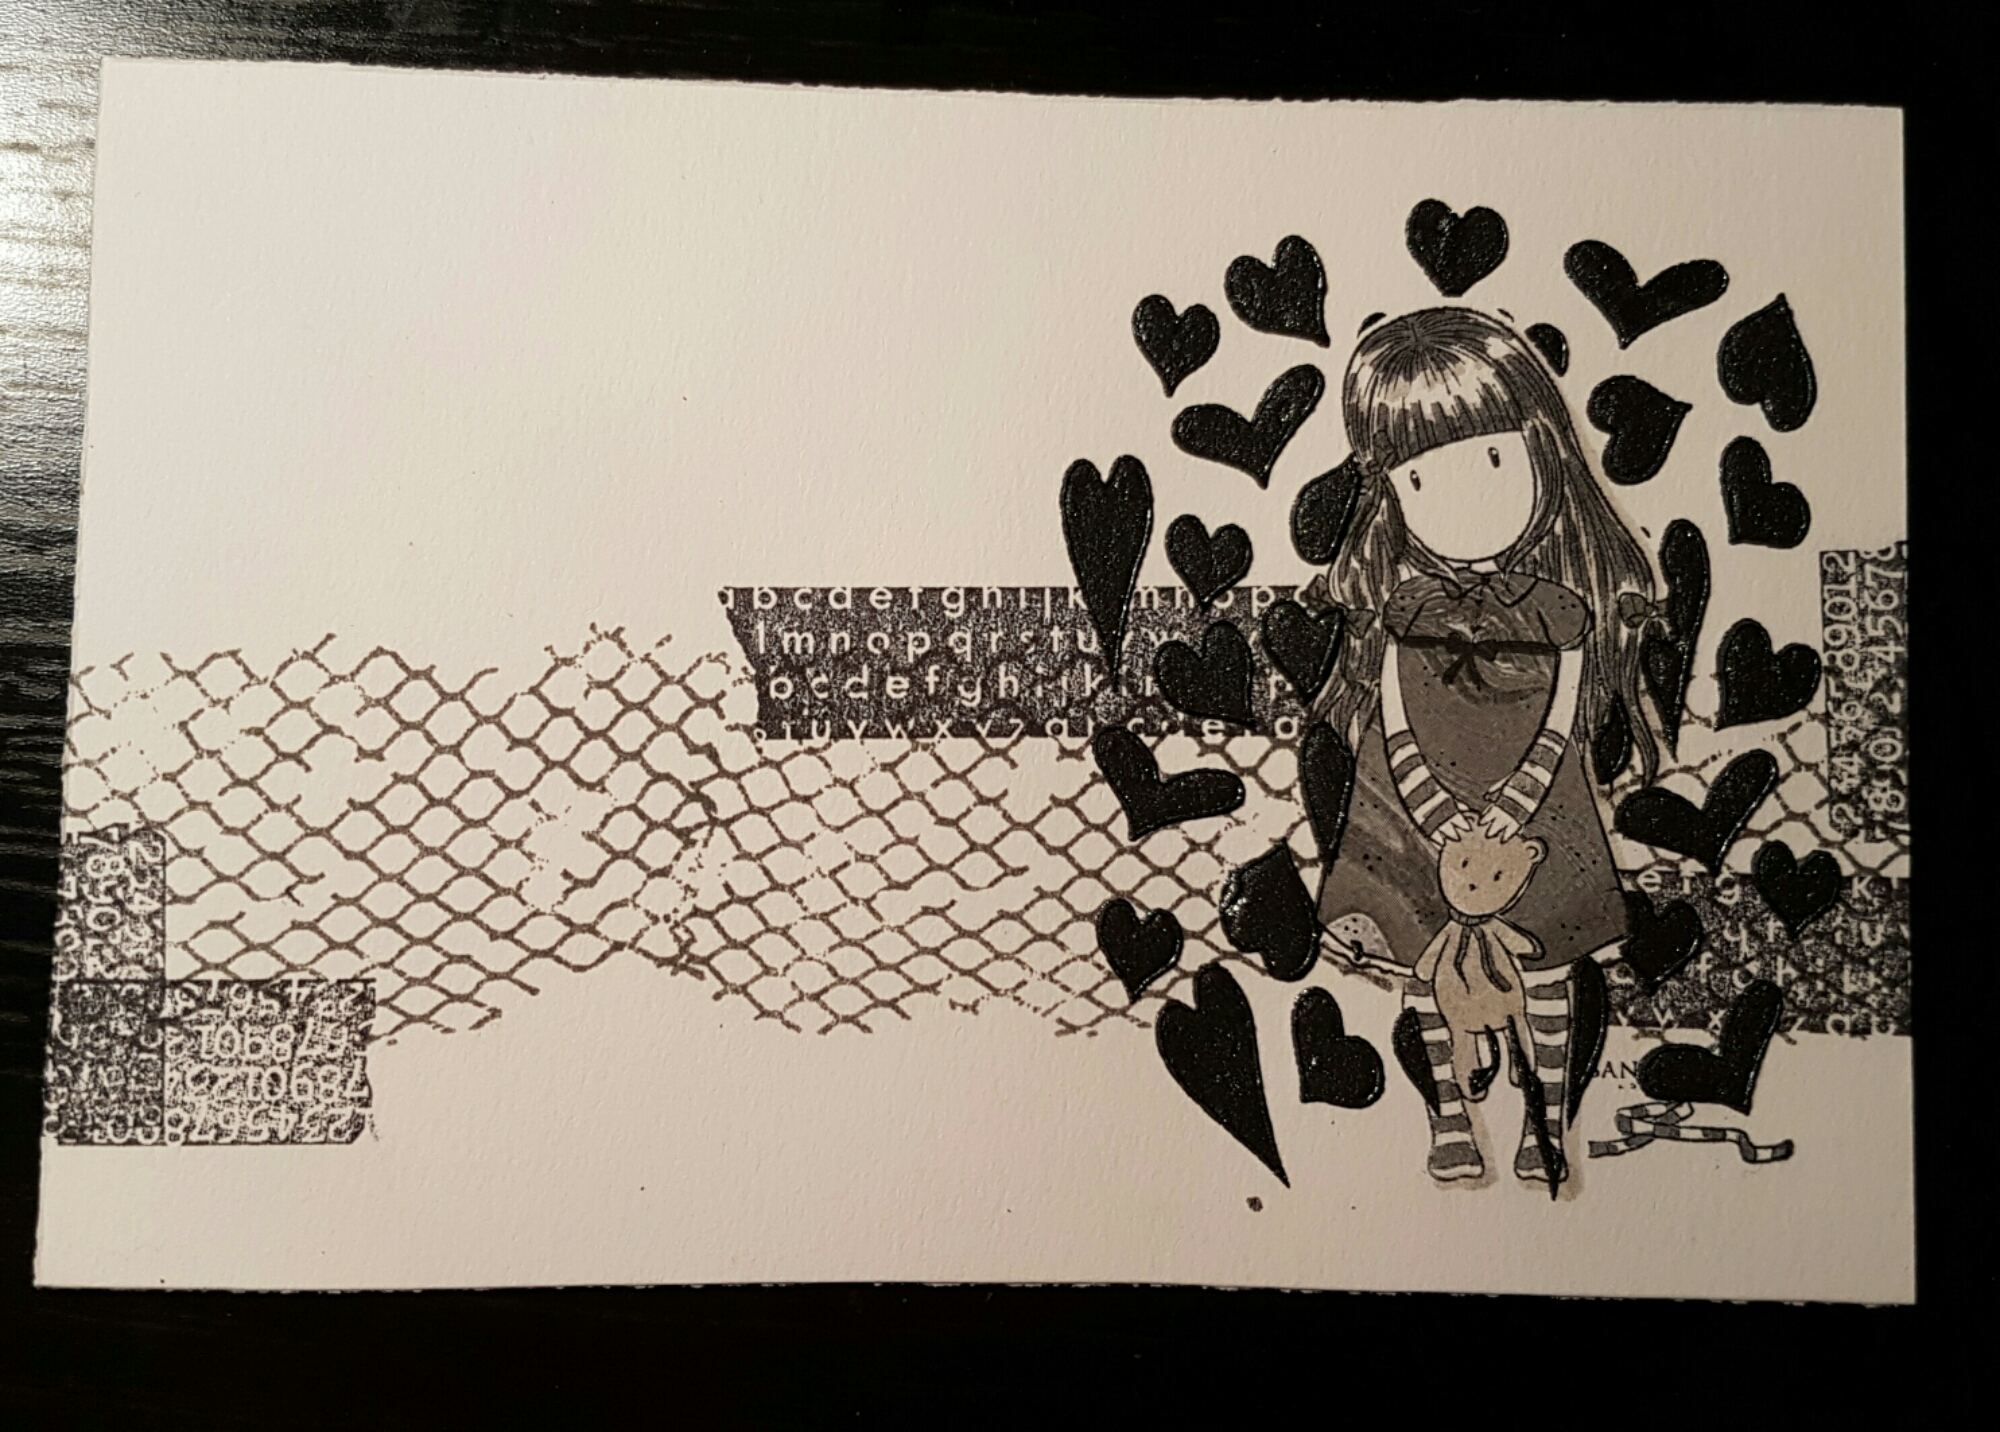
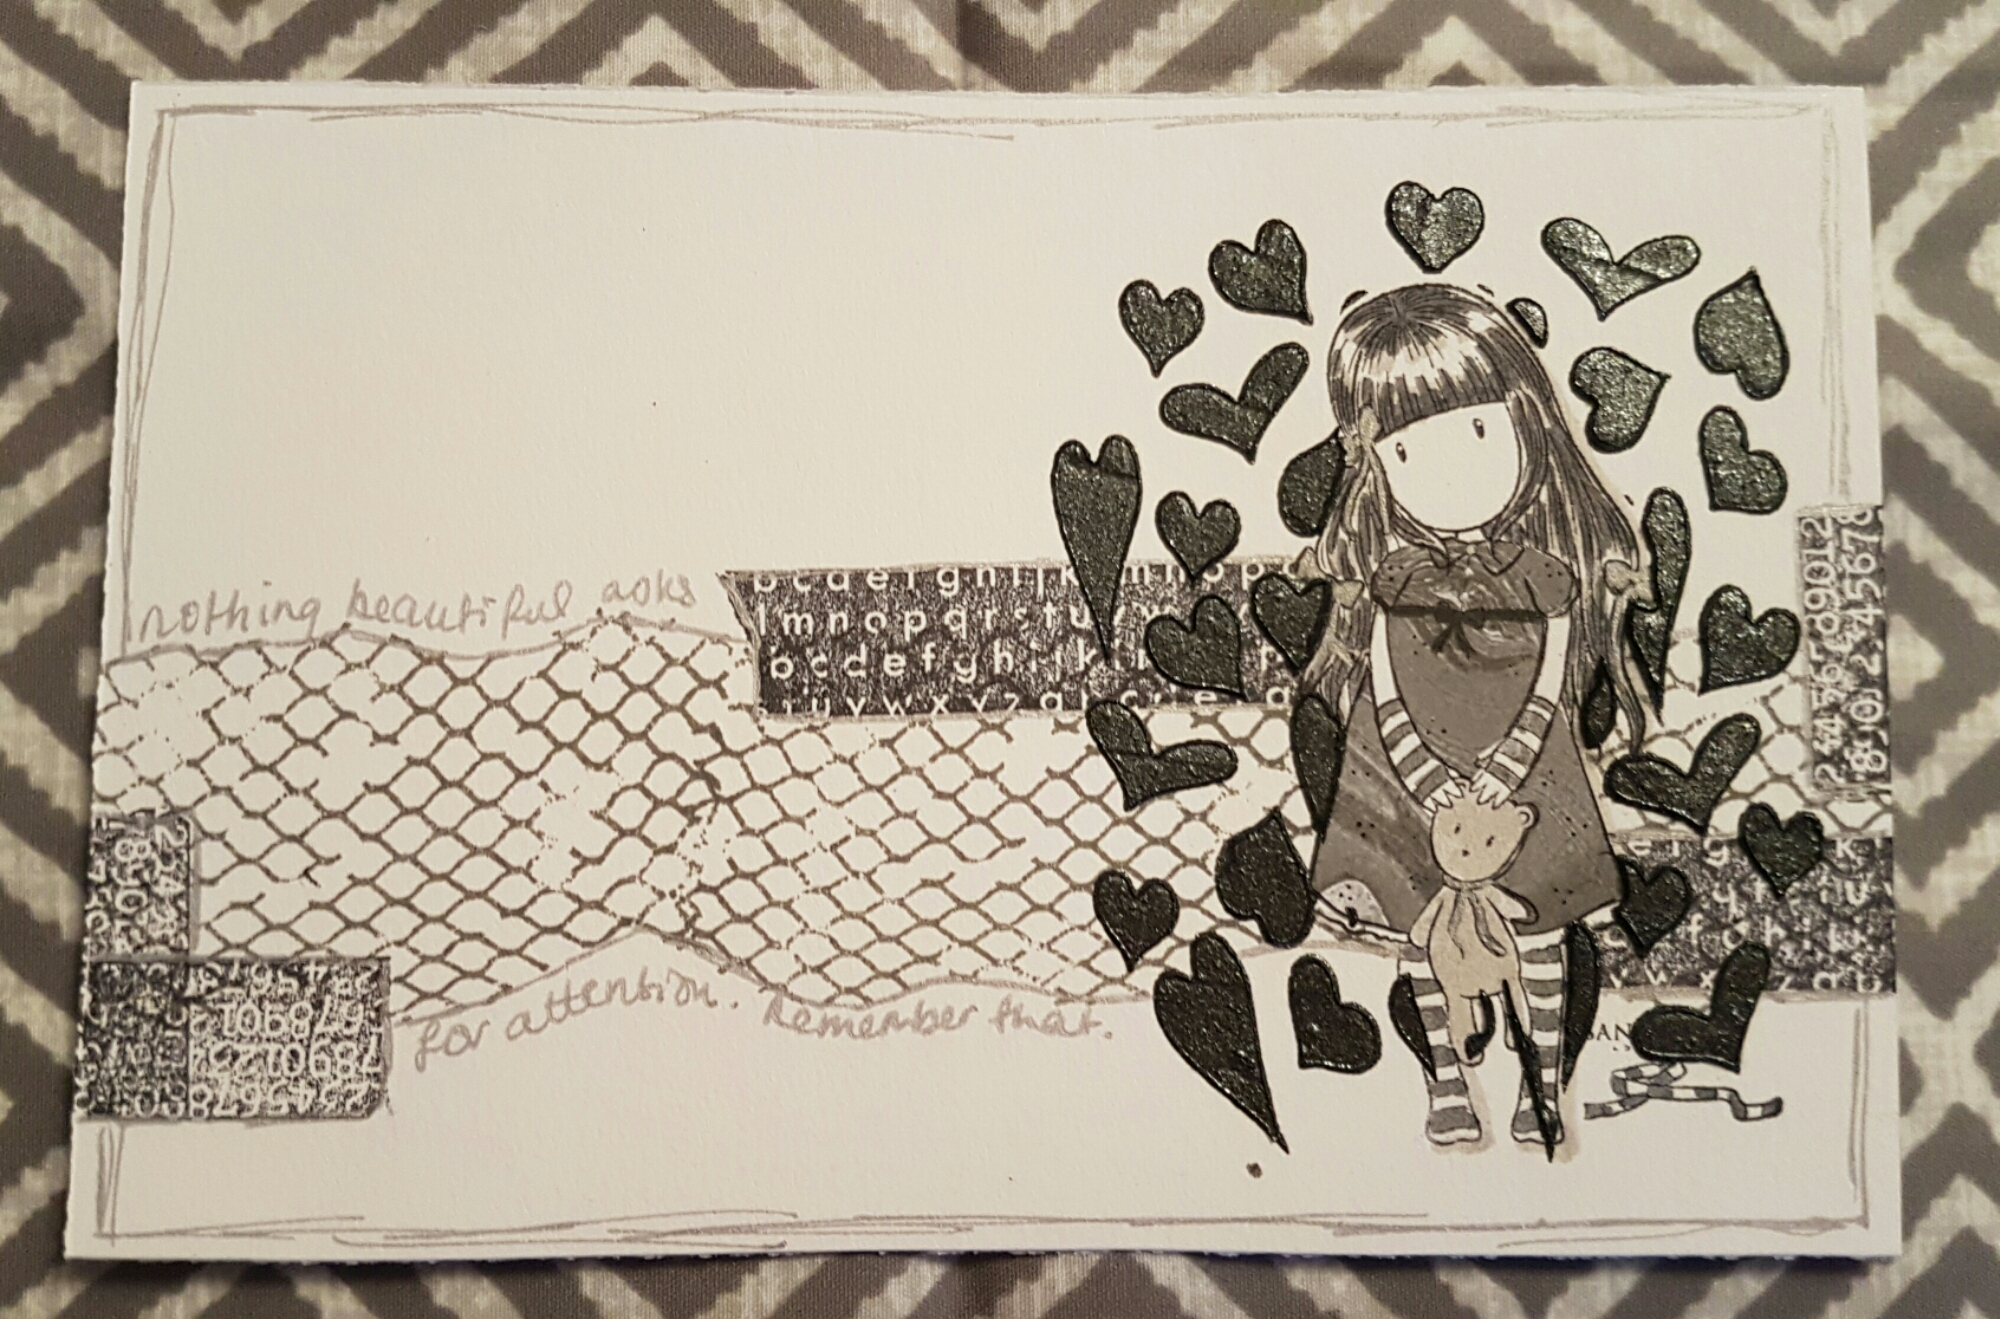
So those were my take on Helen’s designs. I then made a card using scraps from the off cuts and a tiny bit of stamping… 

…as you can see I changed the envelope for this and also the card looks so different without dsp! 

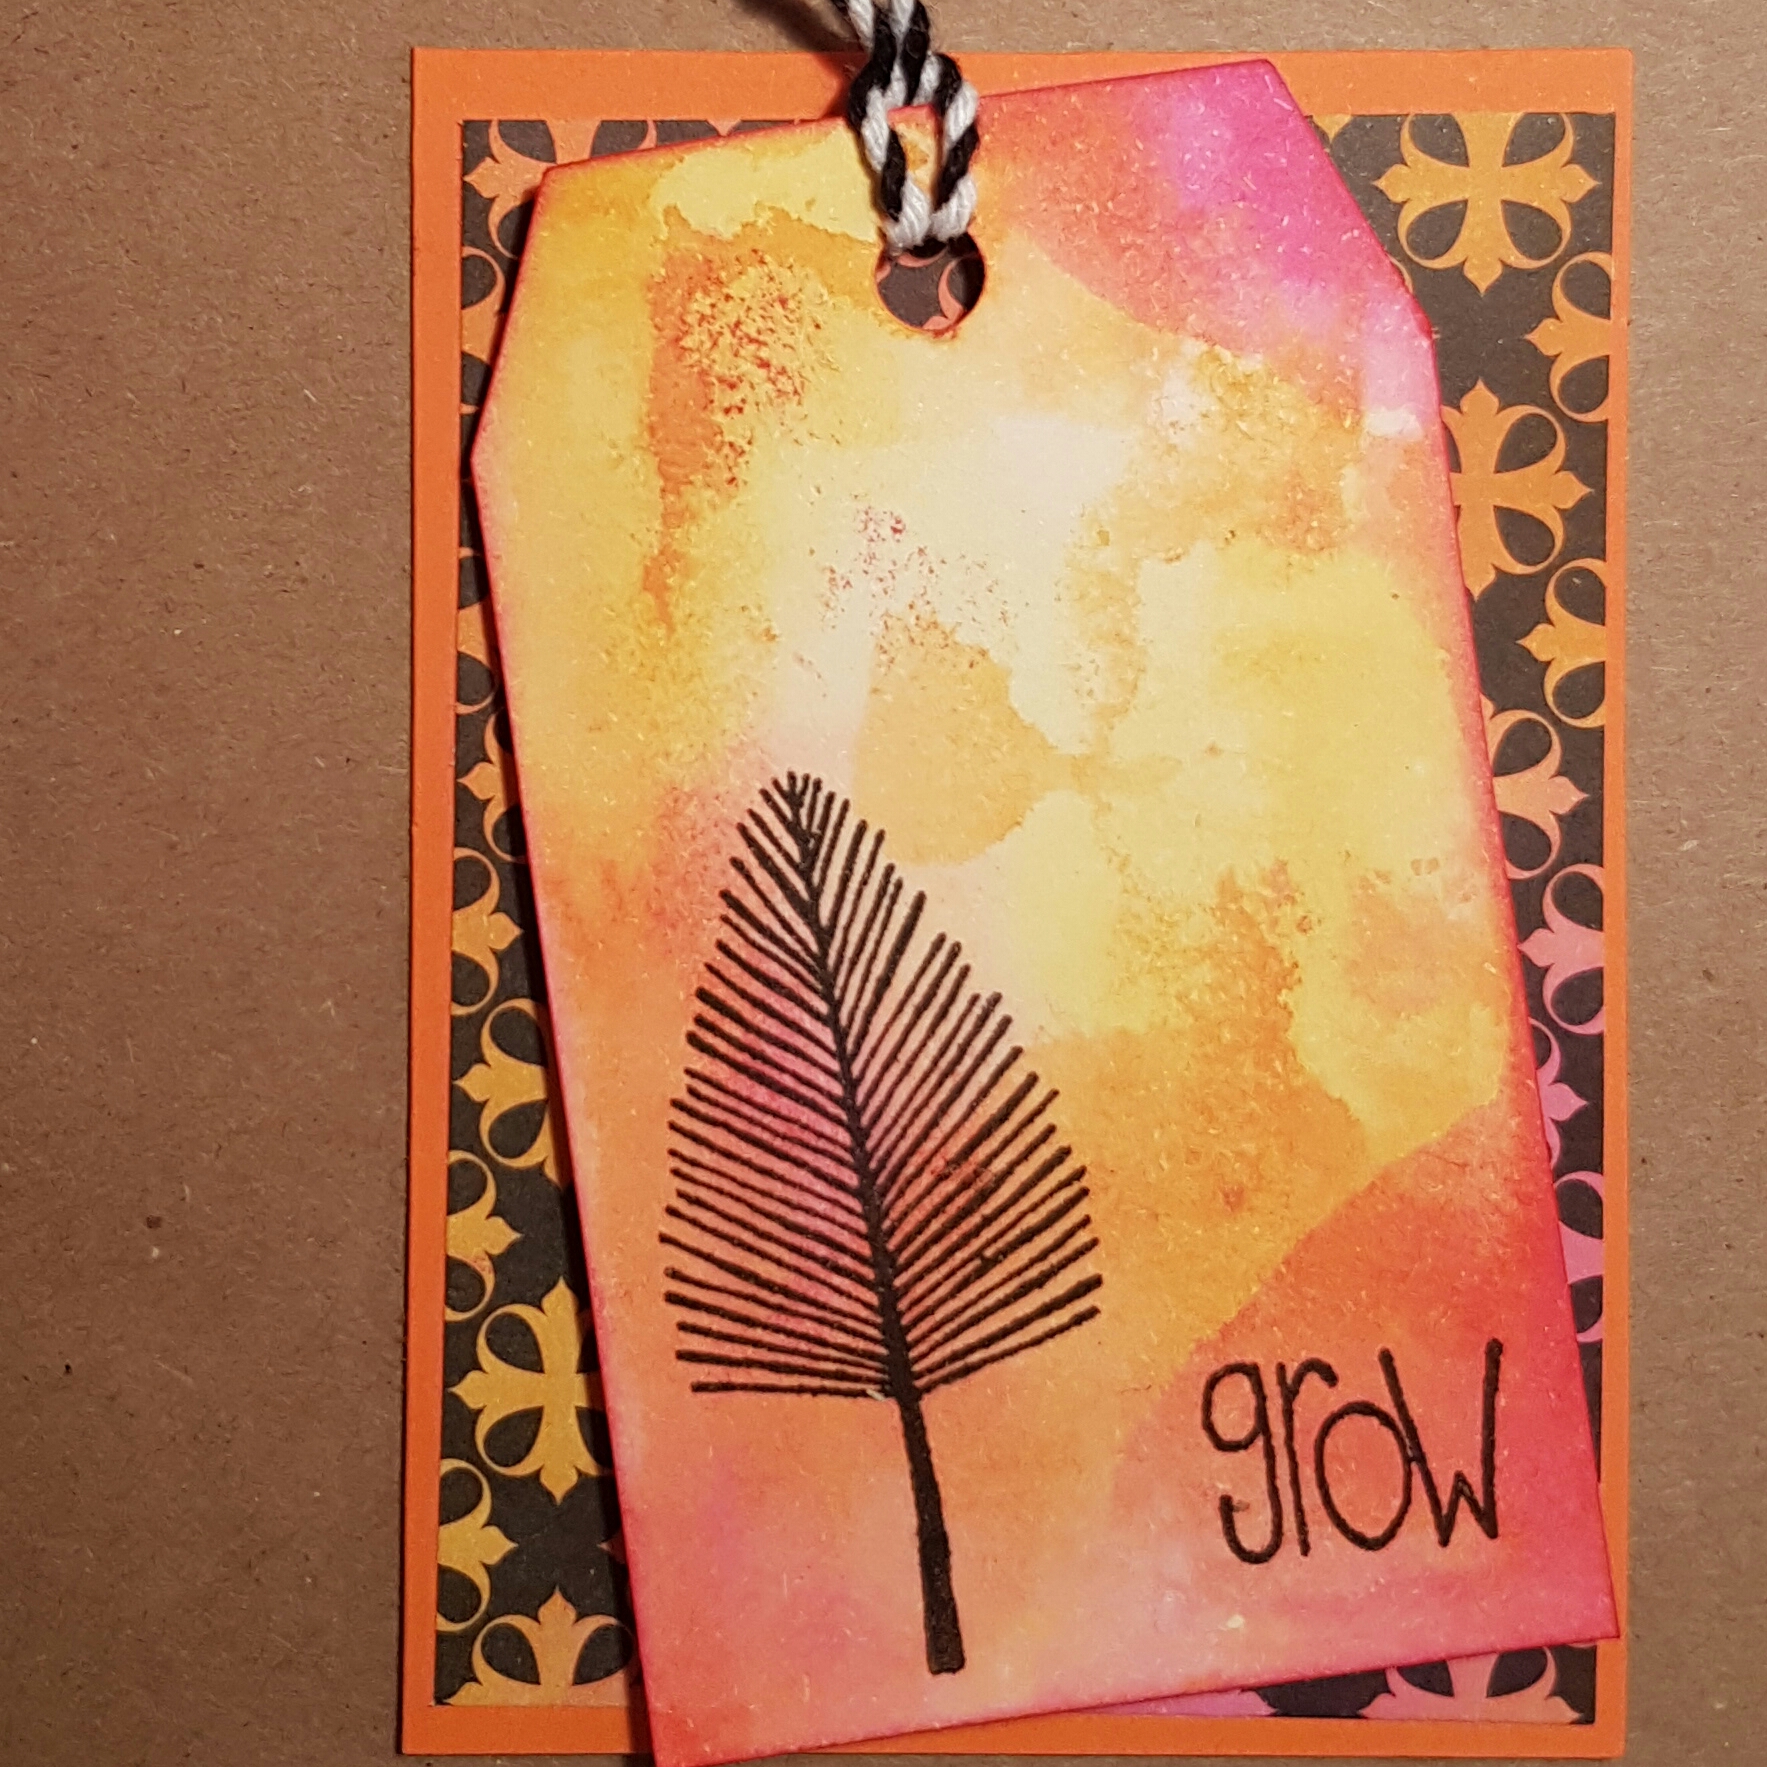
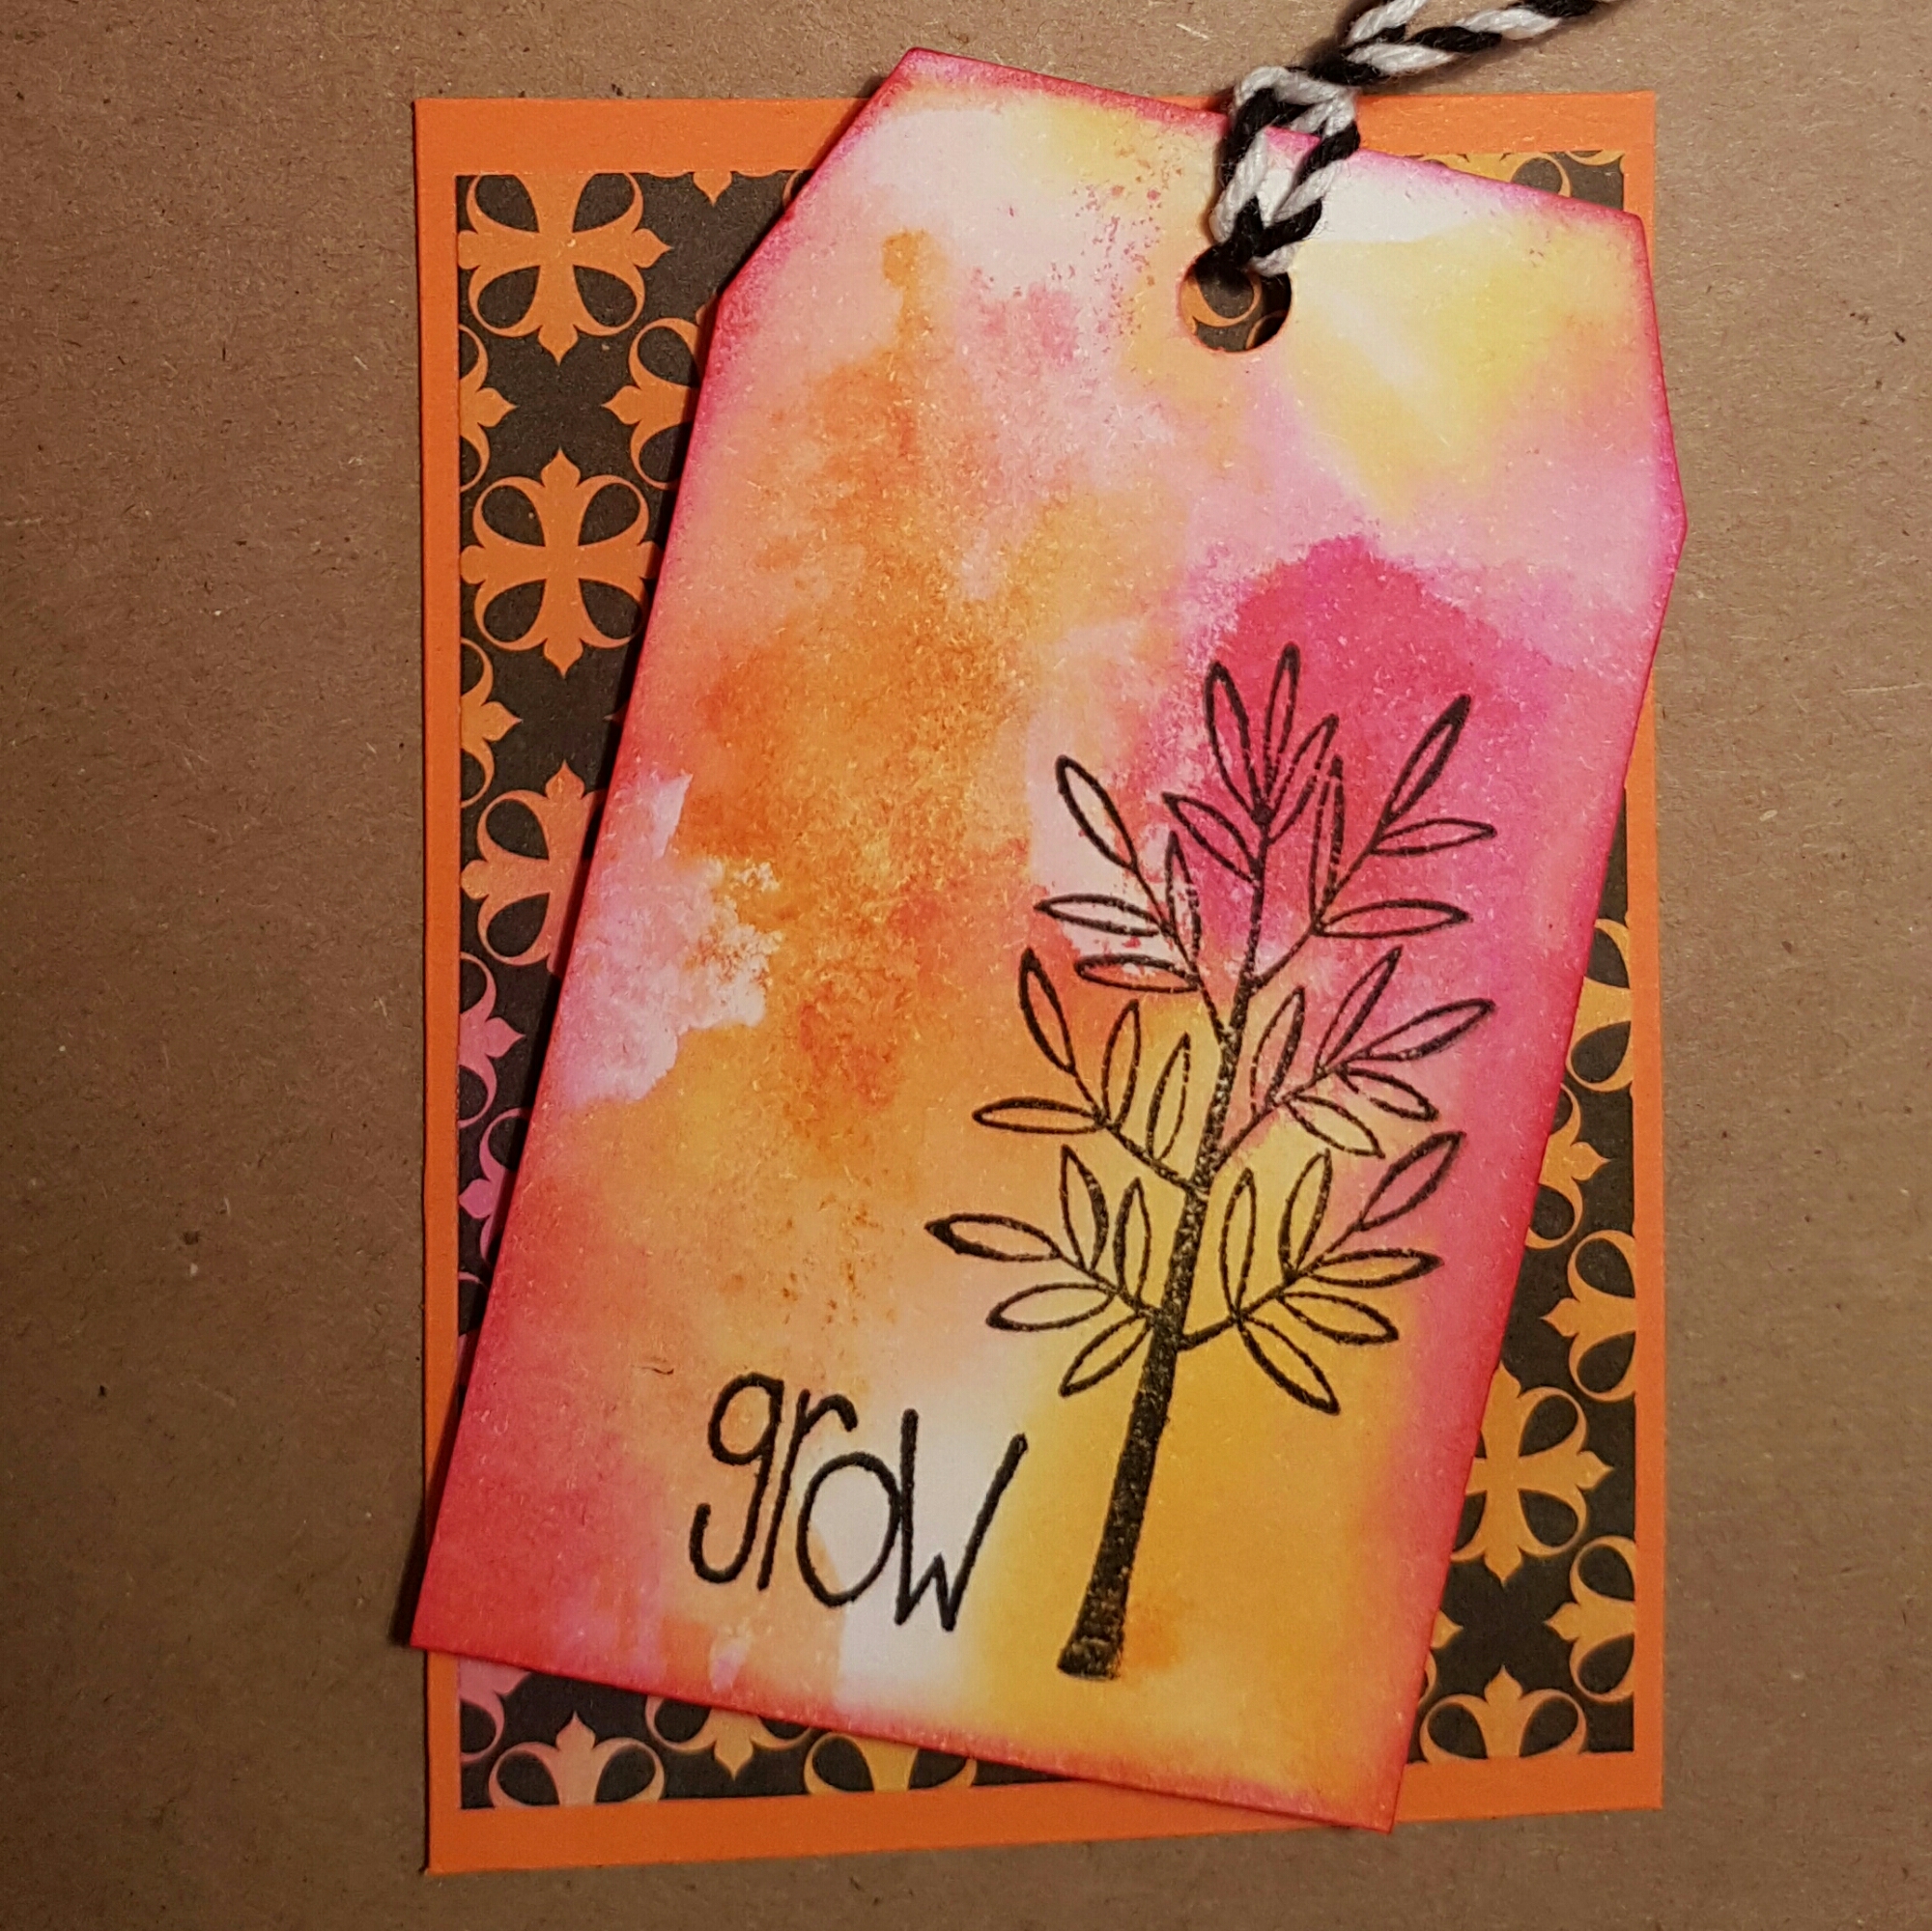
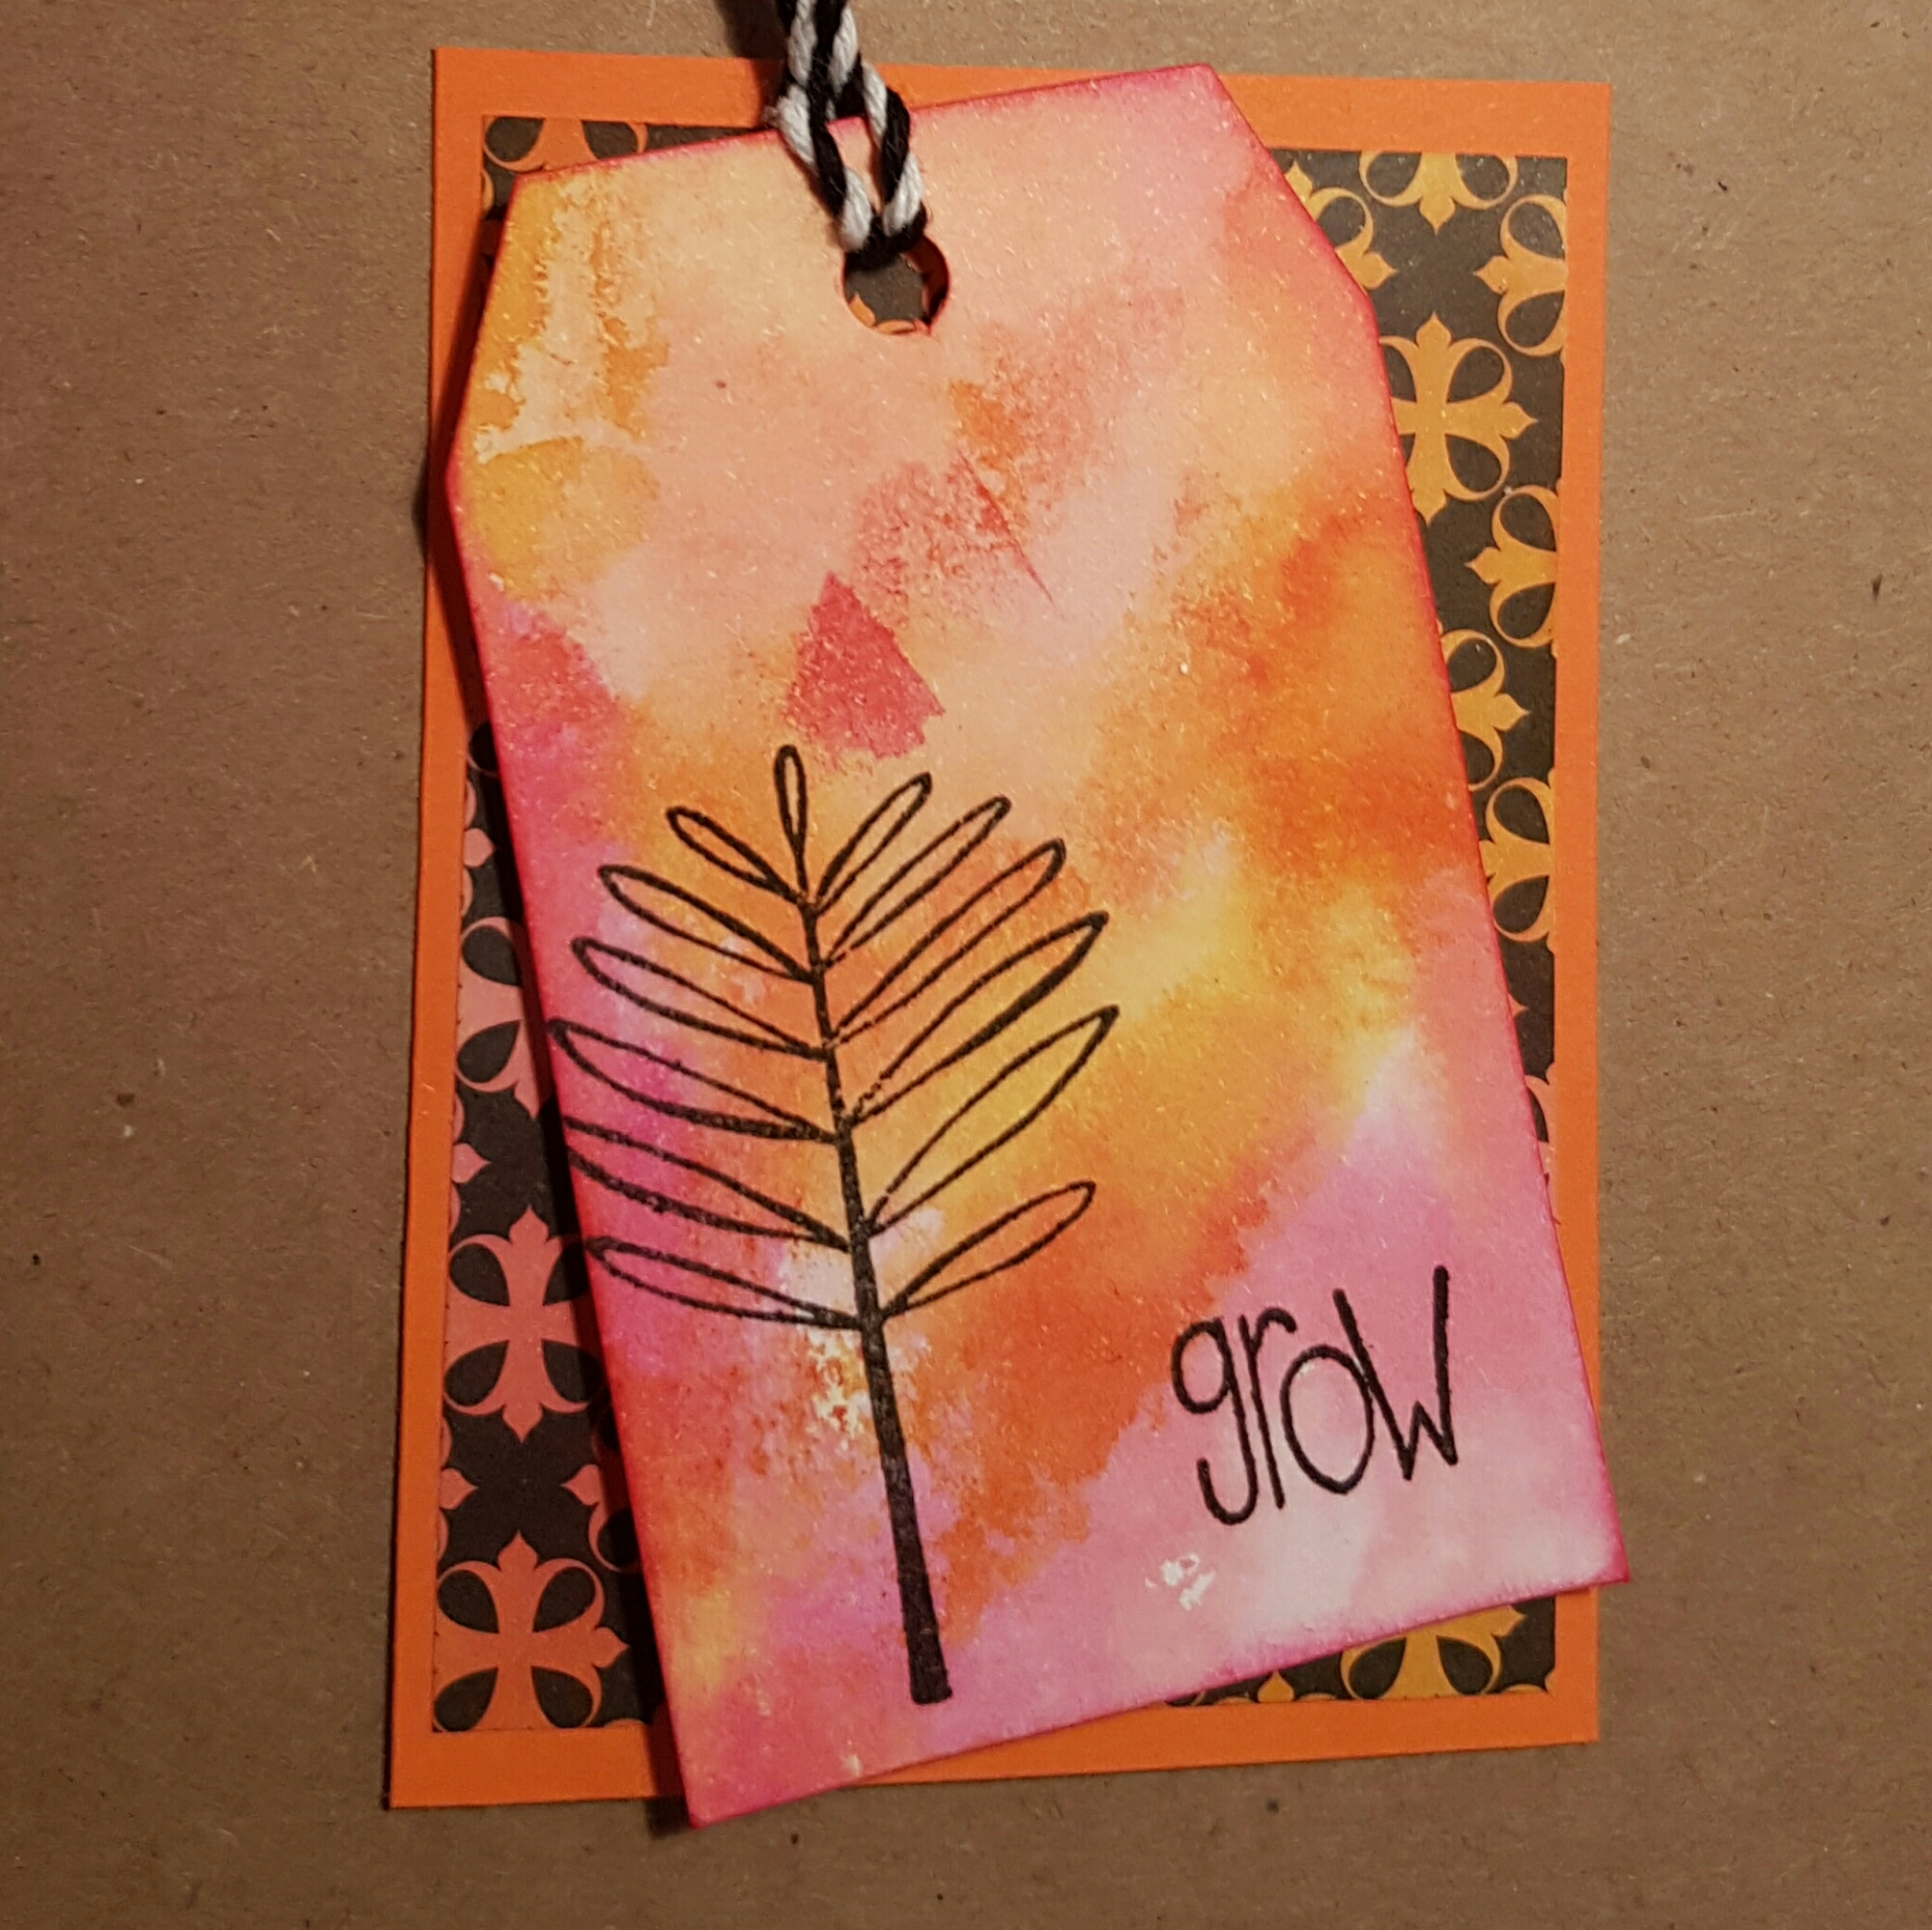
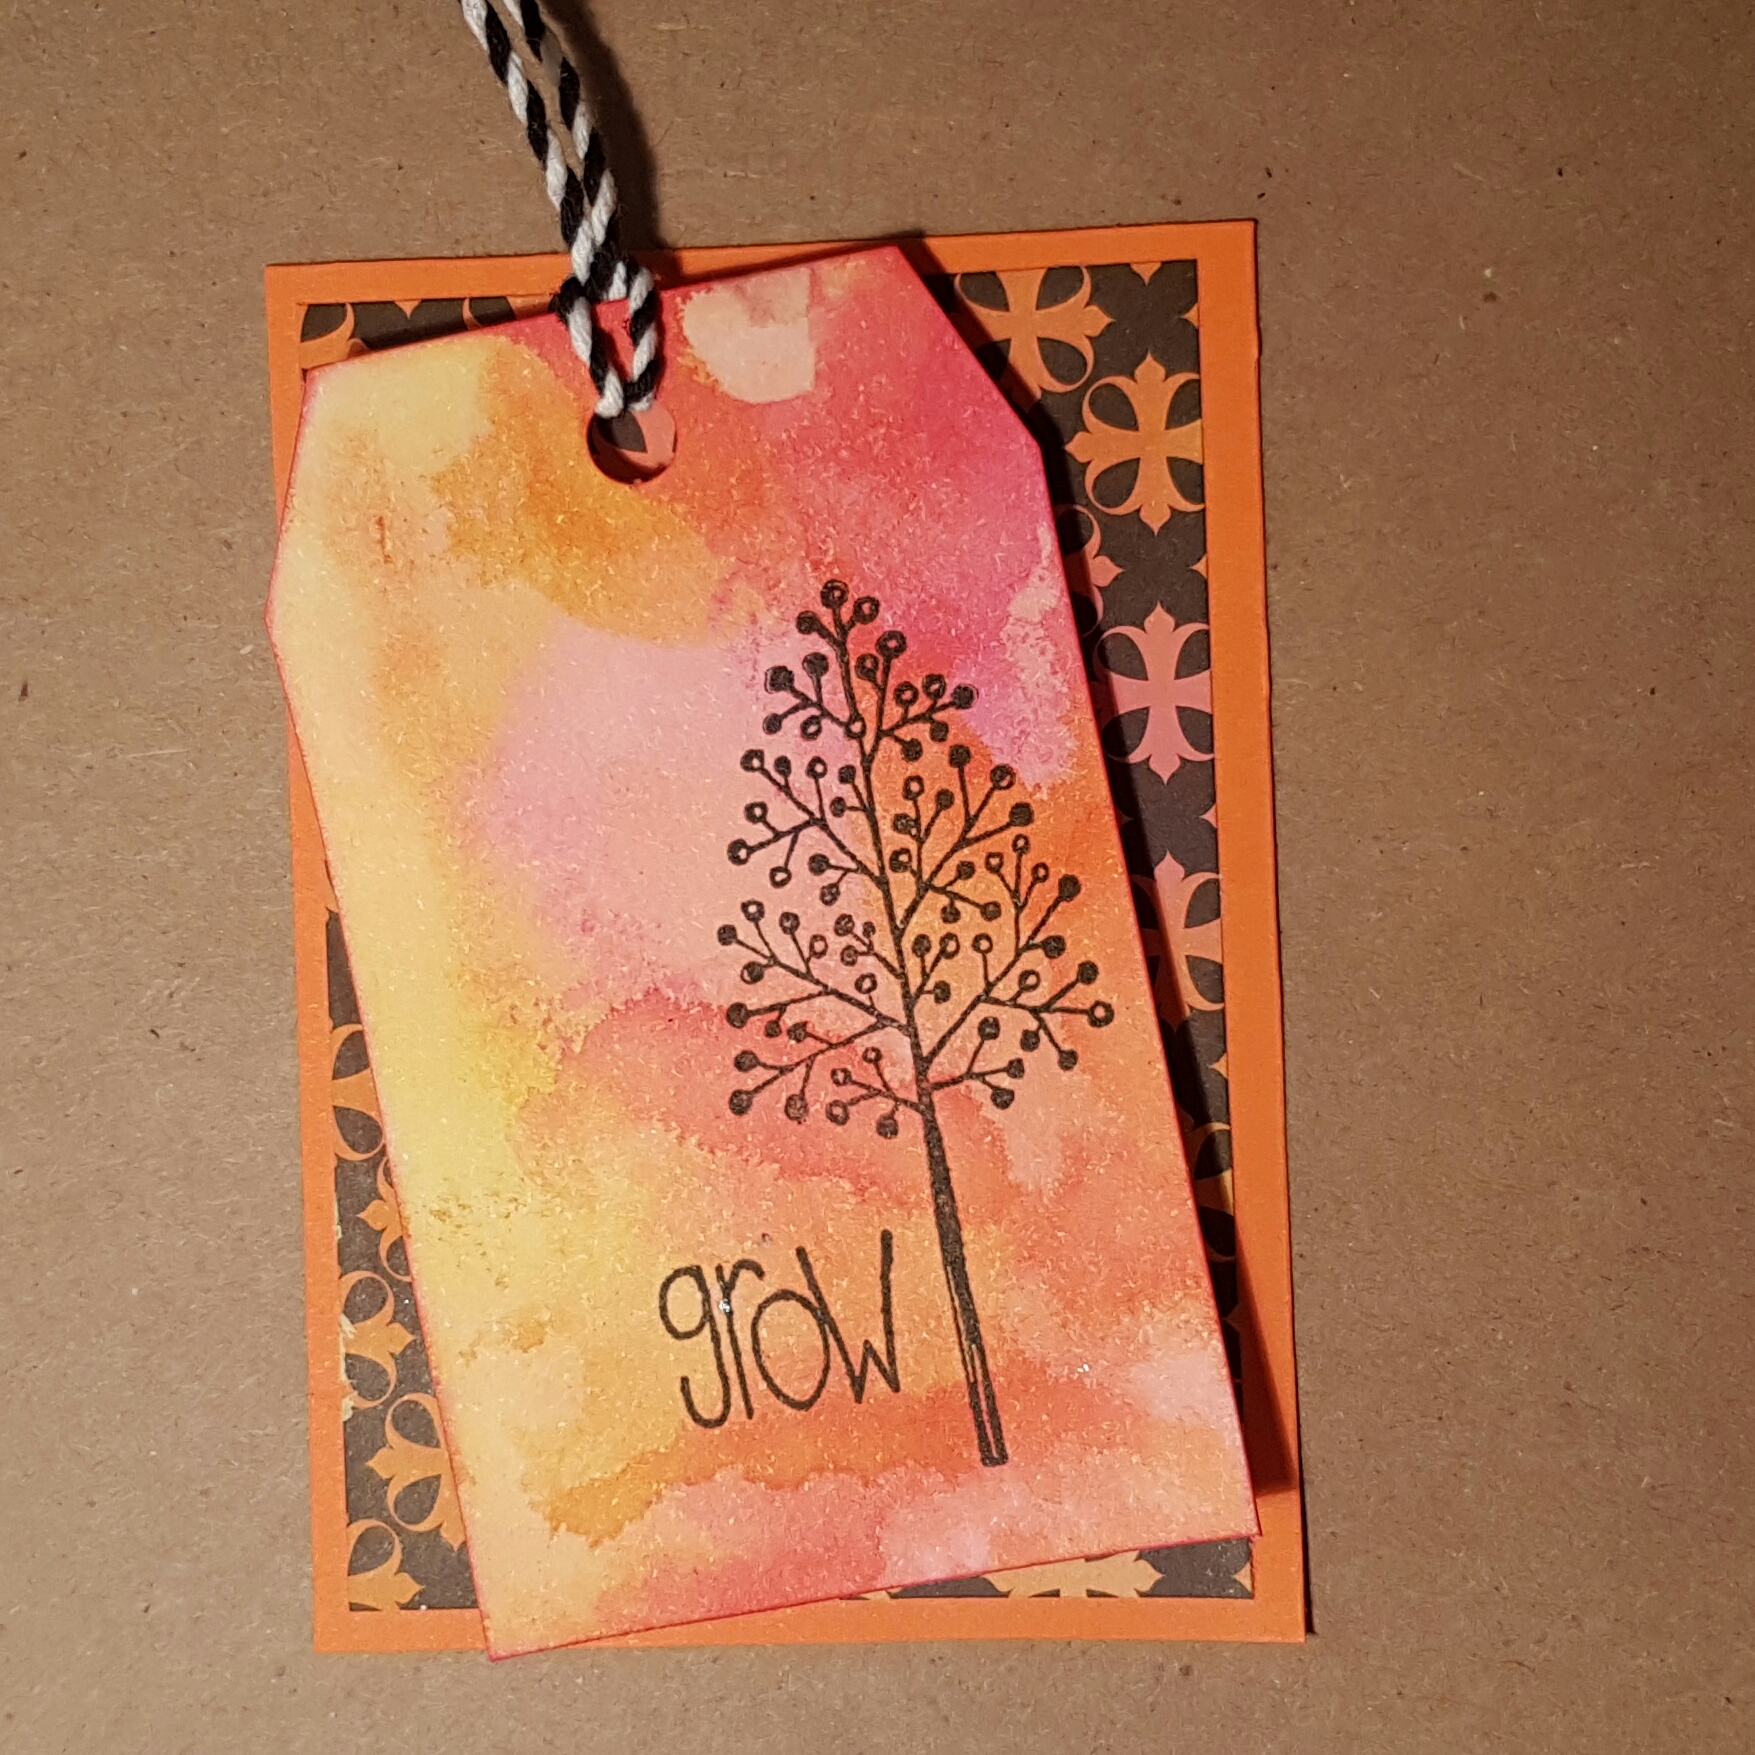
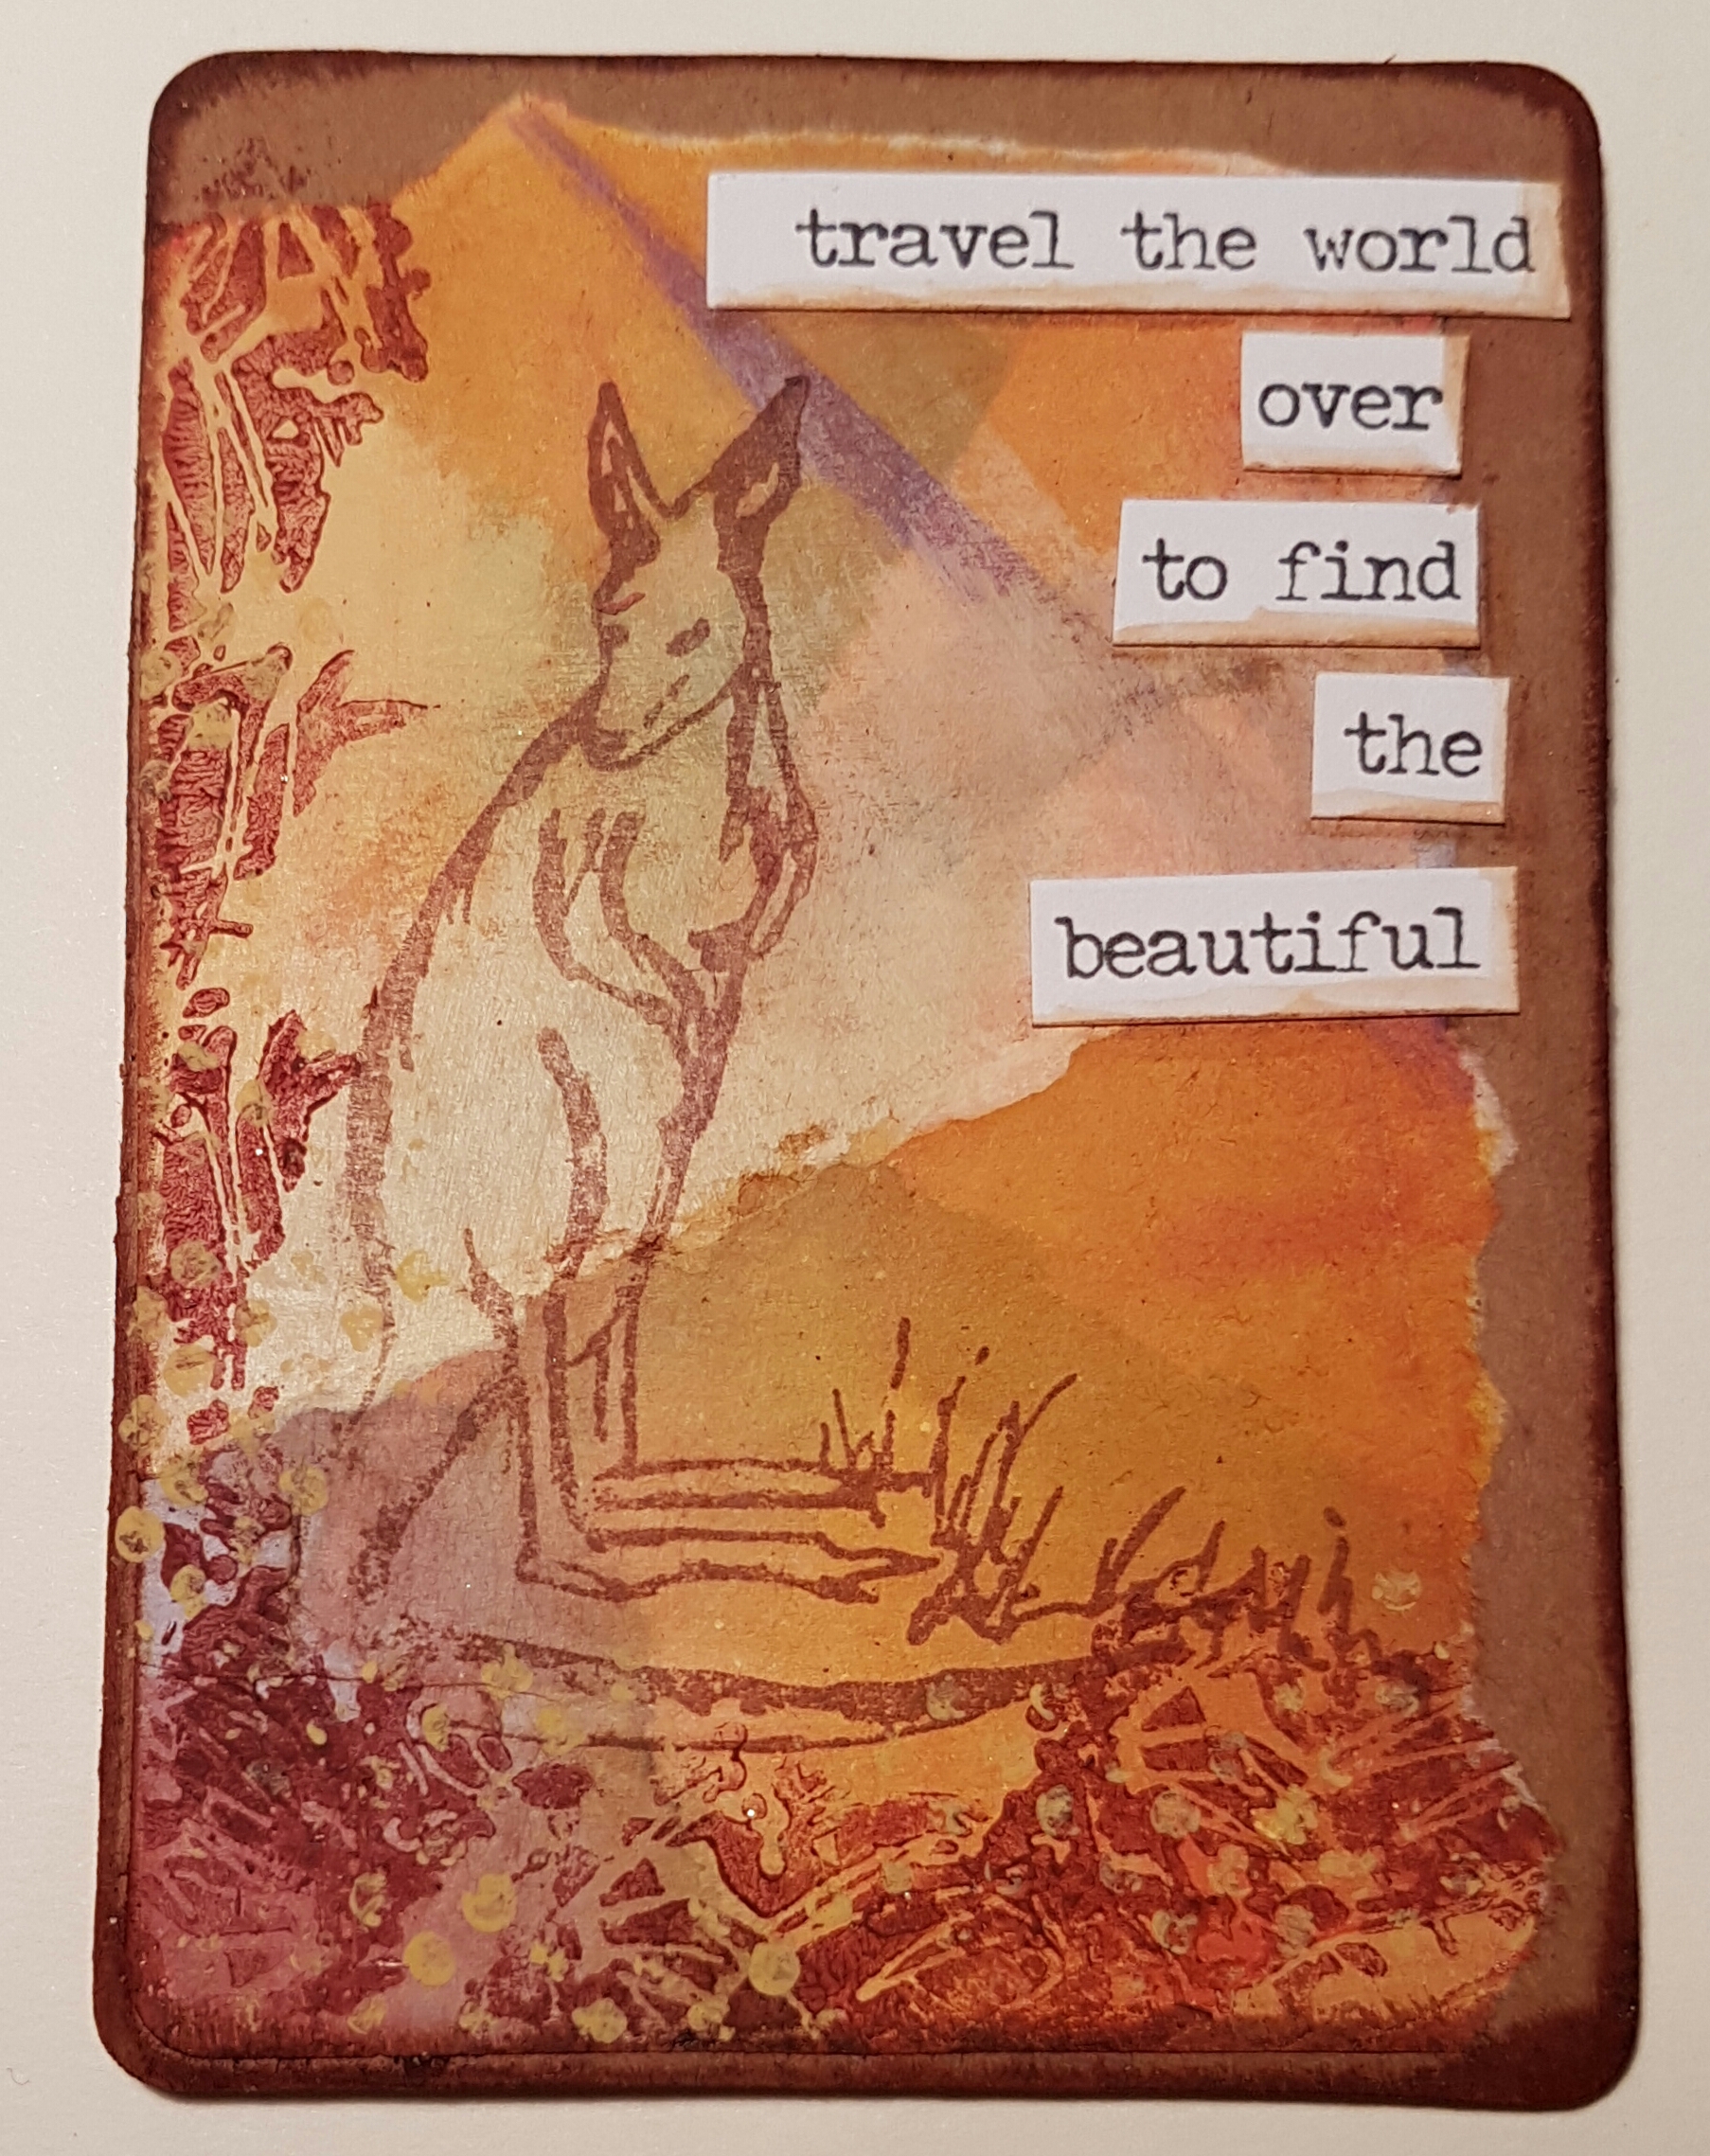
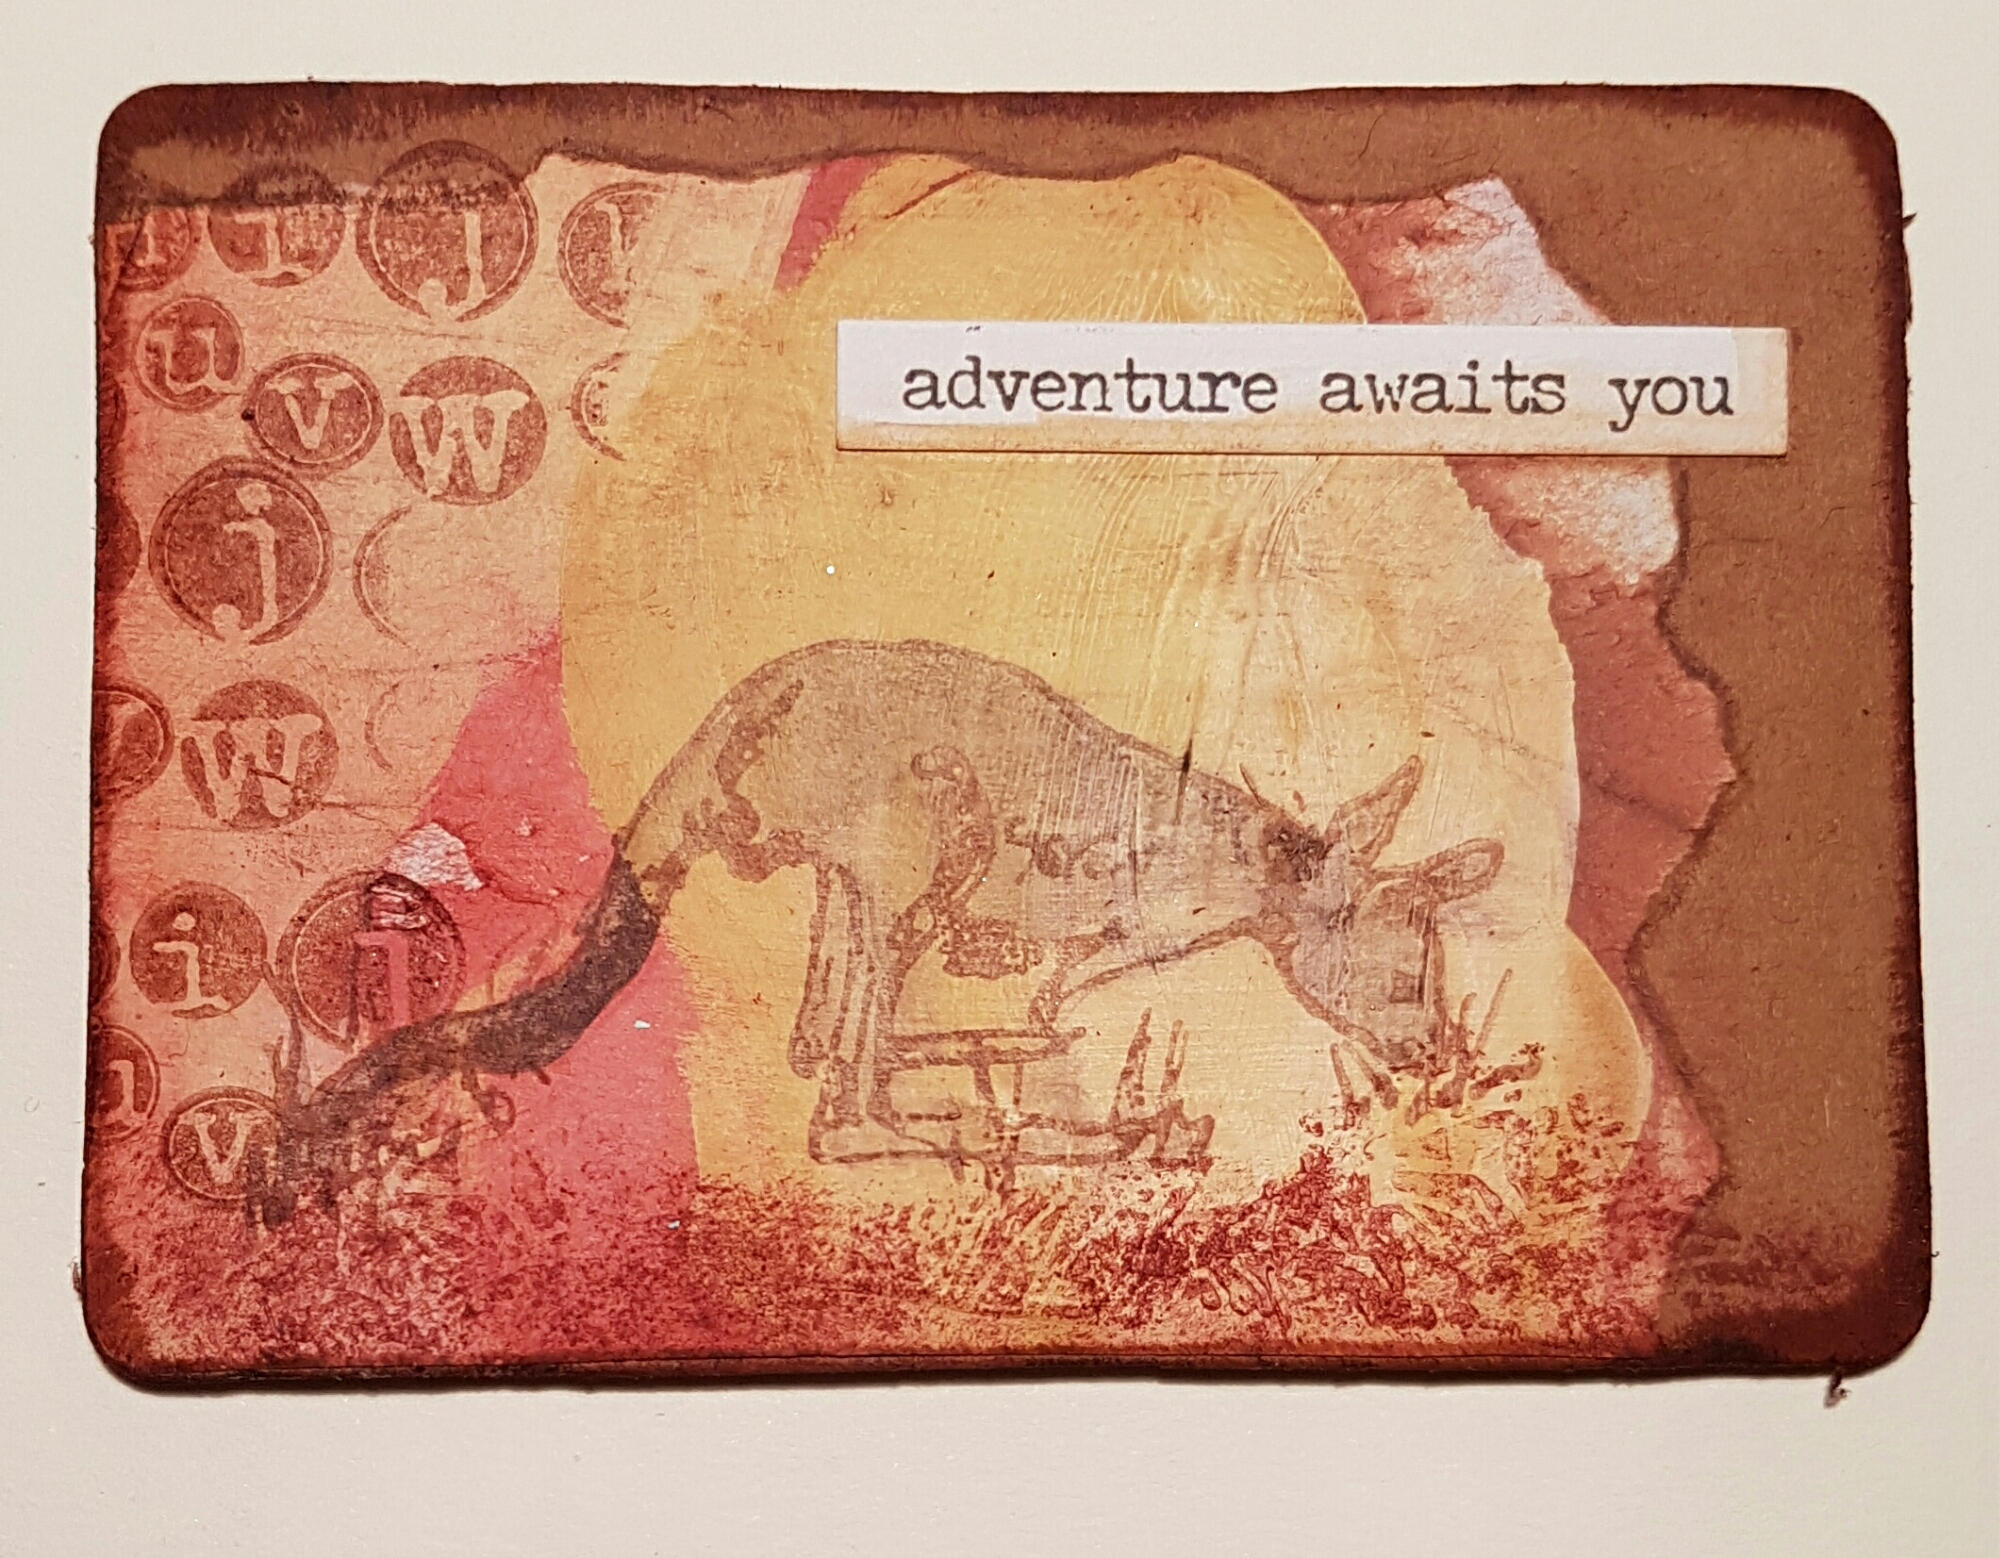
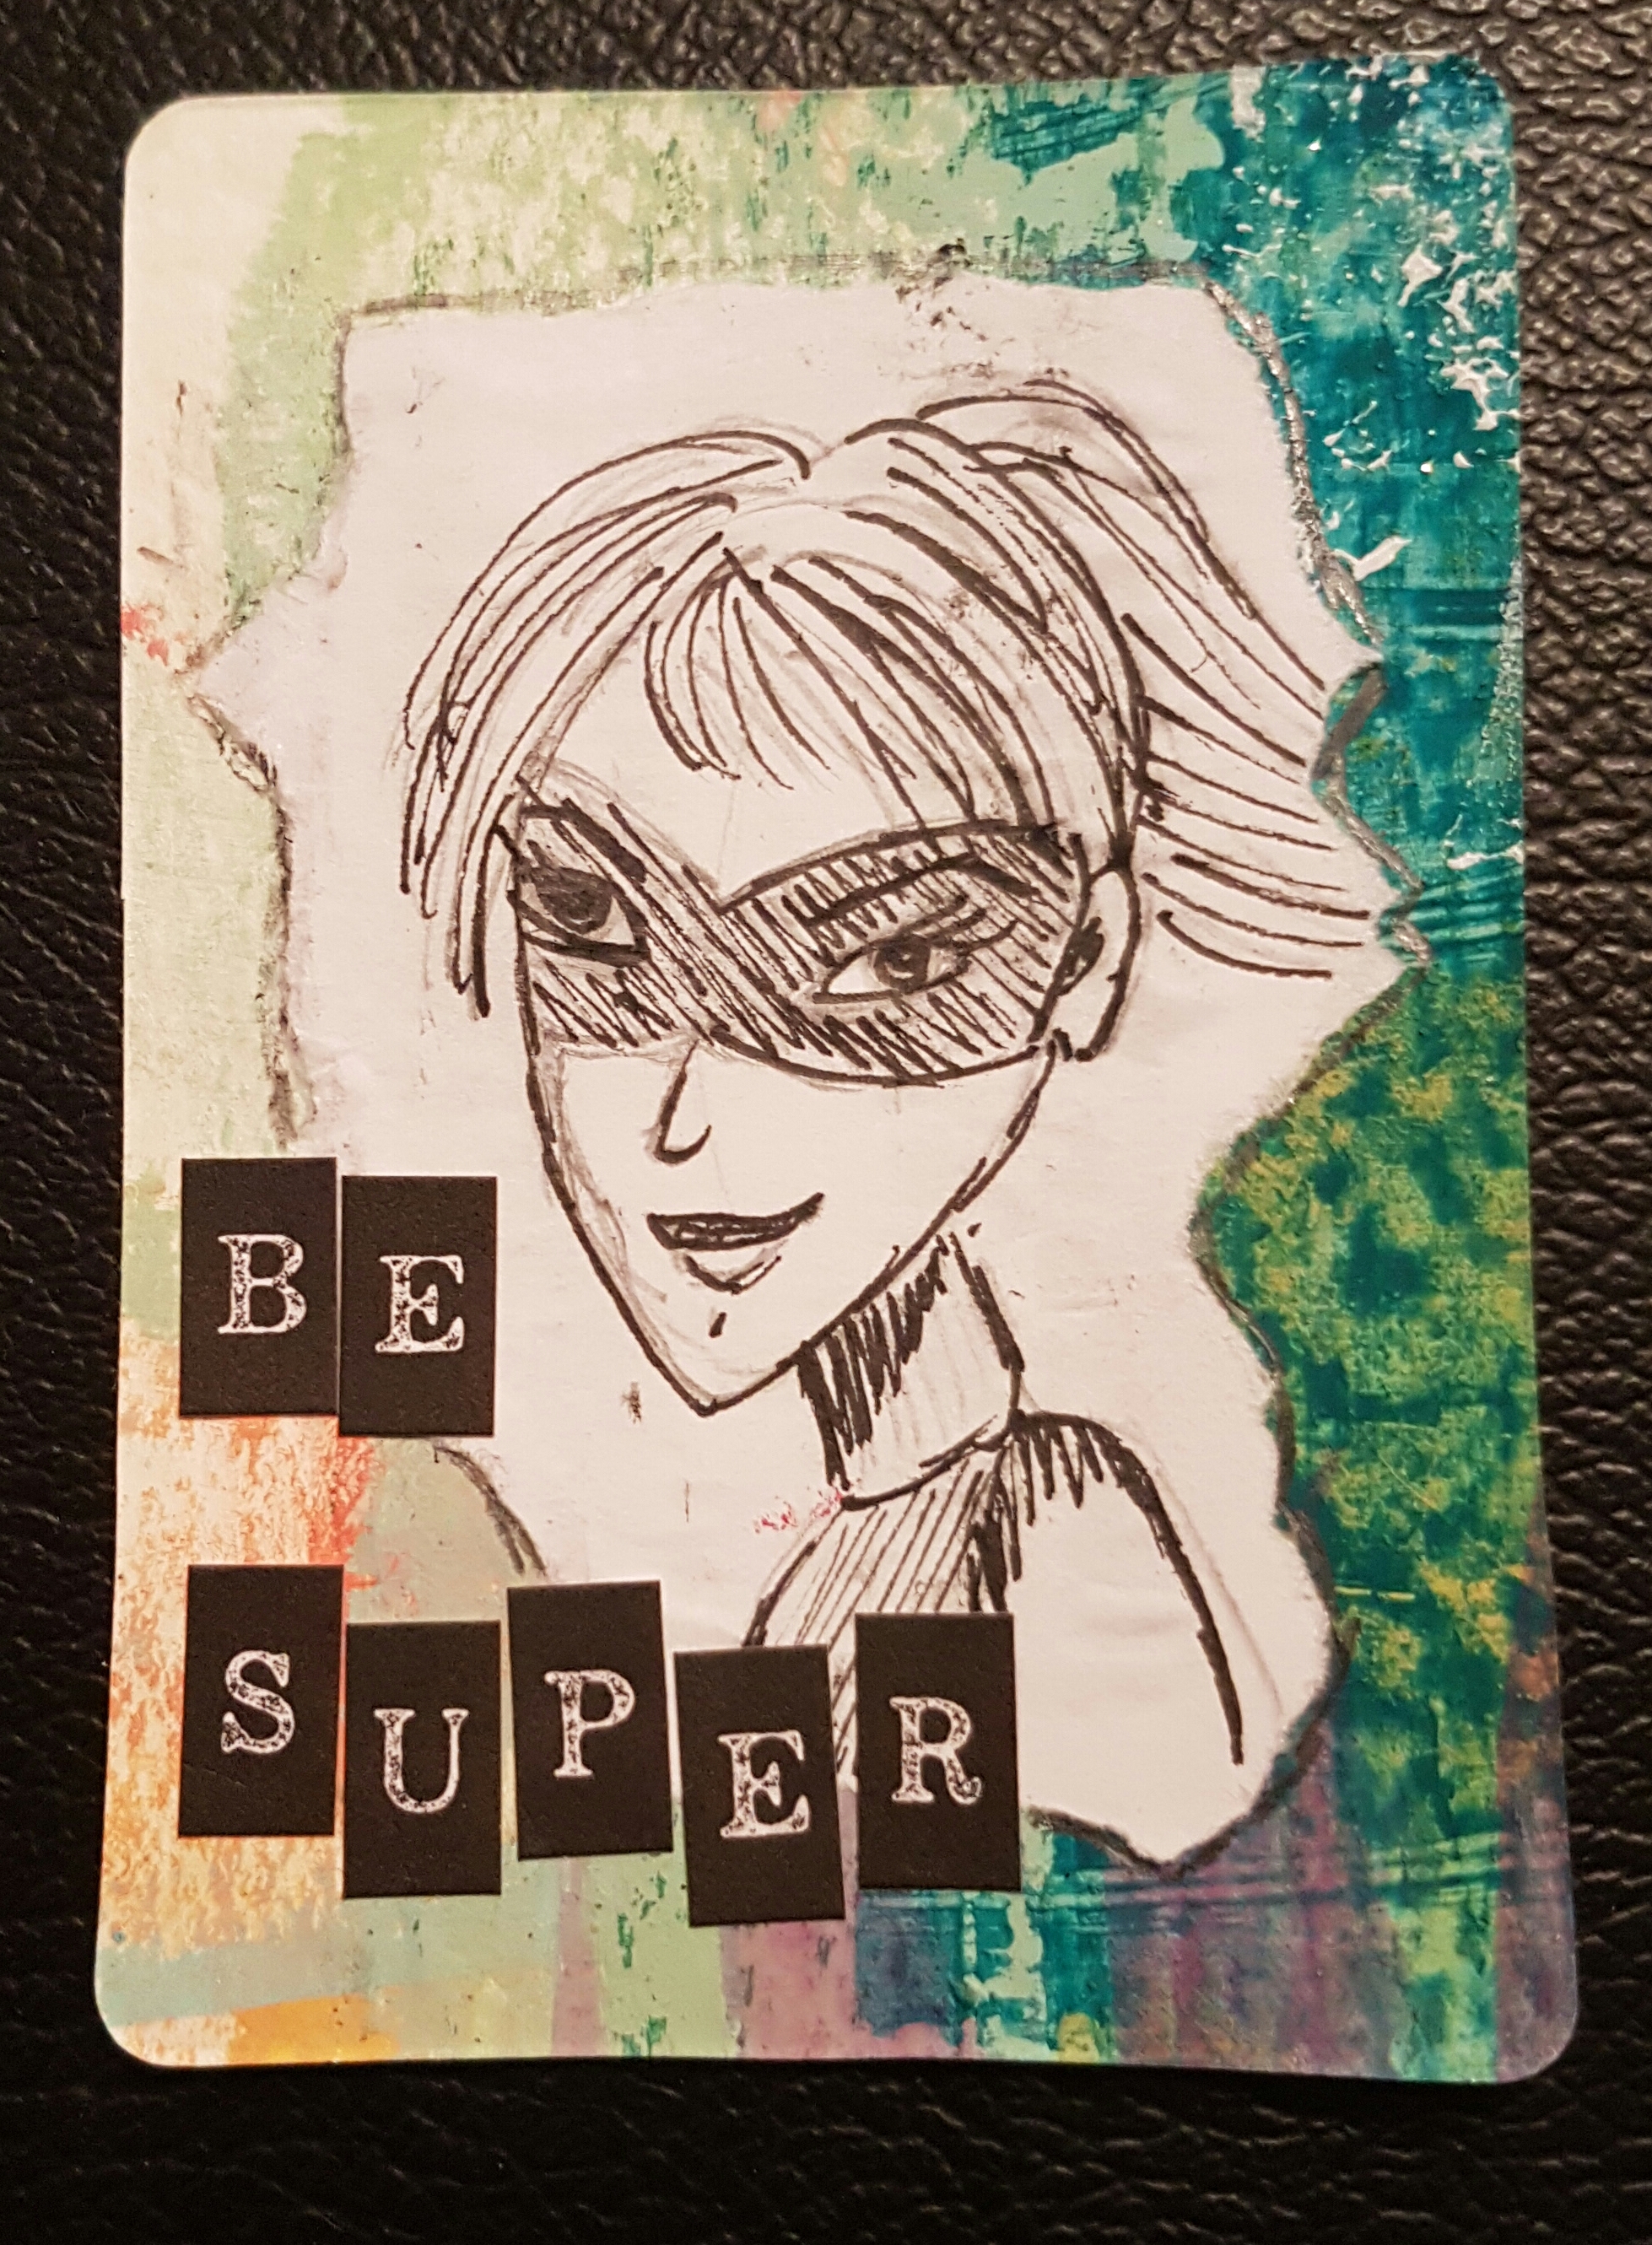
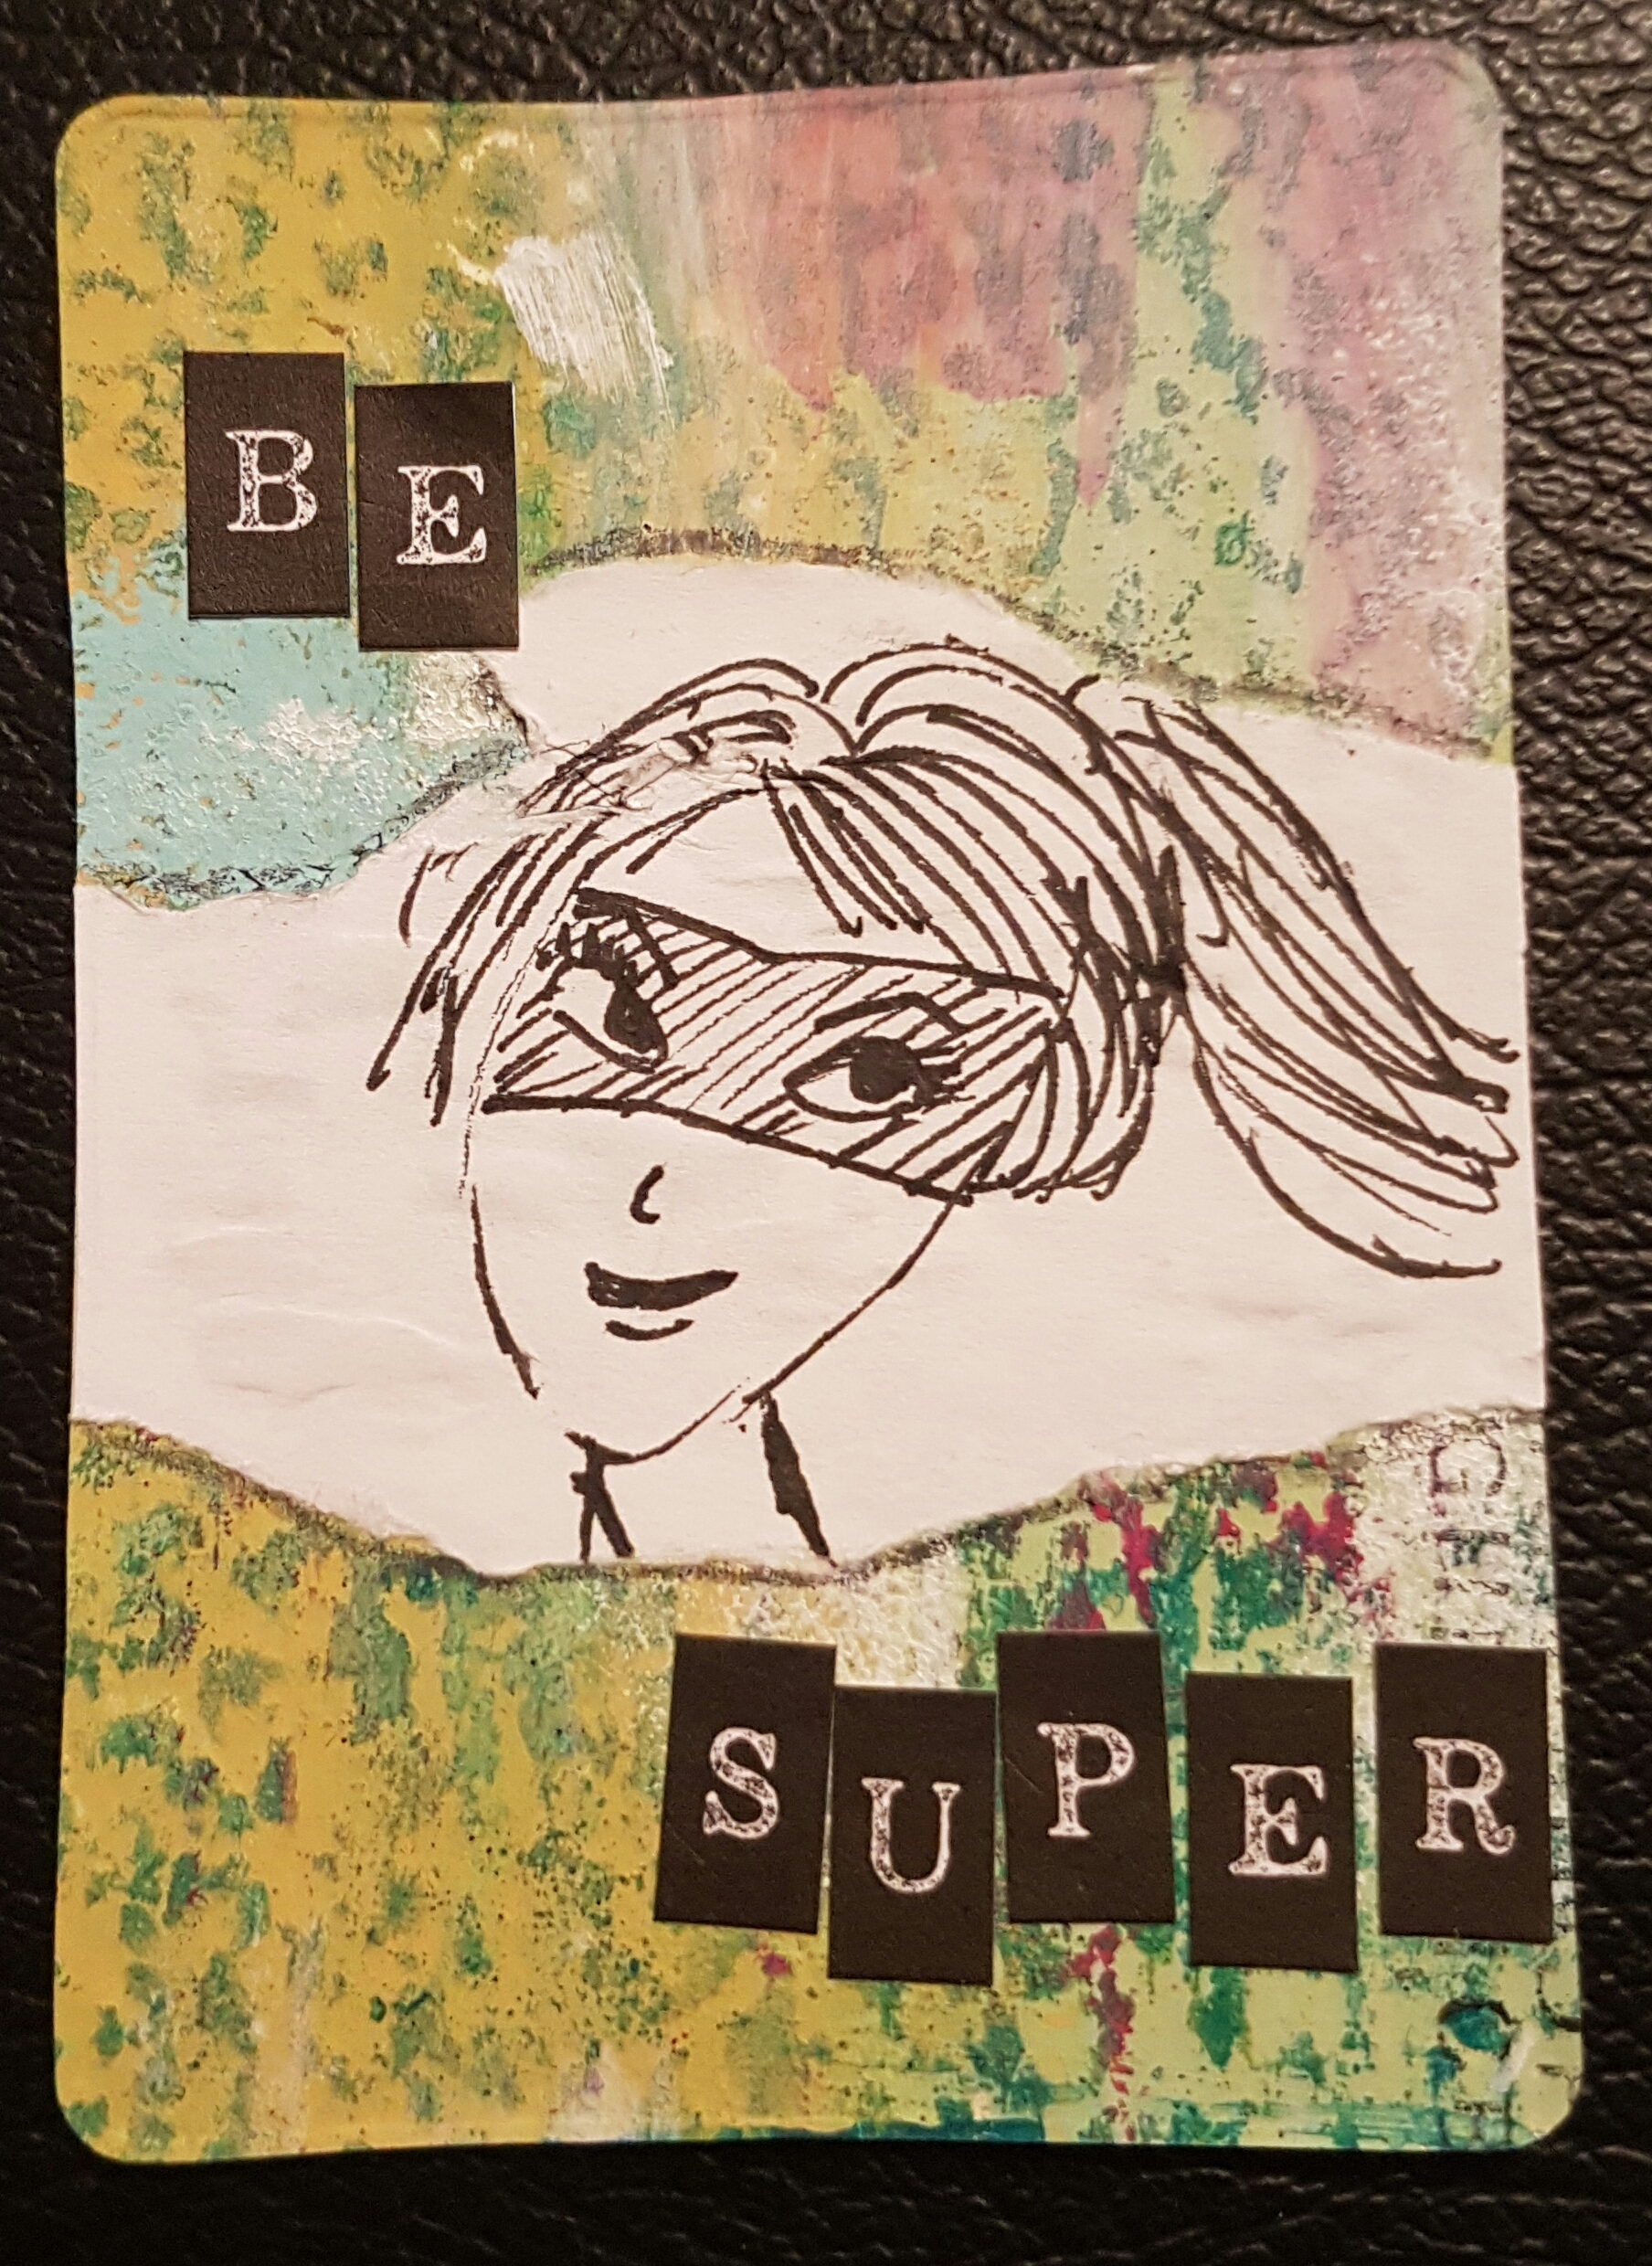
I also made three ATC’S from some of the scraps on the table but not quite finished them yet so will post them when I do. 

As per usual for Helen’s classes, there is a ton of product left as she is suoer generous, so have enough to make three more cards on white card bases and then probably at least another ten cards if I was to use some precut card blanks or even some of the coloured cardstock she’s included too.  Maybe by the time my auntie gets this for her birthday in March it will be funny with plenty of lovely cards to last her a while. 

Happy crafting! 

Catherine 

Postcard Art exchange… monochrome 

I joined in the postcard art exchange again this month. The theme was Monochrome and I must admit I struggled to think of what to do at first but then I saw the Gorjuss stamp I bought sitting on my desk begging to be used! 

So this was masking and over stamping and paper piecing and fun stencil play! 

At this point the texture paste (iridescent medium mixed with black gesso) needed to dry so it was a good time to take a picture. I used the lovely Ghoulish Grunge and Tape it stamps to add the background stamping and then the creative impressions mini stencil for the hearts. 

I finished it off with a silver pen… and a little quote. 

Love how this turns out and enjoyed playing with the limited colour scheme.

Happy crafting!

Catherine