Patterned paper – March

Back with another patterned paper project using up those Making Cards magazine papers I’ve had in the stash forever!

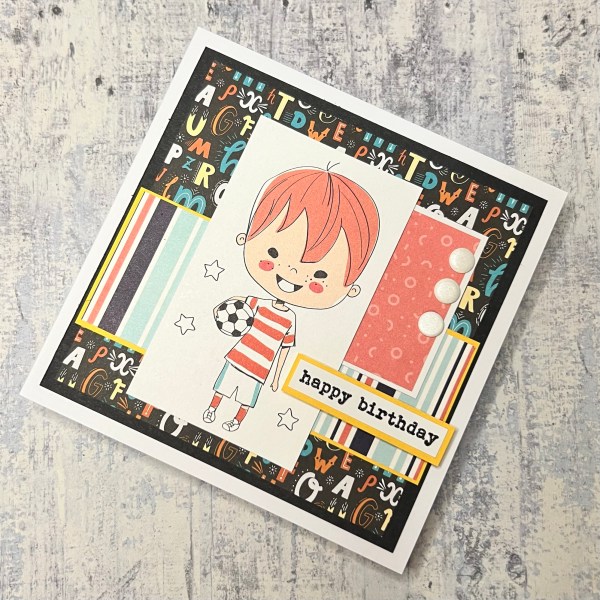
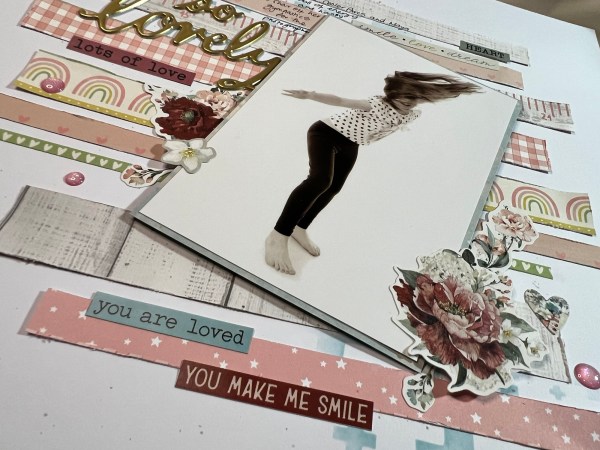
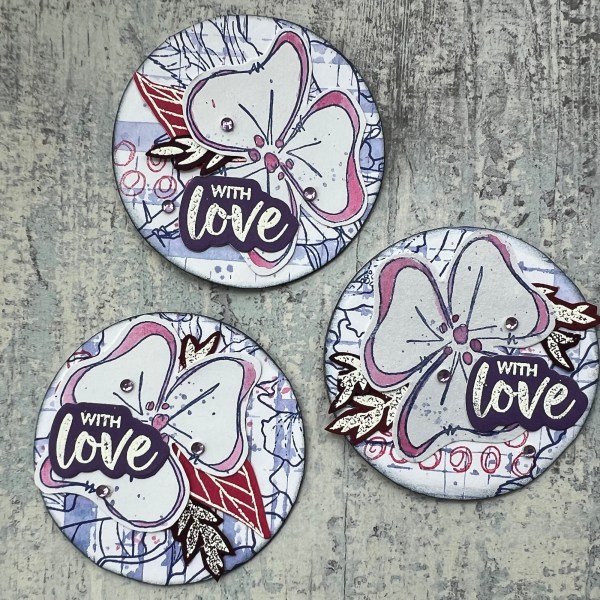
This time I took one of the final mandala papers and this time added in some other bits and pieces where I thought the colours worked.

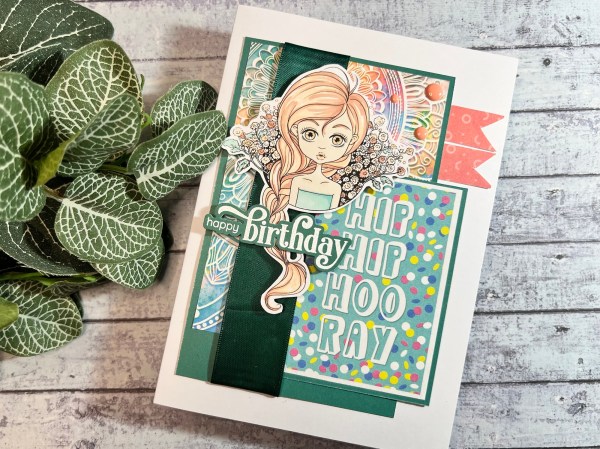
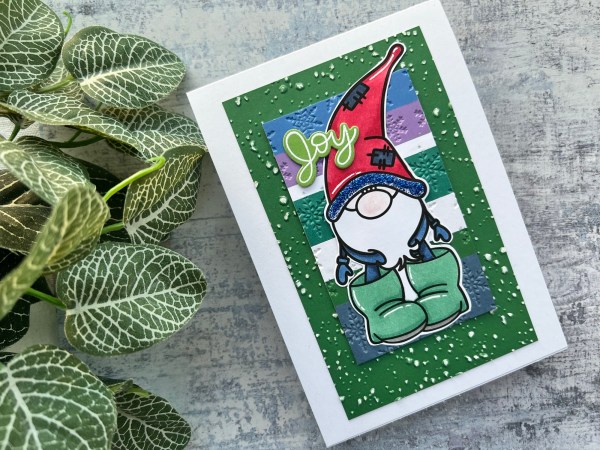
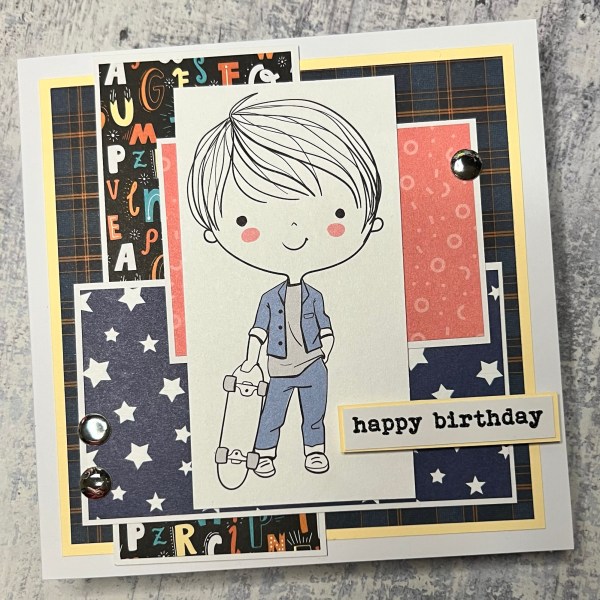
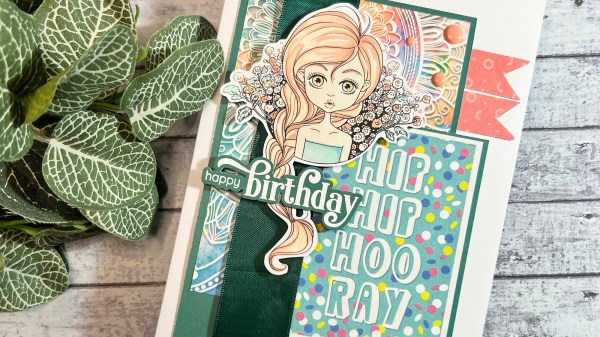
I started with a teal green base and then added the mandala paper. Next I mat the hip hip hooray panel on the same cardstock and added that too.

I added the ribbon down one side. This was something that was on the desk as I ended up not using it.

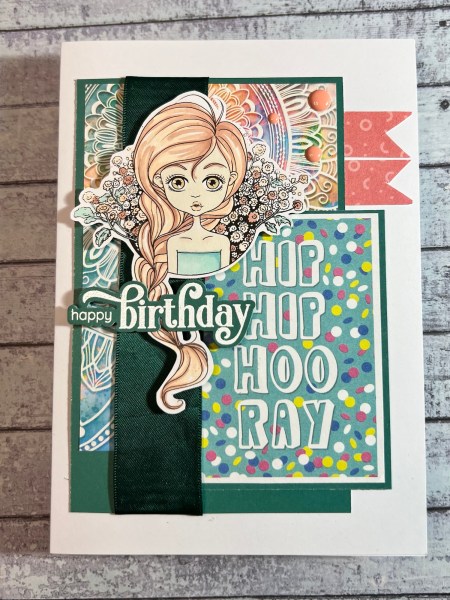
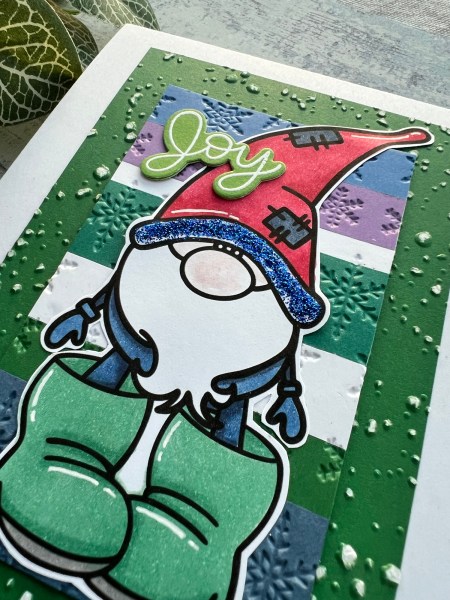
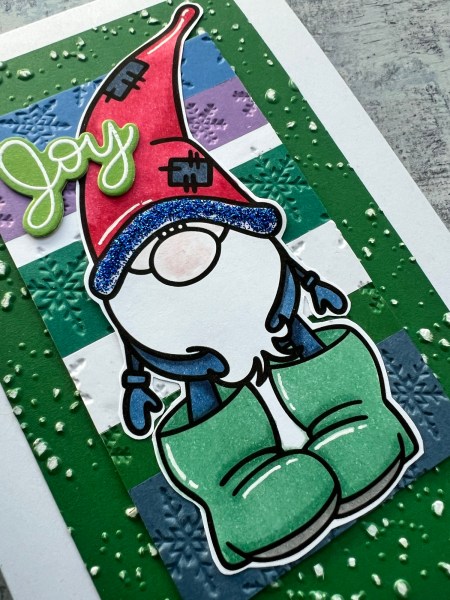
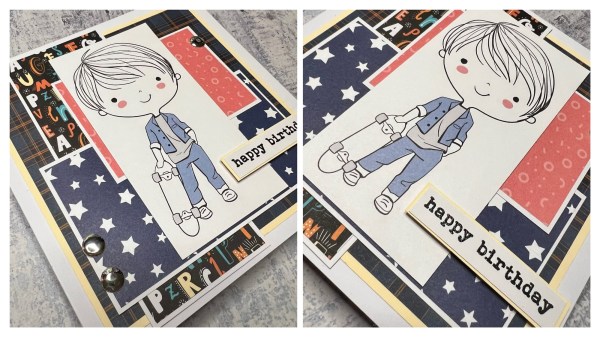
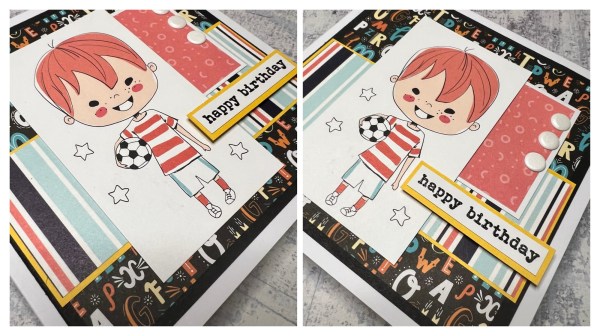
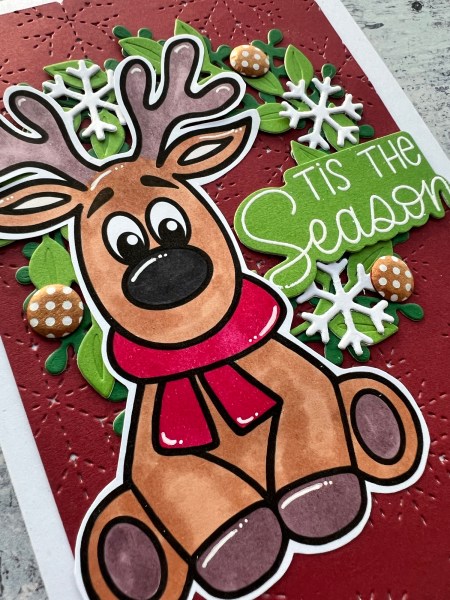
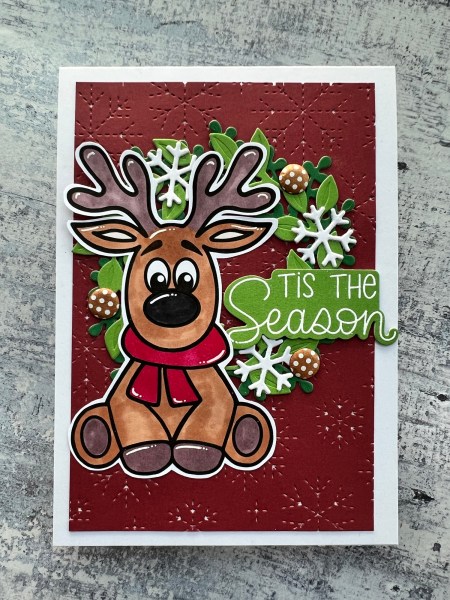
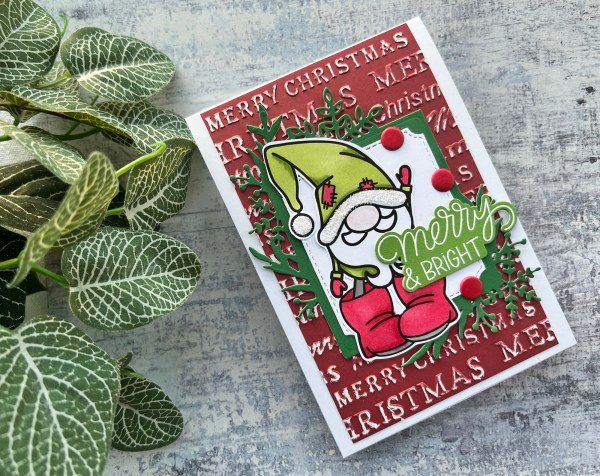
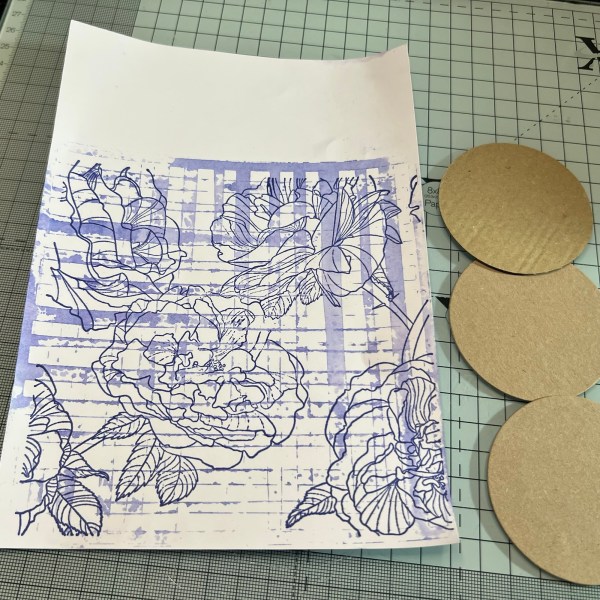
I chose the digital stamp image that was in the stash for ages and then coloured with promarkers. As it was already done and ready to go it was easy to use. I then added adhesive foam under the image and then added it to the top.

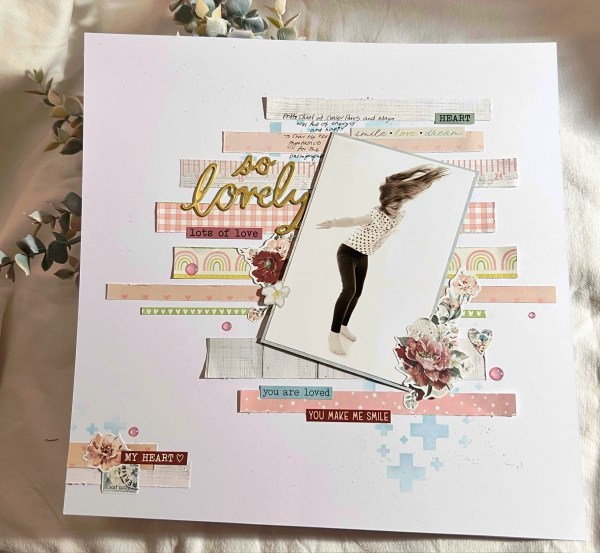
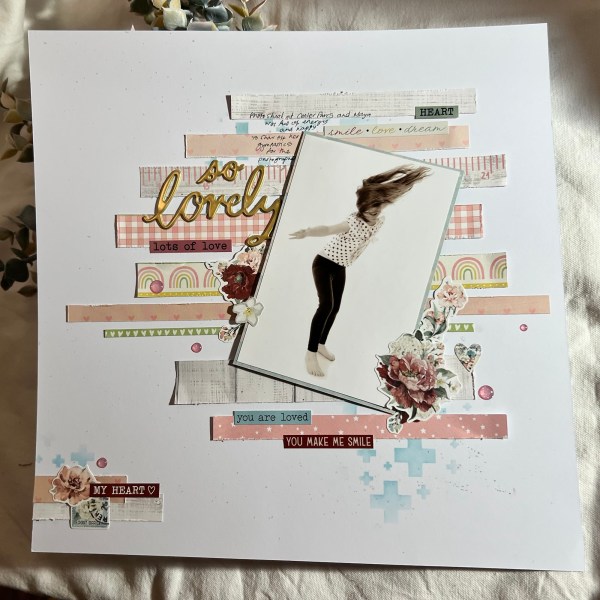
I also added in the peach banners and the Altenew enamel dots!

I then embossed the Altenew sentiment and die cut it out so it would sit nicely over the plait for the image of the girl.

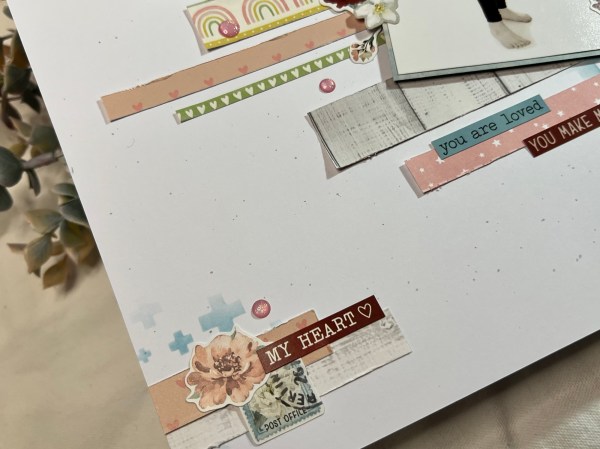
Inside the card I added the leftover papers including another sentiment topper to finish off!

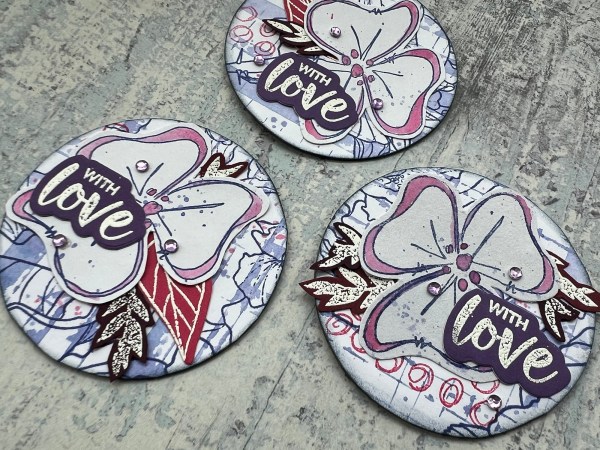
Love these colours – so pretty! Quite pleased with these!

Happy crafting!

Catherine

Festive Friday 2025 #9

Hello!

I went back to raiding the digital stamp images that I used last week and for the DT earlier this week for today’s Festive Friday and decided it was time for this gorgeous gnome from Mirtillamente stamps to get his moment!

I coloured him using my Stampin Blends and then used white gel pen to give him some highlights. Then I cut him out so I could then choose what to do with him!

I ended up plumping for a bold colourful background using a panel I had added strips of cardstock to from the scraps stash. I thought this colour combo worked quite well with the colours I had chosen for the gnome.

I embossed the panel to give it some snowflake texture and then grabbed a piece of green and embossed that with a snowy background and sanded it lightly to expose the core which makes it look even snowier!

I adhered it all together onto a white card blank and then grabbed one of those Pink Fresh studio sentiments I had previously embossed and die cut and stacked to add the Joy to the top left of the image.

I decided to add more blue into the image then with the blue glitter glue from Kingston Crafts clear- so he got a sparkly rim to his hat!

Hope you like the textural and sparkly finish to this card – I think it’s pretty cute!

I’ve really enjoyed using these images over the past week – to the point where I am tempted to print them off again! But maybe it is also time for me to pull something new to play with so you don’t all get bored seeing the same style! 🤣

Happy crafting!

Catherine

Make it Masculine – cute!

Hi all!

Back to my self inflicted challenge of making masculine cards as I really struggle with cards for boys/men and the hope is by the end of the year I might have managed at least 12 cards of different styles suitable for the males in my life and then I don’t need to make any after that for a while as it might last me a while! That’s the plan anyway!

My plan is also to try and do all of these as videos – I managed it this month so please check out the process over on my YouTube channel.

This month I’ve gone with CUTE! Because boys can be cute too! I also went back to the pack of magazine papers I am trying to get through this year in my patterned paper challenge at the start of the month and grabbed some focal images and then some papers from the stash!

And so I ended up making what are very much cut and stick cards – simple!

Really like them though!

What a cool skateboard dude this one is!

I layered all the papers onto cardstock to separate them out and then added the simple stamped and embossed sentiment up on foam for a little dimension.

I added silver mirror card candi for this one as the embellishment.

This second one I added white card candi and also the yellow card as a pop of a different colour on the mat for the vertical stripes paper and the sentiment.

Just so cute!

So a fun pair of cards for my Make it Masculine challenge!

Happy crafting!

Catherine

DT: ATSM – #487 – Christmas

For today’s ATSM design team contribution I decided to grab one of those digital stamp image I already had printed off from Mirtillamente and use that for the focal point on this cute Christmas card.

I coloured the reindeer with promarkers and then added some white gel pen accents.

I cut him out and then worked on die cutting elements for the background.

I started with the dark red piece and used a Waffleflower die for the pierced snowflakes.

Then I die cut two different greens for the wreath using the oldie but goodie wreath builder dies. I then added some snowflakes which I already had die cut out.

I then used a sentiment I already had embossed and die cut – they are sat in a pouch all ready for using.

Once I had assembled all the elements I then added the finishing touch of those spotty card candi which work so well with the browns of the reindeer.

Loved putting this together and so good to get another ready printed image used up!

Happy crafting!

Catherine

Scrapping Saturday – so lovely

Last week I went to a crop and made this page from the leftovers from the page kit I had made.

I love these kinds of strips layouts – such fun to make and always feels good to get scraps used up!

I added in stickers that had come with the page kit.

And the gold title was from a sticker set leftover from a different page kit I had with me.

The photo I mat with paper from that second kit and then I had a little splurge in the Hey Little Magpie pop up shop and bought the sparkly gems I scattered on the page.

In the background I had added some stencilling using a Bramble Fox stencil and some distress oxide.

I love the gentle nature of this and the way it came together so easily.

I had some more leftovers from the two page kits so I managed to make one more page – but I’ll share that another time!

Happy crafting!

Catherine

Festive Friday 2025 #8

Hello!

I’m back after a few days away from blogging as life got too busy to get crafty… having said that I have been putting a couple of videos up on my YouTube as I’ve done a few crafty hauls and some layout shares there … so whilst no blogging I have been trying to be present in the online world regardless of the lack of making! … anyway for today I am here with another Festive Friday project which I made a few weeks ago but only just got around to sharing – this time a gorgeous gnome image from Mirtillamente which gave a sparkly hat to!

So let’s start with the gnome – I coloured him with my stampin blends (except the nose which I watercoloured using blushing bride ink).

I then cut him out and set him aside whilst I then went to town on die cutting and embossing the background elements for the card.

The panel in the back I embossed the Kingston Crafts everyday cardstock and then sanded the top to expose the white core. I love doing this!

Then I die cut the Frosted Frames from green and then white to give a fun panel for my gnome to stand on.

I chose a sentiment from a pouch full of ready stamped and die cut (in this case white heat embossed) sentiments from a Pink Fresh studios.

Once I had adhered all the elements in place I then added the red card candi.

I then used the Kingston Crafts clear glitter glue to add to the rim and bobble of his hat to give it a sparkly finish!

Love all the layers and texture I created on this card and how cute that gnome is!

Happy crafting!

Catherine

Happy birthday James

I could have used this as my Make it Masculine project for this month but didn’t think about it when I made the card a couple of weeks ago … so instead a normal blog post and process video today!

This is the card I made for James (my cousin’s son) using the Pet Collection kit from Kingston Crafts.

Look how cute it is! And it was so easy to make because all the elements tie in so well together – literally just added a sentiment otherwise it was all there in the kit!

I added some dimension between elements and also distressed the edges for a fun look.

I also added the twine and the enamel dots for some additional texture.

I then decided to do a large amount of decorating the inside of the card too as I know I am unlikely to make use of the dog based elements of the kit given I don’t own a dog myself!

All in all a fun project to make and hope James had a lovely birthday (posting this a few days after his birthday as it was the first chance I had to sort out the video!)

Happy crafting!

Catherine

UK stampers forum ATCoins

Well it has been a while since I made AT Coins but I felt the urge to make some and join in with the UK stampers forum swap – I’m really trying to join in with more swaps this year and try and push myself to use different supplies.

There isn’t a theme for this month – so real freedom to do whatever I fancy! In this case I took a background I had put aside many months ago – it called to me to get it used now!

It is a large floral background stamp over some watery stencilling. I glued the circles I had cut from packaging to the back and then cut them out.

I edged them with some navy ink so it was a soft frame and then added some pink stamping and splatters to the discs.

Next I stamped the JoFy flowers onto some scrap white cardstock in dark blue and then splattered with some of the same ink.

I also added some pink colouring to the flowers.

I then found some stamped embossed leaves that were on the tray of things to be used and added those under the floral element.

Next I stamped, embossed and die cut the sentiment on some purple cardstock and added those.

I had a little hunt through the stash for the little purple gems and added those too.

Happy crafting!

Catherine

Scrapping Saturday – Love you always

Hi

Today I’ve been at the crop that is held locally and I chose to start the day with the page kit that Sarah had designed for us …

Now you might wonder what happened when you see mine!

Yes it took a turn!

Firstly I didn’t read the instructions and hadn’t realised she had provided a template for the heart shape so I did my own and made it smaller than it should have been! Ooops! So from then on it was very much a wing it type of thing – but we all know that is pretty much my way of doing it!

I added some stencilling and splattering in the background, I trimmed the panel down to add it to the pink base panel I had with me in my stash.

I changed the position of the heart and the photo and then moved the title to split it up over the page and added more of the sticker embellishments!

I distressed almost all the elements and love how the page ended up.

Gorgeous inspiration from Sarah and a lovely kit to work with.

I actually made another couple of pages at the crop but will share them on another day.

Now I’m off to sort out tea and relax after a busy but fun day of chatting and crafting with friends!

Happy crafting!

Catherine

Festive Friday 2025 #7

Hello and happy Valentine’s Day – but really it’s Friday so I am all about Christmas!

I actually have a video this week as hadn’t videoed a festive Friday project in some time! So go give the YouTube some love for the process of this one – which was made from the scraps and leftovers from the last scrapping Saturday session!

Old papers, Tim Holtz stickers, fabric scrap, gingerbread men die cuts and card candi – oh and left over die cut letters!

Love this, love the vintage nature of the papers and those cute gingerbread men!

And that scrap of the red dotty fabric adds some softness that I think is important especially with the black elements I added in with the black mats.

Happy crafting!

Catherine