Happy new year!

Happy new year! Hope 2023 treats you well!

I’m diving straight into the new year with a patterned paper project to keep up with the monthly challenge even though Hazel has retired the blog I was a design team member on. I’ve planned out a bit for the year and decided my plan for this challenge of using up Patterned paper is to do fussy cutting out of 12 x 12 papers and use those to make up the cards. In prep I’ve already chosen 12 pieces of 12 x 12 and for some I’ve done my fussy cutting out already and popped them into pouches so they are ready for me to grab and work out what to do with them.

So this first one I grabbed a beautiful piece of the floral paper and set to with my paper snips. I did cut a couple of panels so I could still get to use the back of the dsp but this is the pile of bits left at the end of my fussy cutting session!

I know there are still some of those tiny flowers left but I didn’t think I would be able to make use of them even if I did cut them out.

So I ended up with a nice selection of flowers to play with … and of course that gorgeous herringbone patterned paper too. I knew when cutting it out I wouldn’t use all of it in one project but having them in a little pouch means that I have them ready to do other projects at another point.

So here is what I made. I went with a Cherry Cobbler base to the card and then just started playing and adding elements together.

As there is a black base to the florals I added in the black cardstock for the mat and the sentiment. I also added some white dots using a paint pen.

The ribbon is a black and white ribbon but I added the colour using my stampin blends so that it had got a cherry Cobbler hue.

Love all the dimension on this card. So pleased to get the first project of the year done and dusted and a piece of dsp all cut with a few additional flowers left to play with on other projects.

Happy crafting!

Catherine

2023 – budget and use my stash

Happy new years eve!

Thought I would pop on today and give you a flavour of what my crafty plans are for 2023 although clearly the title gives you an idea of what my plan is.

I have a lot of stash in my craft room and over 2022 I did start rationalising and getting rid of unlikely to use stash. I think I need to do that again and be really clear about what I NEED to keep, what I LOVE and can’t part with and what realistically is never really going to get used.

I also need to be a bit frugal this year as we have a lot of things as a family we want to save for … so apart from basic supplies like cardstock, adhesive and envelopes/card blanks … I have decided to say NO BUYING.

I think I could well end up caving but I really don’t want to at the moment as I have so much stash going unused it is silly to buy more.

Small confession in that I did spend a little Christmas money on Boxing Day so I do have a few new bits and bobs to use but my plan is no spend in 2023â€Ķ so going to ignore that little splurge even though I’m still waiting for it to turn up!

So with this in mind prepare to see some old products and stash appearing rather than lots of new stamps and dies … hope this is not a disappointment to you dear blog reader!

Sure I will find some stash hidden away that I loved using and will find a new way to use it though so hopefully the projects I make will still be fun and not old fashioned! Lol!

So with that in mind I have a project to share today using old stash…. getting myself geared up for 2023’s challenge â€Ķ

The stamped bird is a polkadoodles image I stamped and coloured probably about 5 years ago and never used till now… the dsp is old magazine kit paper again just sitting there in the stash…. the twine was gifted in a swap and has found its happy place on the card and the cardstock (with the exception of the black card base) were all scraps lying on the desk.

Finished off the inside with another of the birds and some scraps of the dsp on a white panel for writing on.

So here’s to 2023…. let’s be frugal and make good use of stash we already have!

Happy crafting!

Catherine

DT: Creative Knockouts… anything goes

Today is a simple Anything Goes challenge at Creative Knockouts for our last post of the year. We’ve been kindly sponsored by Twinkle Lane Designs who gifted me the Calla Lillies image I used for my design team contribution.

I decided to mix things up a little and printed directly onto some book print and then colour the image using my Stampin Blends.

I then fussy cut the image out but I love this cool image on the text. Really makes it look funky!

I teamed it with some cool paper from an Indigo Blu magazine kit and the embossed panel.

I decided Blackberry Bliss for the base of the card to continue the colour on the sentiment and the embossed panel. Of course that meant I had to decorate the inside to give somewhere to write.

Love how this came out and pleased I thought to use book print for the printing!

Finished off with a metal floral embellishment to add that something special.

Happy crafting!

Catherine
Merry Christmas all!

So I’m writing this a little ahead of time so it is all ready for posting on Christmas Day. Wishing all my blog visitors and readers a lovely festive season.

We had a bit of a naff week as I got hit with a flu virus so everything got put off until the last minute but fortunately been feeling a little more human by Christmas Eve and so we got ready in time! But just admit I am in bed early on Christmas Eve as so exhausted!

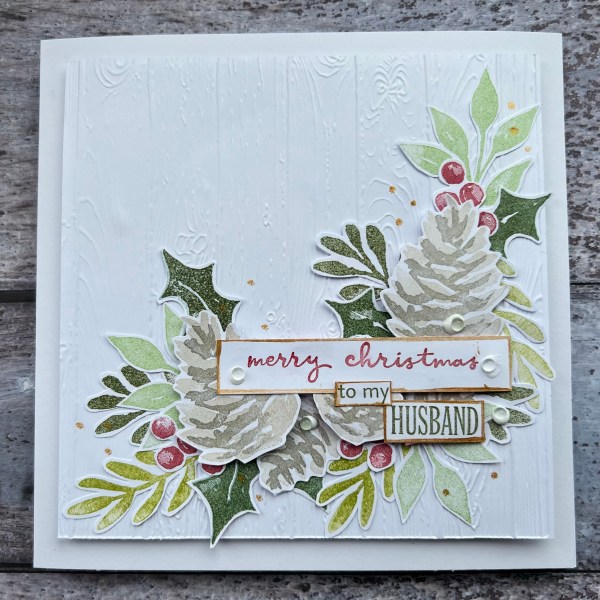
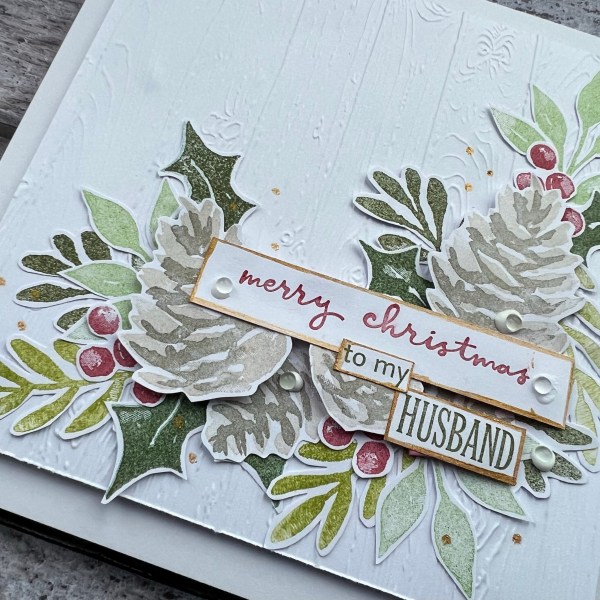
Anyways I didn’t come on here to moan but instead to share the card I made for my hubby for Christmas as I realised I hadn’t shared it yet. I also realise the only pics I have of it in daylight are before the glue had dried on the gems so it doesn’t look it’s best but hey ho that’s how it goes sometimes!

I decided to keep it quite ‘simple’ with an embossed background and then stamped images. Even though the stamped images could be die cut I actually fussy cut them as I was in the mood for it and die cutting sometimes is difficult to line them up straight.

I stamped all the leaves from a selection of greens and then the berries from cherry cobbler and the pine cones in early espresso and soft suede. I must admit my brown inks are quite dry now though so they did stamp quite lightly.

I raised a few of the pine cones up on foam to give dimension and then the sentiment I cut into strips and added some gold paint pen to the edges to add some shine. I also dotted the gold pen around the cluster.

I finished with the clear gems which as I say I took the pic whilst the glue was still drying but the dried glue is clear so it doesn’t look as messy!

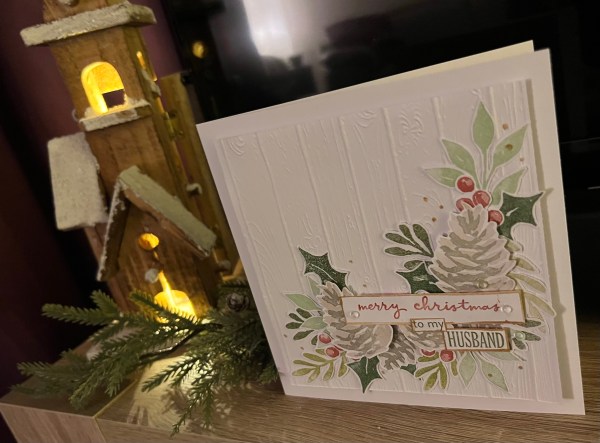
Editâ€Ķ took a pic of it on display so you can see it without the messy glue.

I raised the whole panel up on foam. This is a larger card (7×7 card blank) so the card blank frames the panel well.

Ok so that is the final card for this Christmas and whilst I don’t currently feel well enough to craft at the moment I am definitely thinking ahead to what 2023 crafting might bring.

Thank you so much for joining me for my crafty exploits this year and if I get a chance I will pop back again post Christmas festivities to let you know how Christmas went and any plans I may have made.

Happy Christmas!

Catherine

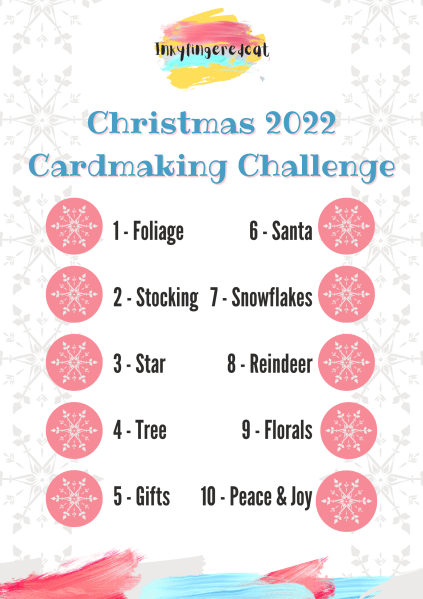
Christmas cardmaking 2022 challenge … #10

Well I may have been AWOL from the blog all week but I did actually manage to finish this years Christmas challenge â€Ķ Yes I did!

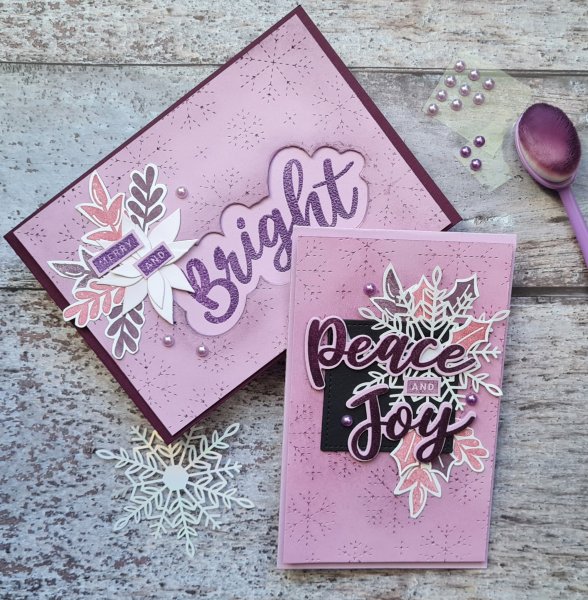
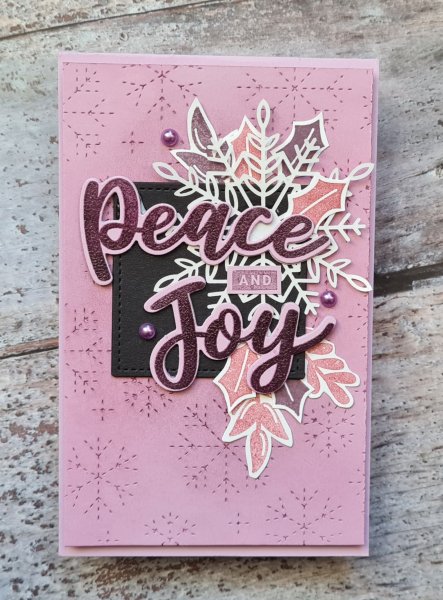
Today’s theme is Peace and Joy … so of course I went to the Peace and Joy stamp set that I still adore.

I grabbed some retired colour cardstock (Fresh Freesia) and added the background pattern using a Waffle flower background die that gives that lovely pierced look.

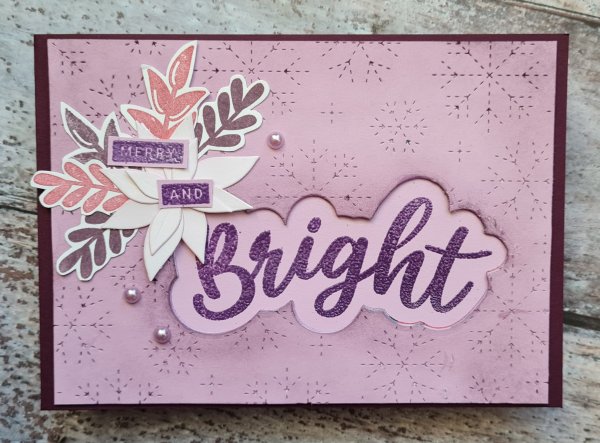
Then I stamped and embossed the large sentiments and then die cut them. I decided to add some inking to the background and then had fun stamping and fussy cutting the foliage images from the stamp set in some fun pinks and purples to go with the Freesia cardstock.

I decided they needed a base to sit on so added the die cut square in black which I die cut twice to stack. I had also stacked the sentiment die cuts too so they had some sturdy dimension.

I also decided to add the laser cut snowflake for some shimmer and contrast. And then the pearl gems in the purple colour to embellish.

This card was actually smaller than an standard 6×4 but will still work fine in a standard envelope I think.

I then had some more of the cardstock left so went with another card using the other large sentiment from the set.

This one I also added the die cut poinsettia from a magazine kit. I decided to set the large word back on this one rather than adding the dimension to the word. I stacked the die cut ‘hole’ a few layers deep so the stamped and embossed word was set back.

I went for a Rich Razzleberry card base for this one which framed the stacked panel nicely.

Love how these two cards came out.

So there you go … finished my 10 week challenge just in time for Christmas …. impressed I managed it!

Would love to see any cards you make using my challenge as the starting point. Please let me know in the comments here or over on Instagram.

Now I think I am done with what I can blog between now and Christmas so will take this opportunity to wish all my blog readers a very merry Christmas!

Happy crafting!

Catherine
Christmas cardmaking 2022 challenge … #9

Wow this is getting close now … but still progressing with my Christmas card challenge and onto week 9!

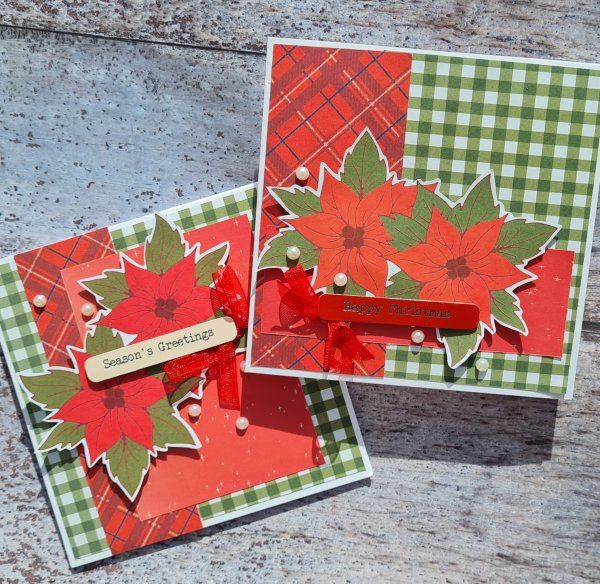
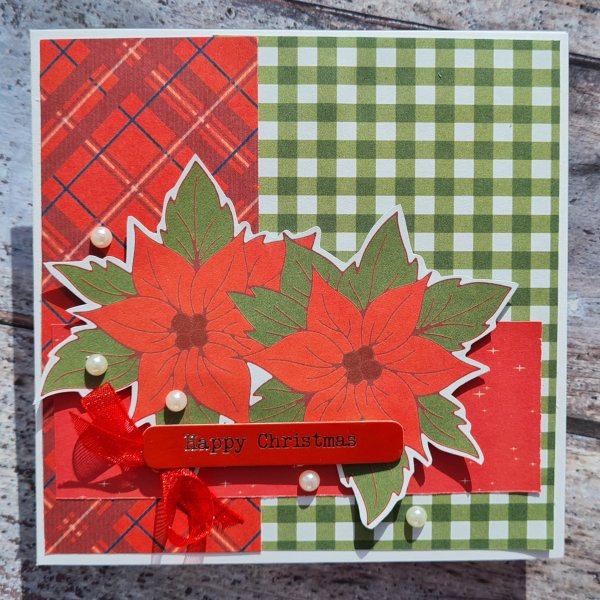
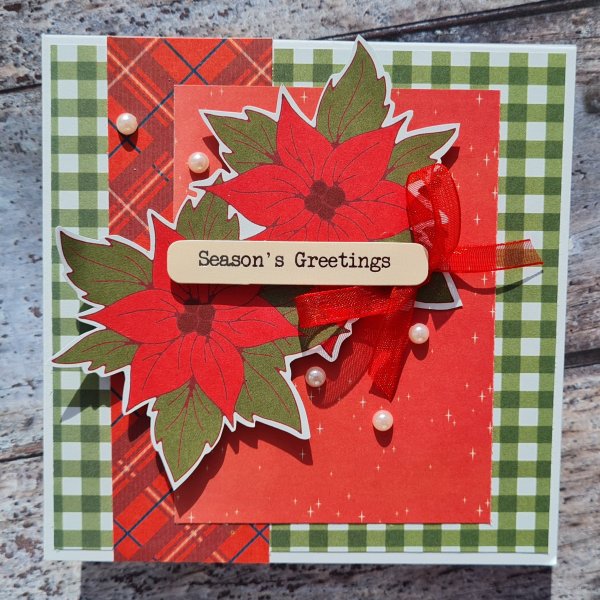
This week I went simple for florals and grabbed a magazine kit that had a whole host of products but stuck to the papers and printed images for these cards.

Simple, traditional colours and poinsettias with the added elements of an organza bow, pearls and a sentiment topper I had in the stash.

I did raise up the floral elements I had fussy cut and the sentiment also is raised on foam.

Think I prefer this one to the other, but both pretty and very simple to make.

And you probably recognise the green check from the santa cards from a few weeks ago as they were from the same magazine kit.

Well… the big question is will I actually manage to finish the challenge or not? Fingers crossed… one more week to go.

And if you’ve been playing along with my challenge let me know as I’d love to see what you are making either here or on Instagram… just drop me a message.

Happy crafting!

Catherine

DT: Happy Little Stampers Anything Goes with Dies challenge

Todays design team contribution is actually a card I made way back in March for my parents anniversary but never got round to sharing as I wanted to share it for the Anything Goes with Dies challenge at Happy Little Stampers.

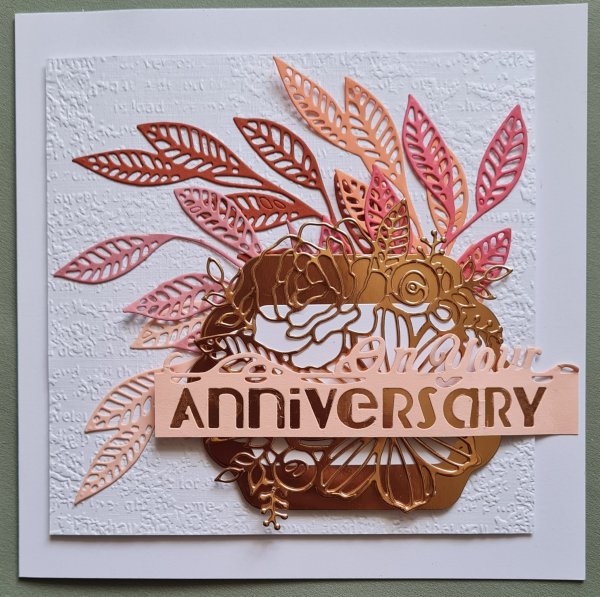
I took some pretty peach and pink coloured cardstock and die cut lots of the pretty leave die from the Stampin Up Artistic die set. Using these I created a spray effect.

Then I took some of the rose gold foiled cardstock from my stash and cut out the main floral cluster and a label from the Christmas Labels set.

I also cut another smaller label for layering under the floral cluster.

I decided rather than stamp a sentiment I would use the Crafters Companion On your anniversary die and cut that out and back it with the rose gold to make sure the word was more visible.

When arranging the card I wanted something a little more… so took a panel of white cardstock and embossed it with the old paper folder (I often forget to emboss and am always kicking myself when I do it as I should use the folders more!). This created a subtle but beautiful texture for the cluster.

I used foam between layers to give the card some dimension and then inside I heat embossed the stamped sentiment and used left over scraps of the same cardstock to add leaves in the corner.

I didn’t end up doing any decorating on the envelope as I hadn’t used any patterned paper and figured the die cut would be unnecessary.

So my parents loved the card (way back in April) and I must admit looking again at the pictures I am so pleased with it too! It also makes a nice change in pace to look at this rather than Christmas stuff!

Happy crafting!

Catherine
DT: Creative Knockouts … snow much fun

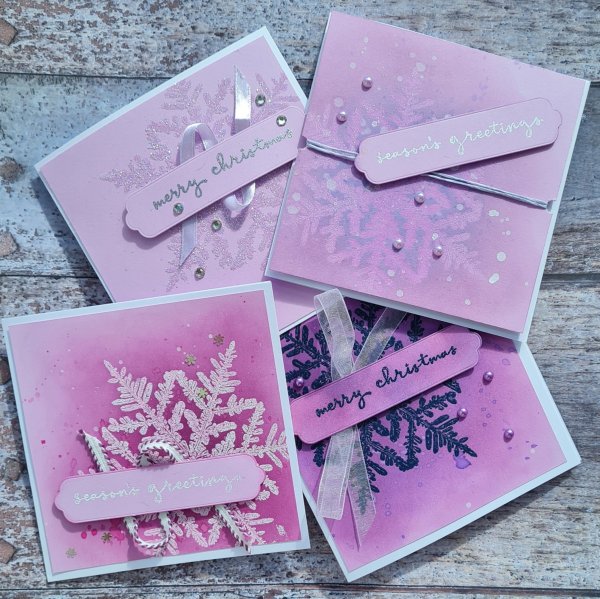
Kelly at Creative Knockouts gave us the theme of Snow much fun to play with this week and here is my design team contribution… four cards!

As soon as I saw snow I had to have fun with the Snow Crystal stamp… such a fabulous stamp to play with and use different techniques. This time I used some lilac cardstock and stamped it four times in versamark and then used different heat embossing powders to create four similar but different cards.

Here is how they looked at the beginning…

Firstly clear embossing… (bottom right). After the embossing I took some distress inks and a bit of distress oxide to blend around the embossing.

This created a resist finish where the snowflake retains the original cardstock colour and then the background and area around the stamped image changes colour. I also added some splatters of white paint to add a matt splatter. I chose to finish all the cards with a sentiment from Christmas to remember and some scraps of different ribbons and twines. I also raided the gem box for different gems.

I’ve just realised when looking at these photos for blogging that this is missing the bow I added so will have to take another pic and add that in later!

Secondly a glitter embossing powder which is mixed with opaque white (top right).

I also added distress ink to this but more of the pink tones. This one I added some of the holographic little snowflake embellishments too. I did add both white paint splatters and pink ink splatters to the background on this too.

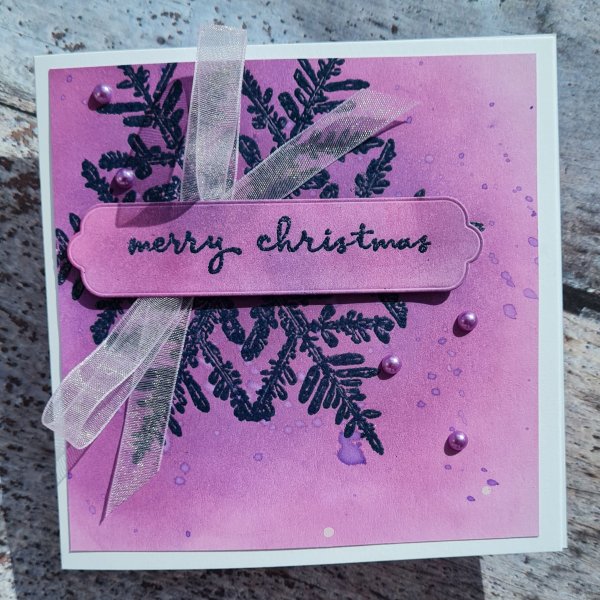
Next up a dark embossing powder… this was actually Baked Texture but the qualities of baked texture don’t really apply when doing this as it was mainly the dark blue colour that stuck to the detailed image (bottom left).

This one I inked heavily a d added purple ink splatters. I like the contrast of the sheer organza ribbon on this. I also heavily inked the sentiment label to have it match better.

Finally…. I hate glitter but decided to throw caution to the wind and use the heat and stick powder and use loose glitter. (Top left).

Well as much as this is super pretty and was an easy card to make (no inking or splattering) the clear up after using loose glitter is awful and I am very shimmery after making this card. I am very tempted to just chuck away the pot of glitter as I hate using it so much but that would be wasteful and maybe in a couple of years I will embrace the glitter again!

Love all four cards for how different they look … but still regretting the use of loose glitter so have to say that final one will not be going on my “must make again” list! ðŸĪŠ

How do you feel about glitter? Is it a love or a hate thing?

Happy crafting!

Catherine
Edit: photo of the clear emboss with the bow! That looks better!

UK Stampers forum tag swap

So another UK Stampers forum swap tag to share with you today using leftover papers from the Craftyhazelnuts patterned paper challenge at the beginning of the month, this time teamed with Nature’s Prints.

I made the tag from white cardstock then added strips of the paper from the Making Cards magazine old stash I made the Christmas cards from.

Then I added the die cut wreath,. The stamped and die cut foliage the punched circles of mirror card and the sentiment I fussy cut out.

I finished with some string from the stash.

Simple but cute as a tag for swapping.

Happy crafting!

Catherine
Christmas cardmaking 2022 challenge … #8

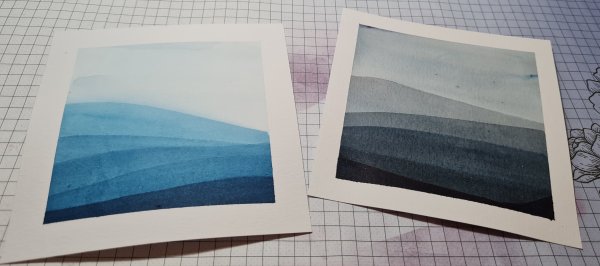
This week on my challenge I was inspired by the fabulous Kristina Werner and these simple cards she made … admittedly I say simple but her watercolour techniques take a huge amount of practice and control … but I figured I could do some stripes easily enough… and this led to these two backgrounds.

I actually used Brusho powders as my watercolours which accounts for some of the flecks of colour in the sky on the right hand side one. I chose to do one with Prussian Blue and the other with the Black (but did add a bit of each in both of them).

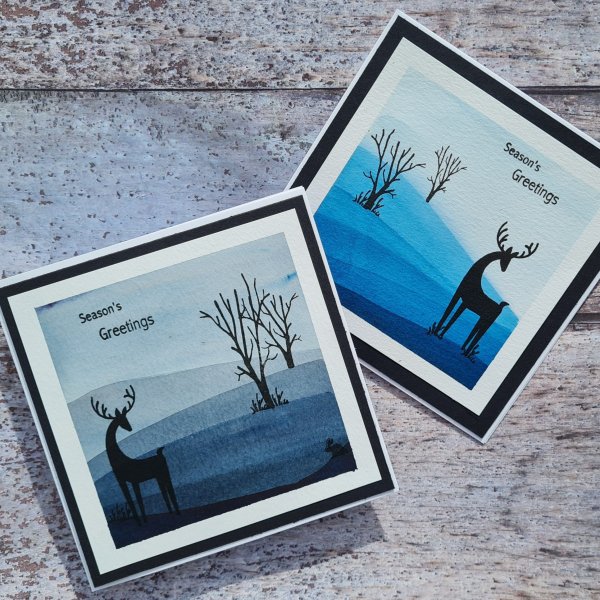
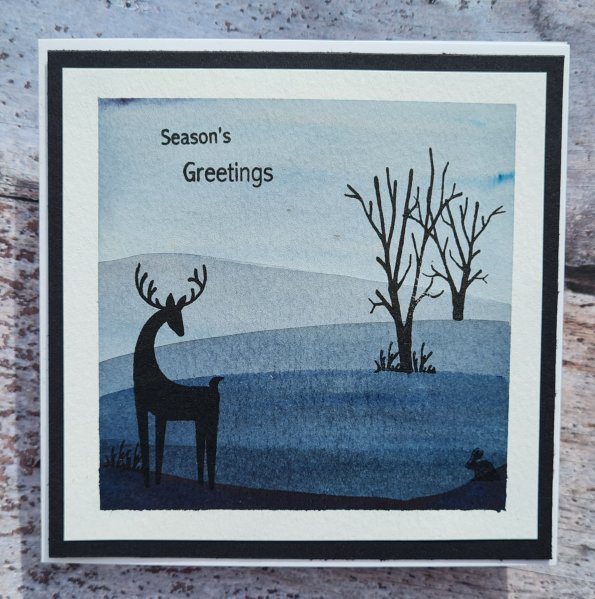
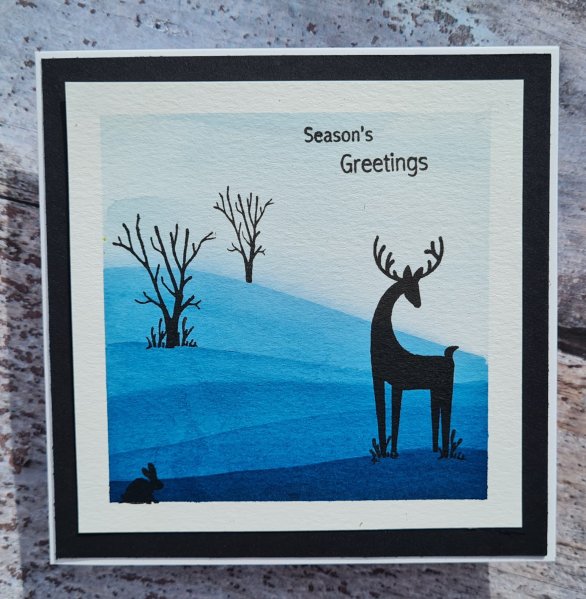
I decided to turn these into landscape scenes and then to add my reindeer silhouette images.

The stamps, including the sentiment is an old Woodware set I love. I love how they make the scenes come to life.

I think I prefer the composition of the black toned one but love the colour of the prussian blue … really should do more simple elegant cards like these!

Happy crafting!

Catherine