Today I have a video to share of the making of these coins for the UK stampers forum group swap.

I used a few colours of Paperartsy fresco finish paints and one Paperartsy stamp set and had fun making the set of coins.


Happy crafting!
Catherine

Being inky and creating pretty stuff
Today I have a video to share of the making of these coins for the UK stampers forum group swap.
I used a few colours of Paperartsy fresco finish paints and one Paperartsy stamp set and had fun making the set of coins.
Happy crafting!
Catherine
So the artist trading coins swaps have all been posted off and I can now share the twinchies I made to accompany them! Last month I underestimated the number who would join in and had to make a few more last minute. This time I decided to go with 20! Spoiler alert it wasn’t enough!

I created a distress oxide panel and then cut it into 20 1.75inch squares. Then I used two Tim Holtz stamps to create the images.
I love that these stamps are the perfect size for this!
Once stamped I edged each one with the black soot ink to give it a finished appearance. Next I cut the twinchies from pink and blue cardstock so I could create 4 sets of 5.

I layered them up and then stamped the sentiment using alphas and cut each one out. I stuck them down and then edged the sentiment in black pen. Next I added black enamel dots on each one.

Love how these all look. And that they were quite simple to achieve.

I think using the different coloured cardstock also helped bring out the different colours of the ink in the background.

Now as I said above it turned out 20 was not enough…
… there were an amazing 25 artists joining me on the swap… the basket was full of lovely coins by the time I got to the end of the month…

… so another 5 twinchies had to be made …

I chose to use some scraps of backgrounds that were on my desk and the Badass artchick girl image to make the remaining 5 twinchies.
Happy crafting!
Catherine
I used leftover from a masterboard I made some coins from to make some inchies.

I kept it simple with the addition of the shrink plastic sentiment as there was so much going on for the background.

Happy crafting!
Catherine
Today I have a strange one to share… a postcard that came from a playtime reorganising my inks!
I decided to check my Stampin Up inks as I hadn’t really been using them much so took a wood mounted stamp I got from James Sharpe Art and stamped it multiple times onto a piece of Very Vanilla cardstock using all of my yellow, orange, pink, red and purple inks.
This created a fab piece of inky patterned paper. I also added a few Timeless Textures splats too in purple. Then I roughly edged the panel.
Next I found a title for the card thinking of the eyes are the window to my soul….

I mounted it onto mountboard and a nice simple postcard was made for this month’s UK Stampers Forum swap.
Happy crafting!
Catherine

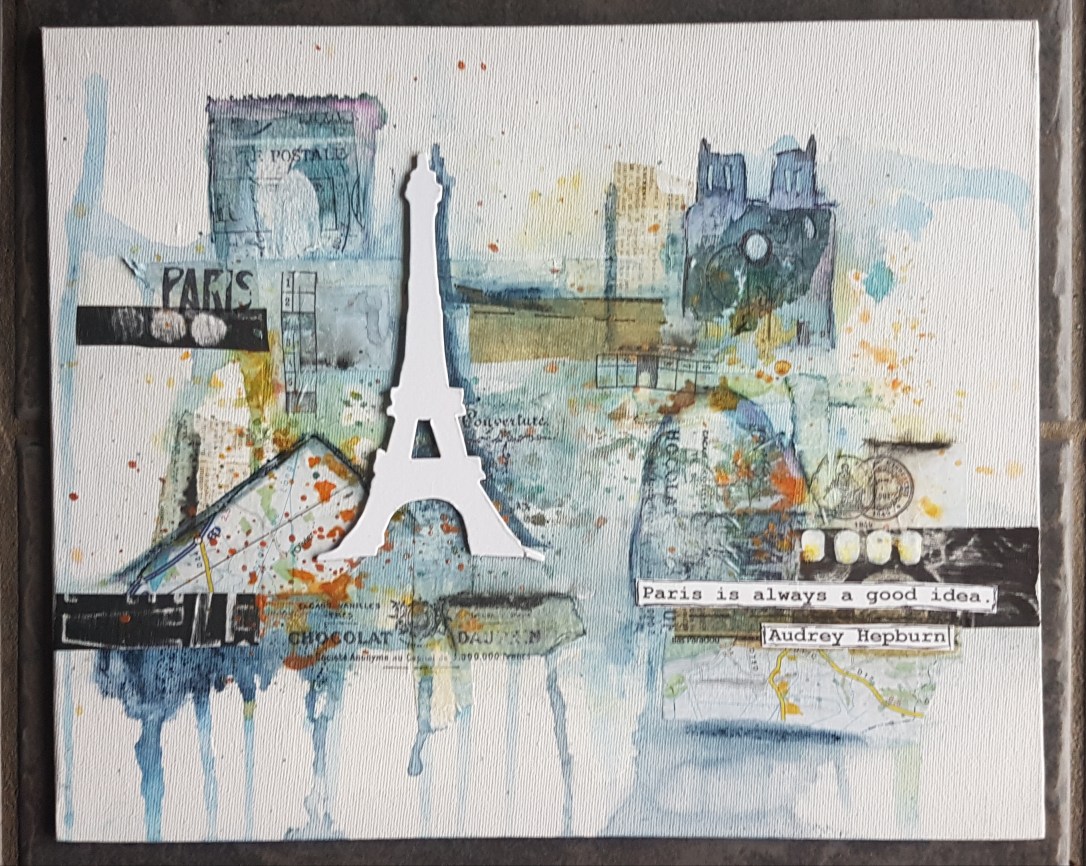
So I didn’t want long to put some of the techniques that Karen Stamper shared at our class last weekend to use… I included them in this Paris based canvas session I did with my friends.

None of us finished our pieces completely as they need to dry before some of the finer details can be added but love how they all came out by the end of the session.
Mine is above. I love the drips and the metallic splatter I added. Definitely had a detour from Karen’s limited supplies as couldn’t resist using my Art Alchemy Sparks paints!
The pic of it in the daylight the next morning shows the colour better… it’s amazing the difference that natural light makes! (Depressing to think that days are getting shorter now as we head into autumn!)
Below are the pieces made by the others … Mara, Kathie and Eleanor.
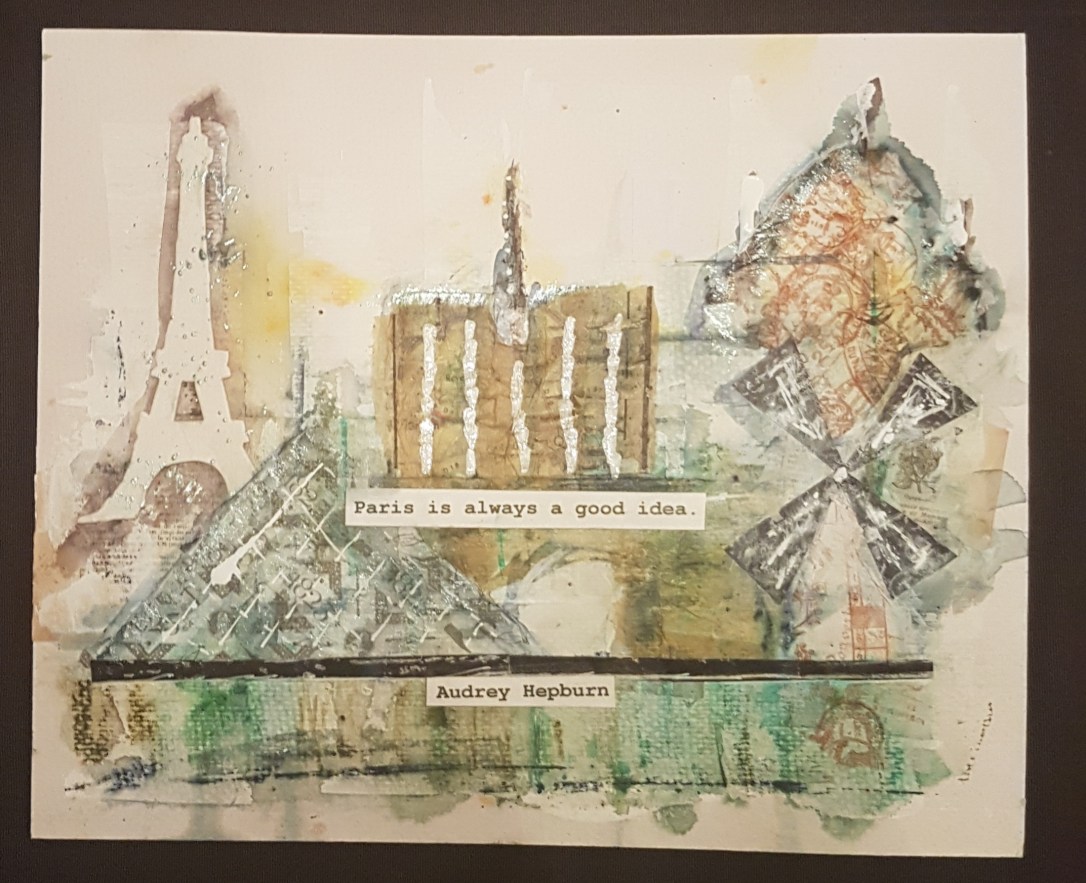
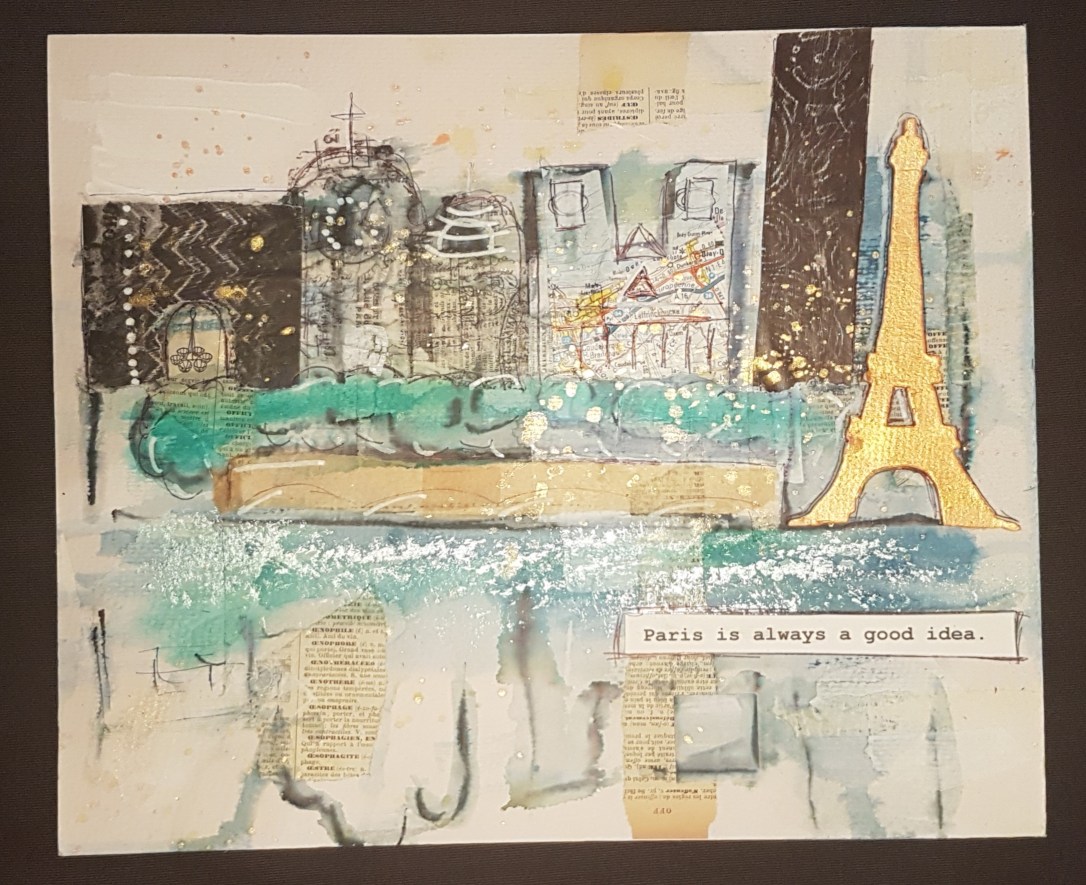
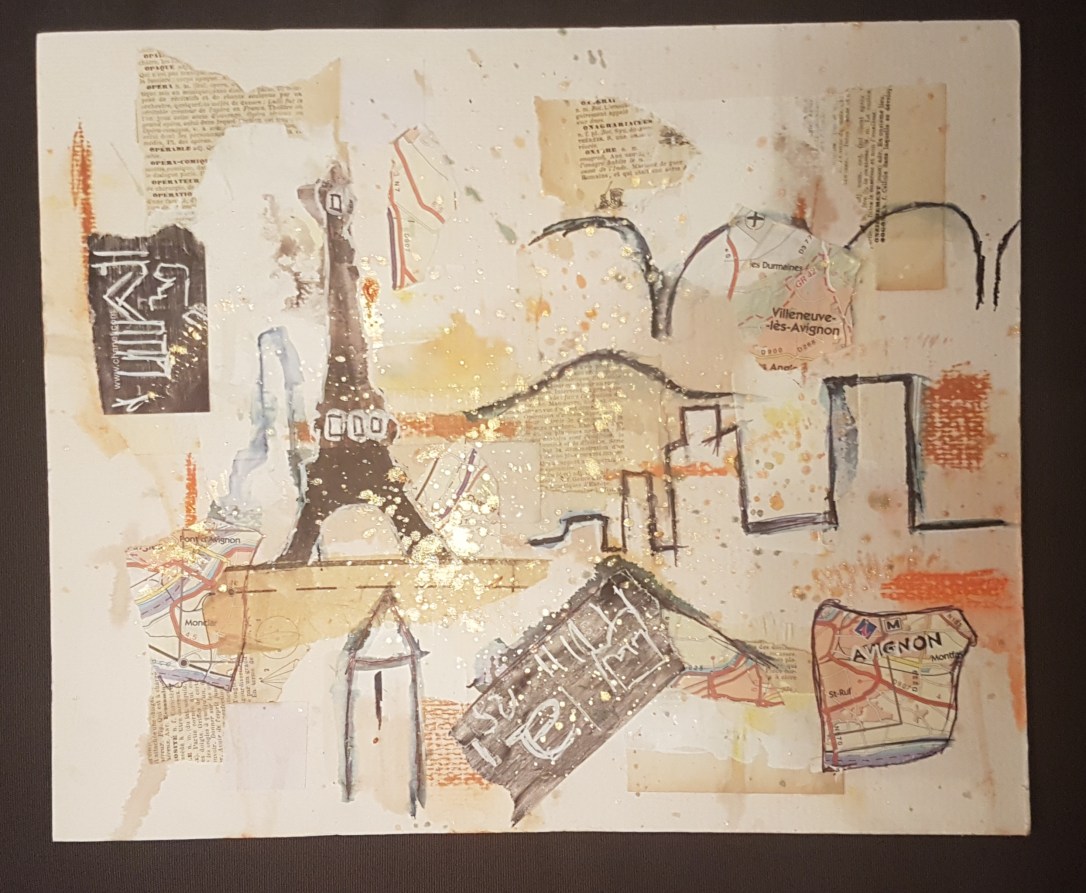
Love how different they all look whilst keeping to similar ideas and the same theme.
Fast forward to the next night and I set about adding more details and definition… and ended up with a few more landmarks…
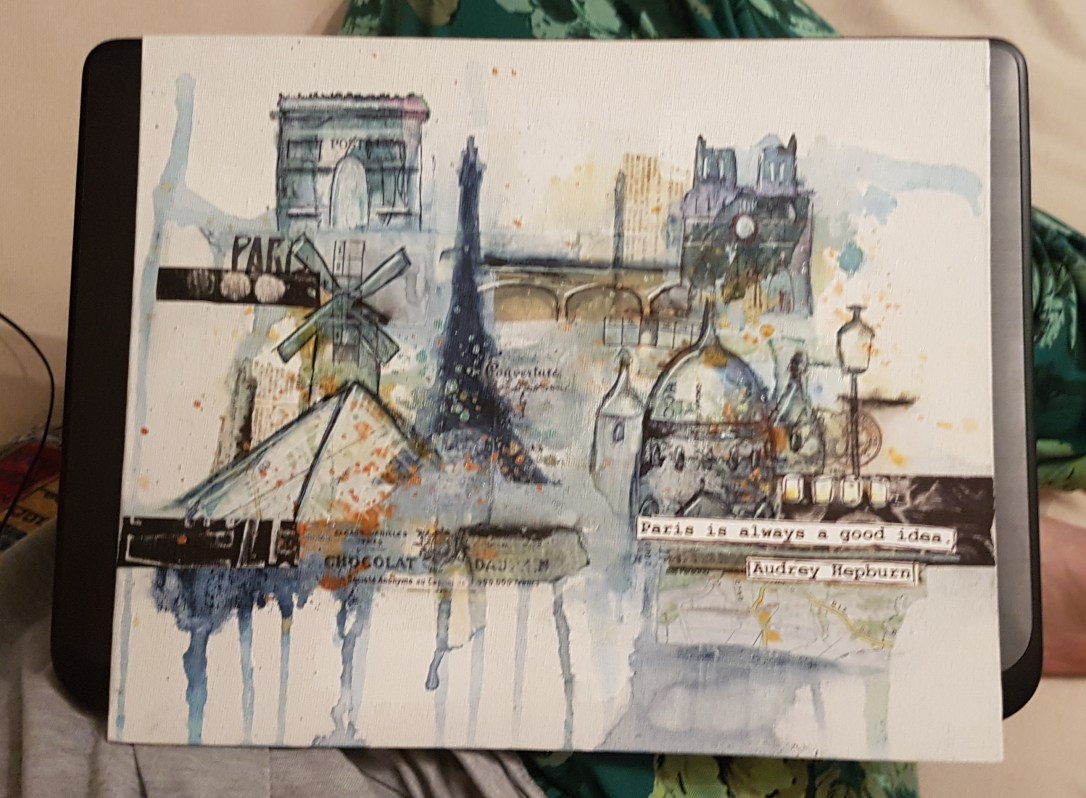
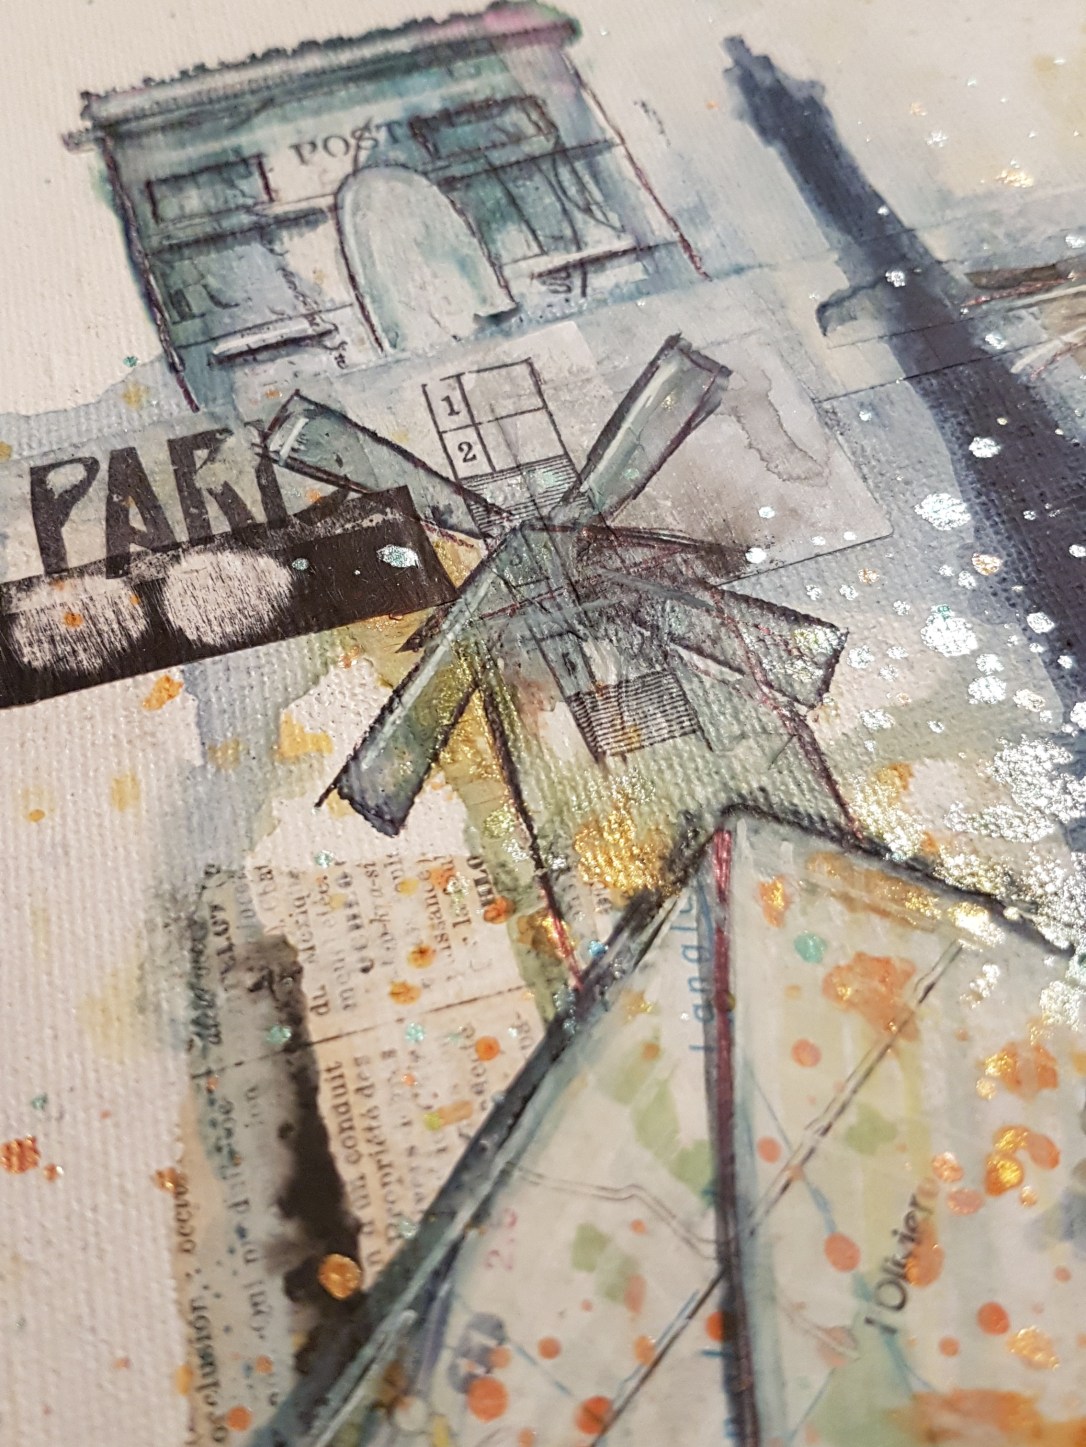
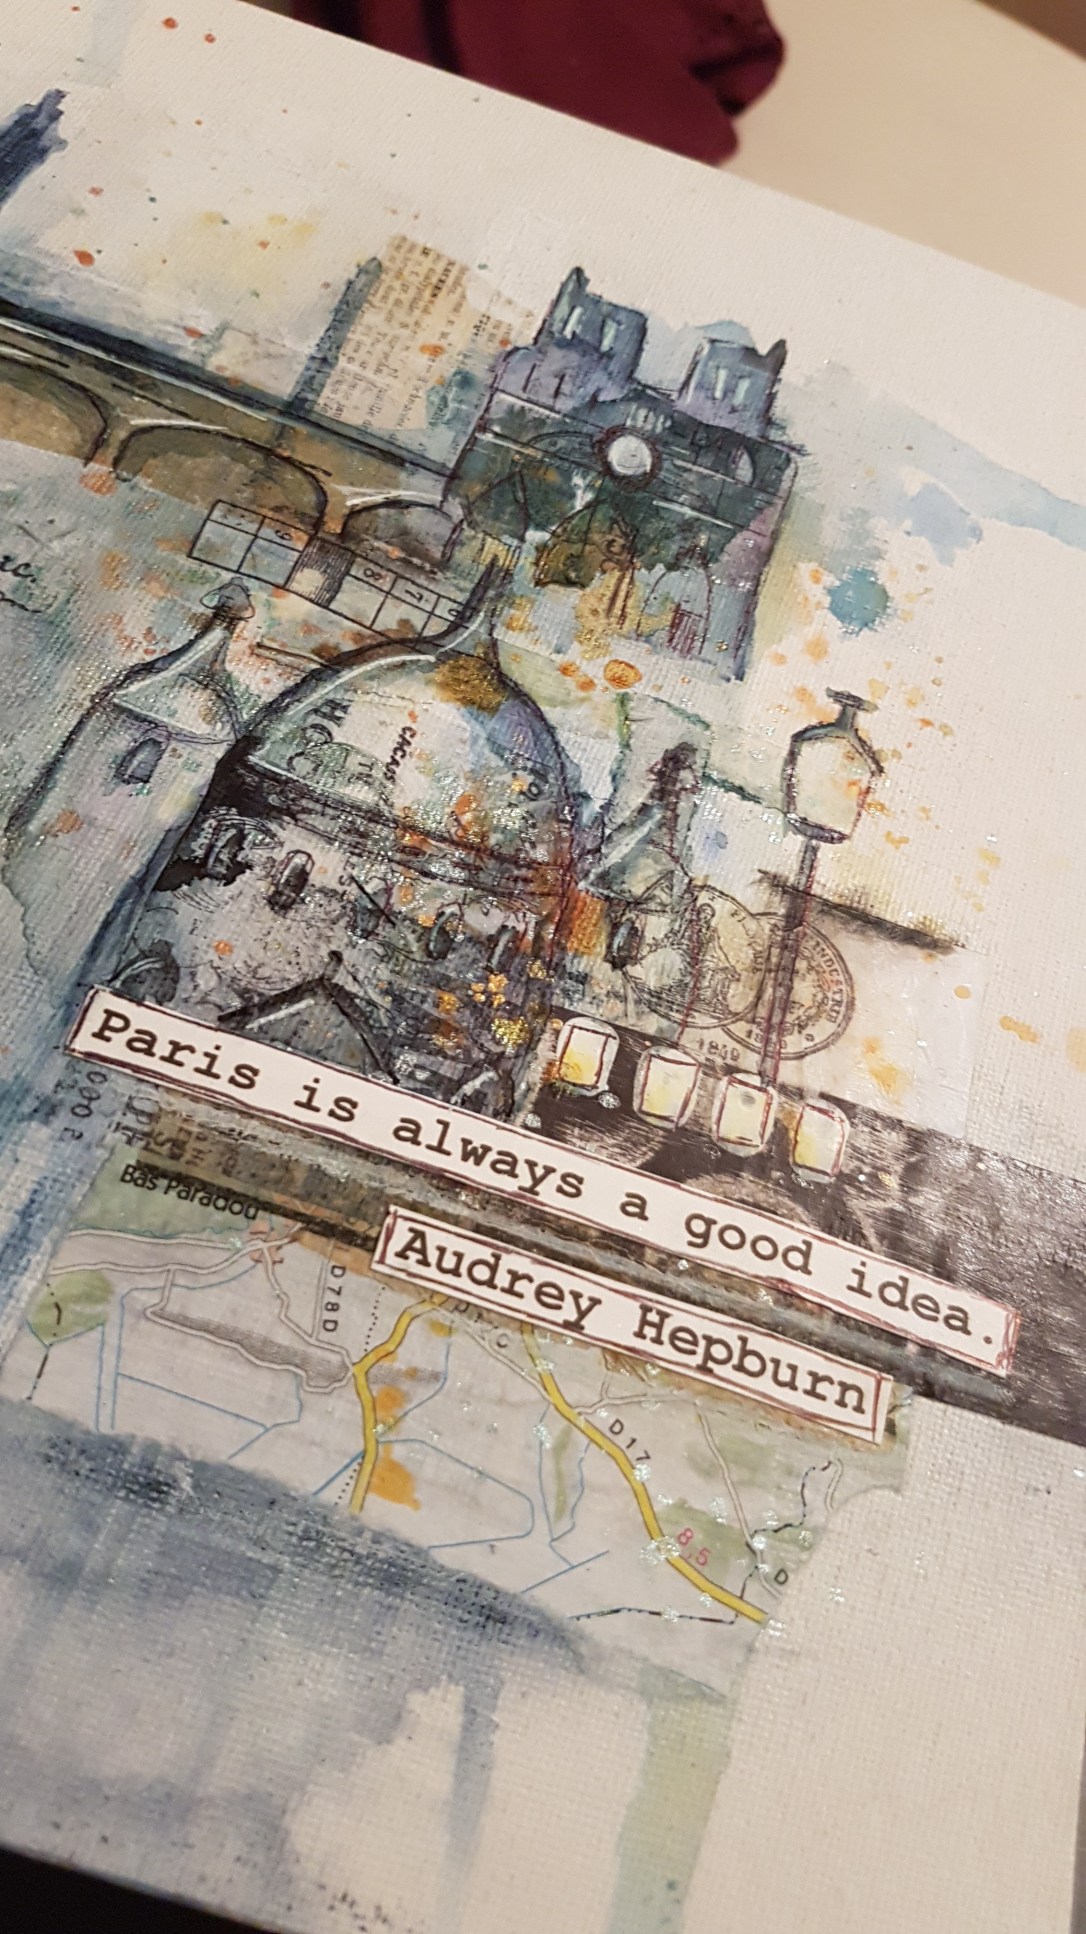
And then last night some more details added with embossing and an embossed Eiffel Tower. Calling it finished!
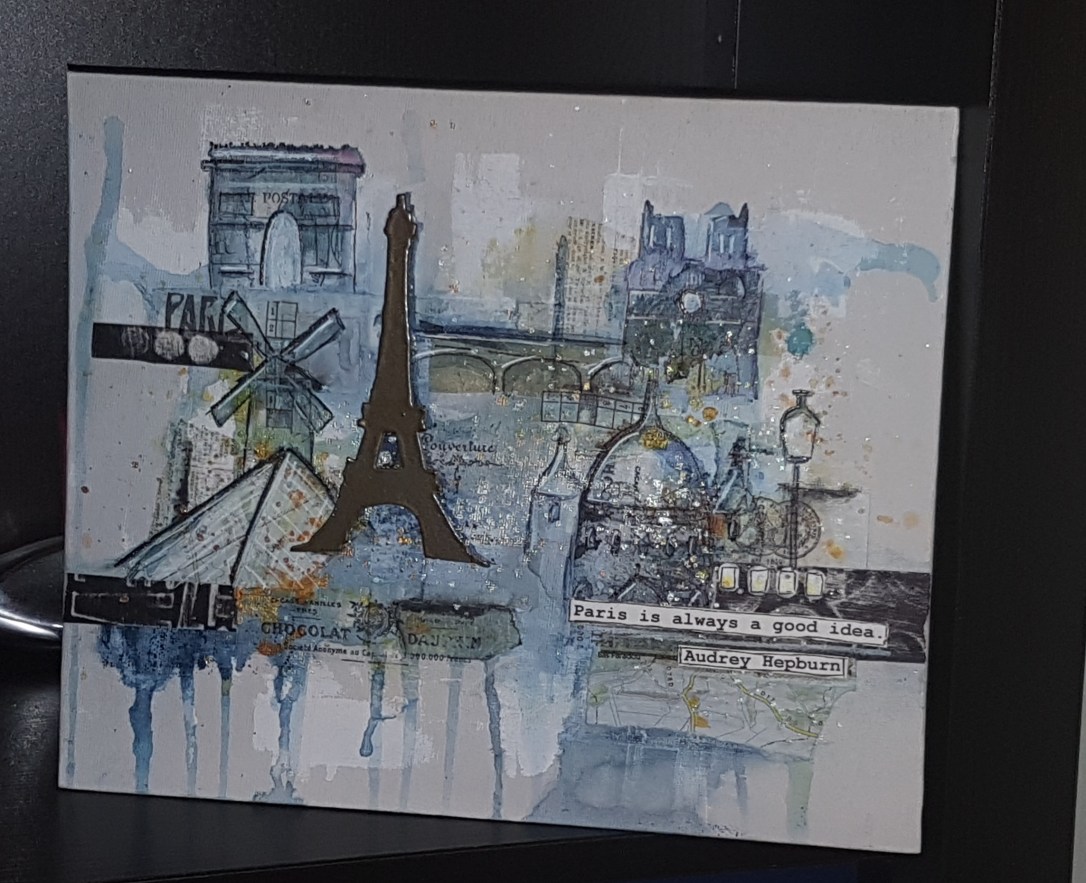
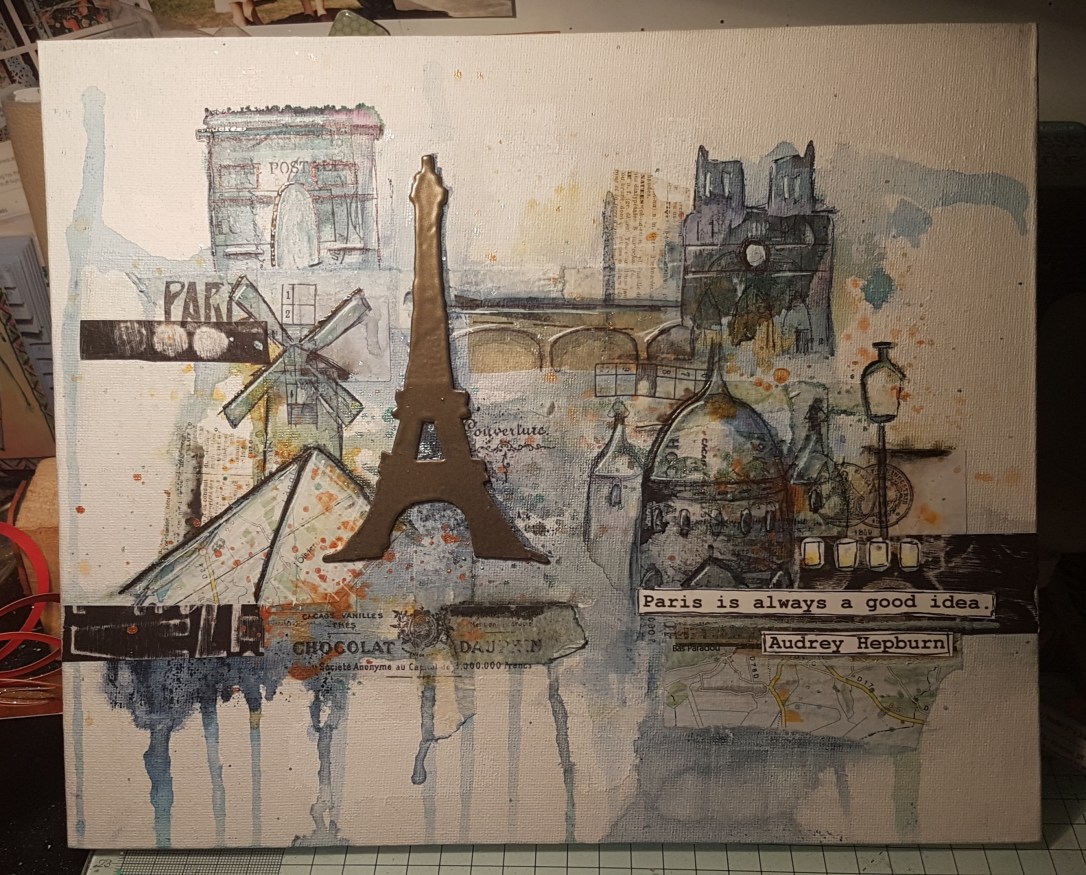
Need to get this in a frame and on the wall. Super super proud of this.
Happy crafting!
Catherine

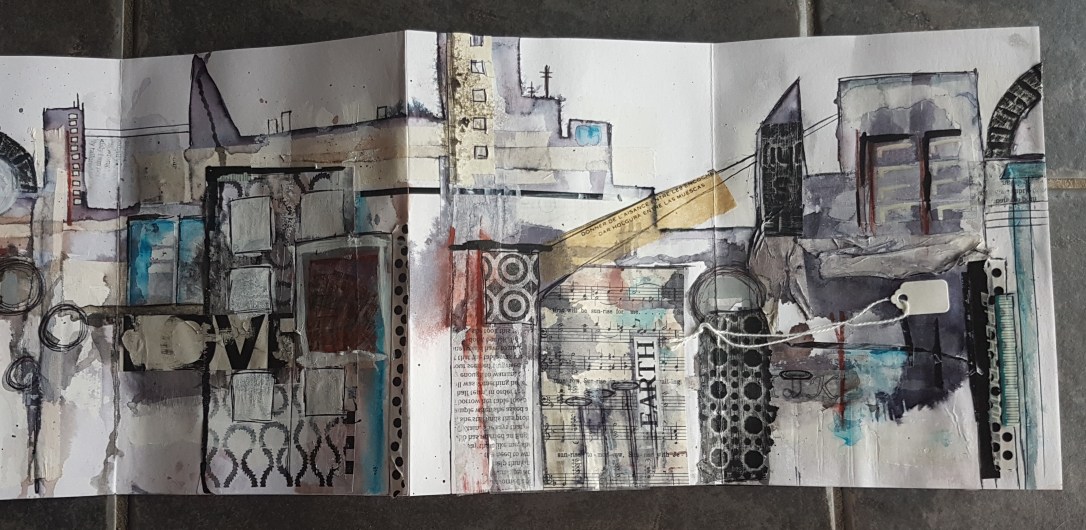
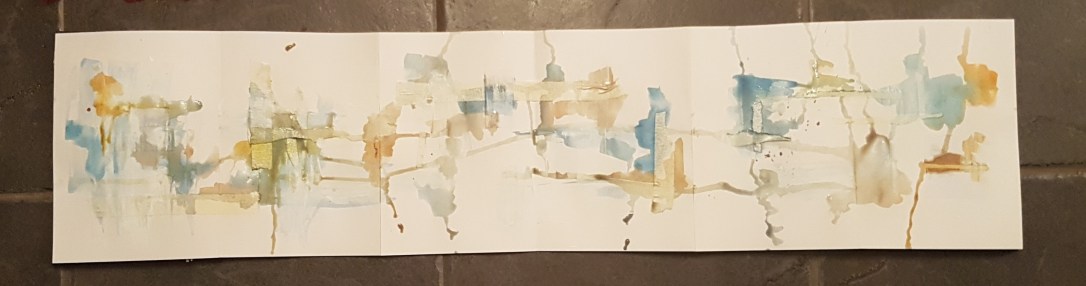
This weekend I had lots of fun with some of my raggy doll sisters in Solihull on a class with a talented artist Karen Stamper. And here is what I made… six pages in a concertina sketchbook…
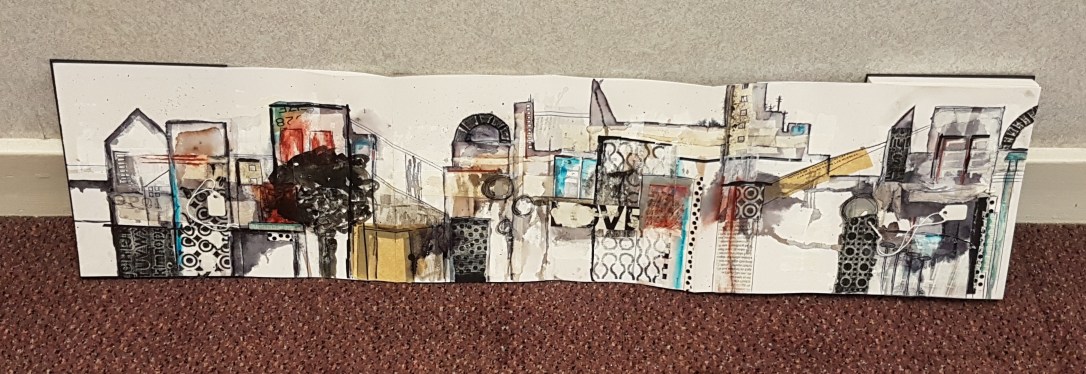
I didn’t finish everything in the day … in fact that picture is about an hour before the end of the class when I was struggling a little…
I did manage a bit more but the pic only shows it when it is slightly folded.
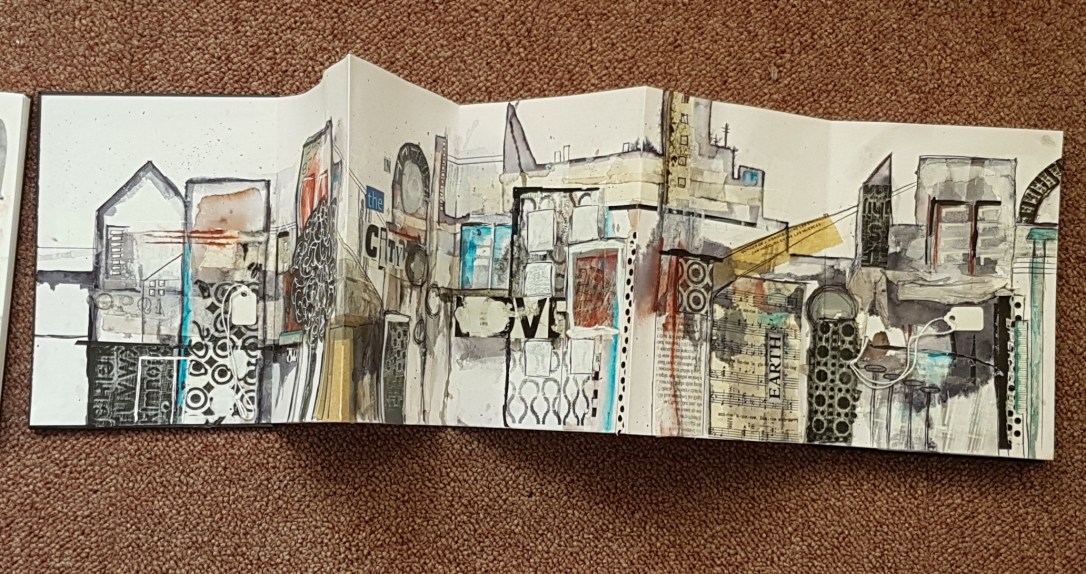
And here are some once it wad back home with a few more bits added…
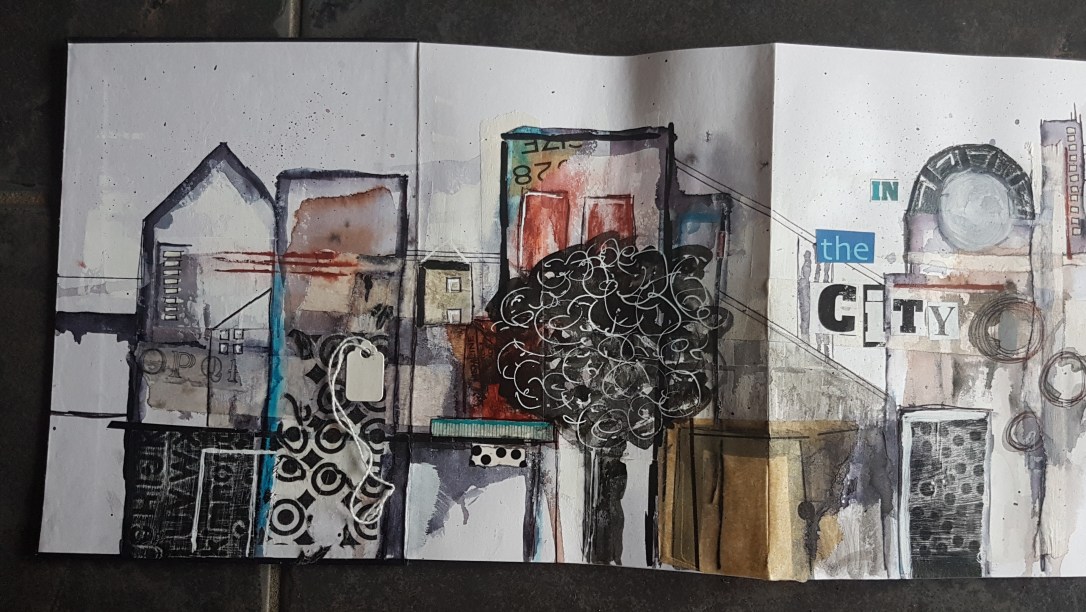
Loved the class and looking forward to doing more in the sketch book… so much so that the next six pages have been started….
I wonder how these pages will develop and if I will ever finish the others off?
Happy crafting!
Catherine

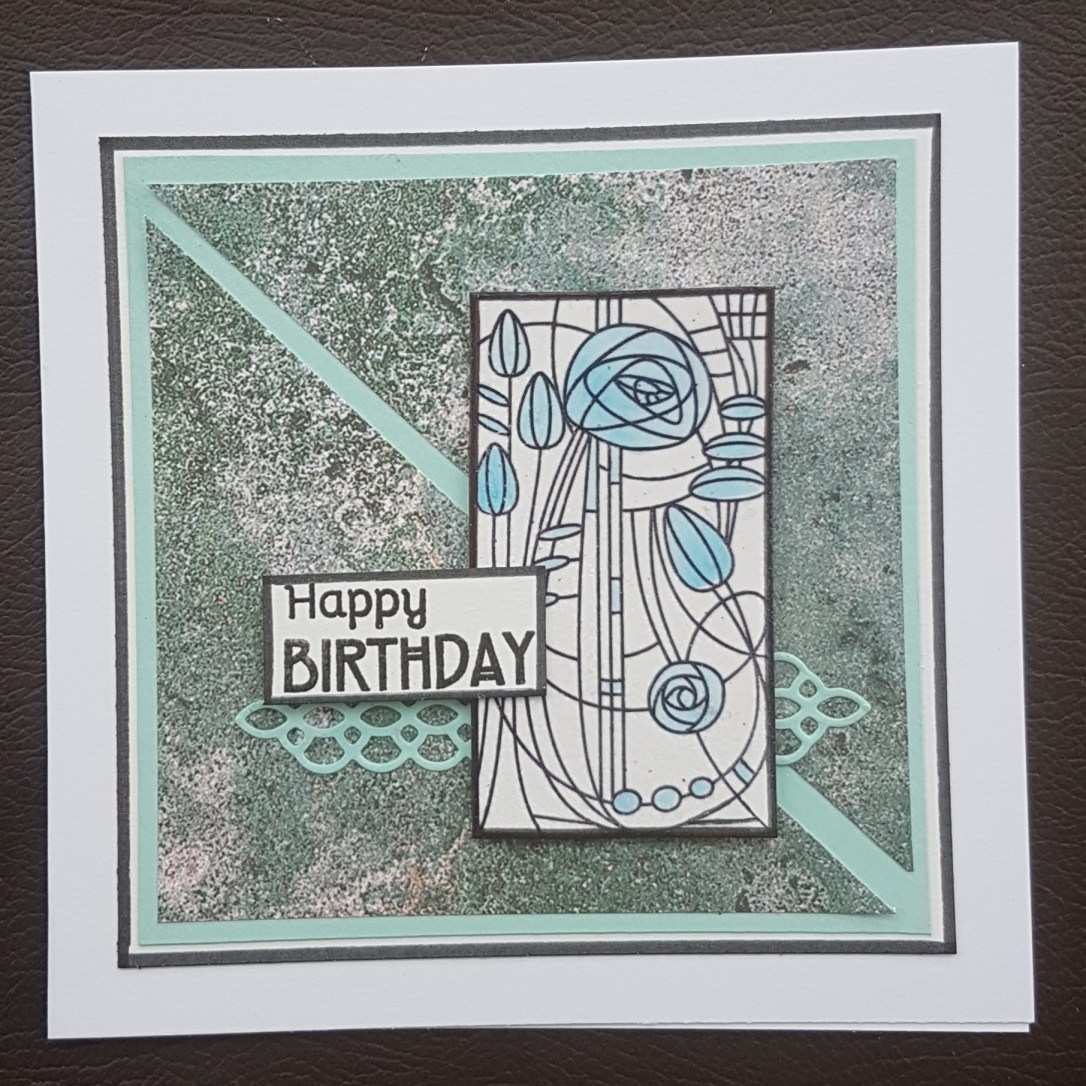
I decided to grab one of the many pieces of 12×12 papers that was reasonably neutral and make a one sheet wonder.
No idea where this paper came from originally but it is a marbled and mottled effect with blue, teal and pink tones. So I teamed it with aqua, pink and brown.

I will sort out the cut instructions and post these later.
I also grabbed some glimmer paper and foiled cardstock to add into the mix.

Then I started making the cards up. I decided to keep to a theme and used the Art deco style stamps which were a magazine freebie a long time ago.
So here are the seven cards I made.
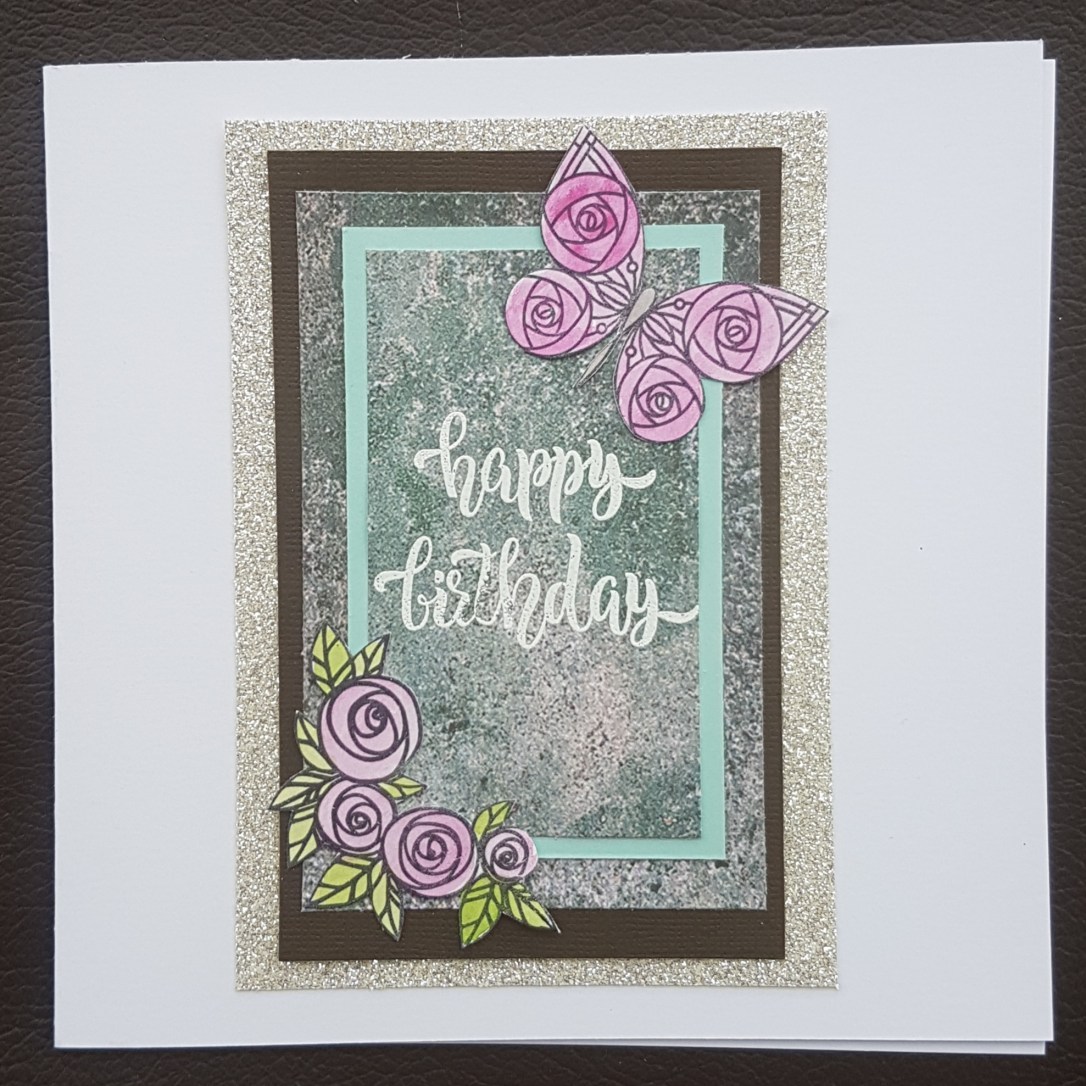
Layered pieces with the different coloured cardstock and the silver glimmer paper and then fussy cut two of the stamped images. Coloured both of them using Inktense blocks and a waterbrush. Stamped the sentiment in versamark and used white embossing powder.
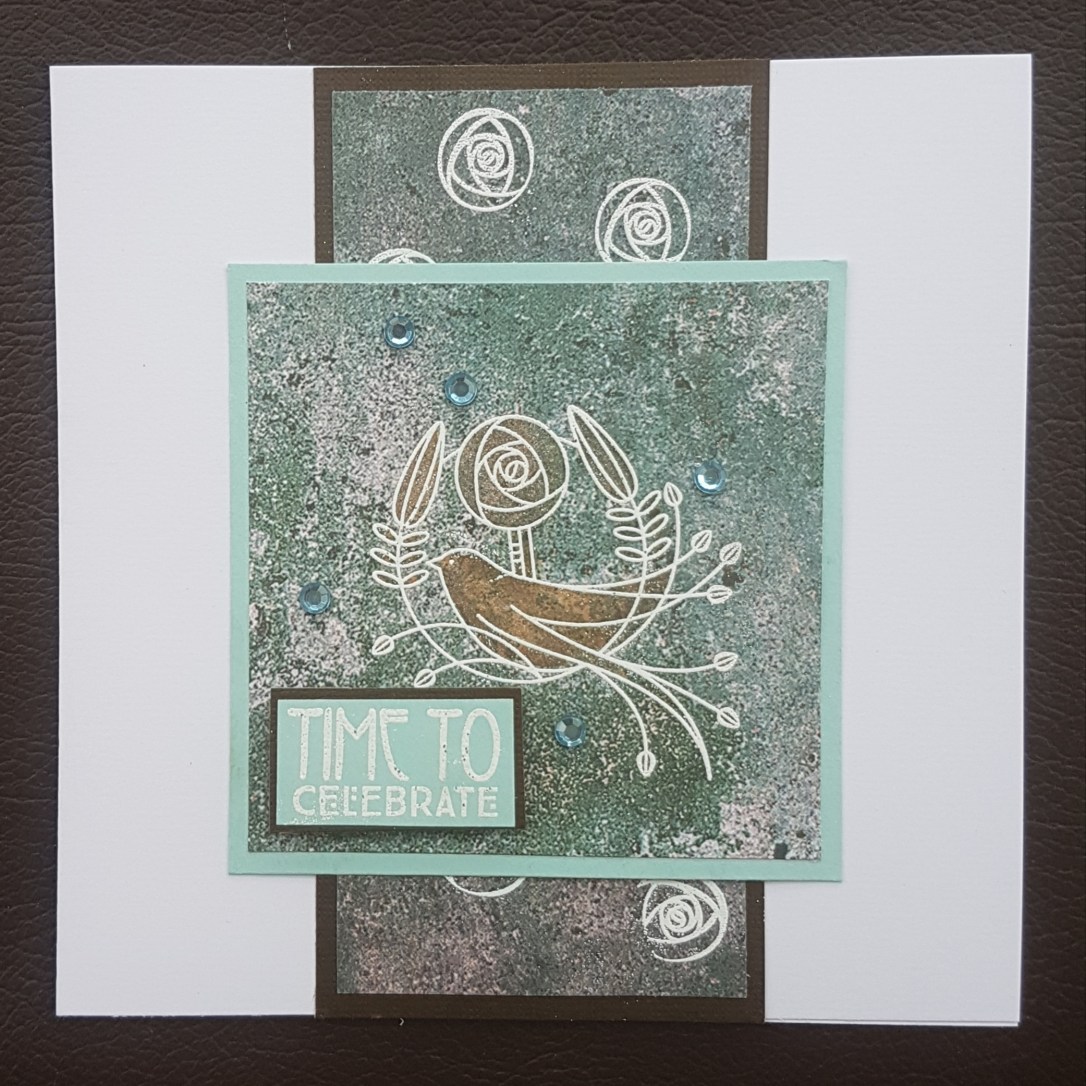
Heat embossed the main image onto the paper and also the same with the single rose image onto the back panel. Then added colour with the distress oxides to give more definition to the bird. Also stamped and embossed the sentiment and mounted that onto the brown card too. I love this bird image so much.
Most of the one sheet wonder templates have a diagonal cut in them. I balanced this one with the diecut in the background.
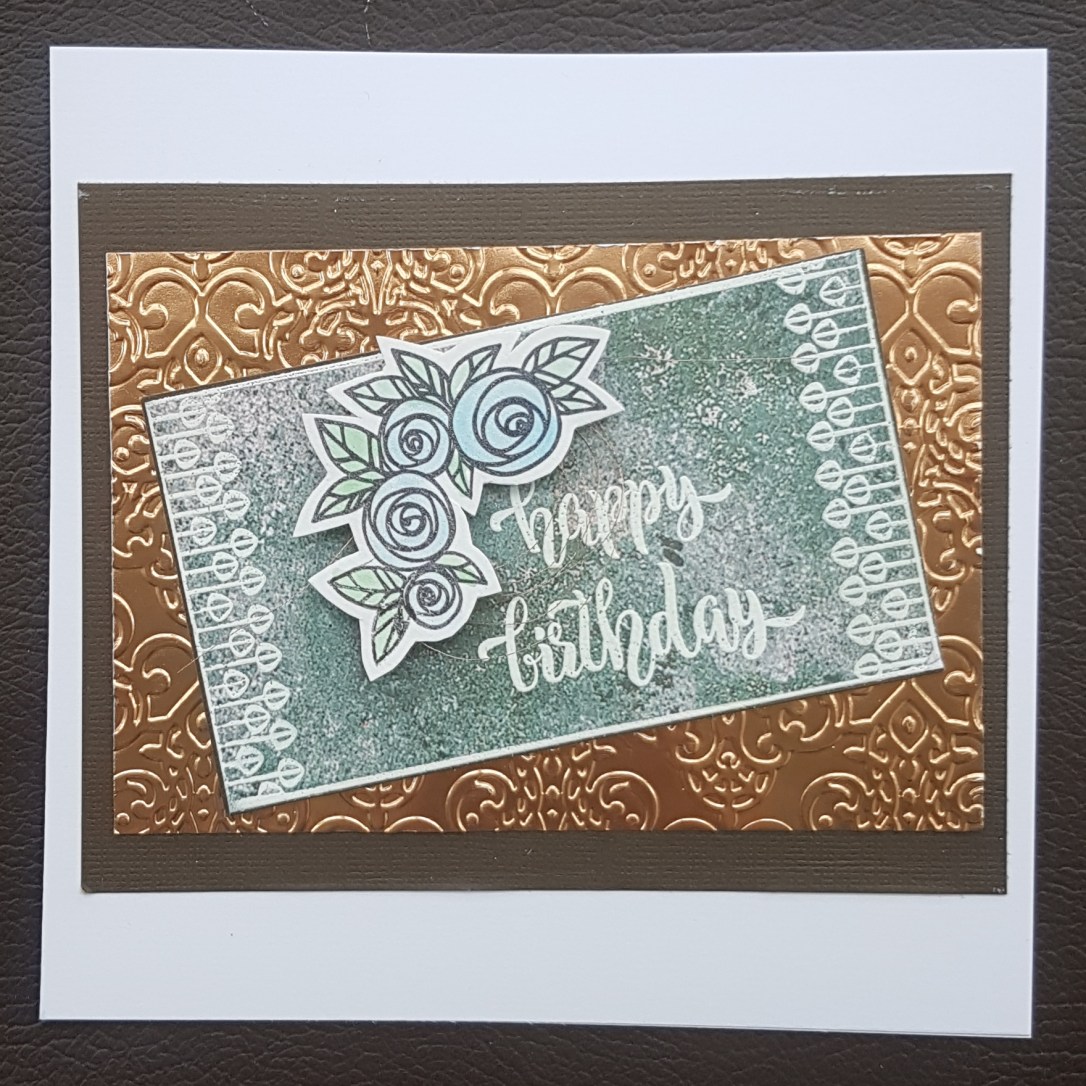
I love the copper foil background I added with the elegant embossing.
I edged the patterned paper with both the stamp and a line of white embossing, then added the sentiment in the same. Next I added the flower image with some copper thread to add texture.
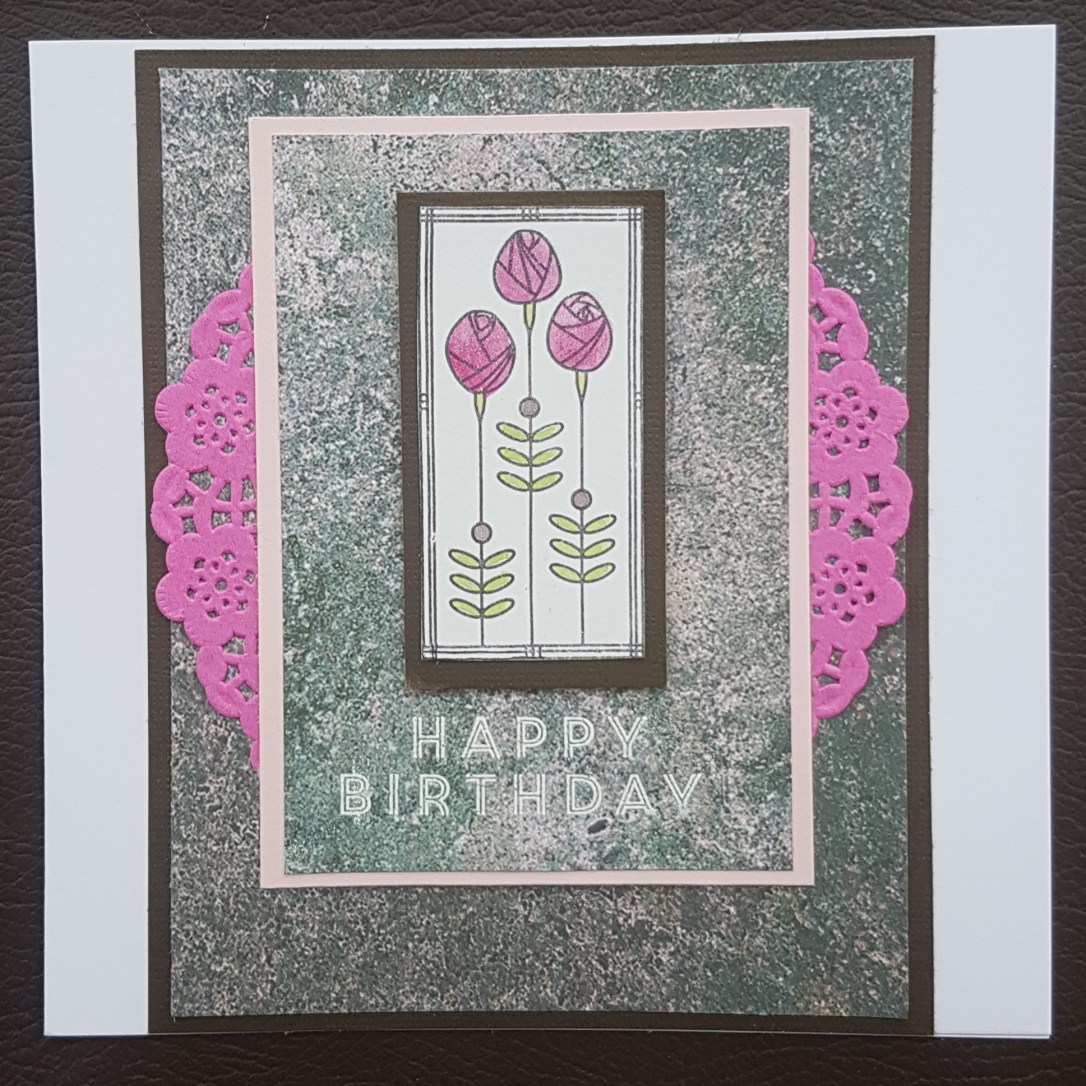
I went with a brighter pink for this one and grabbed this hot pink doily. It worked with the colouring on the flowers.
This one I went with lots of edging in black pen to give each panel a distinct edge. I also embossed the white panel with the embossing folder.
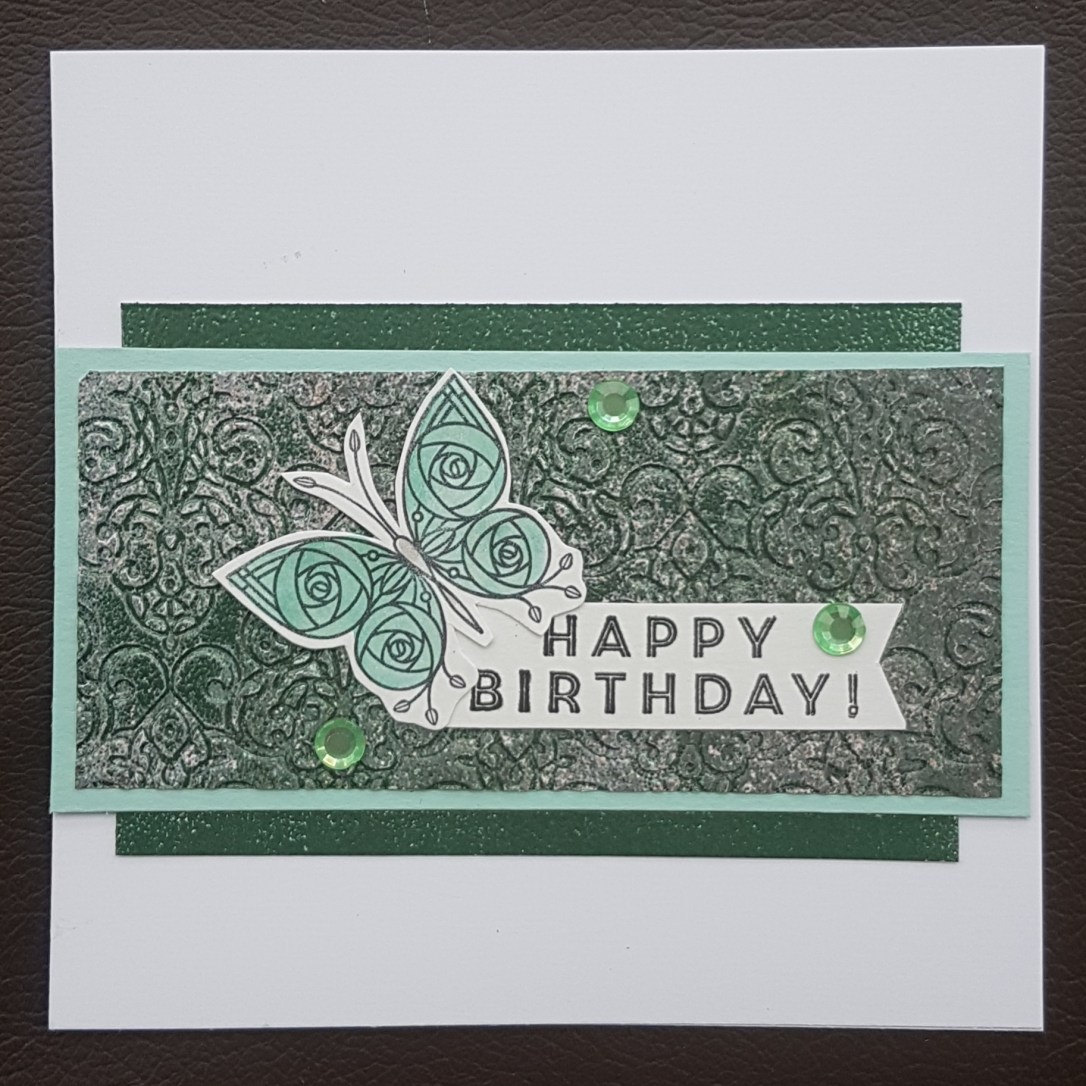
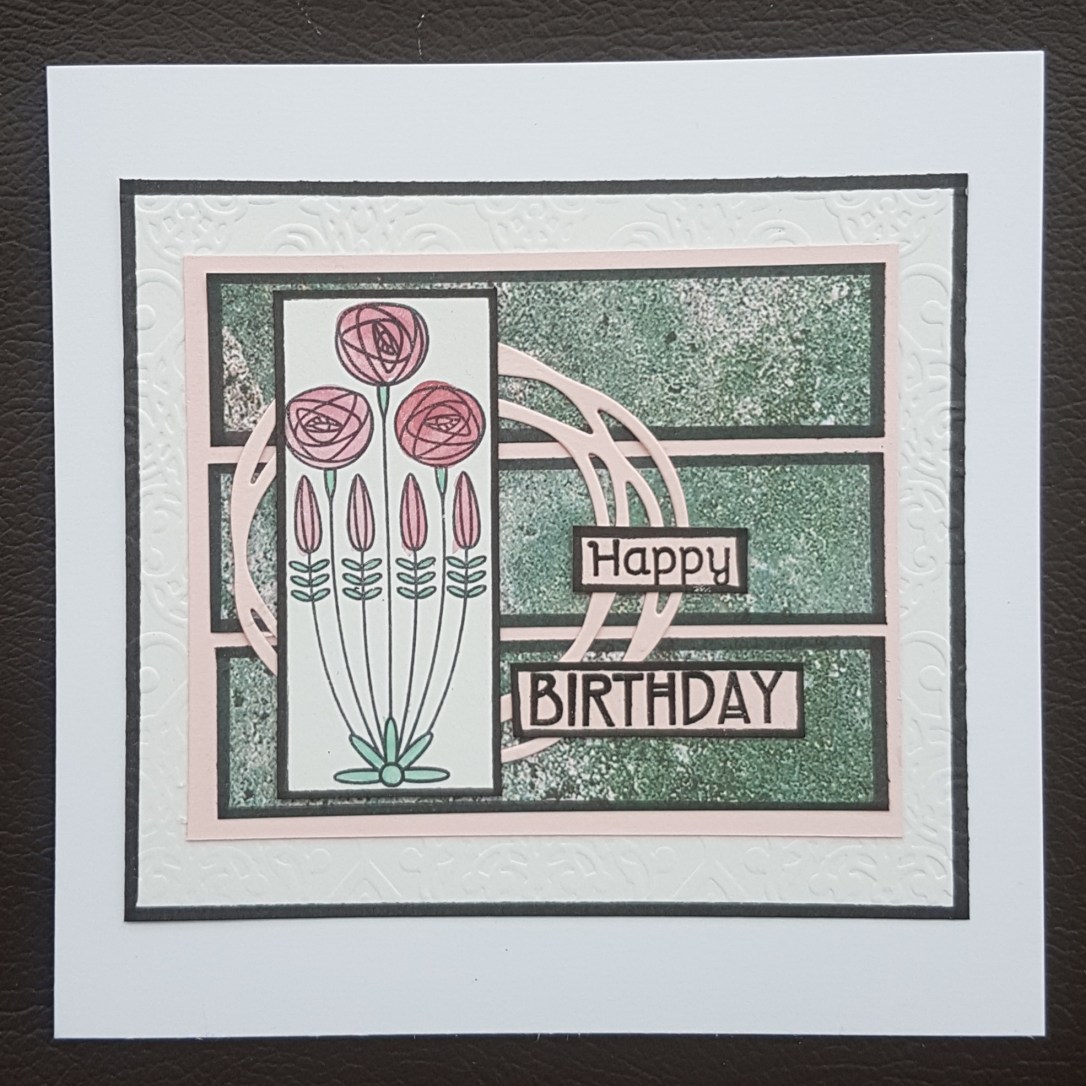
This final one I embossed the patterned paper, adding versamark to the folder first and then adding some jade coloured powder and heating it. This created a fabulous texture.
I then coloured the cardstock underneath with the same embossing powder.
I am super happy with all of these. I still have a couple of pieces left but not quite worked out how to use them…

Happy crafting!
Catherine
Today I have two card using floral papers from the Making Cards magazine stash along with cute card toppers from a different collection from Making Cards magazine.


I adore these floral papers. The colours are so vibrant and beautiful. I adore as well the cute little dog. I added glossy accents to the glasses to add shine and dimension.
Think they make a lovely combination even though they are different collections.
Happy crafting!
Catherine
Some of these monsters and dinos were made for googlie eyes… so of course I had to add them.


Some, where the eyes were too big for my googlie eyes stickers I added glossy accents to the eyes instead to ensure they still had dimension and shine.
Love these fun cards using the Making Cards magazine collection from several months ago. I’m really enjoying working my way through the backlog of these collections.
Happy crafting!
Catherine
I am trying to use up bits off my desk again rather than make anything new or create more bits to pile up and I unearthed a gorgeous gelli print background I had made and forgotten about! So immediately set about turning it into a card.

I kept it simple with some embossing and the printed image I had been gifted in a swap and a piece of ribbon. This way the gorgeous gelli print could speak for itself!
Happy crafting!
Catherine
