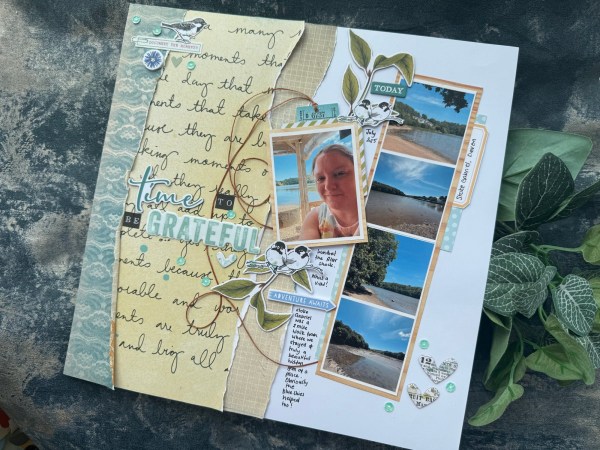
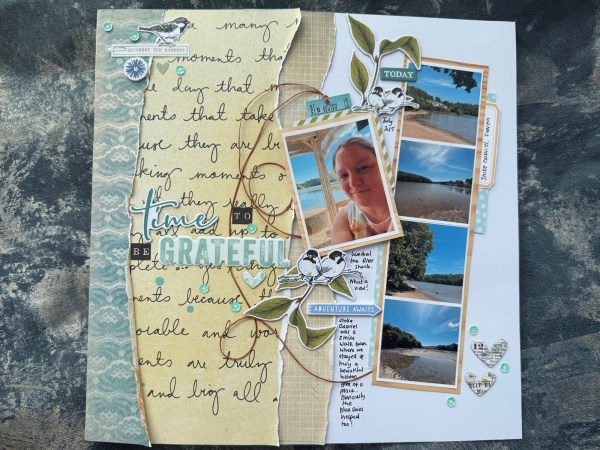
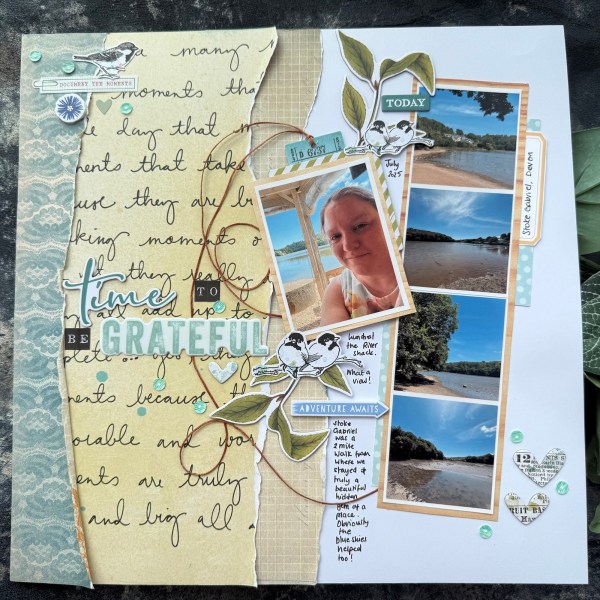
Another scrapbook page made for my design team samples for Kingston Crafts featuring my friends dog Barney.
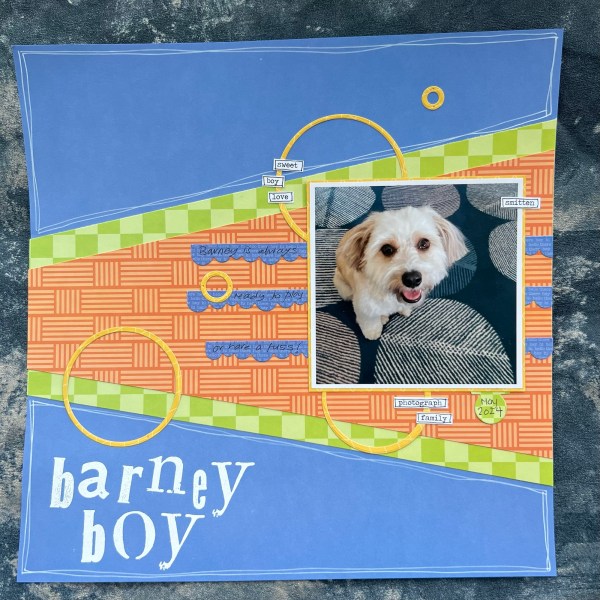
He is such a cutie! I thought the blue rug under Barney would work with the blue base colour in the Everyday paper pack – I must say calling this paper is wrong as I think it is a lovely weight and more than strong enough to make a base layer for a scrapbook page or card blank.
I then added the two bright layers of patterns in a ‘triangle’ shape across the page – well not quite triangle but you know what I mean!
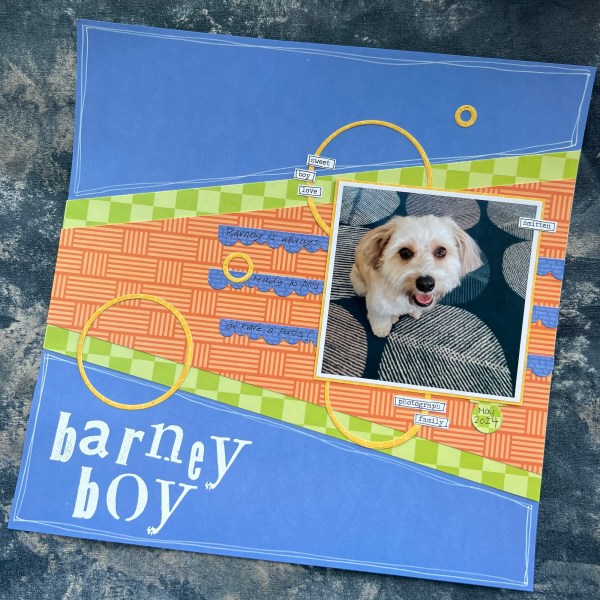
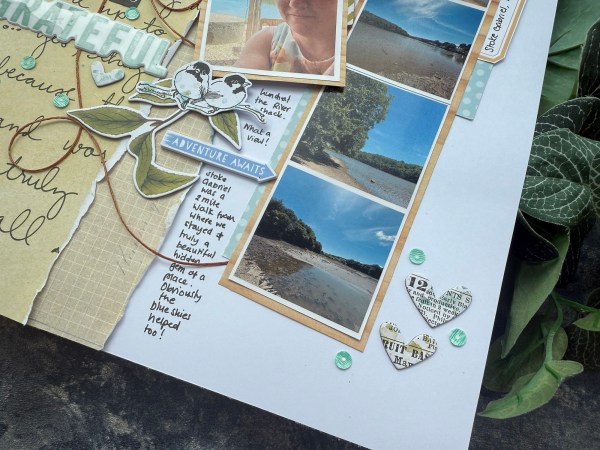
I added a layer of yellow just peeping out behind the photo and then die cut some rings using circle dies to go across the page.
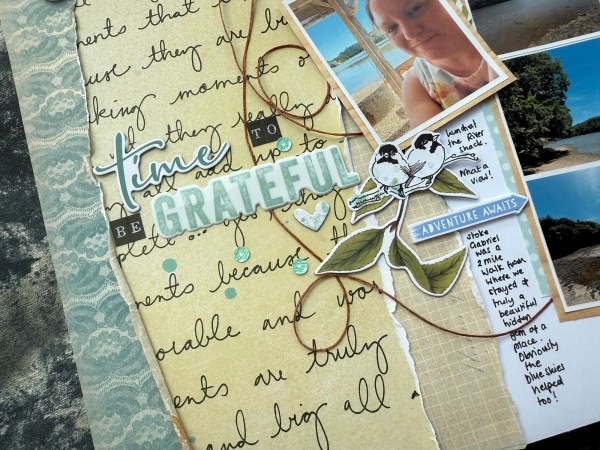
I decided the title needed to be Barney Boy but I wanted bigger letters than the dies I have in my stash so instead stamped and embossed them using Paperartsy stamps.
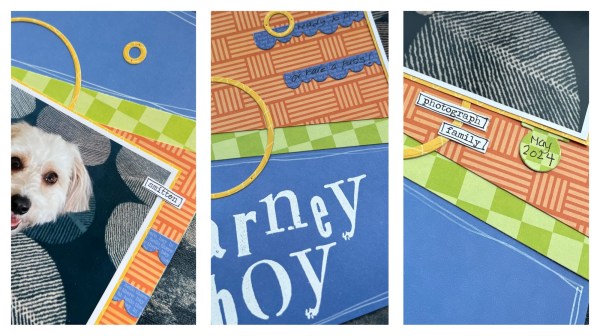
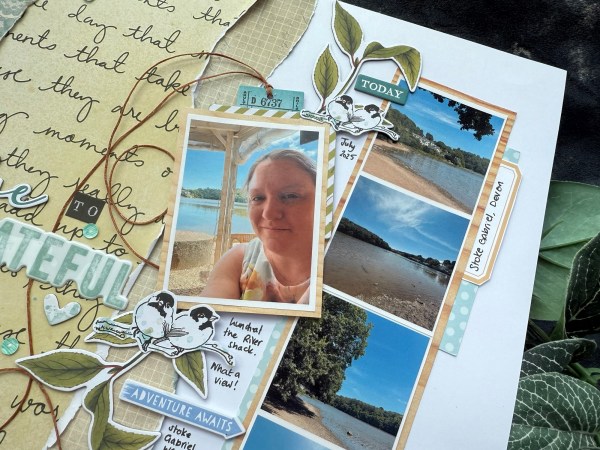
I added some doodled lines around the blue and then the journalling on those bumpy borders I had added beneath the photo for some interest. I also added the circle tab I die cut for the date.
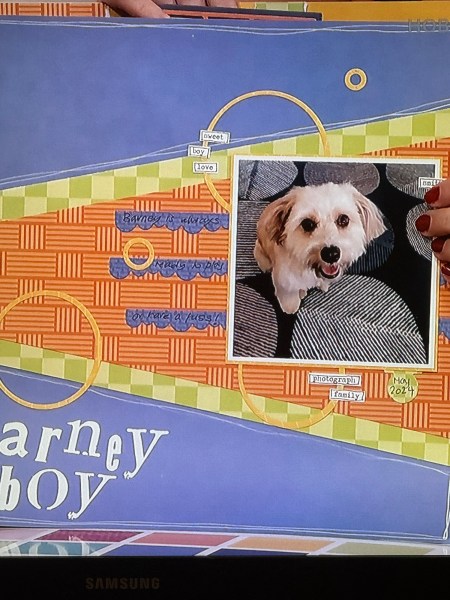
To finish off I added some Tim Holtz stickers which I felt worked with the theme of the page and the photo.
Such a fun layout and I love these patterns which are perfect for any theme!
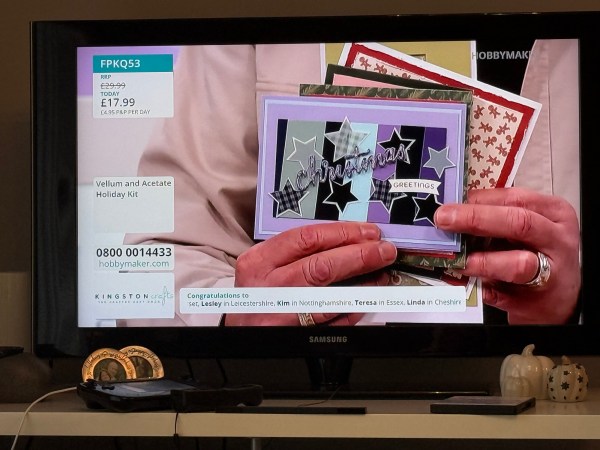
My friend says she’s going to get Barney an agent as he turned up on tv three times on the day Martin was on for Hobbymaker at the beginning of September – including this page! Clearly he’s a famous dog now!

Happy crafting!
Catherine